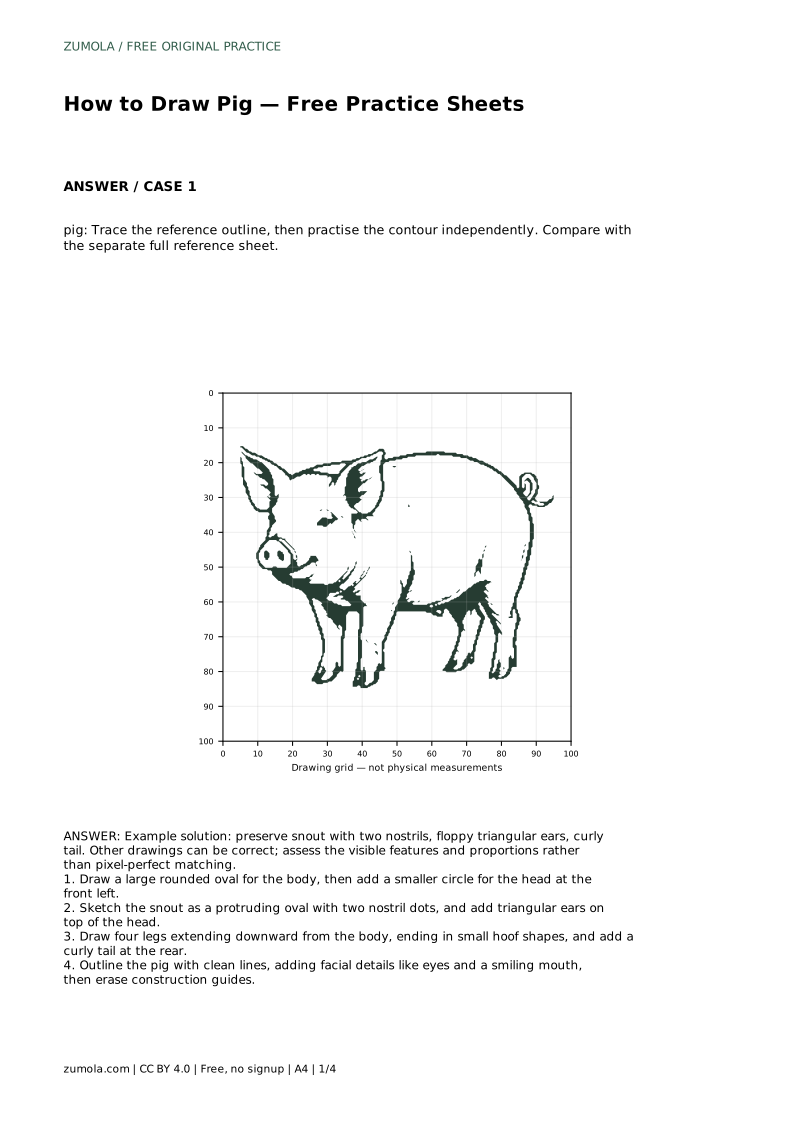
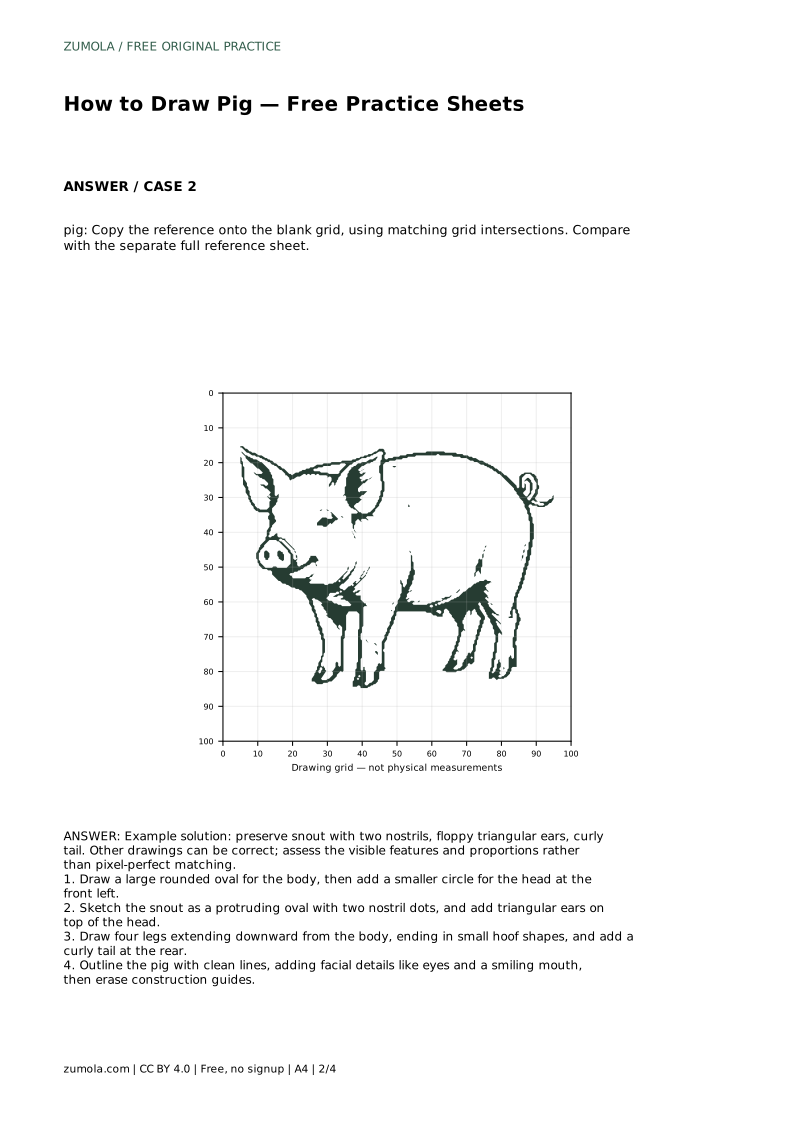
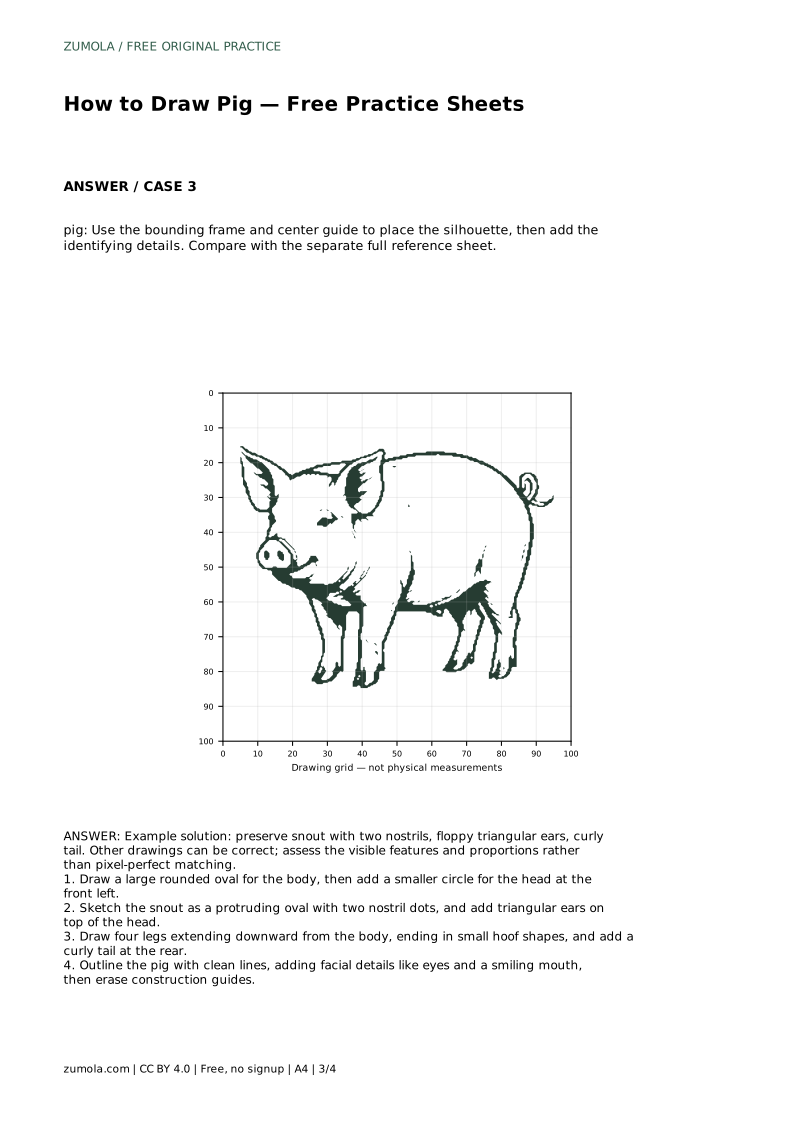
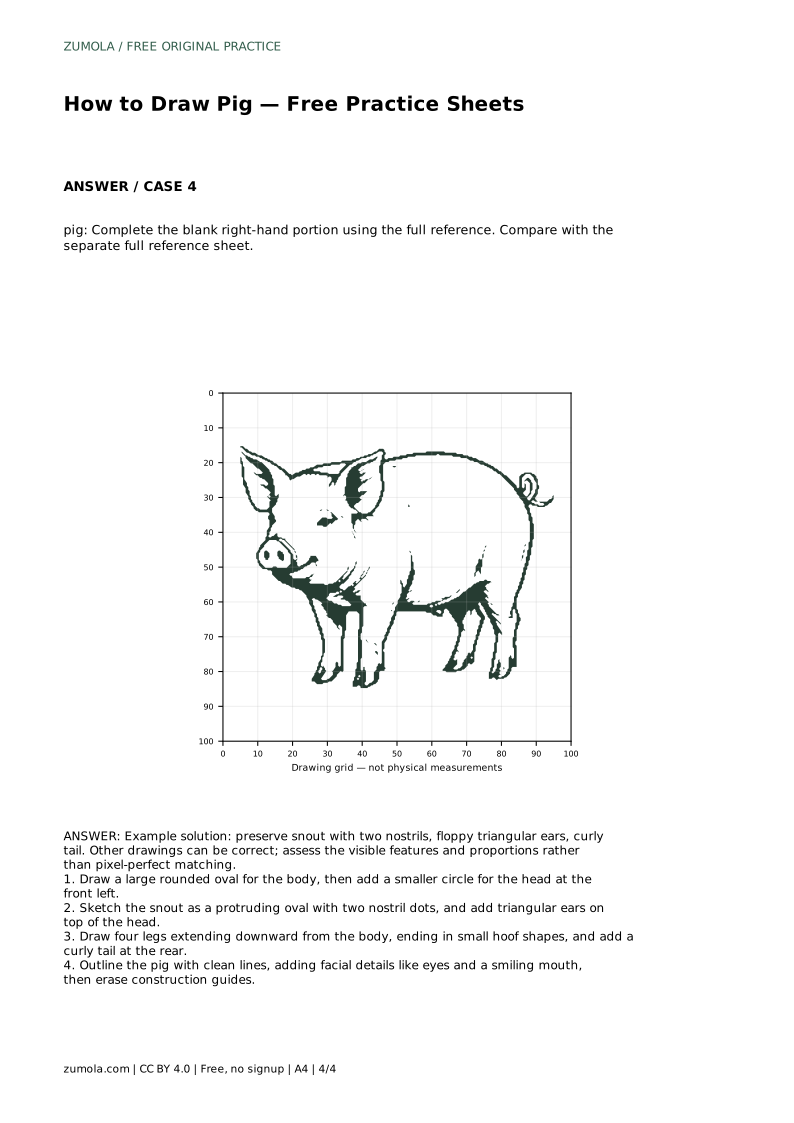
Reference diagrams
LETTER · Download PDF
A4 · Download PDF
Free original resources
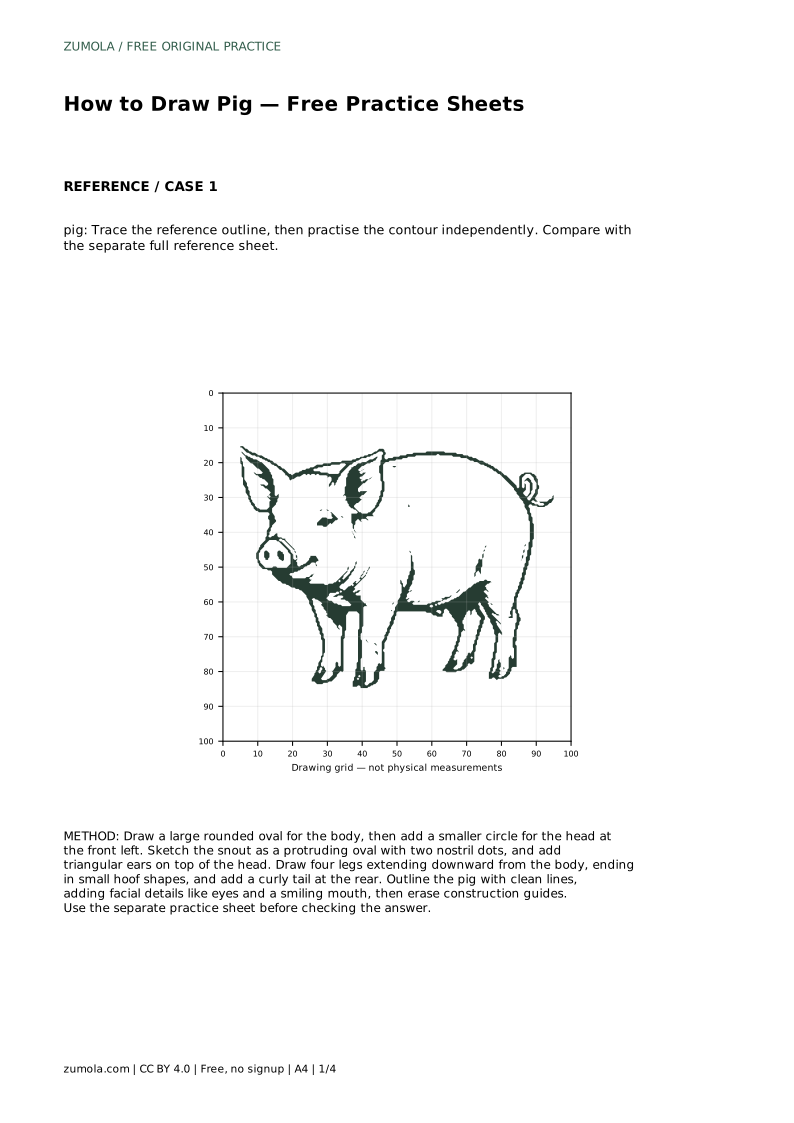
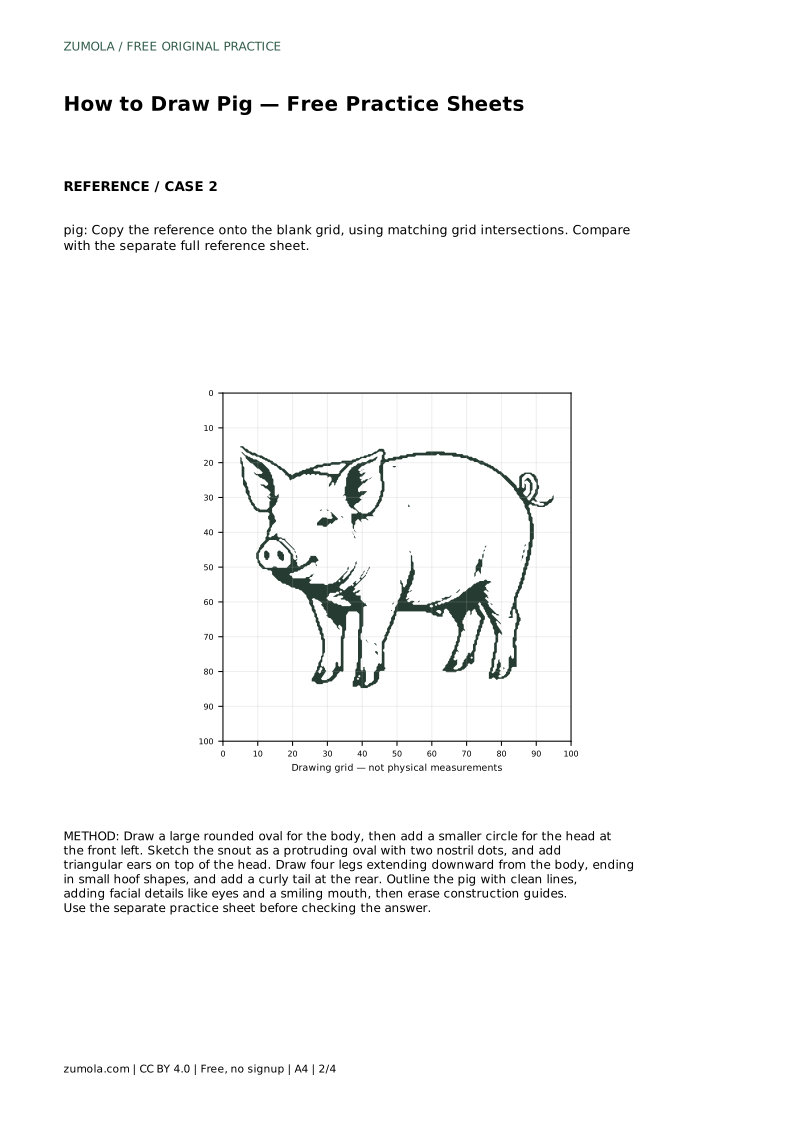
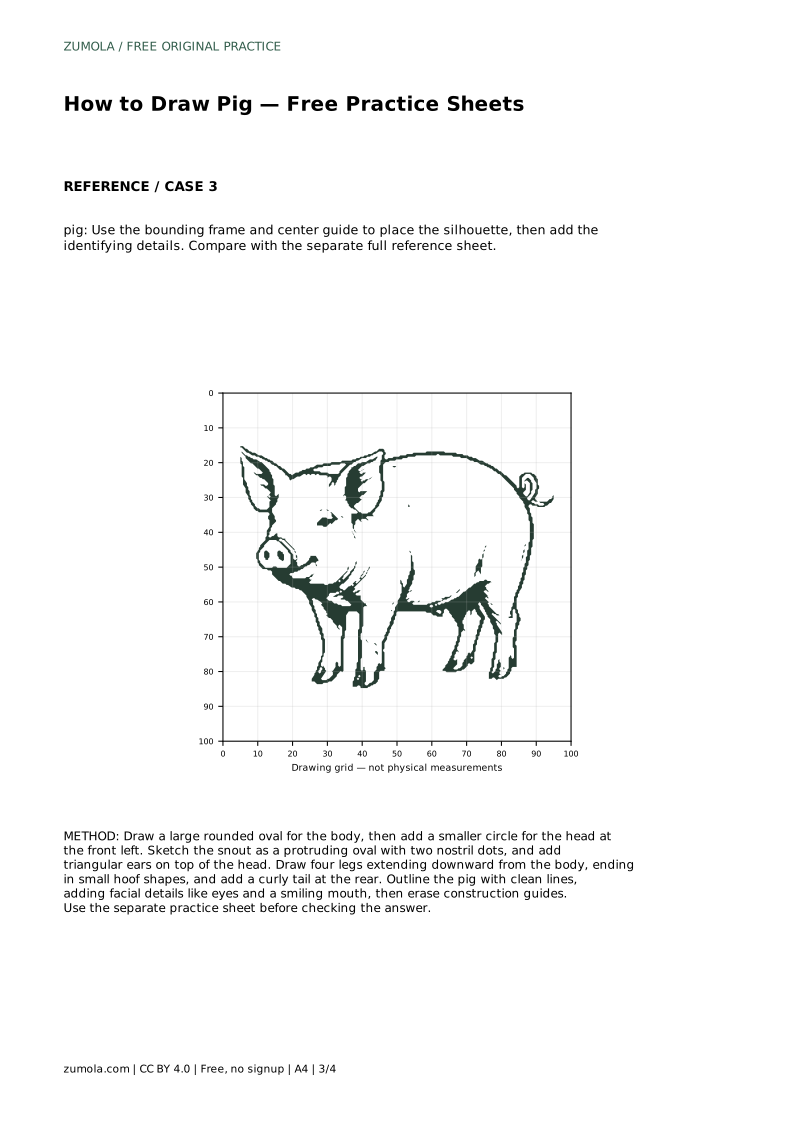
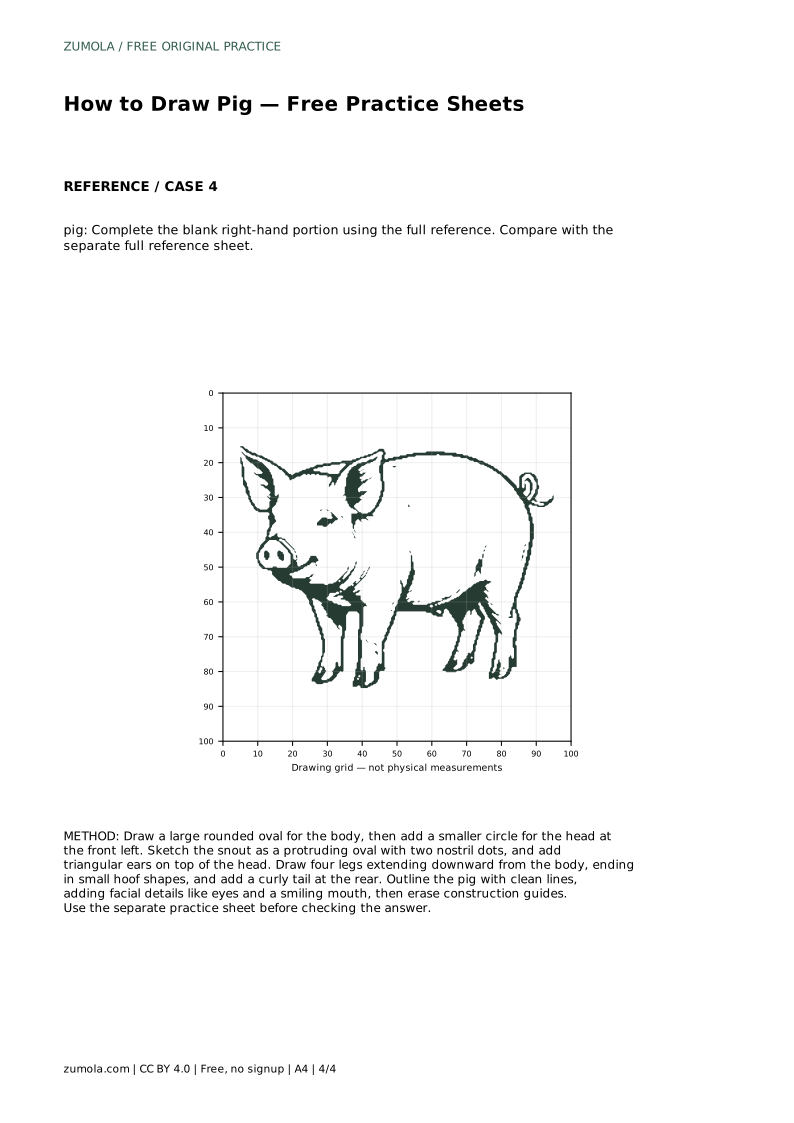
Learn a clear pig drawing method: rounded body, protruding snout with two nostrils, triangular ears, four legs with hooves, and a curly tail.
Four original cases, with reference diagrams, practice sheets and worked answers. Everything is free; no signup required.
LETTER · Download PDF
A4 · Download PDF
LETTER · Download PDF
A4 · Download PDF
LETTER · Download PDF
A4 · Download PDF
Use A4 or US Letter to match your printer. Use the stated values and conditions to solve each exercise; diagrams are not physical measuring rulers.
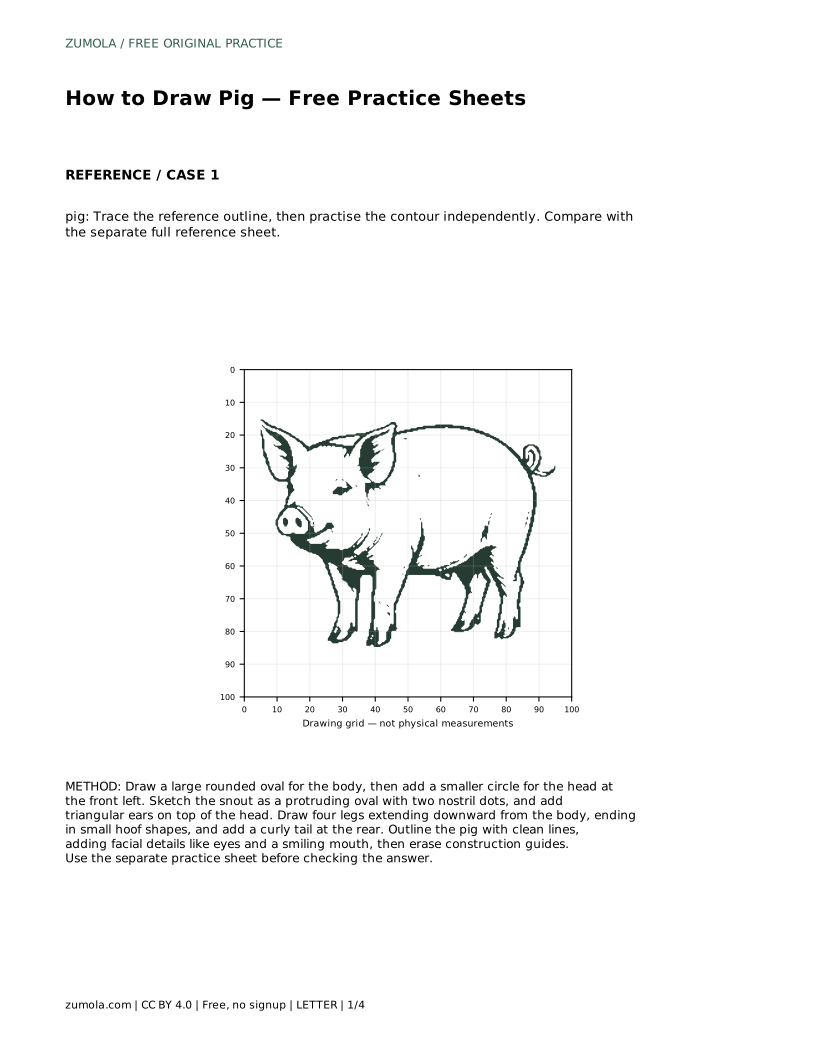
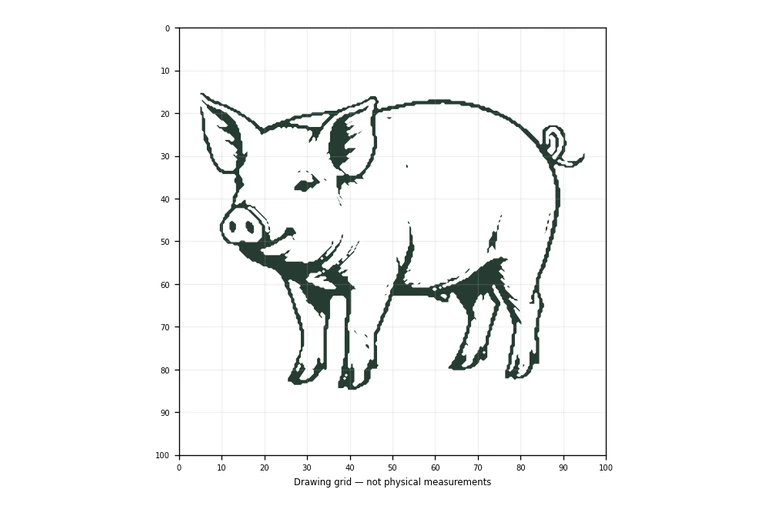
Drawing a pig is mostly a matter of arranging a few rounded shapes and then adding the features that make a pig recognizable. This page explains a simple construction method you can practise on paper, then describes how to use trace, grid, frame, and partial-reference sheets to build independence. The goal is not a pixel-perfect copy. Different drawings can be correct when the snout, nostrils, ears, legs, and curly tail are clearly visible and the proportions look plausible.
Start with the biggest shape, because it controls the overall proportion. A large rounded oval gives the body its bulk. Place a smaller circle for the head at the front left so the pig faces left. Keep the head circle noticeably smaller than the body oval; if the head is too large, the animal looks like a different creature.
Next, add the snout as a protruding oval attached to the front of the head. Two small nostril dots go inside it. Triangular ears sit on top of the head, and four legs extend downward from the body, each ending in a small hoof shape. A curly tail belongs at the rear. Only after these identifying parts are placed should you draw eyes and a mouth and erase the construction guides.
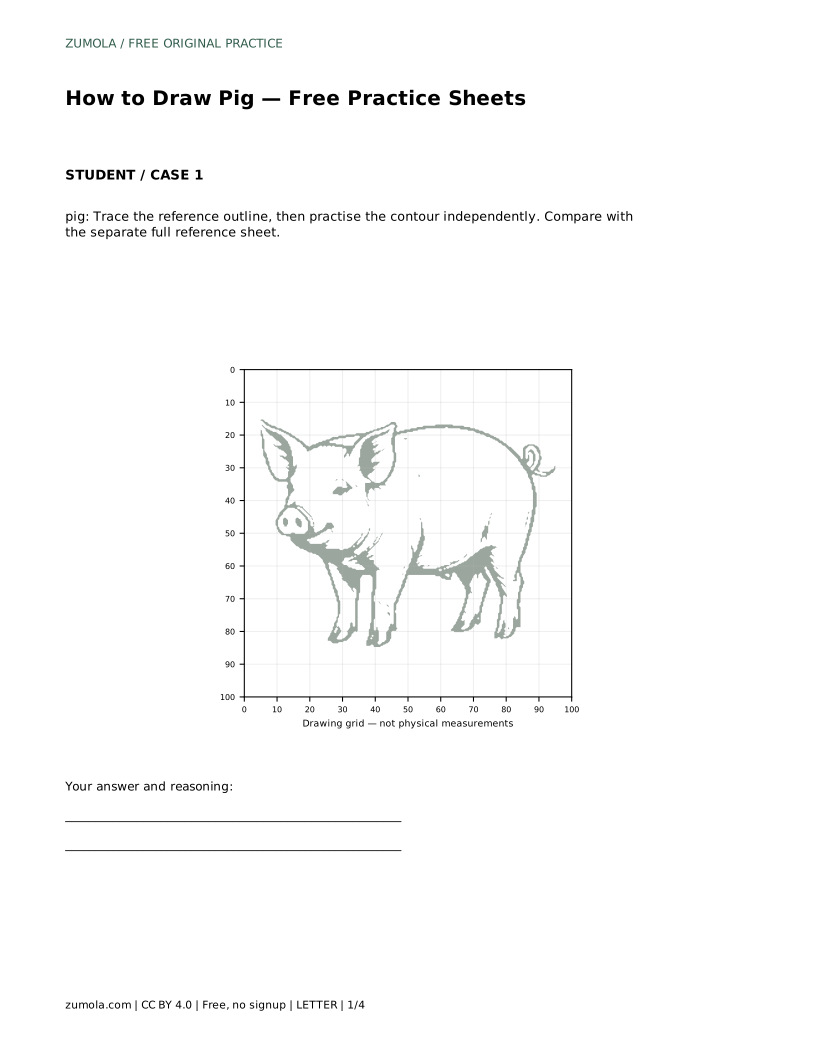
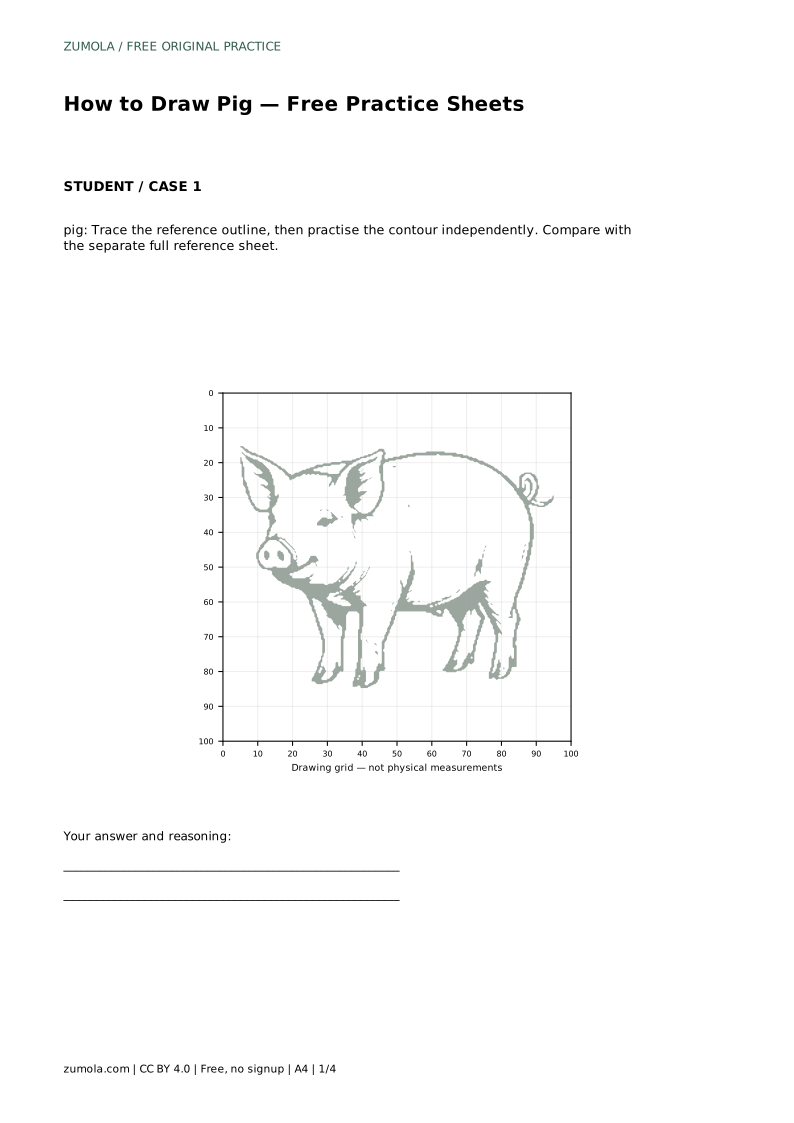
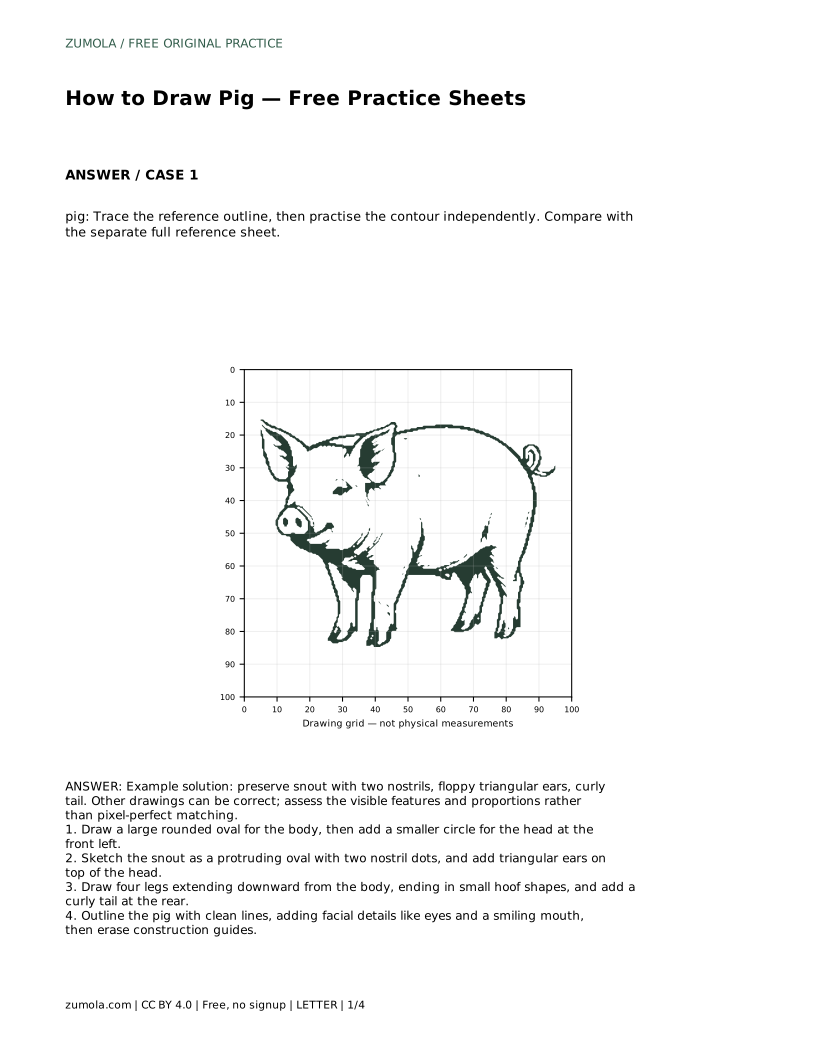
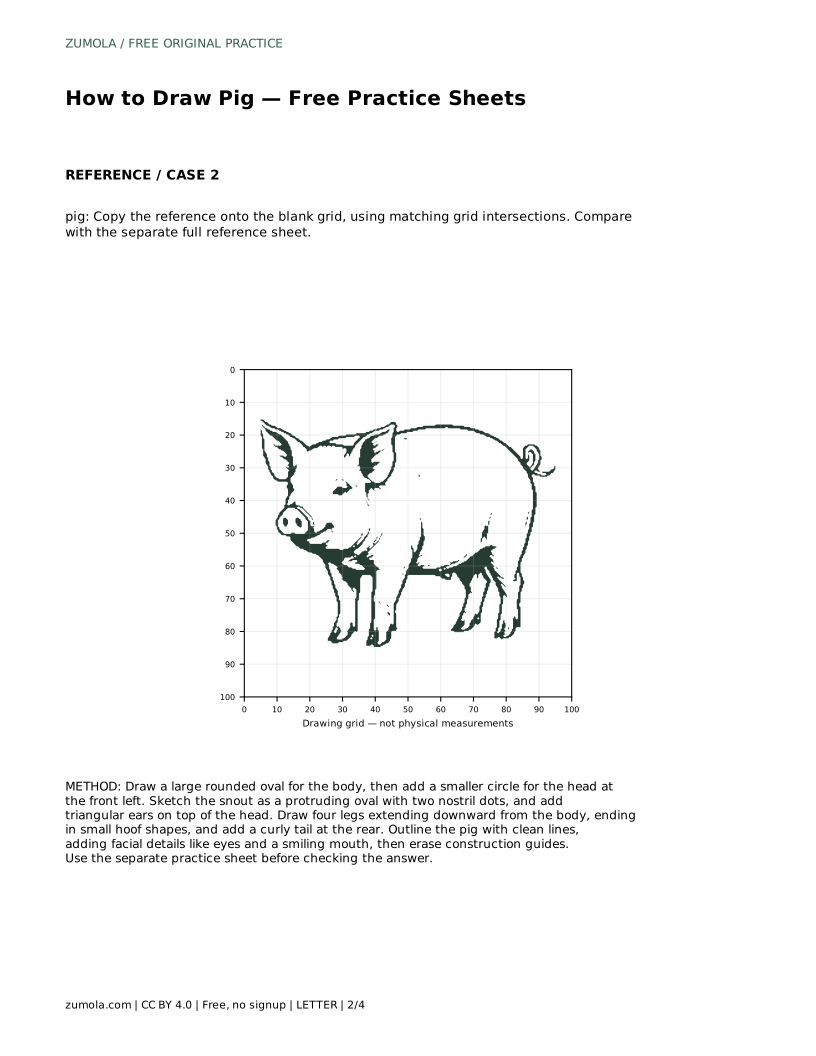
A trace sheet asks you to follow the reference outline first, then practise the contour independently. Tracing teaches hand movement, but the independent attempt is where the learning happens. Compare your free drawing with the separate full reference sheet and note which features drifted.
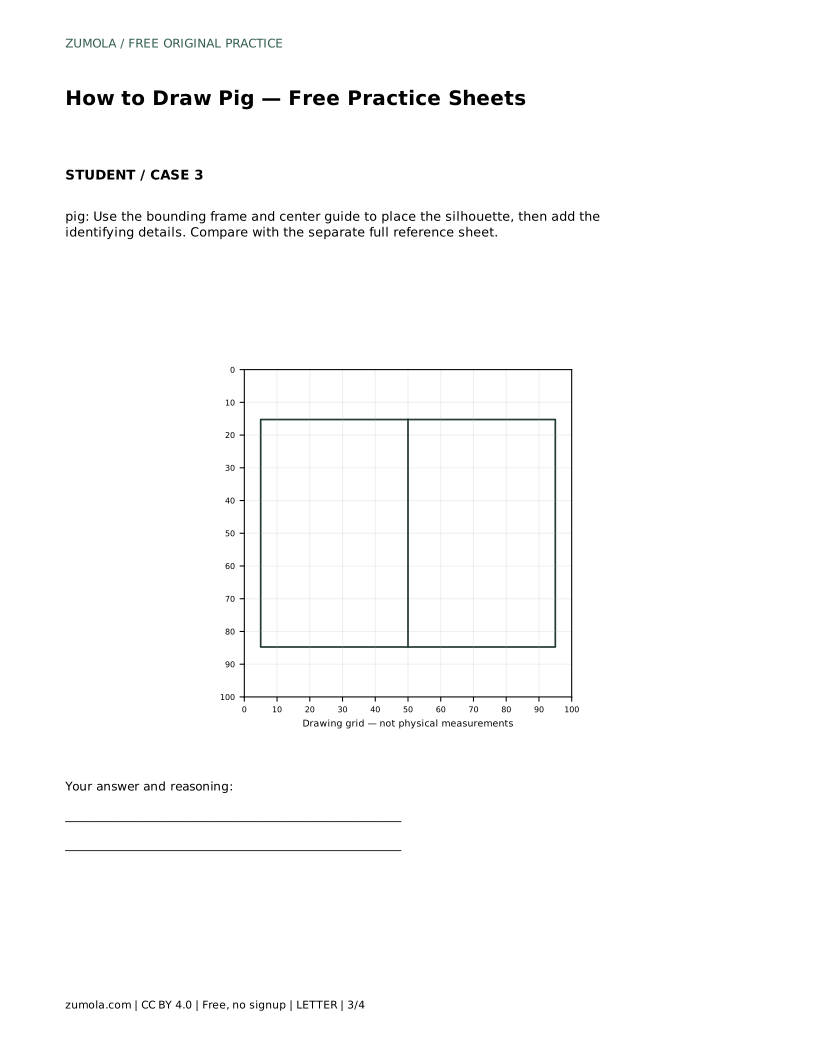
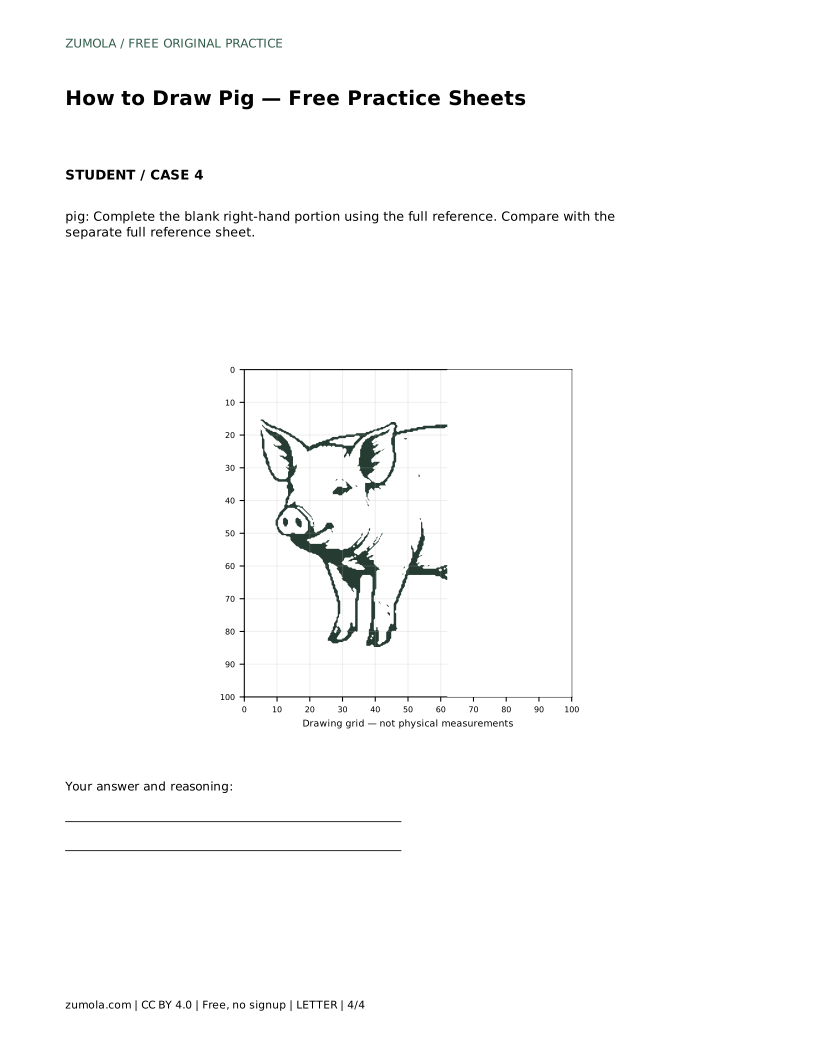
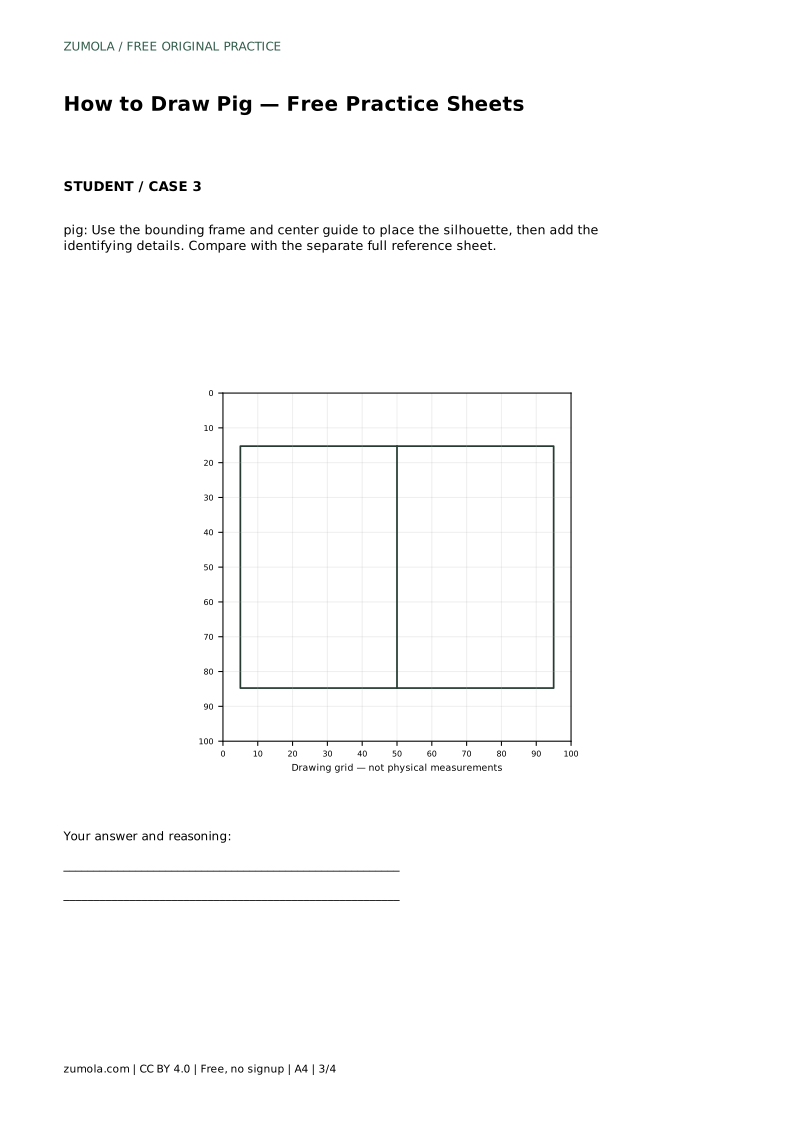
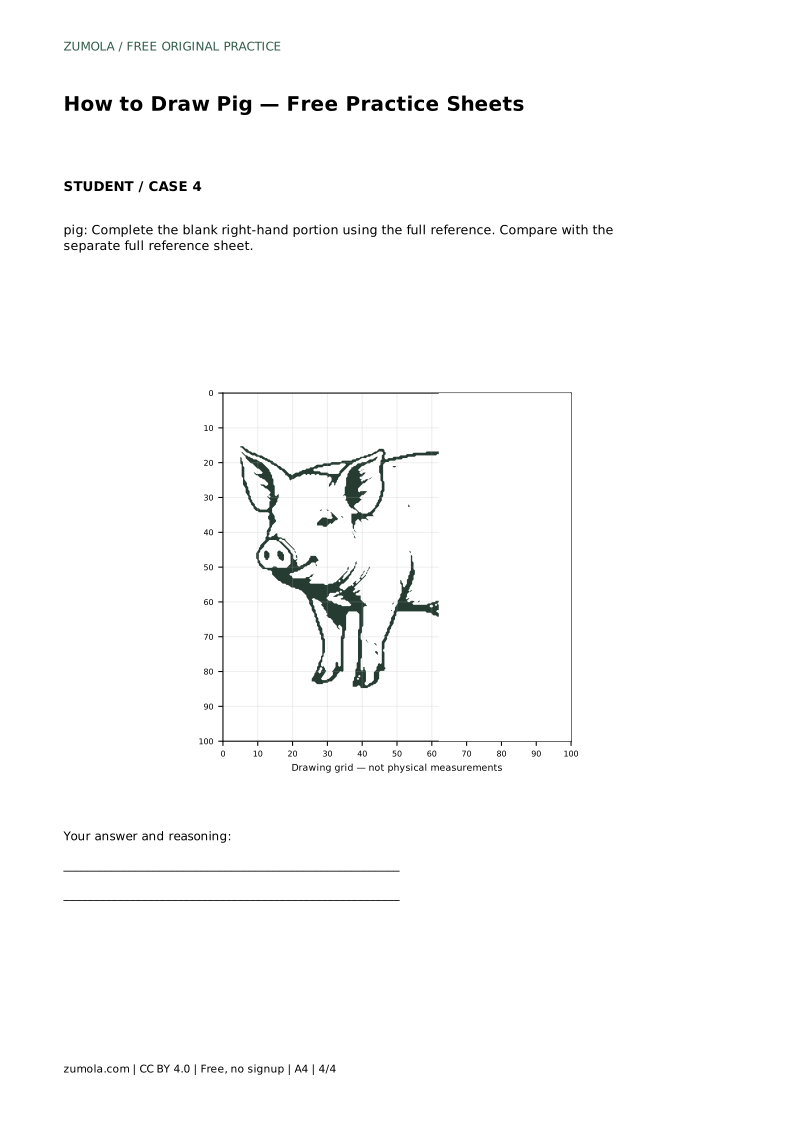
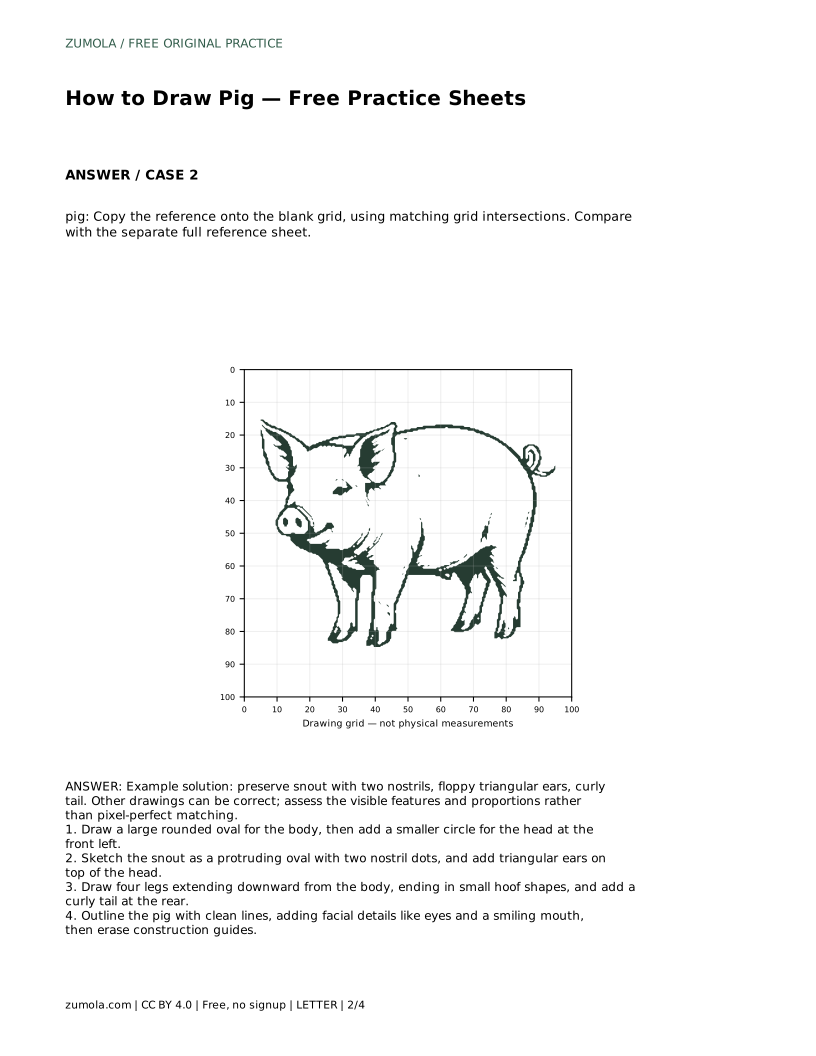
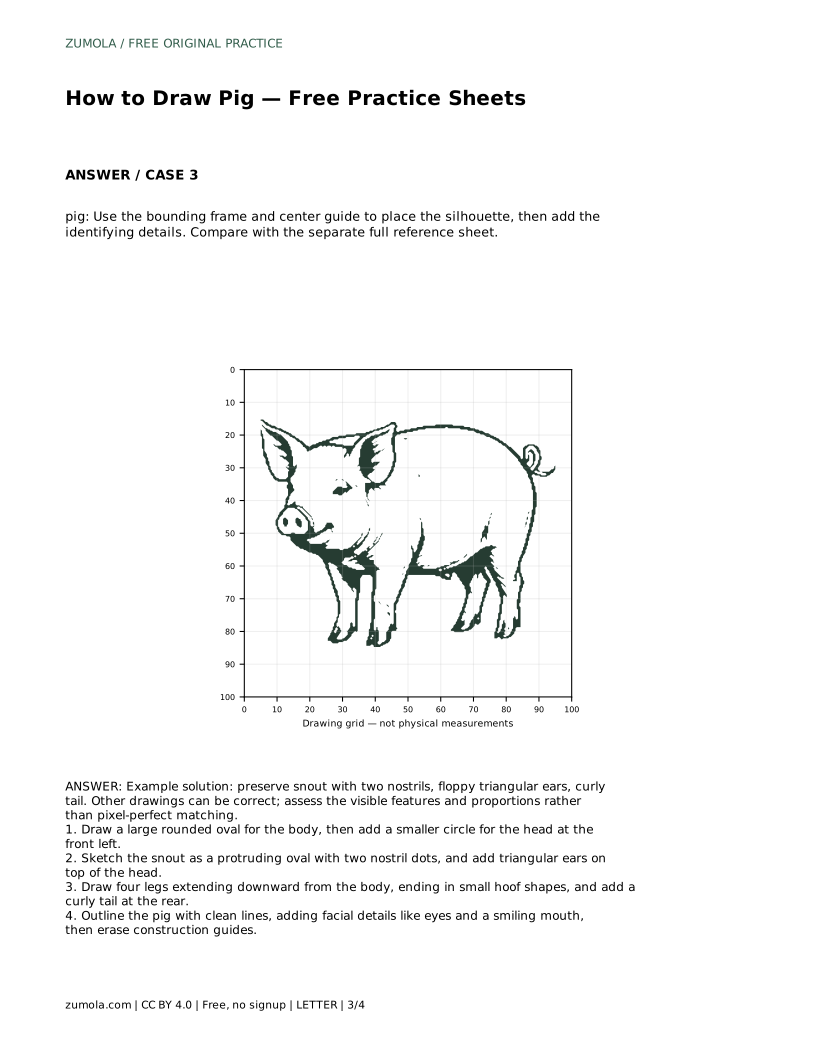
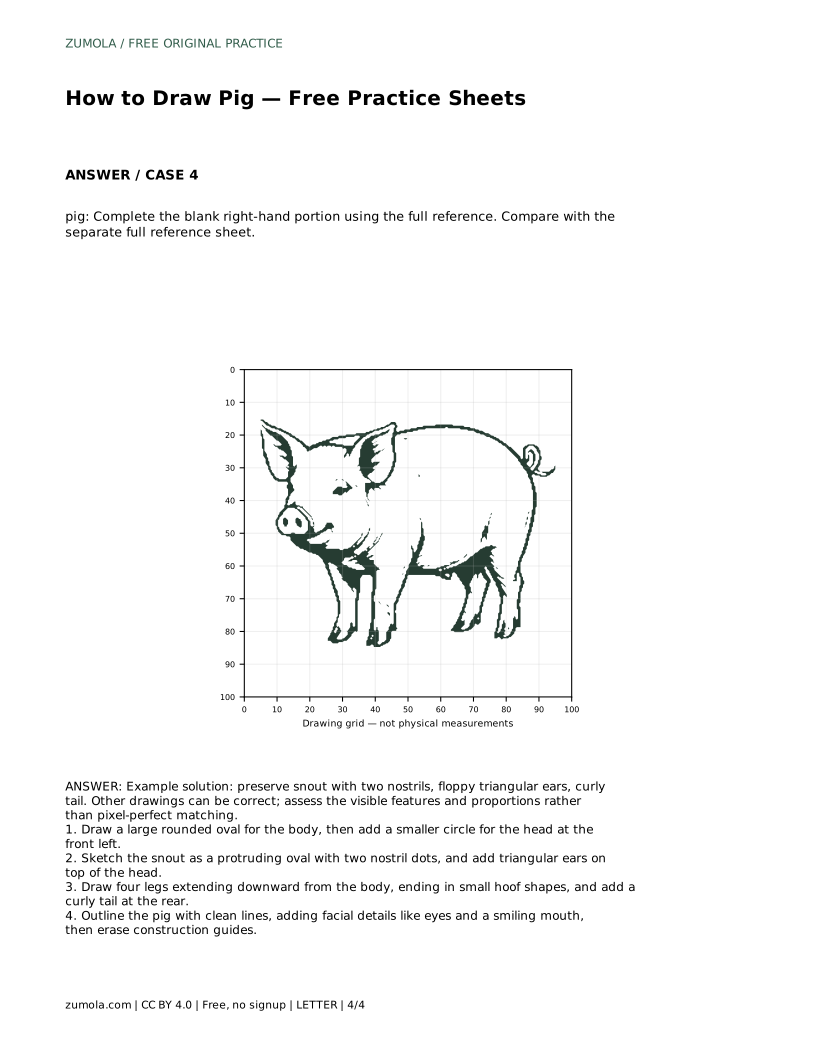
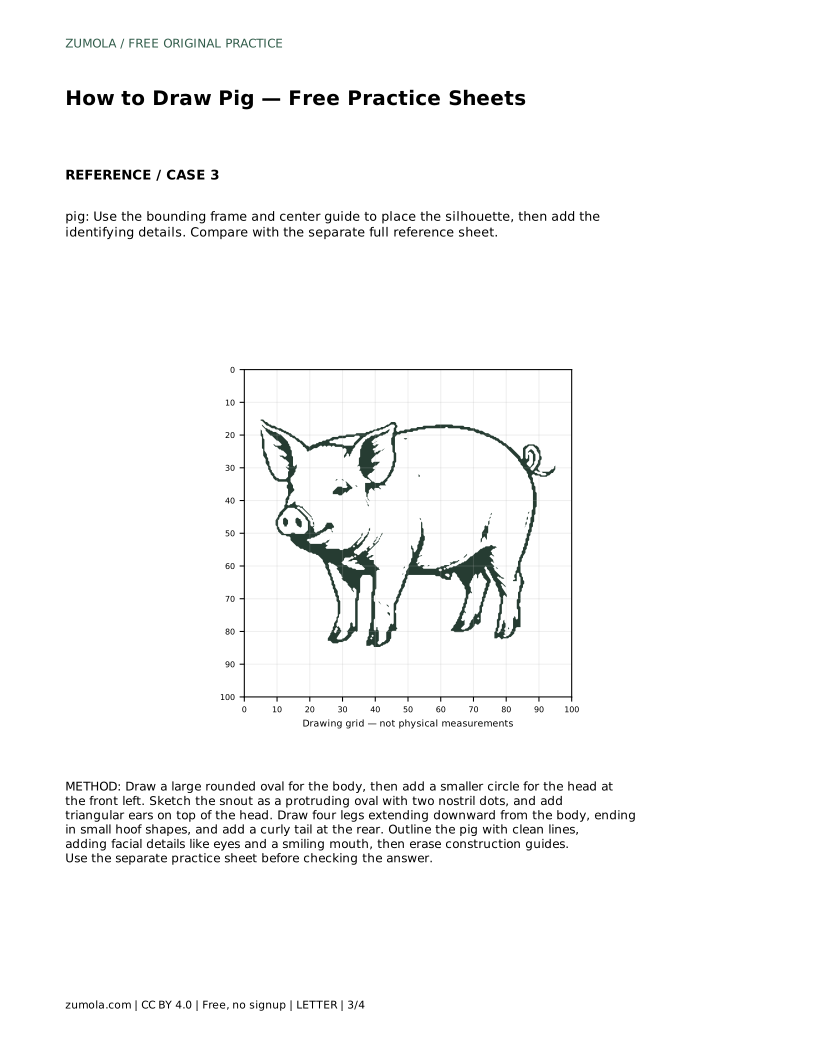
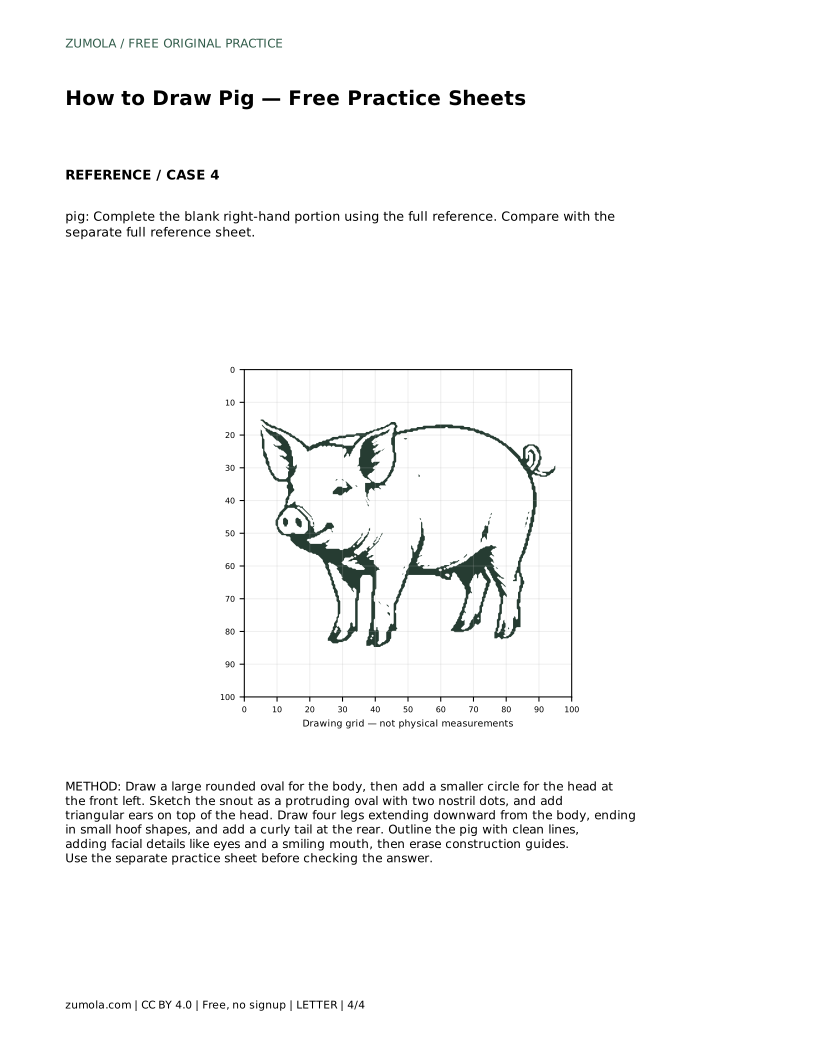
A blank grid sheet asks you to copy the reference using matching grid intersections. Use the grid to judge where the snout begins, how far the ears rise, and where the legs meet the body. A bounding frame with a center guide helps you place the silhouette before adding details. A partial sheet with a blank right-hand portion asks you to complete the missing side from the full reference, which tests whether you understand the whole shape rather than copying line by line.
Judge your drawing by visible features rather than exact line placement. The snout should protrude from the head and contain two nostrils. The ears should read as triangular and sit on top of the head. Four legs should reach the ground with small hoof shapes, and the tail should curl at the rear. Check that the head is smaller than the body and that the legs are spaced so the pig looks balanced.
Line quality matters too. Clean outlines drawn after the construction stage look more confident than heavy lines drawn over every guide. Keep the eyes and mouth simple; they support the expression without replacing the snout, ears, legs, and tail as the main identifying features.
Most problems come from skipping the large-shape stage or from adding facial details too early. If the body and head are placed first, the snout, ears, legs, and tail have somewhere sensible to attach. If details come first, the proportions become hard to fix.
Another frequent issue is treating the snout as a flat circle on the face instead of a protruding oval. The snout should extend forward from the head outline. Similarly, the tail should curl rather than hang straight, and the legs should be four separate supports, not a single block.
These answers address the practical questions that come up while practising the pig drawing method.
The method works on any paper size because it relies on relative proportions rather than fixed measurements.
pig: Trace the reference outline, then practise the contour independently. Compare with the separate full reference sheet.
Example solution: preserve snout with two nostrils, floppy triangular ears, curly tail. Other drawings can be correct; assess the visible features and proportions rather than pixel-perfect matching. Draw a large rounded oval for the body, then add a smaller circle for the head at the front left. Sketch the snout as a protruding oval with two nostril dots, and add triangular ears on top of the head. Draw four legs extending downward from the body, ending in small hoof shapes, and add a curly tail at the rear. Outline the pig with clean lines, adding facial details like eyes and a smiling mouth, then erase construction guides.
No. Other drawings can be correct. Assess the visible features and proportions rather than pixel-perfect matching.
A protruding snout with two nostrils, triangular ears, four legs with hoof shapes, and a curly tail at the rear.
Erase them after the clean outline and facial details are drawn, so the final pig reads clearly.
All drawing practice · Free coordinate paper
Original resources · CC BY 4.0 · Free for personal and classroom use with attribution.