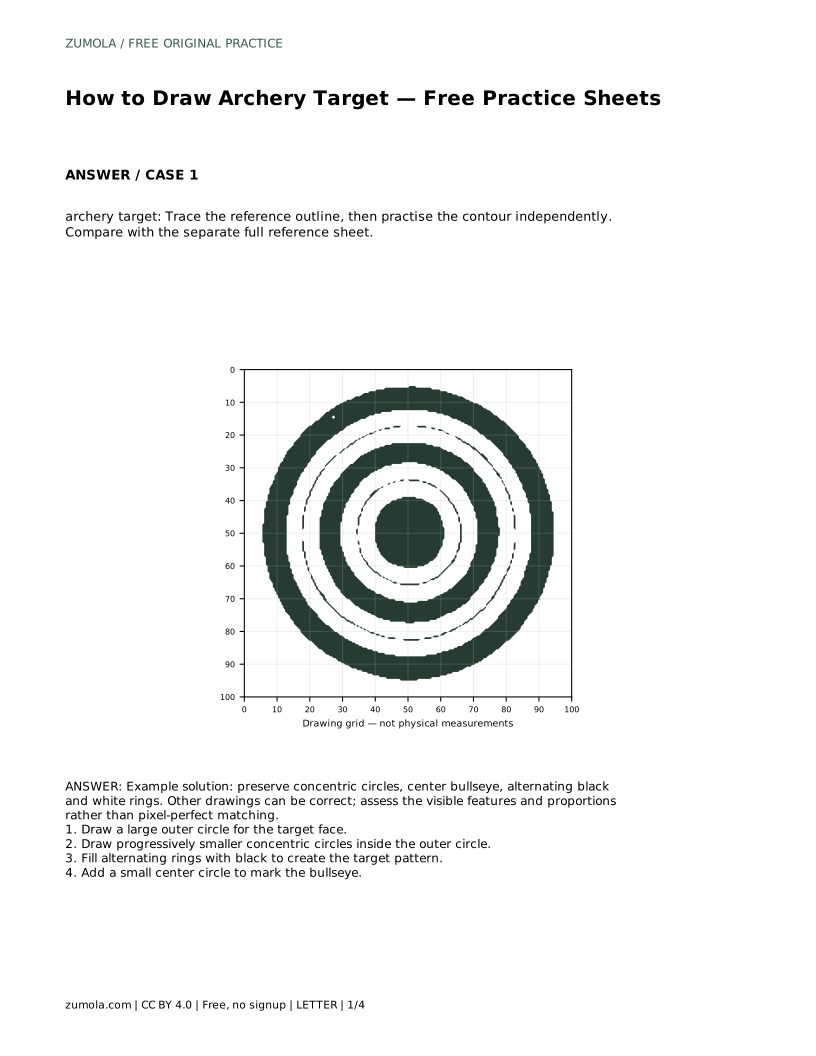
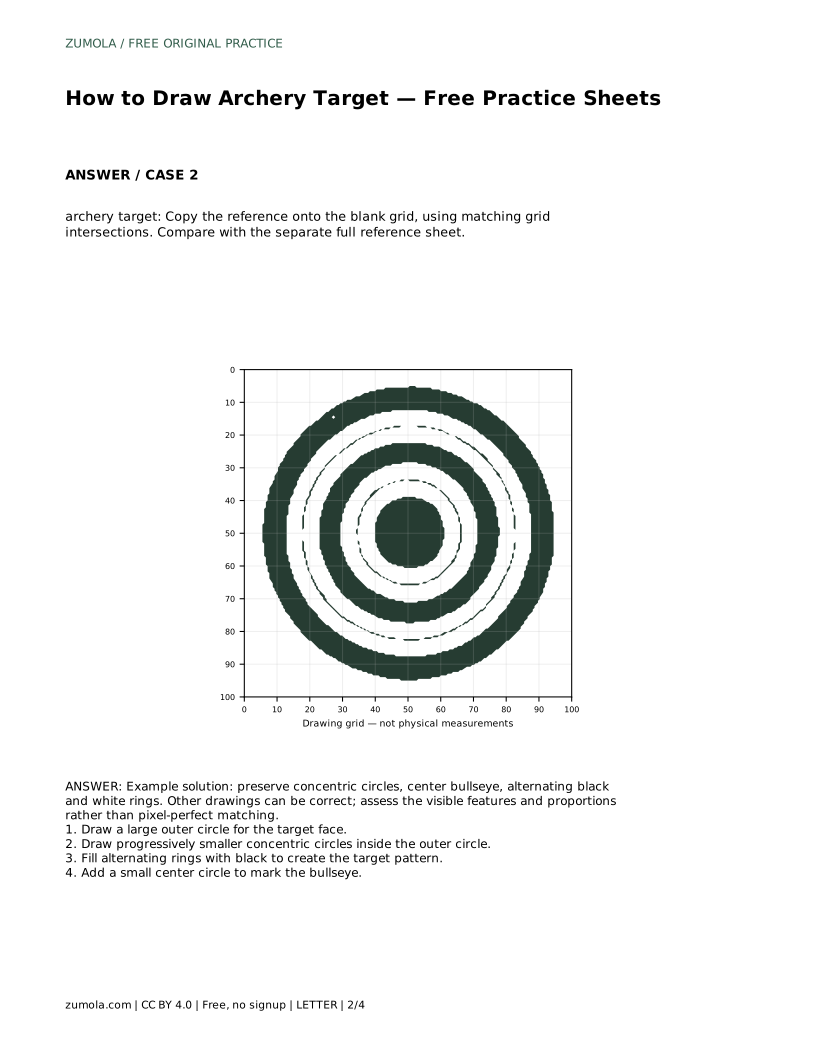
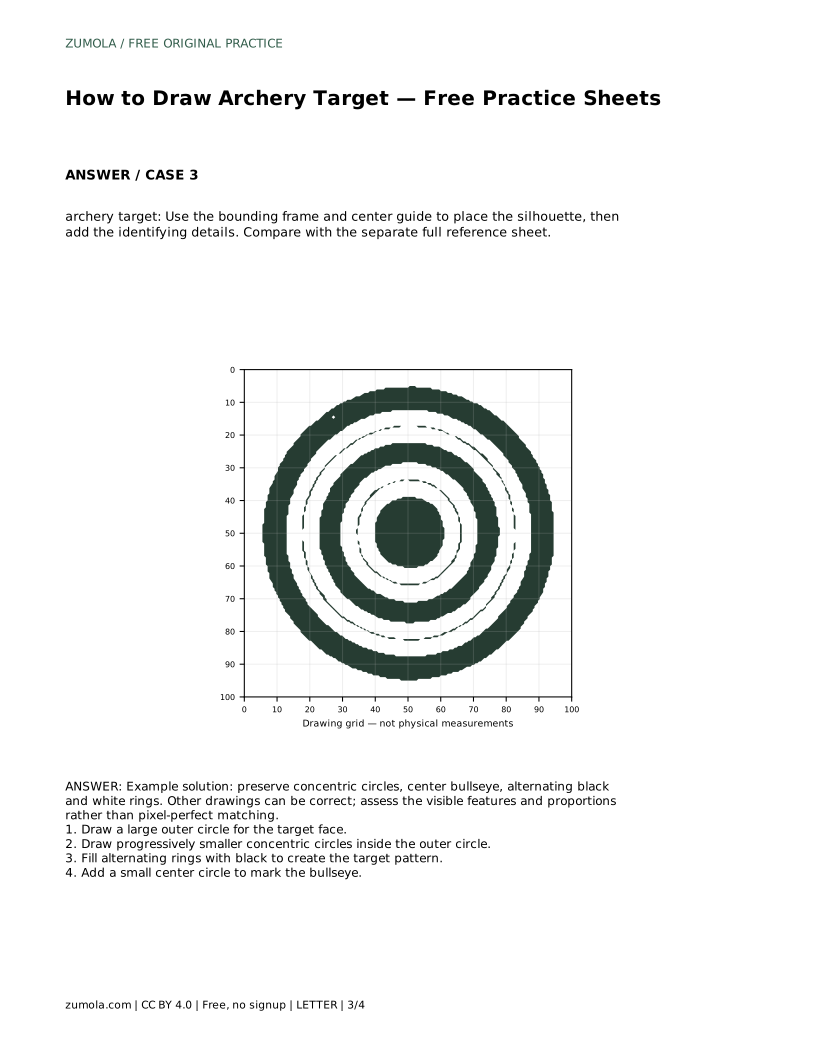
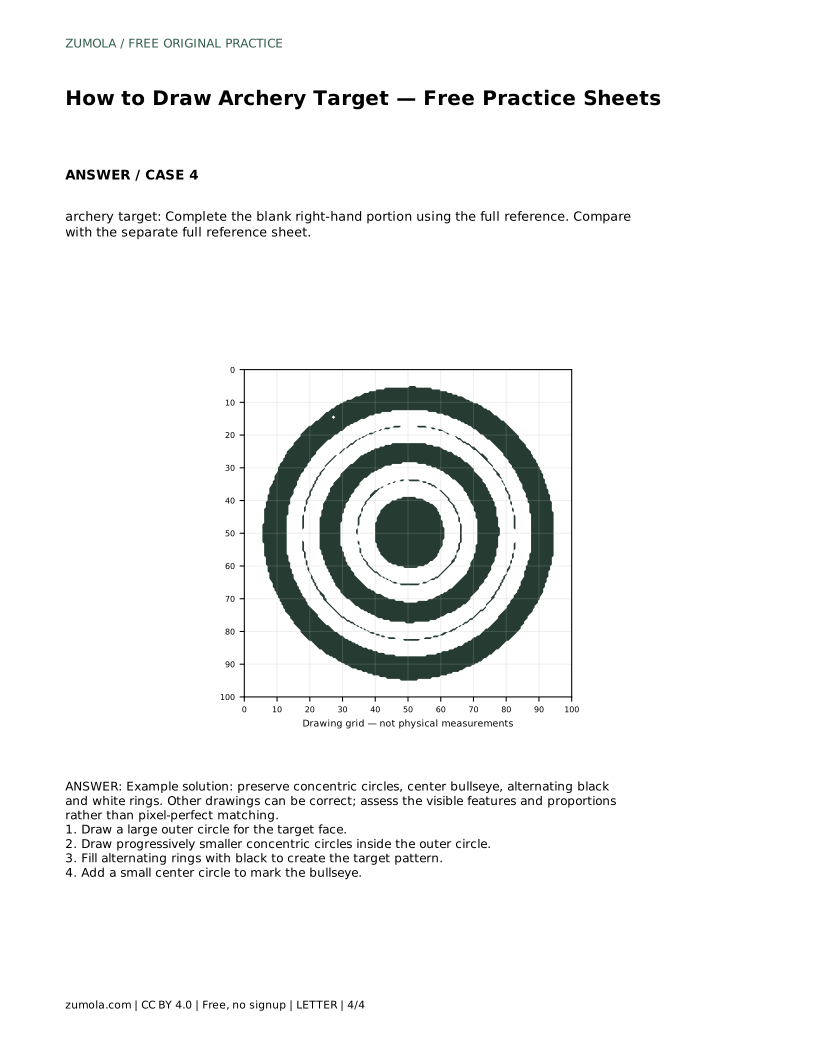
Reference diagrams
LETTER · Download PDF
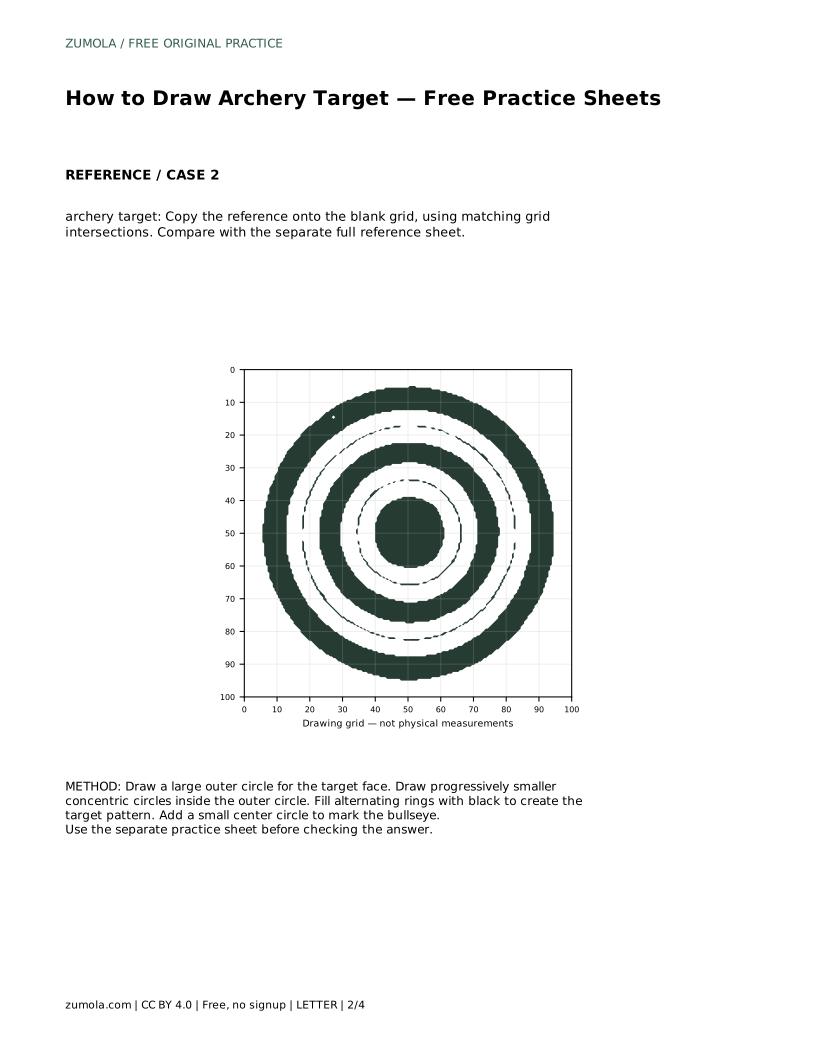
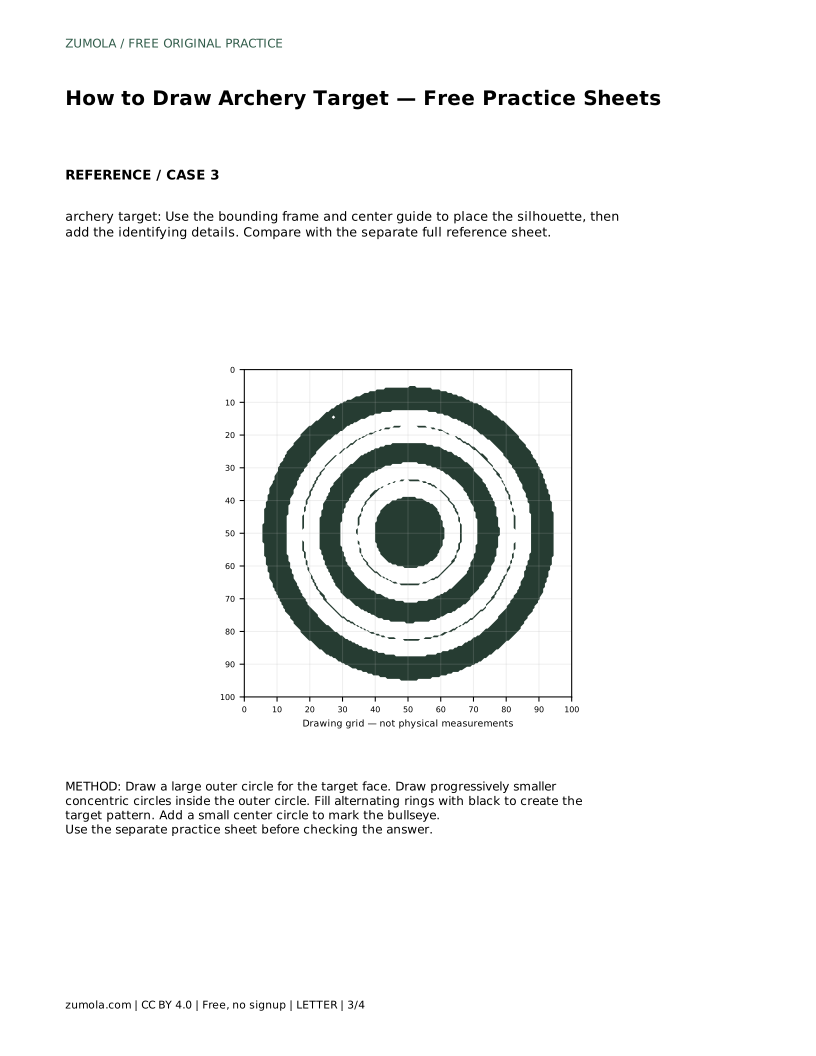
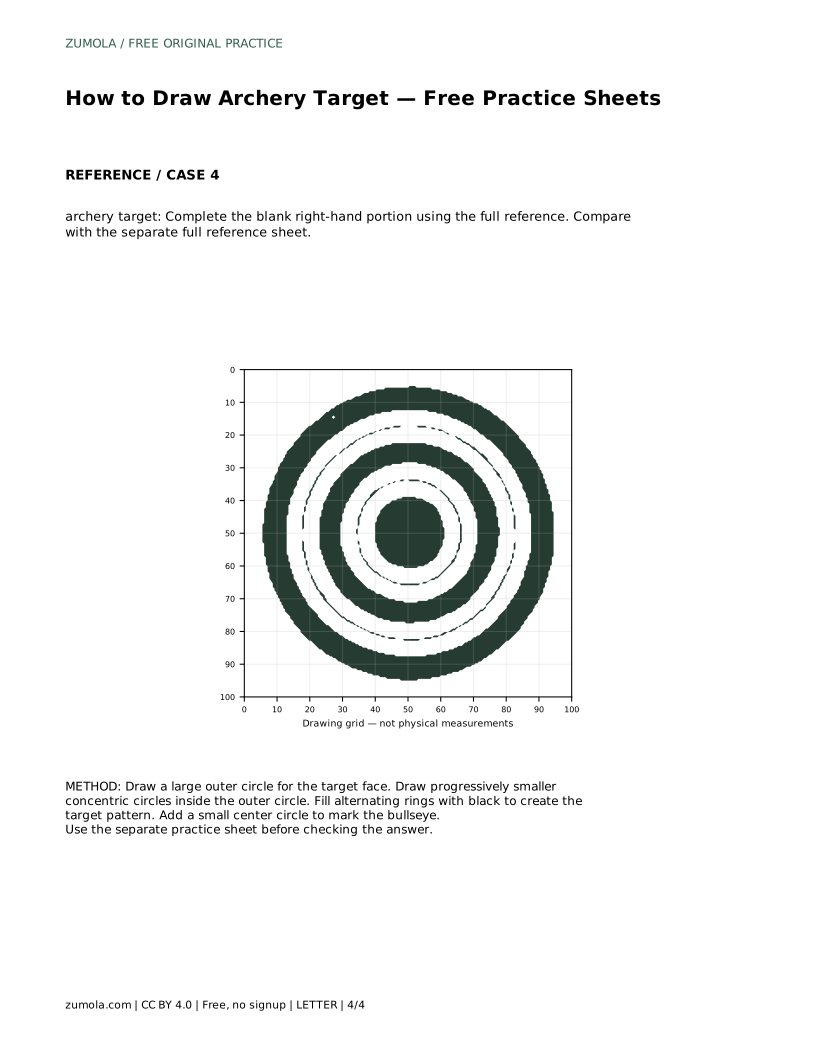
A4 · Download PDF
Free original resources
Learn to draw an archery target face with concentric circles, a centered bullseye, and alternating black and white rings. Includes tracing and grid practice guidance.
Four original cases, with reference diagrams, practice sheets and worked answers. Everything is free; no signup required.
LETTER · Download PDF
A4 · Download PDF
LETTER · Download PDF
A4 · Download PDF
LETTER · Download PDF
A4 · Download PDF
Use A4 or US Letter to match your printer. Use the stated values and conditions to solve each exercise; diagrams are not physical measuring rulers.
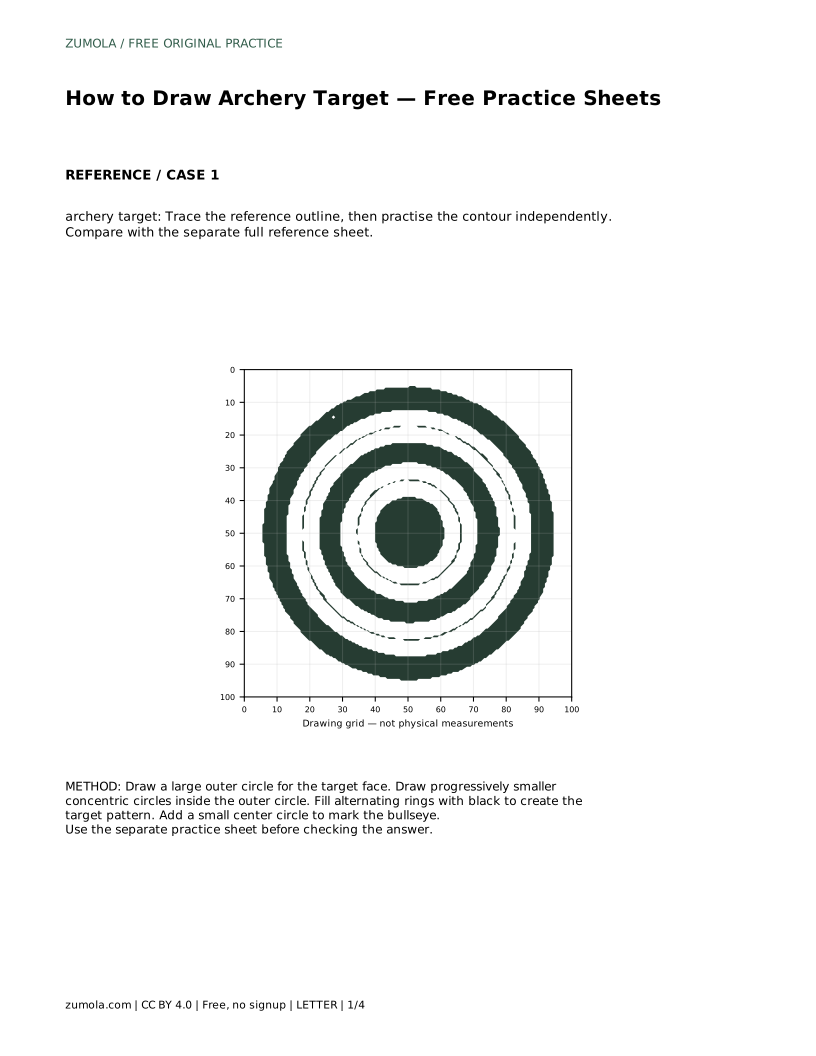
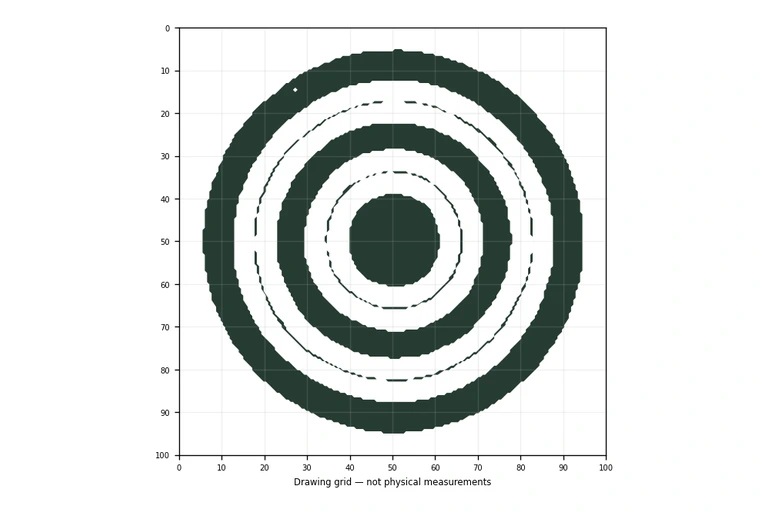
An archery target face is a set of circles that share one center point. Drawing one well depends on keeping every ring centered and spacing the rings evenly, not on copying a picture exactly. This page explains how to build the target from the outside in, how to check your work, and how to use tracing, grid, and partial-reference practice sheets to improve control.
Start with the largest circle, because it sets the size of everything inside. Mark a center point first, then draw the outer circle around it. A compass, a round object to trace, or a steady freehand sweep all work; the important thing is that the outer circle is closed and roughly round.
Next, draw smaller circles inside the outer one. Each new circle must share the same center point. If you move the center, the rings will look lopsided even when each circle is round on its own. Draw lightly at first so you can adjust spacing before committing to dark lines.
Finally, fill alternating rings with black so the pattern reads as a target. Leave the bullseye as a small circle at the center. The contrast between black and white rings is what makes the drawing recognizable, so keep the fills inside their ring boundaries.
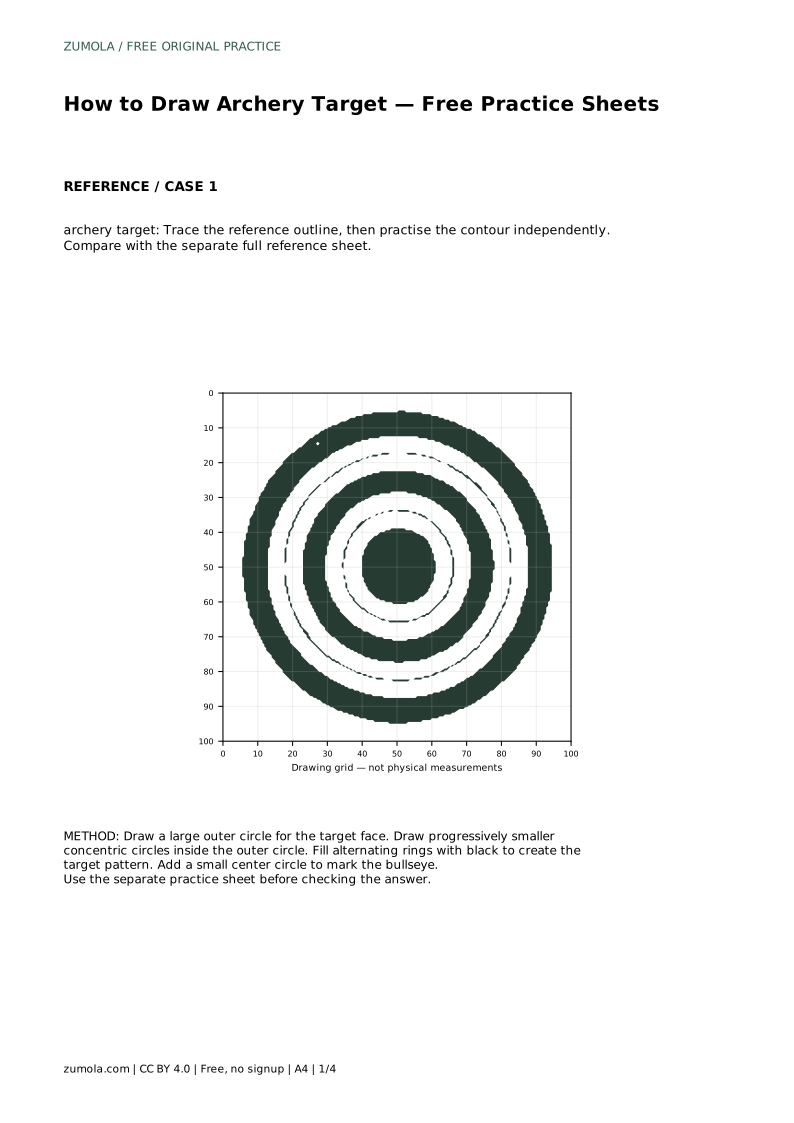
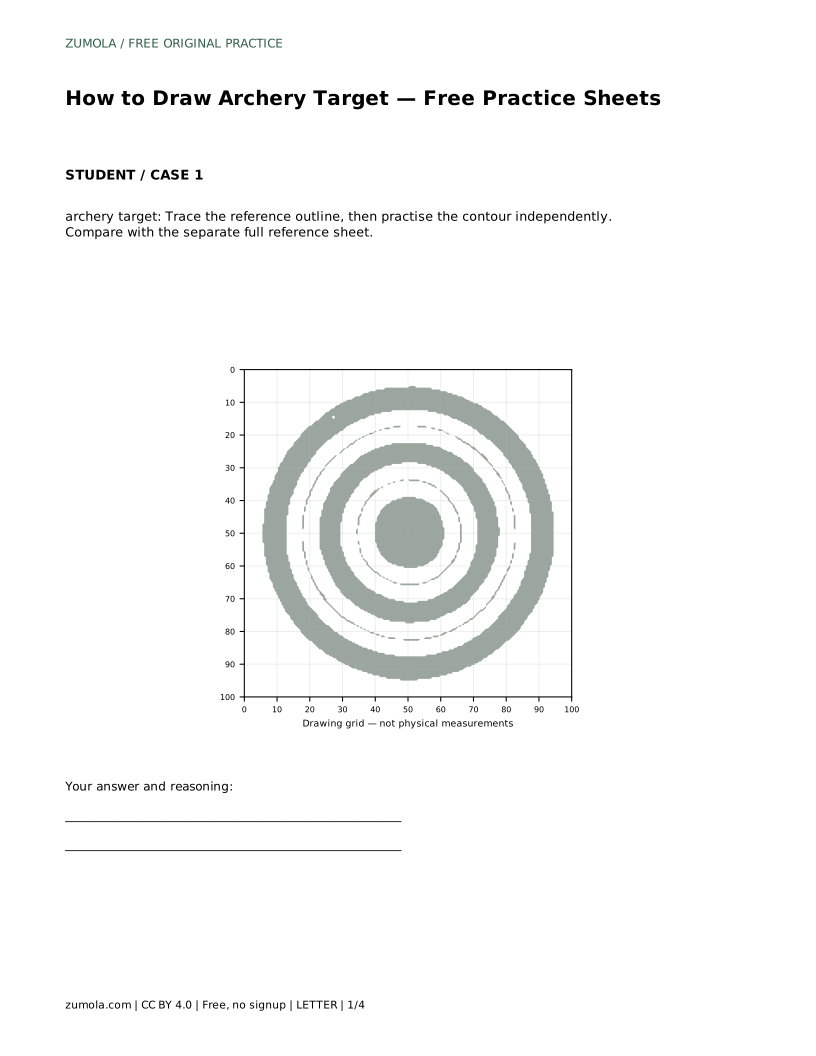
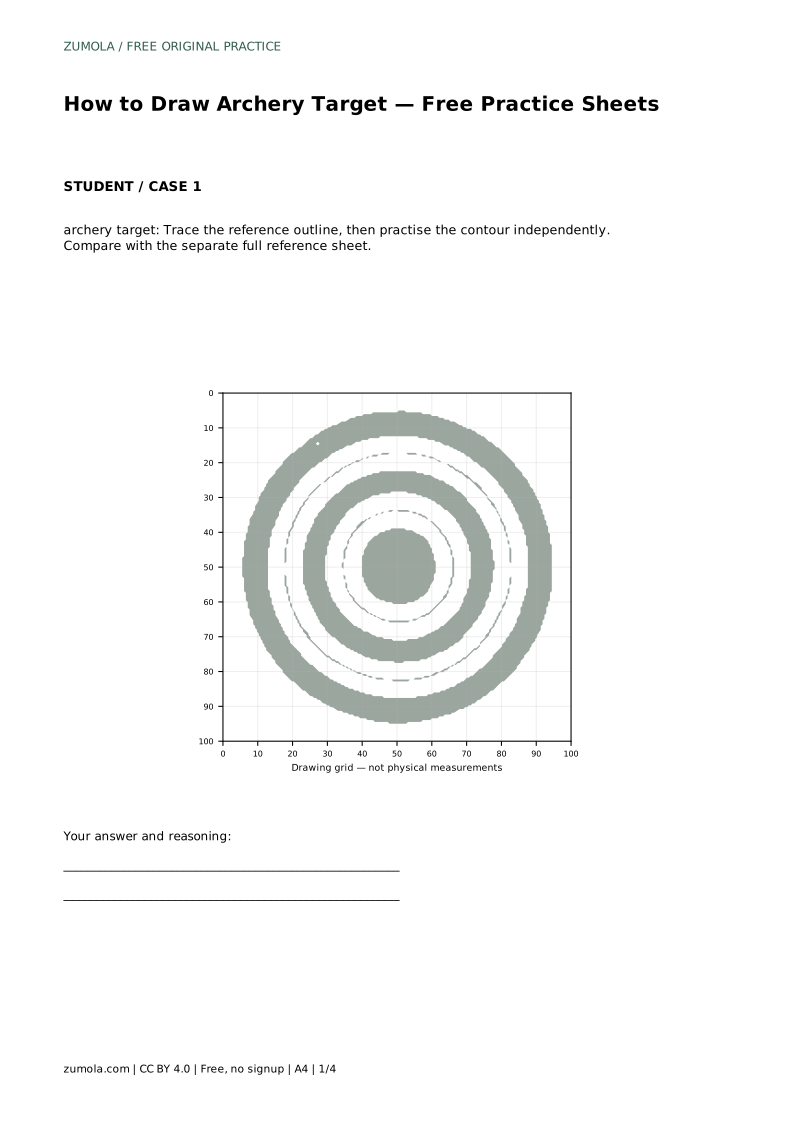
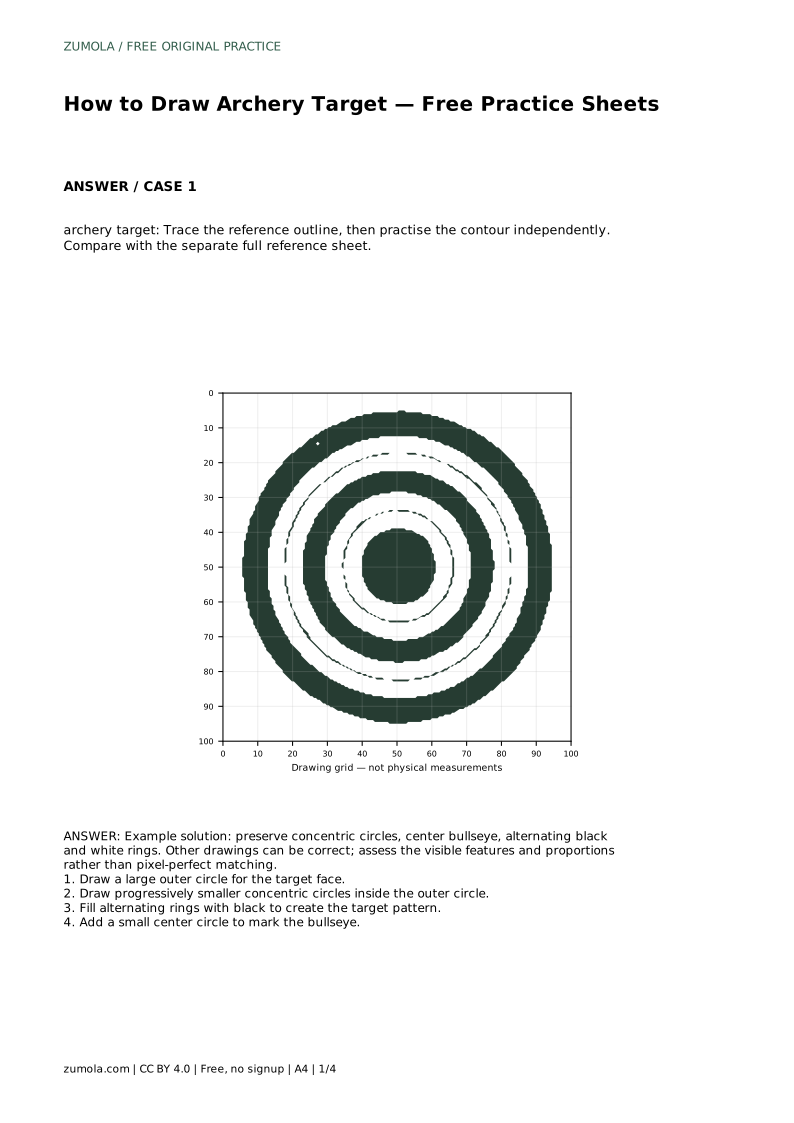
The tracing sheet asks you to follow the reference outline first, then draw the contour independently on the blank area. Compare your result with the separate full reference sheet rather than with your own traced line, so you are checking against the original shape.
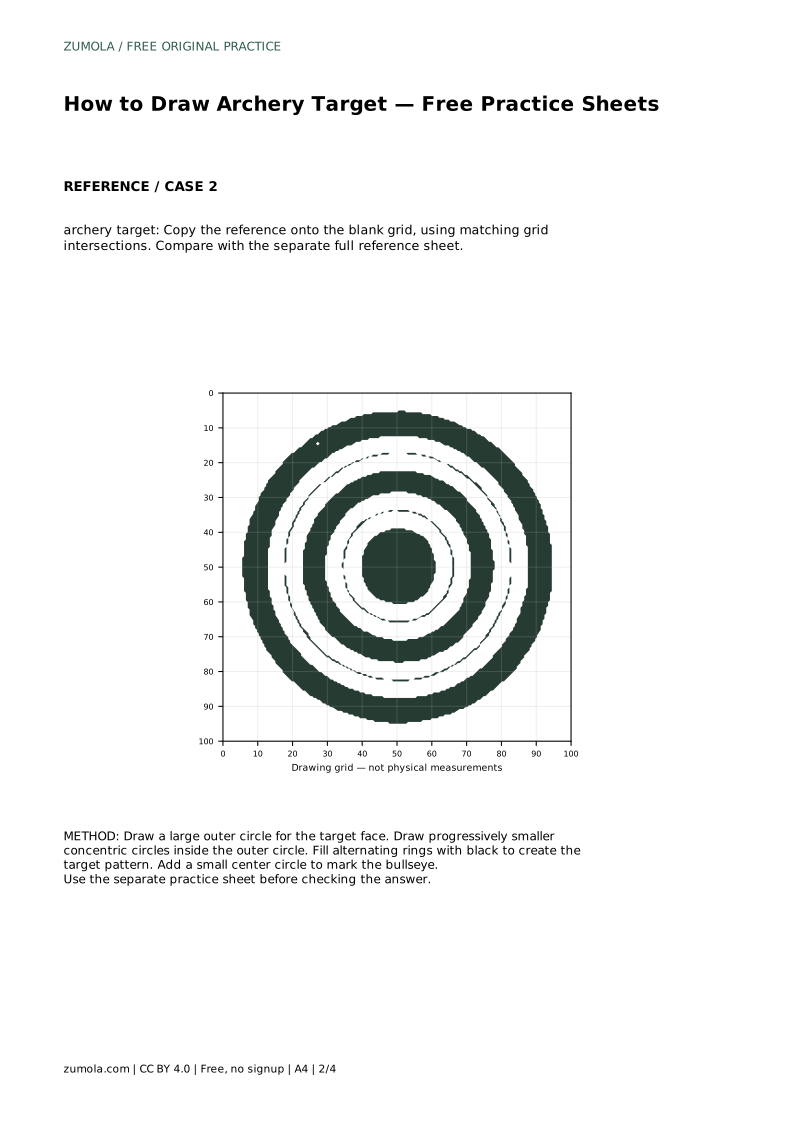
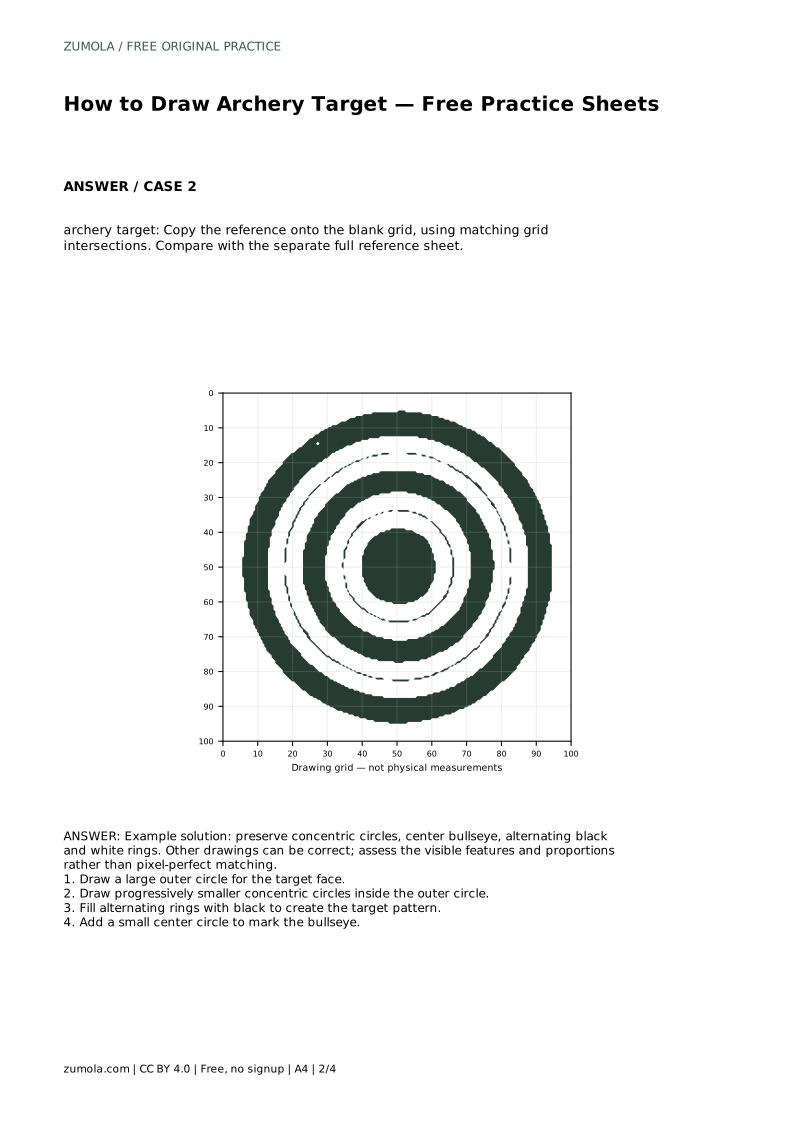
The grid sheet asks you to copy the reference onto a blank grid using matching grid intersections. Place the outer circle so its edges land near the same intersections as the reference, then work inward. The grid helps you judge where each ring sits relative to the others.
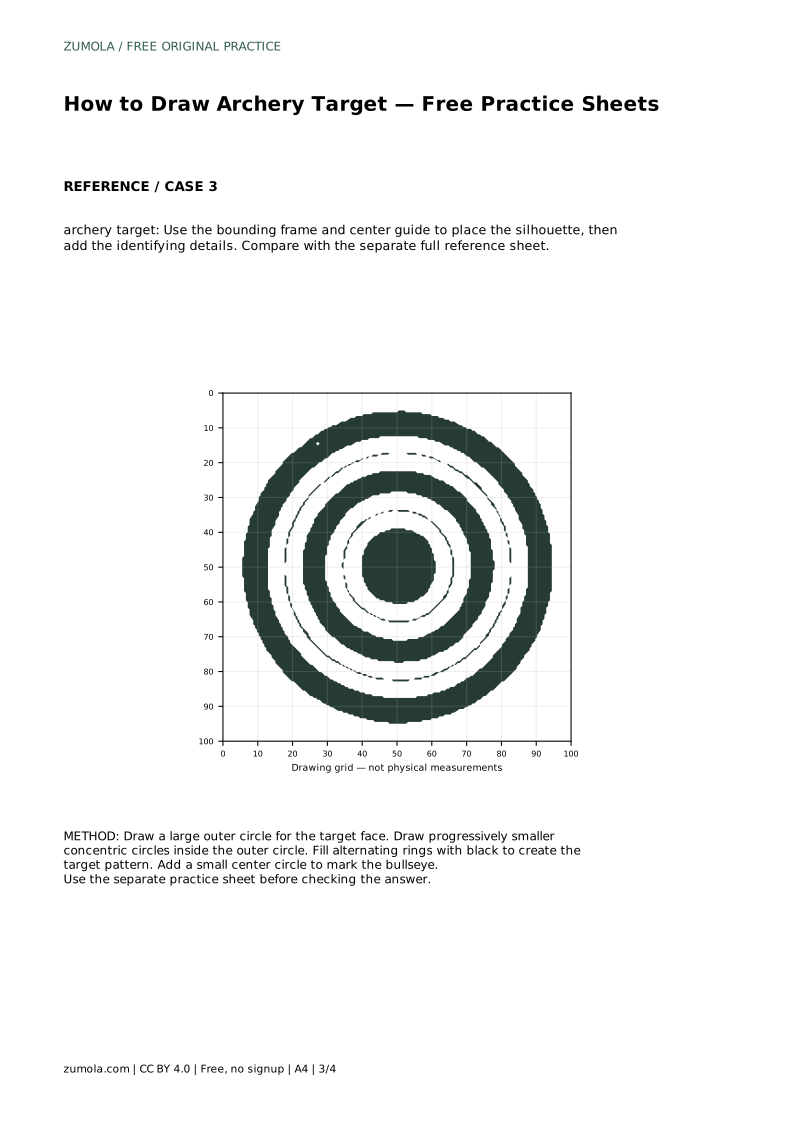
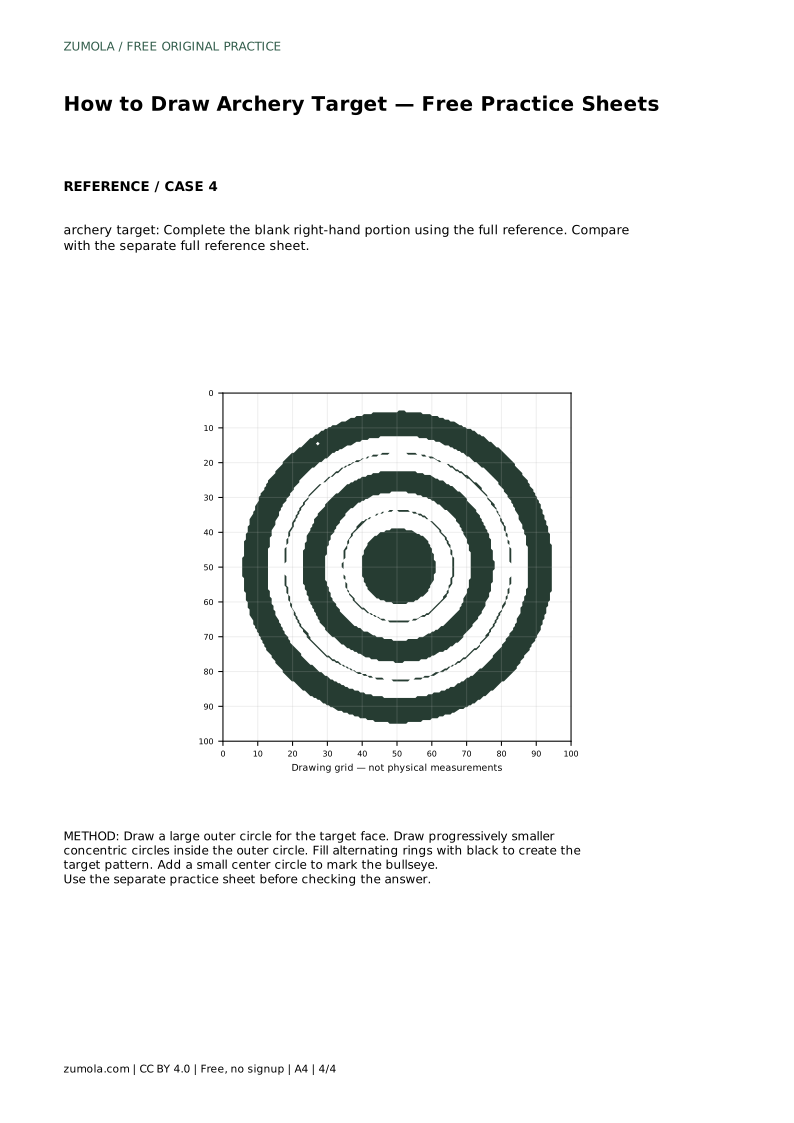
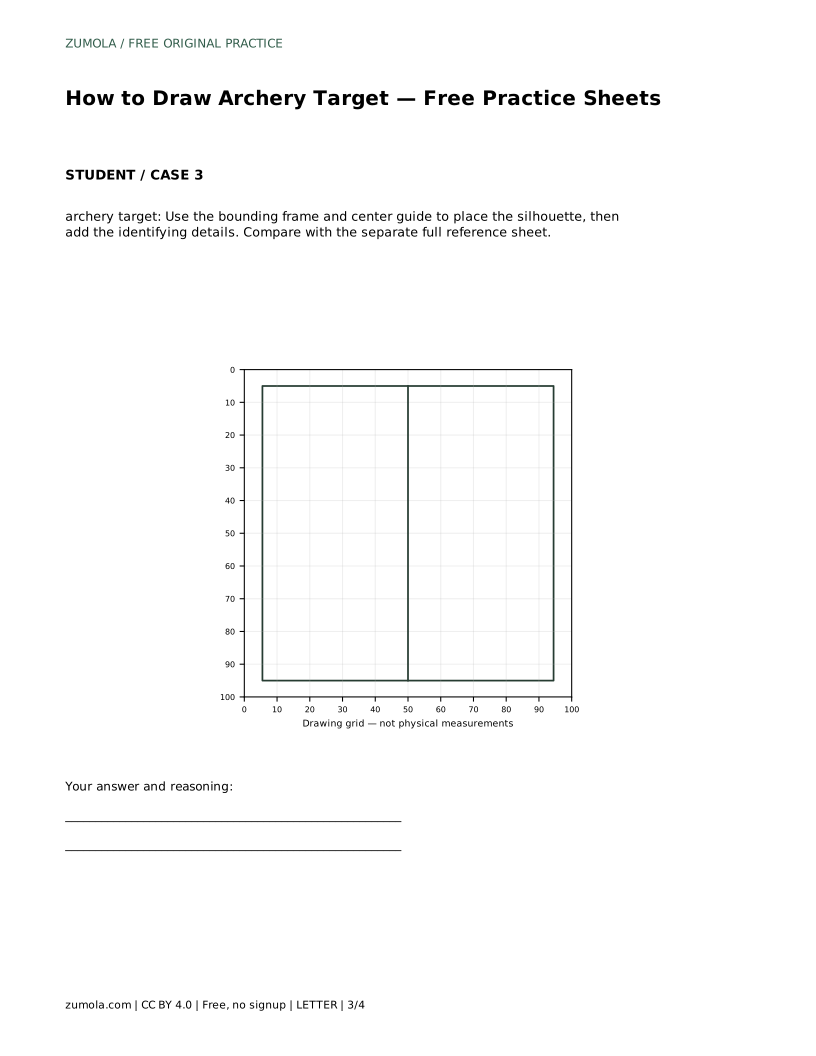
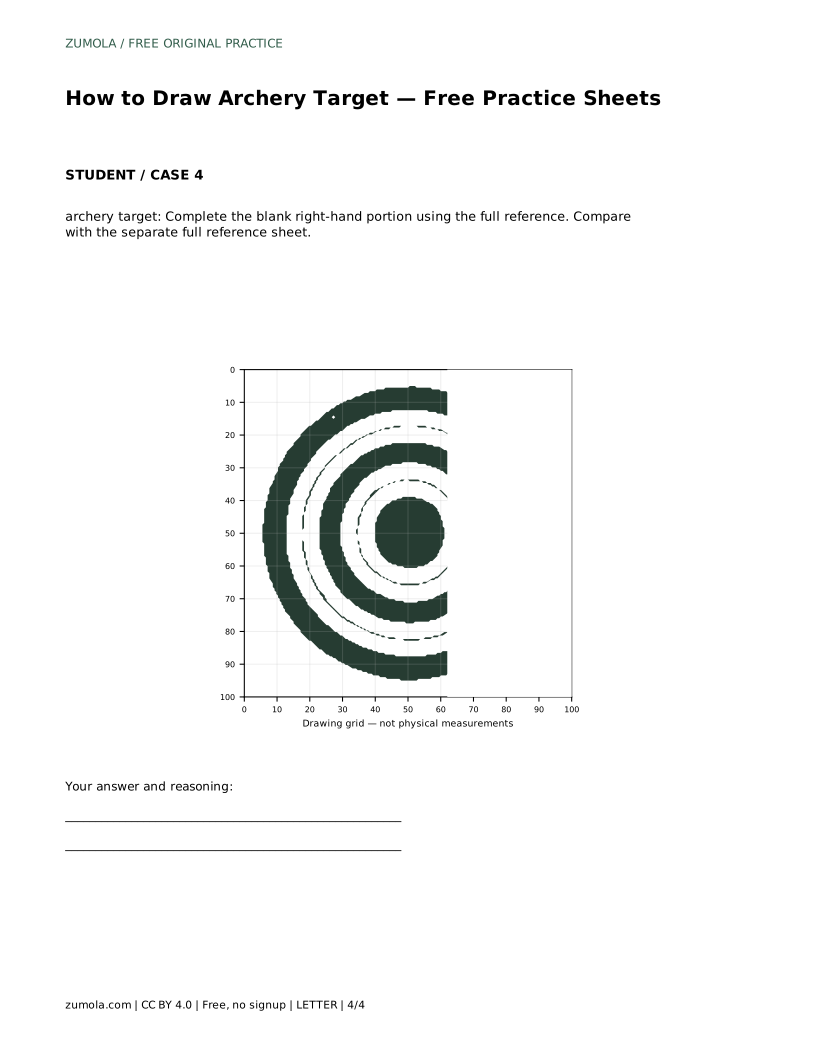
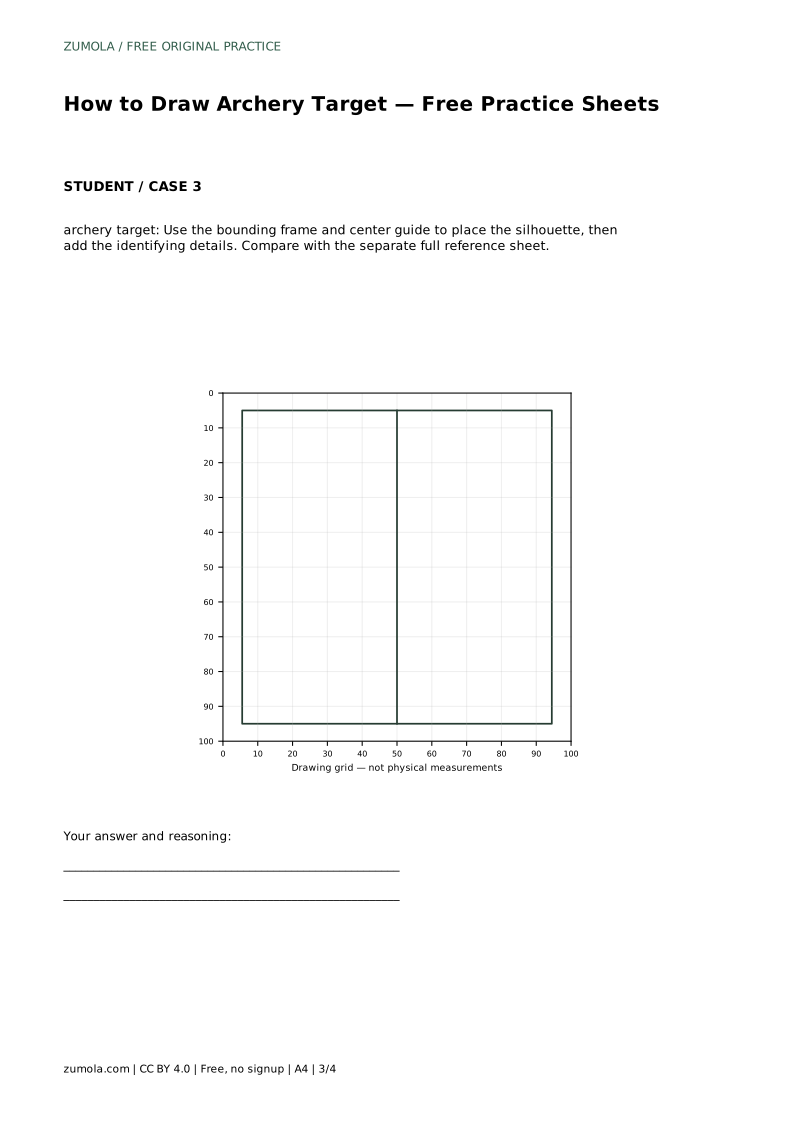
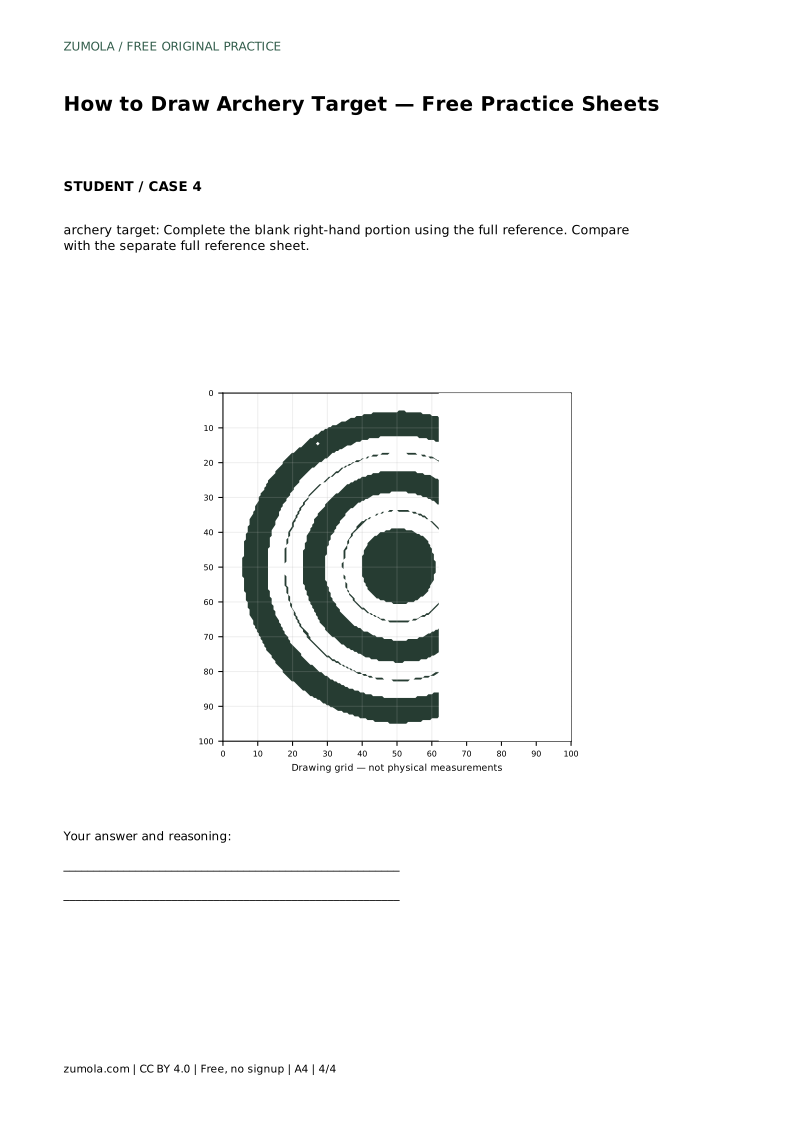
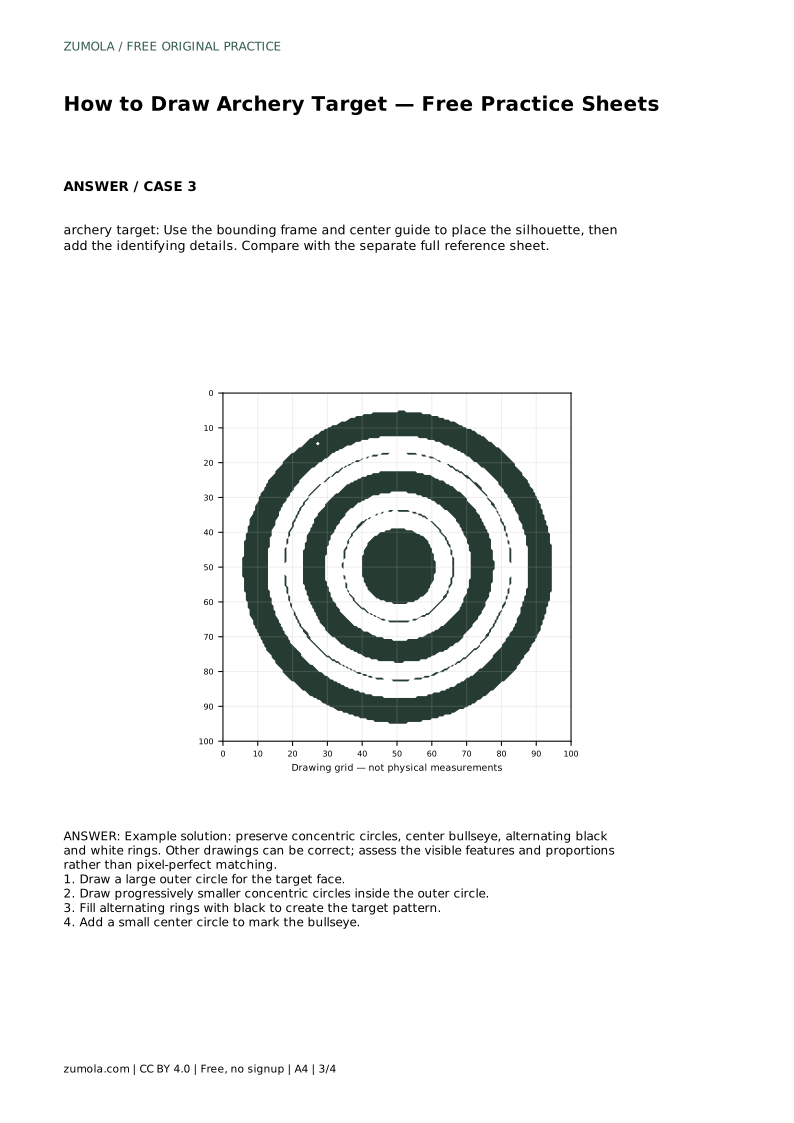
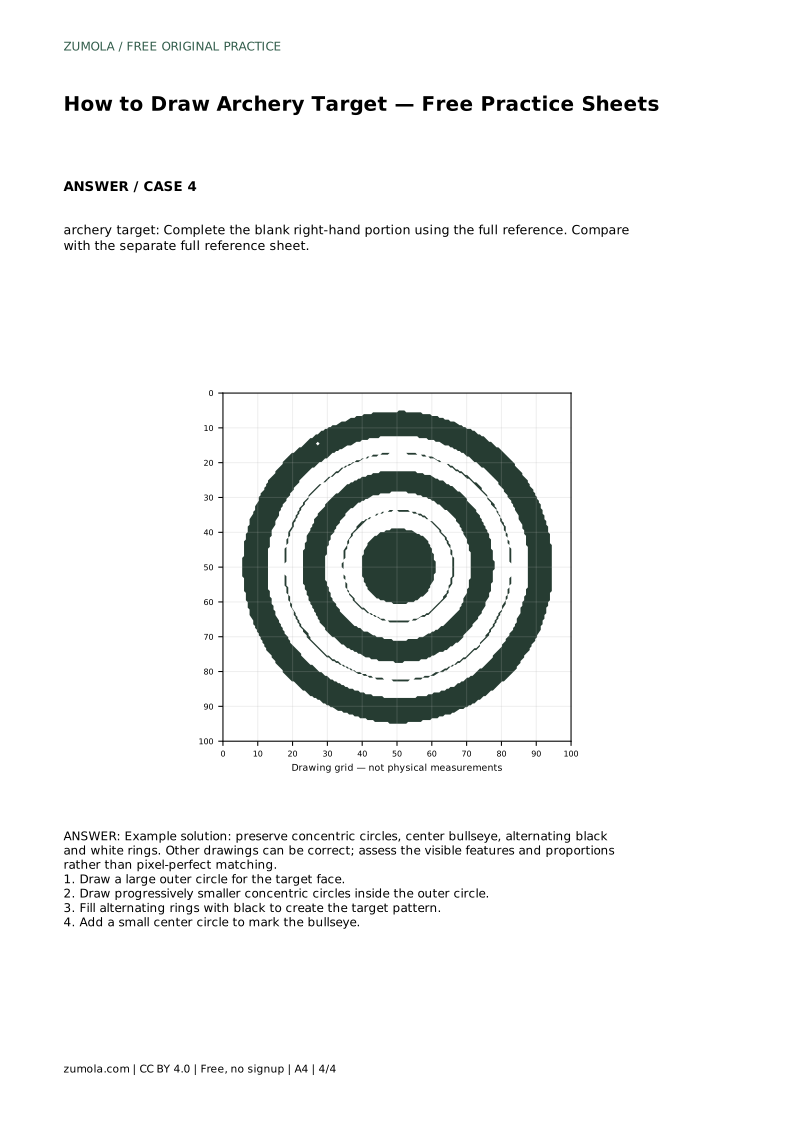
The bounding-frame sheet gives you a frame and a center guide. Use the frame to size the outer circle and the center guide to keep every ring concentric. The partial-reference sheet gives you the left portion; complete the right-hand portion by continuing the same ring spacing and fill pattern.
A correct drawing keeps the rings concentric, includes a center bullseye, and alternates black and white rings. Exact ring widths can vary between valid drawings, so judge the visible features and overall proportions rather than pixel-perfect matching.
To check centering, look across the target in two directions. The distance from the outer edge to the center should look the same on opposite sides. If one side looks thicker, the inner circles have drifted off center.
To check spacing, compare neighboring rings. Uneven gaps are the most common visible flaw. Redrawing lightly before filling gives you a chance to correct spacing without erasing dark marks.
Fill one ring at a time and stop at the boundary line. Keeping the fill inside the ring makes the alternating pattern clear. If a fill crosses into a neighboring ring, the target loses its readable structure.
Work around the circle rather than in one straight sweep, so the fill follows the curve. Leave the bullseye unfilled or fill it distinctly, but keep it small and centered so it reads as the target center.
archery target: Trace the reference outline, then practise the contour independently. Compare with the separate full reference sheet.
Example solution: preserve concentric circles, center bullseye, alternating black and white rings. Other drawings can be correct; assess the visible features and proportions rather than pixel-perfect matching. Draw a large outer circle for the target face. Draw progressively smaller concentric circles inside the outer circle. Fill alternating rings with black to create the target pattern. Add a small center circle to mark the bullseye.
No. Ring widths can vary between valid drawings. Check that the circles stay concentric, the bullseye is centered, and the black and white rings alternate.
Compare with the separate full reference sheet, not with your own traced line, so you are judging against the original shape.
Use it as the shared center for every circle, starting with the outer circle sized to the bounding frame.
All drawing practice · Free coordinate paper
Original resources · CC BY 4.0 · Free for personal and classroom use with attribution.