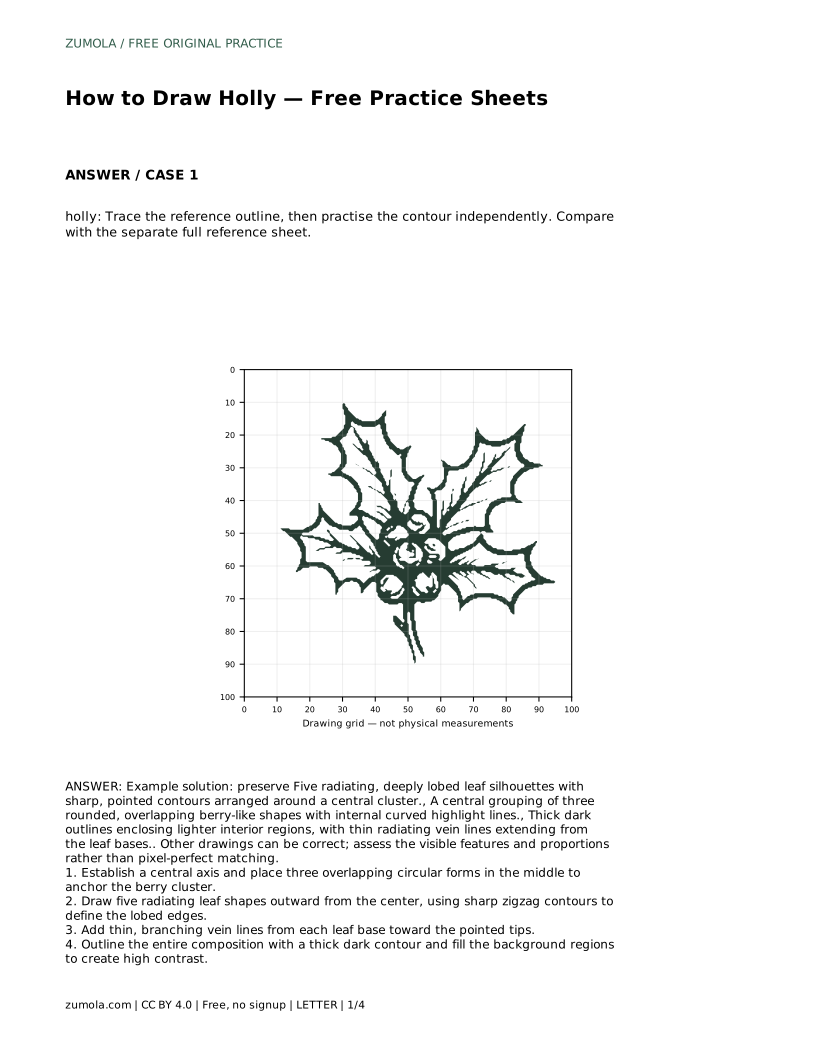
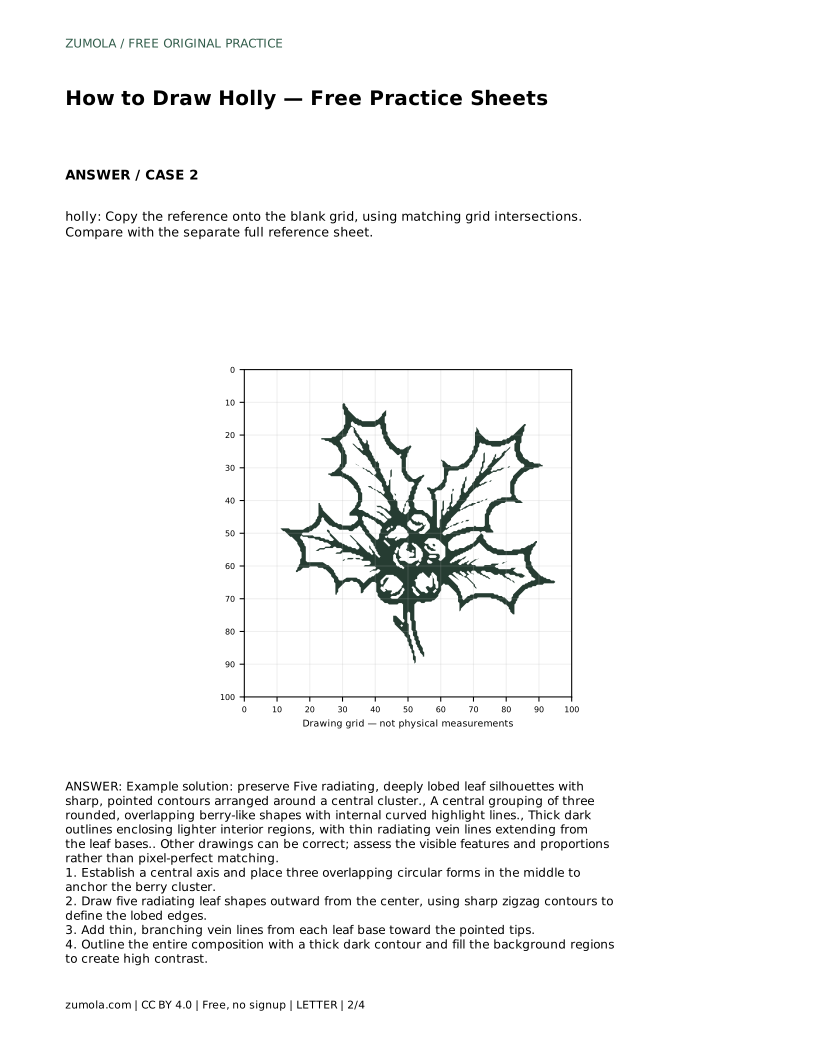
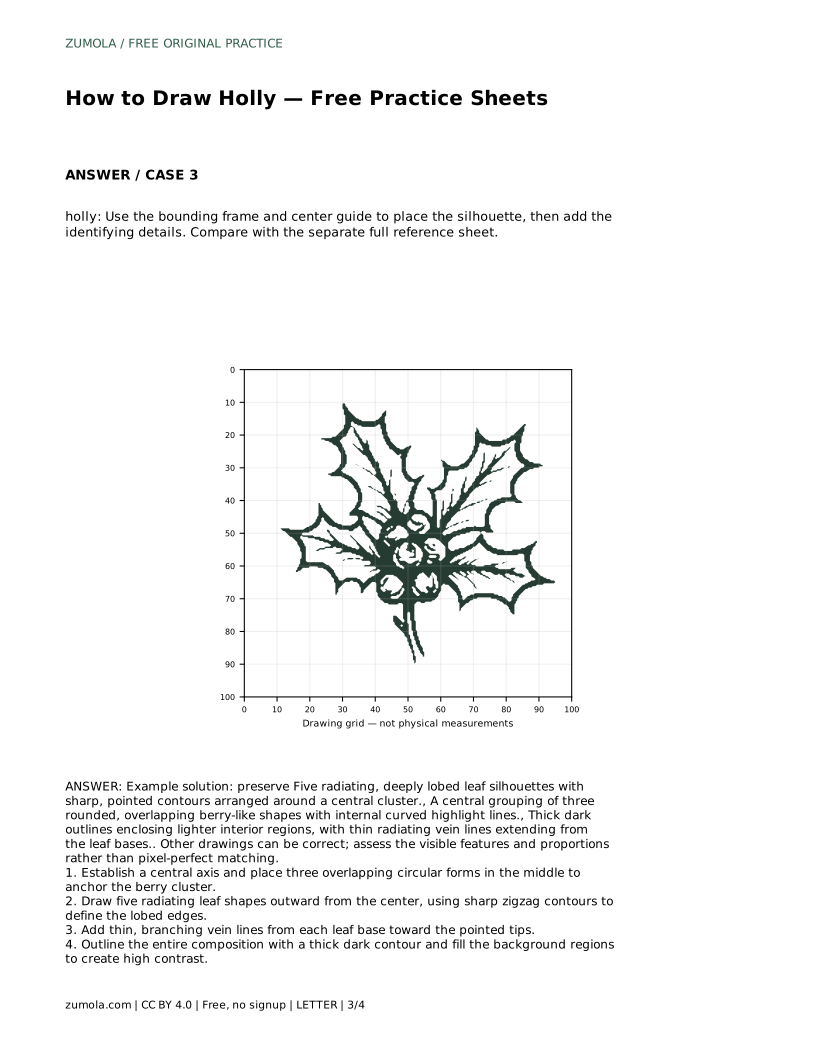
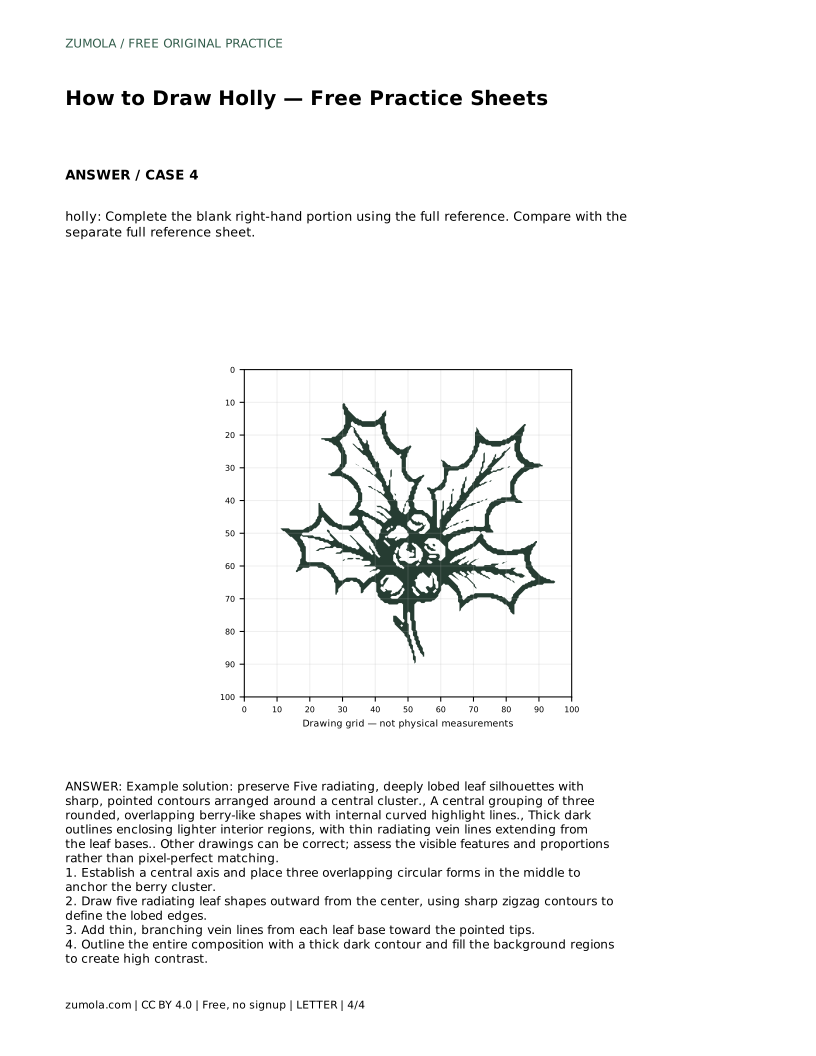
Reference diagrams
LETTER · Download PDF
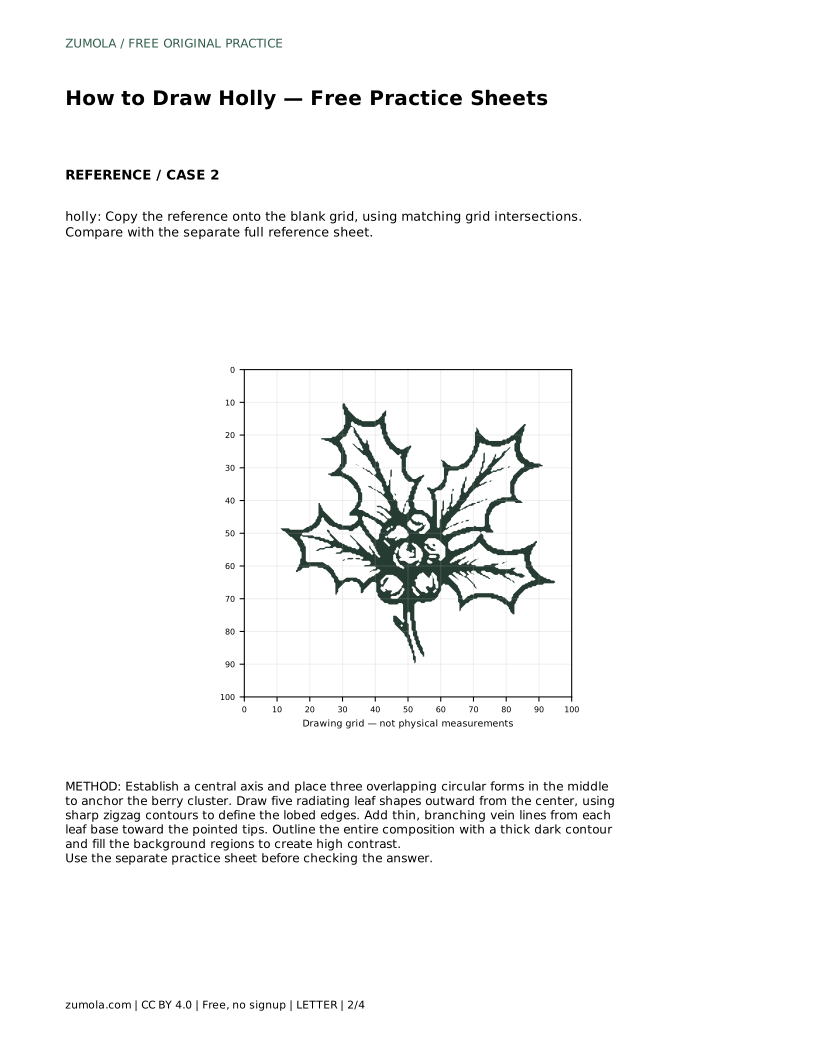
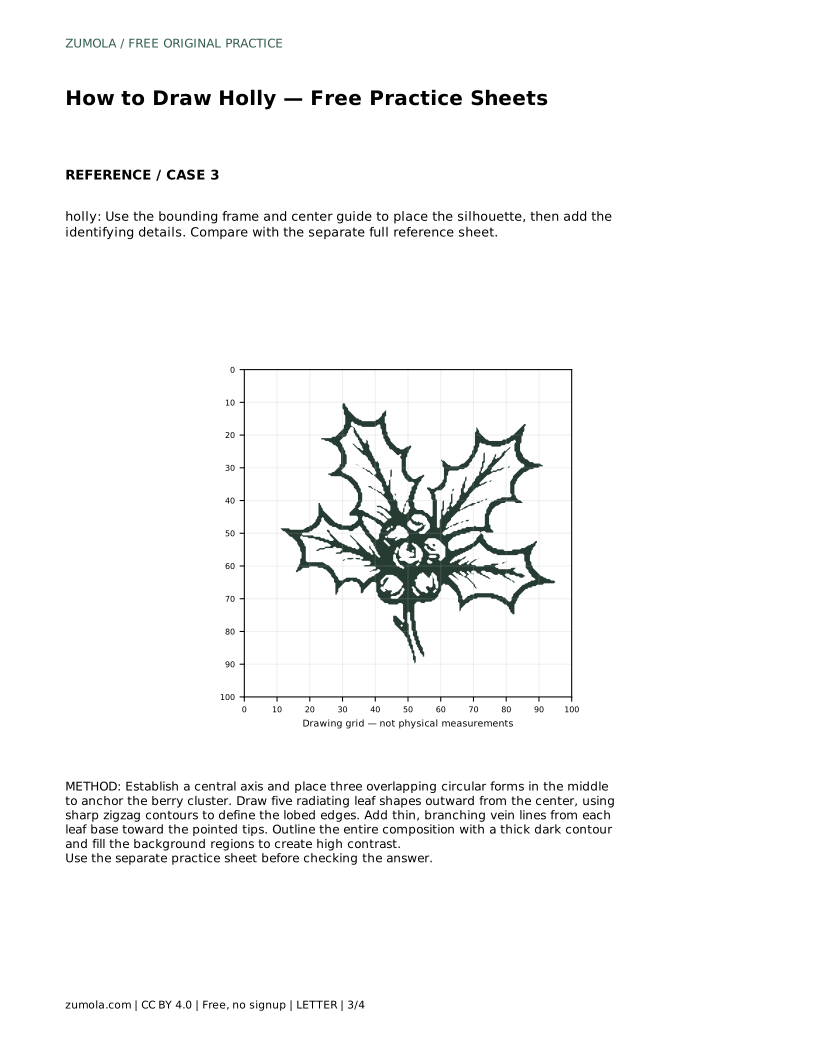
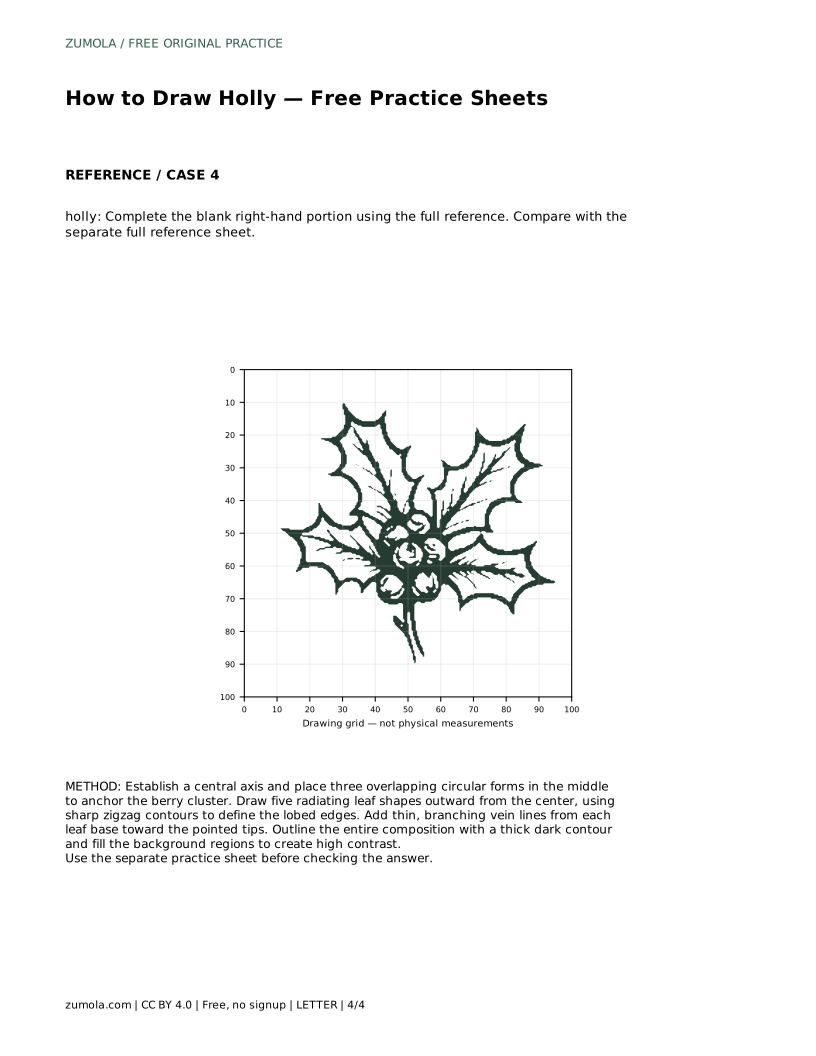
A4 · Download PDF
Free original resources
Learn to draw holly by placing a central berry cluster, building five lobed leaves with pointed tips, adding veins, and finishing with a bold outline.
Four original cases, with reference diagrams, practice sheets and worked answers. Everything is free; no signup required.
LETTER · Download PDF
A4 · Download PDF
LETTER · Download PDF
A4 · Download PDF
LETTER · Download PDF
A4 · Download PDF
Use A4 or US Letter to match your printer. Use the stated values and conditions to solve each exercise; diagrams are not physical measuring rulers.
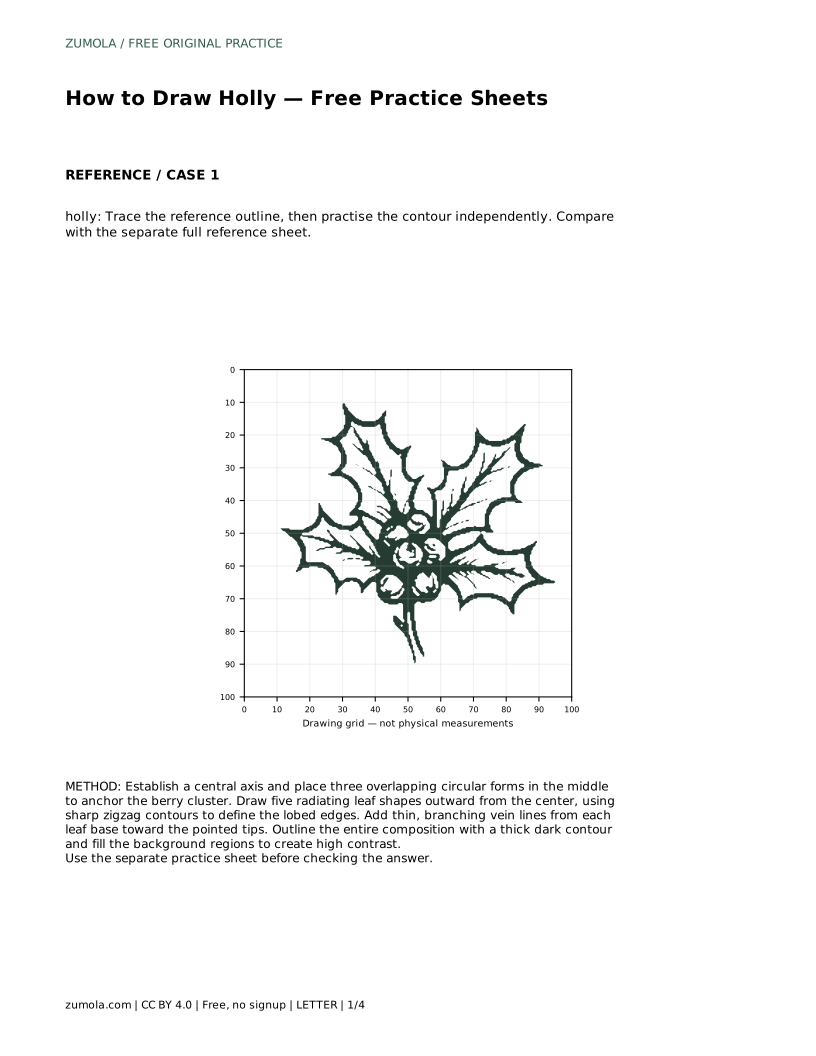
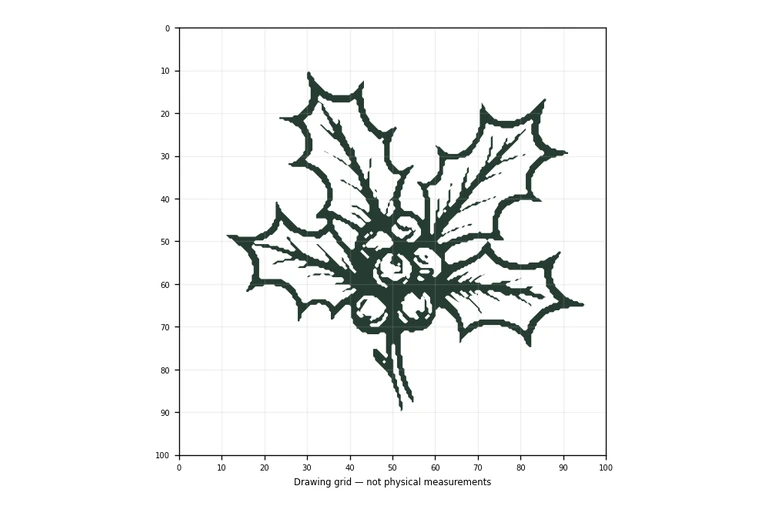
Holly is a compact drawing built from a few clear shapes: a central cluster of berries and five radiating leaves with sharp, lobed edges. This page explains how to place those parts in order, how to keep the leaves balanced around the center, and how to finish with veins and a strong outline. The practice sheets let you trace, copy onto a grid, or complete a partial drawing, then compare your work with the full reference.
Begin by finding the middle of your page or frame and marking a light central axis. The berries sit at the heart of the composition, so their position controls where the leaves can go. Draw three overlapping circles around that axis, keeping them close together rather than spread apart. Overlap matters: each berry should partly cover the one beside it, which makes the cluster read as one grouped form instead of three separate dots.
Keep the circles rounded and similar in size. If one berry grows much larger than the others, the cluster will pull the eye away from the leaves. Add a short curved line inside each berry later as a highlight; for now, the circles alone are enough to anchor the drawing.
From the berry cluster, draw five leaf shapes spreading outward like spokes. Each leaf begins near the center and extends toward the edge of the frame. Give every leaf a sharp zigzag contour so the edges read as deep lobes ending in points. The pointed tips are the feature that makes holly recognizable, so avoid soft, rounded leaf edges.
Balance the leaves around the cluster rather than bunching them on one side. Vary the length slightly so the arrangement looks natural, but keep the overall spread even. If you are copying onto a grid, use matching intersections to judge where each leaf base and tip belongs before drawing the lobed edge between them.
Inside each leaf, draw thin lines that branch from the base toward the pointed tip. A single central vein with a few shorter side veins is enough; too many lines will clutter the small leaf area. Keep these vein lines lighter than the outer contour so the leaf shape stays dominant.
Finish by outlining the whole composition with a thick dark contour. Fill the background regions to create high contrast between the holly and the space around it. Leave the interiors of the leaves and berries lighter so the thin veins and highlight curves remain visible. Work from the outer edge inward so the bold outline stays clean.
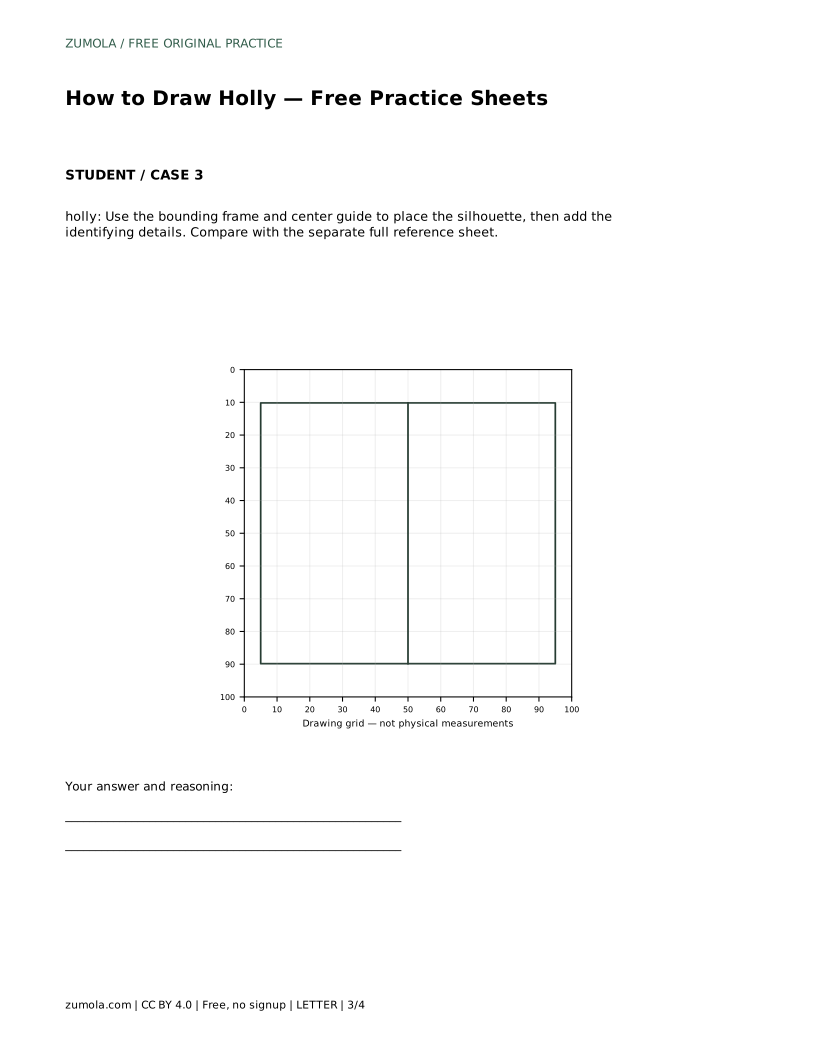
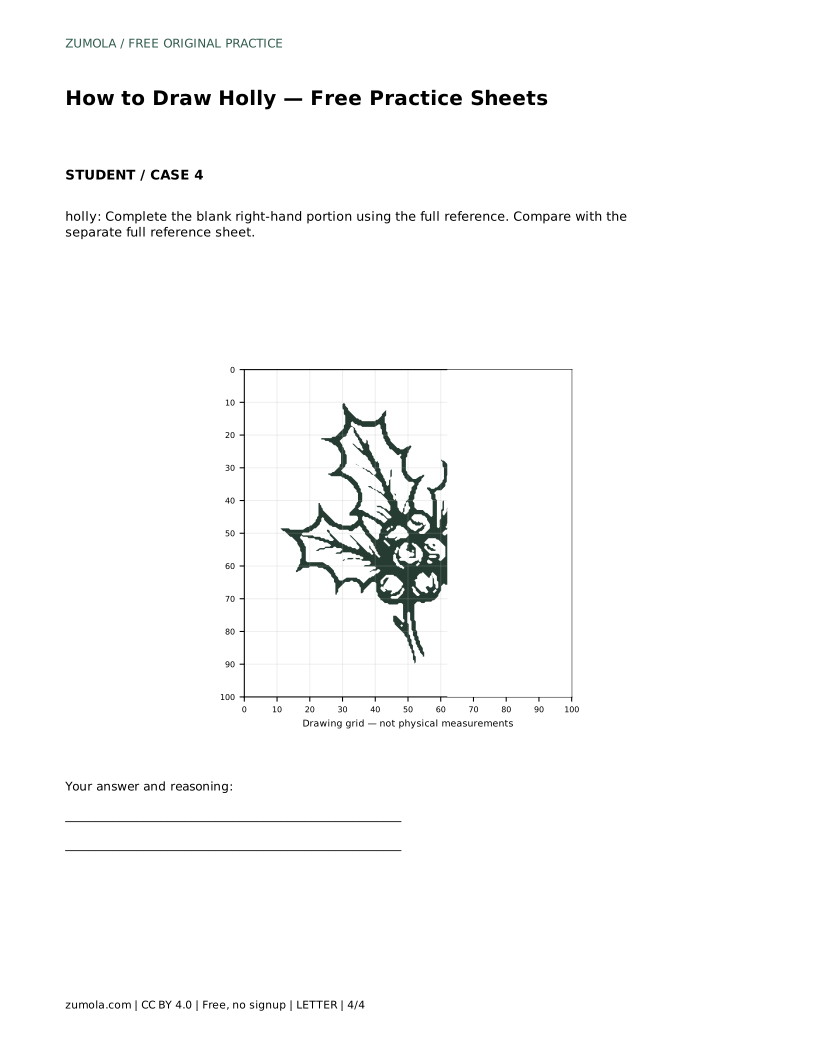
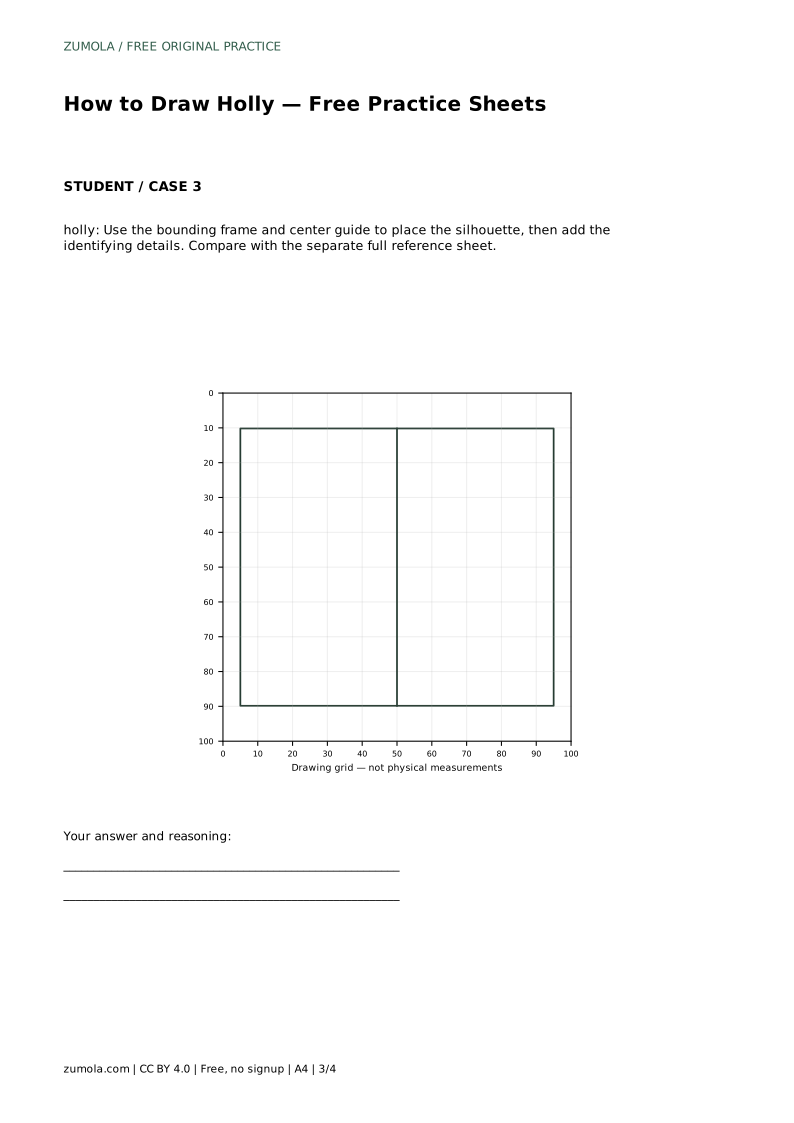
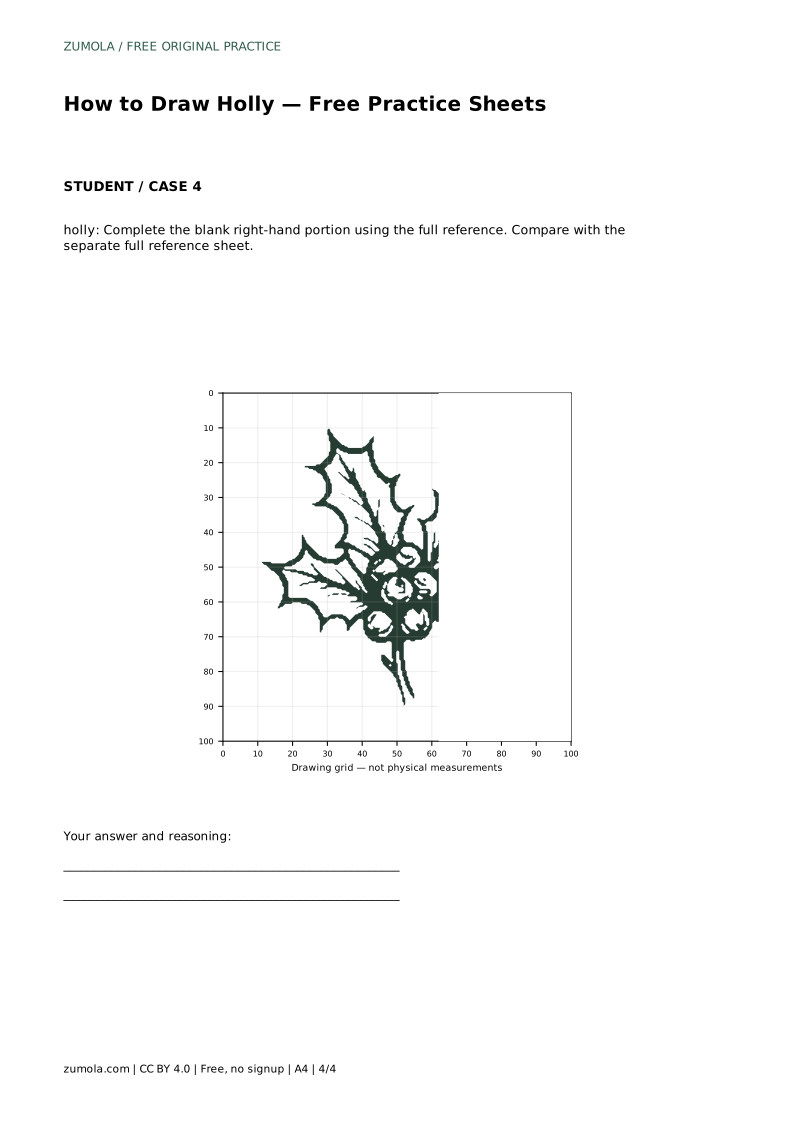
The sheets offer different levels of support. Tracing the reference outline helps you feel the lobed contours and the spacing of the five leaves. Copying onto a blank grid asks you to judge positions by matching intersections. The bounding frame and center guide version helps you place the silhouette before adding details, and the partial sheet asks you to complete the missing portion from the full reference.
After each attempt, compare your drawing with the separate full reference sheet. Check the number of leaves, the pointed tips, the overlapping berries, the vein lines, and the bold outline. Drawings will differ in small ways, and that is fine; judge the visible features and proportions rather than expecting an exact match.
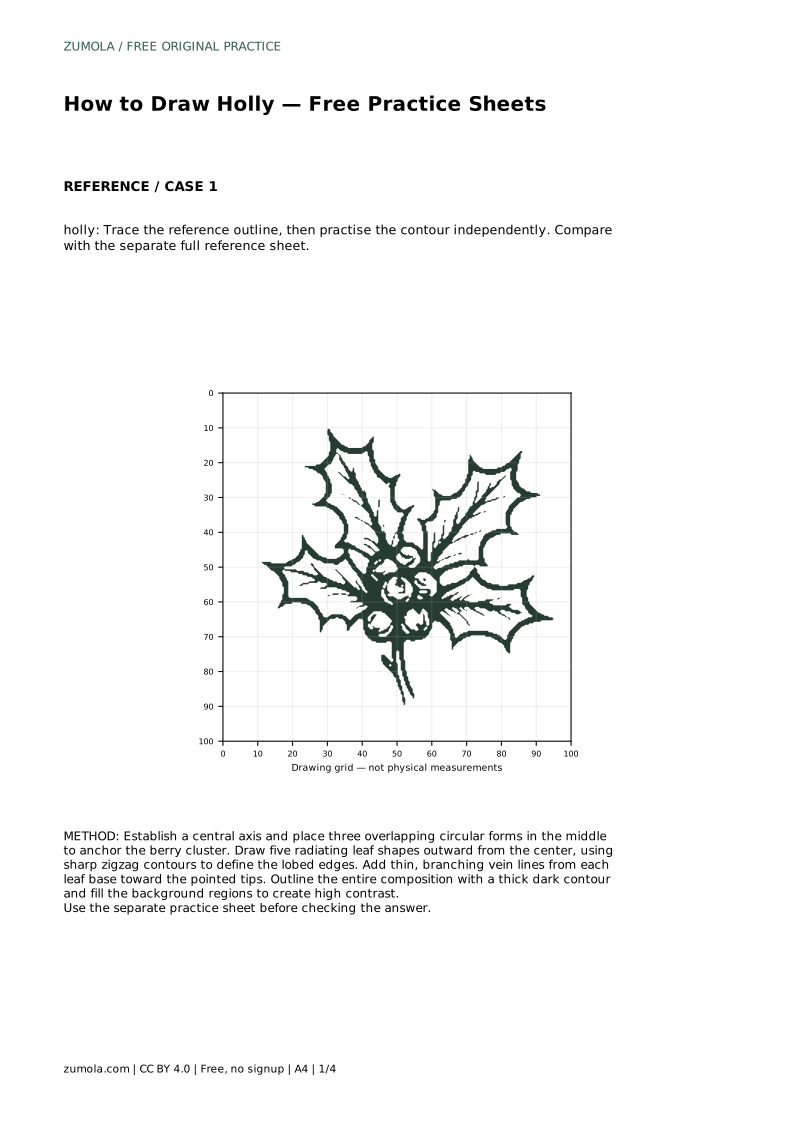
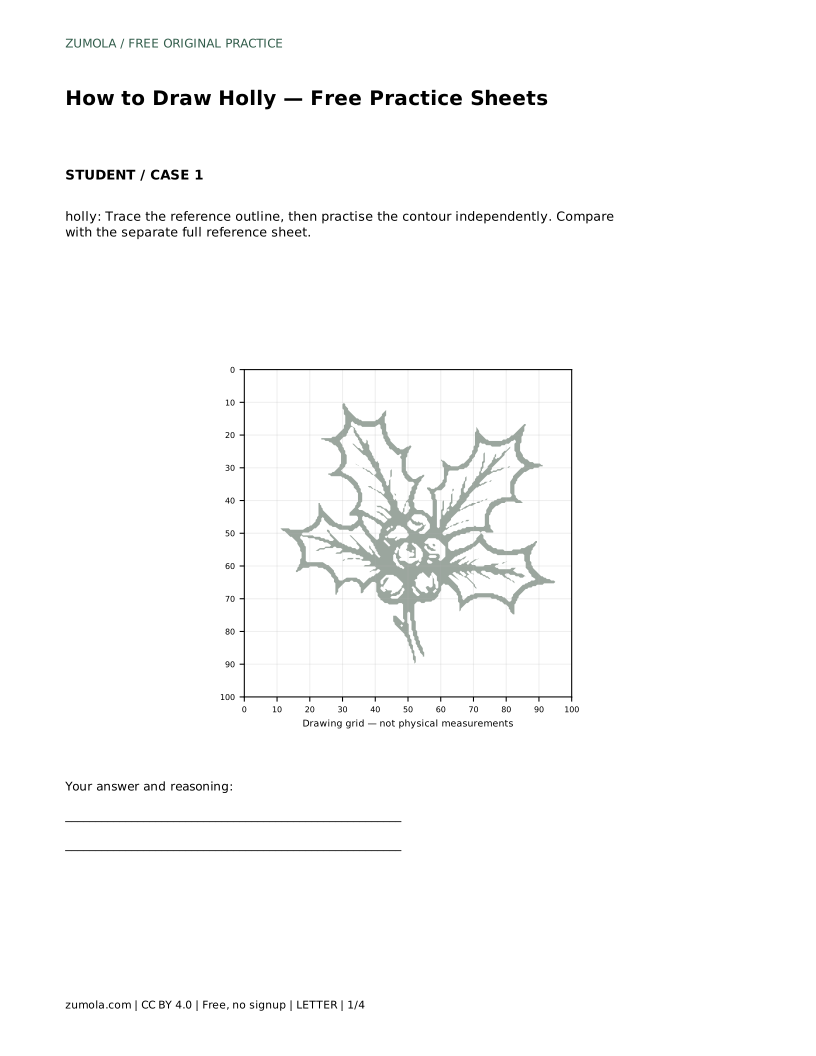
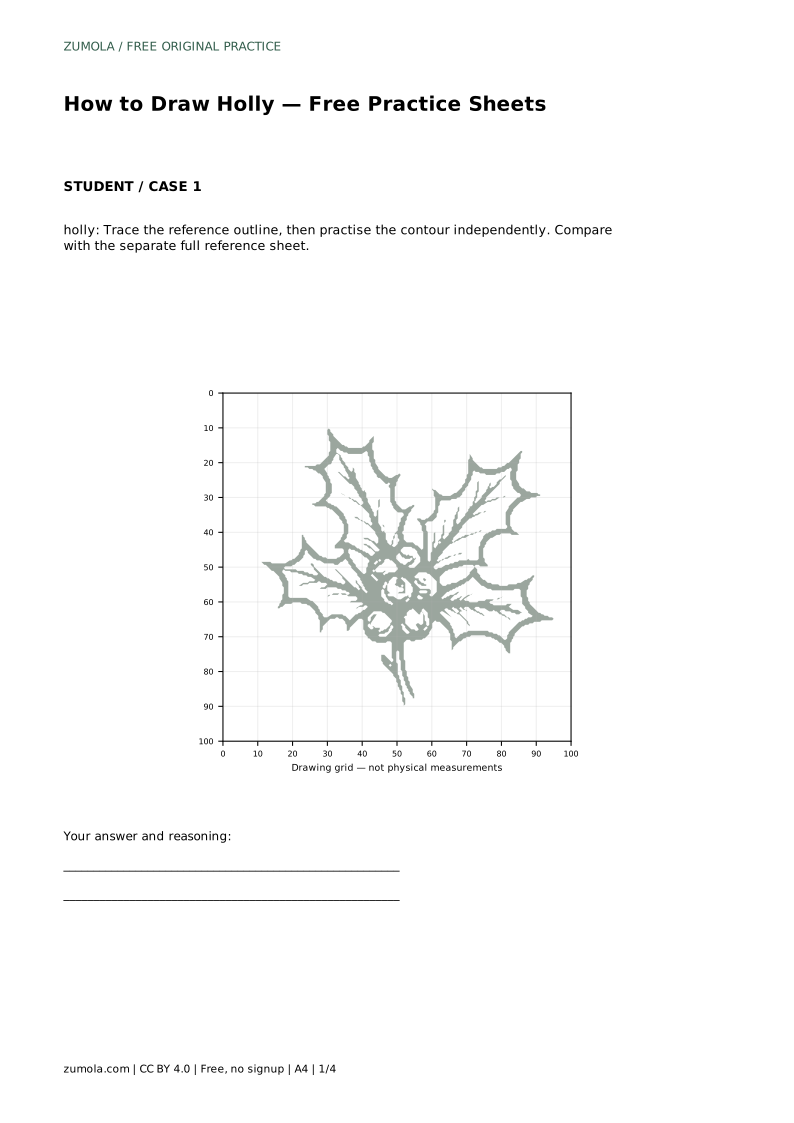
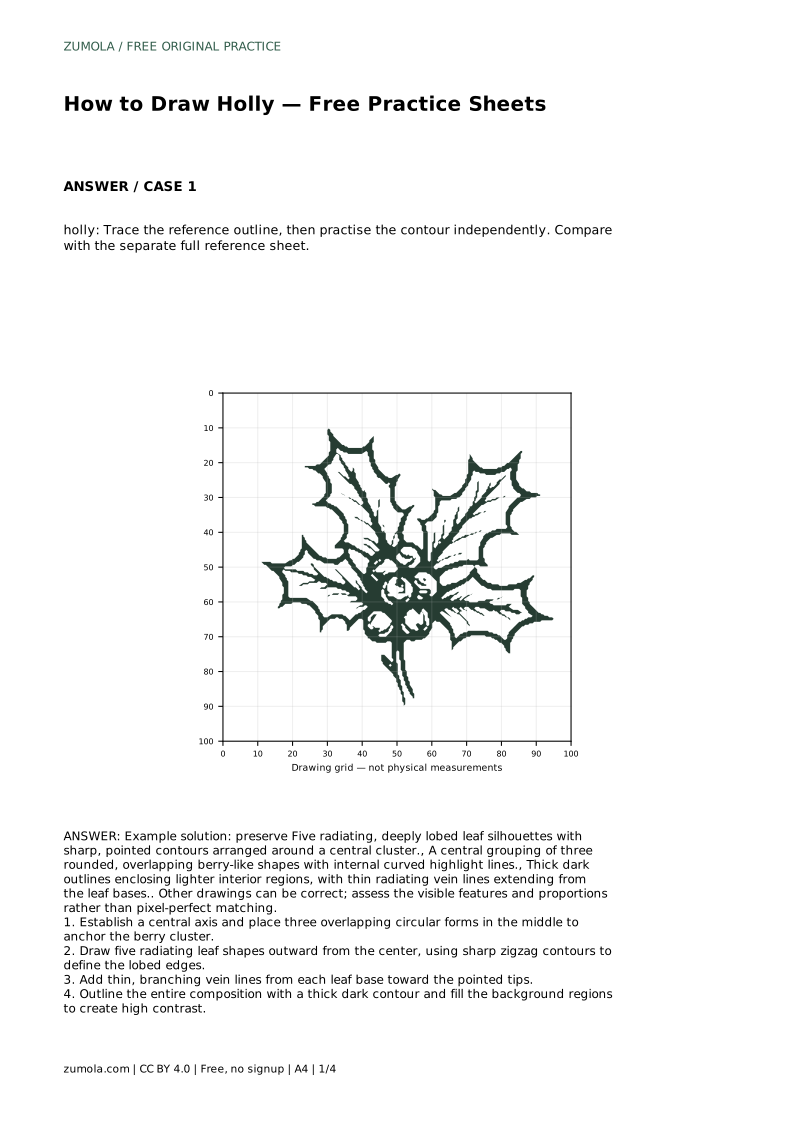
holly: Trace the reference outline, then practise the contour independently. Compare with the separate full reference sheet.
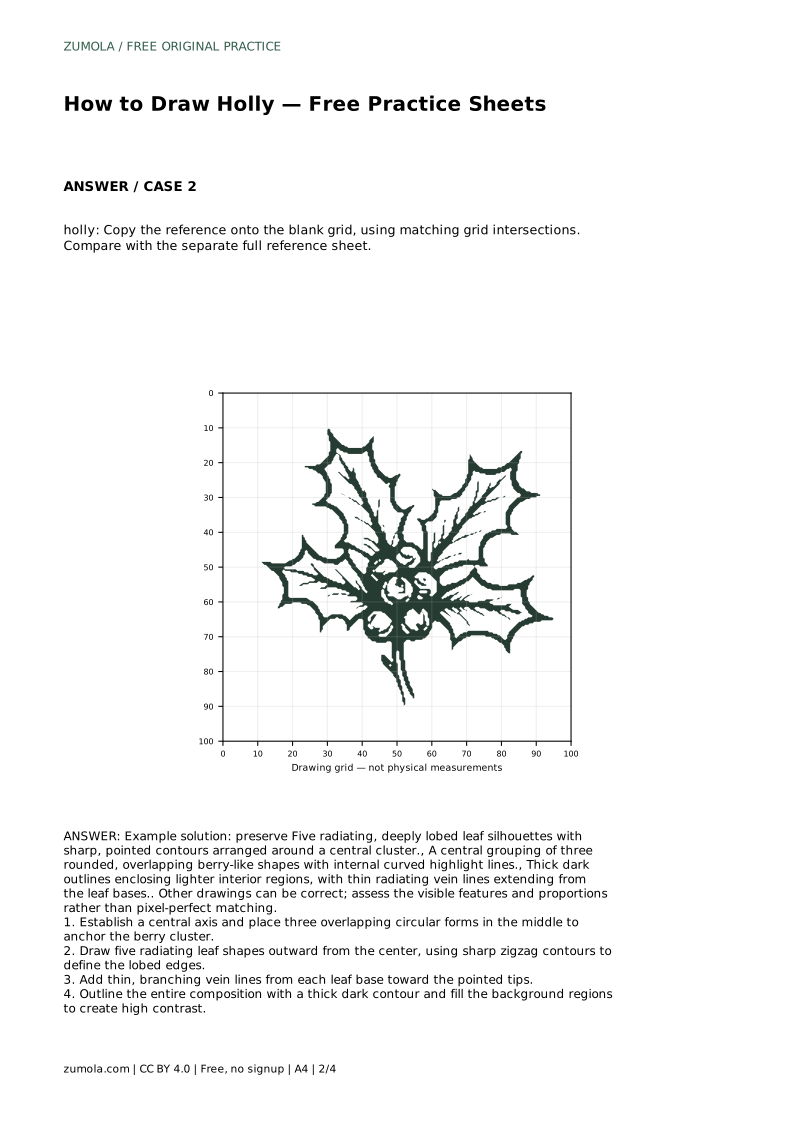
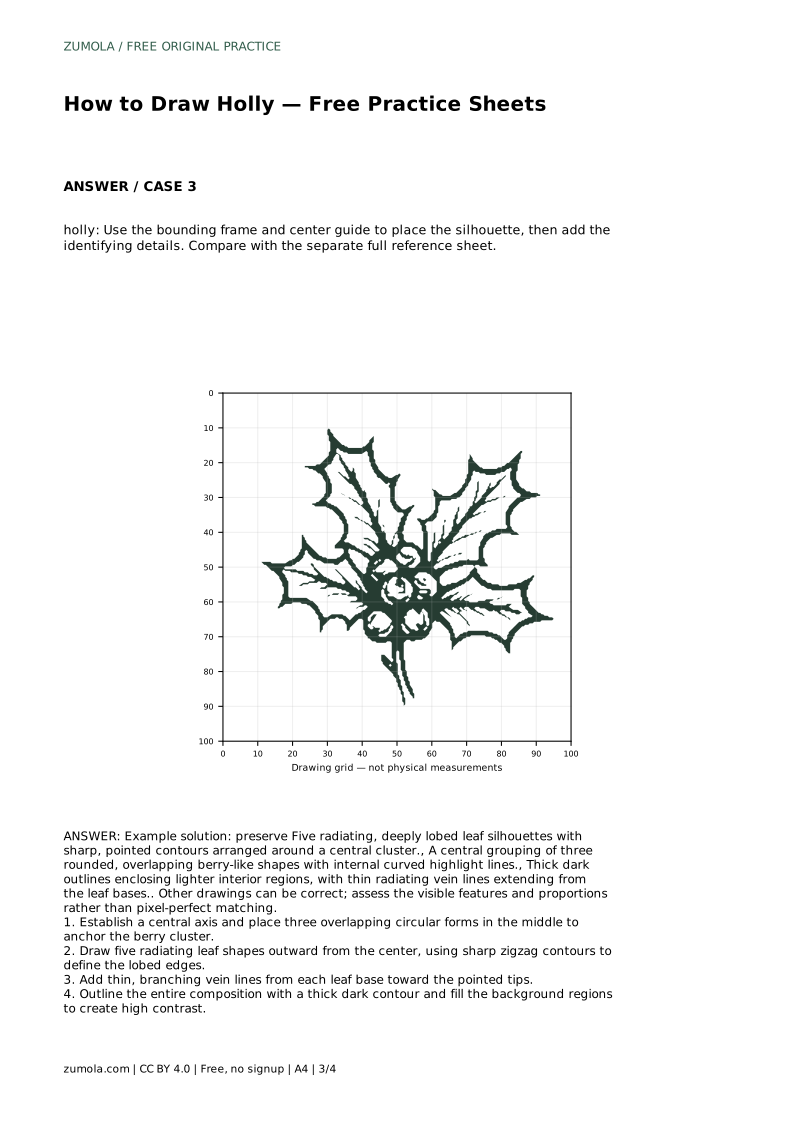
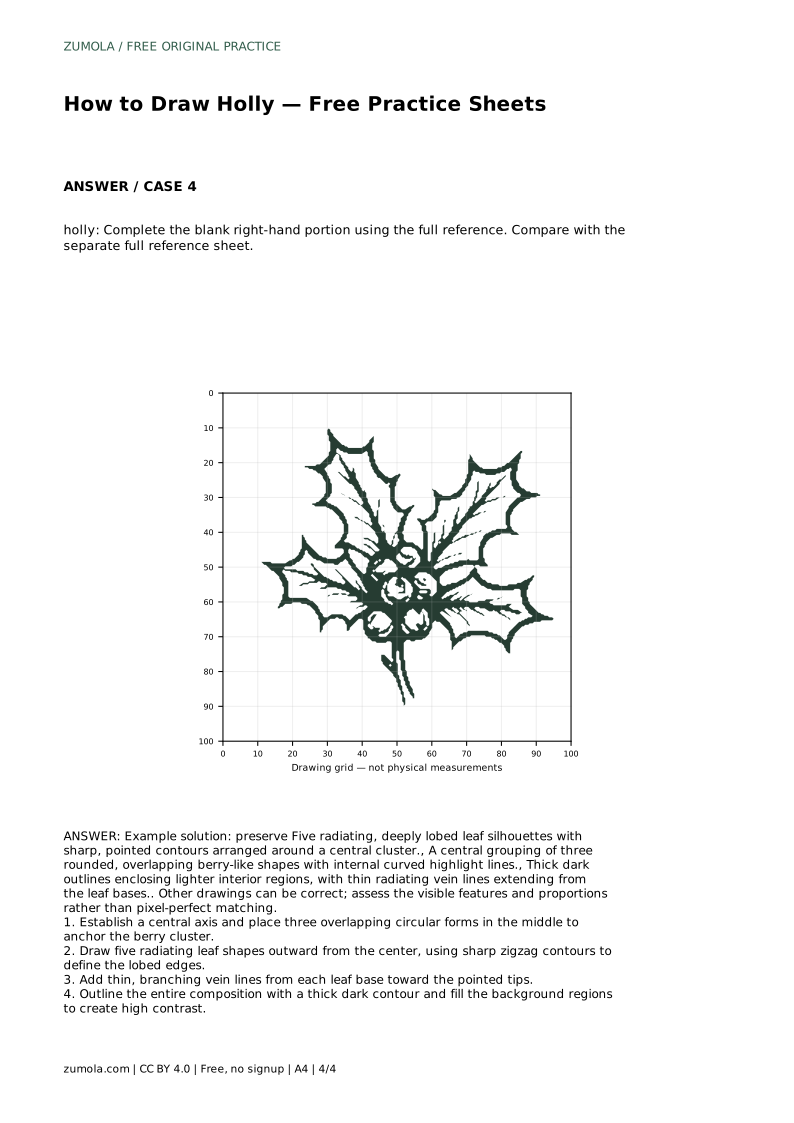
Example solution: preserve Five radiating, deeply lobed leaf silhouettes with sharp, pointed contours arranged around a central cluster., A central grouping of three rounded, overlapping berry-like shapes with internal curved highlight lines., Thick dark outlines enclosing lighter interior regions, with thin radiating vein lines extending from the leaf bases.. Other drawings can be correct; assess the visible features and proportions rather than pixel-perfect matching. Establish a central axis and place three overlapping circular forms in the middle to anchor the berry cluster. Draw five radiating leaf shapes outward from the center, using sharp zigzag contours to define the lobed edges. Add thin, branching vein lines from each leaf base toward the pointed tips. Outline the entire composition with a thick dark contour and fill the background regions to create high contrast.
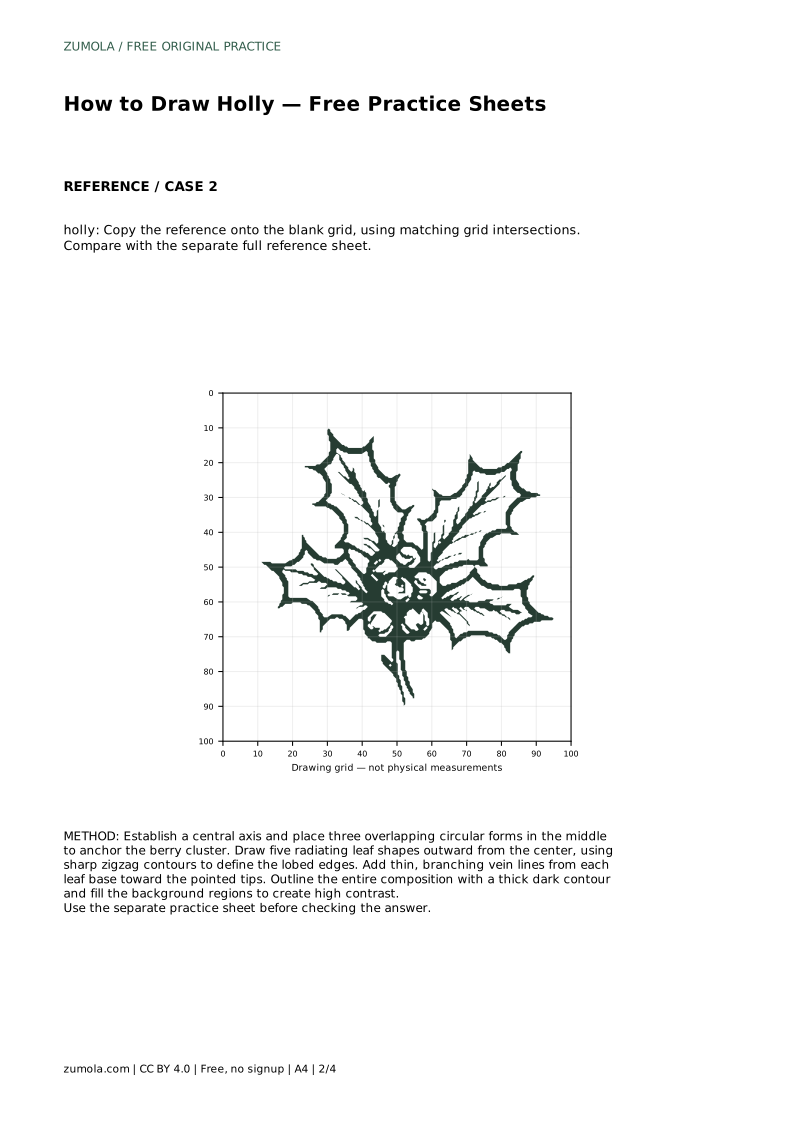
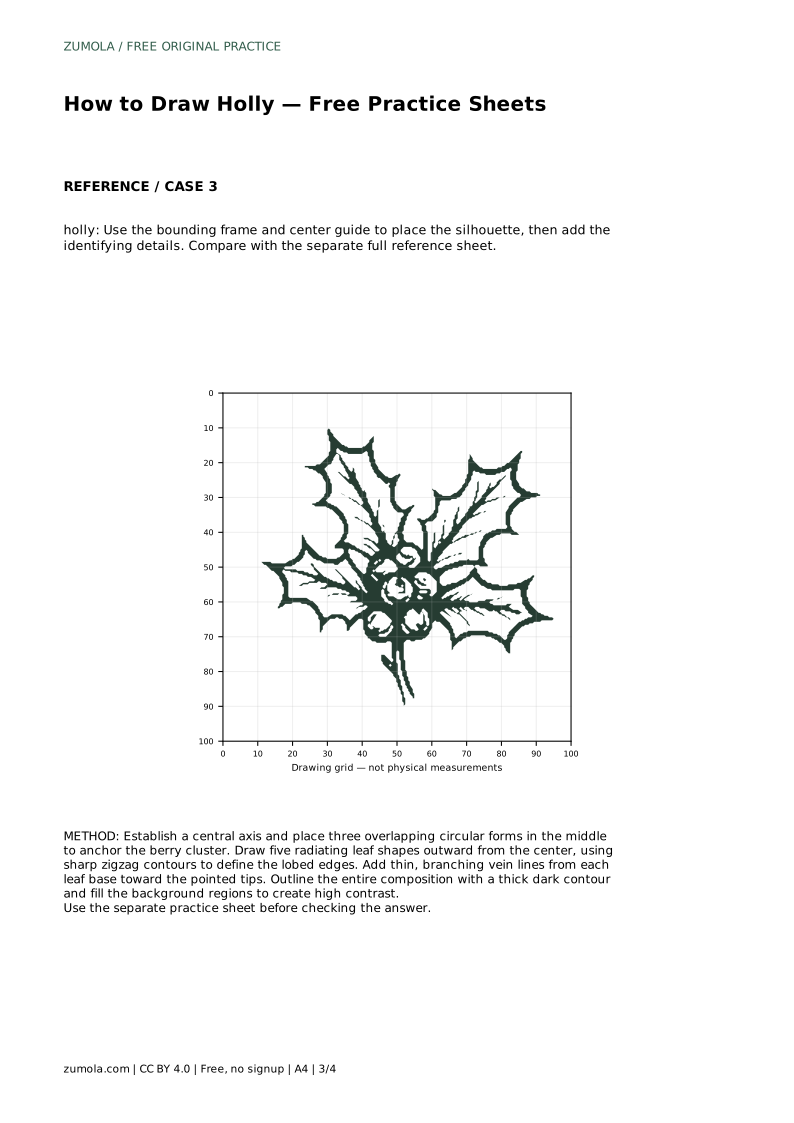
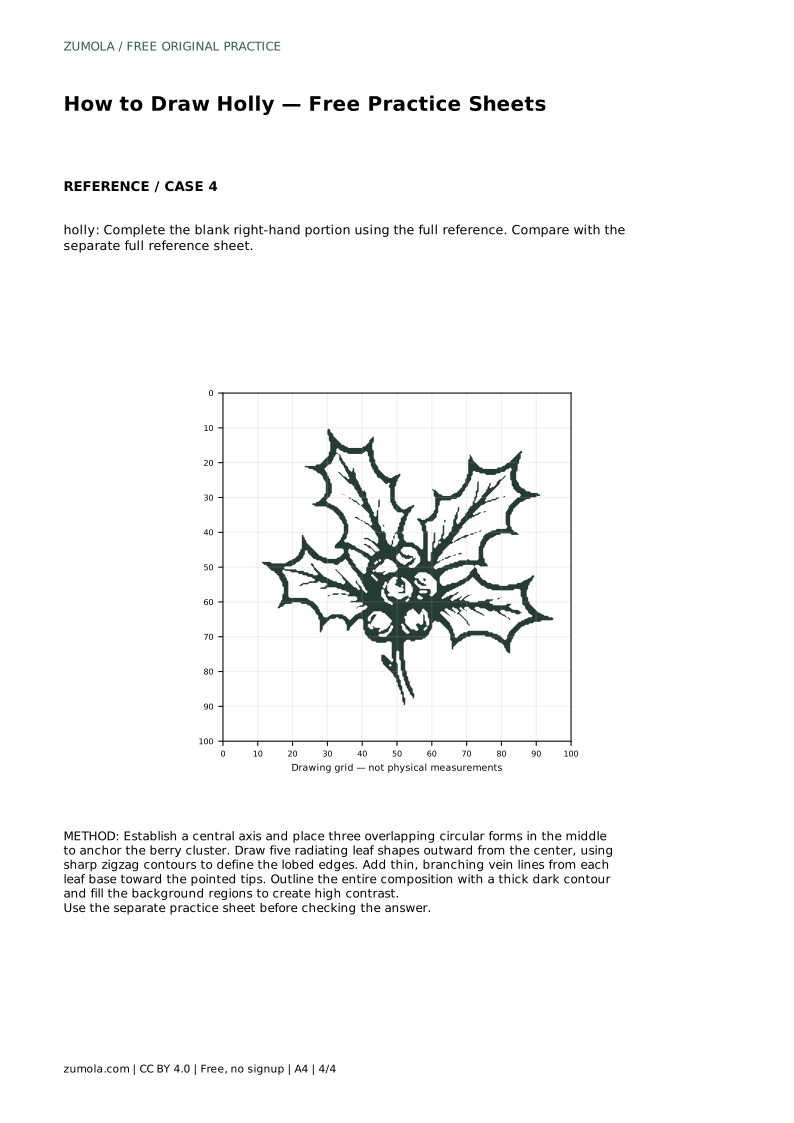
The reference uses five radiating leaves around a central berry cluster. Count your leaves and check that they spread evenly around the center.
Yes. Three overlapping circles grouped at the center read as one cluster. Separated circles look like unrelated dots.
Check the five pointed lobed leaves, the overlapping berry cluster, the thin branching veins, and the thick dark outline with a filled background.
All drawing practice · Free coordinate paper
Original resources · CC BY 4.0 · Free for personal and classroom use with attribution.