Reference diagrams
LETTER · Download PDF
A4 · Download PDF
Free original resources
Learn to draw a seedling with a thin curved stem, paired pointed leaves, and root marks at the soil line. Trace, grid, and complete-the-drawing practice included.
Four original cases, with reference diagrams, practice sheets and worked answers. Everything is free; no signup required.
LETTER · Download PDF
A4 · Download PDF
LETTER · Download PDF
A4 · Download PDF
LETTER · Download PDF
A4 · Download PDF
Use A4 or US Letter to match your printer. Use the stated values and conditions to solve each exercise; diagrams are not physical measuring rulers.
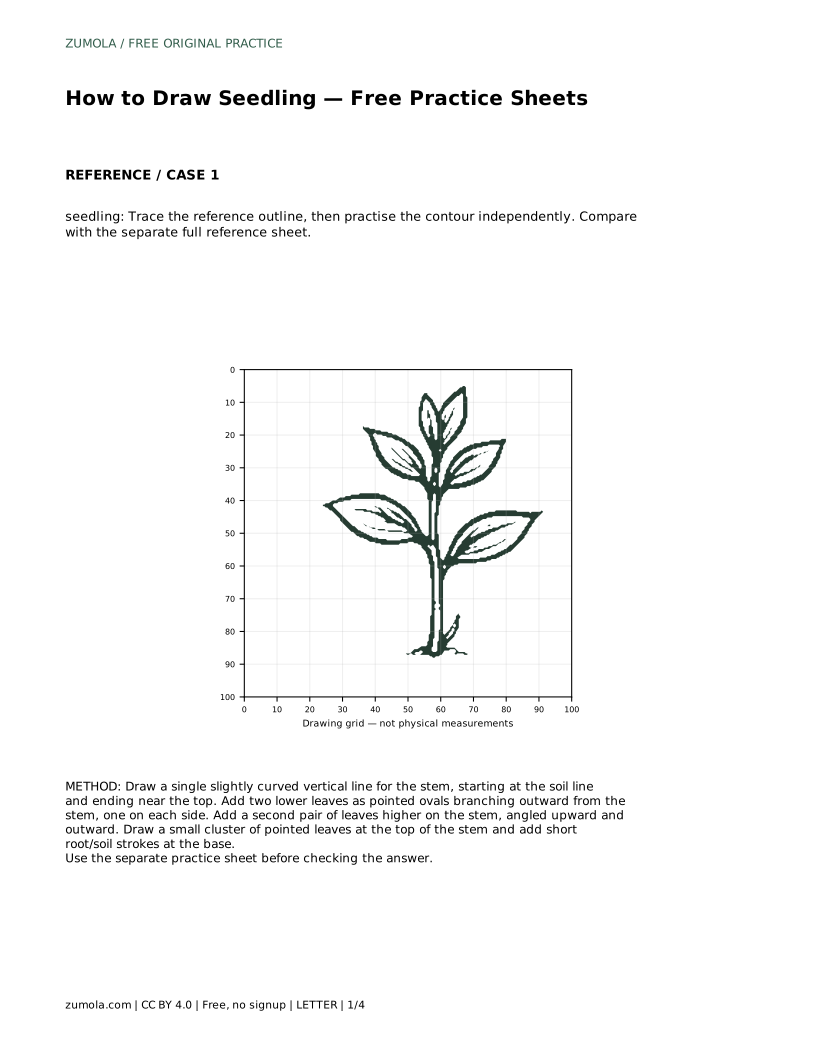
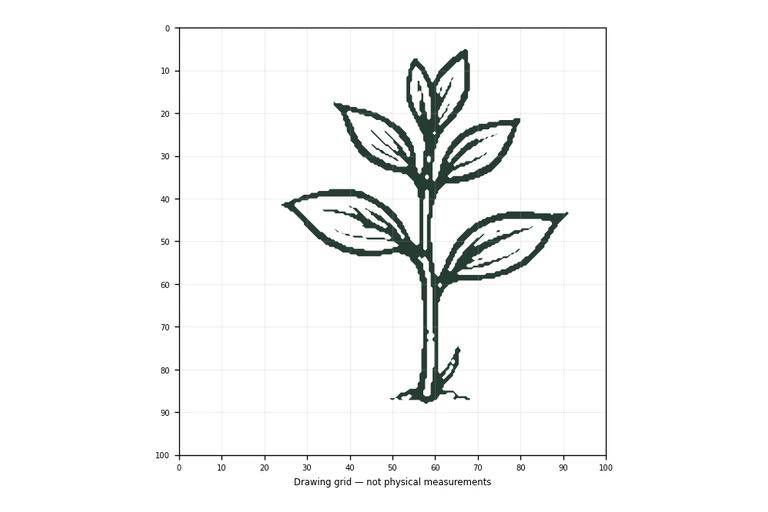
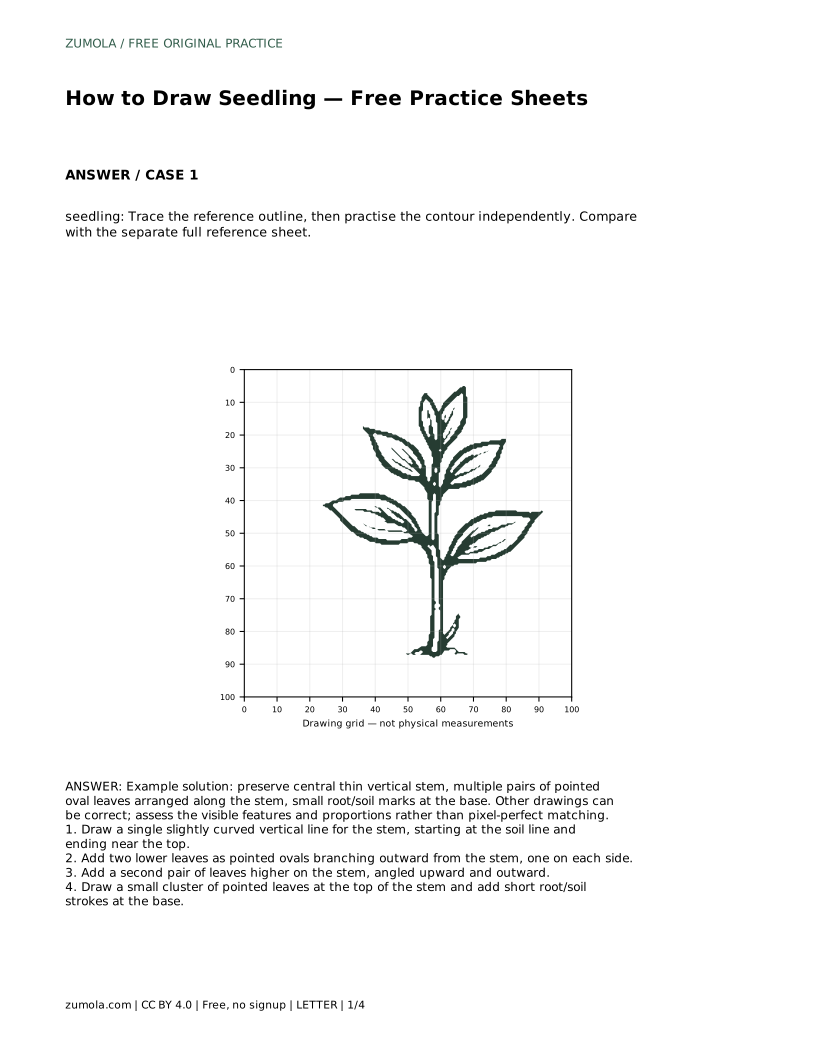
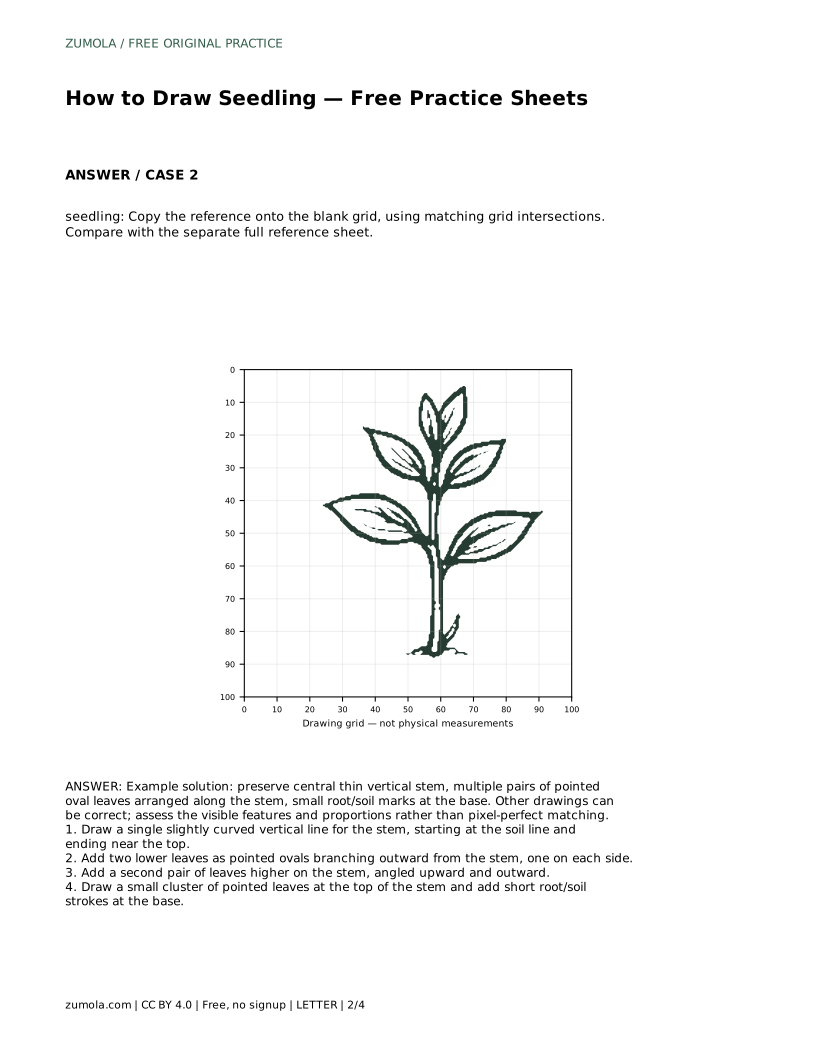
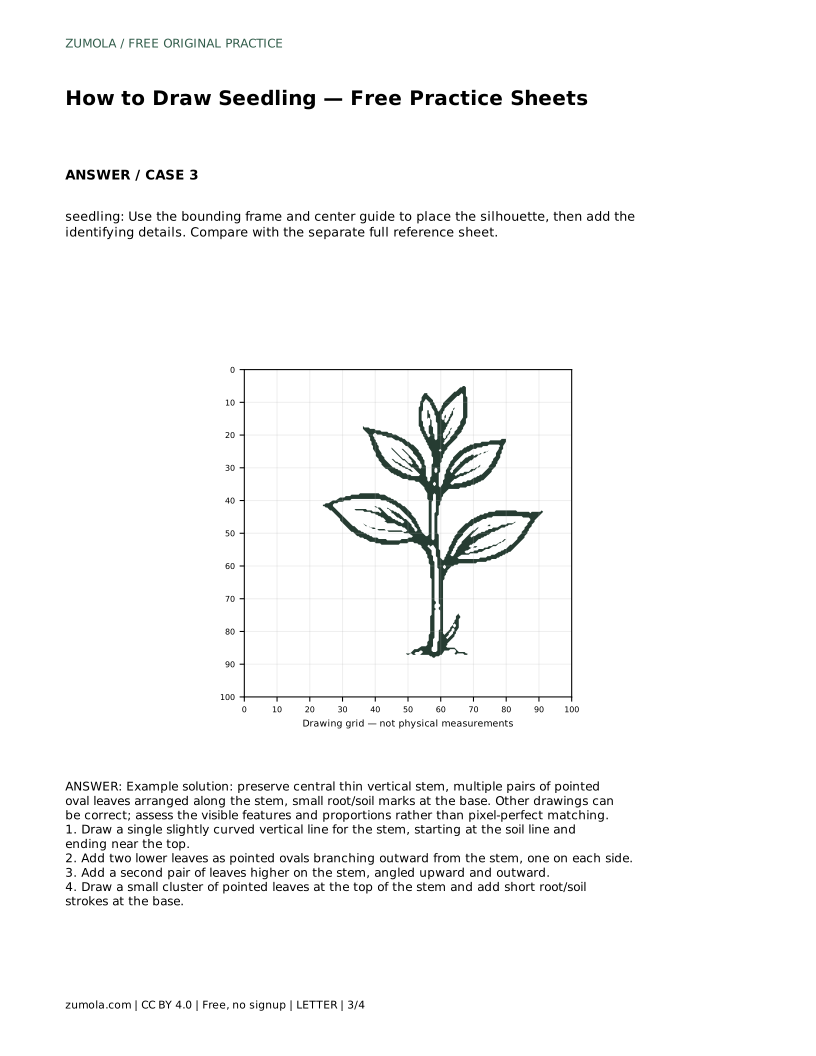
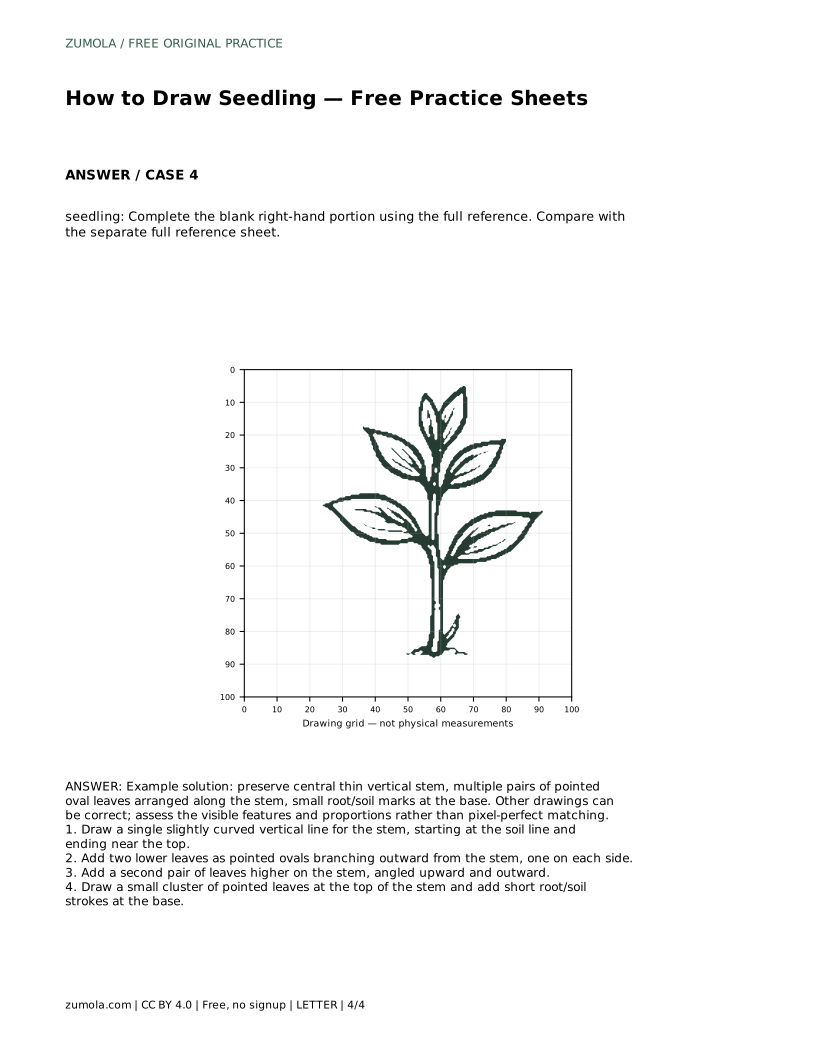
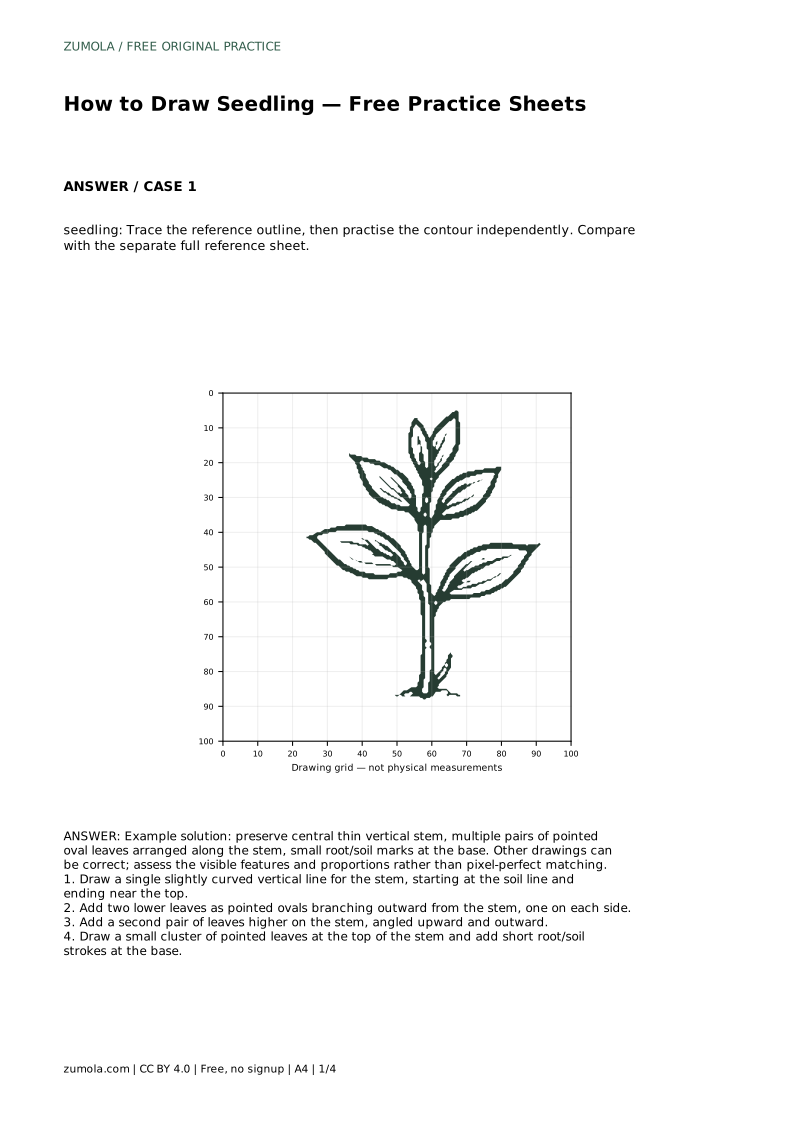
A seedling drawing is mostly about structure: one central stem, leaves arranged in pairs along it, and a small root or soil mark where the plant meets the ground. This page explains how to build that structure step by step, then how to use tracing, grid, and partial-reference sheets to practise it. Because drawings can be correct in more than one way, you will assess visible features and proportions rather than exact matching.
Begin by deciding where the soil line sits on your page. Draw a single slightly curved vertical line for the stem, starting at the soil line and ending near the top of the drawing. Keep the stem thin; a seedling reads as delicate, and a heavy stem makes the leaves look small by comparison.
The curve should be gentle. A stem that bends too sharply looks broken rather than growing. Leave space on both sides of the stem for leaves, and leave a little room above the top so the final leaf cluster does not touch the edge of the page.
Add two lower leaves as pointed ovals branching outward from the stem, one on each side. Place them at roughly the same height so the pair looks balanced. Then add a second pair higher on the stem, angled upward and outward. The upward angle suggests growth; leaves that droop downward change the character of the drawing.
Finish with a small cluster of pointed leaves at the top of the stem. Keep the pointed oval shape consistent across all leaves so the plant looks like one species rather than a mix. Vary leaf size slightly, with lower leaves a little larger than the top cluster, to suggest perspective.
Add short root or soil strokes at the base where the stem meets the soil line. These marks should be small and clustered, not long lines running across the page. They signal that the seedling is rooted without turning the drawing into a full root system.
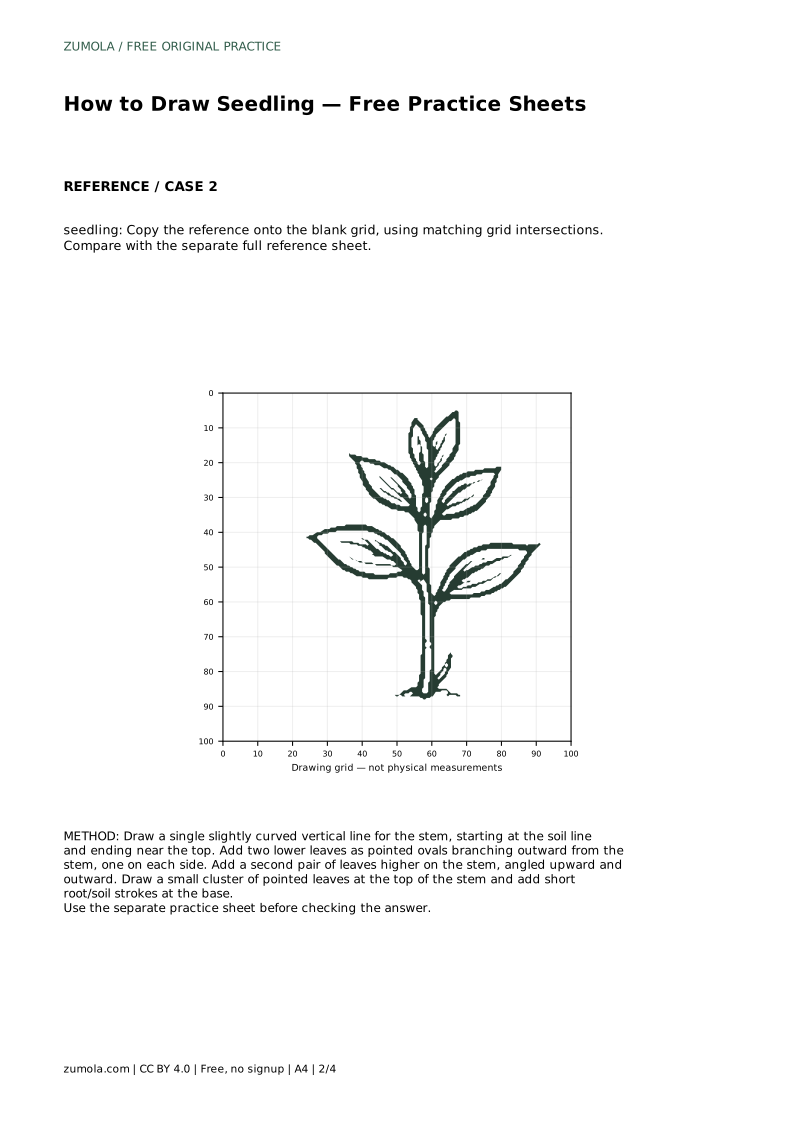
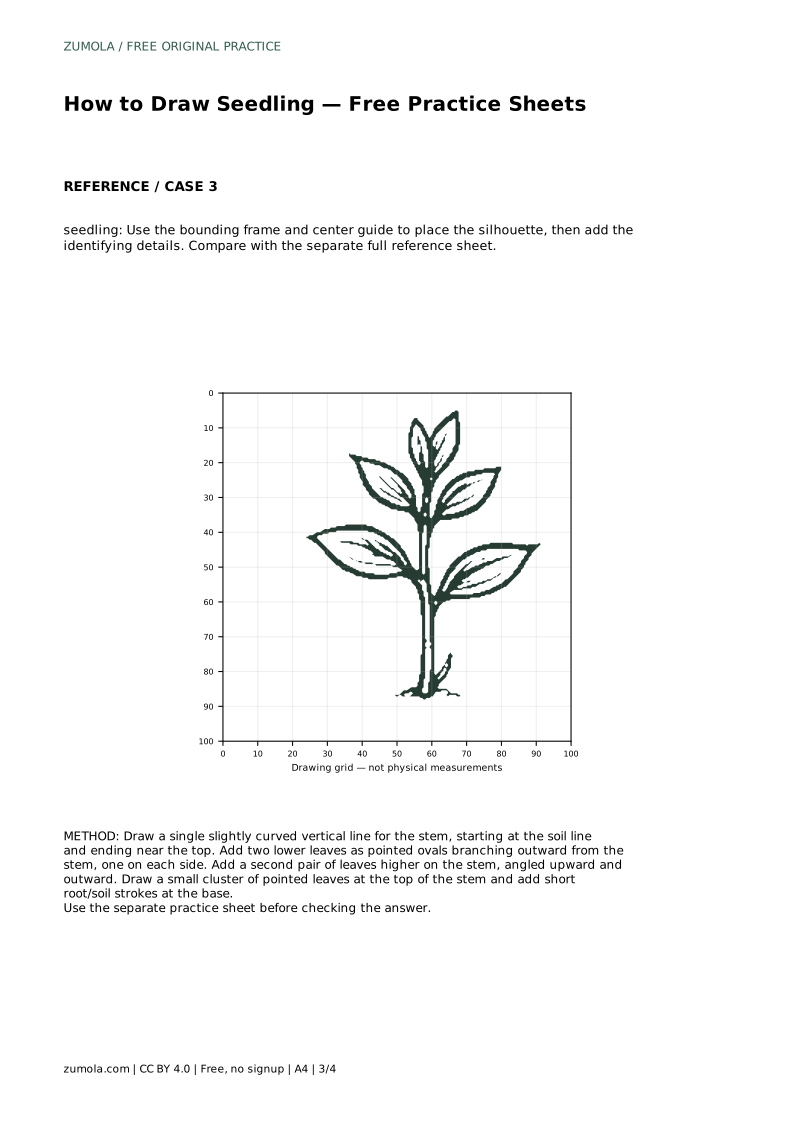
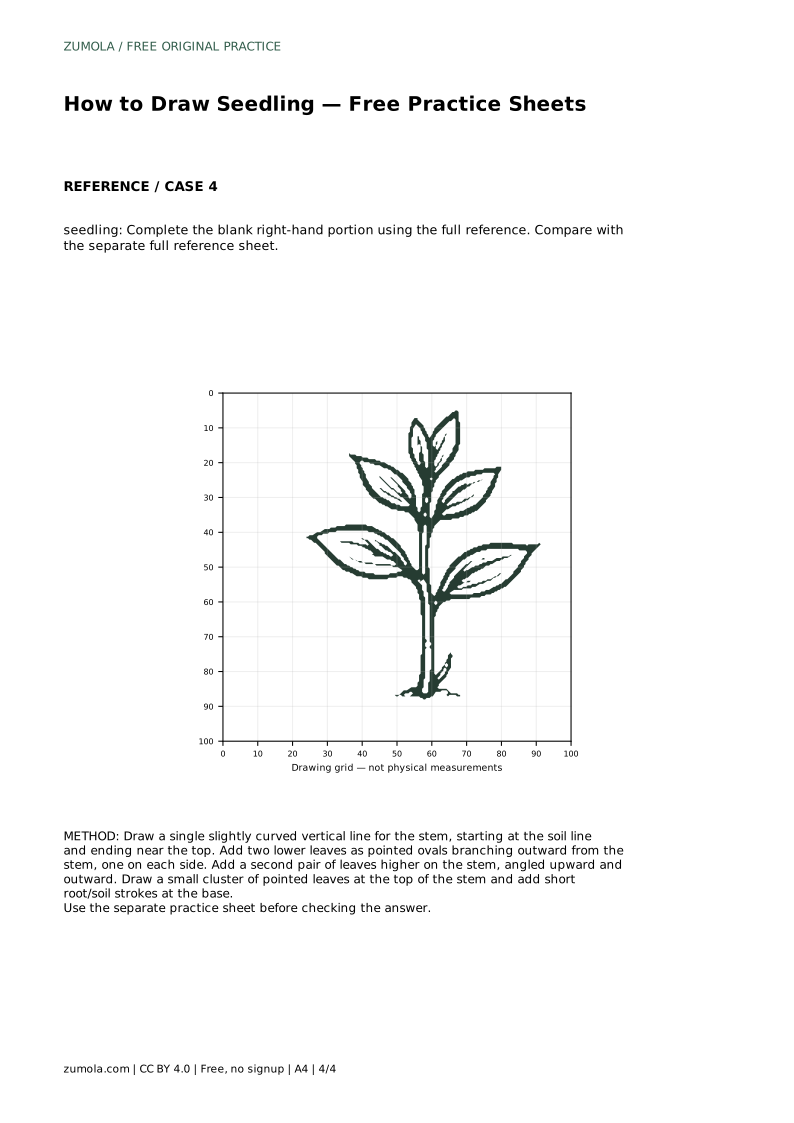
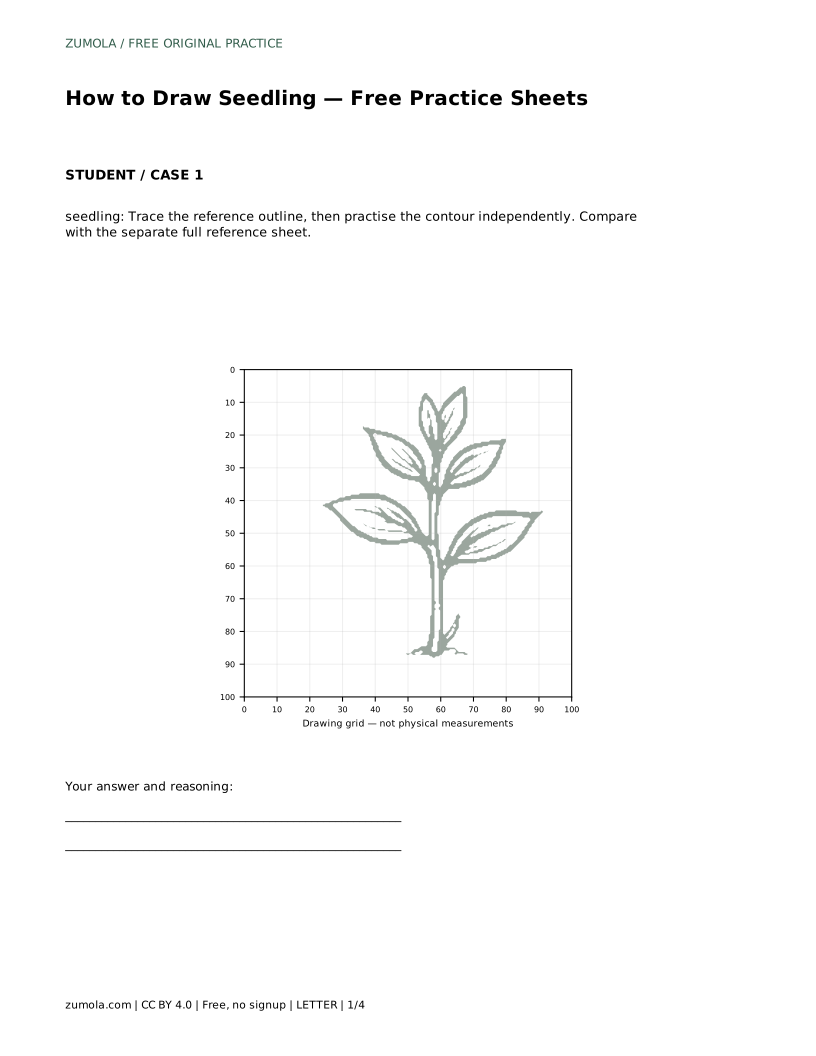
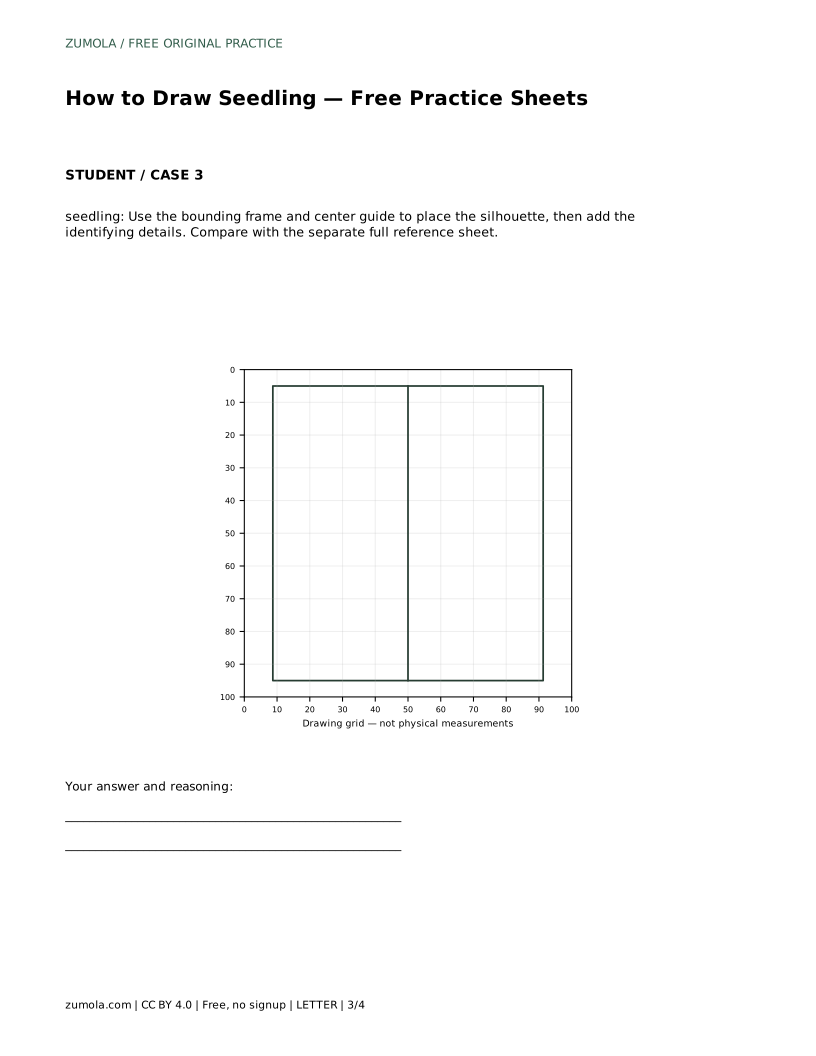
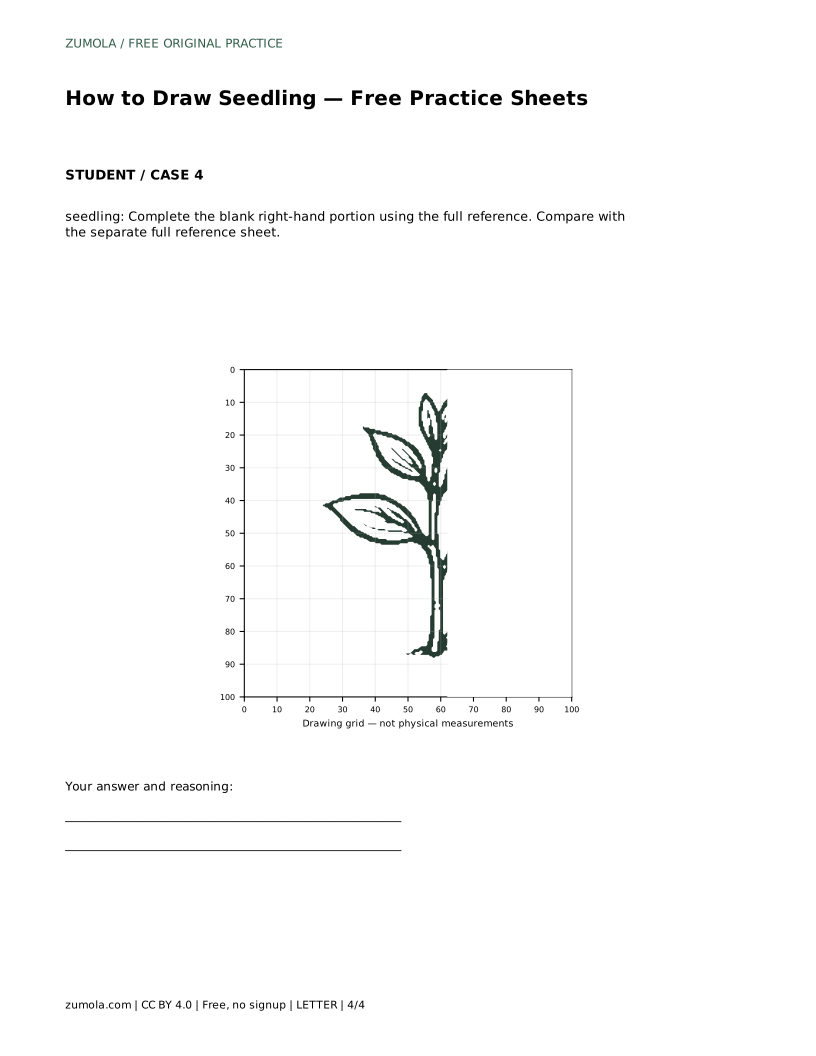
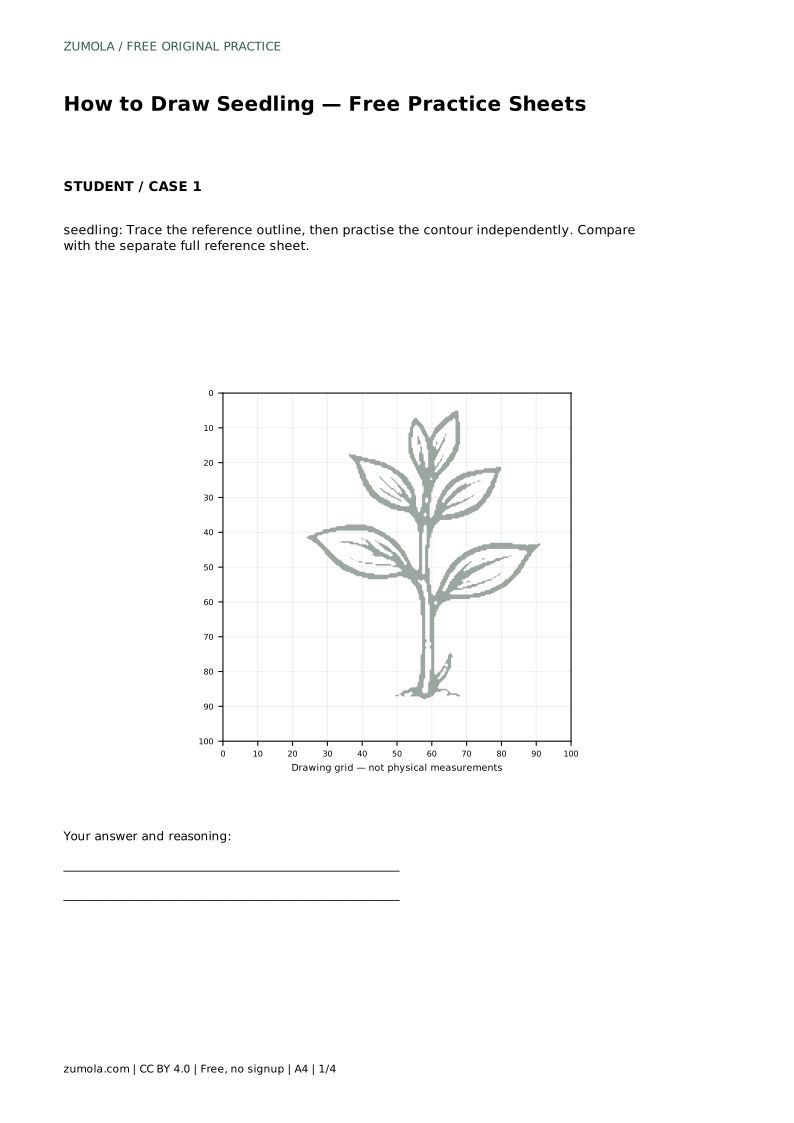
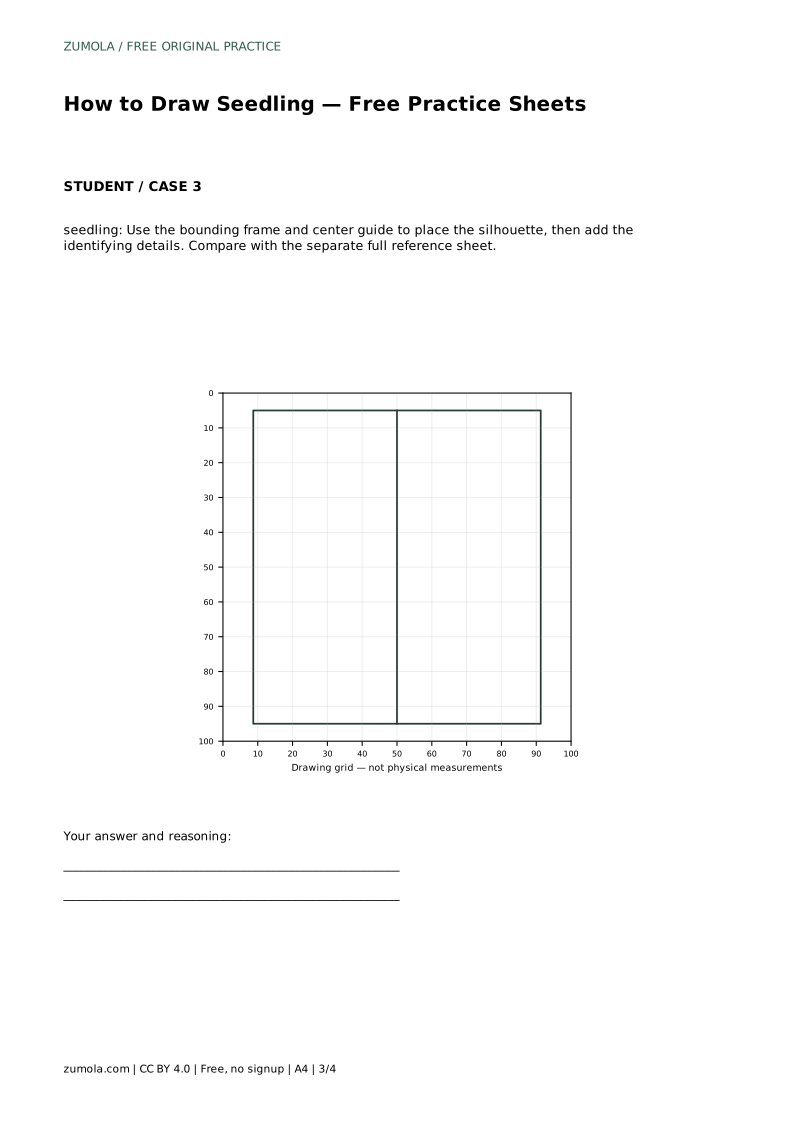
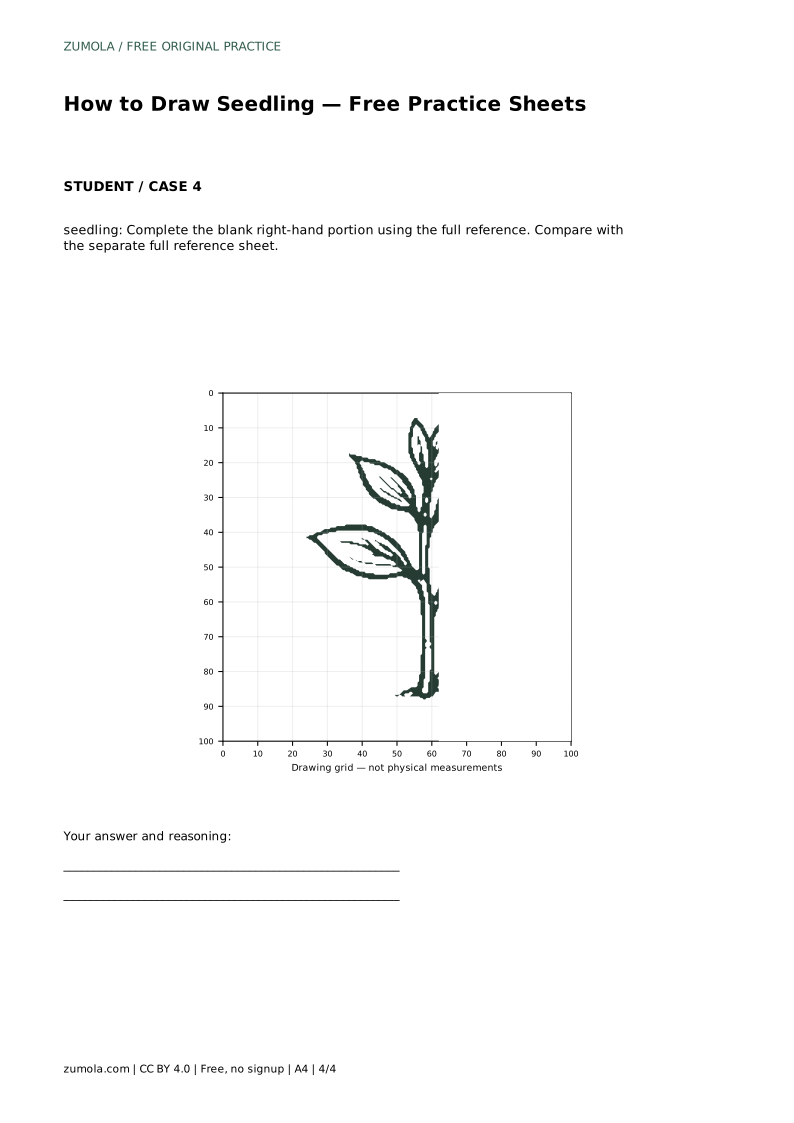
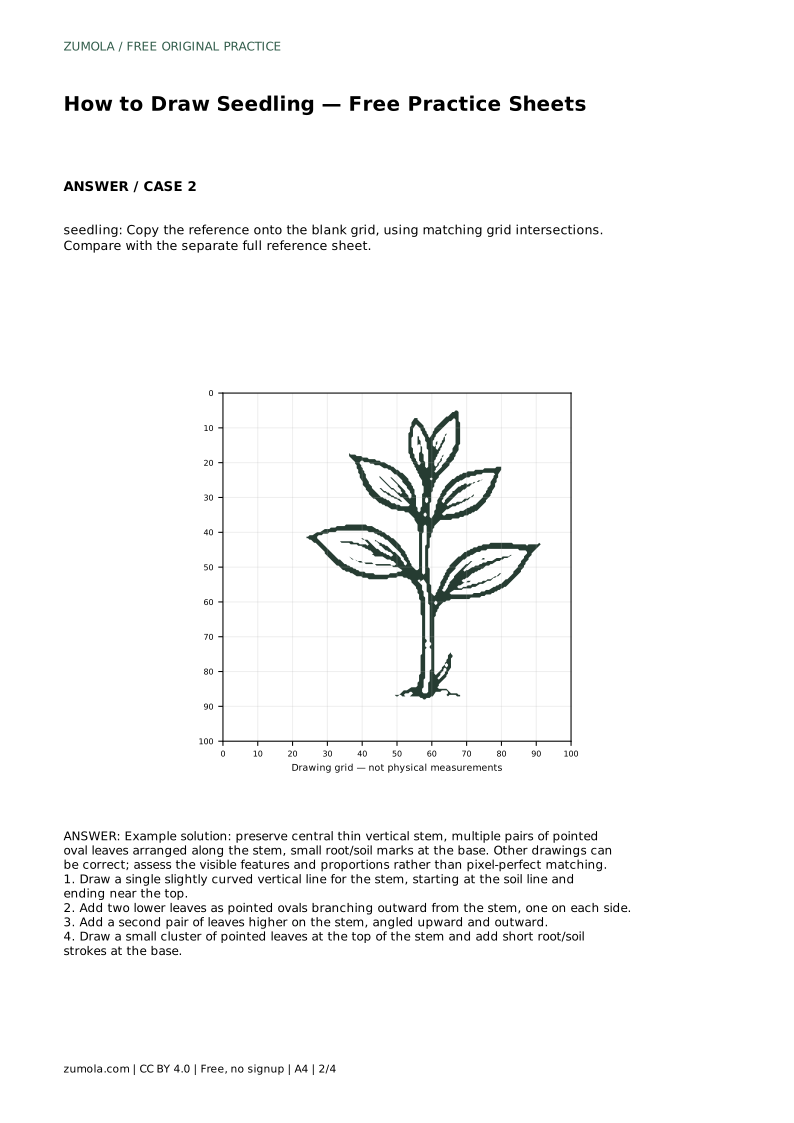
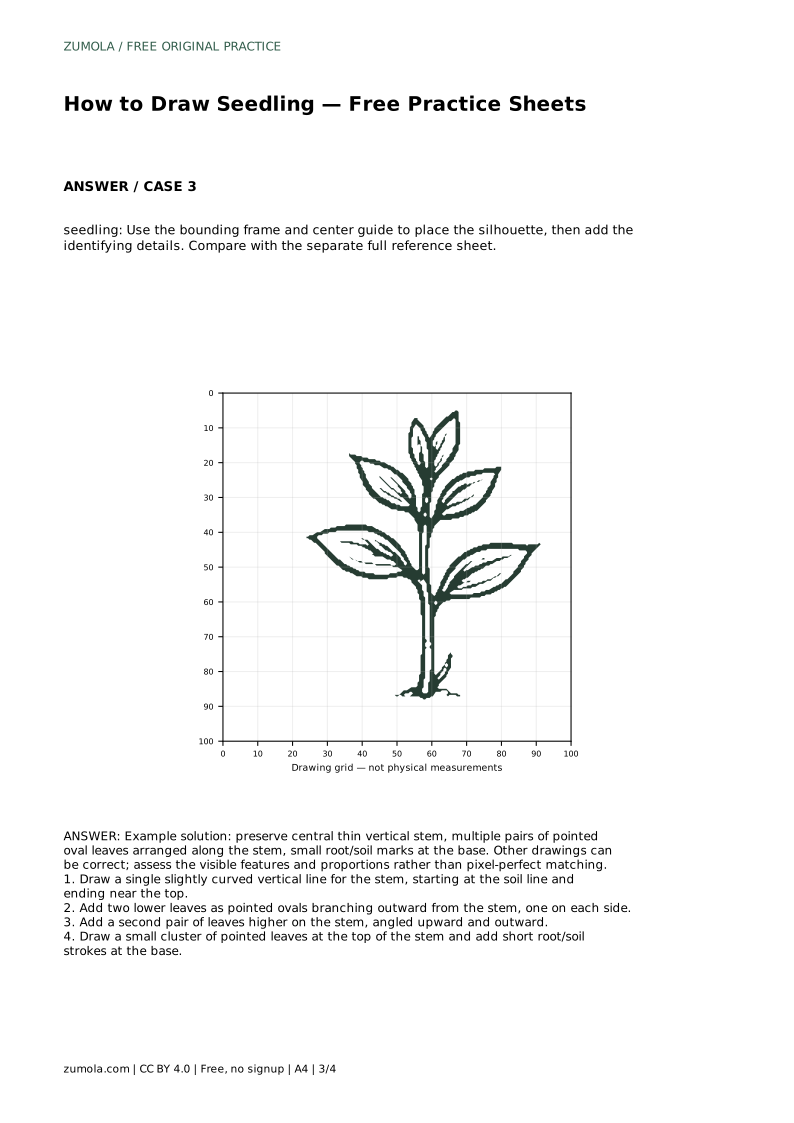
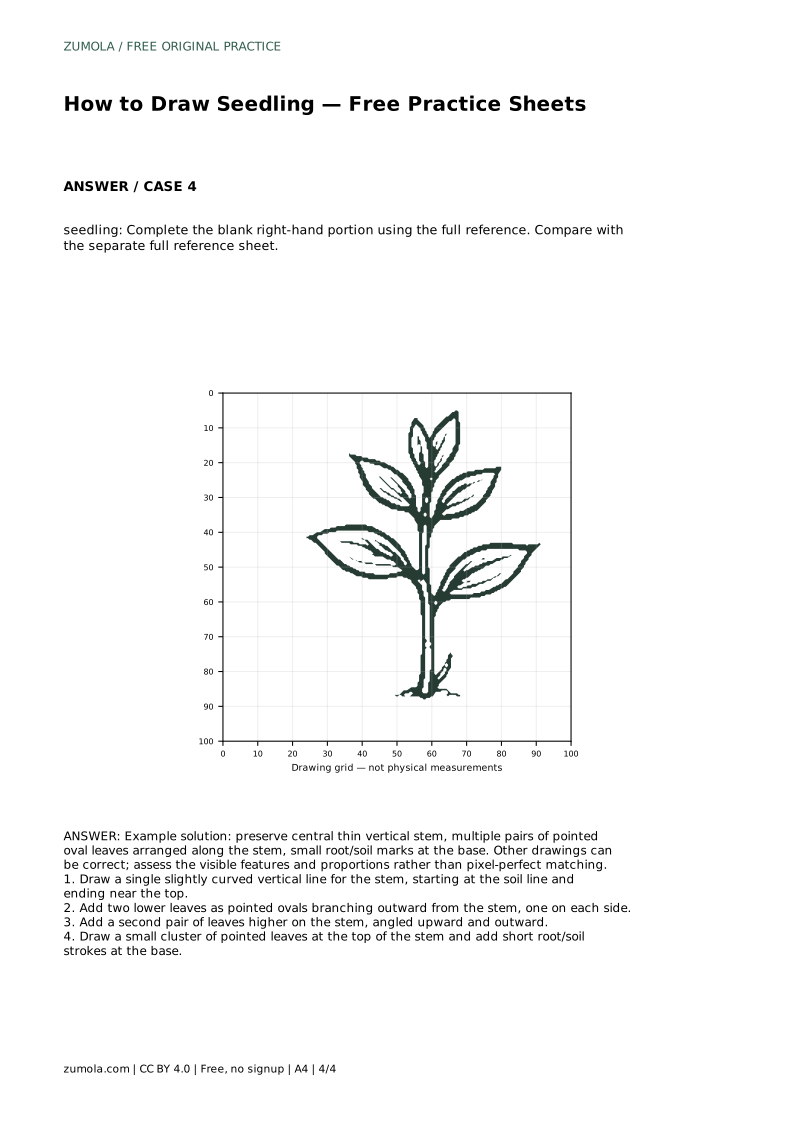
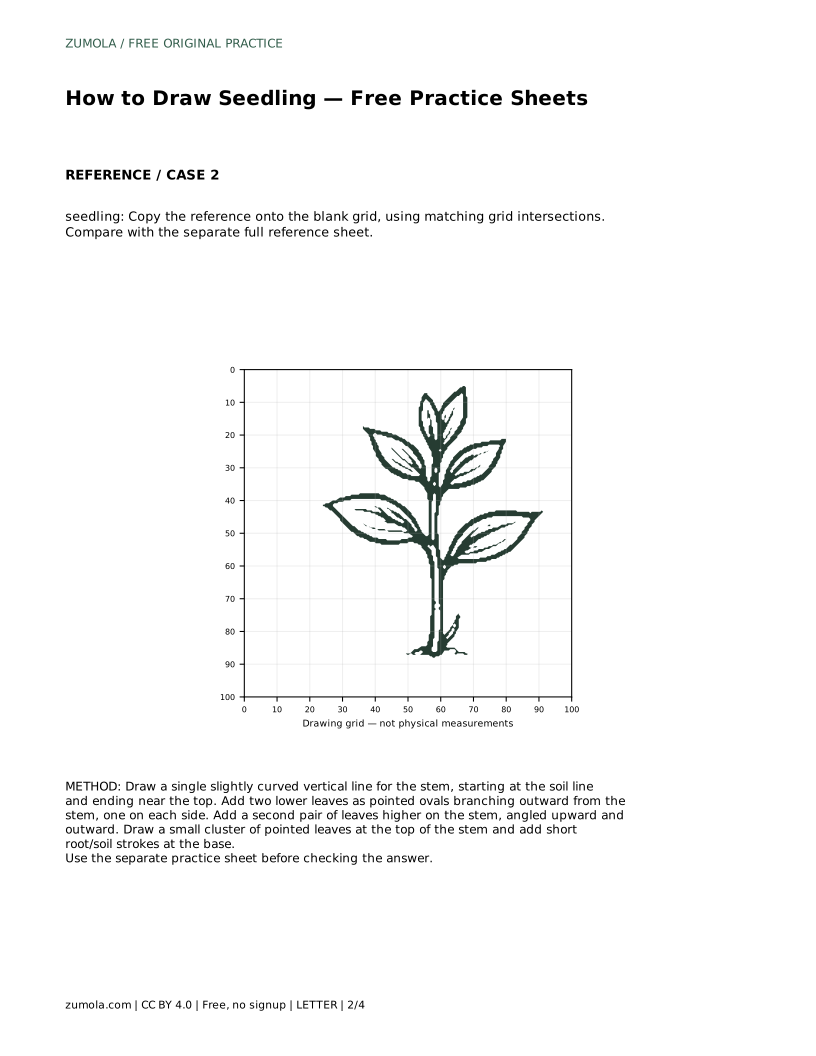
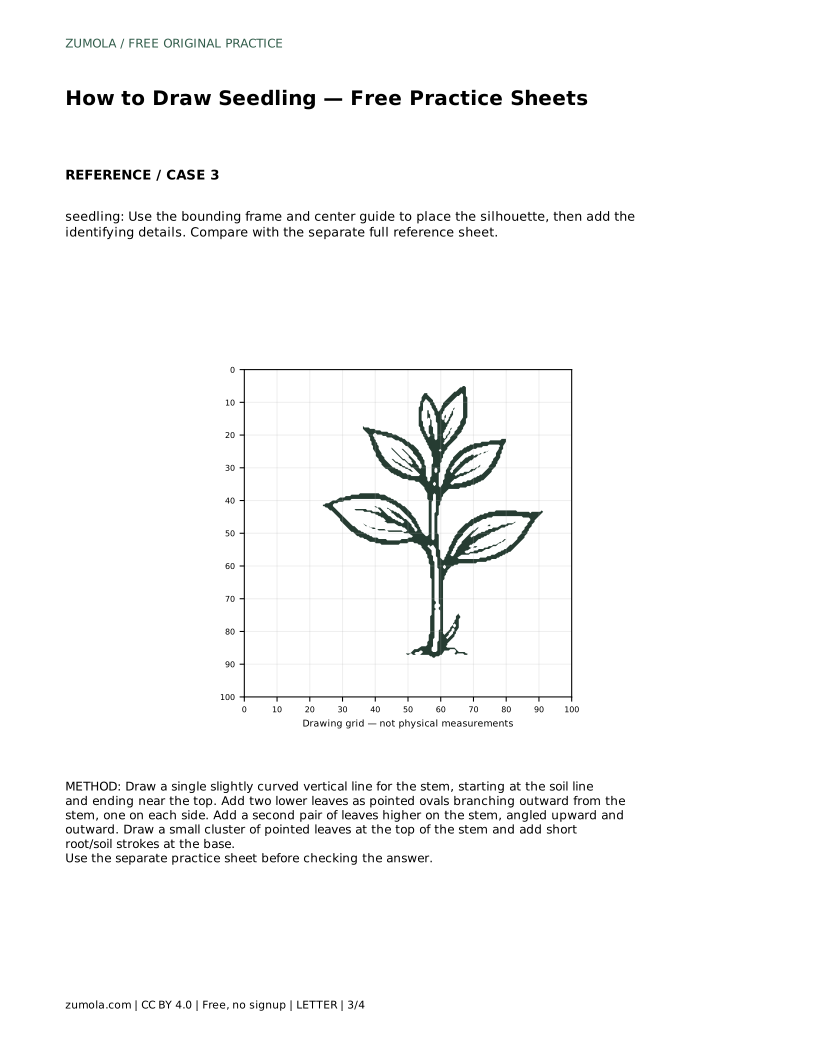
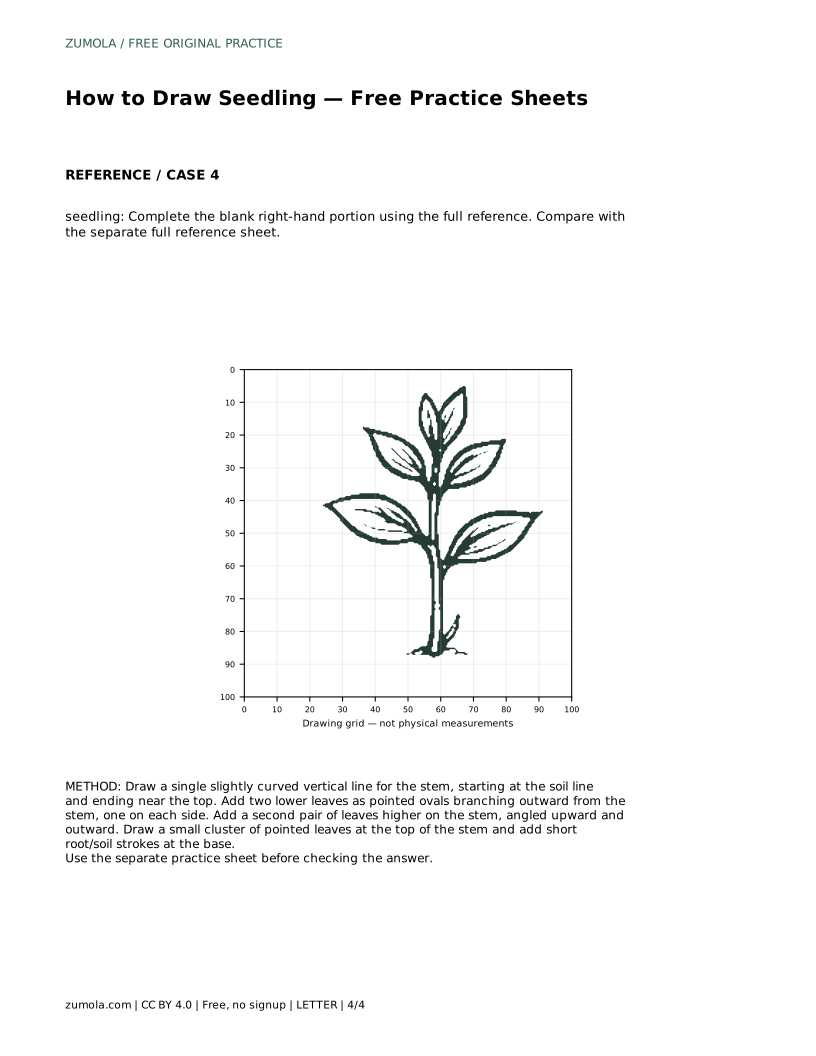
The practice sheets offer different routes to the same skill. On the trace sheet, follow the reference outline first, then draw the contour independently and compare with the separate full reference sheet. On the grid sheet, copy the reference onto the blank grid using matching grid intersections. On the frame sheet, use the bounding frame and center guide to place the silhouette before adding details. On the partial sheet, complete the blank right-hand portion using the full reference. In every case, check the visible features and proportions rather than pixel-perfect matching.
A useful check is to list the features that must be present: a central thin vertical stem, multiple pairs of pointed oval leaves arranged along the stem, and small root or soil marks at the base. If all three are visible and the proportions look plausible, the drawing is working.
Proportion matters more than line quality. If the stem is very short and the leaves very large, the drawing reads as a bush rather than a seedling. If the leaves are tiny and the stem very long, it reads as a weed. Adjust the balance before refining details.
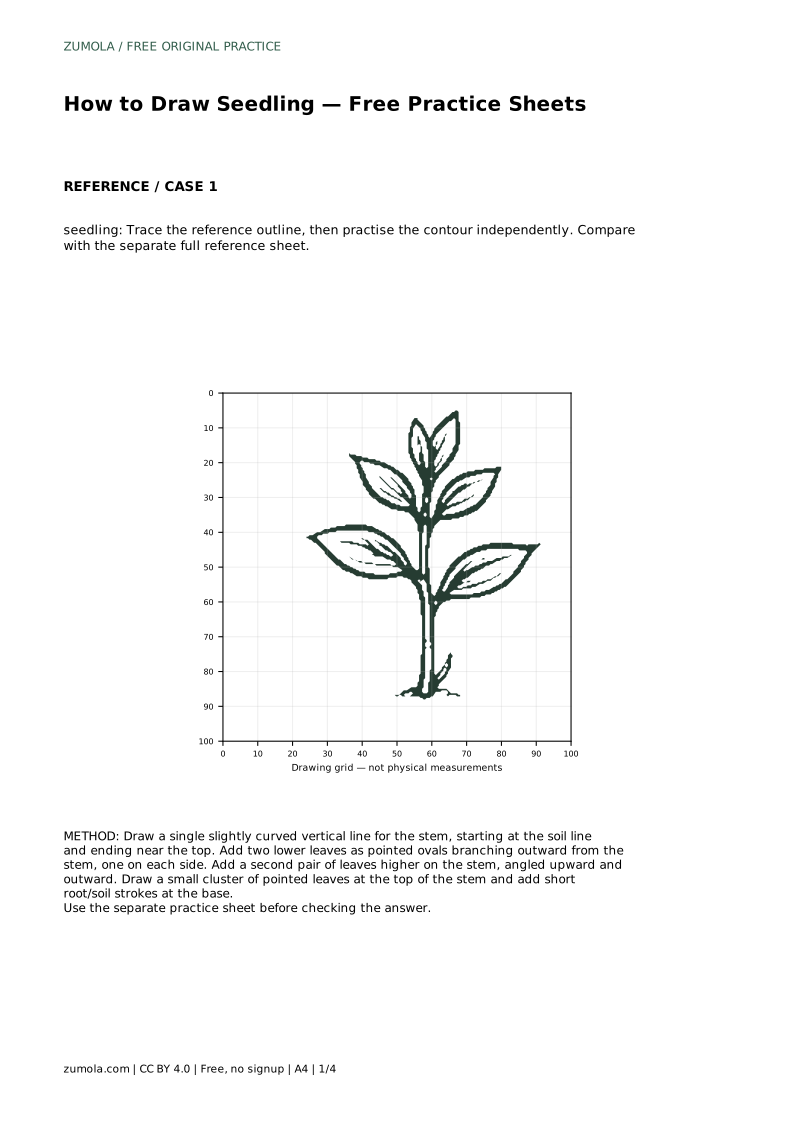
seedling: Trace the reference outline, then practise the contour independently. Compare with the separate full reference sheet.
Example solution: preserve central thin vertical stem, multiple pairs of pointed oval leaves arranged along the stem, small root/soil marks at the base. Other drawings can be correct; assess the visible features and proportions rather than pixel-perfect matching. Draw a single slightly curved vertical line for the stem, starting at the soil line and ending near the top. Add two lower leaves as pointed ovals branching outward from the stem, one on each side. Add a second pair of leaves higher on the stem, angled upward and outward. Draw a small cluster of pointed leaves at the top of the stem and add short root/soil strokes at the base.
Two pairs along the stem plus a small cluster at the top is a clear, readable structure. More pairs can work, but keep them evenly spaced and consistent in shape.
Yes. Follow the same order: soil line, thin curved stem, lower leaf pair, upper leaf pair, top cluster, then short root or soil marks at the base.
Check the required features and proportions instead. A drawing with a central thin stem, paired pointed oval leaves, and base marks can be correct even if the leaf shapes differ slightly.
All drawing practice · Free coordinate paper
Original resources · CC BY 4.0 · Free for personal and classroom use with attribution.