Reference diagrams
LETTER · Download PDF
A4 · Download PDF
Free original resources
Learn to draw a violin with a curved body, C-bouts, f-holes, neck, scroll, and strings. Use tracing, grid, and frame practice sheets to build the shape step by step.
Four original cases, with reference diagrams, practice sheets and worked answers. Everything is free; no signup required.
LETTER · Download PDF
A4 · Download PDF
LETTER · Download PDF
A4 · Download PDF
LETTER · Download PDF
A4 · Download PDF
Use A4 or US Letter to match your printer. Use the stated values and conditions to solve each exercise; diagrams are not physical measuring rulers.
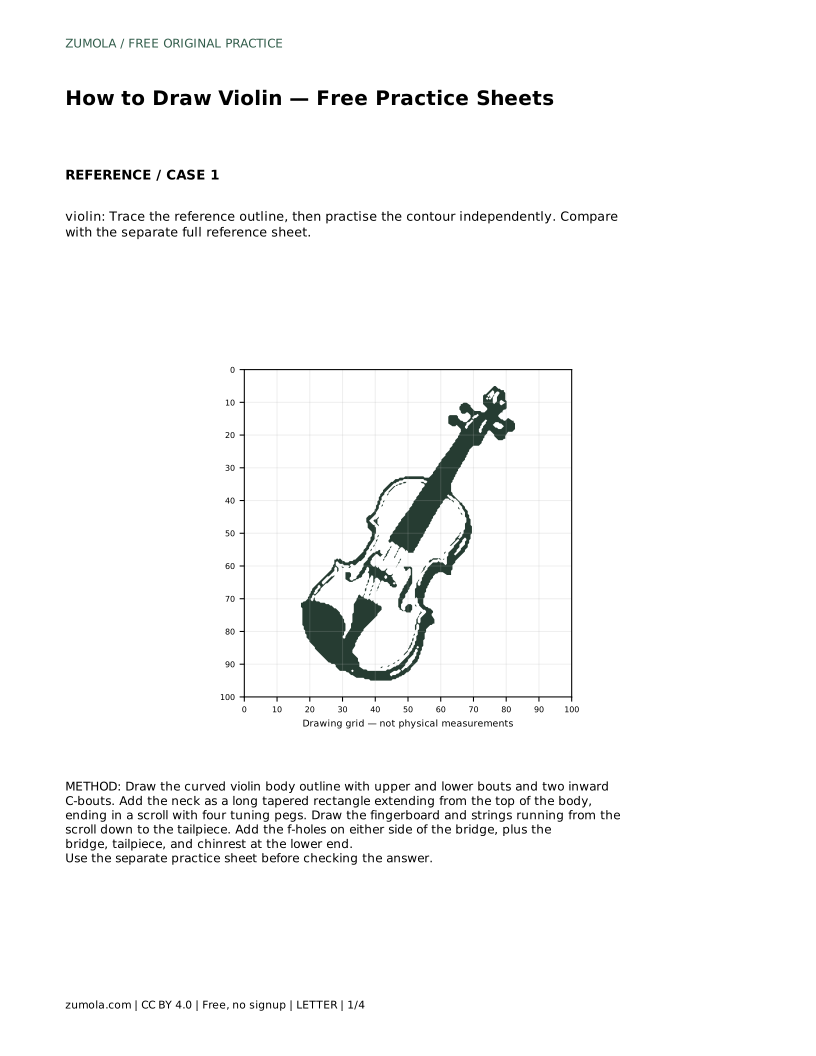
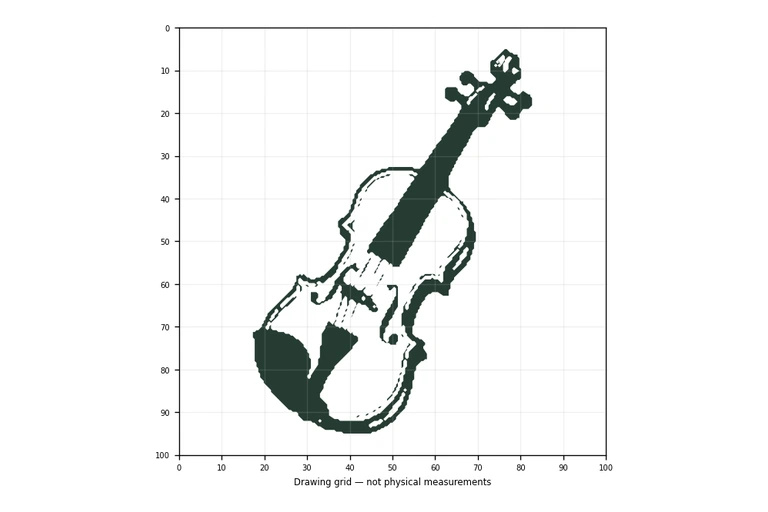
Drawing a violin is mostly a lesson in curved symmetry: a rounded body pinched by two inward C-bouts, a long neck, and a scroll at the top. This page explains a simple order for building that shape and how to use the practice sheets to check your proportions. The goal is a recognizable violin with the right visible features, not a pixel-perfect copy.
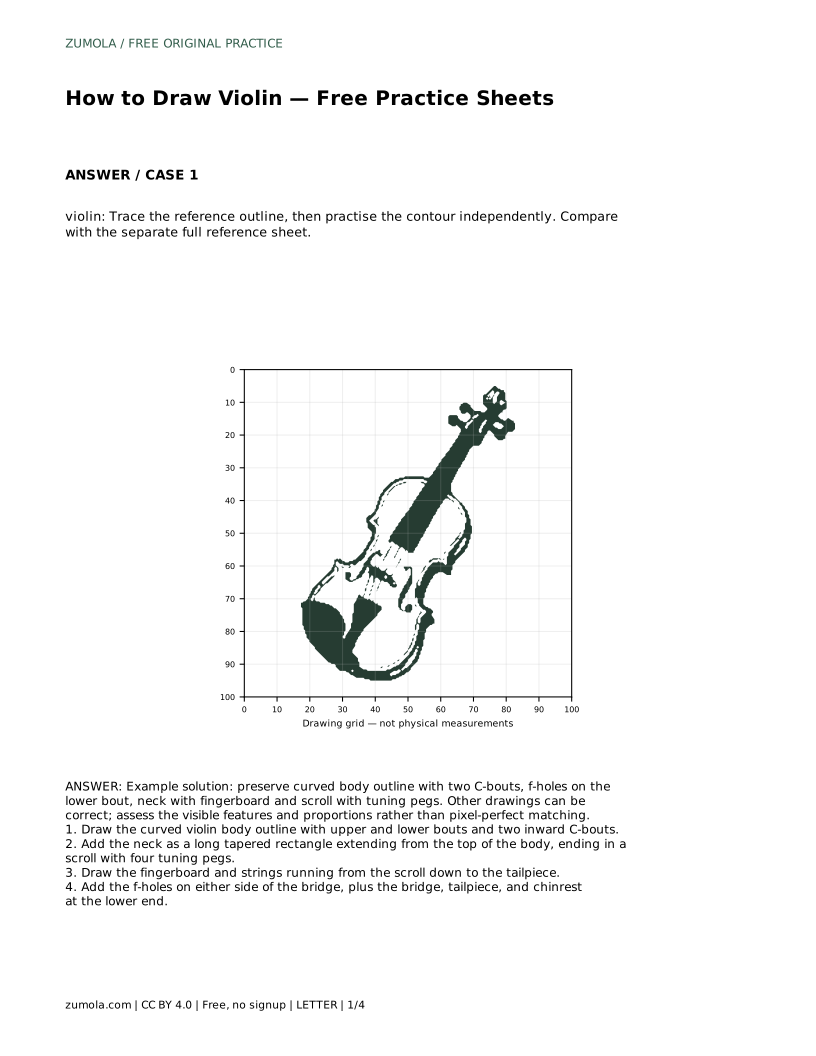
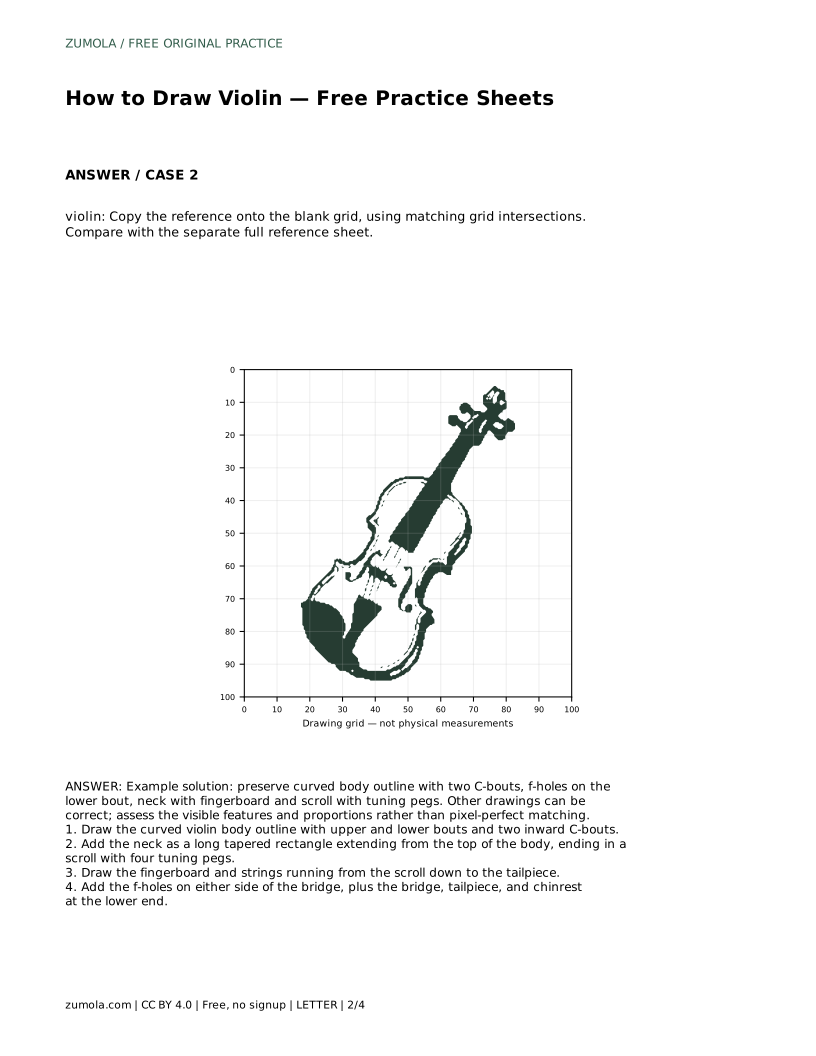
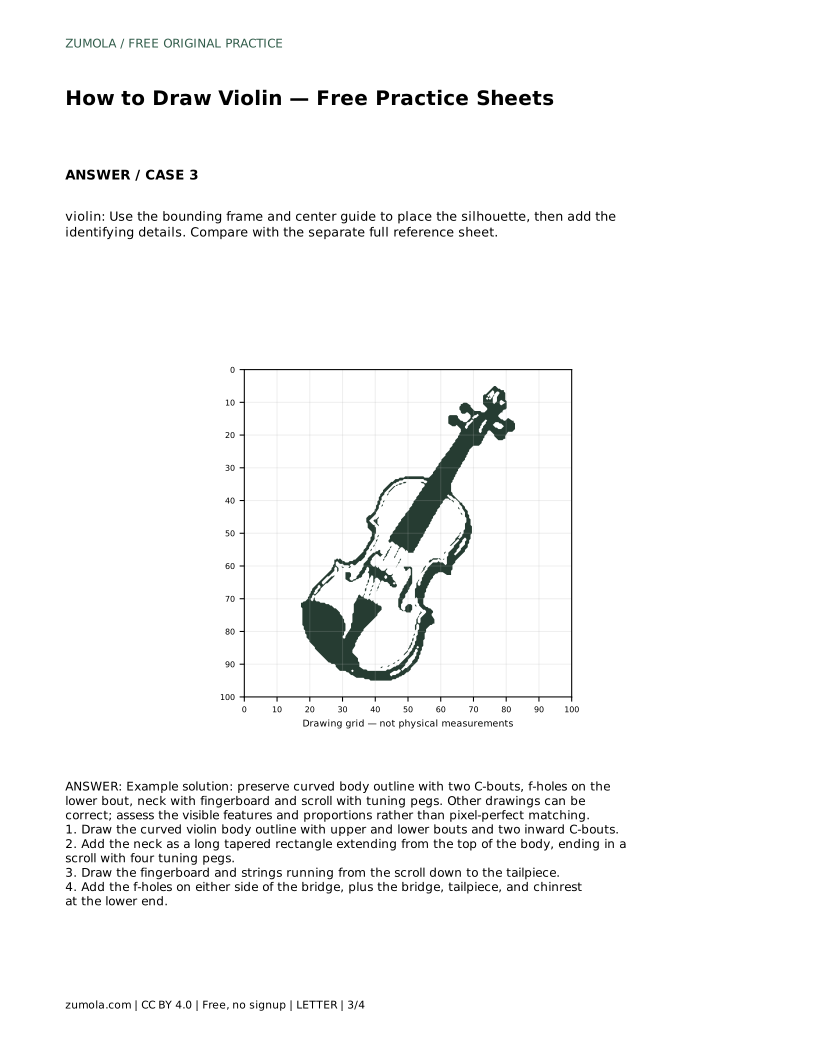
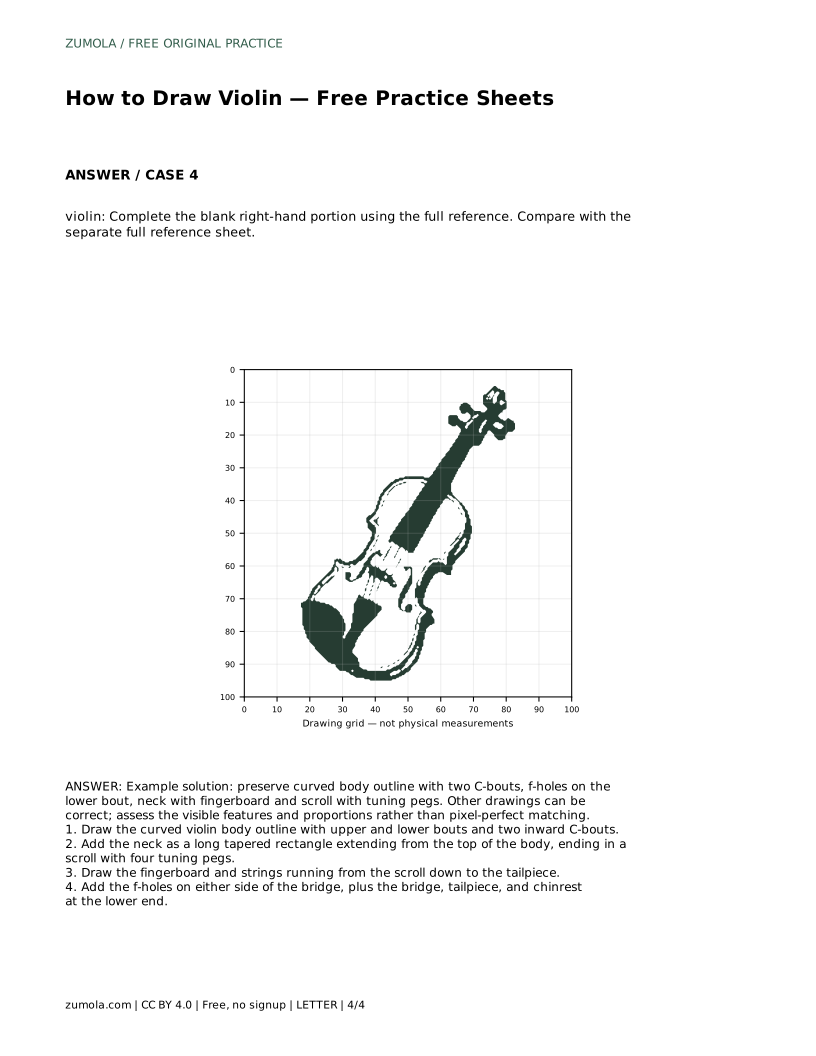
The violin body is the anchor for everything else. Draw it as a rounded shape with a wider lower bout, a slightly narrower upper bout, and two inward curves, called C-bouts, on each side. Keep the left and right sides roughly mirrored. A light center line drawn first helps you compare the two halves as you work.
Do not rush the C-bouts. They are the feature that makes the silhouette read as a violin rather than a guitar or a simple oval. Make each inward curve smooth and place them at the same height on both sides.
The neck extends from the top of the body as a long, tapered rectangle. It should be narrower than the body and centered on the same axis. At its end, draw the scroll as a small curled shape, then add four tuning pegs projecting from the sides.
The fingerboard is a dark, narrow strip running down the center of the neck and onto the body. Draw it as a long rectangle that narrows slightly toward the scroll. Strings run from the scroll, over the fingerboard, down to the tailpiece at the lower end of the body.
The f-holes sit on the lower bout, one on each side of the bridge, and their curved shape echoes the C-bouts. Draw them as slim curved slots with small openings at each end. Keep them at the same height and distance from the center line.
The bridge is a small upright piece between the f-holes, and the tailpiece is a wider shape near the bottom edge where the strings end. The chinrest sits at the lower end, usually offset to one side. These details complete the violin's recognizable look.
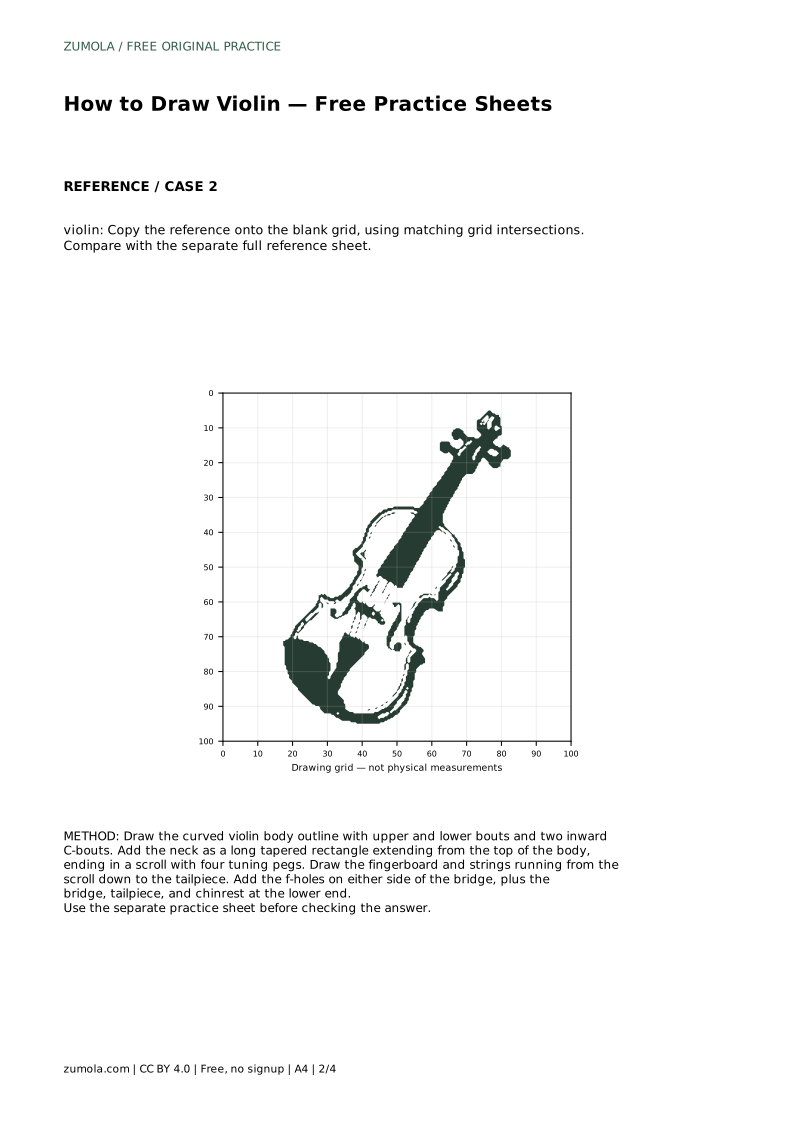
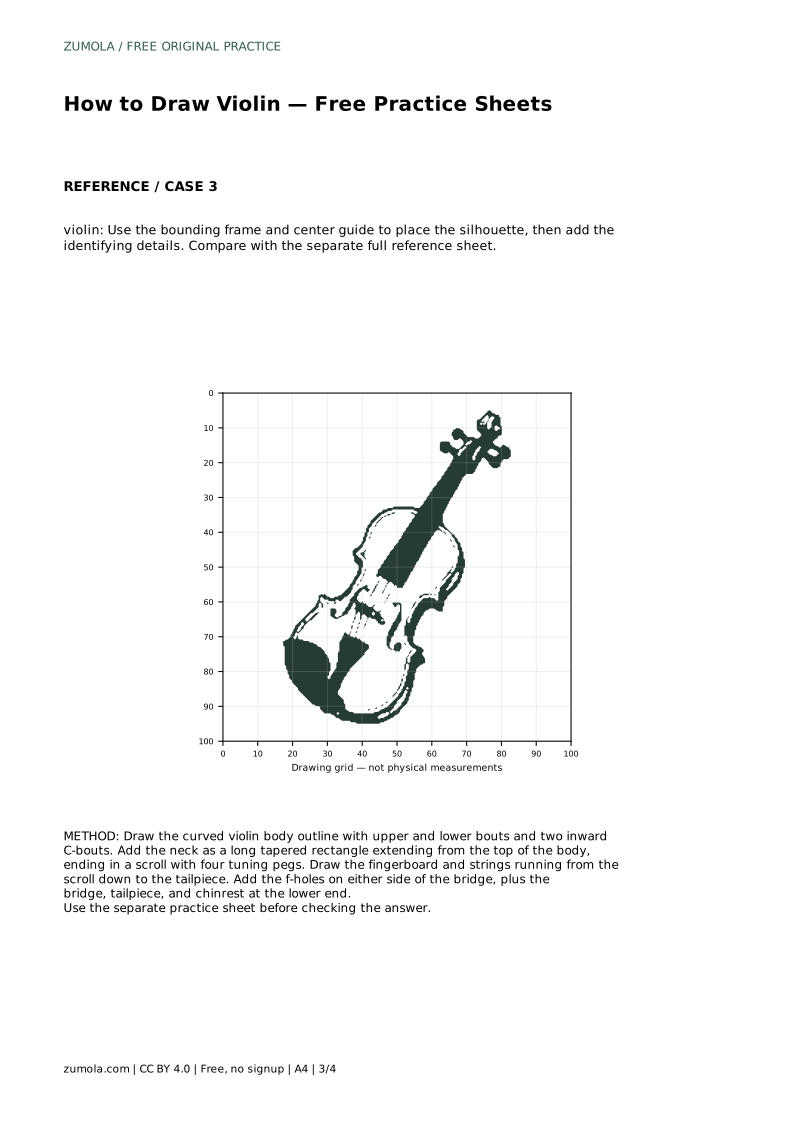
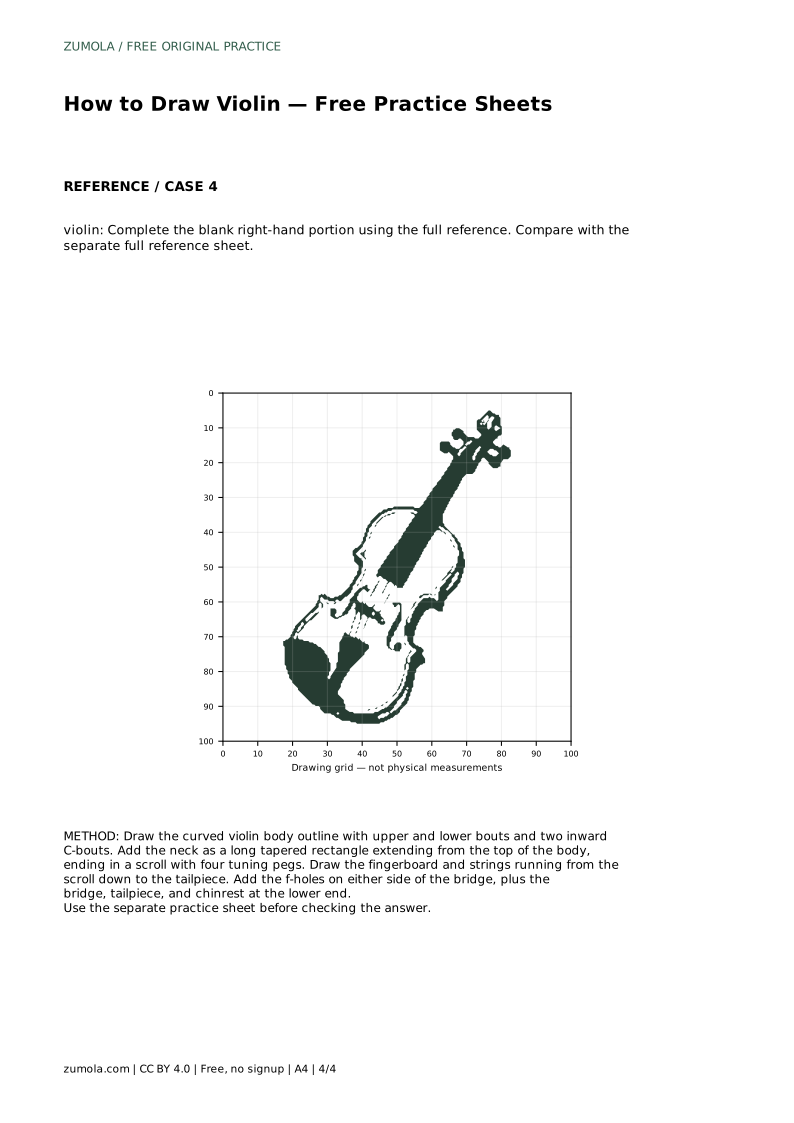
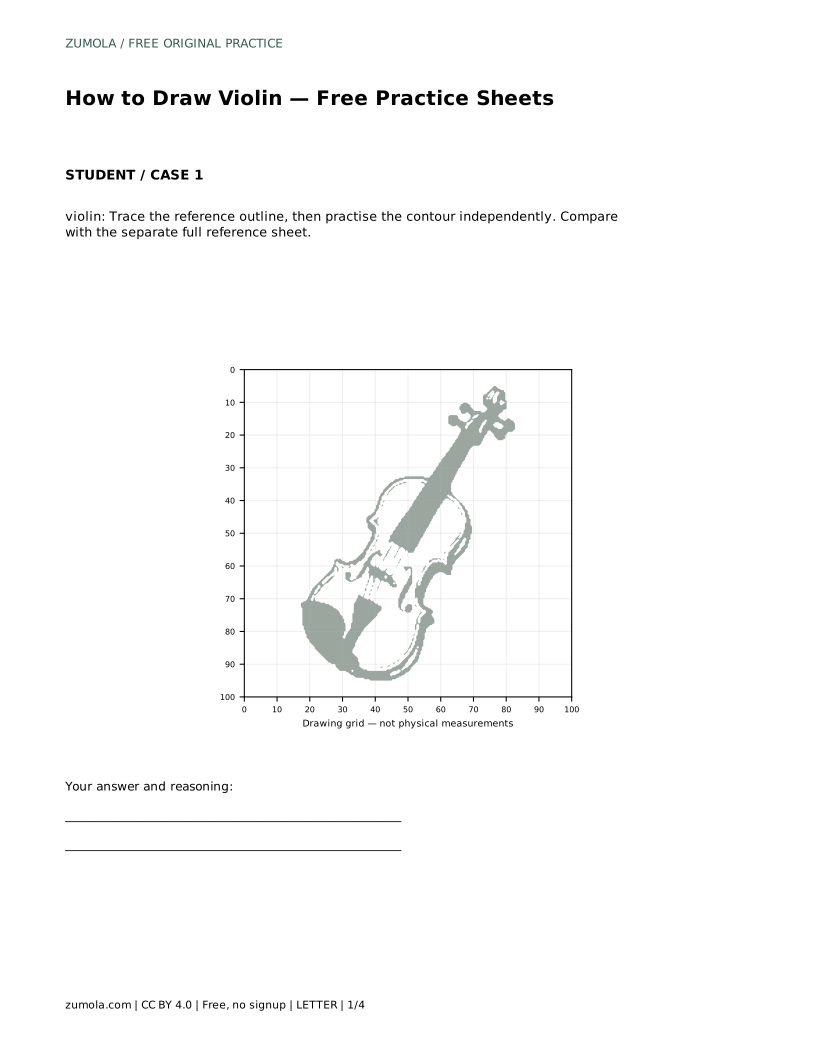
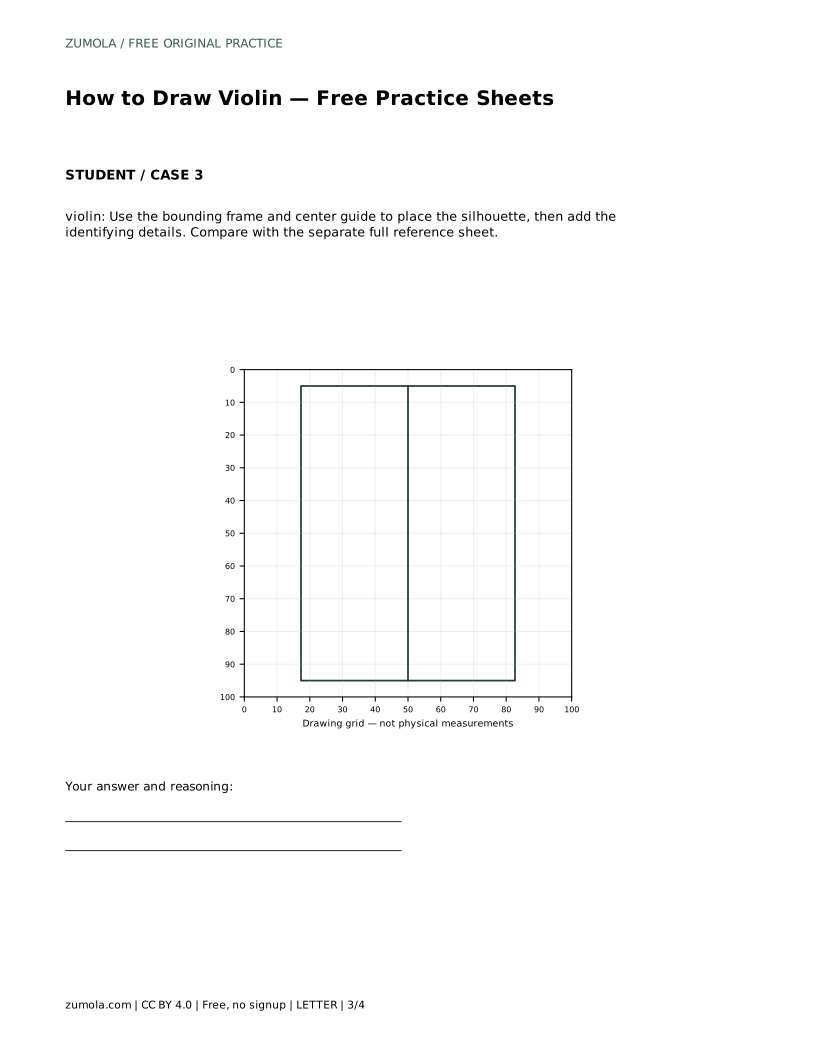
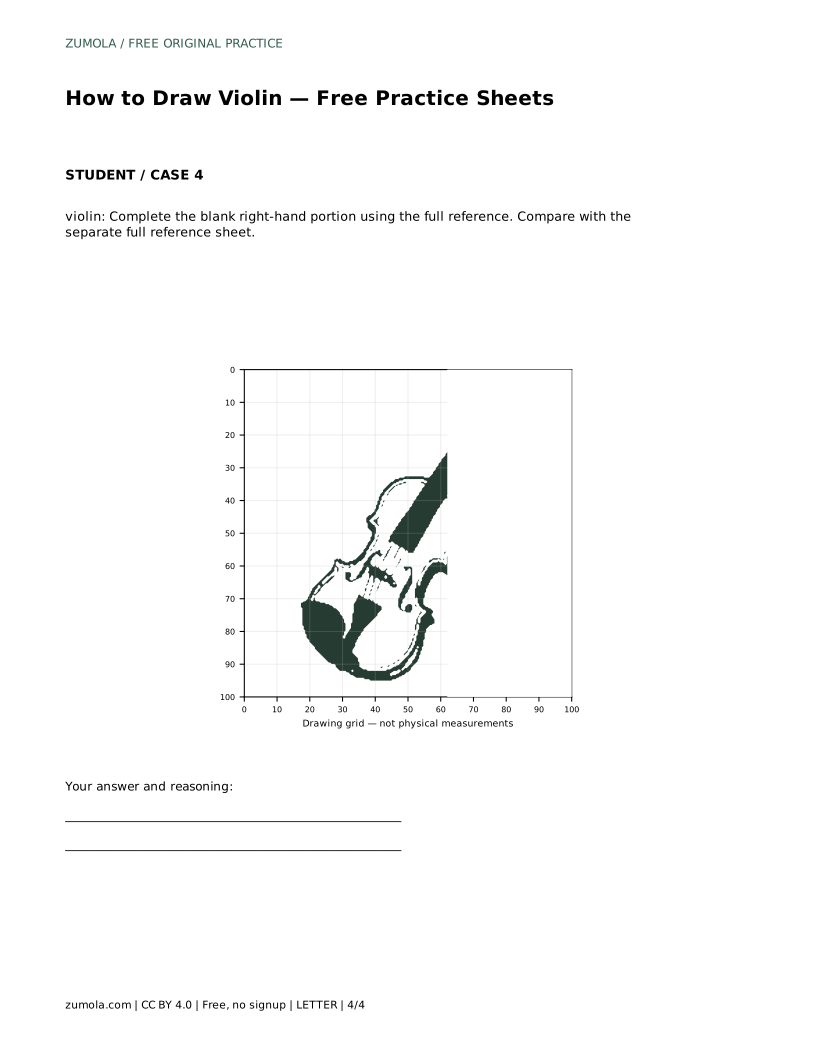
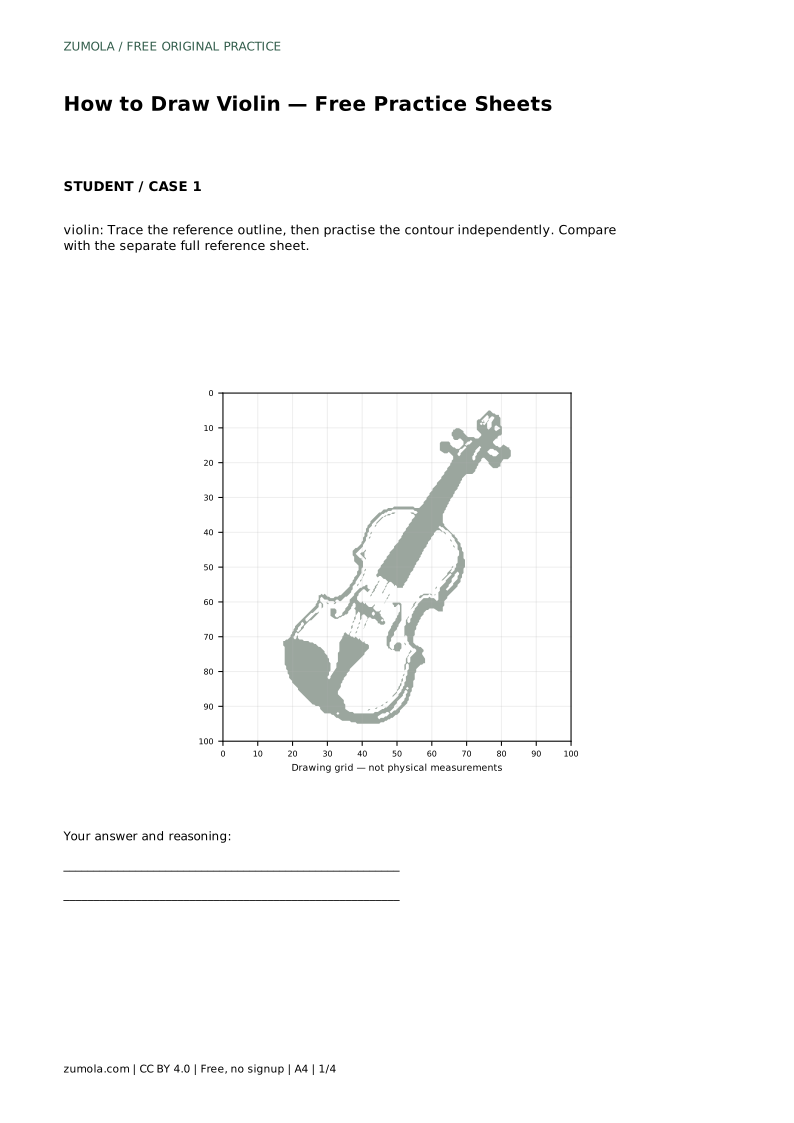
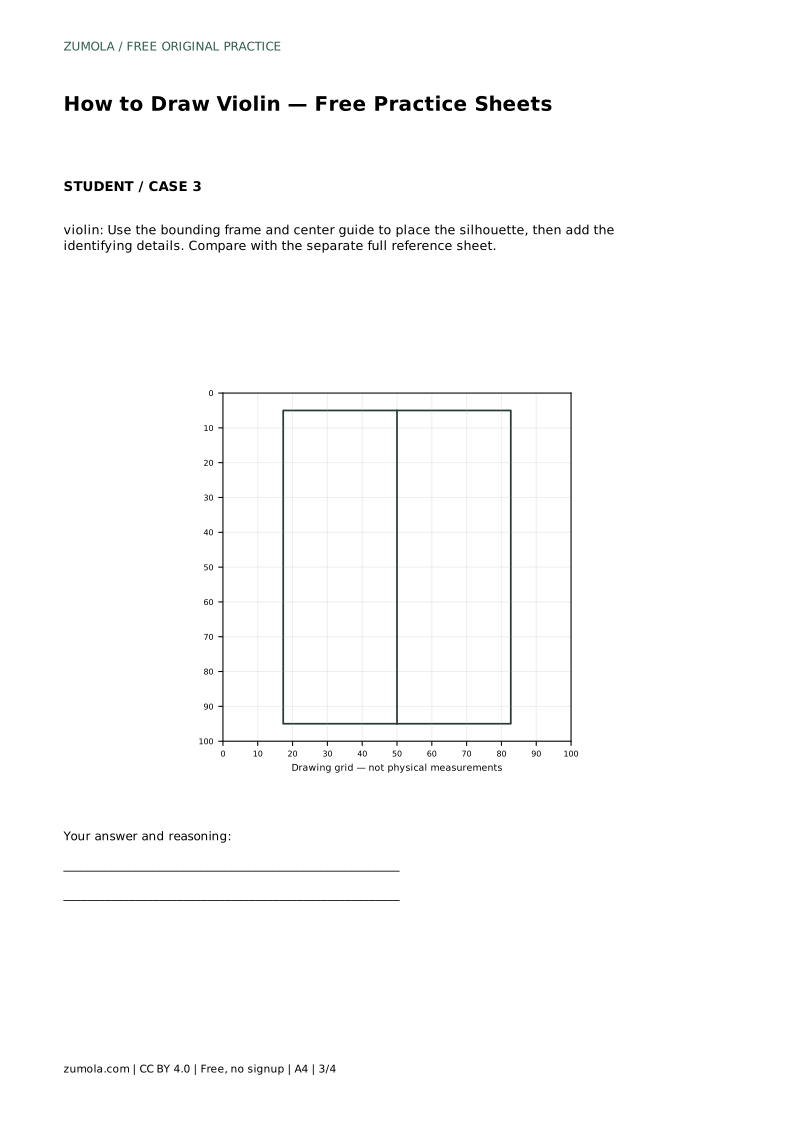
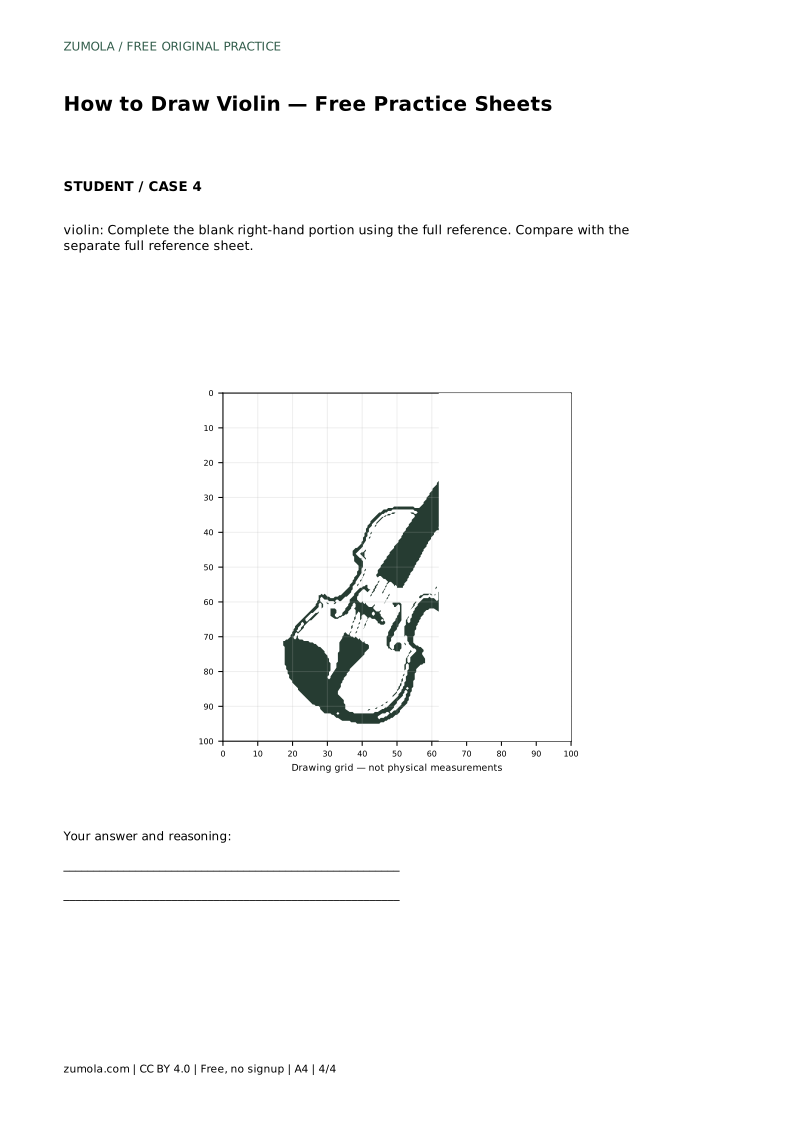
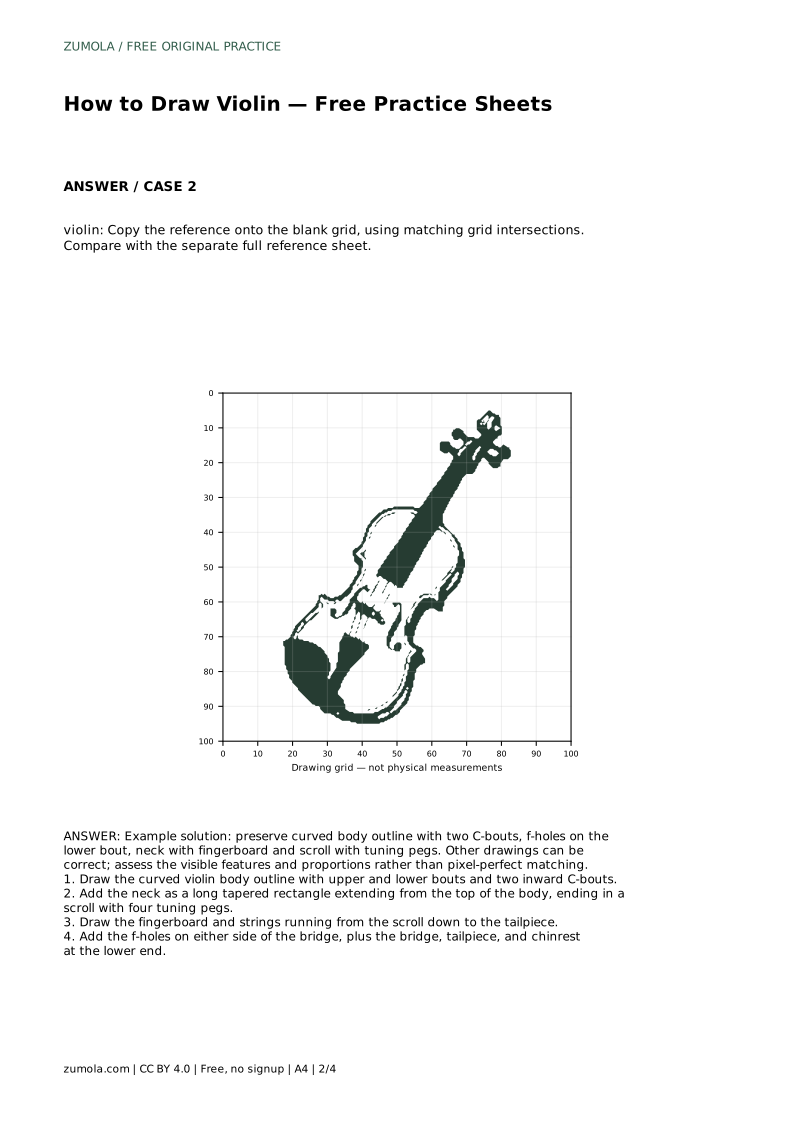
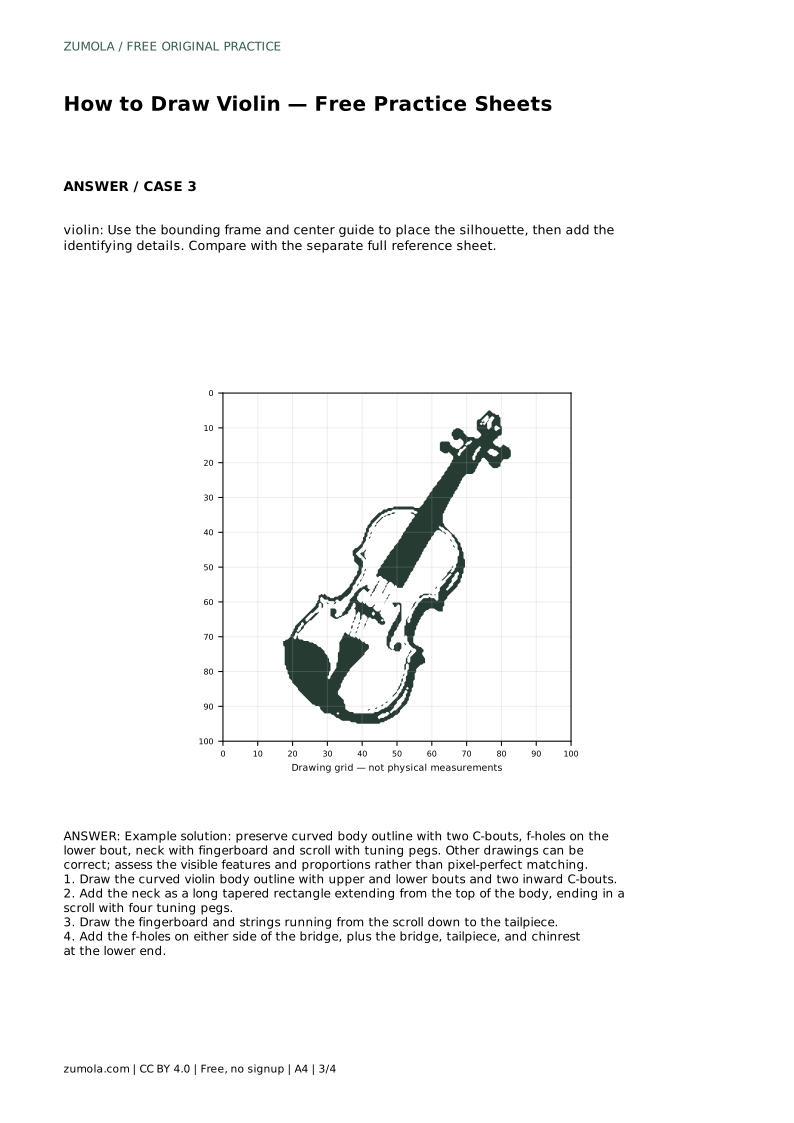
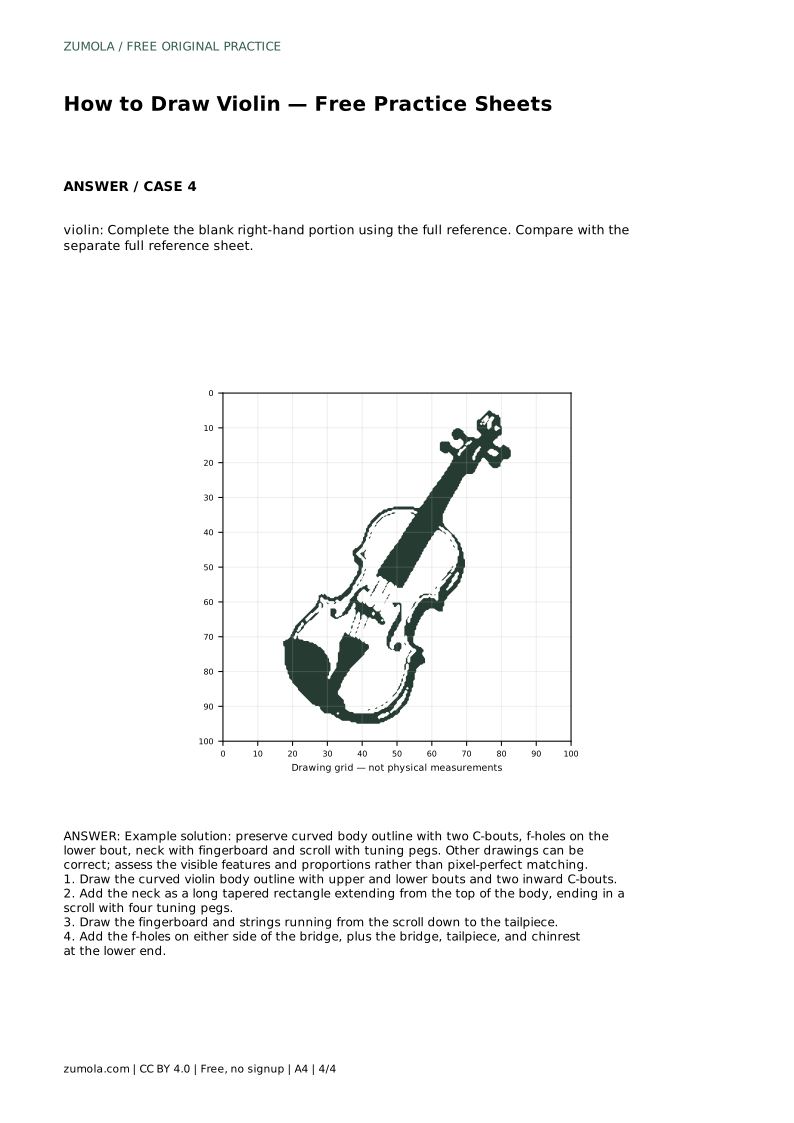
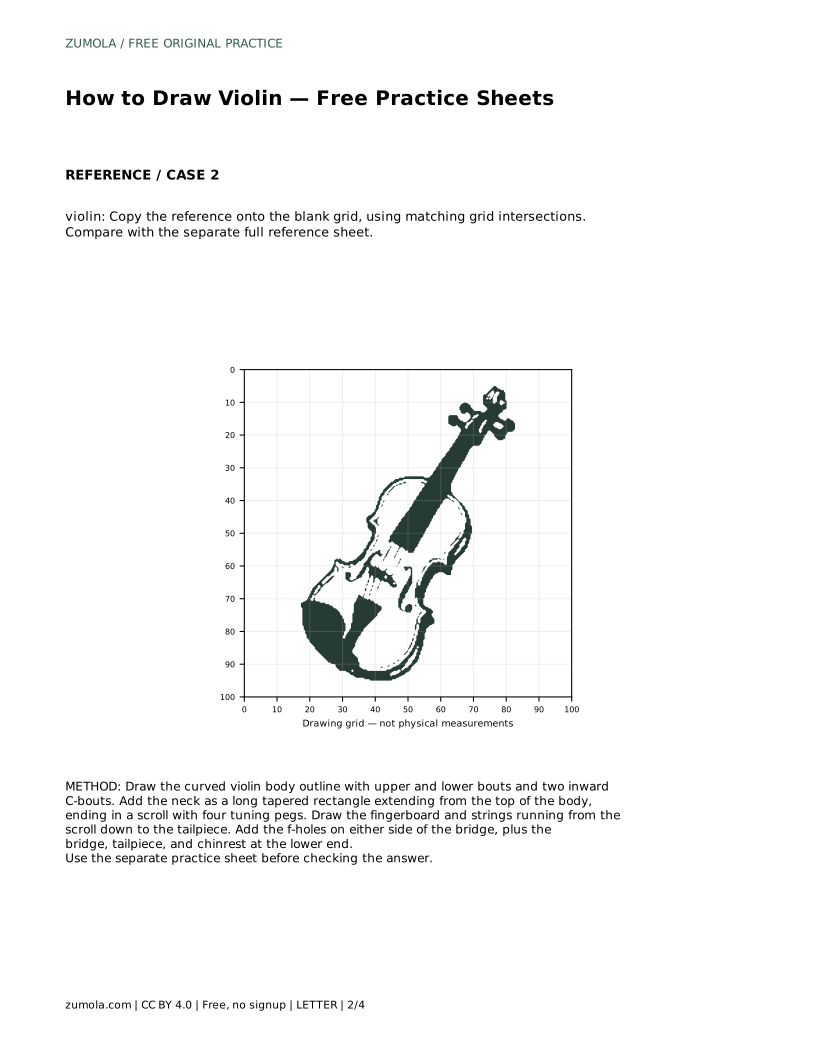
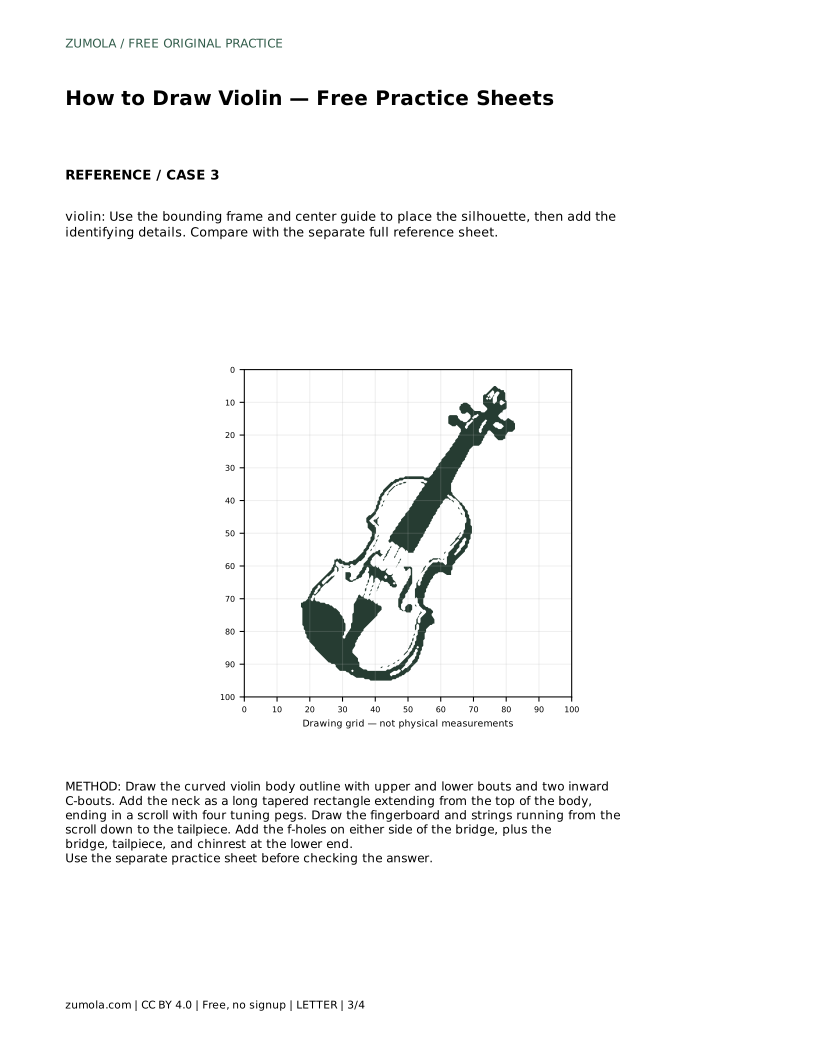
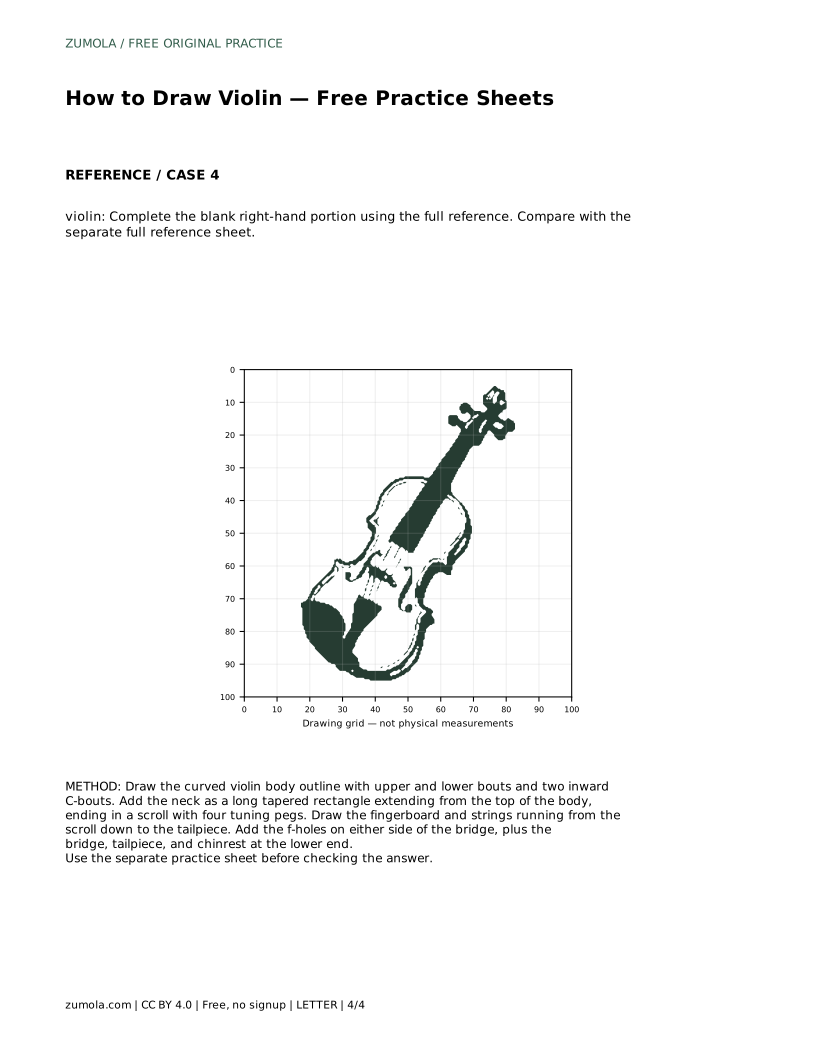
The tracing sheet lets you follow the reference outline first, then try the contour independently on the blank space beside it. The grid sheet asks you to copy the reference onto a blank grid, matching where lines cross grid intersections. The frame sheet gives a bounding frame and center guide so you can place the silhouette before adding details. The partial sheet gives you the left half and asks you to complete the right.
After each attempt, compare with the separate full reference sheet. Ask whether the body is centered, whether the C-bouts match, and whether the neck and scroll are in proportion. Different drawings can be correct; judge the visible features and proportions rather than exact matching.
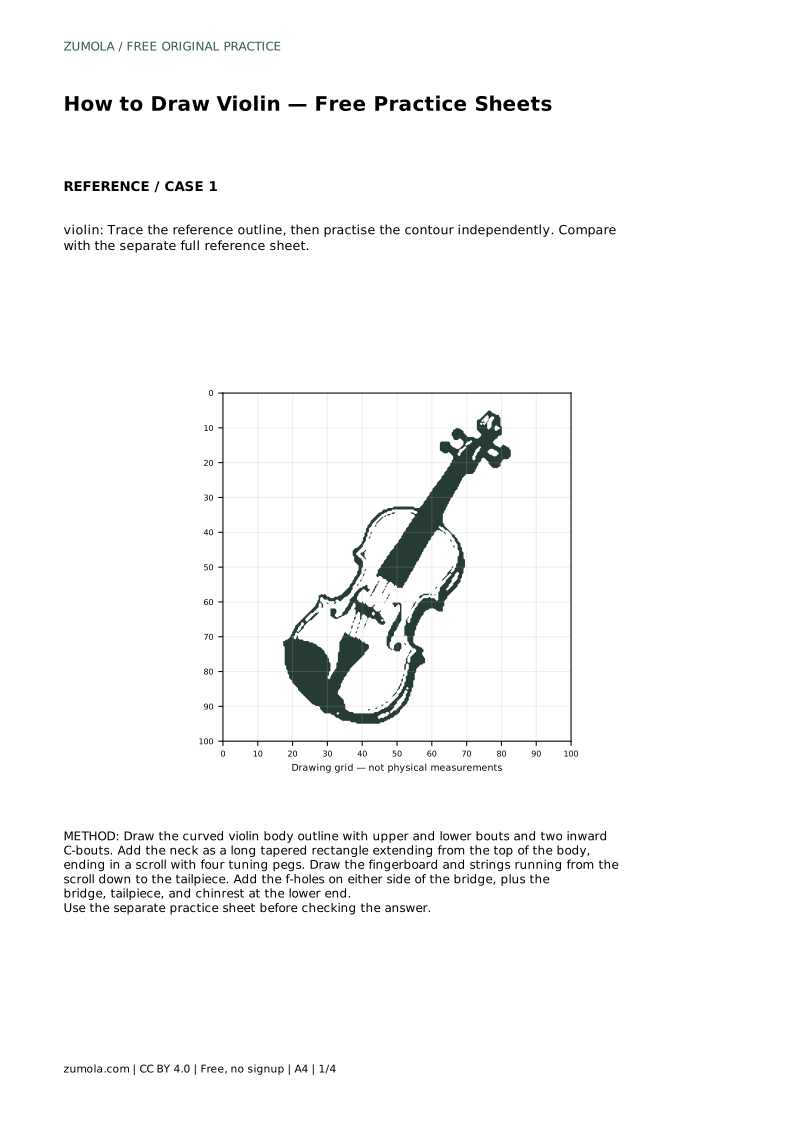
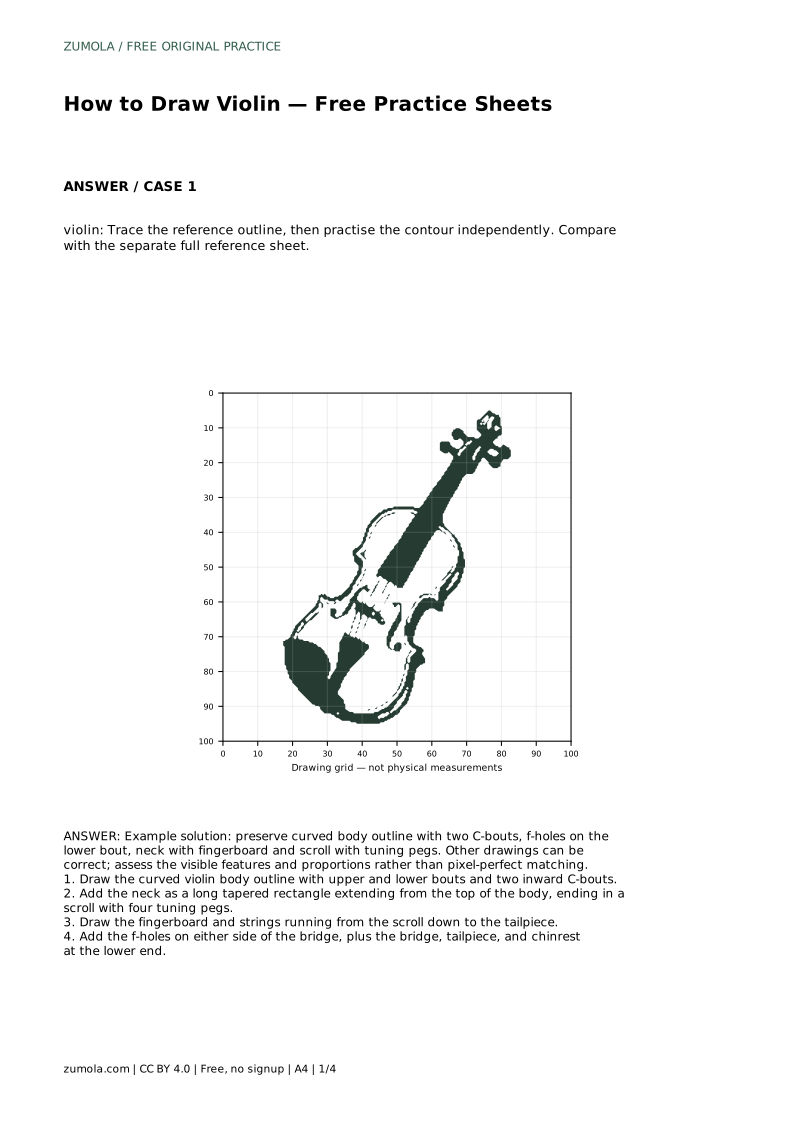
Prompt: Trace the reference outline, then practise the contour independently. Compare with the separate full reference sheet.
Example solution: preserve curved body outline with two C-bouts, f-holes on the lower bout, neck with fingerboard and scroll with tuning pegs. Other drawings can be correct; assess the visible features and proportions rather than pixel-perfect matching.
violin: Trace the reference outline, then practise the contour independently. Compare with the separate full reference sheet.
Example solution: preserve curved body outline with two C-bouts, f-holes on the lower bout, neck with fingerboard and scroll with tuning pegs. Other drawings can be correct; assess the visible features and proportions rather than pixel-perfect matching. Draw the curved violin body outline with upper and lower bouts and two inward C-bouts. Add the neck as a long tapered rectangle extending from the top of the body, ending in a scroll with four tuning pegs. Draw the fingerboard and strings running from the scroll down to the tailpiece. Add the f-holes on either side of the bridge, plus the bridge, tailpiece, and chinrest at the lower end.
No. A recognizable violin needs the curved body with C-bouts, the neck and scroll, the fingerboard and strings, and the f-holes, bridge, and tailpiece. Small differences in proportion are acceptable.
Start with the tracing sheet to learn the contour, then move to the grid or frame sheet to practise placing the shape without tracing.
Draw four strings running from the scroll, over the fingerboard, down to the tailpiece.
All drawing practice · Free coordinate paper
Original resources · CC BY 4.0 · Free for personal and classroom use with attribution.