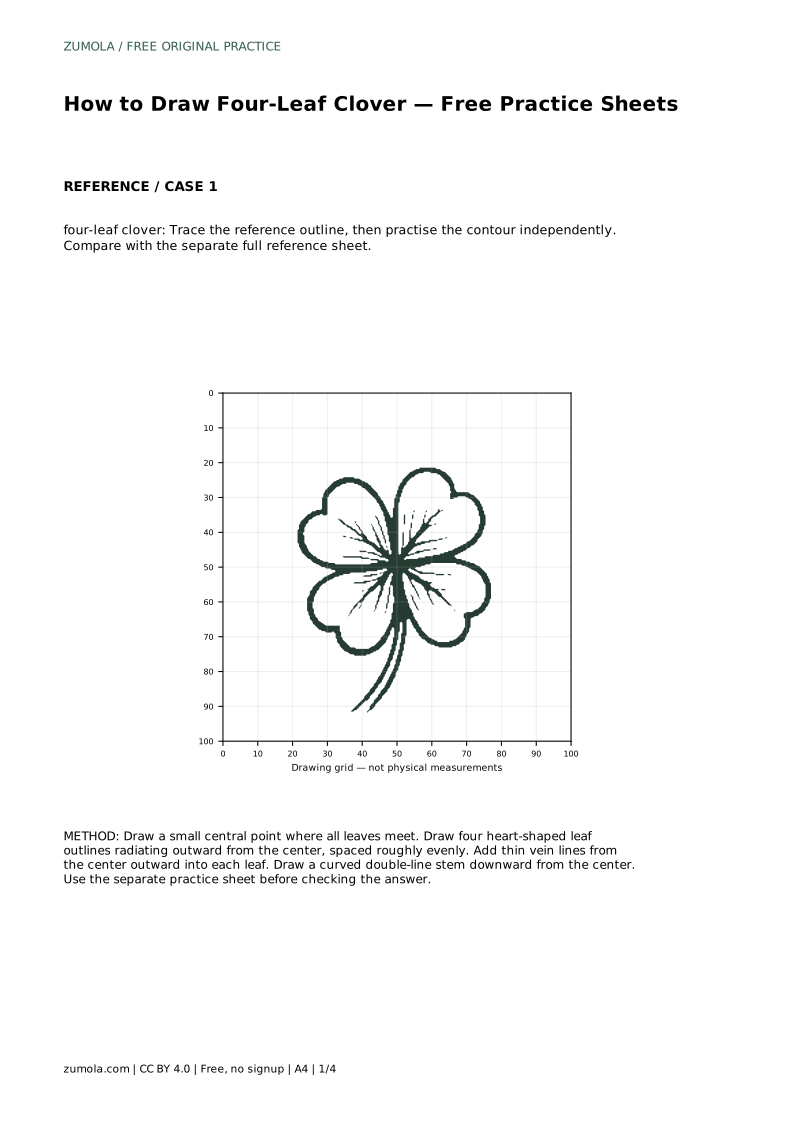
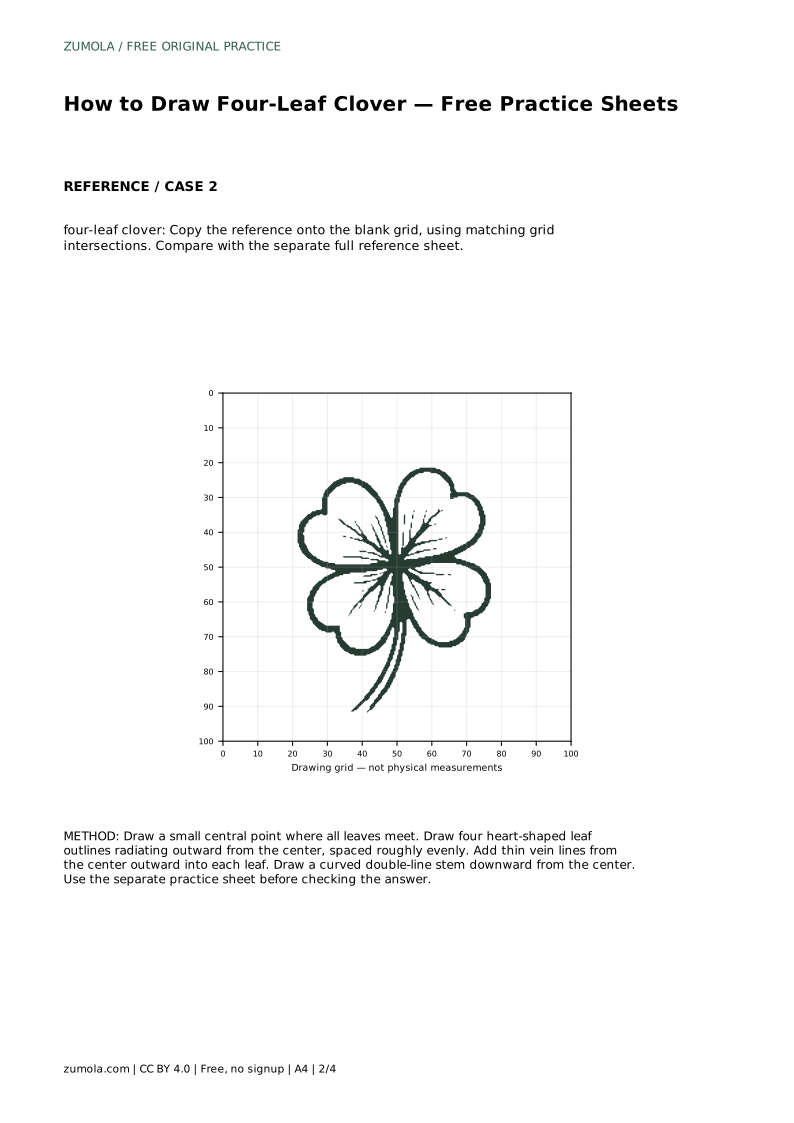
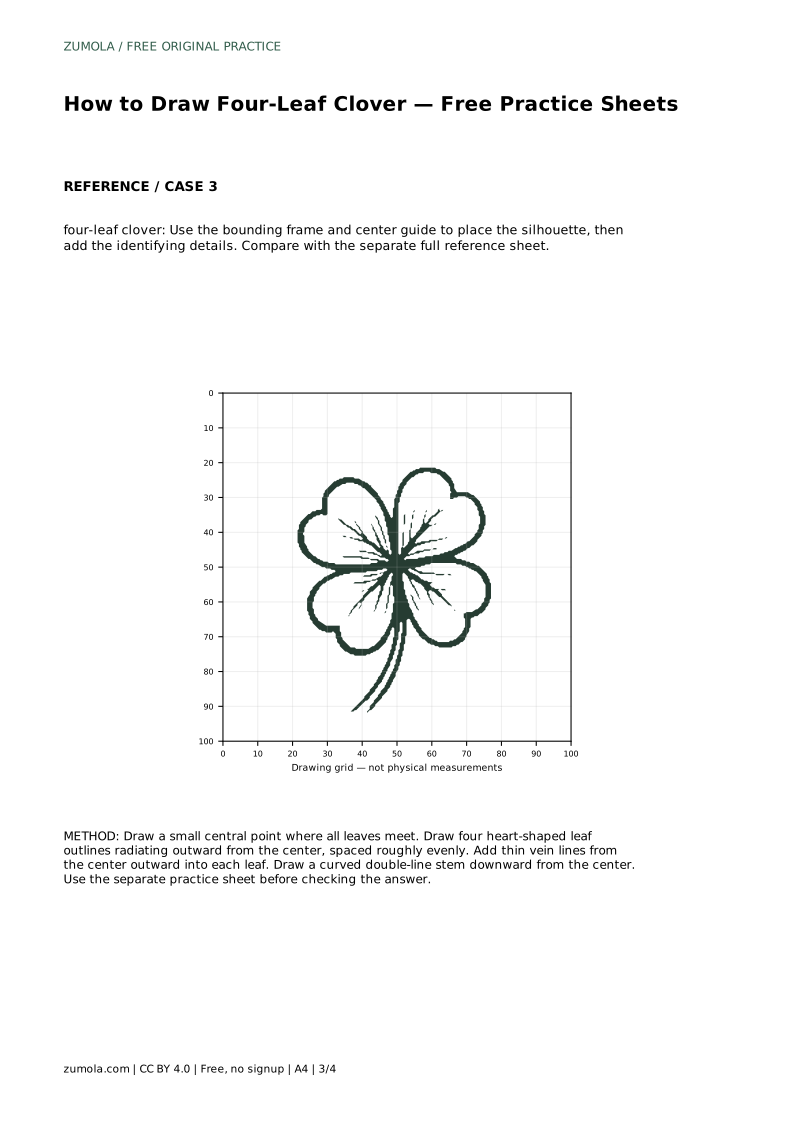
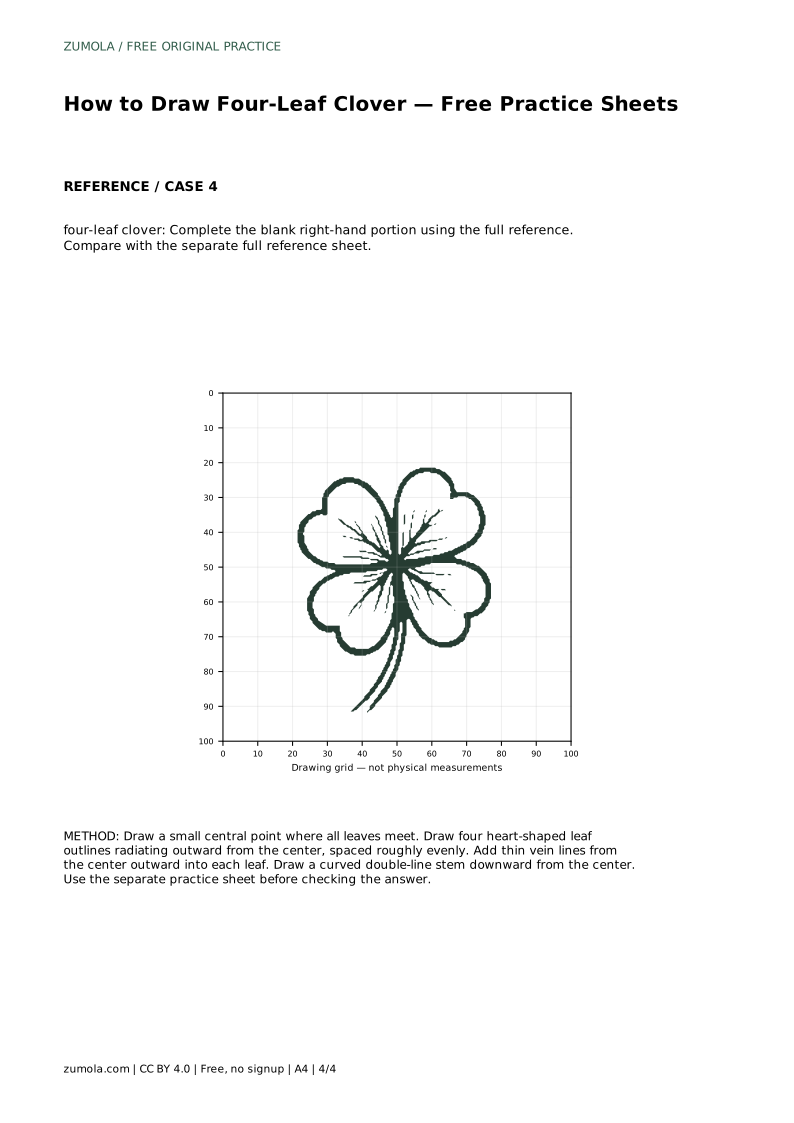
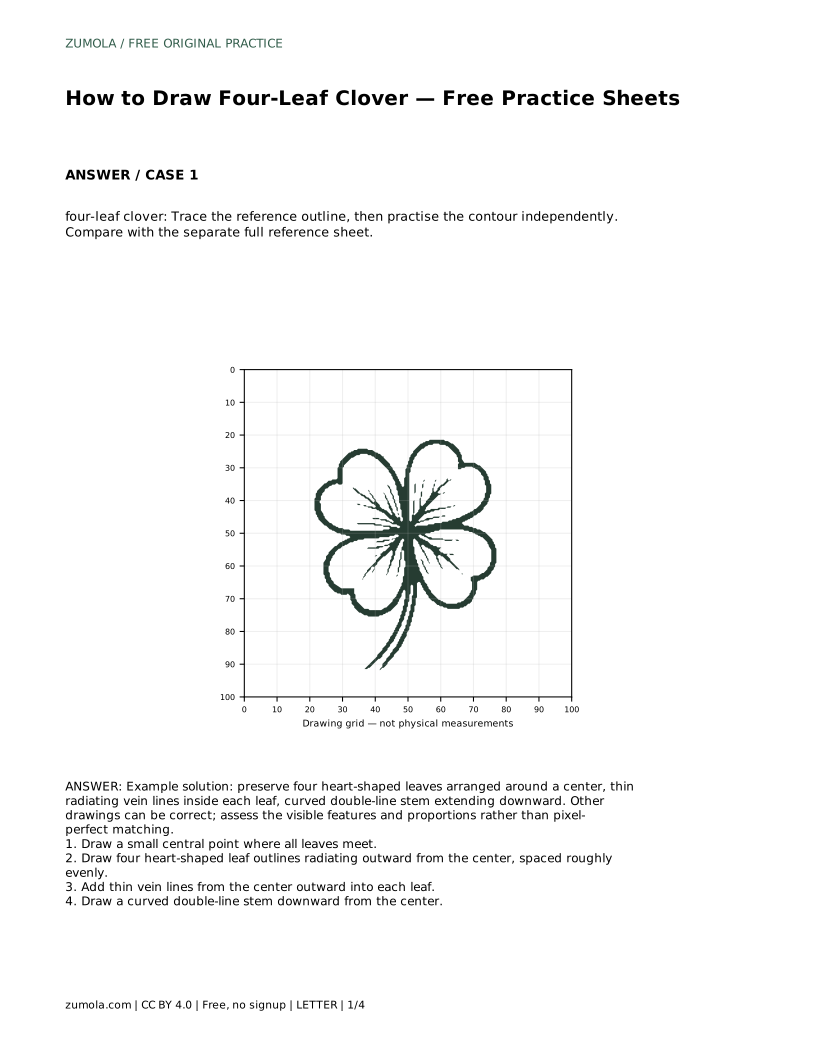
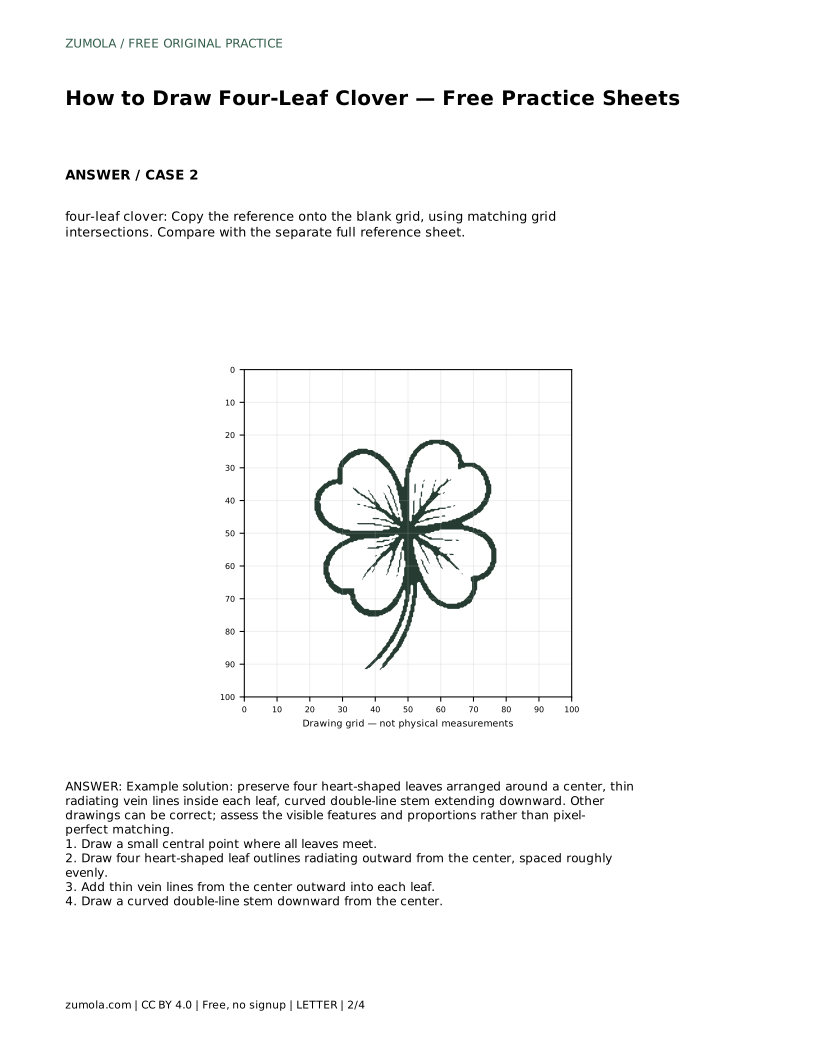
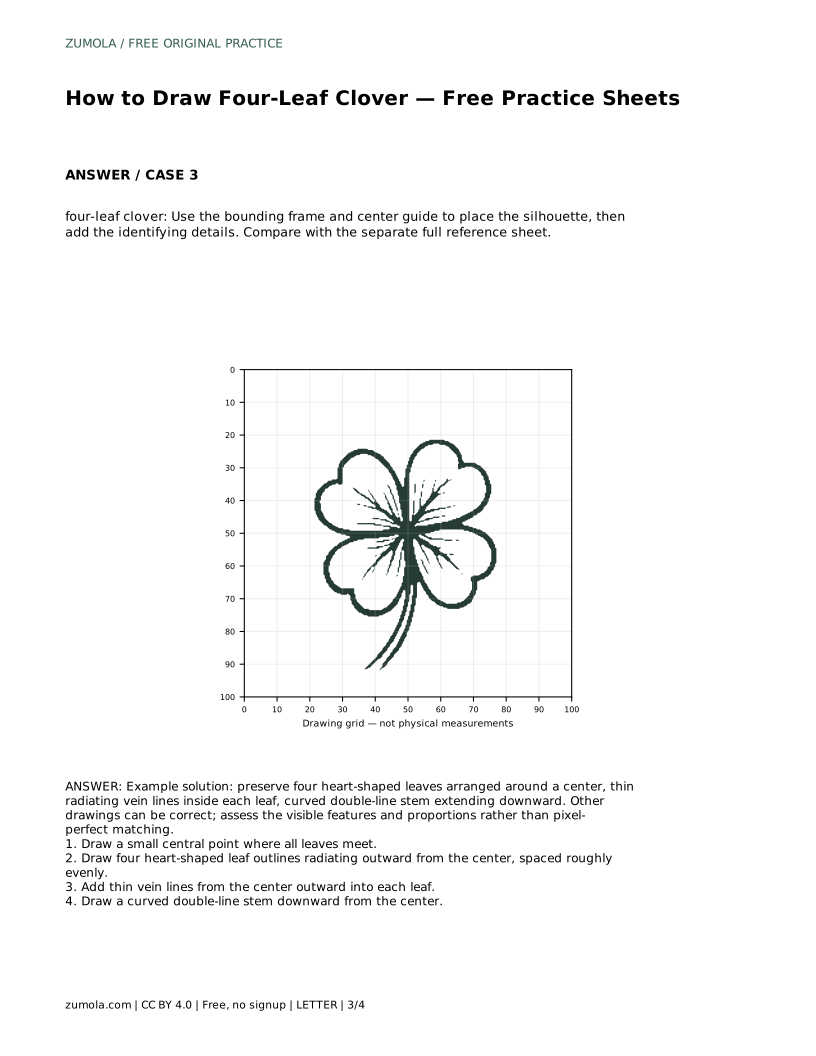
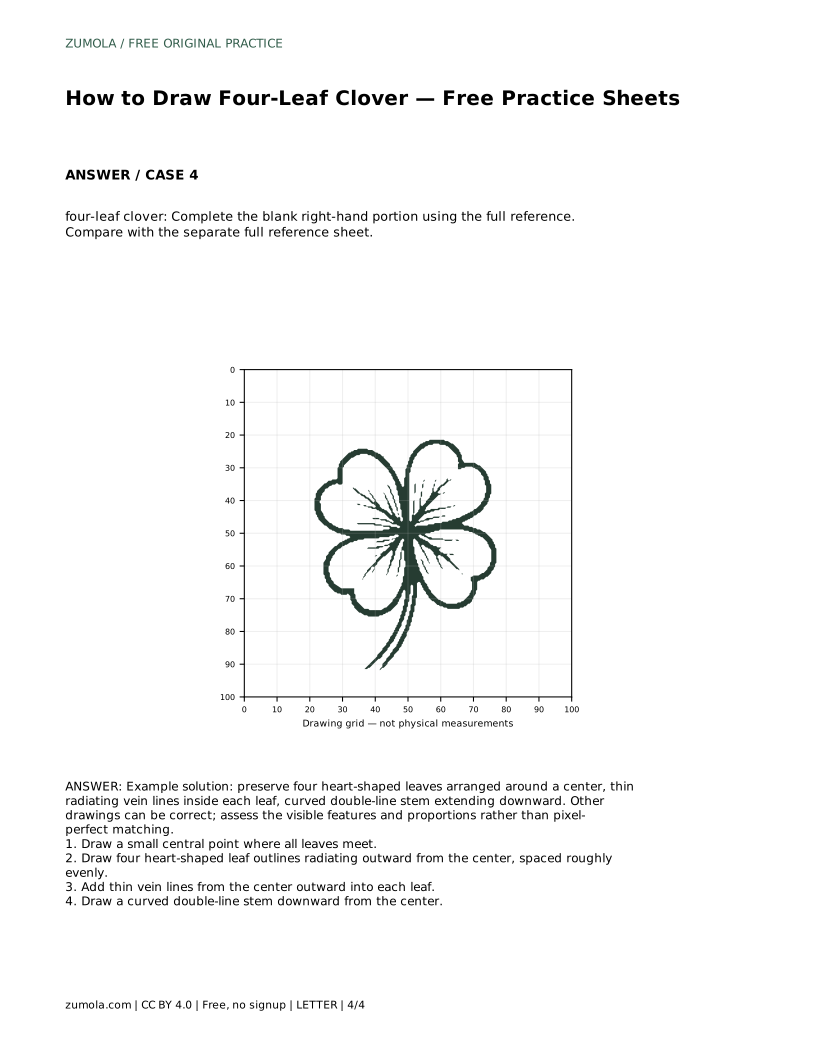
Reference diagrams
LETTER · Download PDF
A4 · Download PDF
Free original resources
Learn to draw a four-leaf clover with four heart-shaped leaves, radiating veins, and a curved double-line stem. Practice with tracing, grid, and outline sheets.
Four original cases, with reference diagrams, practice sheets and worked answers. Everything is free; no signup required.
LETTER · Download PDF
A4 · Download PDF
LETTER · Download PDF
A4 · Download PDF
LETTER · Download PDF
A4 · Download PDF
Use A4 or US Letter to match your printer. Use the stated values and conditions to solve each exercise; diagrams are not physical measuring rulers.
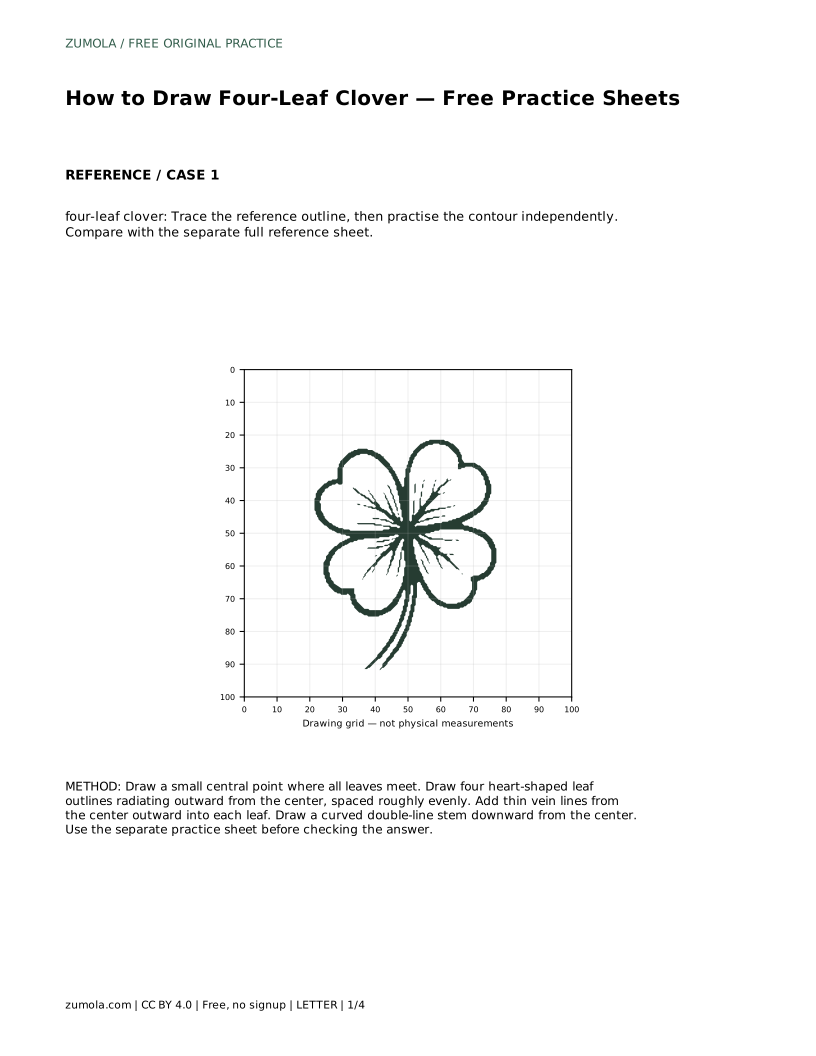
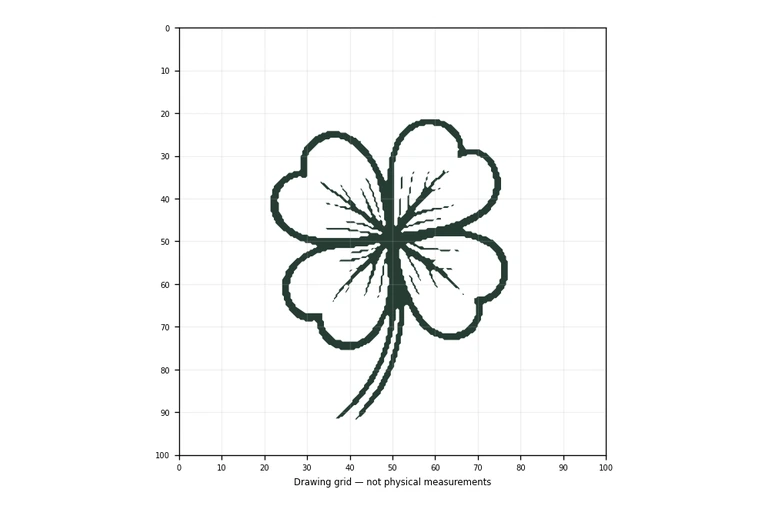
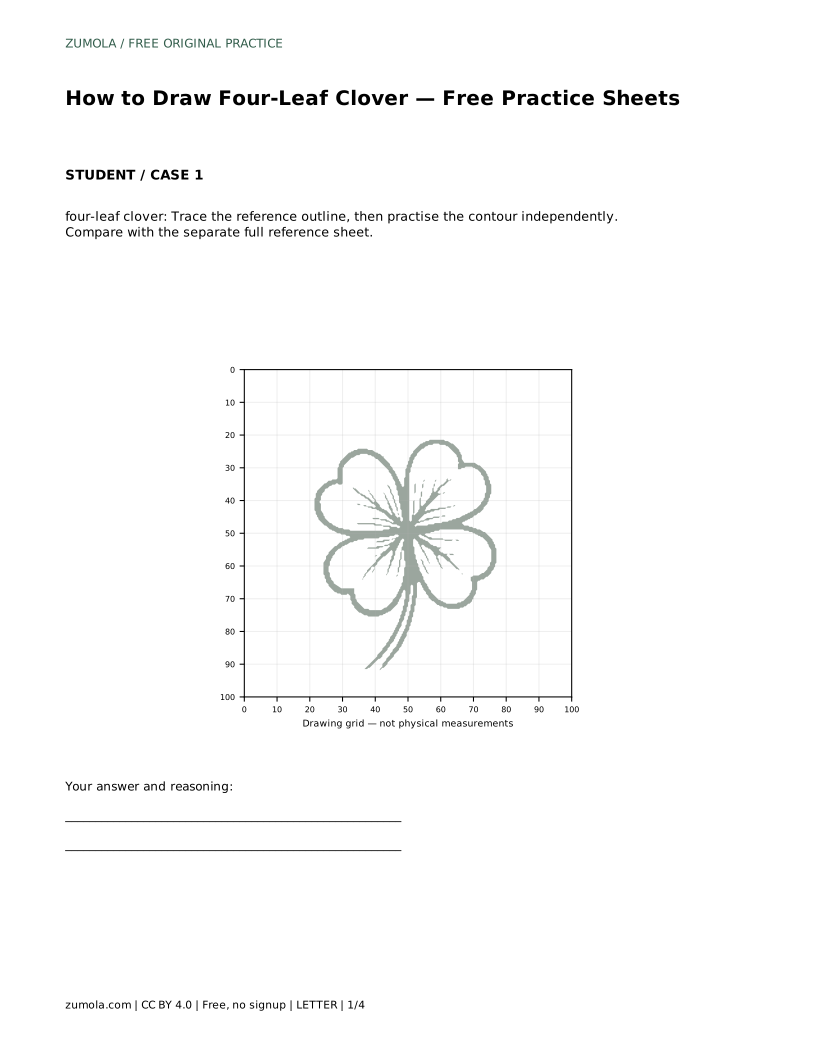
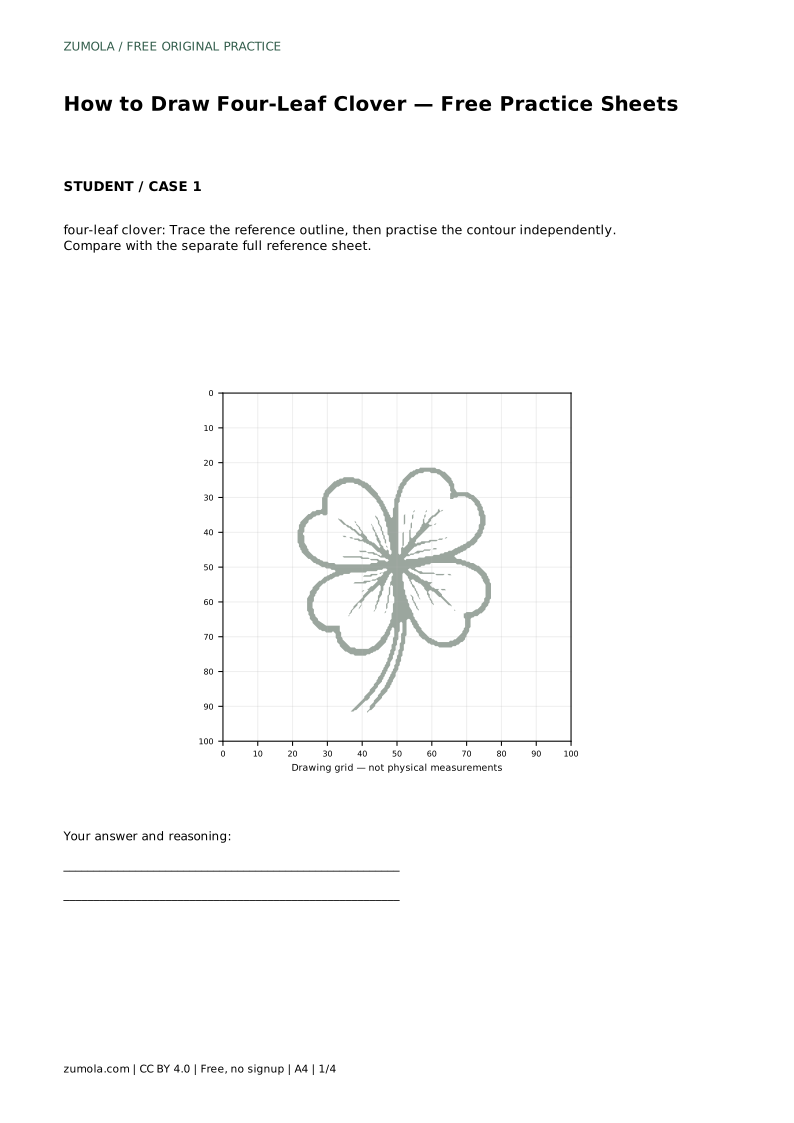
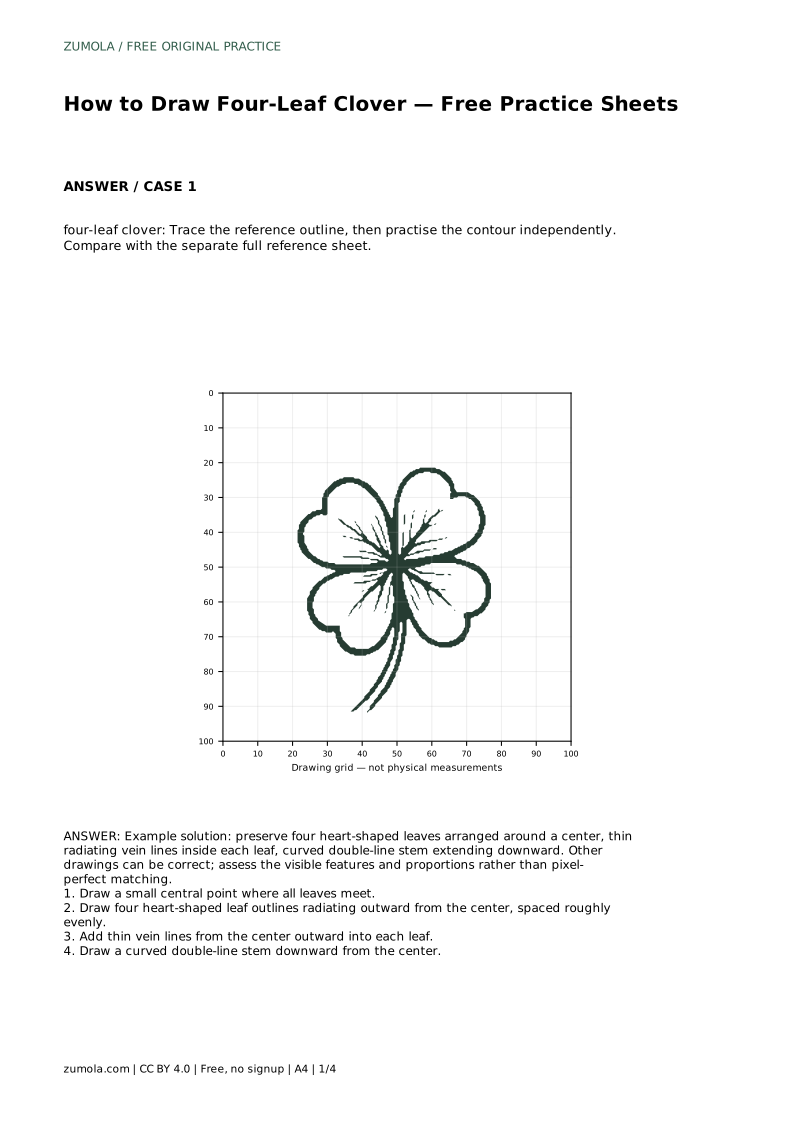
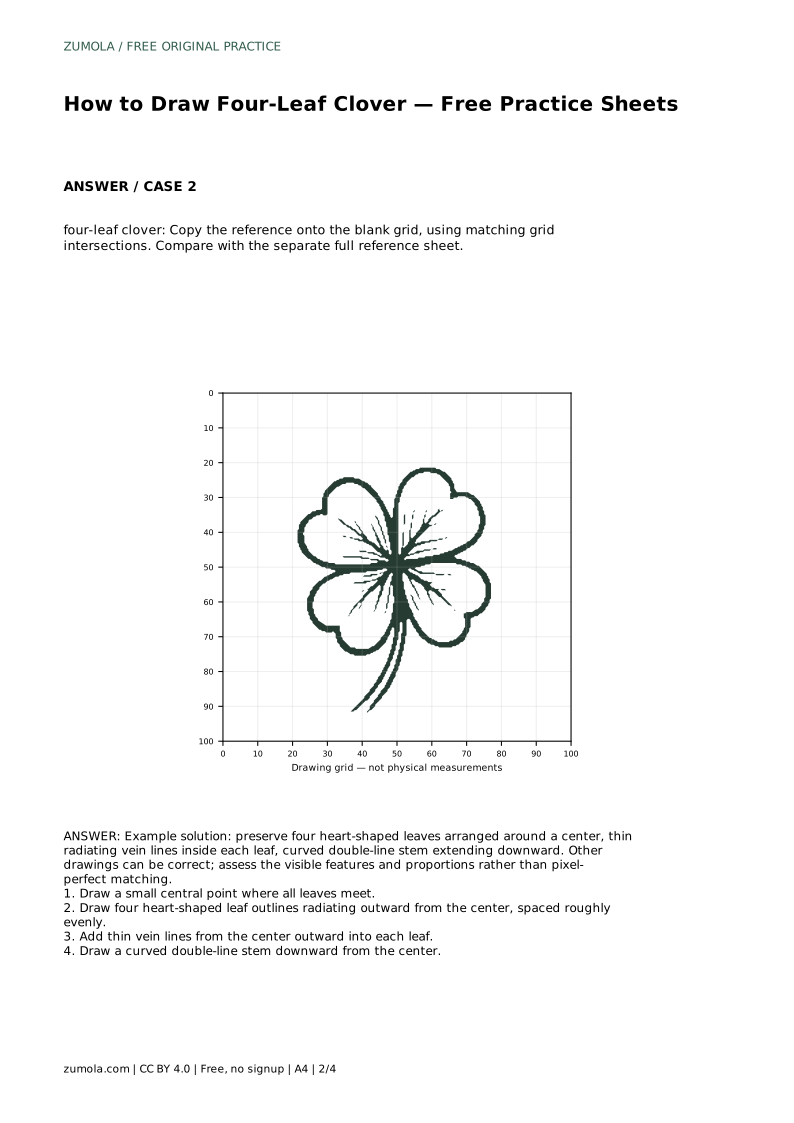
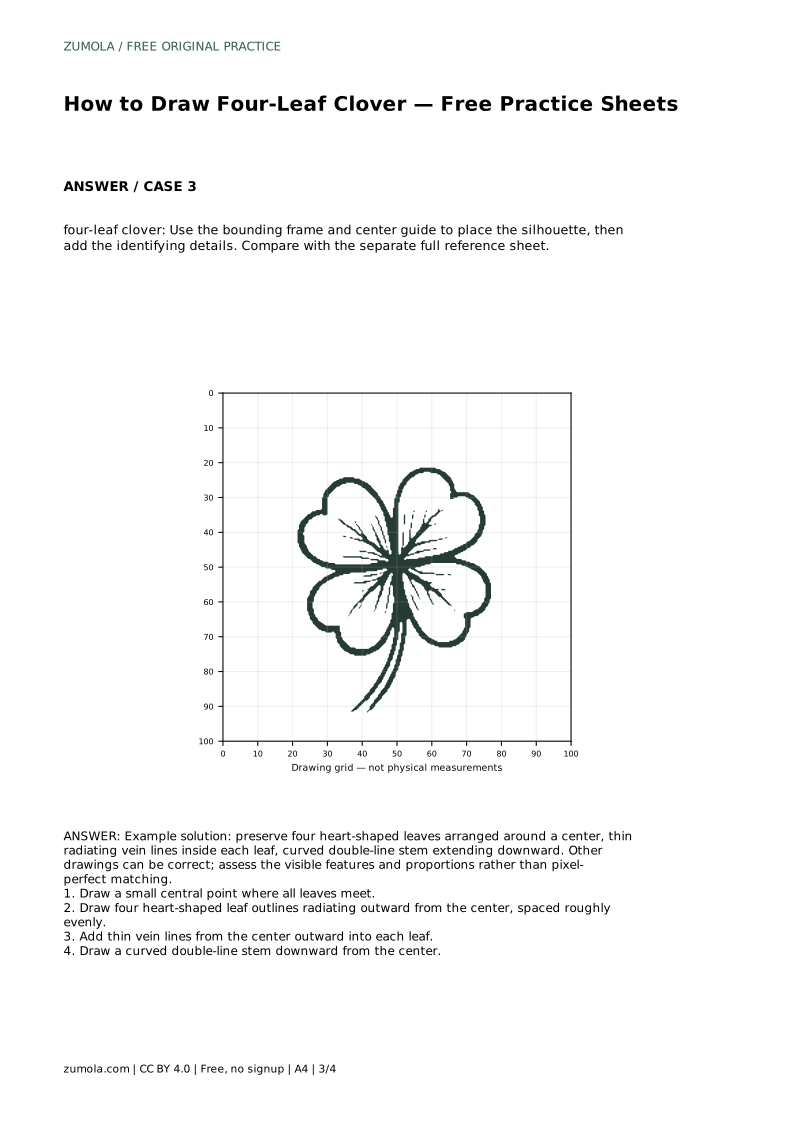
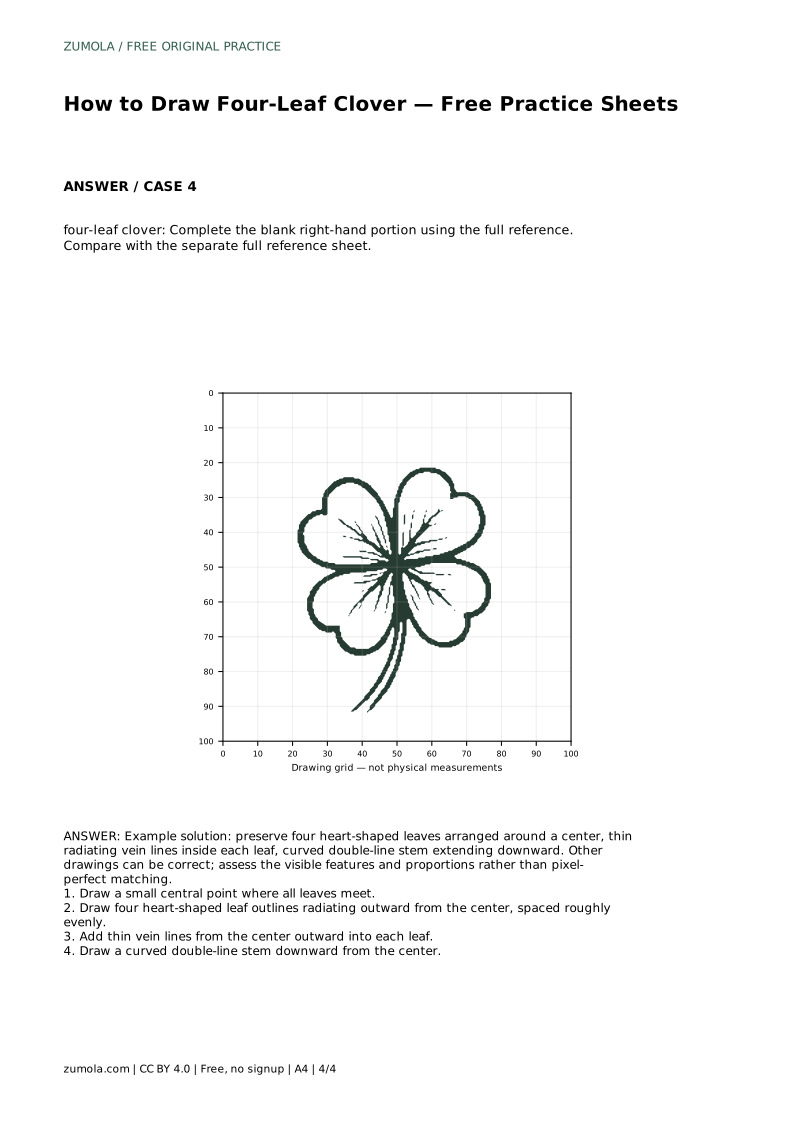
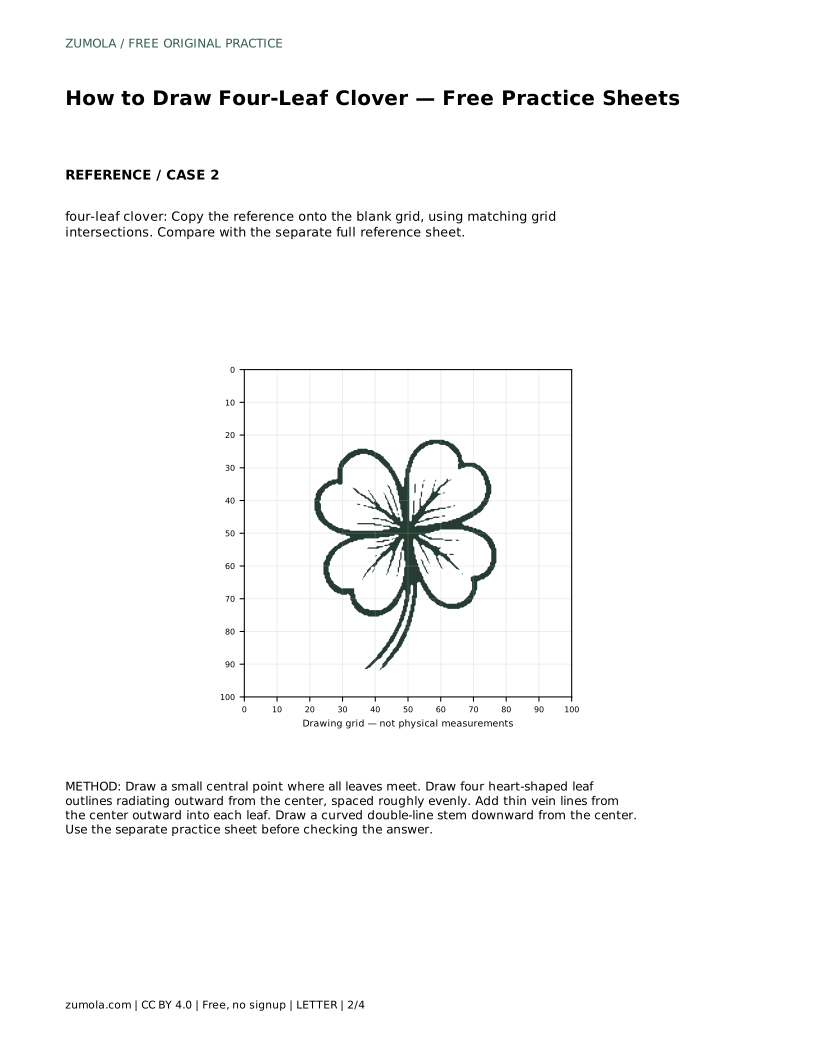
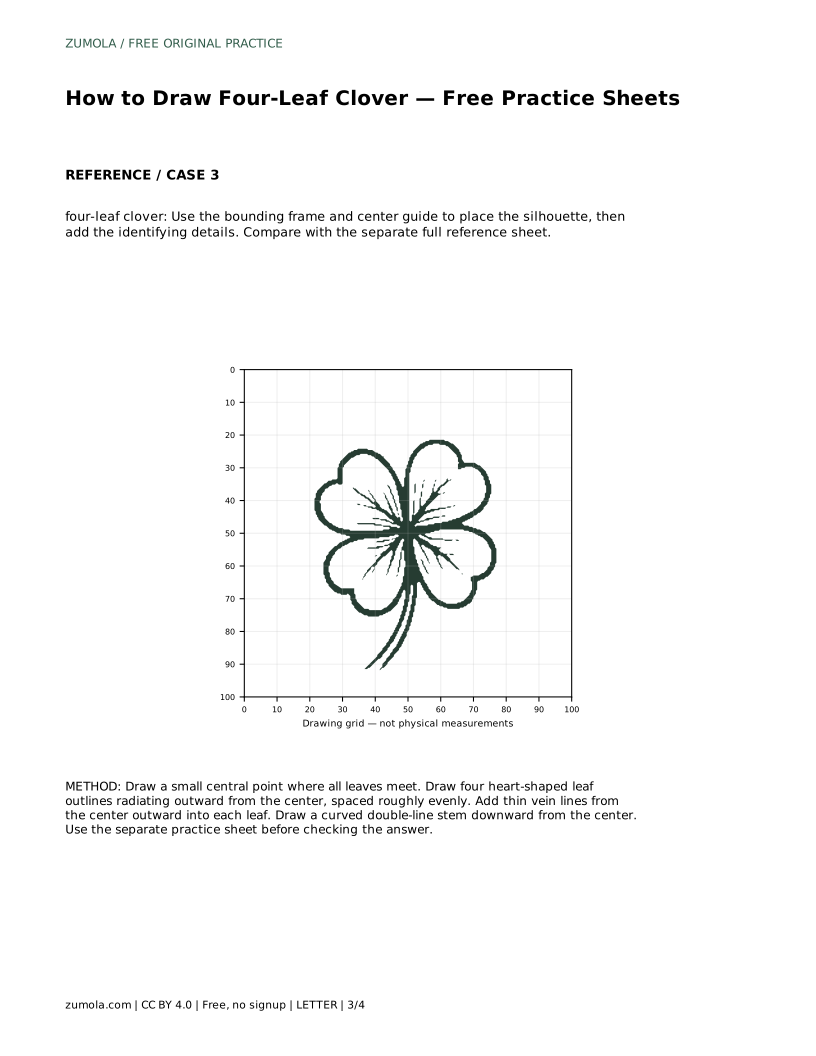
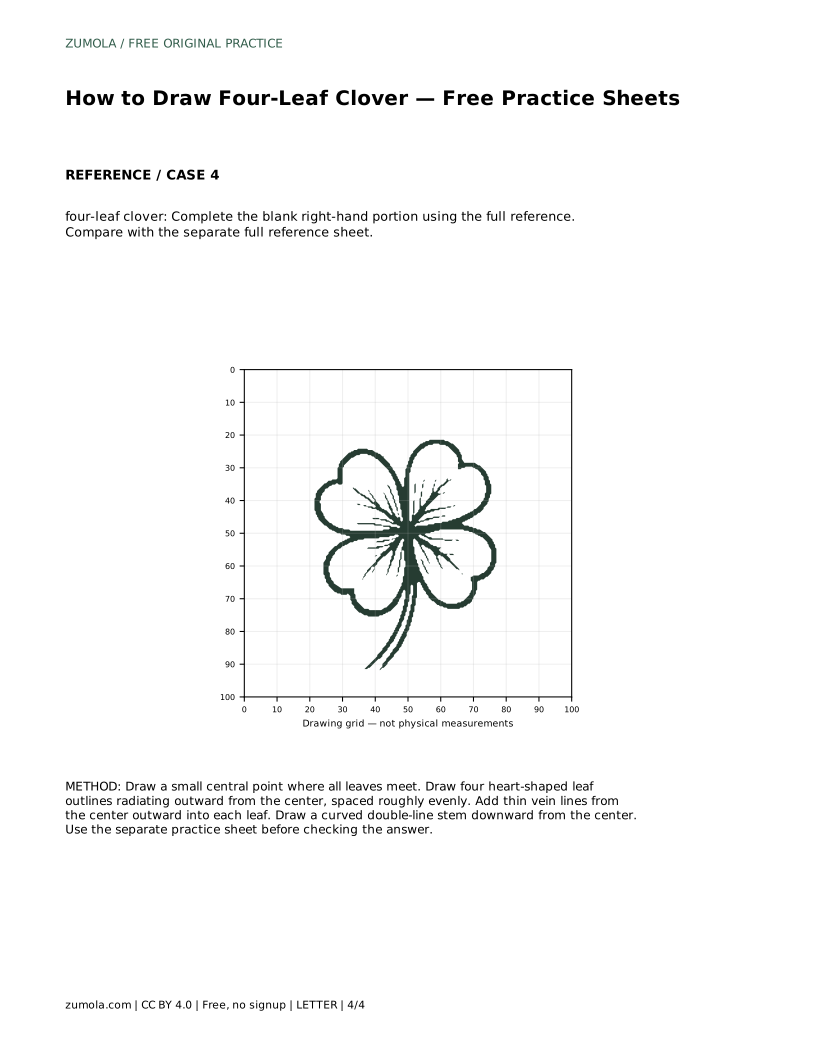
A four-leaf clover is a simple shape built from repeated parts: four heart-shaped leaves meeting at one center, thin veins spreading outward, and a curved stem drawn with two lines. This guide explains how to place those parts in order so your drawing stays balanced. You can trace a reference outline first, then try the contour independently and compare your result with the full reference sheet.
Every four-leaf clover drawing begins at a single meeting point. Mark a small central point on your paper. All four leaves will radiate from this spot, so its position controls the balance of the whole drawing.
Each leaf is heart-shaped, with its rounded lobes facing outward and its narrow tip pointing toward the center. Draw four of these outlines around the center, spaced roughly evenly. Even spacing matters more than perfect symmetry; a clover that leans slightly can still look correct. Keep the leaves similar in size so no single leaf dominates.
Veins give the clover its recognizable texture. Draw thin lines from the center outward into each leaf, following the leaf's direction. A few lines per leaf is enough; the veins should stay thin so they read as detail rather than as extra leaf edges.
The stem extends downward from the center. Draw it as two curved lines running close together, not a single stroke. The double line suggests the stem's thickness and keeps it visually consistent with the leaf outlines. A gentle curve looks natural; a perfectly straight stem is also acceptable if you prefer a tidier look.
Tracing the reference outline first helps you feel the shape before drawing it freehand. Follow the outline carefully, then set the traced sheet aside and draw the clover again on blank paper without looking at the outline. This second attempt shows which parts you have learned and which need more practice.
After drawing independently, compare your work with the separate full reference sheet. Look at the four leaves, their spacing, the vein lines, and the stem. Small differences in proportion are normal. The goal is to preserve the visible features, not to match every pixel.
Grid sheets help with placement. Copy the reference onto the blank grid by matching grid intersections, so each leaf lands in the same relative position. This method trains you to judge distance and alignment rather than relying on memory.
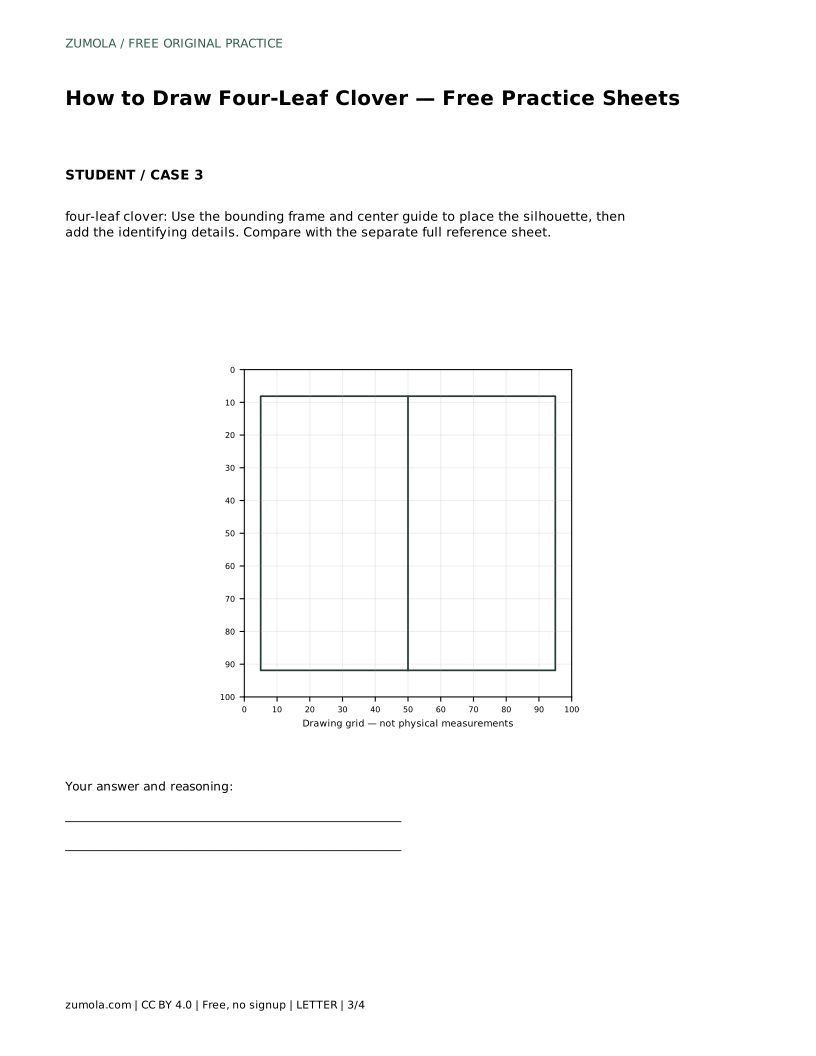
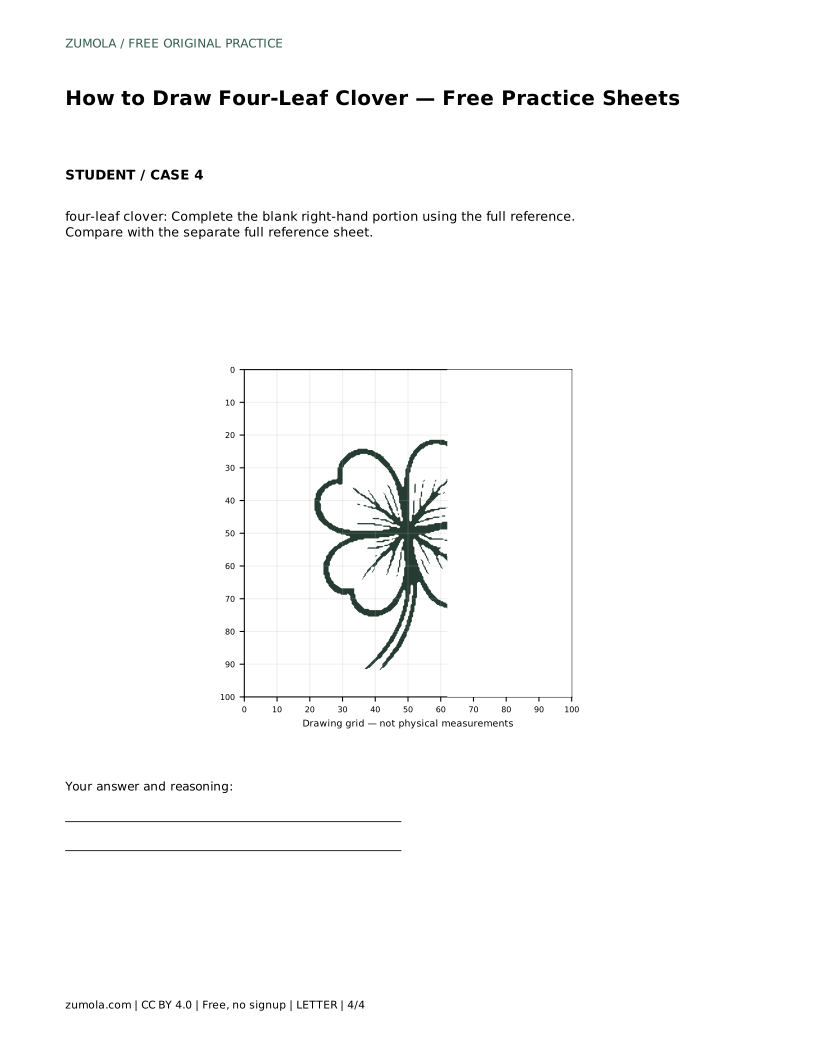
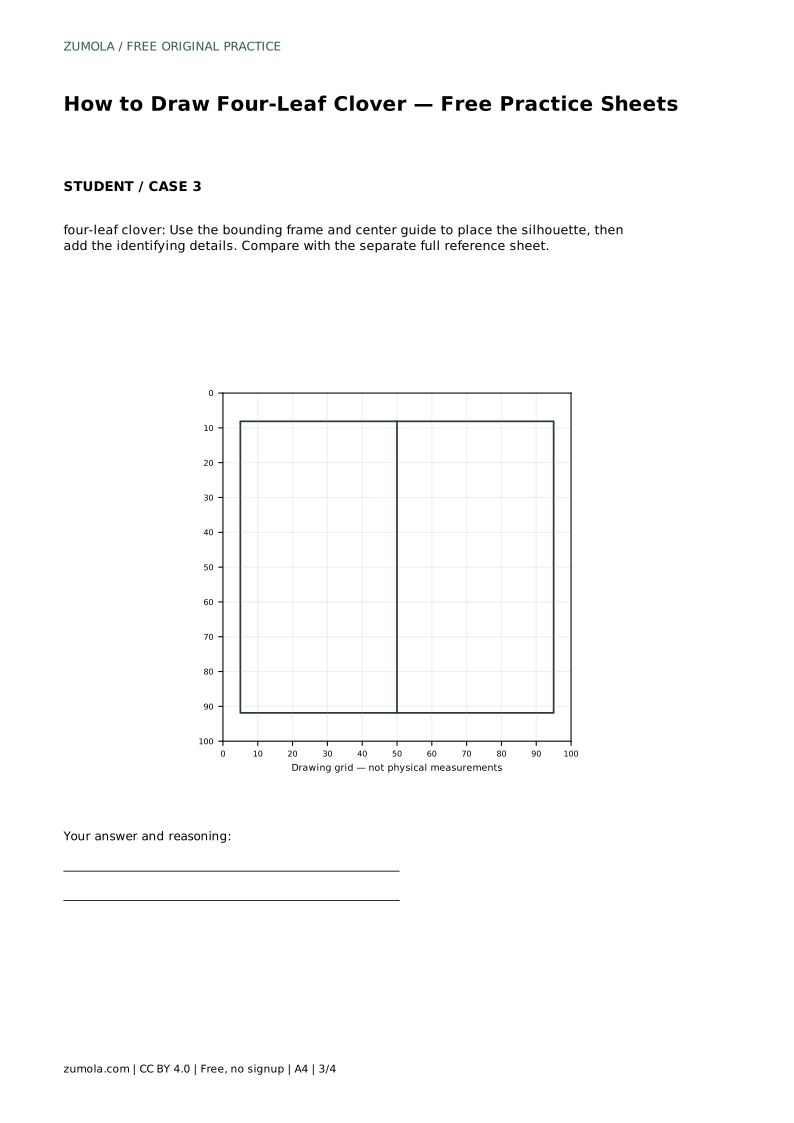
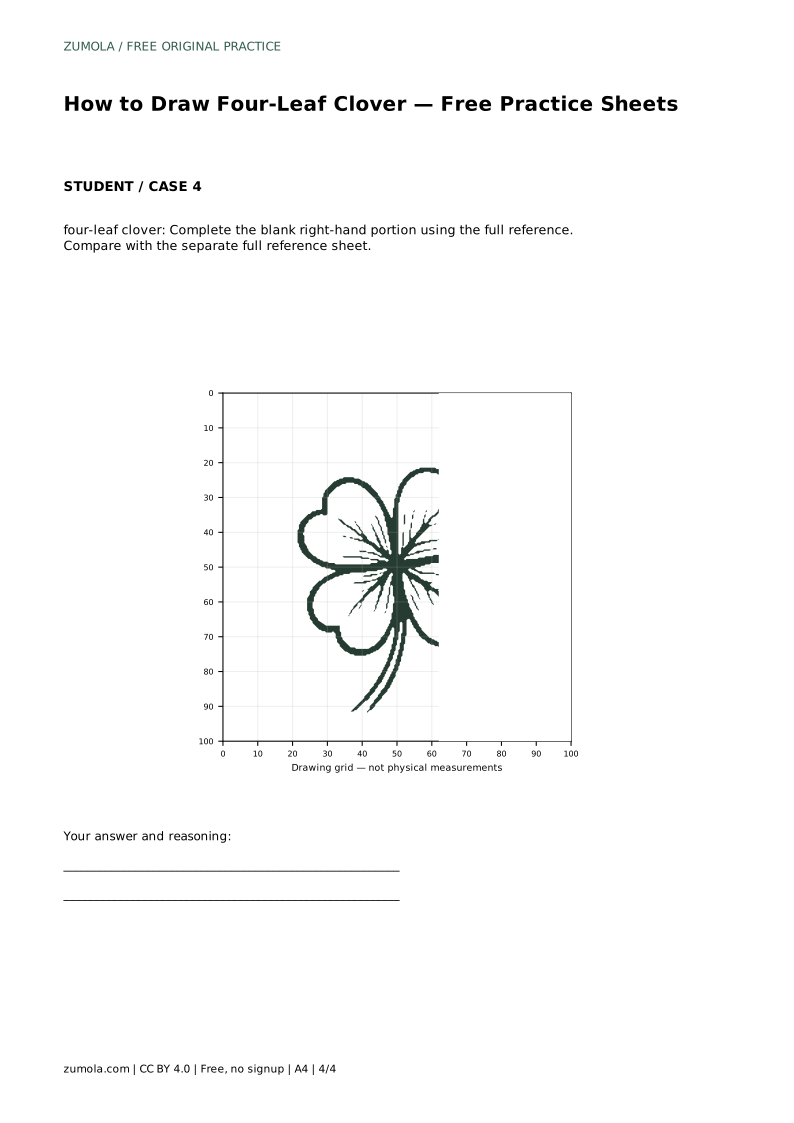
Bounding-frame sheets give you a center guide and an outer frame. Use the frame to place the overall silhouette, then add the identifying details: the four heart-shaped leaves, the veins, and the double-line stem. Partial-reference sheets show only part of the drawing; complete the blank portion using the full reference, checking that your added leaves match the spacing and size of the visible ones.
four-leaf clover: Trace the reference outline, then practise the contour independently. Compare with the separate full reference sheet.
Example solution: preserve four heart-shaped leaves arranged around a center, thin radiating vein lines inside each leaf, curved double-line stem extending downward. Other drawings can be correct; assess the visible features and proportions rather than pixel-perfect matching. Draw a small central point where all leaves meet. Draw four heart-shaped leaf outlines radiating outward from the center, spaced roughly evenly. Add thin vein lines from the center outward into each leaf. Draw a curved double-line stem downward from the center.
Exactly four heart-shaped leaves arranged around one central meeting point. Three-leaf clovers are a different shape and should not be mixed in.
No. A curved double-line stem looks natural, but a straighter stem is acceptable as long as it is drawn with two lines and extends downward from the center.
Check the four leaves, their roughly even spacing, the thin veins inside each leaf, and the curved double-line stem. Small proportion differences are fine.
All drawing practice · Free coordinate paper
Original resources · CC BY 4.0 · Free for personal and classroom use with attribution.