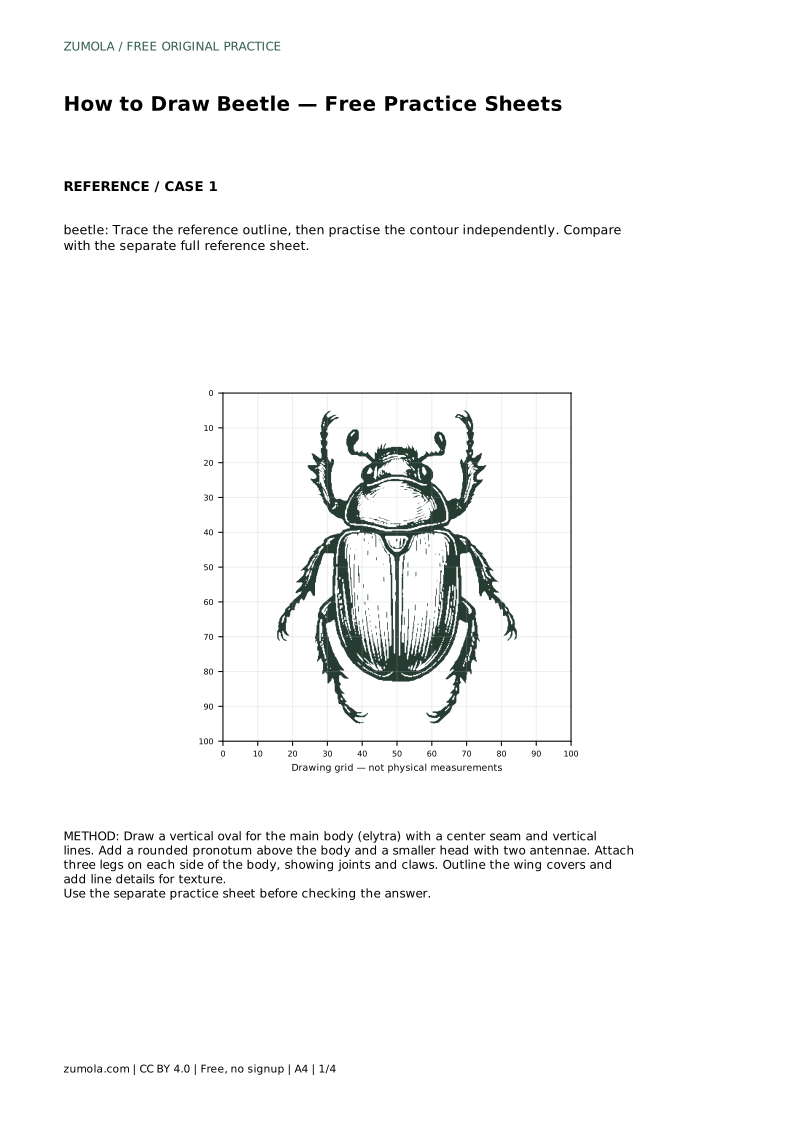
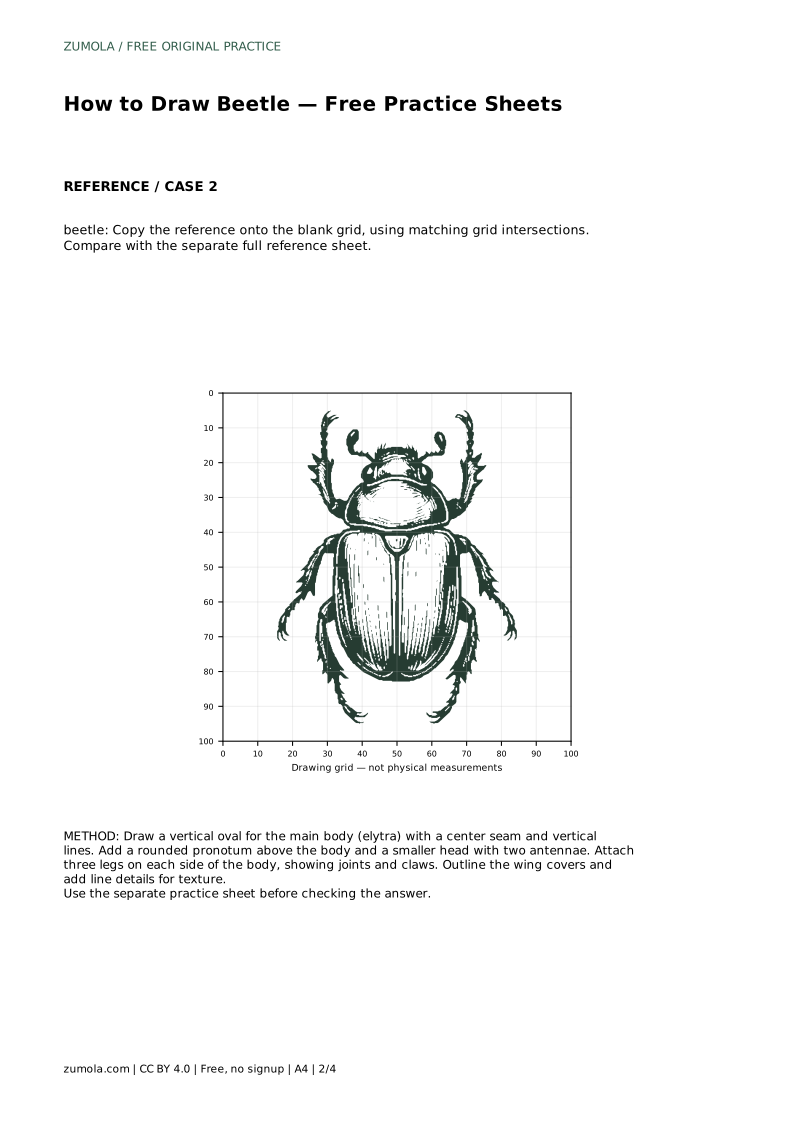
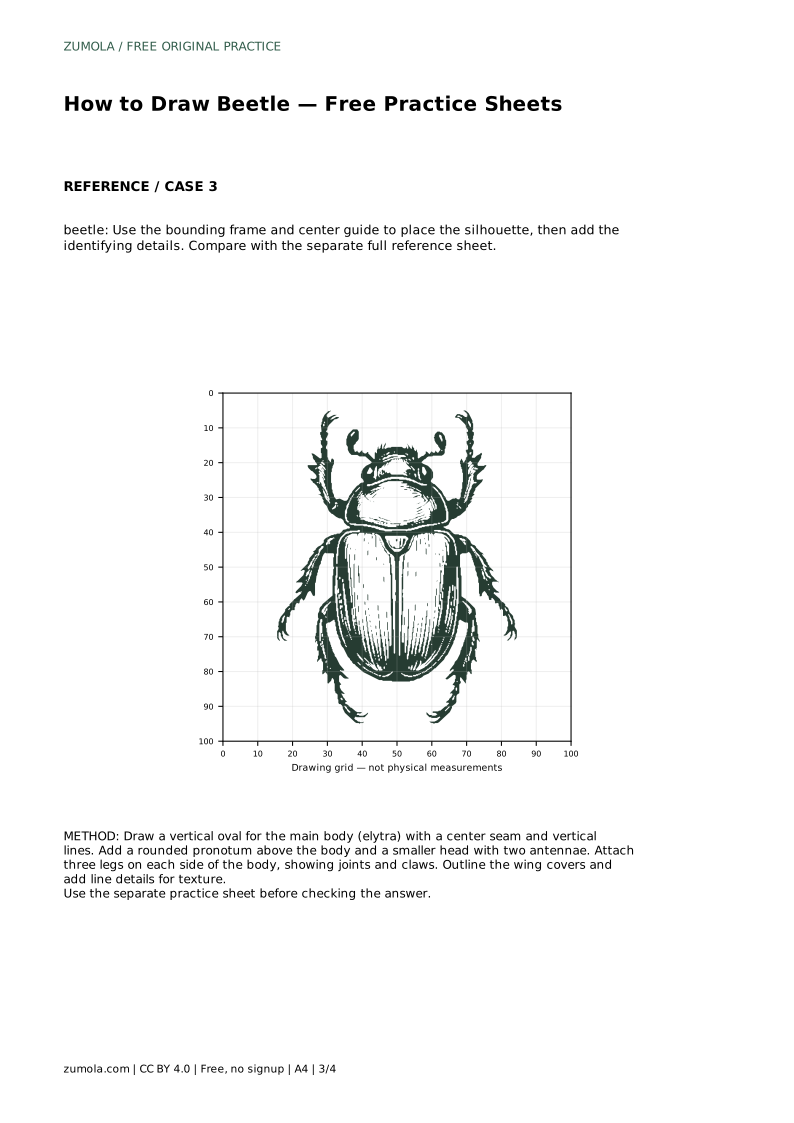
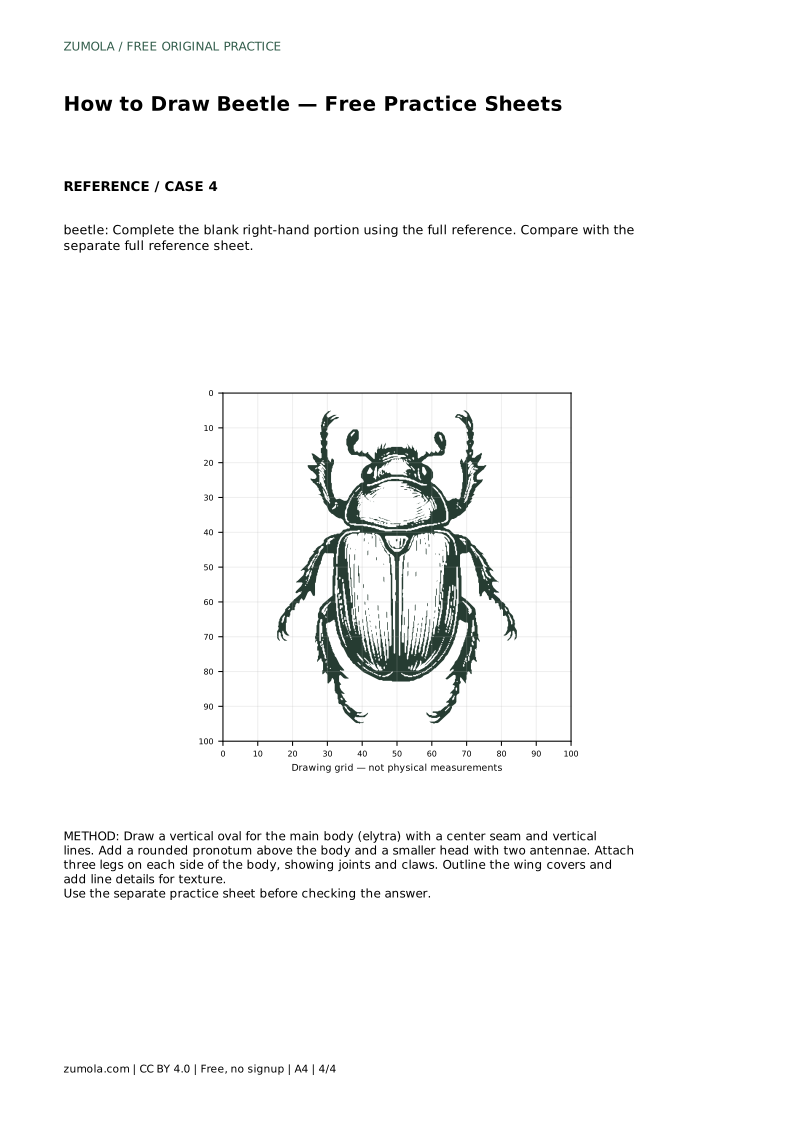
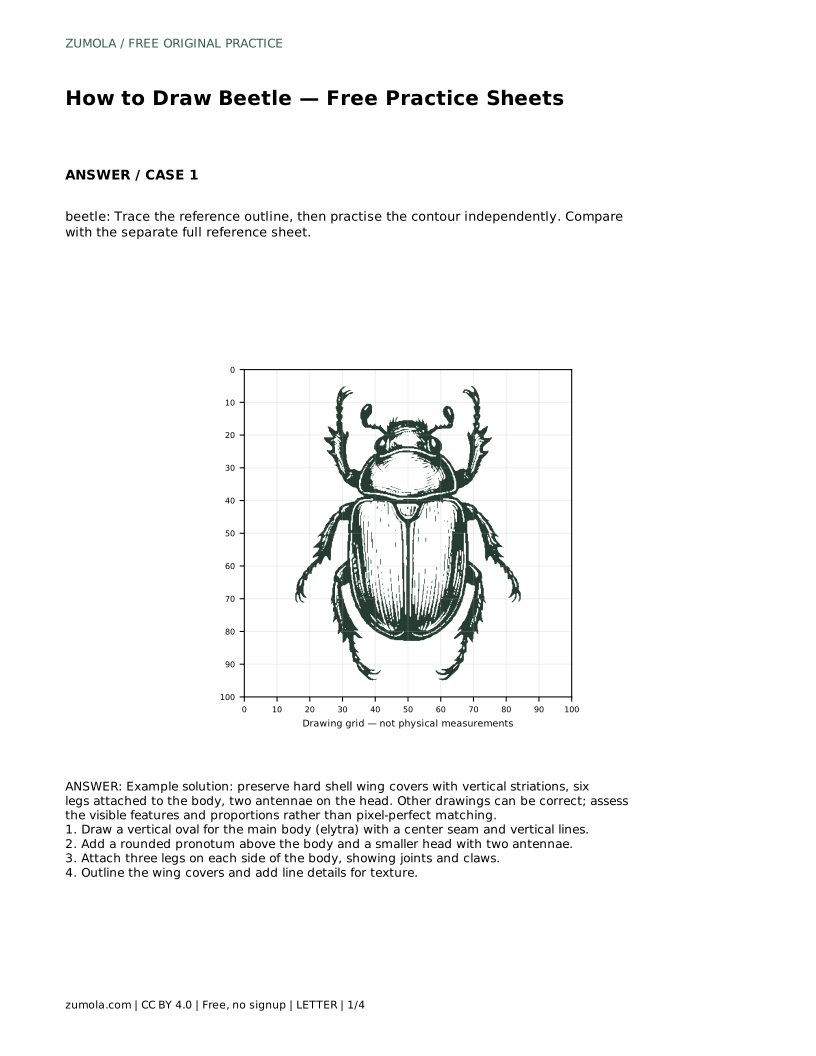
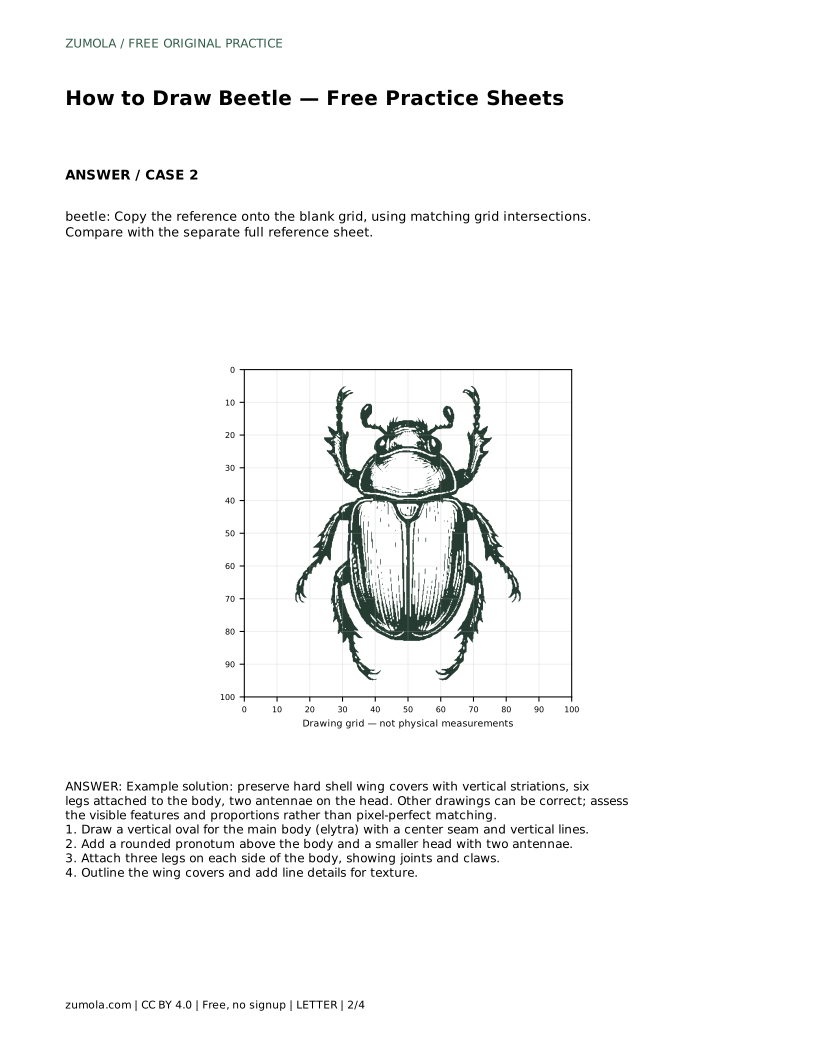
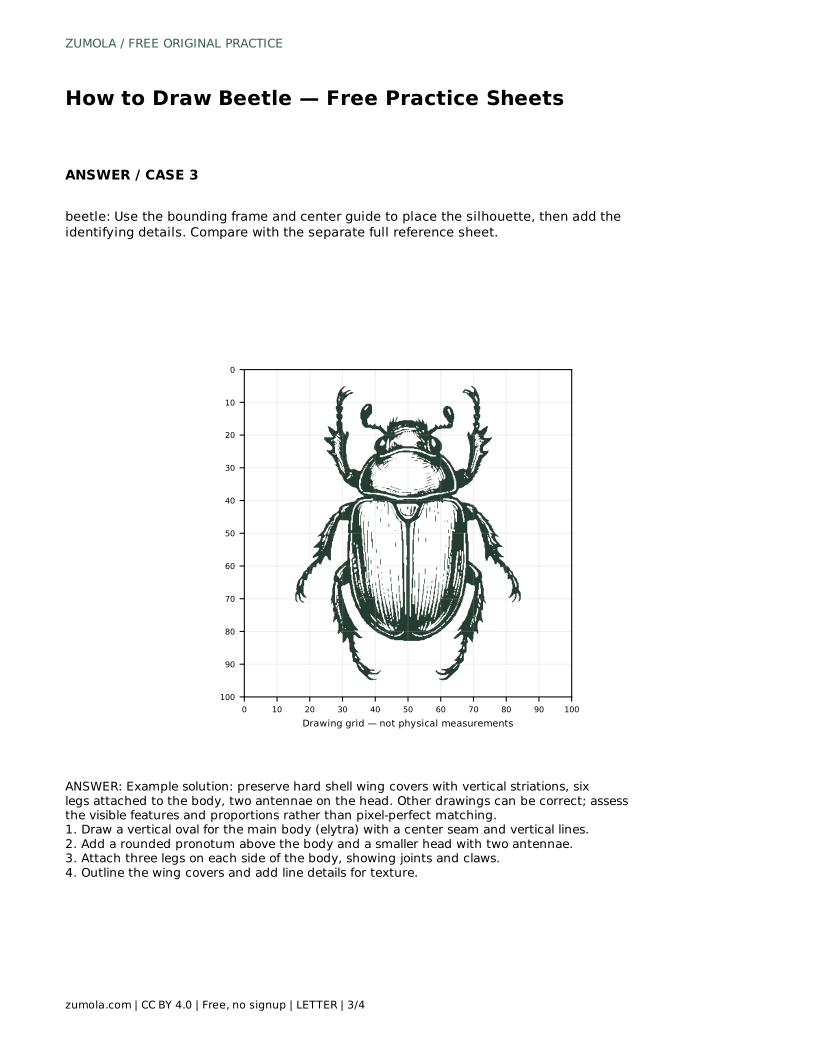
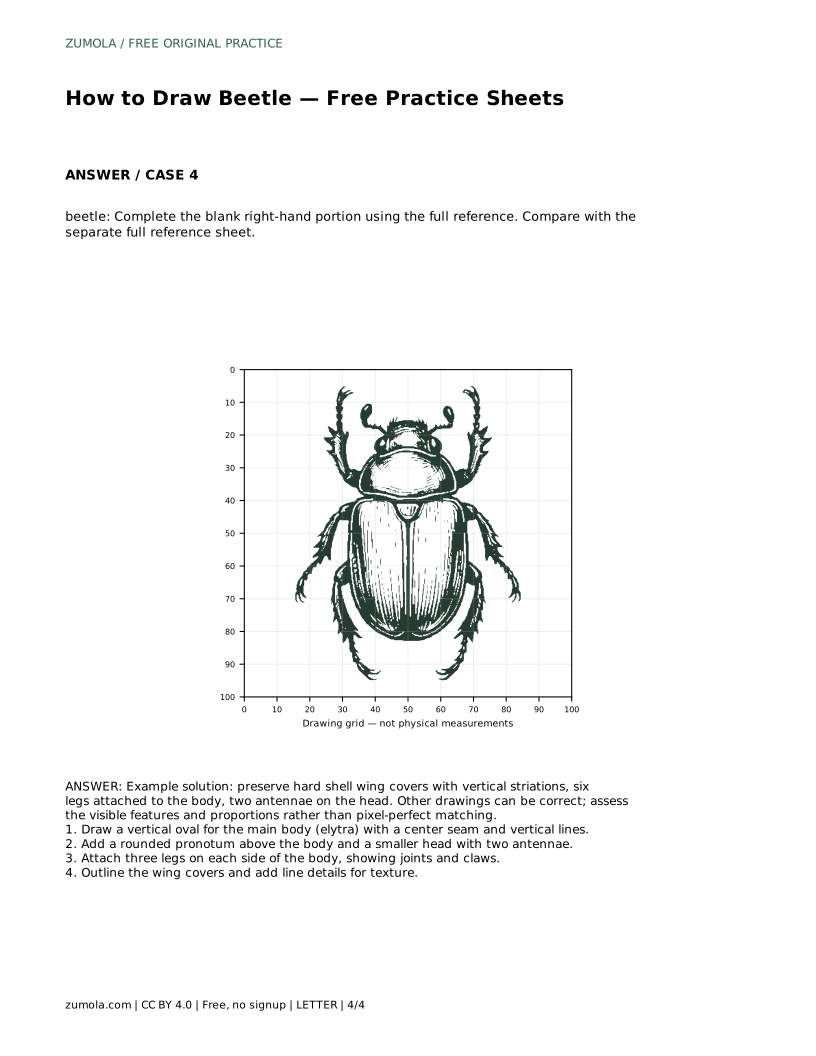
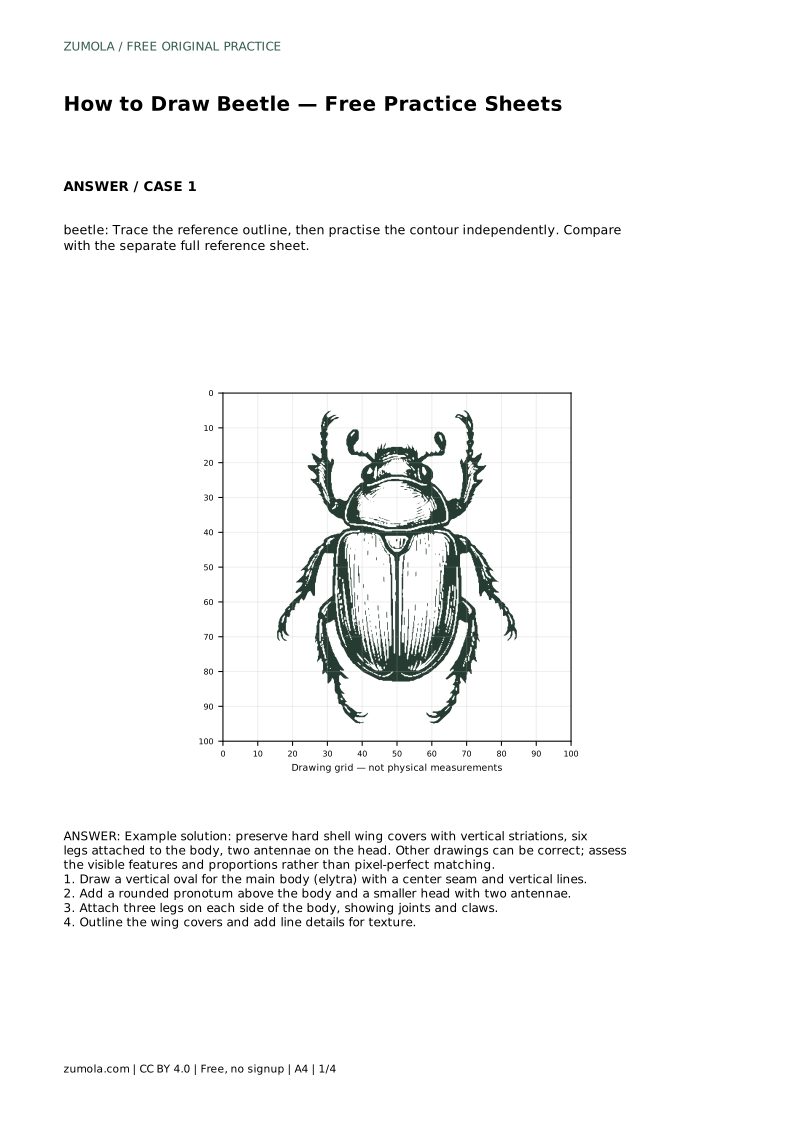
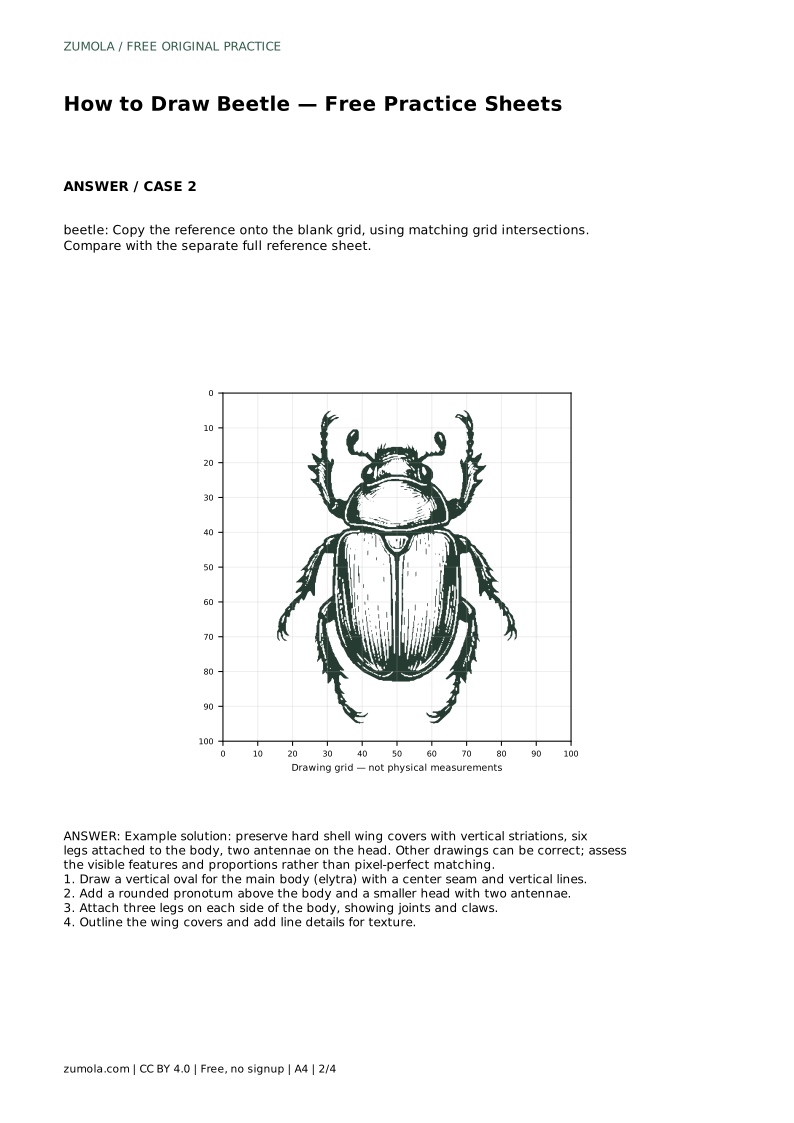
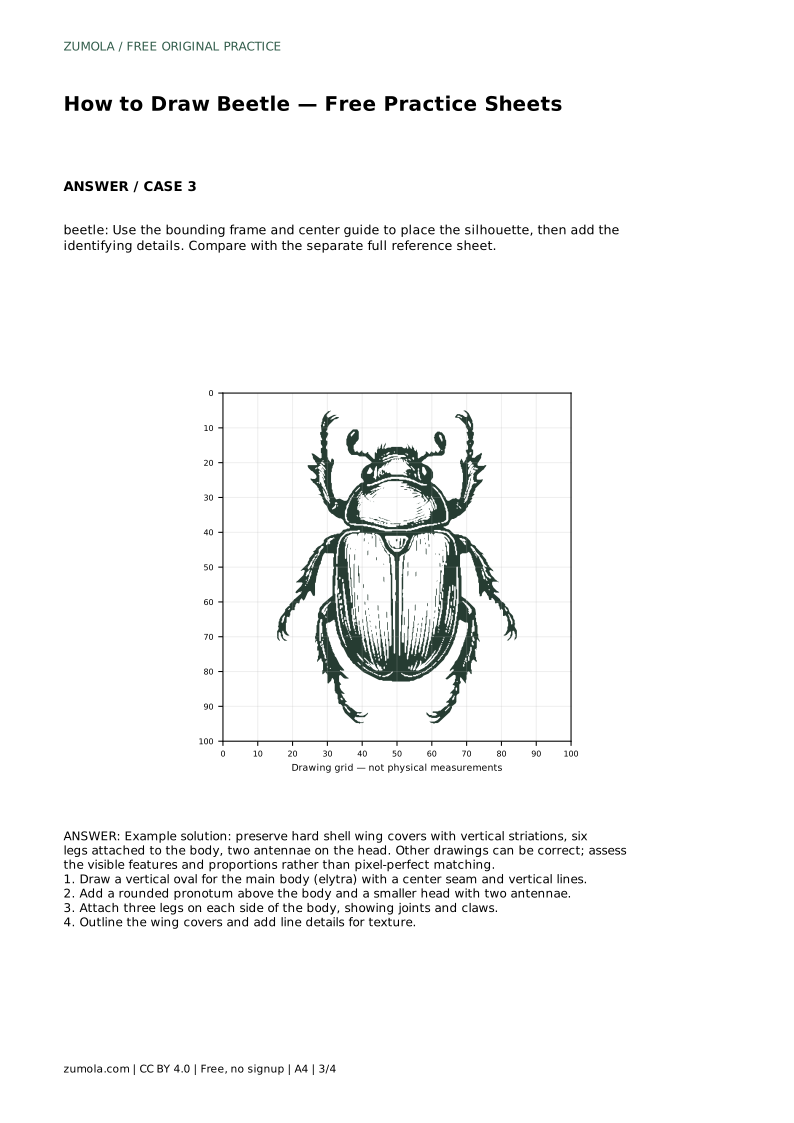
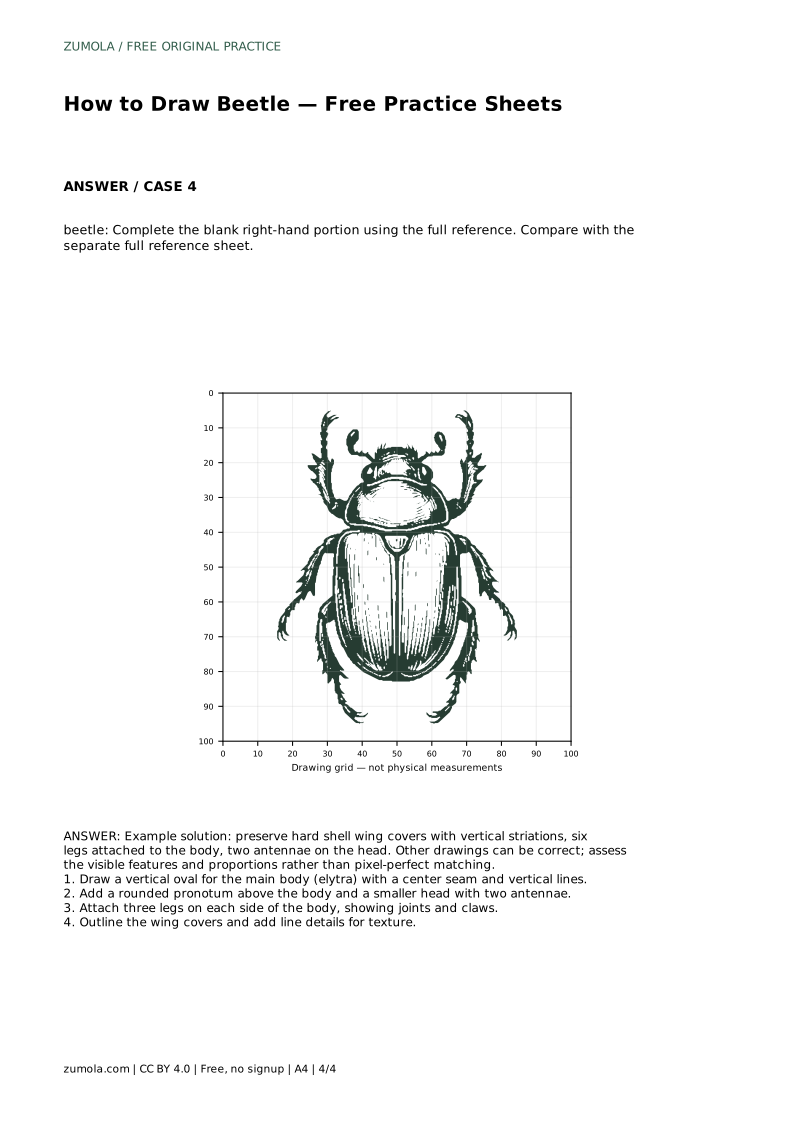
Reference diagrams
LETTER · Download PDF
A4 · Download PDF
Free original resources
Learn to draw a beetle by building the body, wing covers, head, antennae, and six jointed legs. Use tracing, grid, and frame practice sheets to compare with a reference.
Four original cases, with reference diagrams, practice sheets and worked answers. Everything is free; no signup required.
LETTER · Download PDF
A4 · Download PDF
LETTER · Download PDF
A4 · Download PDF
LETTER · Download PDF
A4 · Download PDF
Use A4 or US Letter to match your printer. Use the stated values and conditions to solve each exercise; diagrams are not physical measuring rulers.
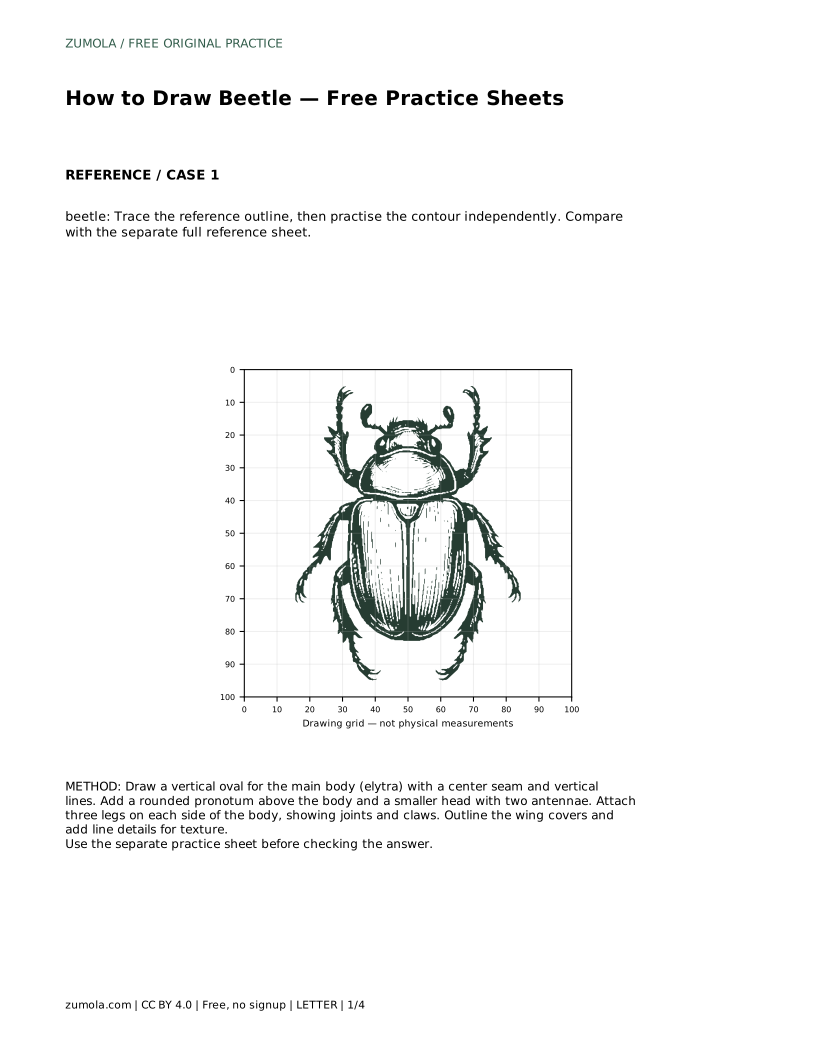
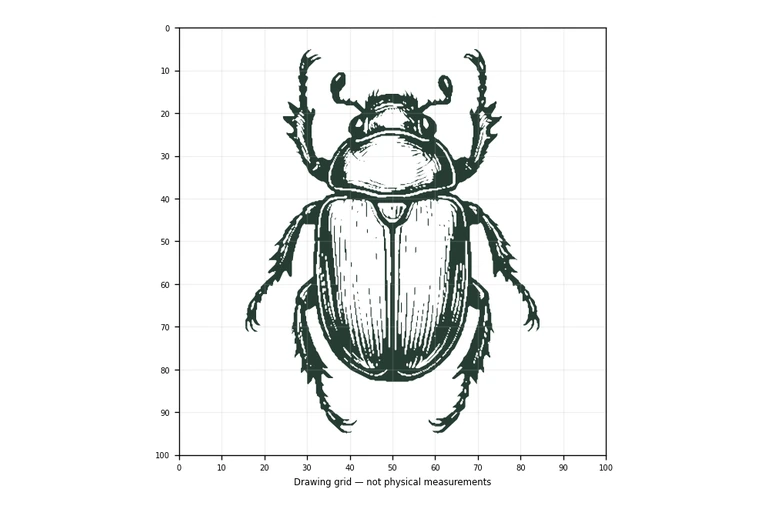
Drawing a beetle is mostly a problem of arrangement: a hard oval body, a smaller section in front of it, a head with two antennae, and six legs placed in matching pairs. The practice sheets let you trace a reference outline, copy it onto a grid, place the silhouette inside a bounding frame, or complete a partly blank drawing. Each method trains the same observation skill: notice where parts meet and how large each part is relative to the others.
Begin with a vertical oval for the main body, called the elytra, the hard wing covers. Draw a center seam down the oval and add vertical lines on each side to suggest the striations of the shell. Above the body, add a rounded pronotum, the section between the wing covers and the head. Keep it narrower than the body but clearly separate. Above that, place a smaller head with two antennae.
This order matters because the legs attach to the body, so the body must exist first. If you draw legs before the body, you have no anchor for their joints and the spacing drifts. Lightly sketch the oval, pronotum, and head, check their relative sizes, then commit to darker lines.
A beetle has three legs on each side. Treat them as three pairs: front, middle, and rear. Each leg leaves the body at a different height, bends at a joint, and ends in a small claw. Draw one side first, then mirror the positions on the other side rather than inventing new angles.
Legs should look attached, not floating. Start each leg at the body edge, not in empty space. Keep the joints visible as slight bends. The rear pair usually angles backward, the front pair forward, and the middle pair outward. Exact angles can vary, but the pairing should stay consistent.
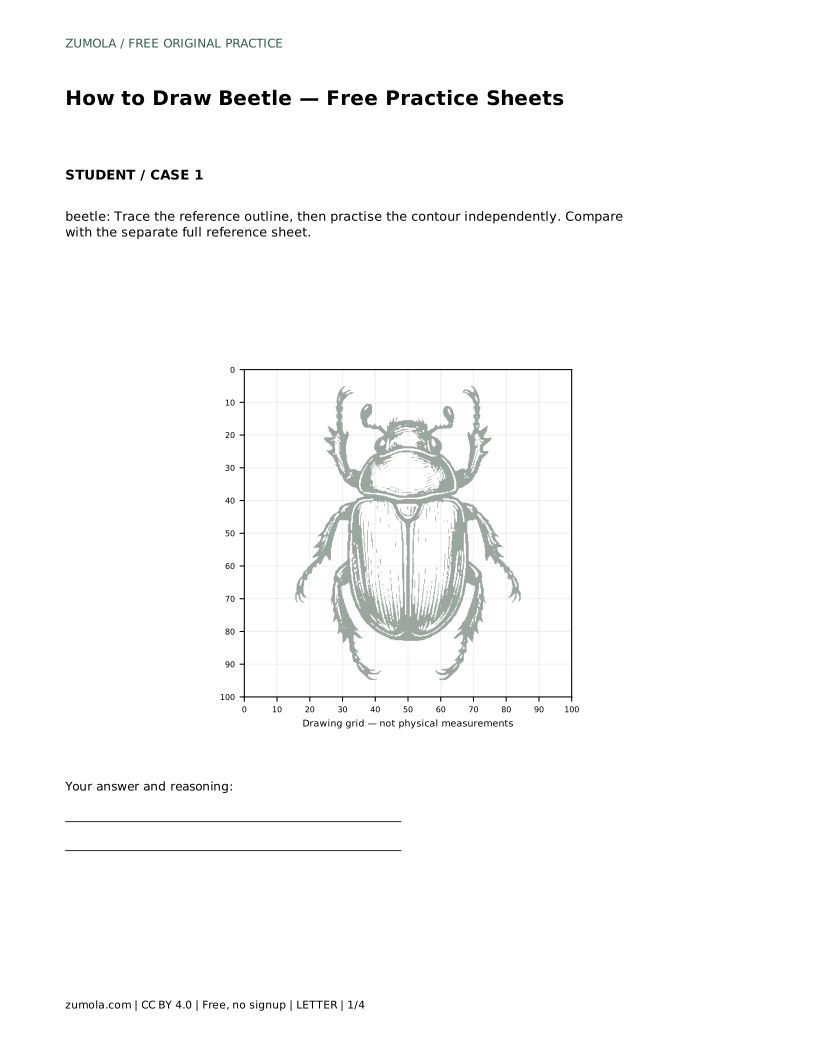
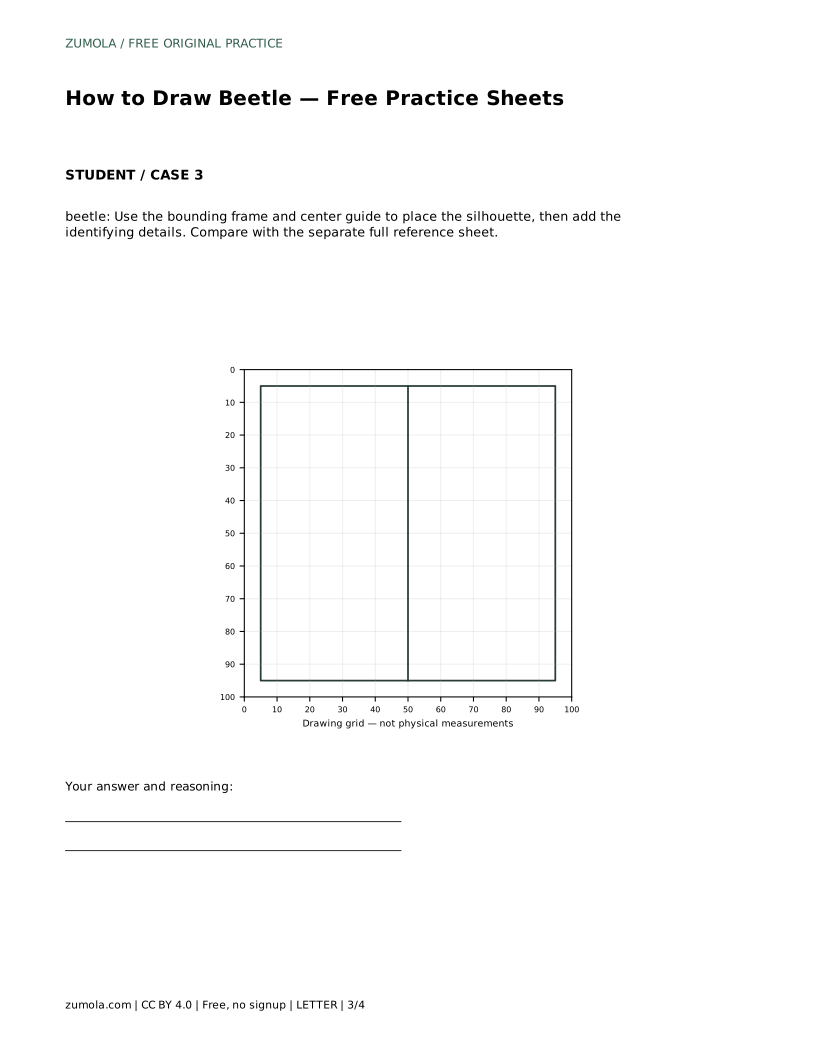
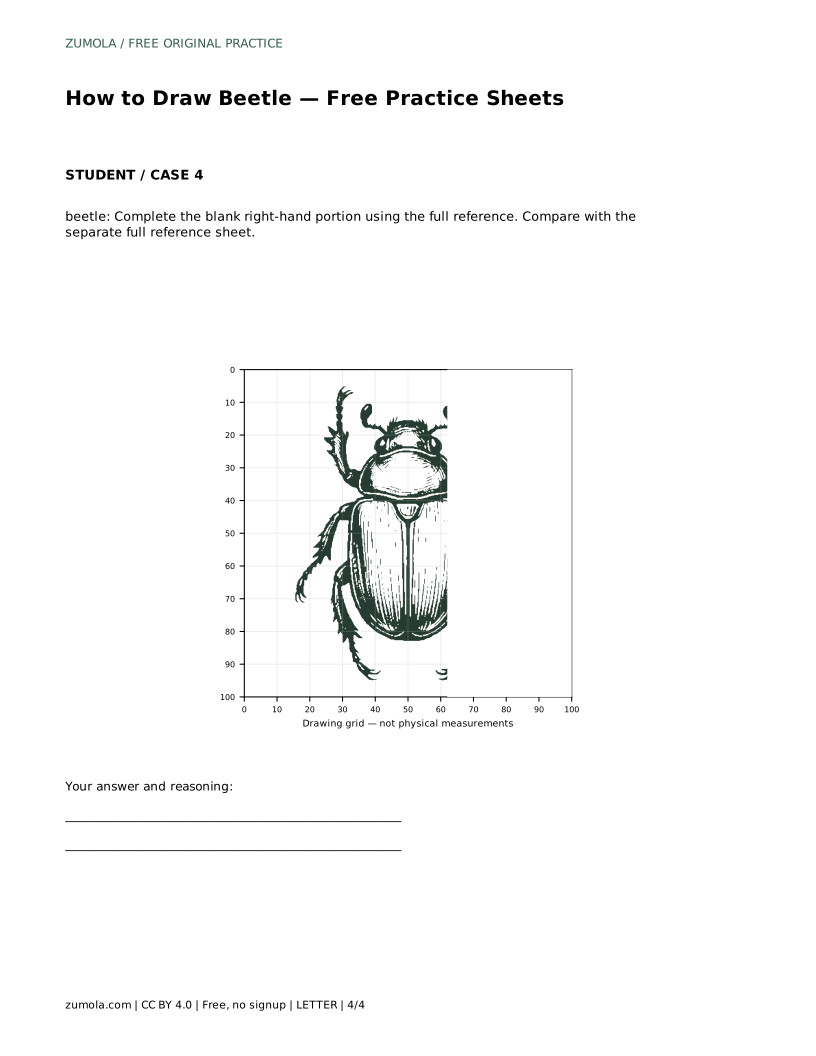
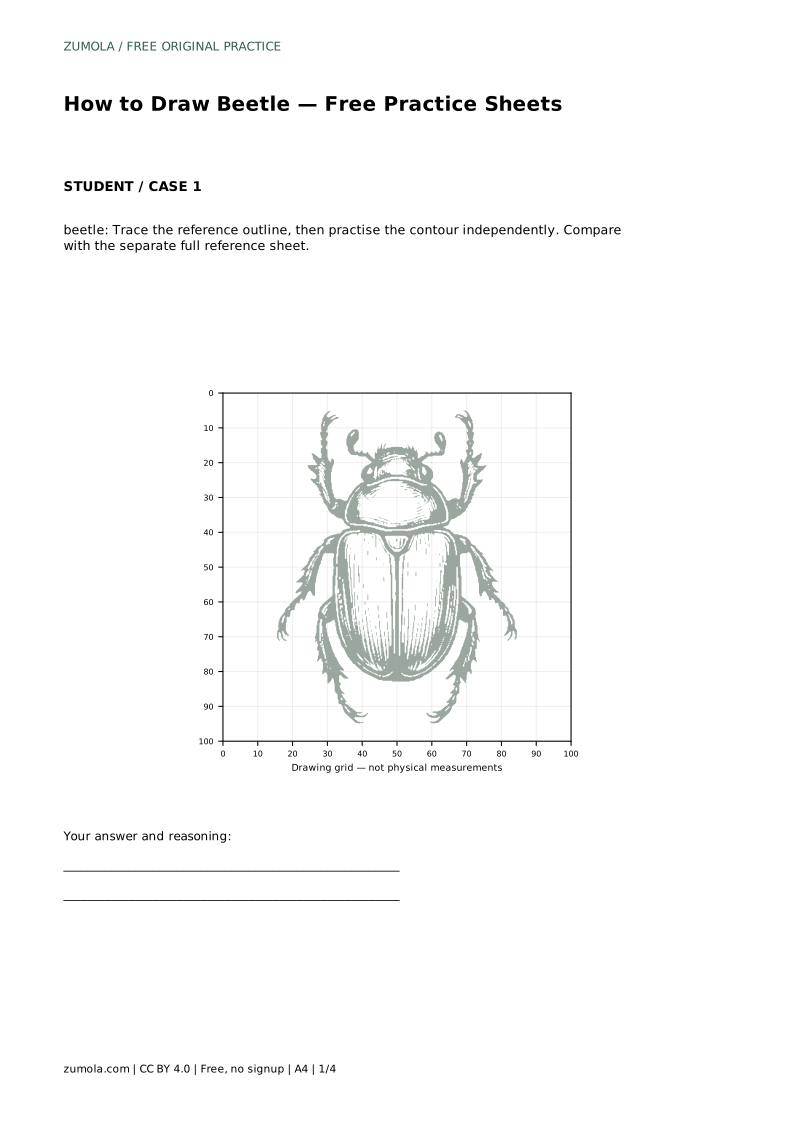
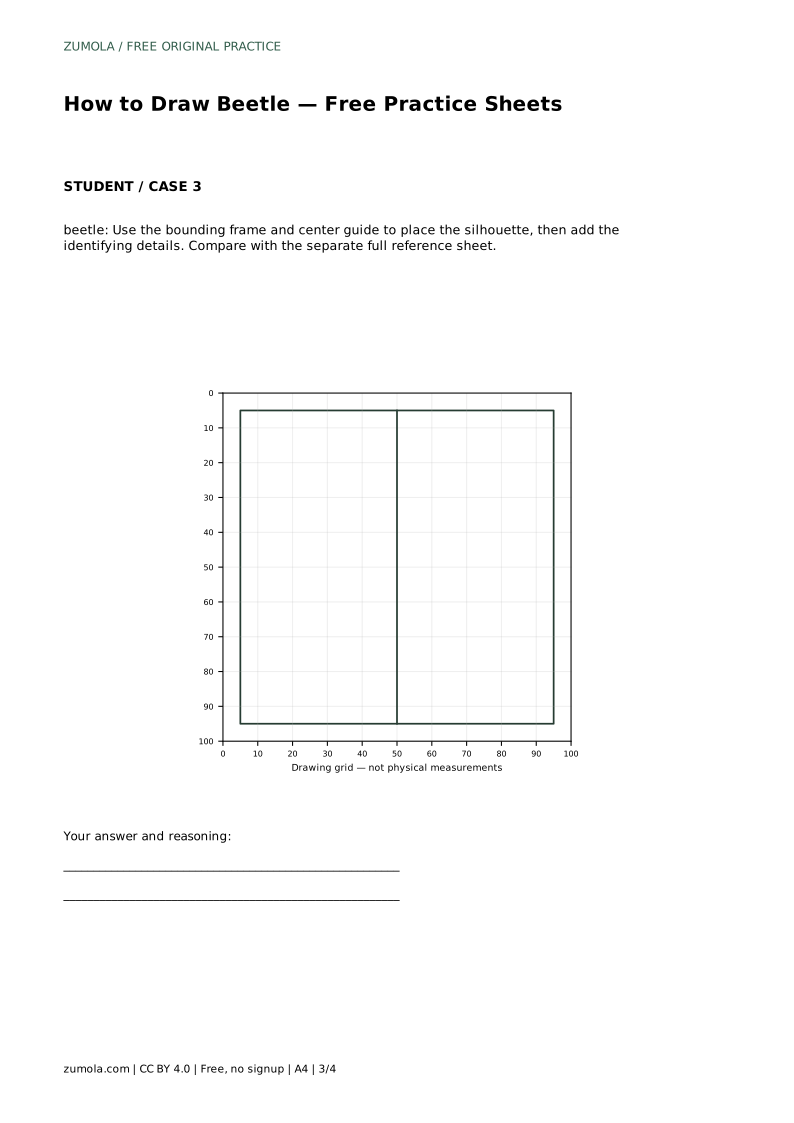
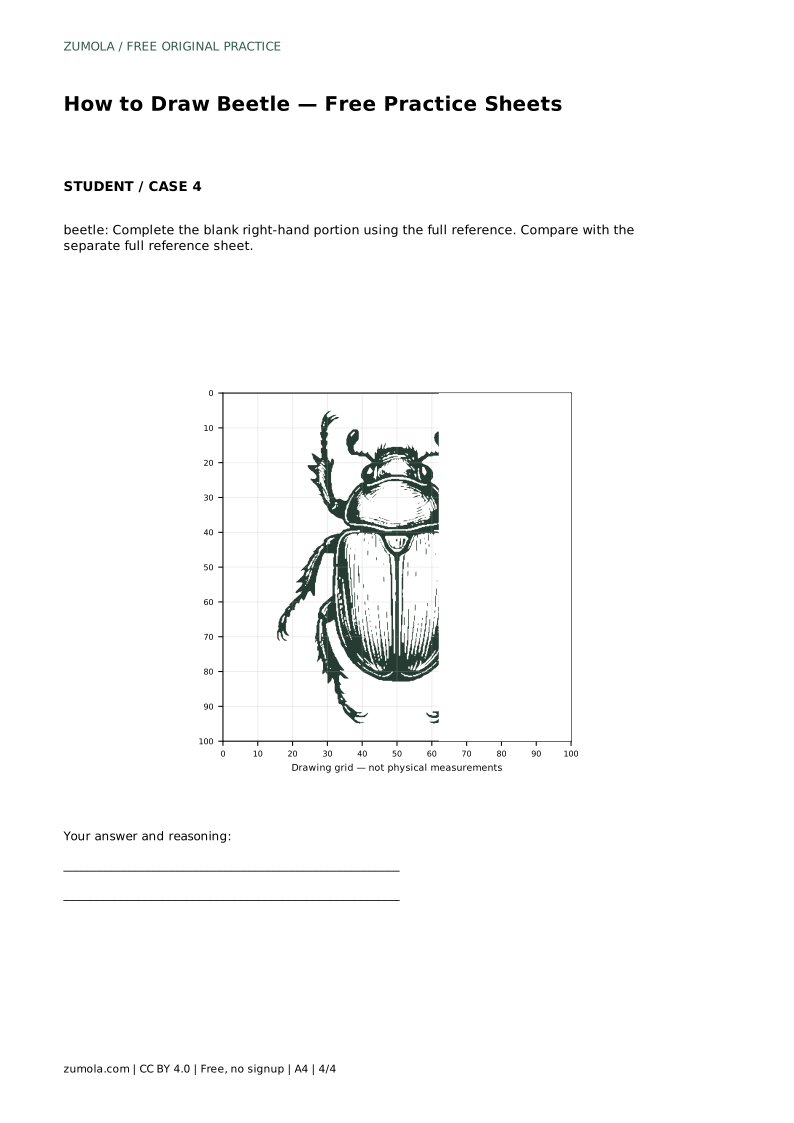
The tracing sheet asks you to follow the reference outline, then repeat the contour on your own. The grid sheet asks you to copy the reference onto a blank grid by matching intersections, which trains proportion. The bounding frame and center guide help you place the silhouette before adding details. The partial sheet gives you the left side and asks you to complete the right.
After each attempt, compare your drawing with the separate full reference sheet. Look for missing features and size differences rather than pixel-perfect matching. A correct beetle drawing shows the hard wing covers with vertical striations, six legs attached to the body, and two antennae on the head.
The wing covers are the largest surface, so texture there reads clearly. A center seam plus a few vertical lines on each side is enough. Keep lines evenly spaced and stop them before the outer edge. Too many lines make the shell look furry rather than hard.
The pronotum and head can stay mostly plain, with a small line or two for definition. Antennae should be thin and clearly separate from the legs. Leave space between details so each part remains readable.
Use the rubric below to assess any attempt. Because beetle drawings have many valid outcomes, judge the visible features and proportions rather than exact matching. A drawing can be stylized and still correct if the body, head, antennae, and six attached legs are present and clearly arranged.
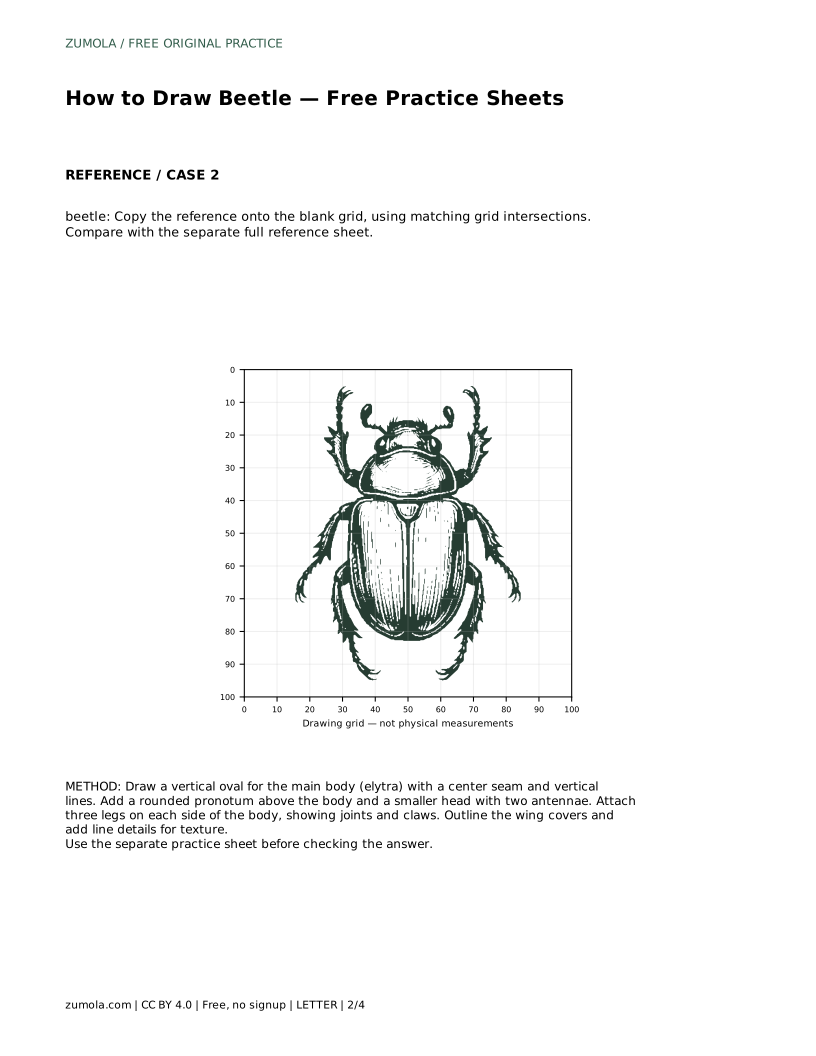
beetle: Trace the reference outline, then practise the contour independently. Compare with the separate full reference sheet.
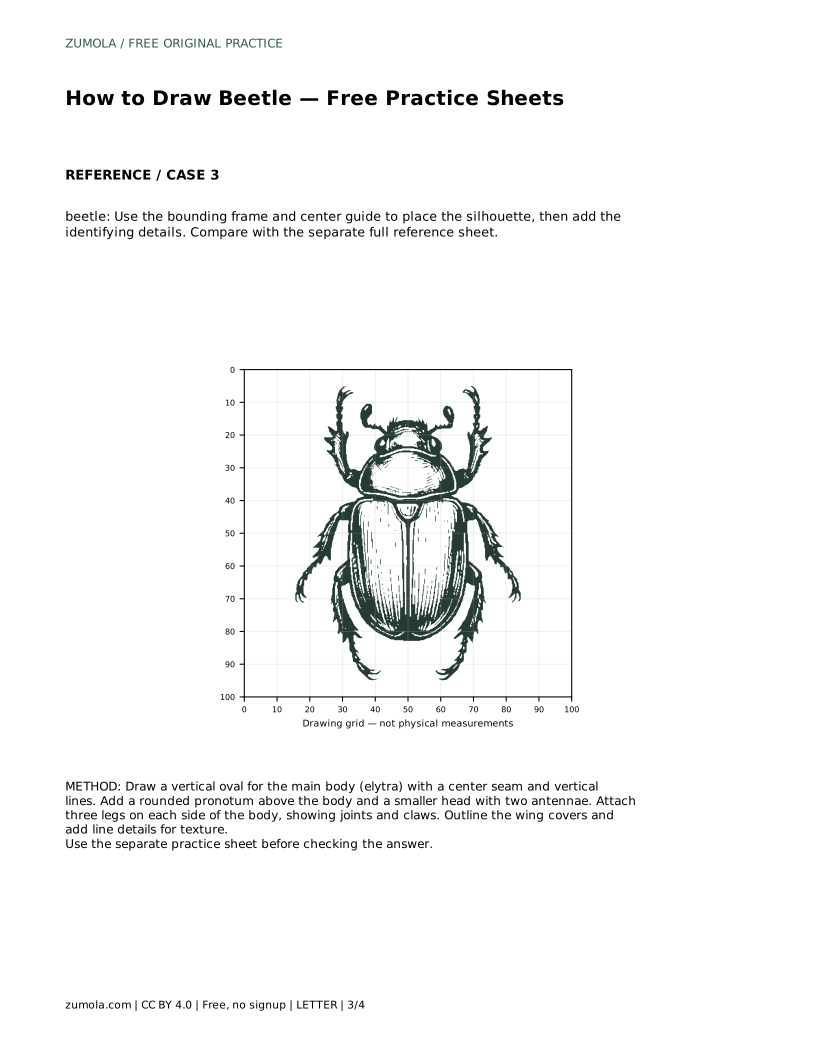
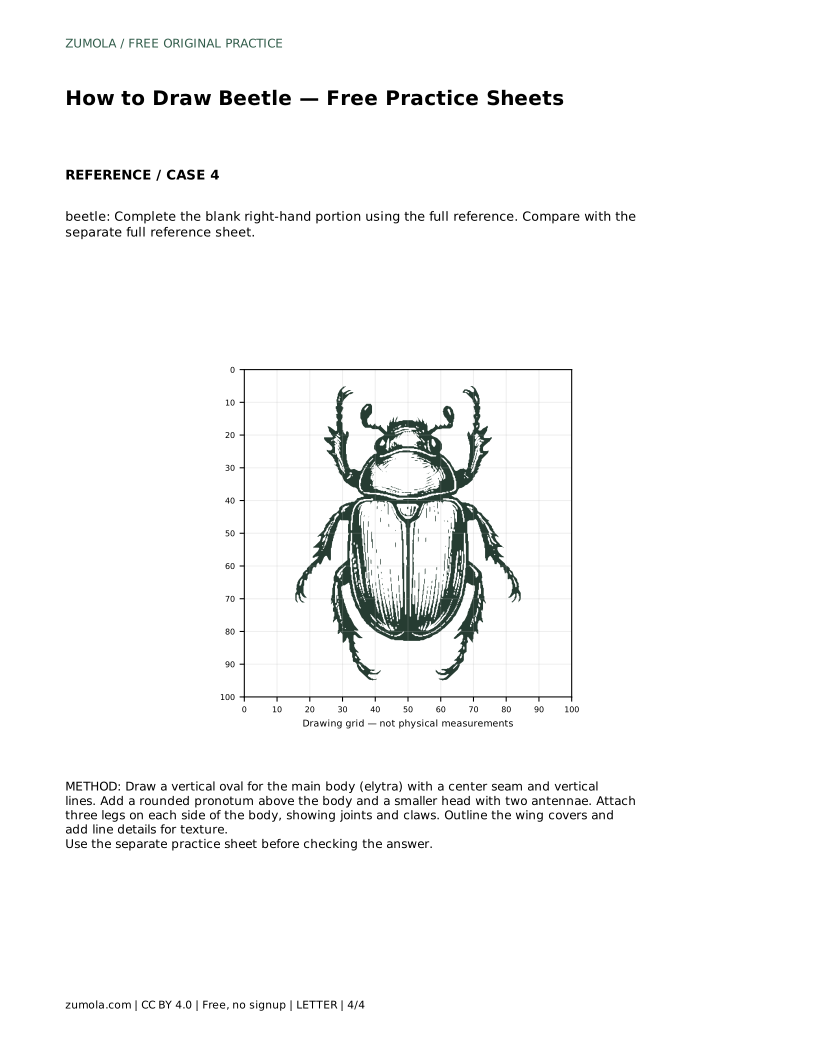
Example solution: preserve hard shell wing covers with vertical striations, six legs attached to the body, two antennae on the head. Other drawings can be correct; assess the visible features and proportions rather than pixel-perfect matching. Draw a vertical oval for the main body (elytra) with a center seam and vertical lines. Add a rounded pronotum above the body and a smaller head with two antennae. Attach three legs on each side of the body, showing joints and claws. Outline the wing covers and add line details for texture.
Six legs, three on each side, attached to the body and ending in small claws.
No. Preserve the visible features and proportions: hard wing covers with vertical striations, six attached legs, and two antennae. Other arrangements can be correct.
Start with tracing if you are new to the shape, then move to the grid or bounding frame to practice proportion without following an outline.
All drawing practice · Free coordinate paper
Original resources · CC BY 4.0 · Free for personal and classroom use with attribution.