Reference diagrams
LETTER · Download PDF
A4 · Download PDF
Free original resources
Learn to draw a rhinoceros by building the low-slung body, horned head, column legs, and skin folds. Trace, grid, or complete a half-sheet, then check with a rubric.
Four original cases, with reference diagrams, practice sheets and worked answers. Everything is free; no signup required.
LETTER · Download PDF
A4 · Download PDF
LETTER · Download PDF
A4 · Download PDF
LETTER · Download PDF
A4 · Download PDF
Use A4 or US Letter to match your printer. Use the stated values and conditions to solve each exercise; diagrams are not physical measuring rulers.
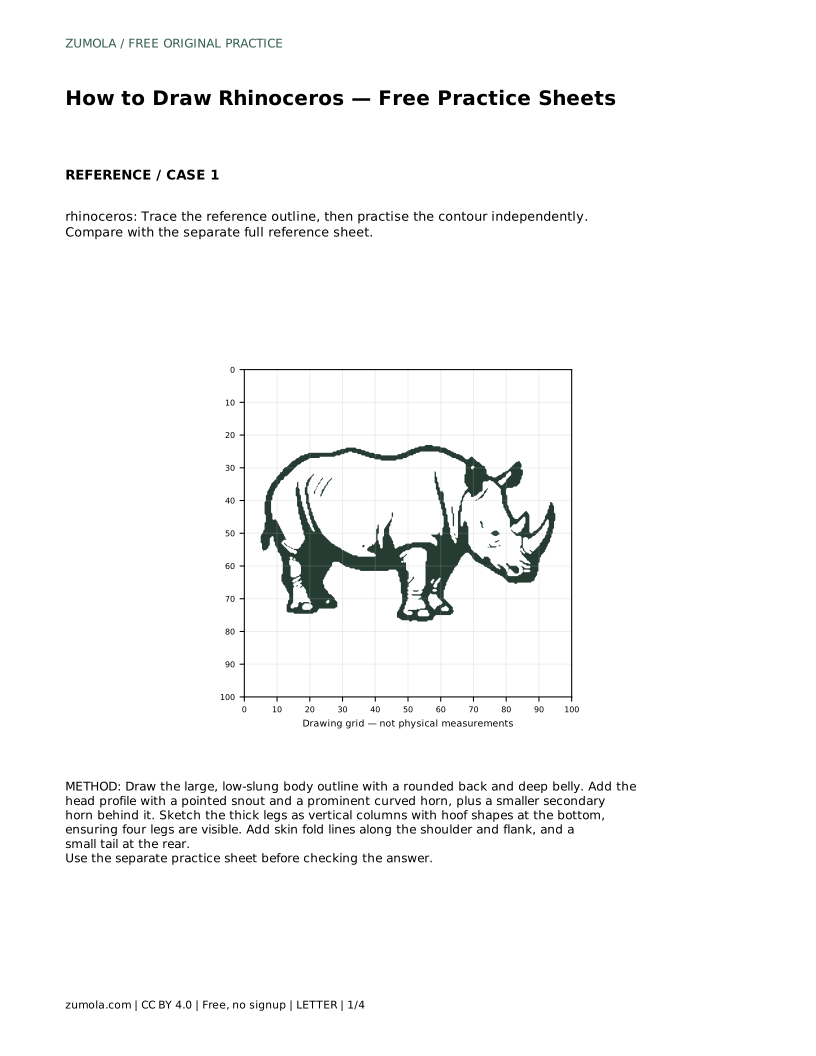
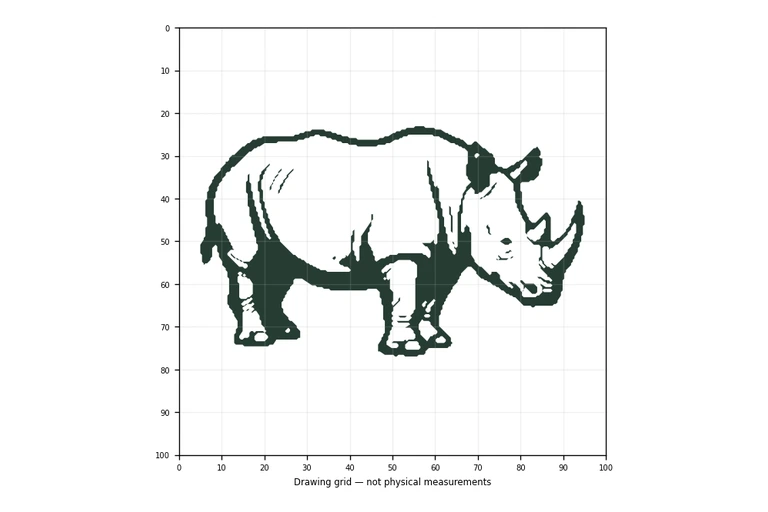
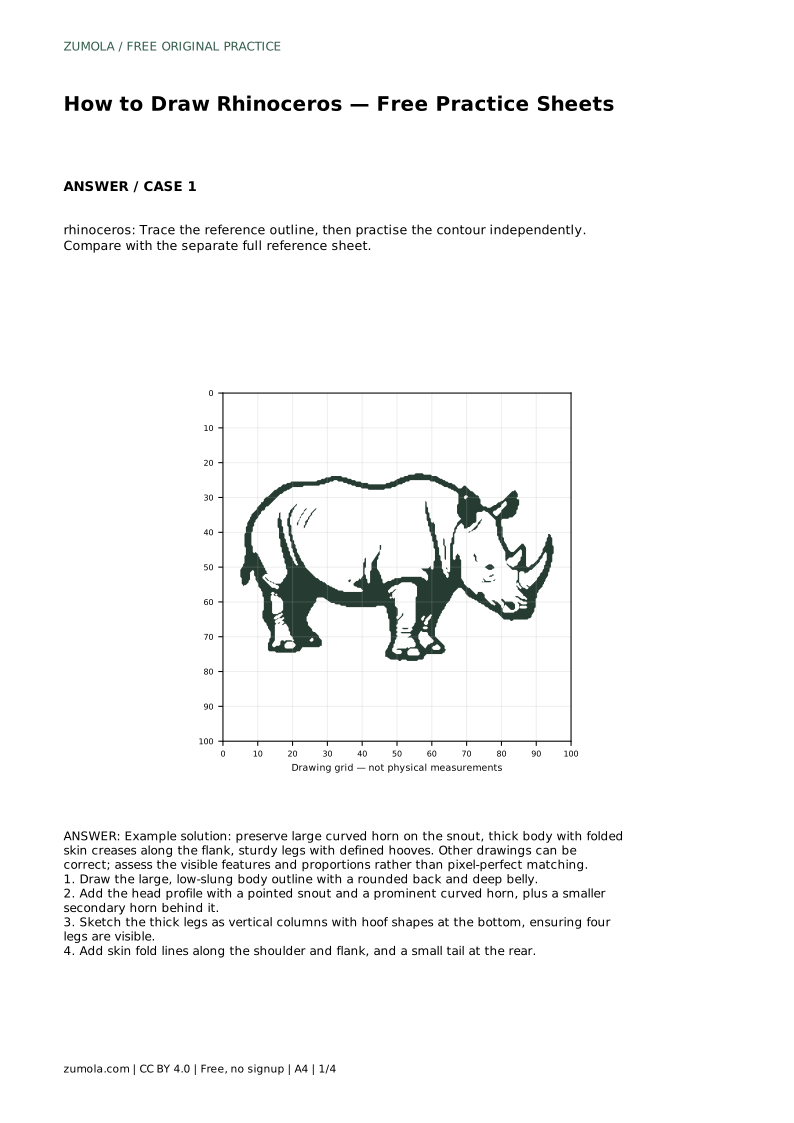
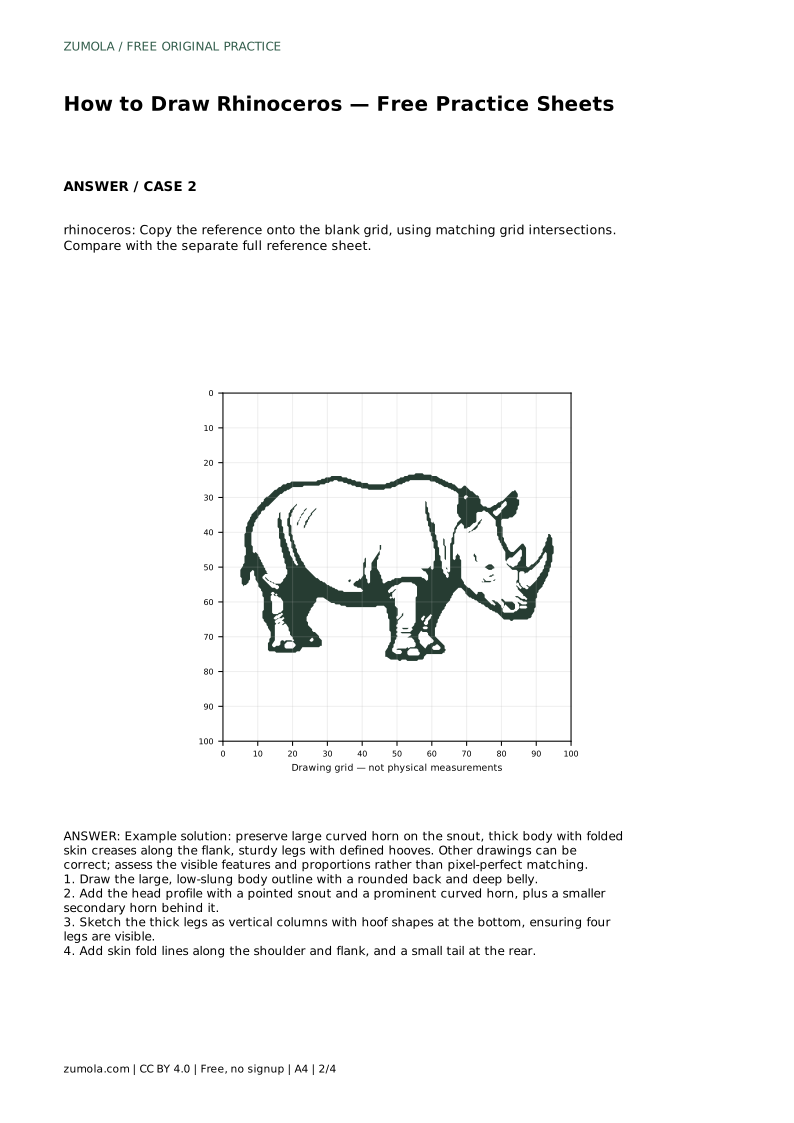
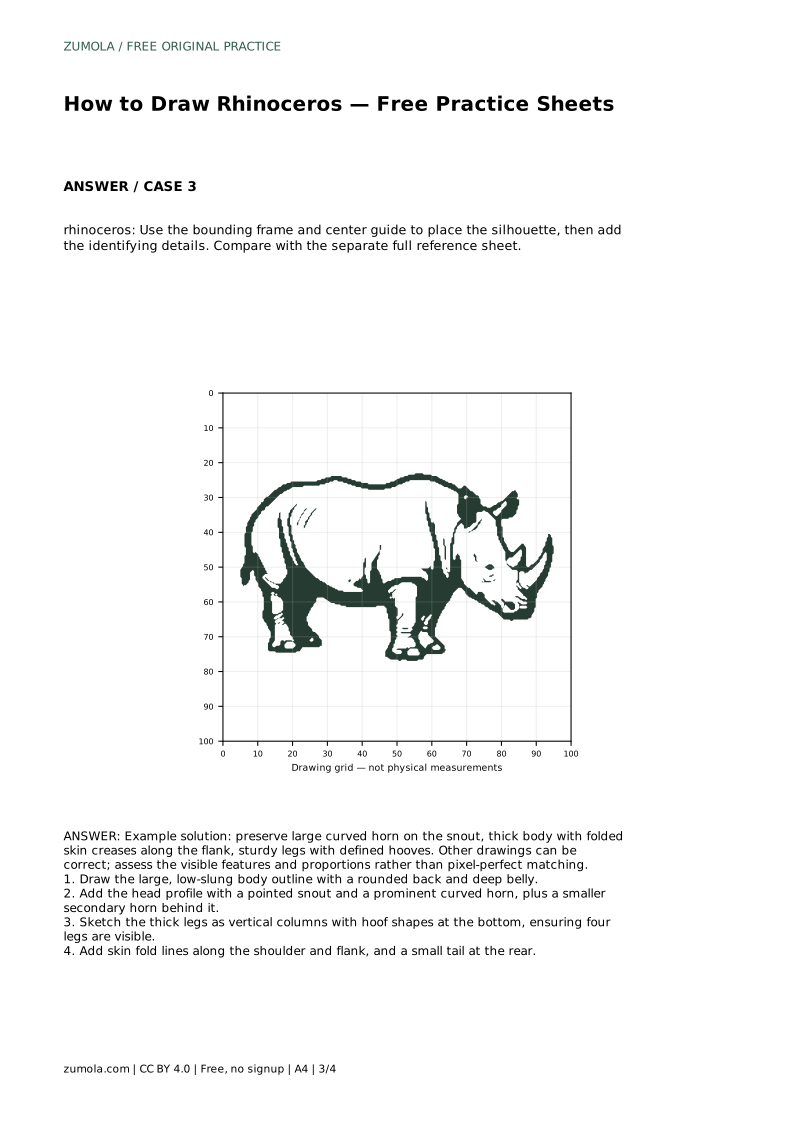
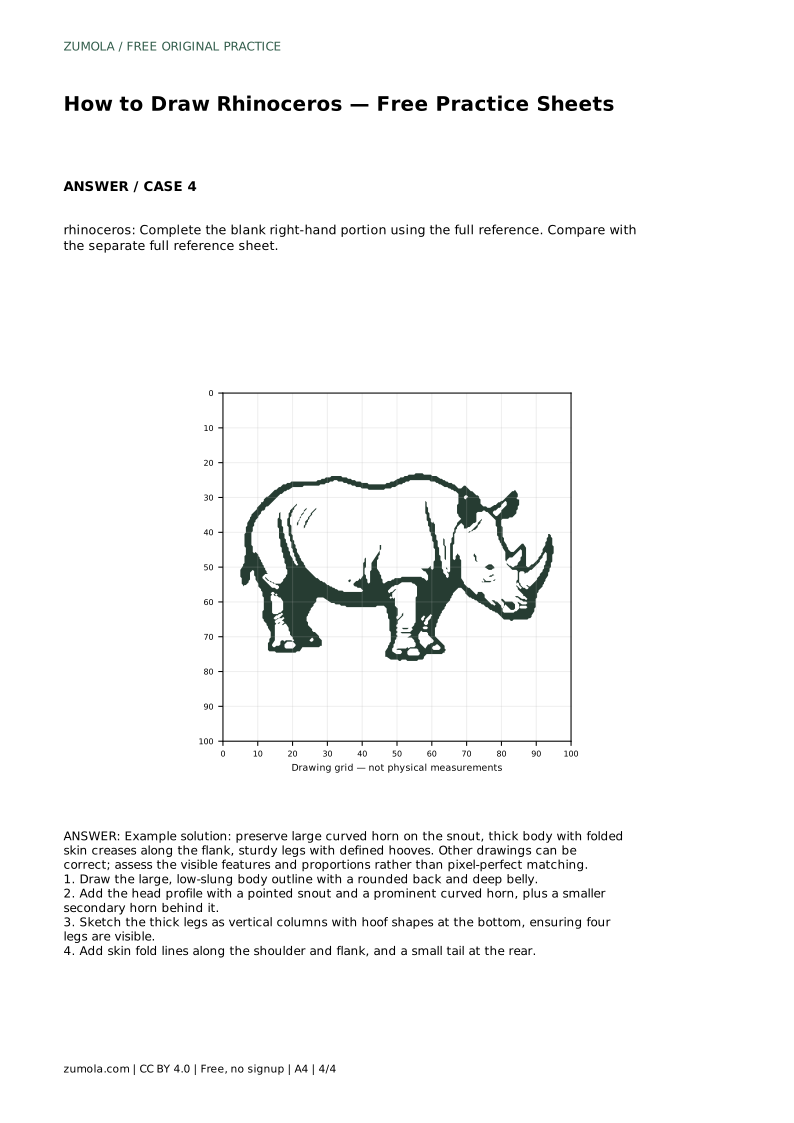
A rhinoceros is mostly a study in weight: a long, low body, a heavy head carried forward, and four sturdy columns underneath. This page shows how to build that silhouette first, then add the features that make the animal recognizable, including the large curved horn, the smaller horn behind it, folded skin along the shoulder and flank, and defined hooves. The practice sheets let you trace, copy onto a grid, place the outline with a center guide, or complete a blank half. Because drawings can differ and still be correct, judge your work by visible features and proportions rather than an exact match.
Most beginners begin at the horn and run out of room for the body. Reverse that order. The rhinoceros is long and low: the back is gently rounded, the belly hangs deep, and the head projects forward from a thick neck. Treat the torso as a large horizontal oval or bean shape, slightly wider at the shoulders than at the rear. Keep the top line calm and the underside fuller.
Once the body sits where you want it, add the head as a second mass joined by a short, heavy neck. The head is roughly wedge-shaped, narrowing toward the snout. Only after these two masses relate well should you place the horn, because the horn's size must suit the head rather than dominate it.
On the snout, draw the main horn as a curved triangle rising from the nose area, then a smaller secondary horn behind it. Keep both horns attached to the head profile rather than floating above it. Add a simple eye and a small ear near the top of the head. The mouth line should follow the pointed snout.
The legs are vertical columns, not thin sticks. Draw the near front and rear legs first, then the far pair slightly offset so all four read clearly. End each leg with a hoof shape, a flattened block rather than a point. Keep the legs short relative to the body; long legs make the animal look like a different species.
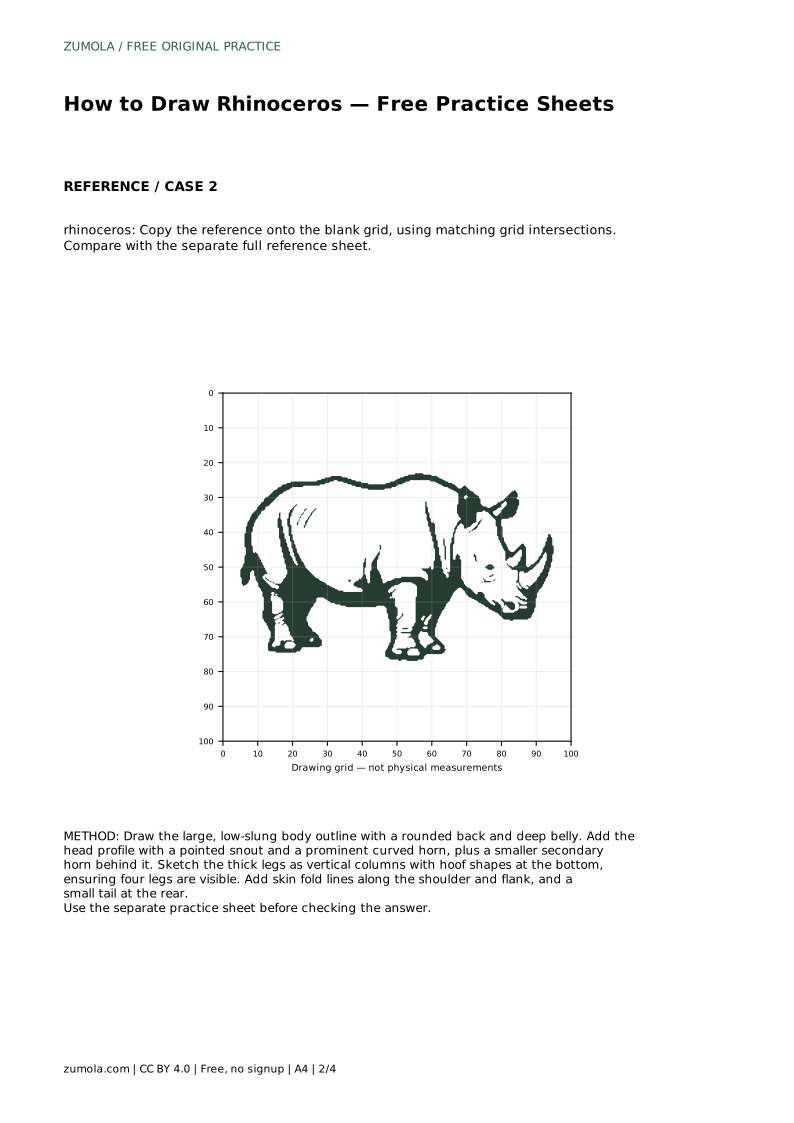
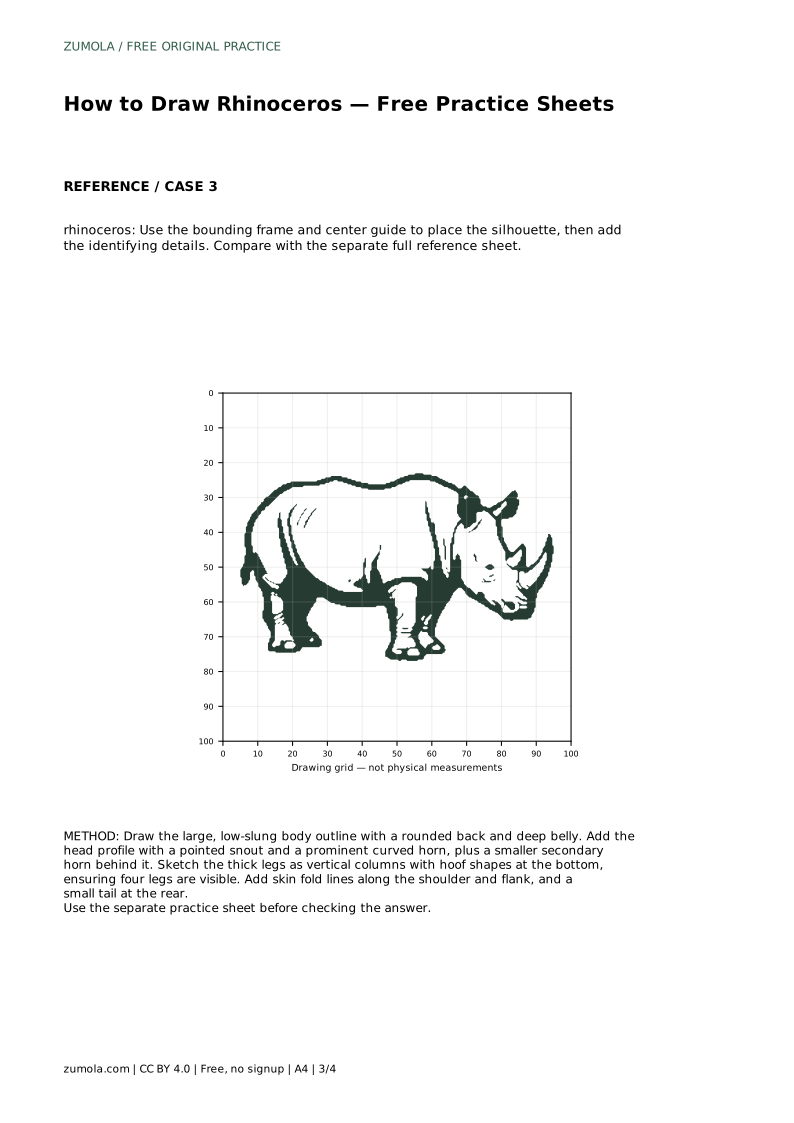
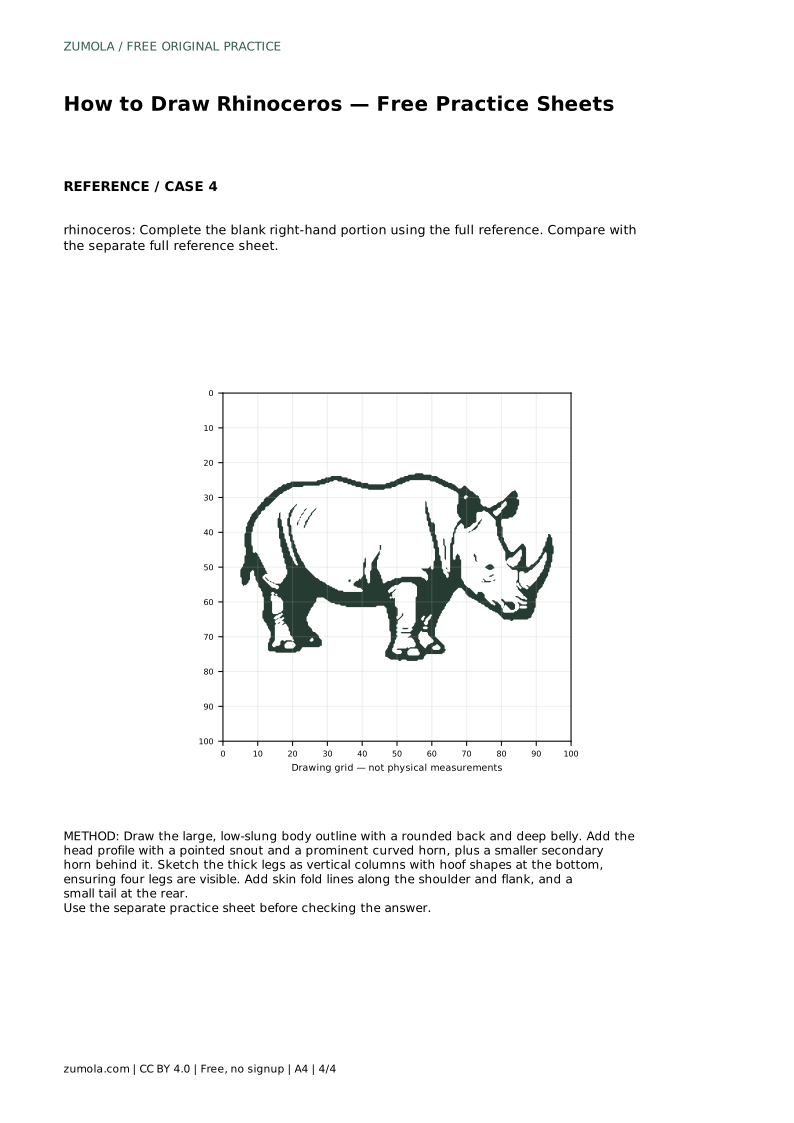
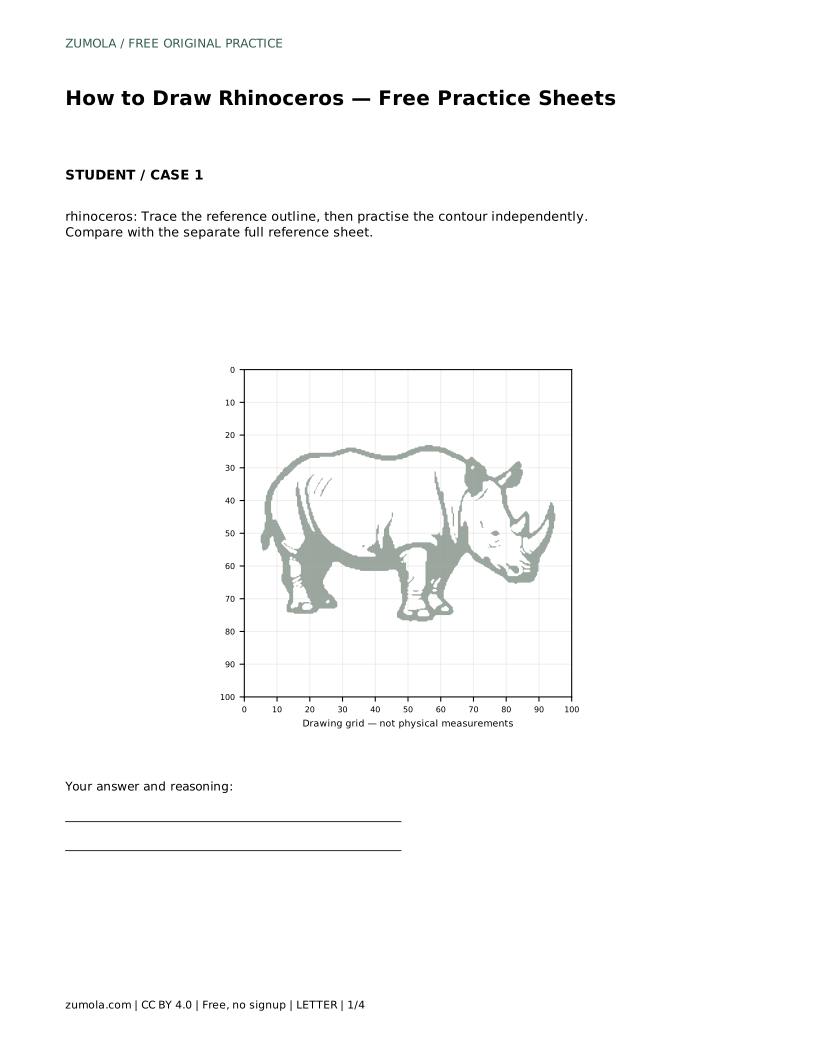
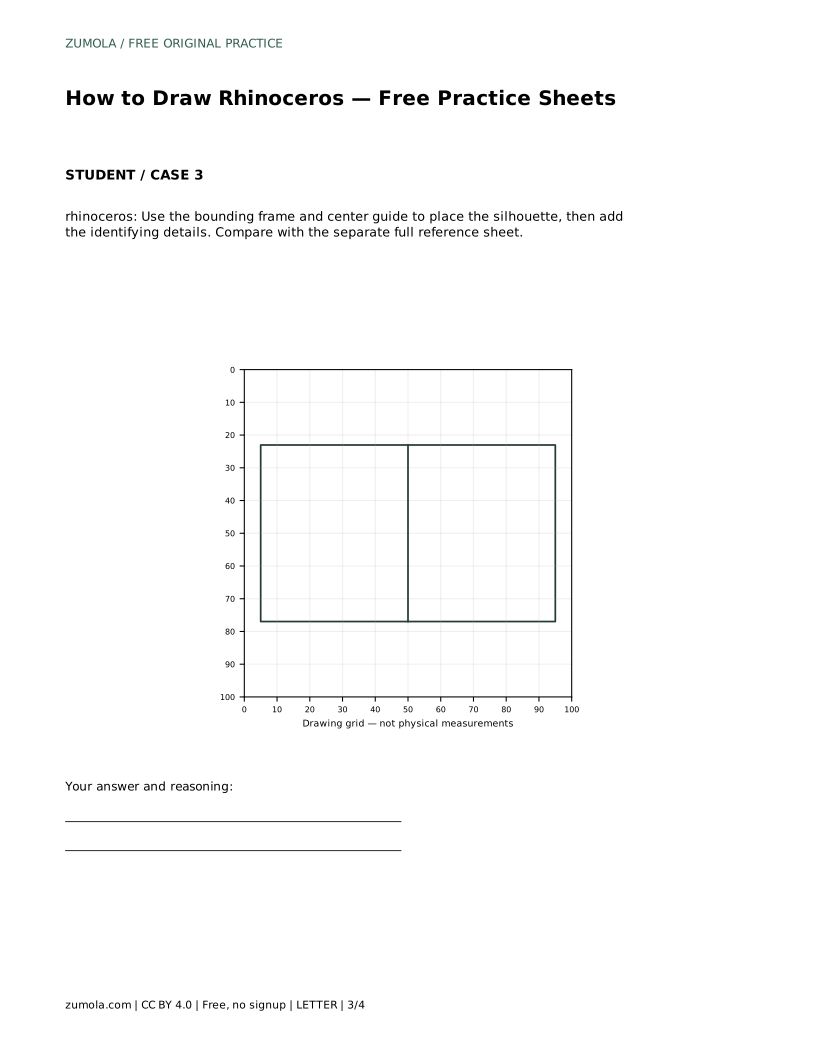
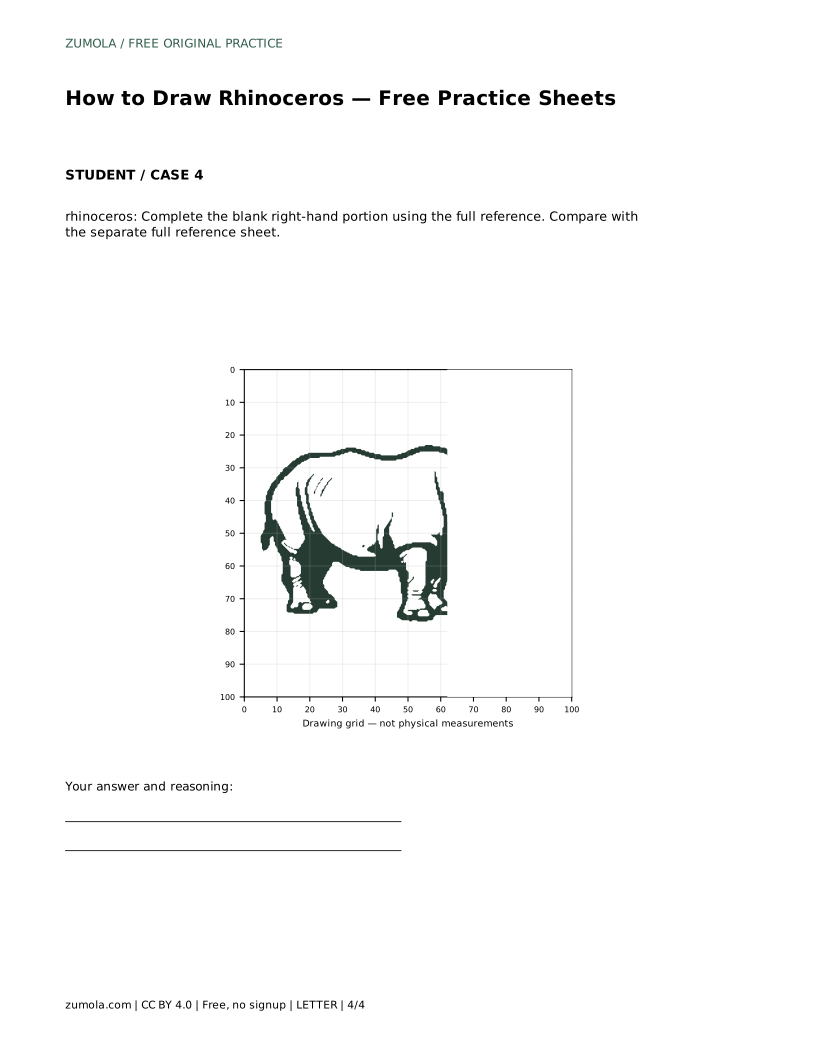
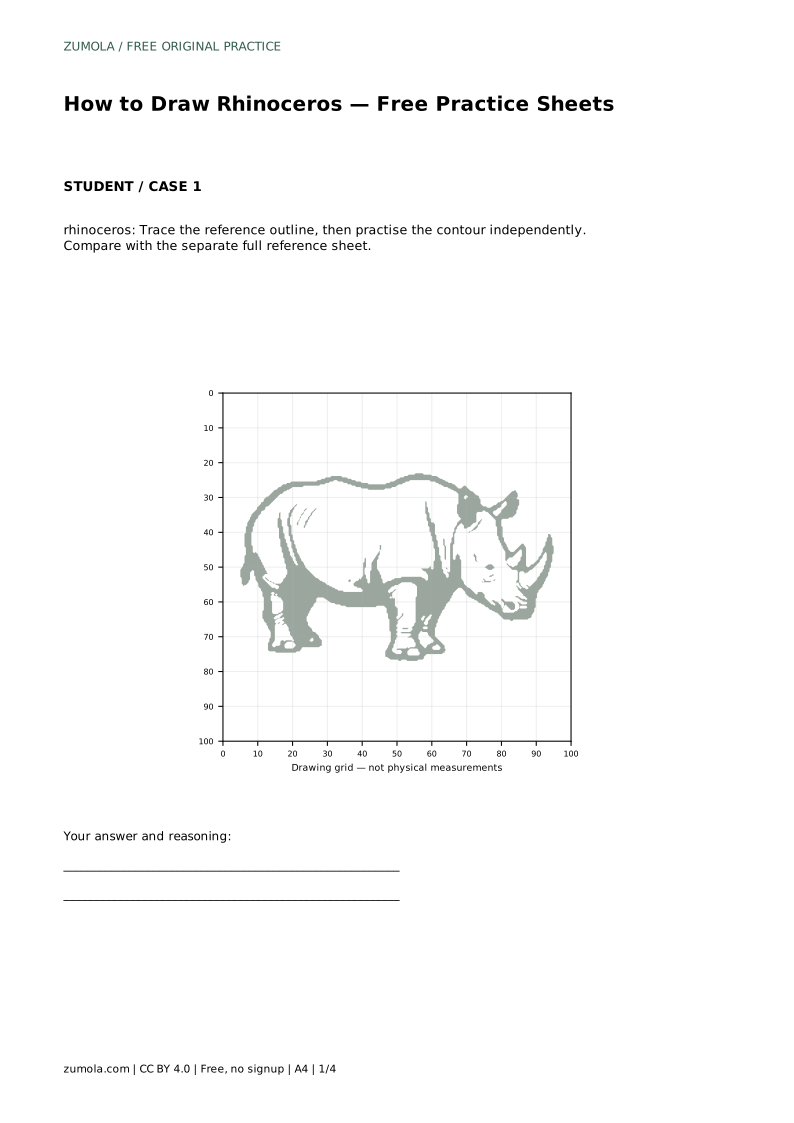
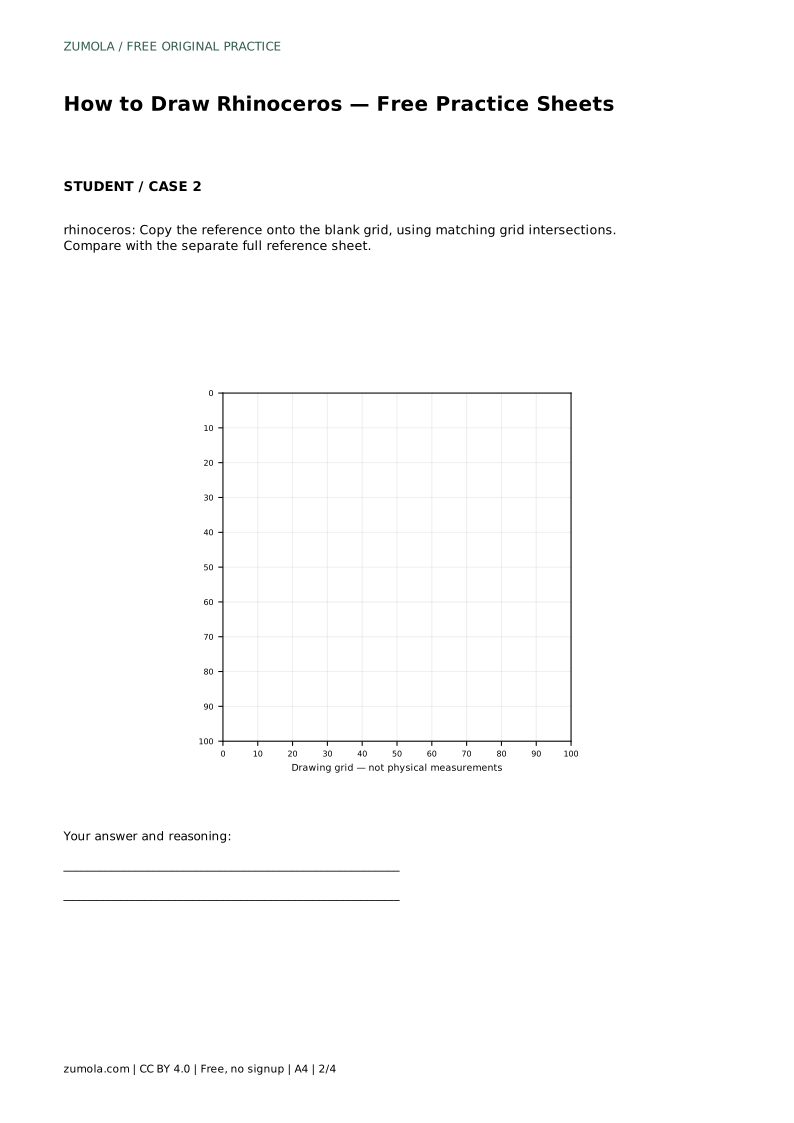
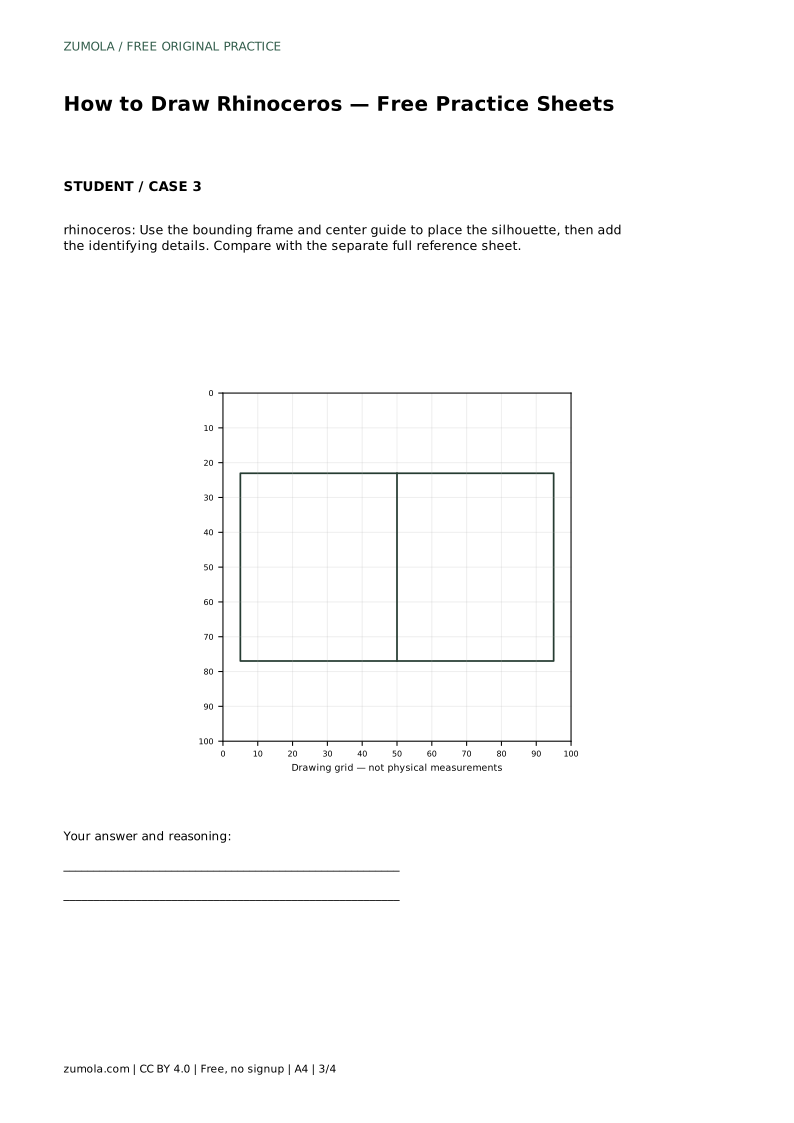
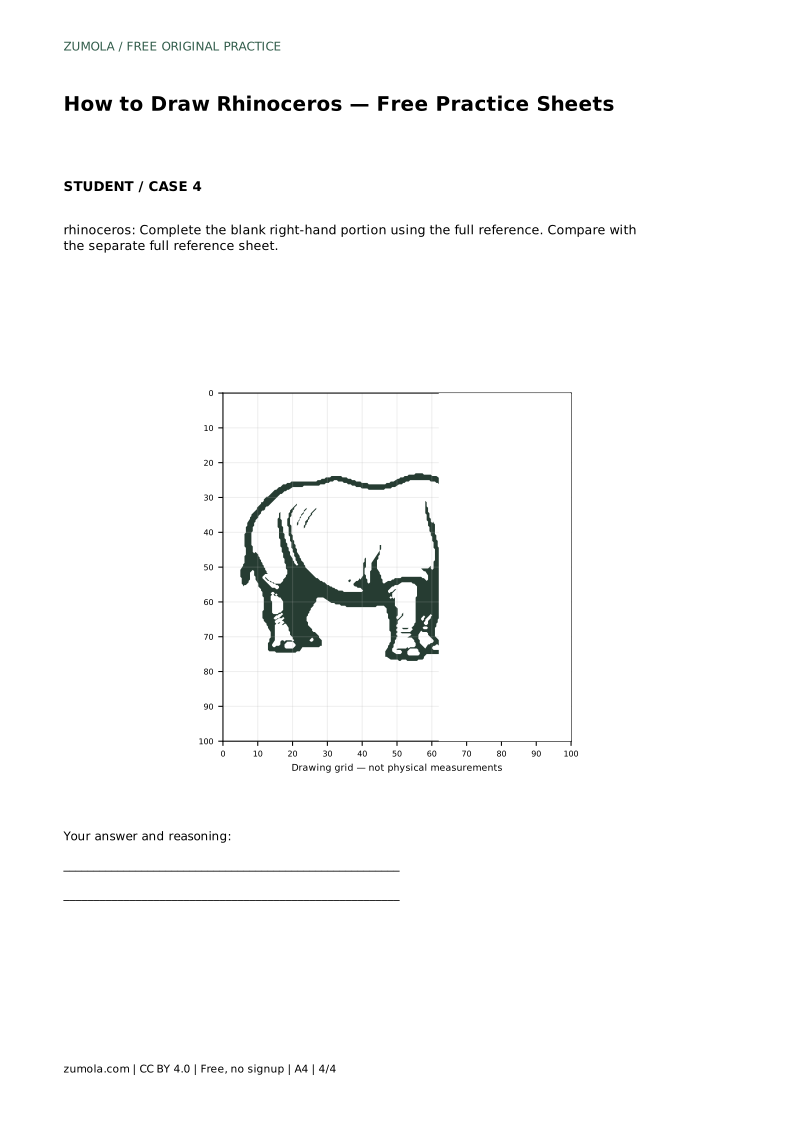
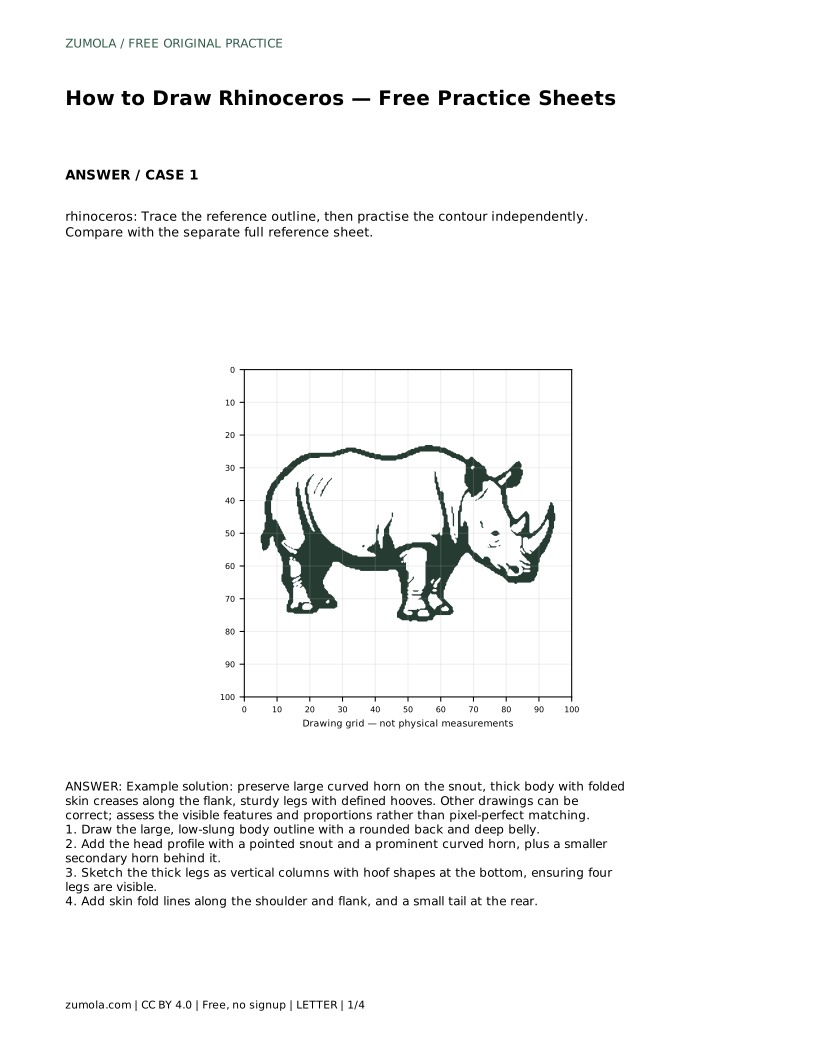
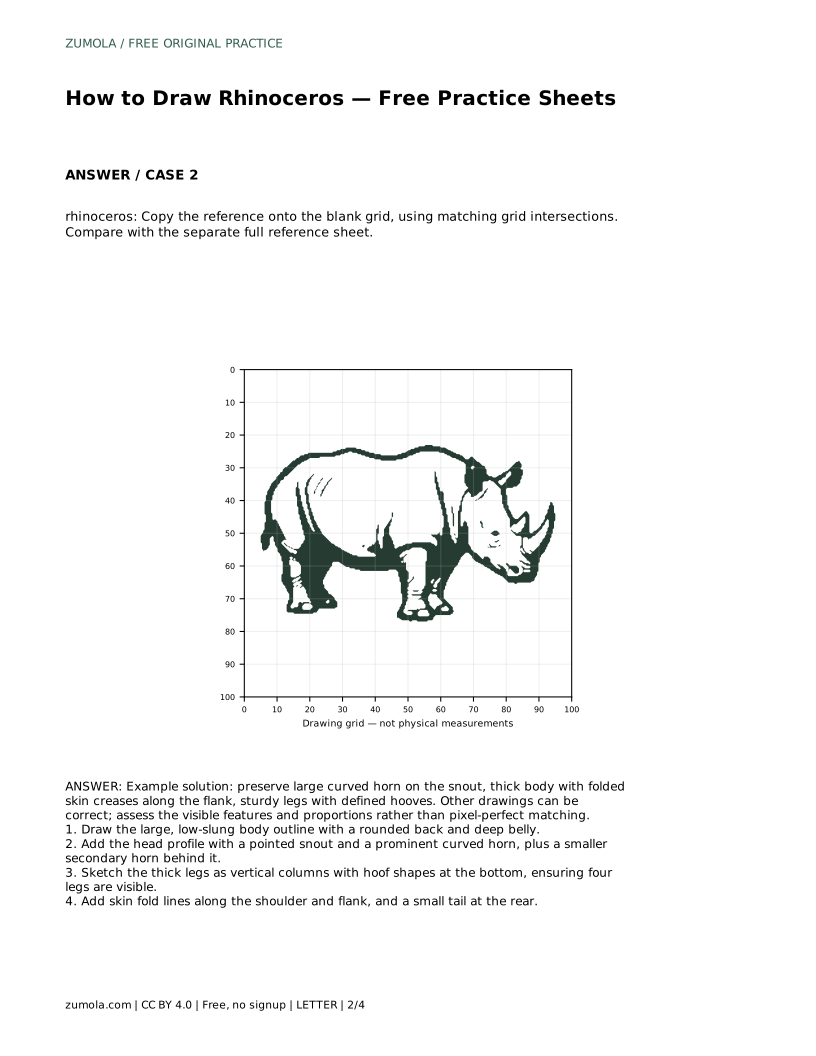
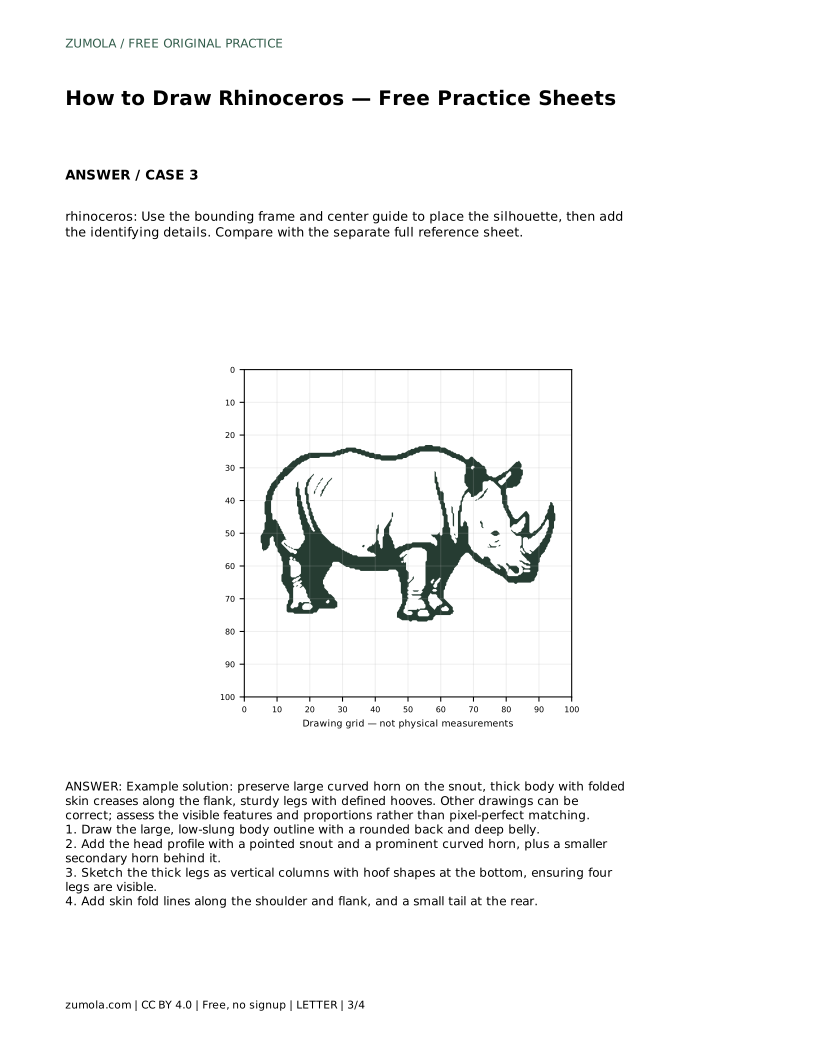
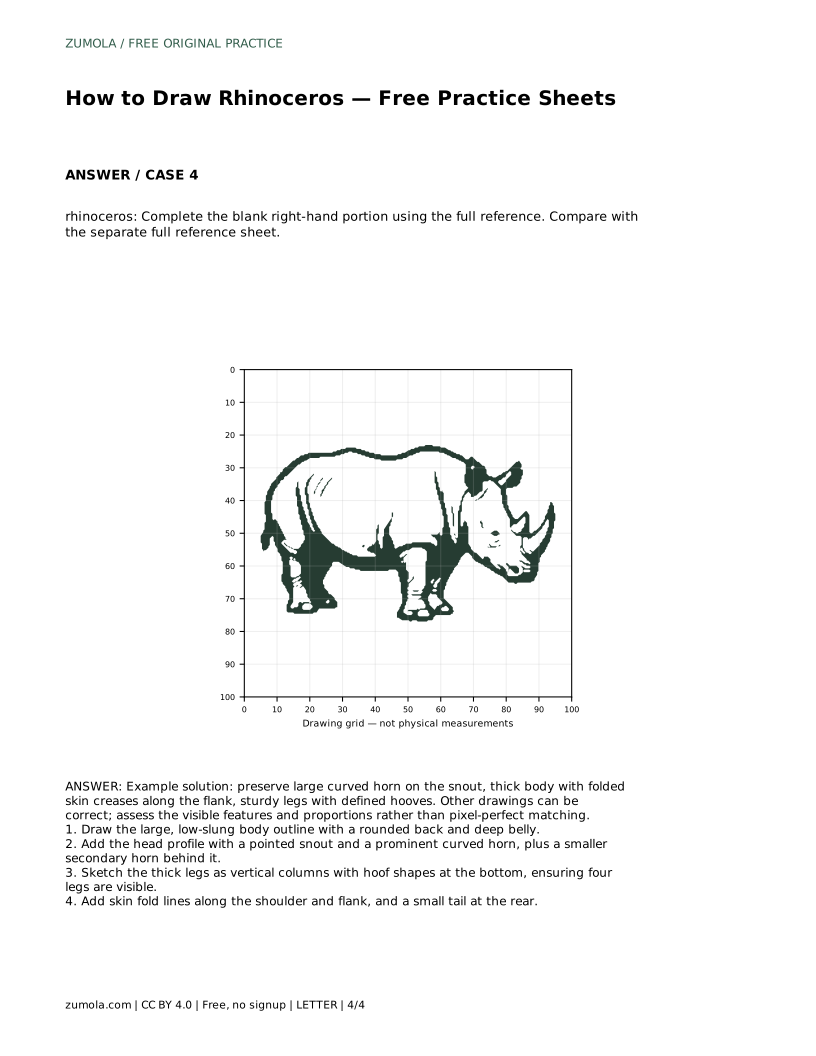
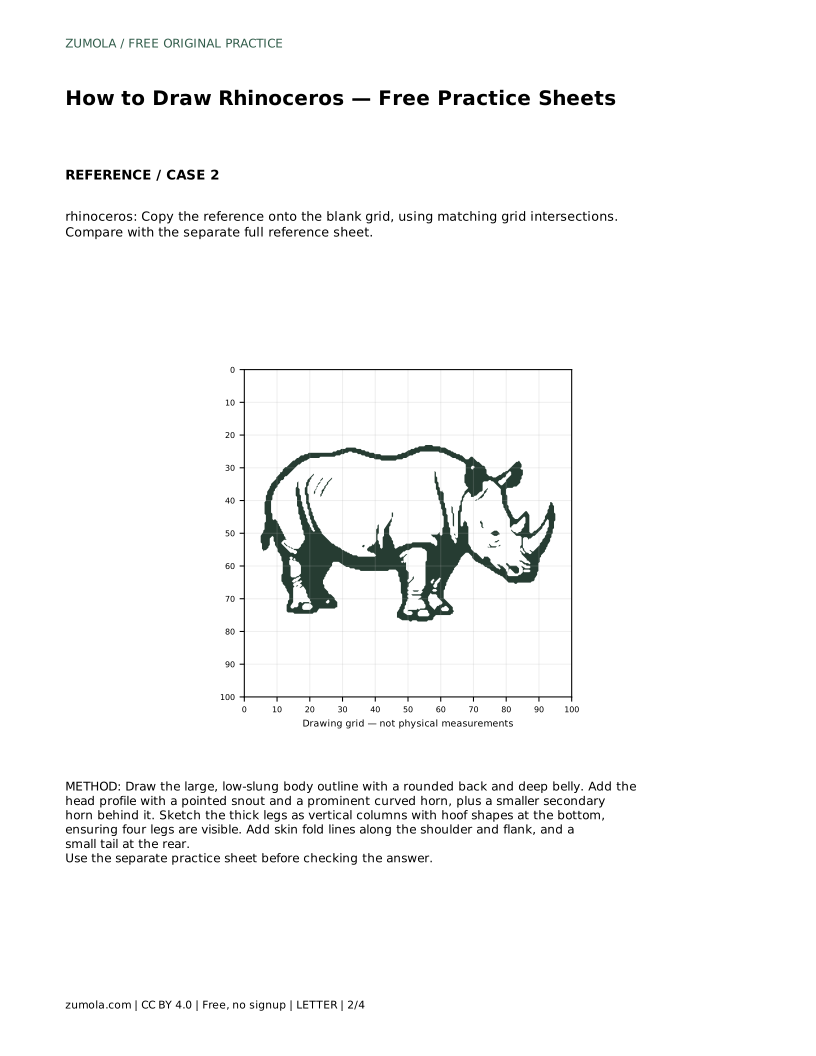
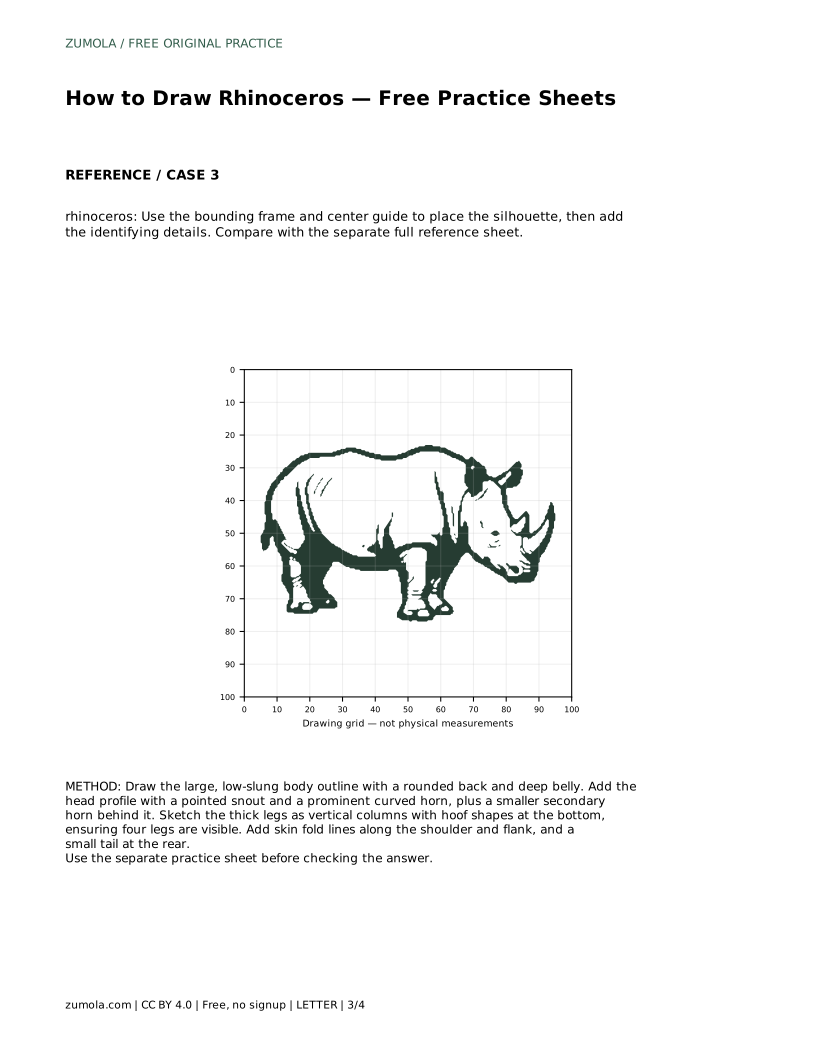
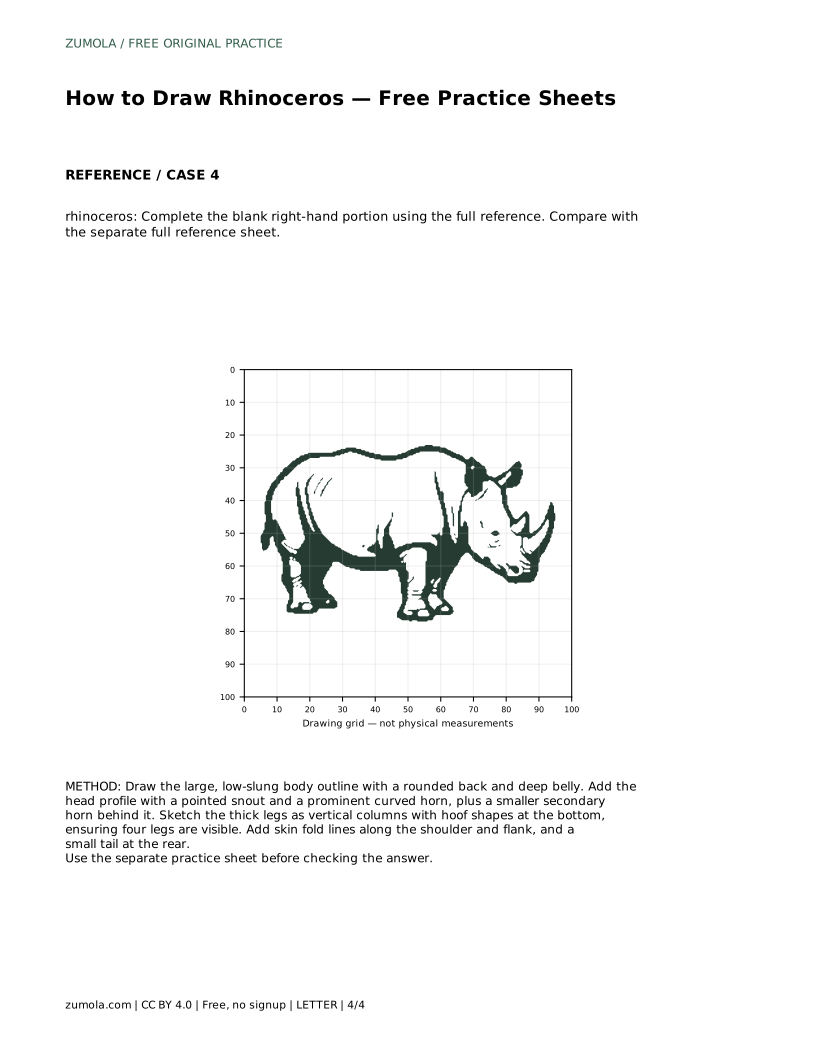
Each sheet isolates one skill. On the trace sheet, follow the reference outline first, then attempt the contour independently on blank space and compare with the separate full reference. On the grid sheet, copy the drawing by matching intersections so proportions stay consistent. On the center-guide sheet, use the bounding frame to place the silhouette before adding details. On the half sheet, complete the blank right-hand portion using the full reference.
In every format, compare your finished drawing with the reference by listing features: horn size and curve, secondary horn, body length, four visible legs, hooves, skin folds, and tail. A drawing that captures these can be correct even if the outline differs slightly.
Skin folds give the rhinoceros its armored look. Place a few curved lines at the shoulder where the neck meets the body, and along the flank behind the front leg. Keep folds sparse and follow the body's curve; too many lines flatten the form. Shade lightly under the belly and behind the legs to suggest weight.
The horn should look solid, so shade one side and leave a lighter edge. Avoid turning the folds into clinical anatomy diagrams; these are artistic marks that suggest heavy hide, not a study of internal structure.
Use the rubric below to review your work. Score each criterion as present, partly present, or missing, then redraw the weakest area. This keeps practice focused and avoids chasing a pixel-perfect copy.
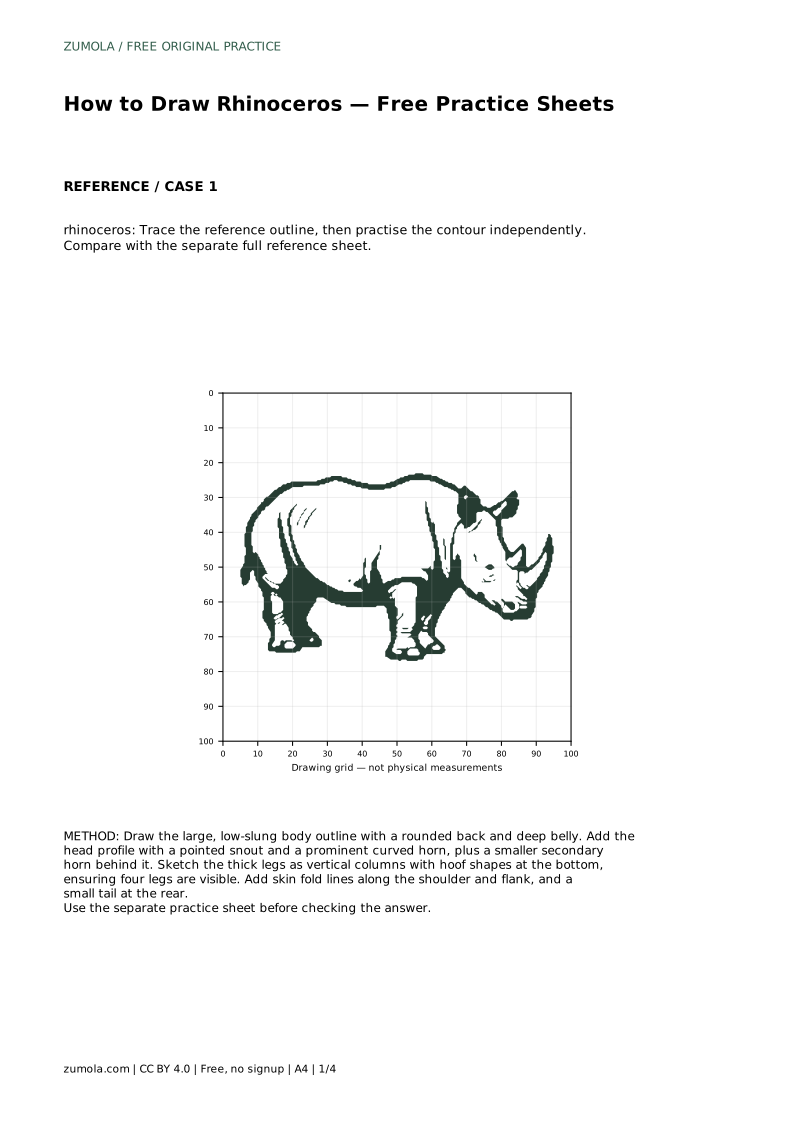
rhinoceros: Trace the reference outline, then practise the contour independently. Compare with the separate full reference sheet.
Example solution: preserve large curved horn on the snout, thick body with folded skin creases along the flank, sturdy legs with defined hooves. Other drawings can be correct; assess the visible features and proportions rather than pixel-perfect matching. Draw the large, low-slung body outline with a rounded back and deep belly. Add the head profile with a pointed snout and a prominent curved horn, plus a smaller secondary horn behind it. Sketch the thick legs as vertical columns with hoof shapes at the bottom, ensuring four legs are visible. Add skin fold lines along the shoulder and flank, and a small tail at the rear.
No. Several drawings can be correct. Check that the large curved horn, secondary horn, thick folded body, four visible legs, hooves, and tail are present and proportionate.
Start with the trace sheet to learn the contour, then move to the grid or center-guide sheet to practice placement without tracing.
Keep the body longer than it is tall, the belly deep, the legs short and column-like, and add light shading under the belly.
All drawing practice · Free coordinate paper
Original resources · CC BY 4.0 · Free for personal and classroom use with attribution.