Reference diagrams
LETTER · Download PDF
A4 · Download PDF
Free original resources
Learn to draw an elk by tracing a reference outline, copying onto a grid, and completing a partial drawing. Focus on antlers, mane, long legs, and proportions.
Four original cases, with reference diagrams, practice sheets and worked answers. Everything is free; no signup required.
LETTER · Download PDF
A4 · Download PDF
LETTER · Download PDF
A4 · Download PDF
LETTER · Download PDF
A4 · Download PDF
Use A4 or US Letter to match your printer. Use the stated values and conditions to solve each exercise; diagrams are not physical measuring rulers.
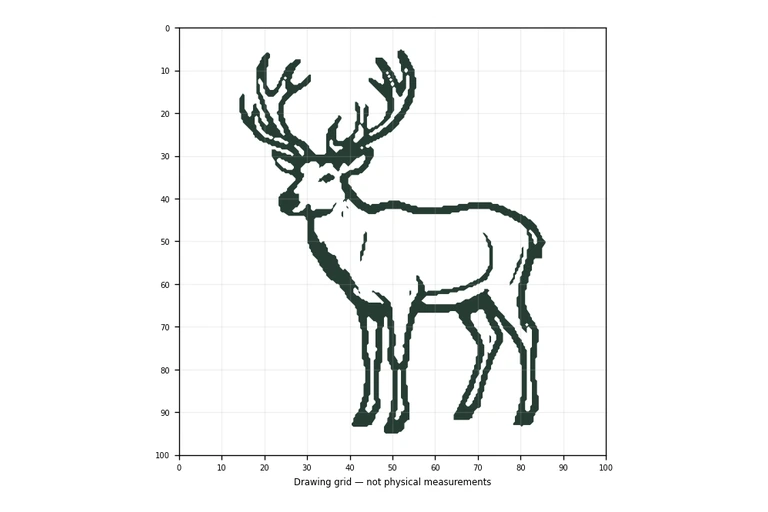
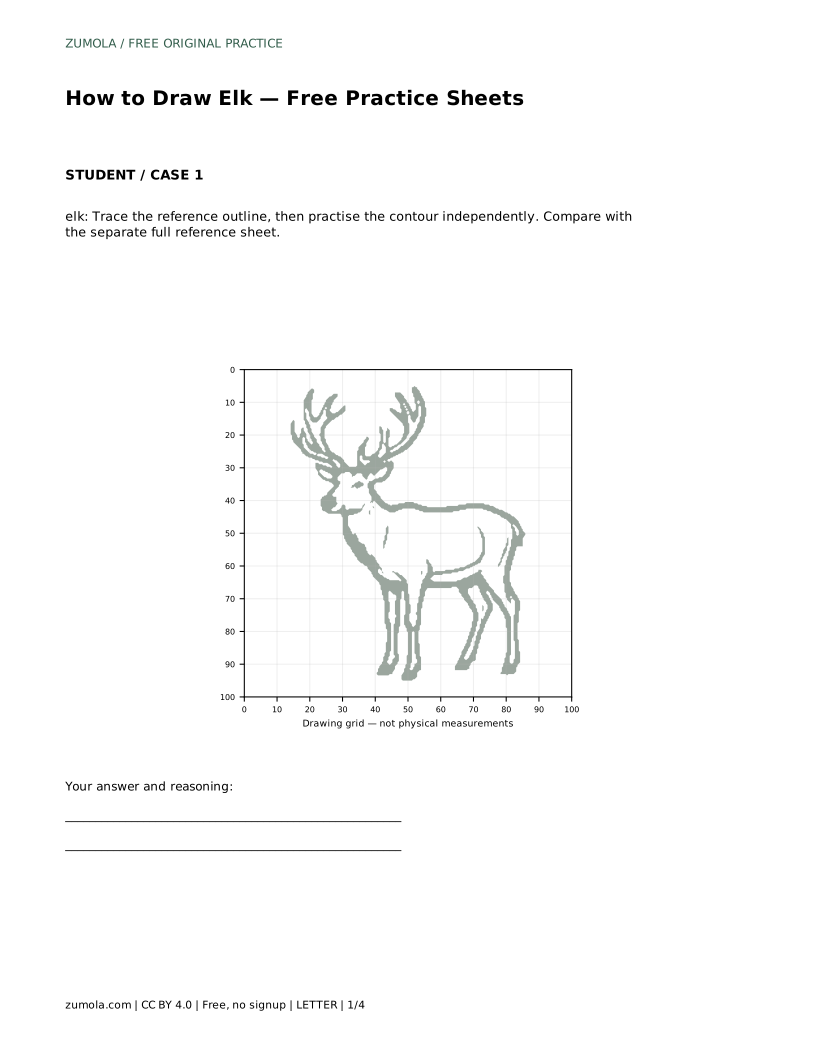
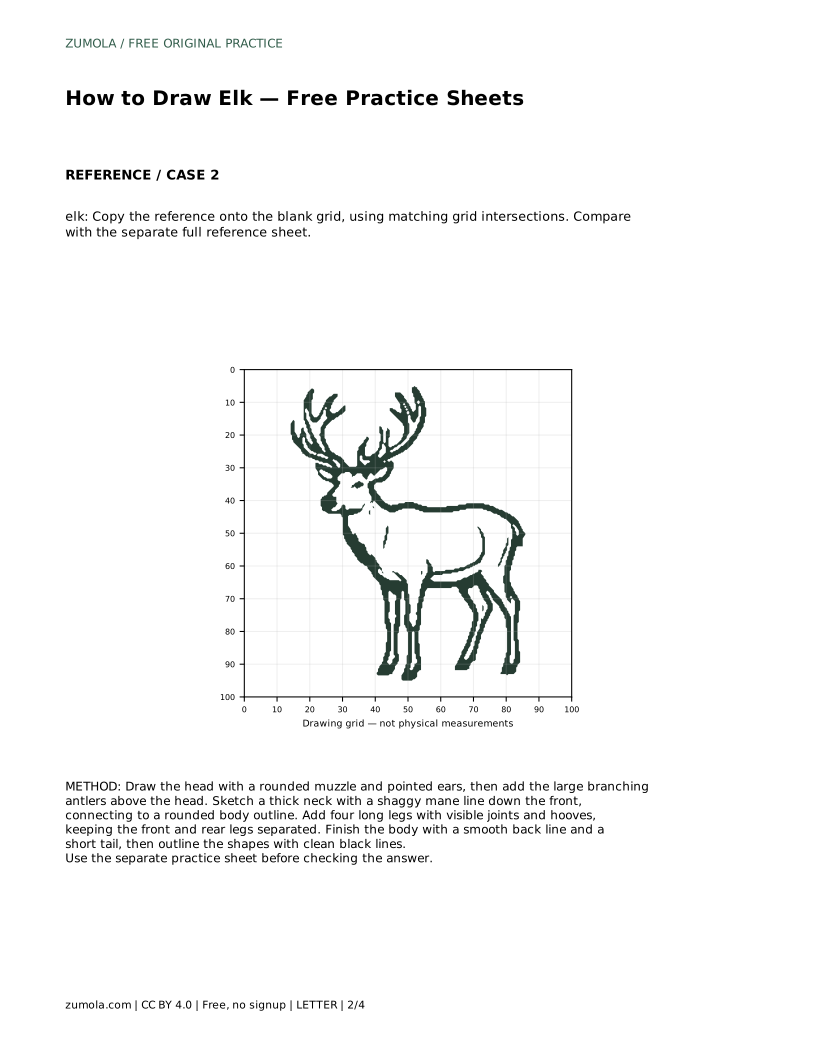
Drawing an elk is mostly a matter of placing a few large shapes in the right order. The antlers set the height, the thick neck and mane set the character, and four long legs set the stance. This page walks through tracing a reference outline, then practising the contour independently, and explains how to judge your drawing by visible features and proportions rather than an exact match.
Begin at the top of the page, because the antlers decide how much room the rest of the elk needs. Draw the head first: a rounded muzzle, a forehead that slopes back, and pointed ears set below the antler bases. Keep the muzzle short and blunt rather than long and narrow.
Add the antlers above the head. Elk antlers branch outward and upward from a base near the ears, and the branches spread wide. Draw the main beams first, then add the tines as separate branches. Leave space between branches so each one stays readable. If the antlers look crowded, redraw them with fewer, clearer branches rather than many small ones.
The neck is thick and carries a shaggy mane down the front. Sketch the neck as a broad shape connecting the head to the shoulders, then draw the mane as a wavy line along its front edge. The mane should read as a continuous fringe, not a series of separate tufts.
From the shoulders, draw a rounded body outline with a smooth back line. Keep the chest deep and the belly line gently curved. End the body with a short tail. At this stage, work lightly so you can adjust the body length before committing to dark lines.
Elk legs are long, with visible joints and hooves. Draw the front pair and the rear pair as separate shapes so the legs do not merge into one block. Mark the knee or hock joint on each leg, then taper the leg toward a small hoof. Keep the hooves at a consistent ground level unless you deliberately want a walking pose.
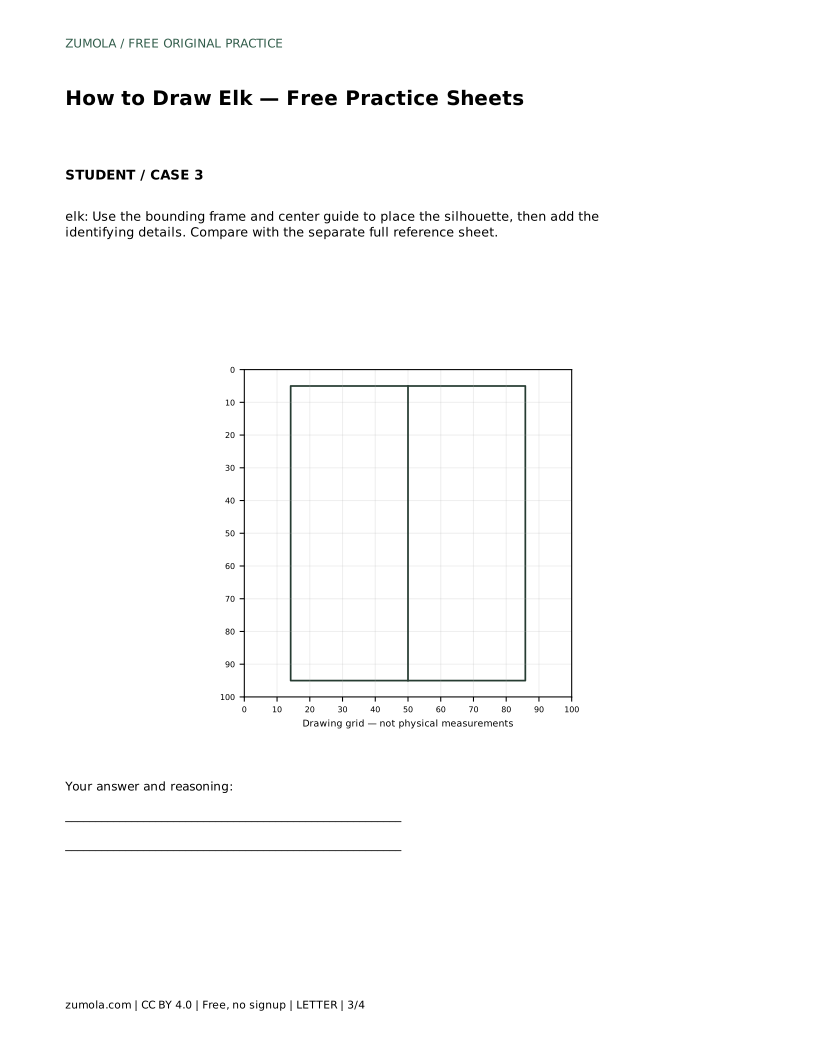
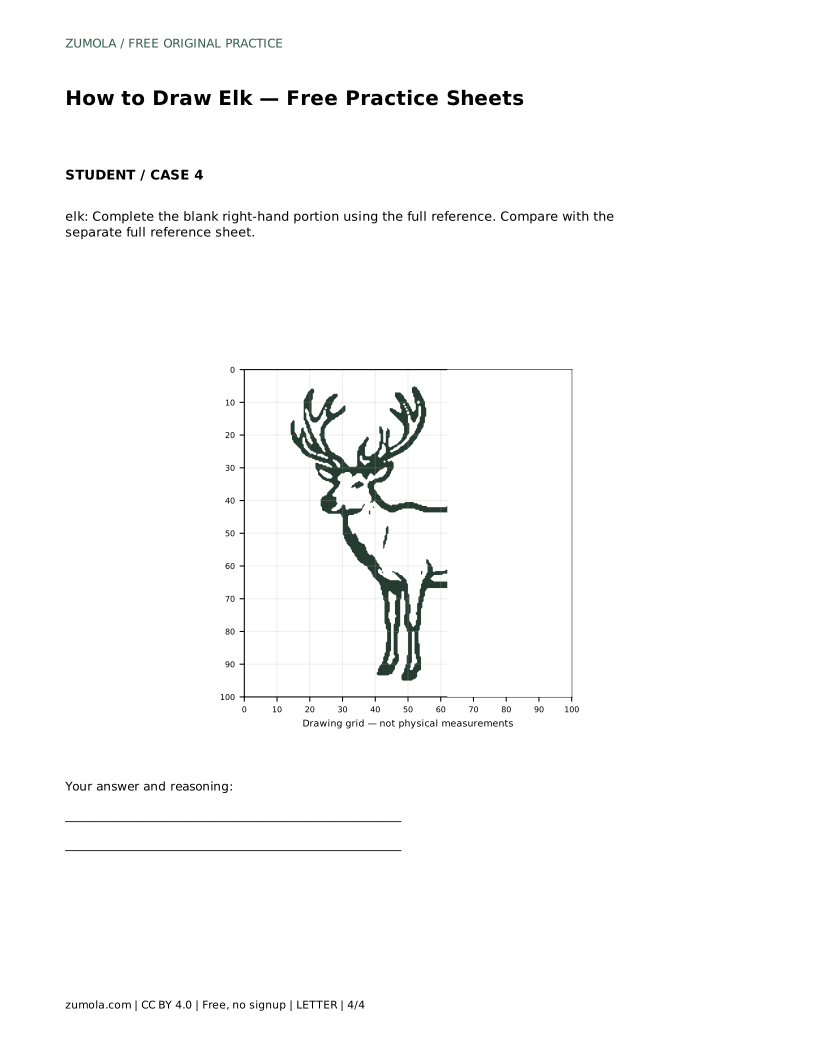
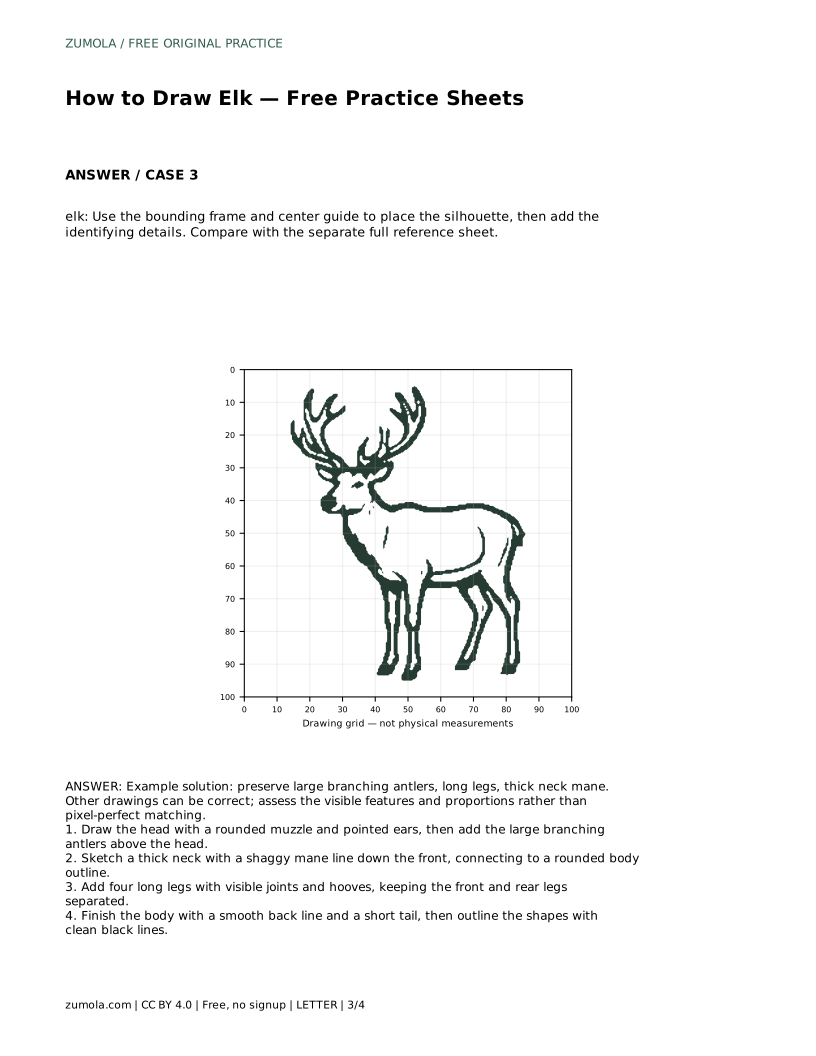
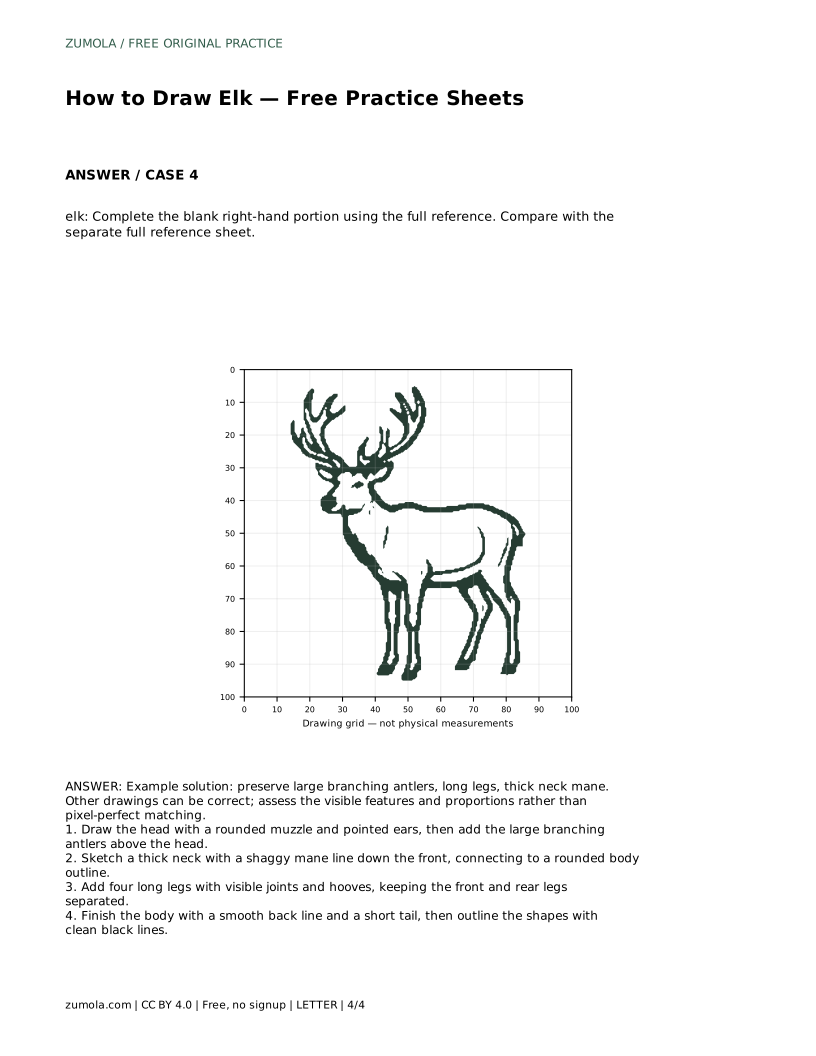
When the shapes look right, outline them with clean black lines and erase the light construction marks. Compare your finished drawing with the separate full reference sheet. Check the antler spread, the mane line, the leg length, and the body proportions one at a time.
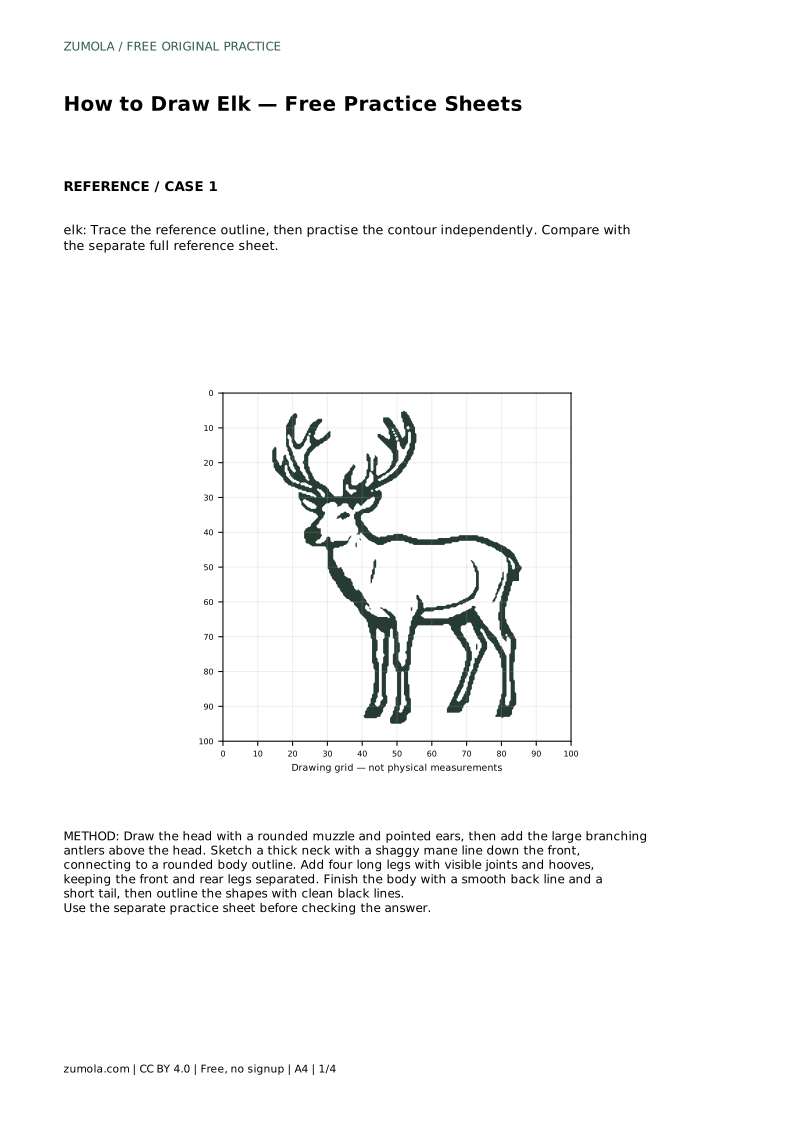
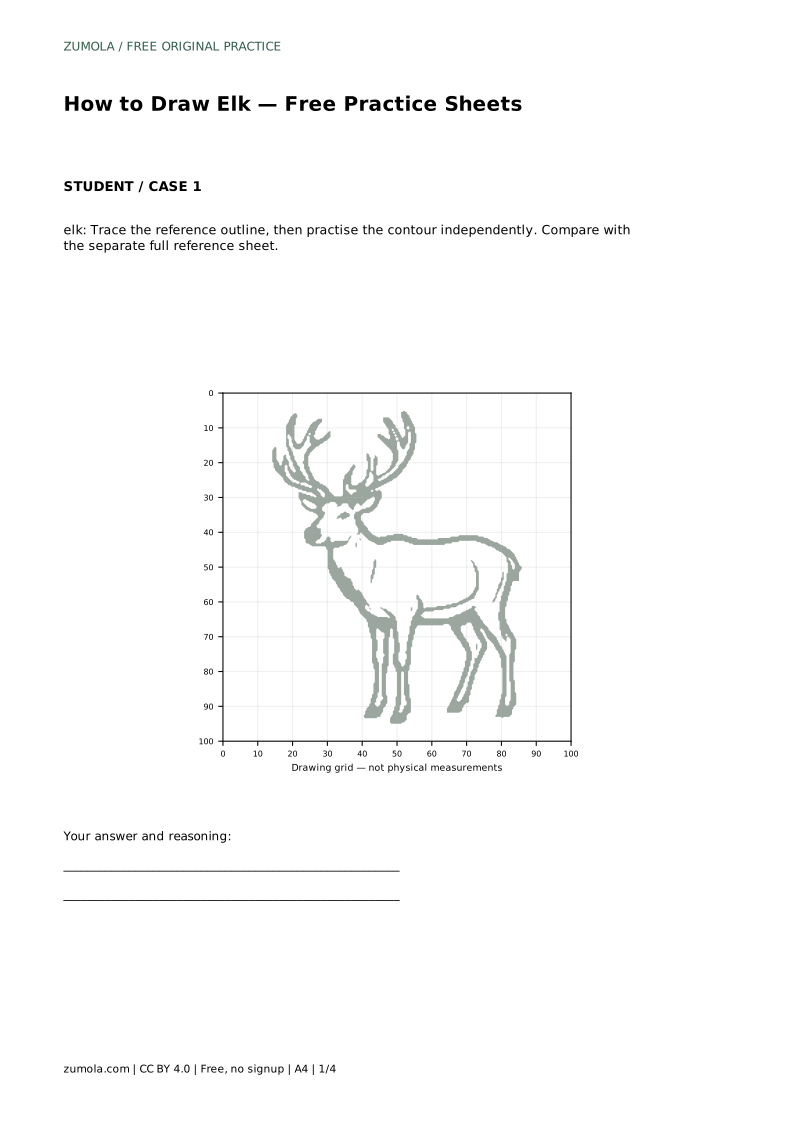
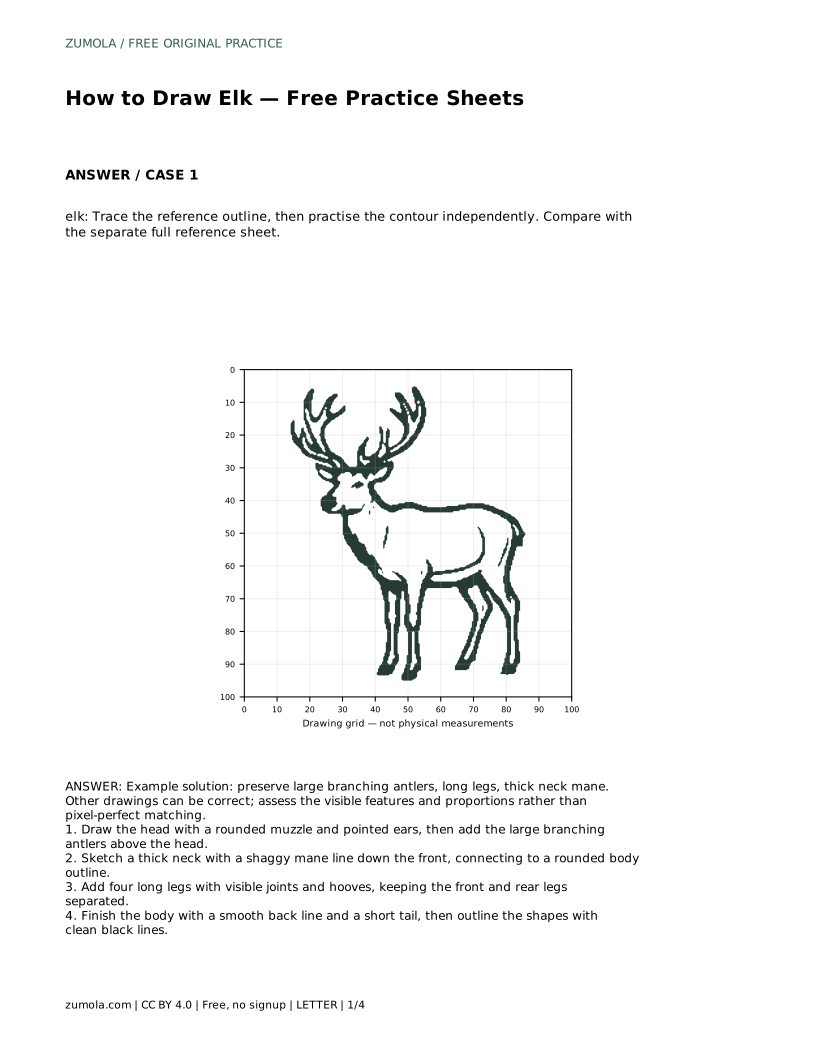
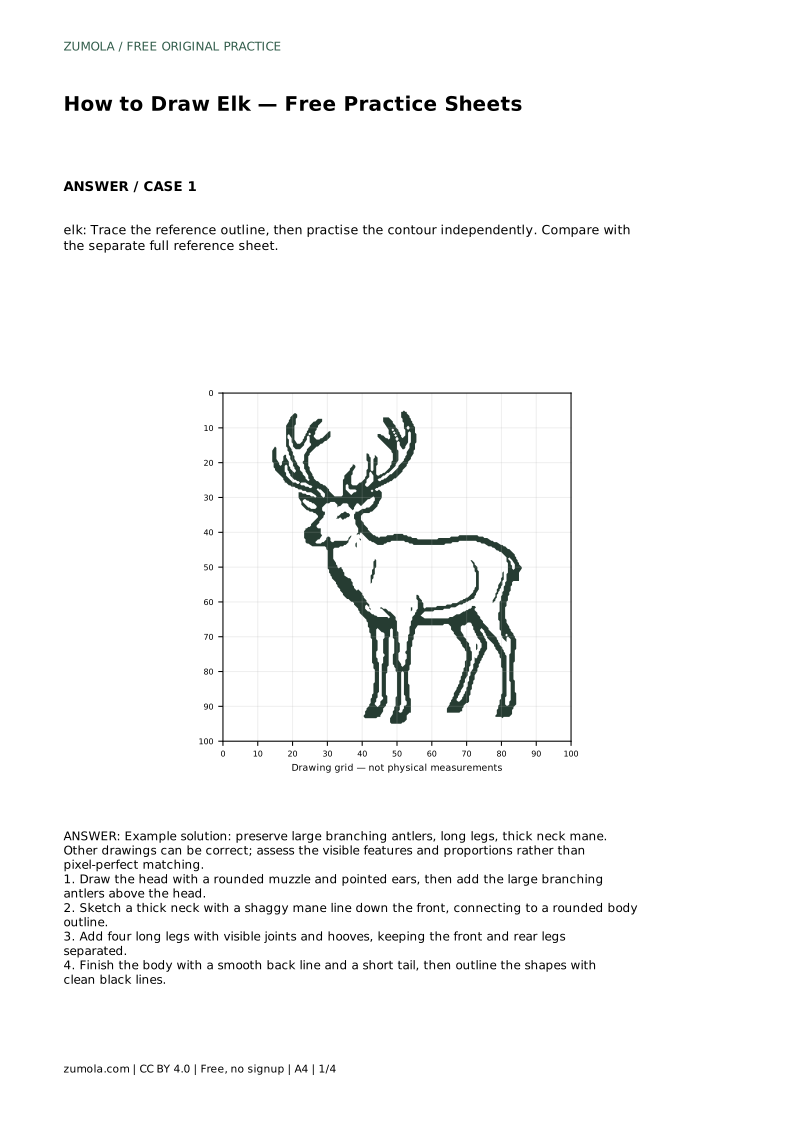
elk: Trace the reference outline, then practise the contour independently. Compare with the separate full reference sheet.
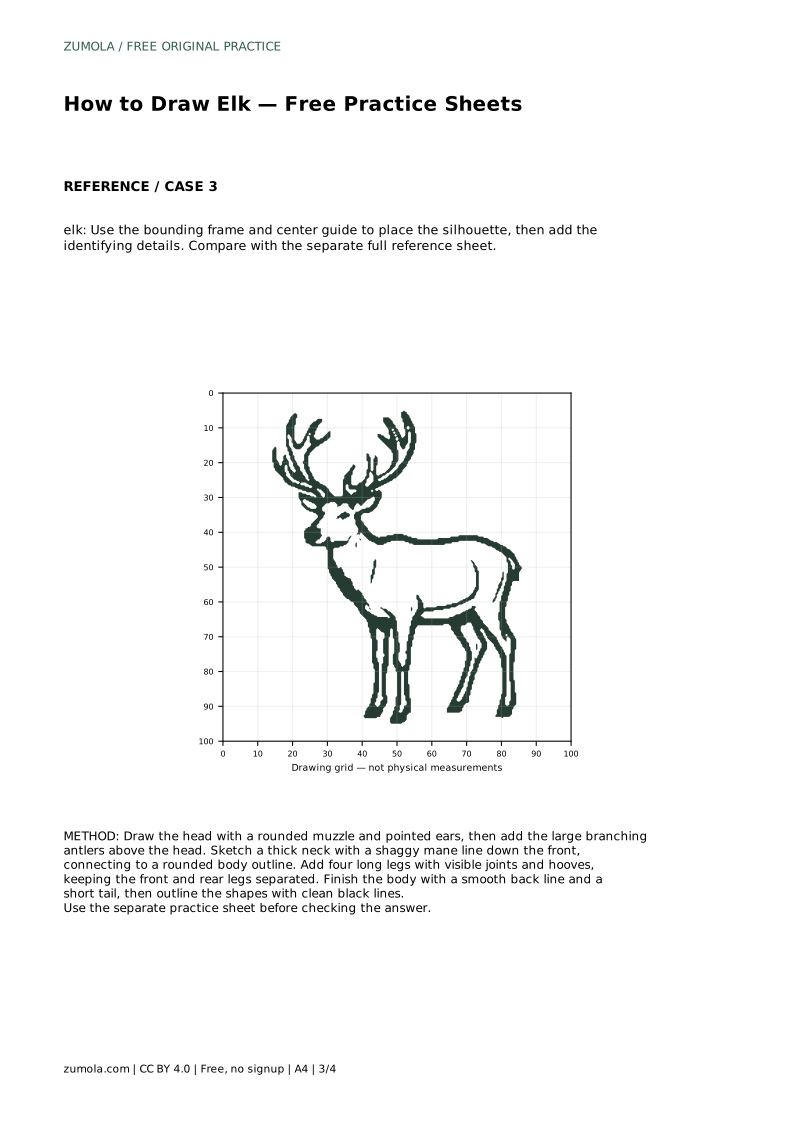
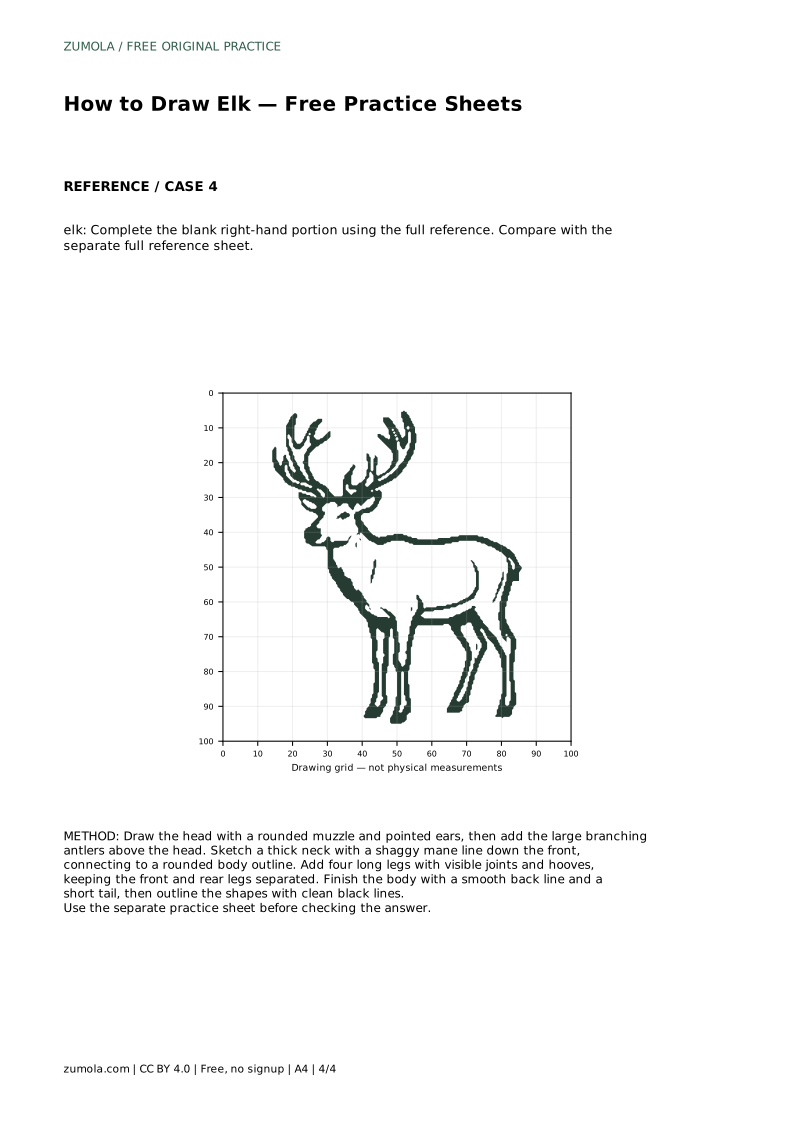
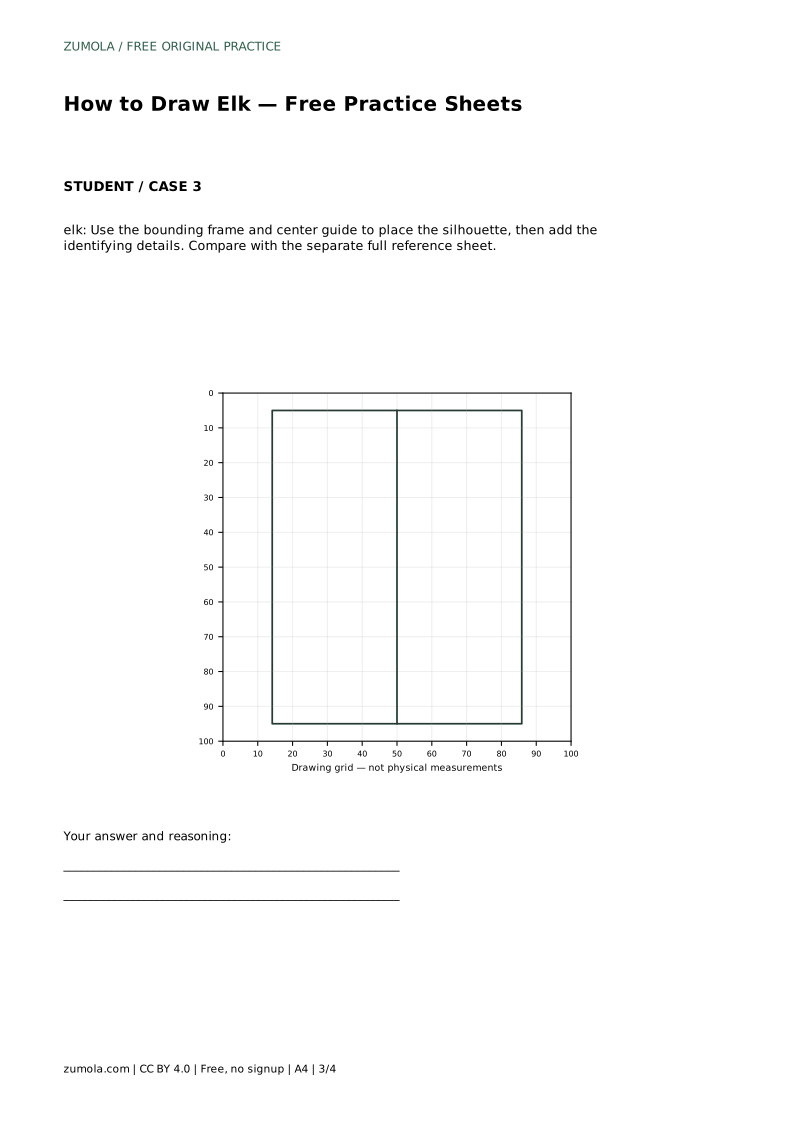
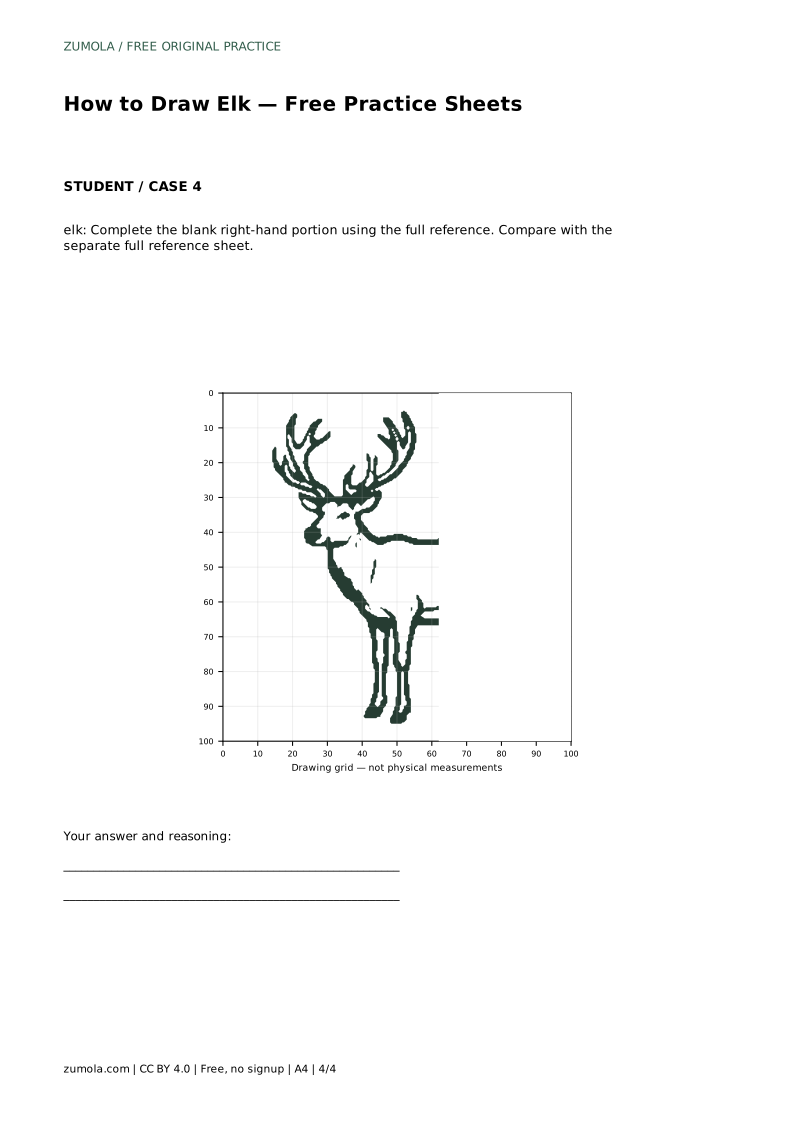
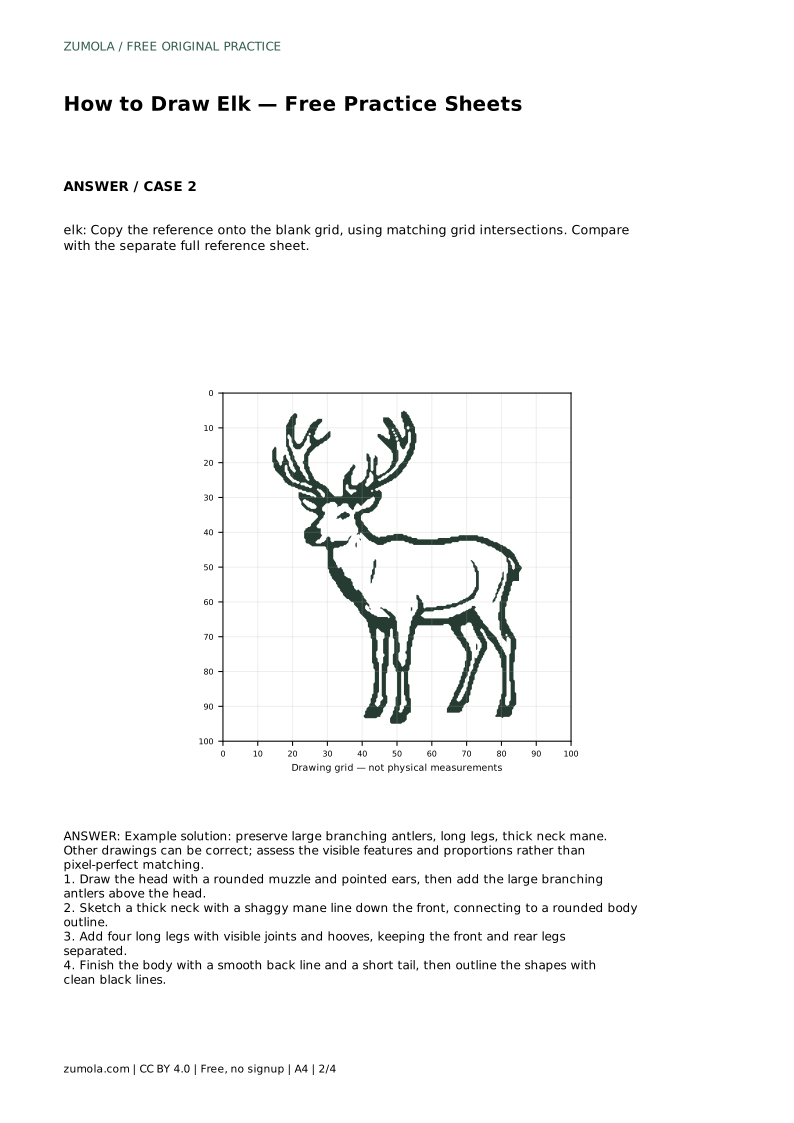
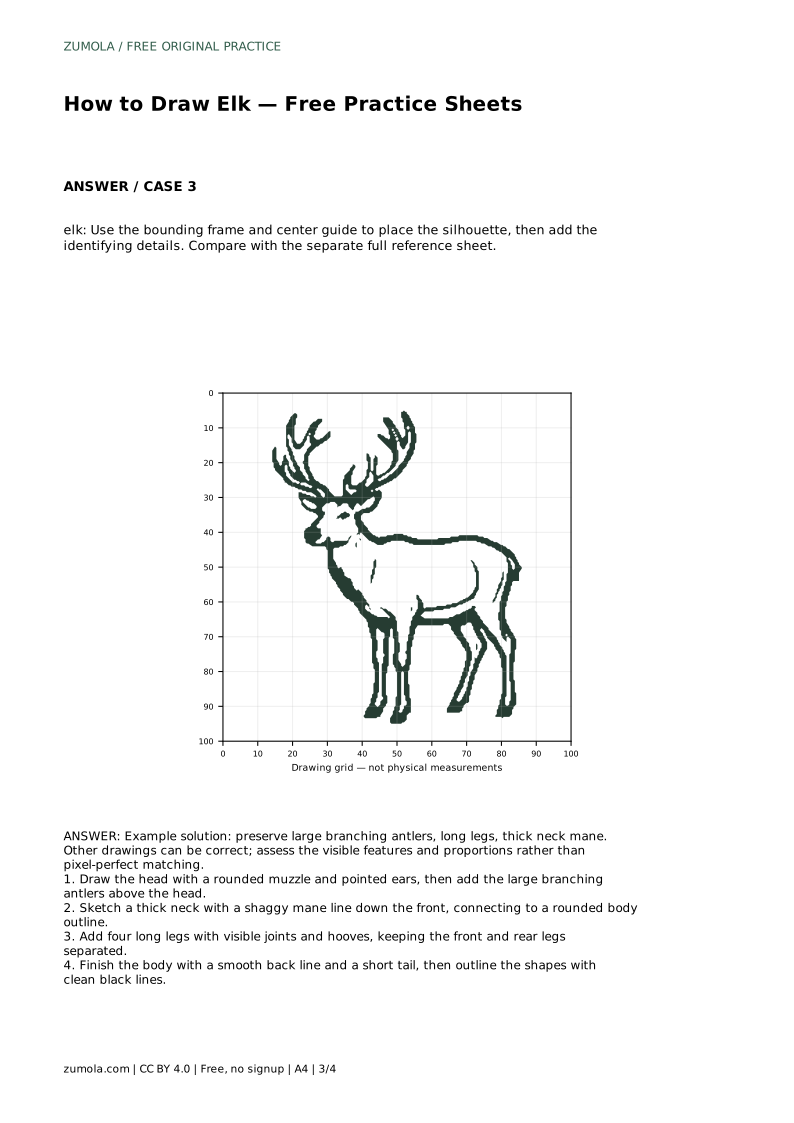
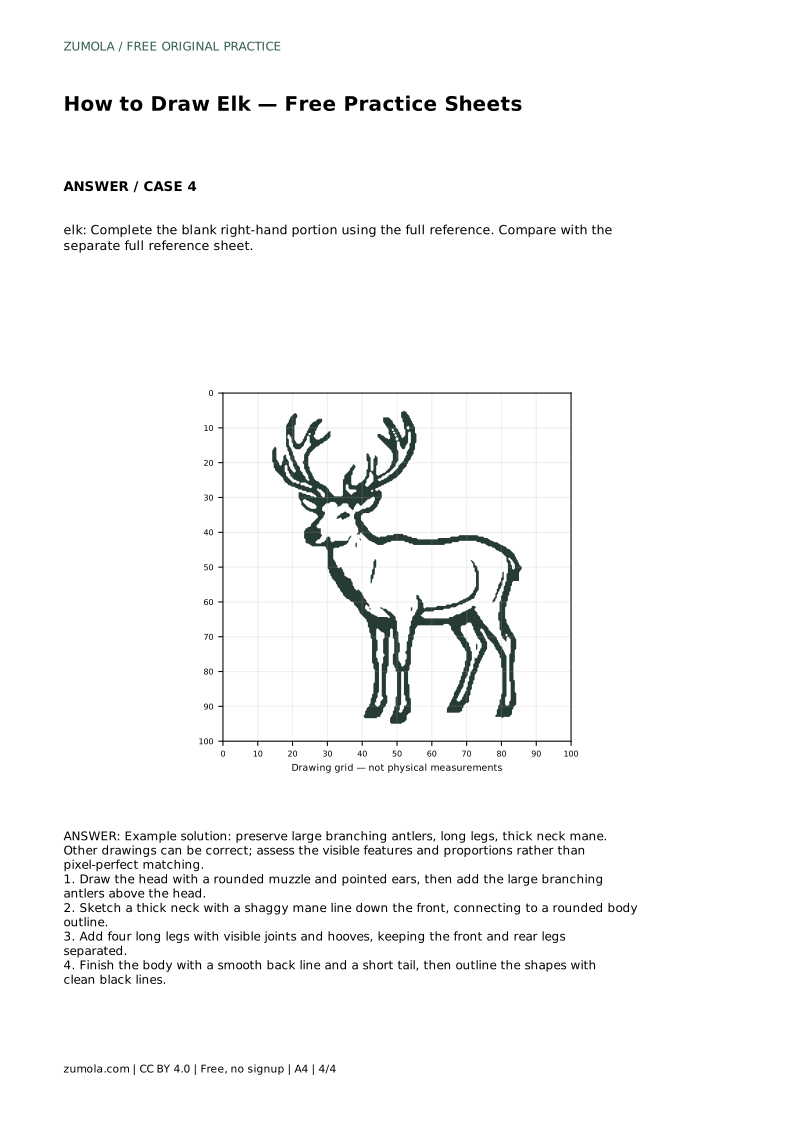
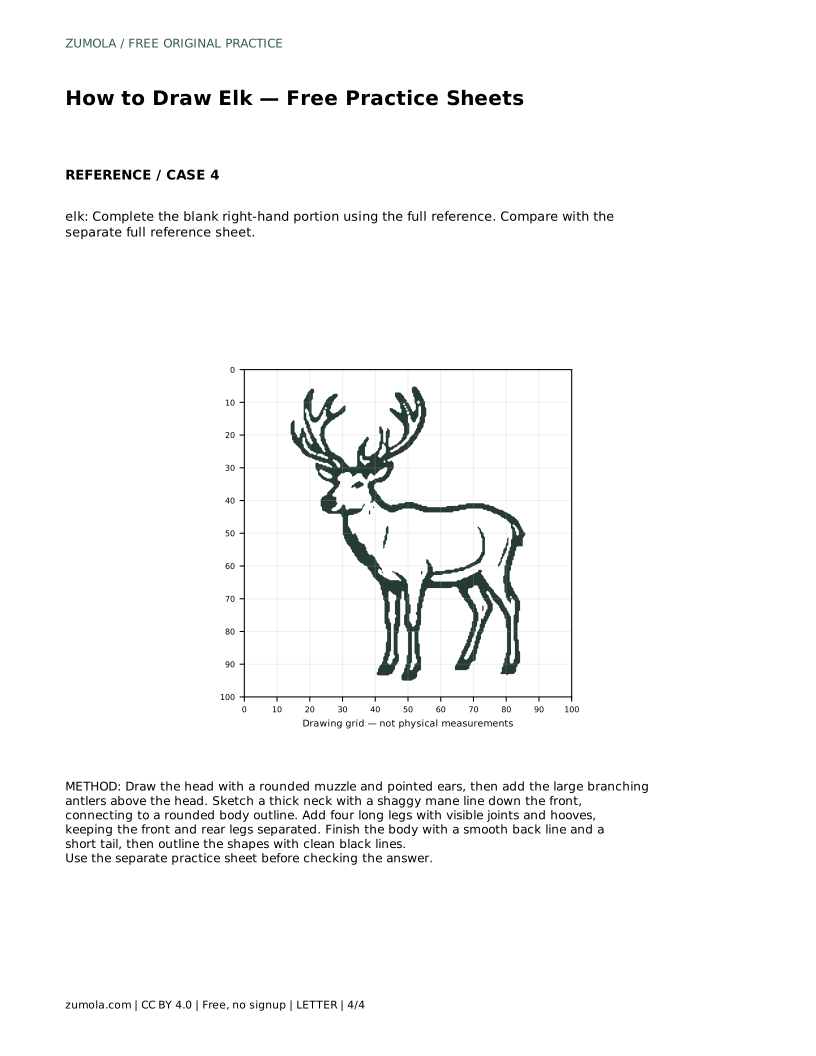
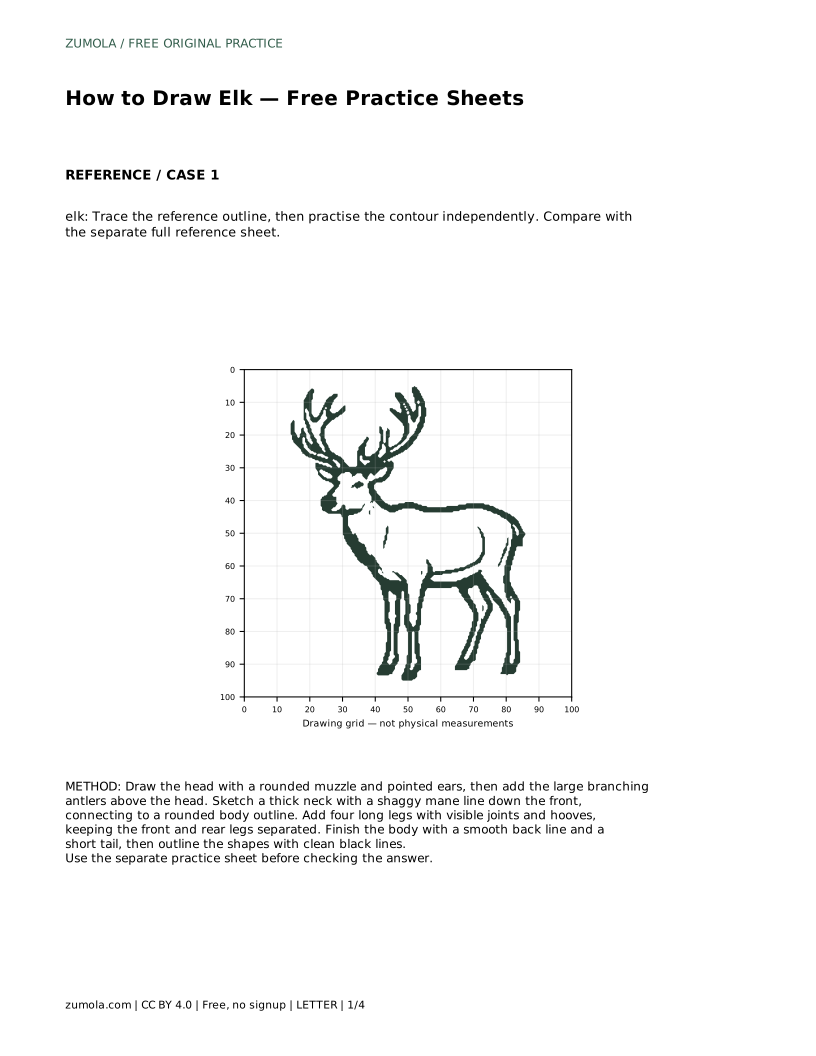
Example solution: preserve large branching antlers, long legs, thick neck mane. Other drawings can be correct; assess the visible features and proportions rather than pixel-perfect matching. Draw the head with a rounded muzzle and pointed ears, then add the large branching antlers above the head. Sketch a thick neck with a shaggy mane line down the front, connecting to a rounded body outline. Add four long legs with visible joints and hooves, keeping the front and rear legs separated. Finish the body with a smooth back line and a short tail, then outline the shapes with clean black lines.
No. Several drawings can be correct. Judge your work by whether the large branching antlers, long legs, thick neck mane, and overall proportions are visible and balanced.
Head and antlers first, then the neck and mane, then the body, then the four legs. Finishing with clean outlines keeps earlier shapes easy to adjust.
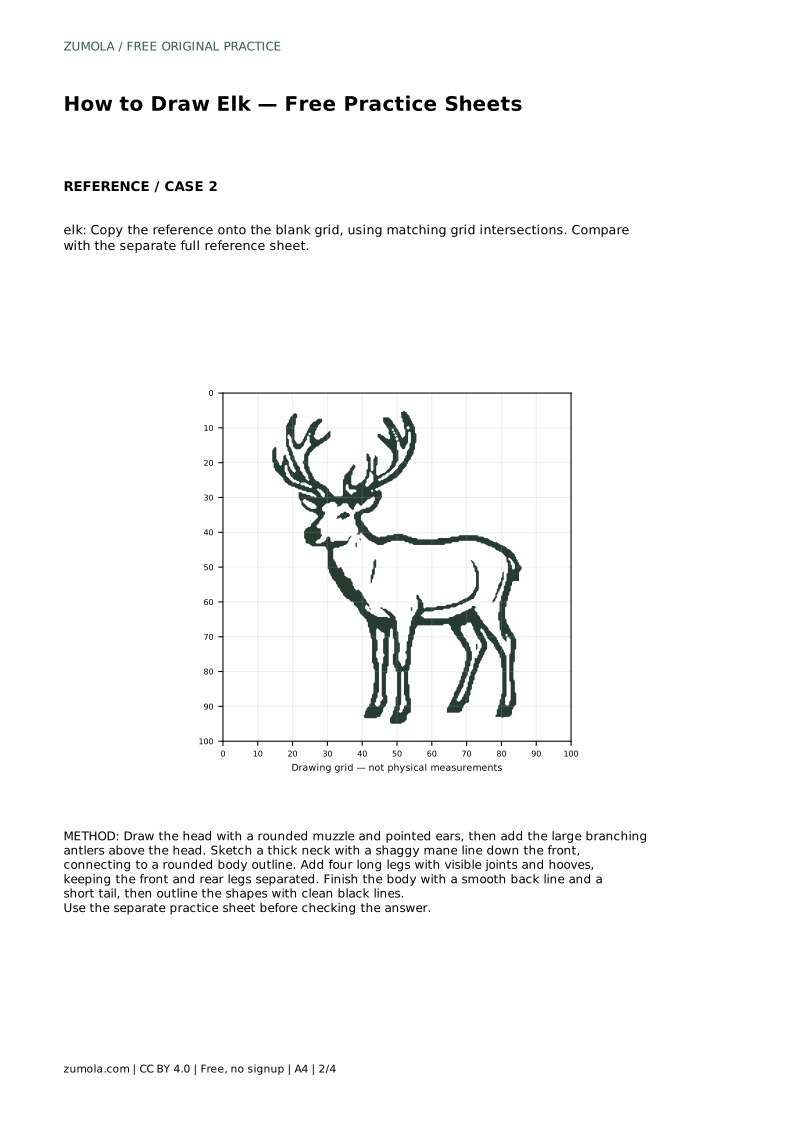
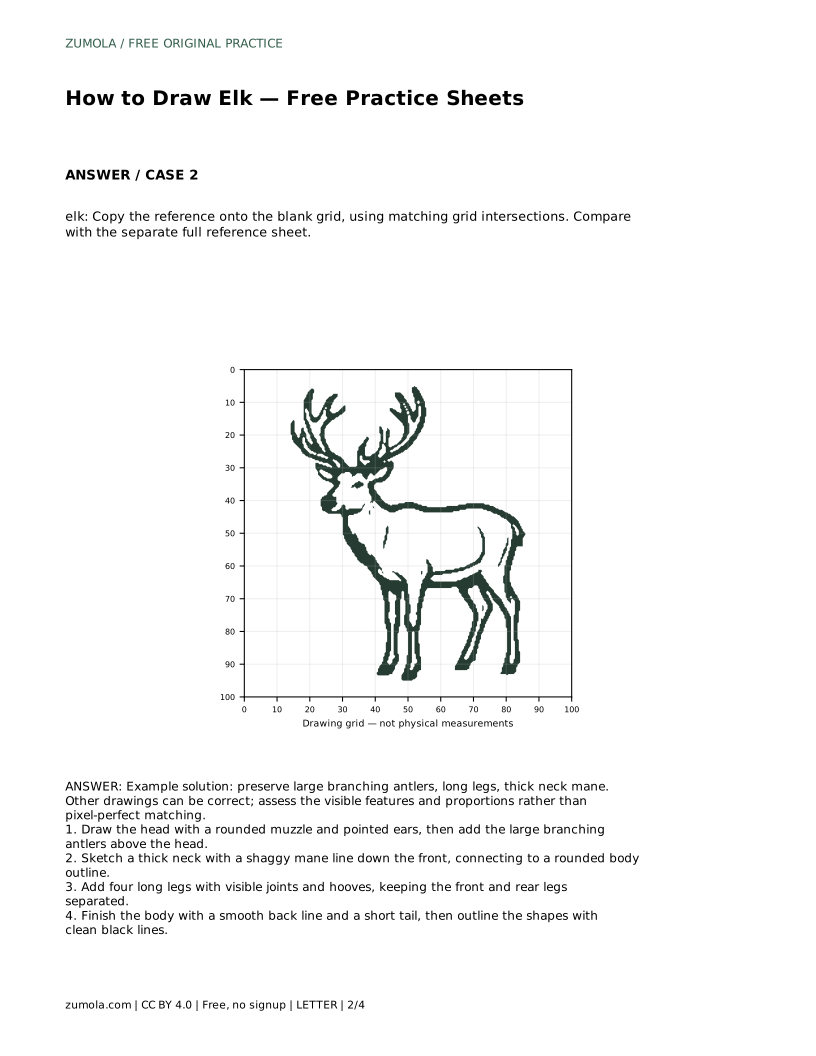
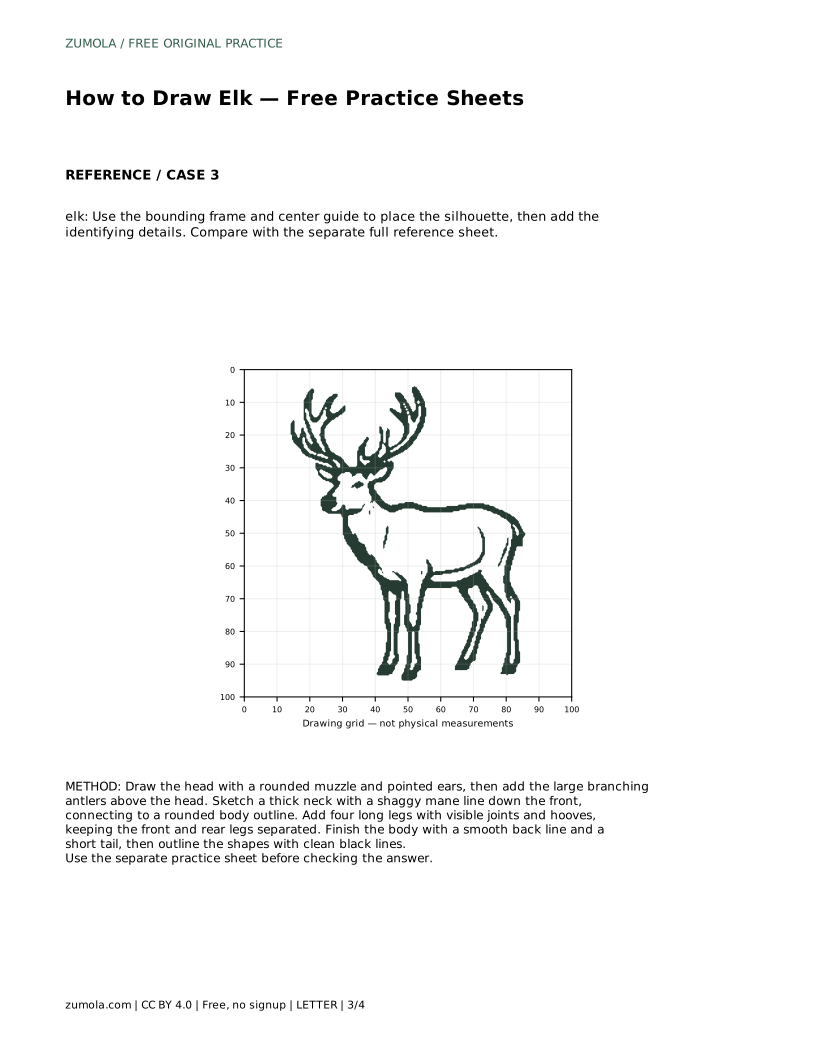
Copy the reference onto the blank grid by matching grid intersections, square by square. The grid helps you keep proportions consistent, but the visible features still matter more than exact placement.
All drawing practice · Free coordinate paper
Original resources · CC BY 4.0 · Free for personal and classroom use with attribution.