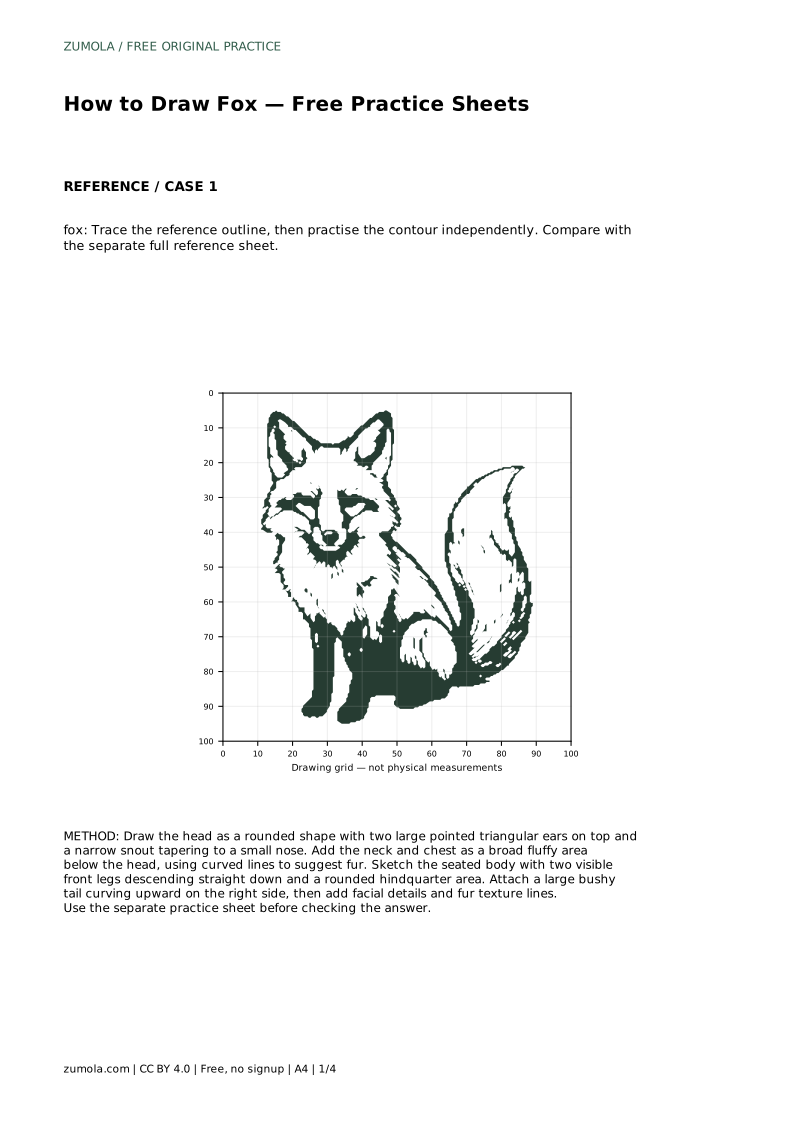
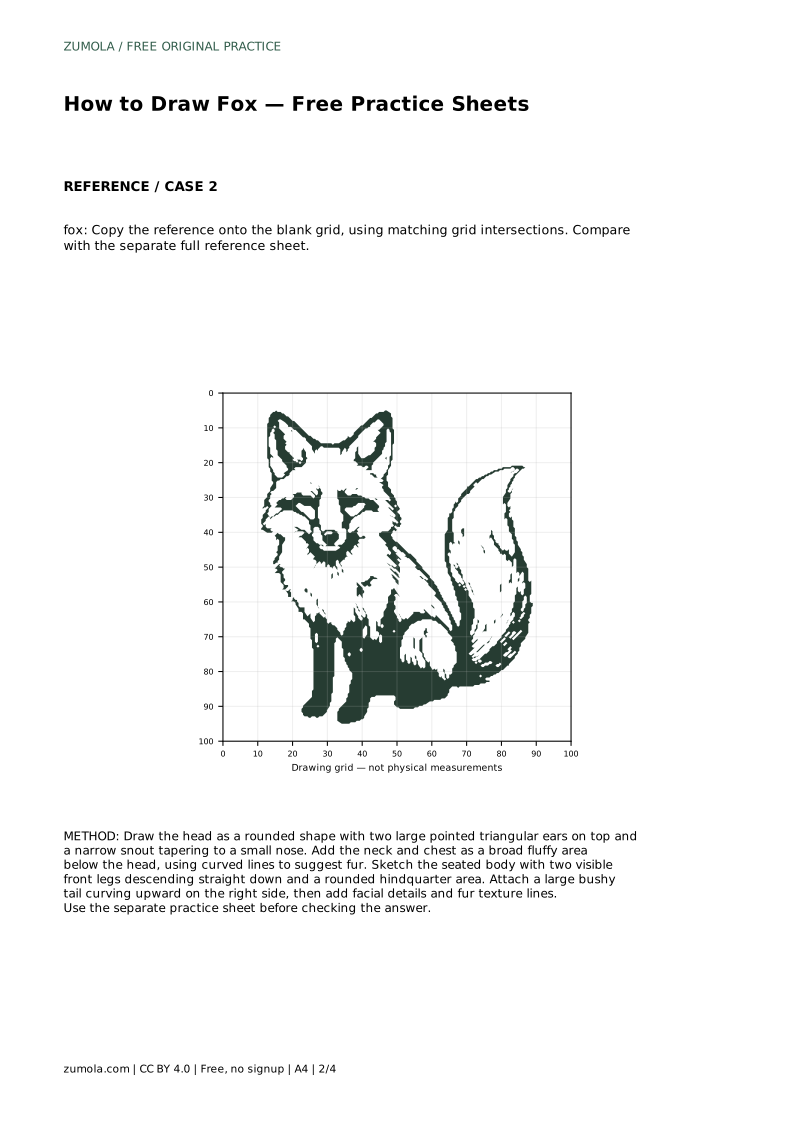
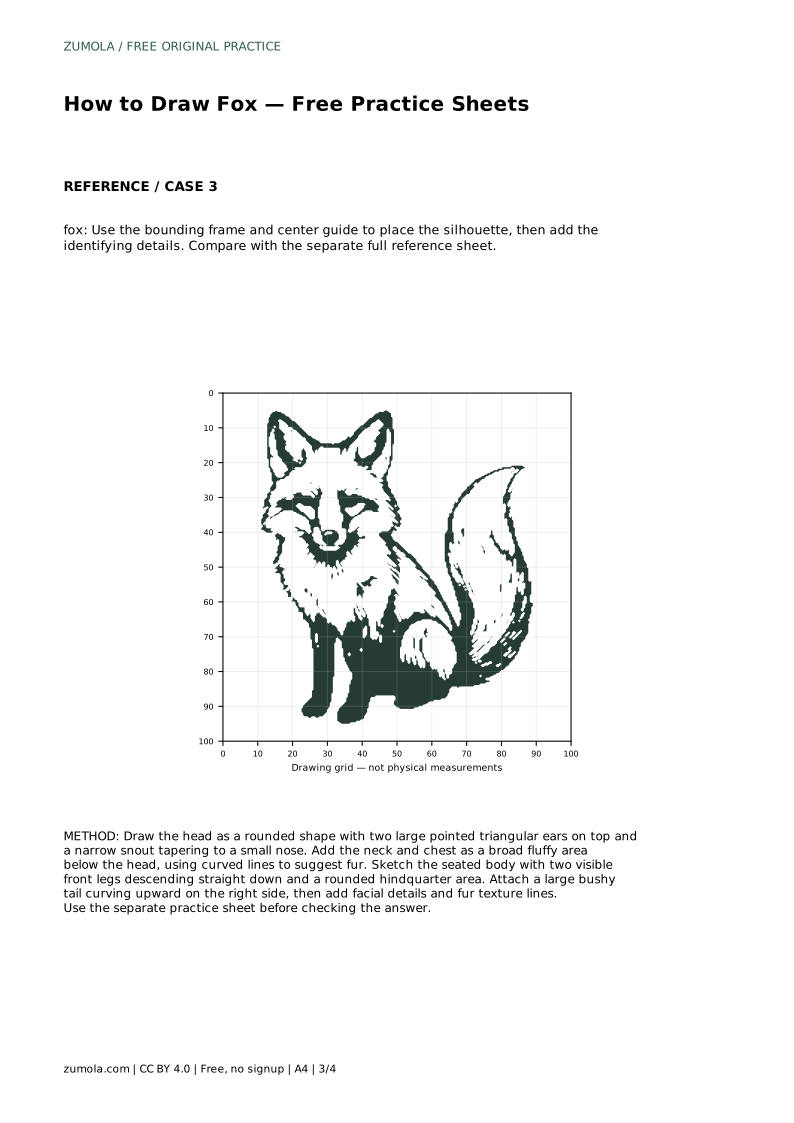
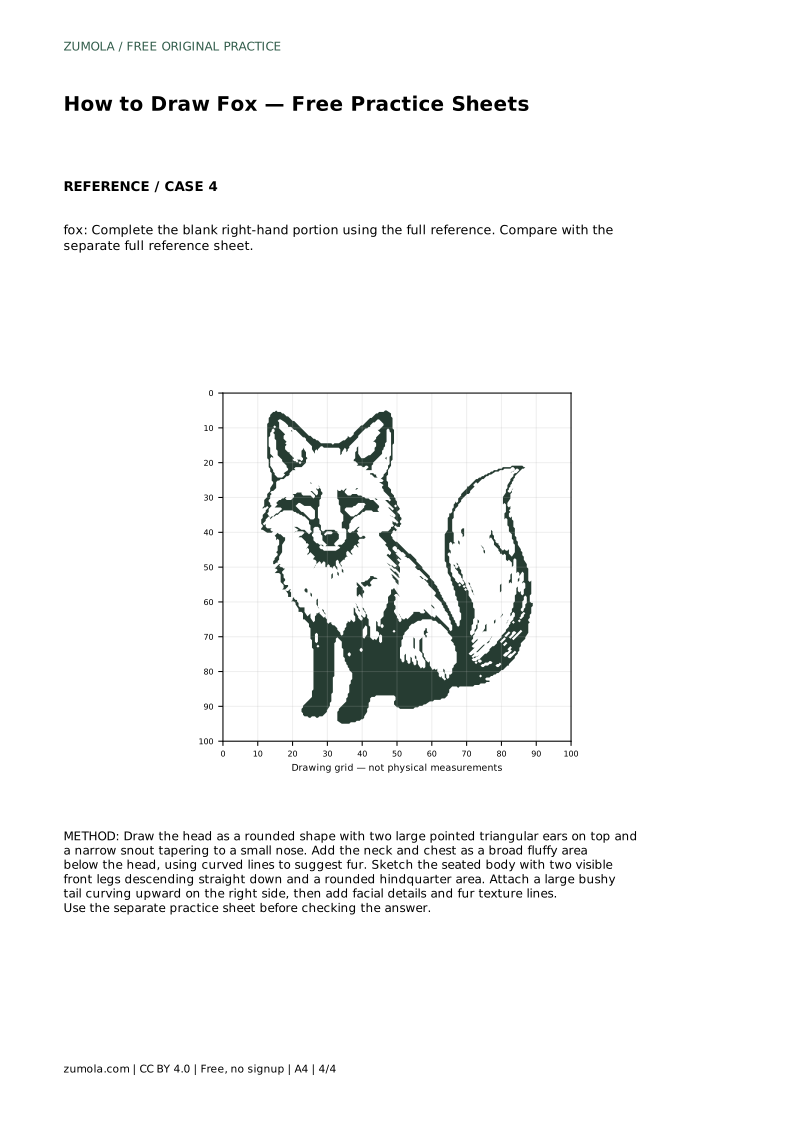
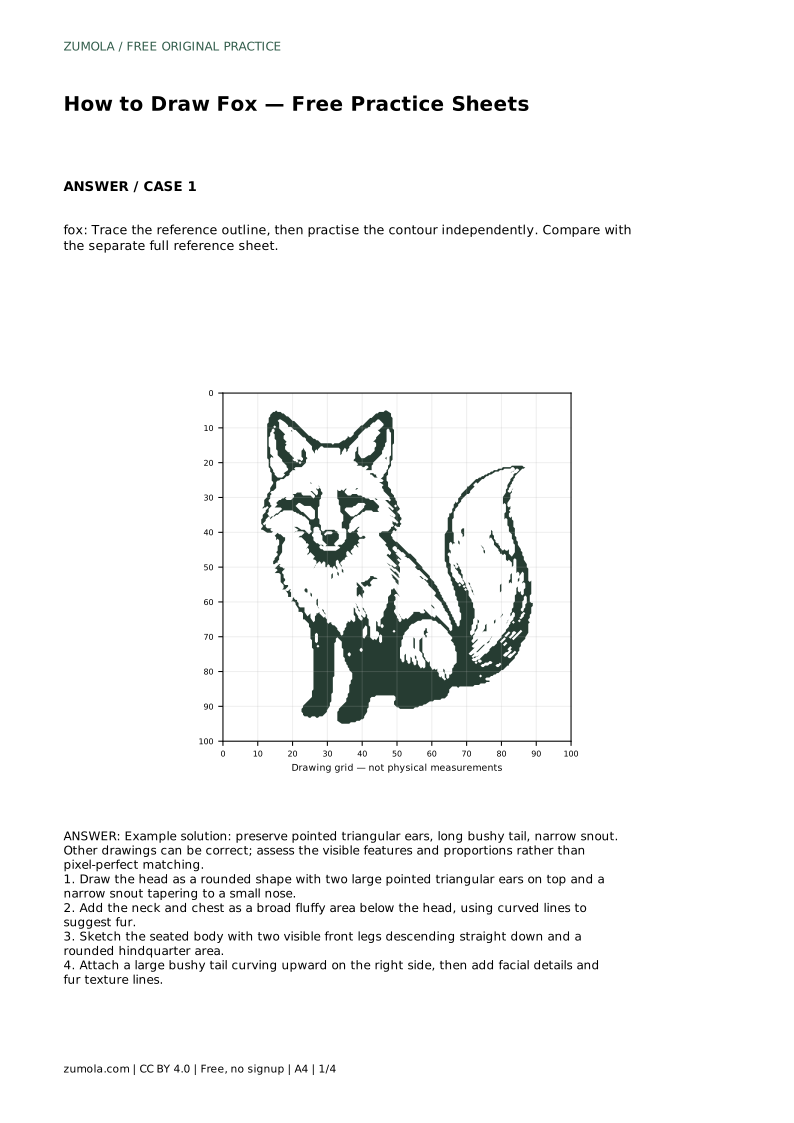
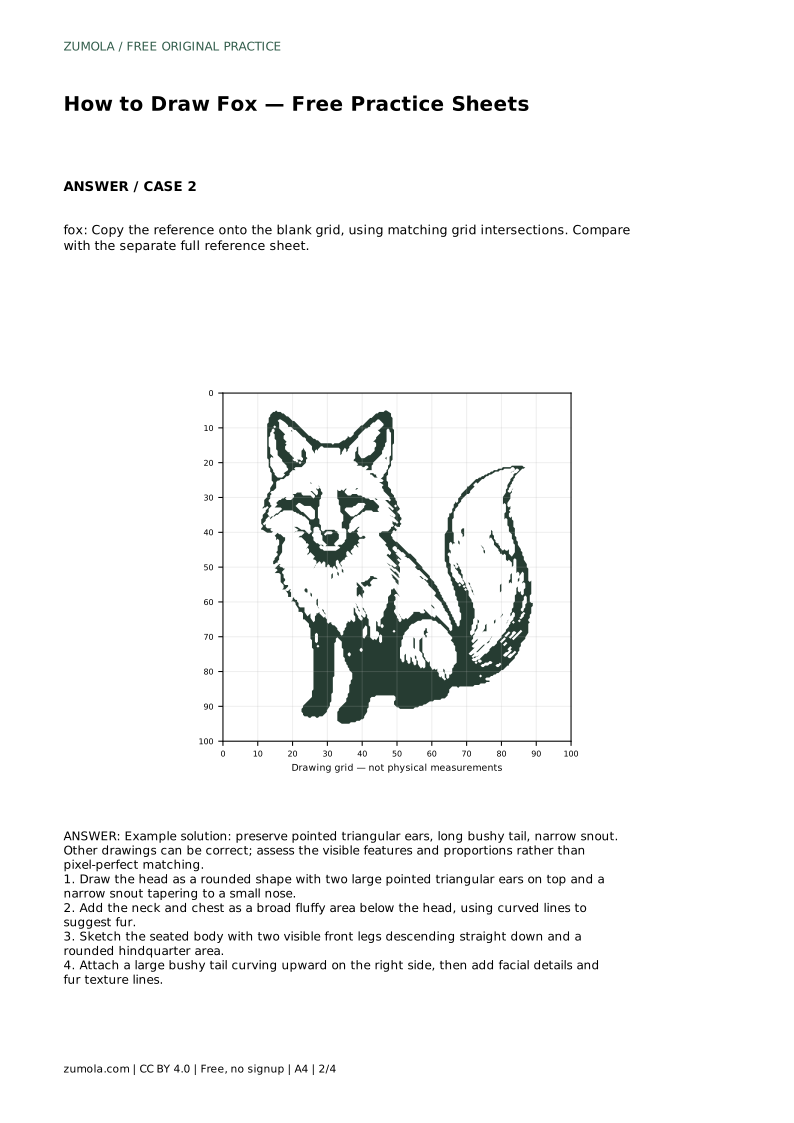
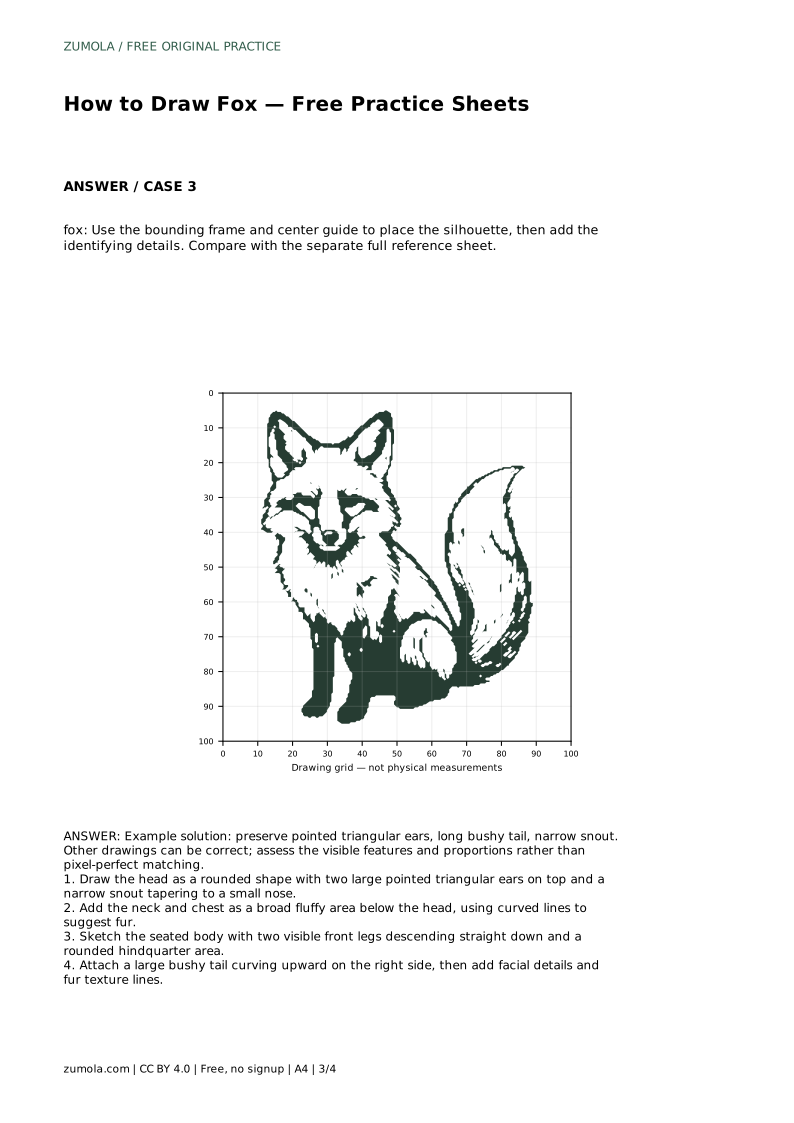
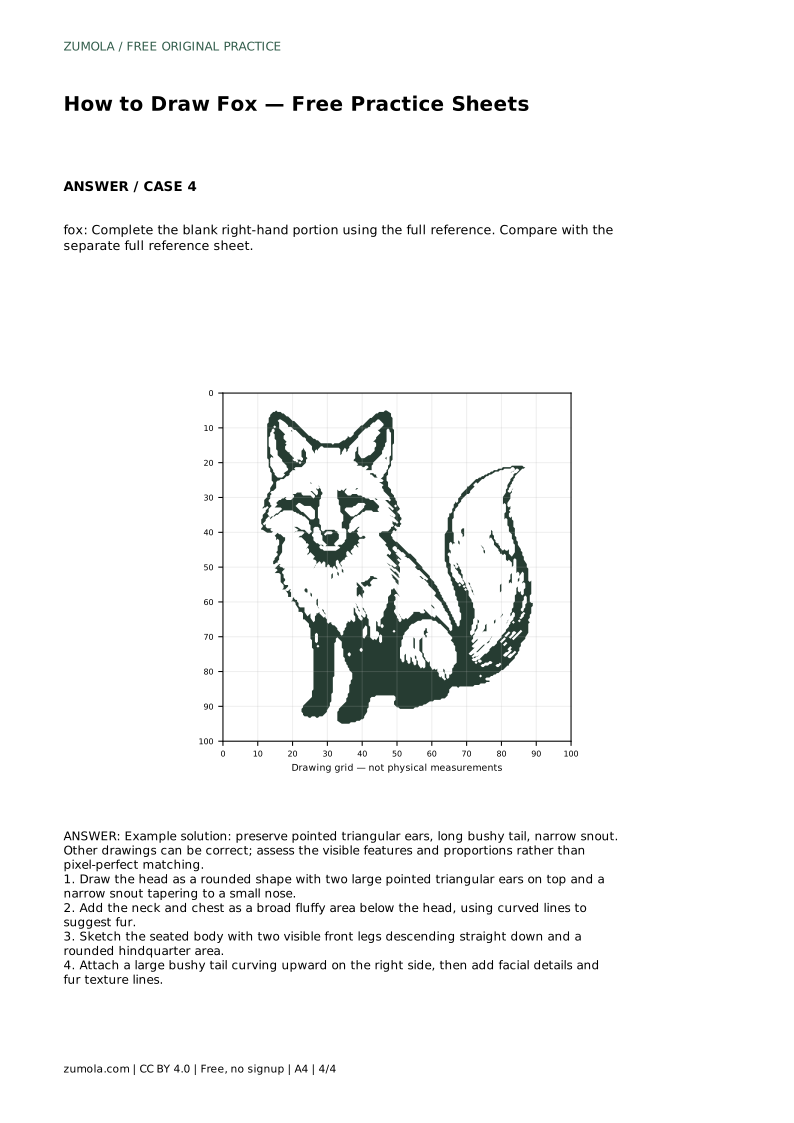
Reference diagrams
LETTER · Download PDF
A4 · Download PDF
Free original resources
Learn to draw a seated fox with pointed ears, a narrow snout, and a bushy tail. Trace, copy, or complete the outline, then check proportions with a clear rubric.
Four original cases, with reference diagrams, practice sheets and worked answers. Everything is free; no signup required.
LETTER · Download PDF
A4 · Download PDF
LETTER · Download PDF
A4 · Download PDF
LETTER · Download PDF
A4 · Download PDF
Use A4 or US Letter to match your printer. Use the stated values and conditions to solve each exercise; diagrams are not physical measuring rulers.
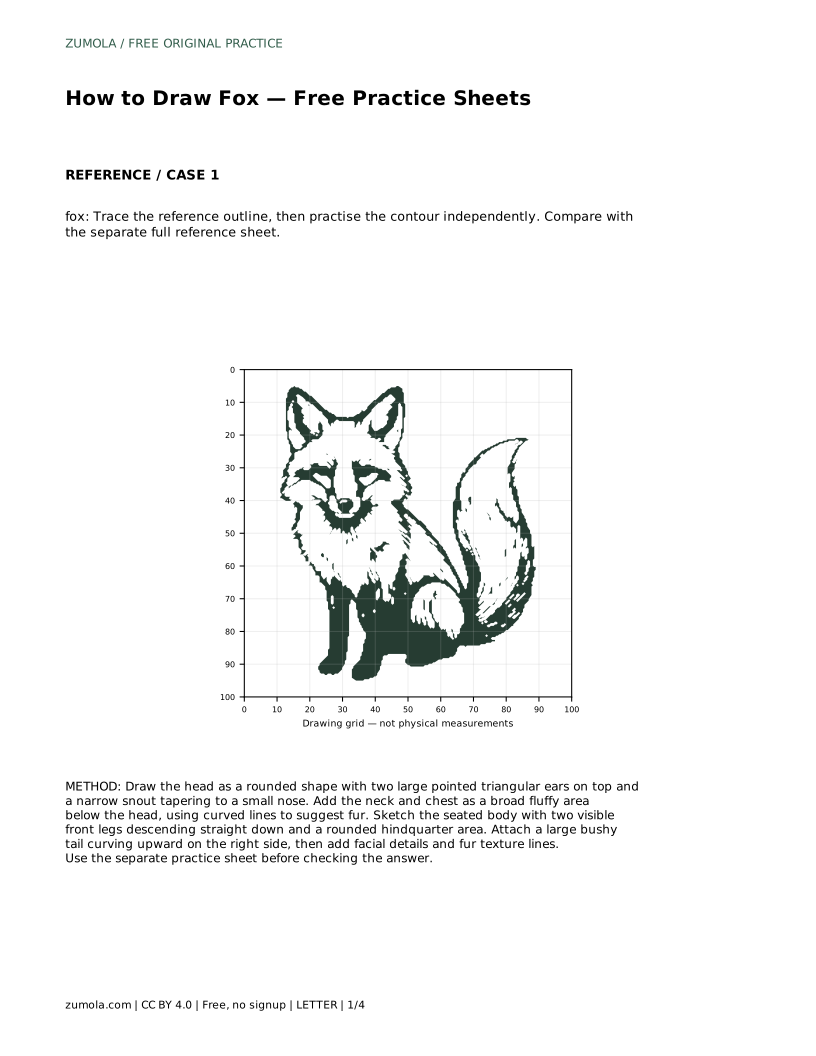
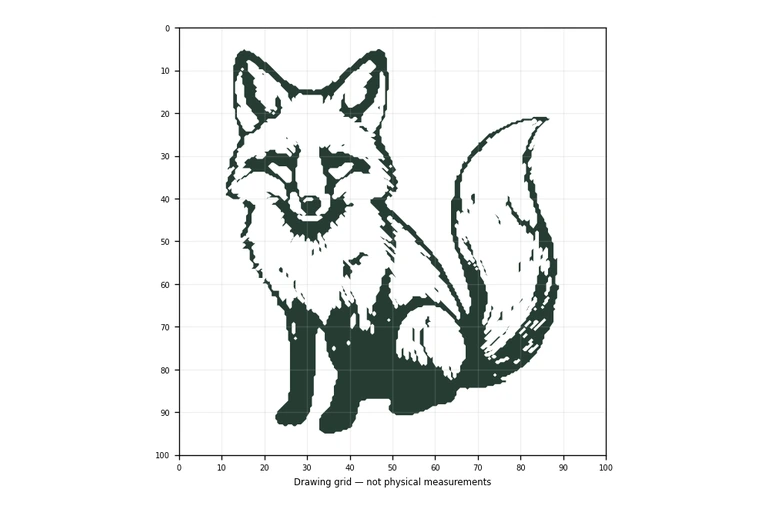
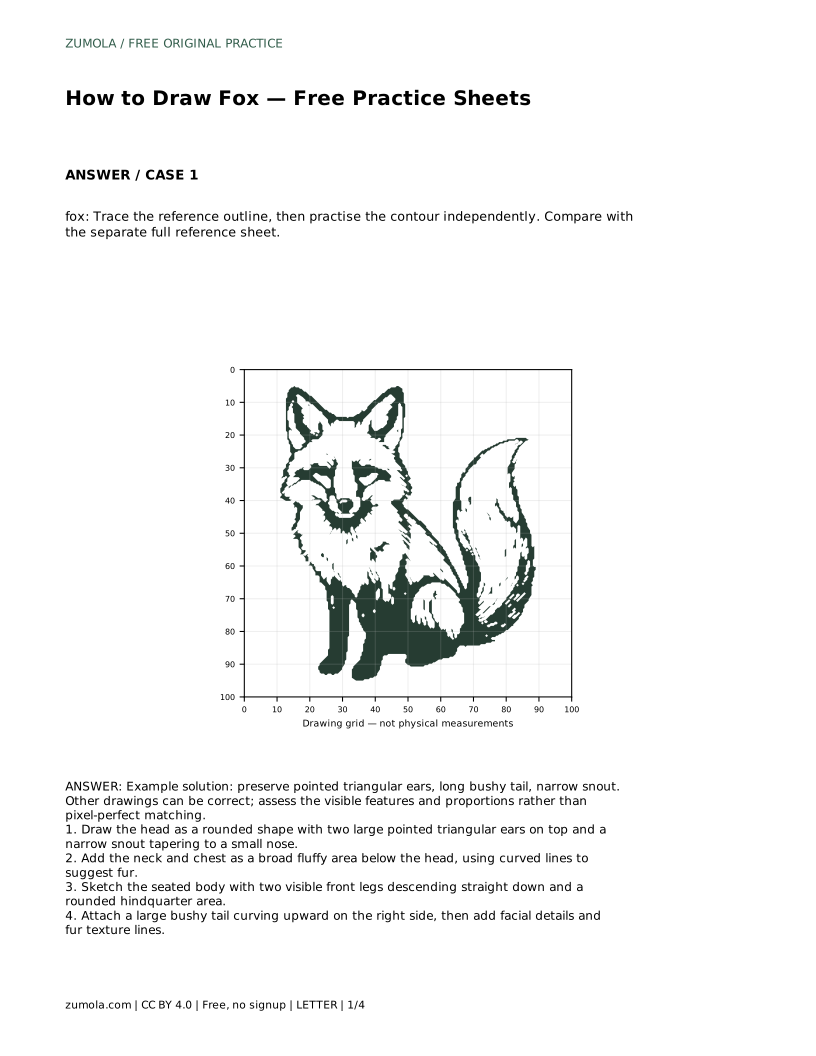
Drawing a fox is mostly a matter of arranging a few strong shapes in the right relationship. The pointed triangular ears, narrow snout, broad chest, seated body, and long bushy tail do most of the identifying work. This page explains a simple order for building those parts and gives you a fair way to judge your result. Because animal drawings have many valid outcomes, compare visible features and proportions rather than expecting a pixel-perfect match.
Start with the head, because it carries the most recognizable features. Draw a rounded head shape, then place two large pointed triangular ears on top. Keep the ears clearly triangular rather than rounded, and leave enough space between them for the forehead. From the lower front of the head, taper a narrow snout toward a small nose. The snout should feel longer than it is wide; a short, blunt muzzle will read more like a cat or a bear.
Next, connect the head to the body. Add a neck and chest as a broad, fluffy area below the head, using curved lines to suggest fur rather than a stiff straight edge. Sketch the seated body with two visible front legs descending straight down and a rounded hindquarter area. The front legs should look planted and roughly parallel, supporting the chest.
Finally, attach a large bushy tail curving upward on the right side. The tail is a major fox signal, so give it length and volume rather than a thin curl. Add facial details and fur texture lines last, once the silhouette and proportions already look right.
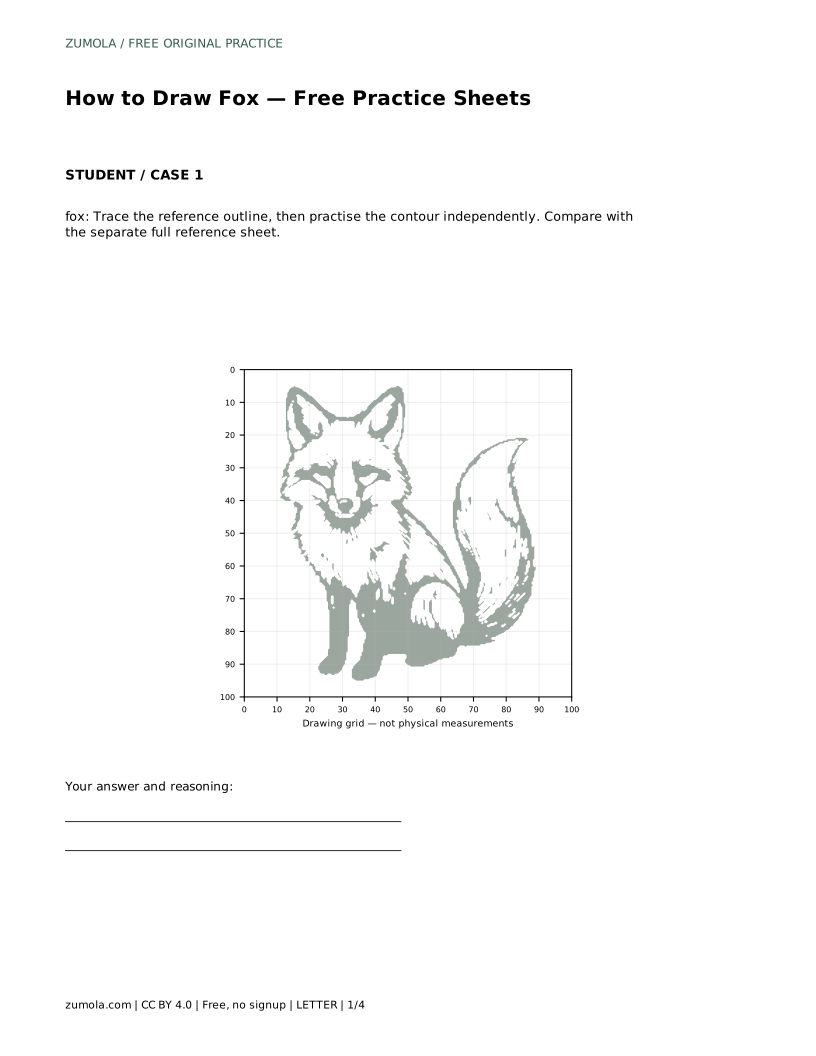
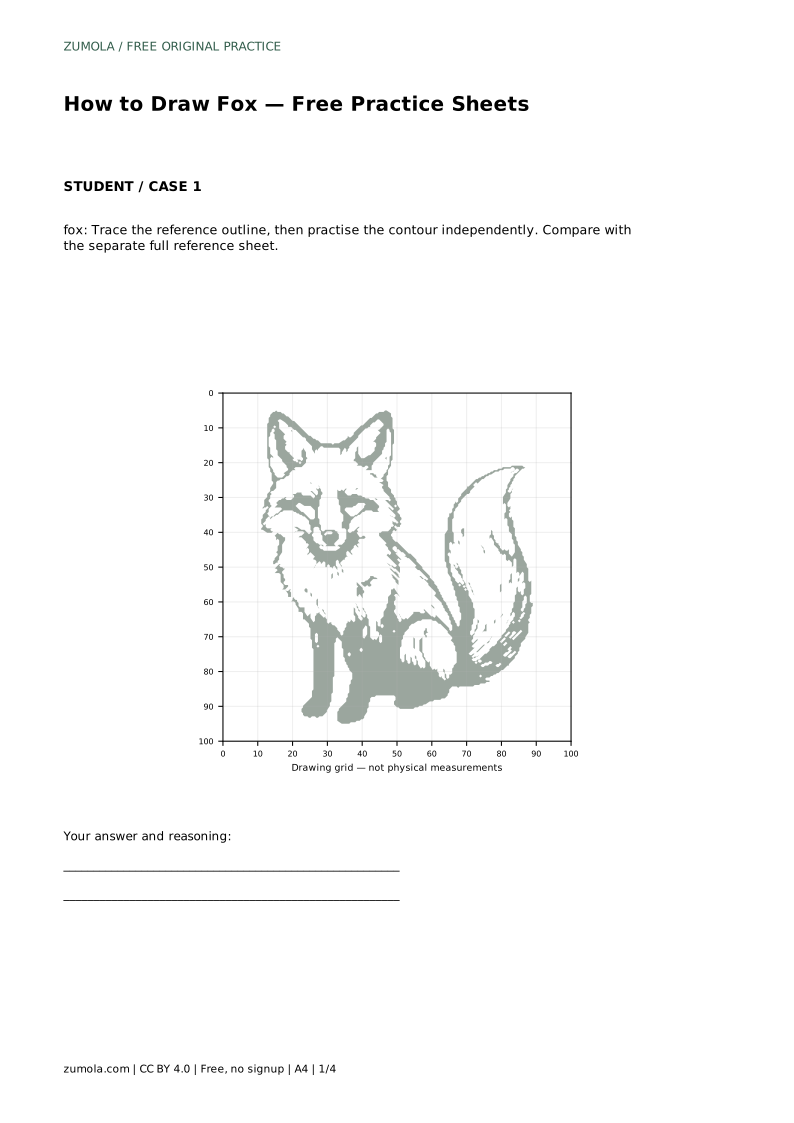
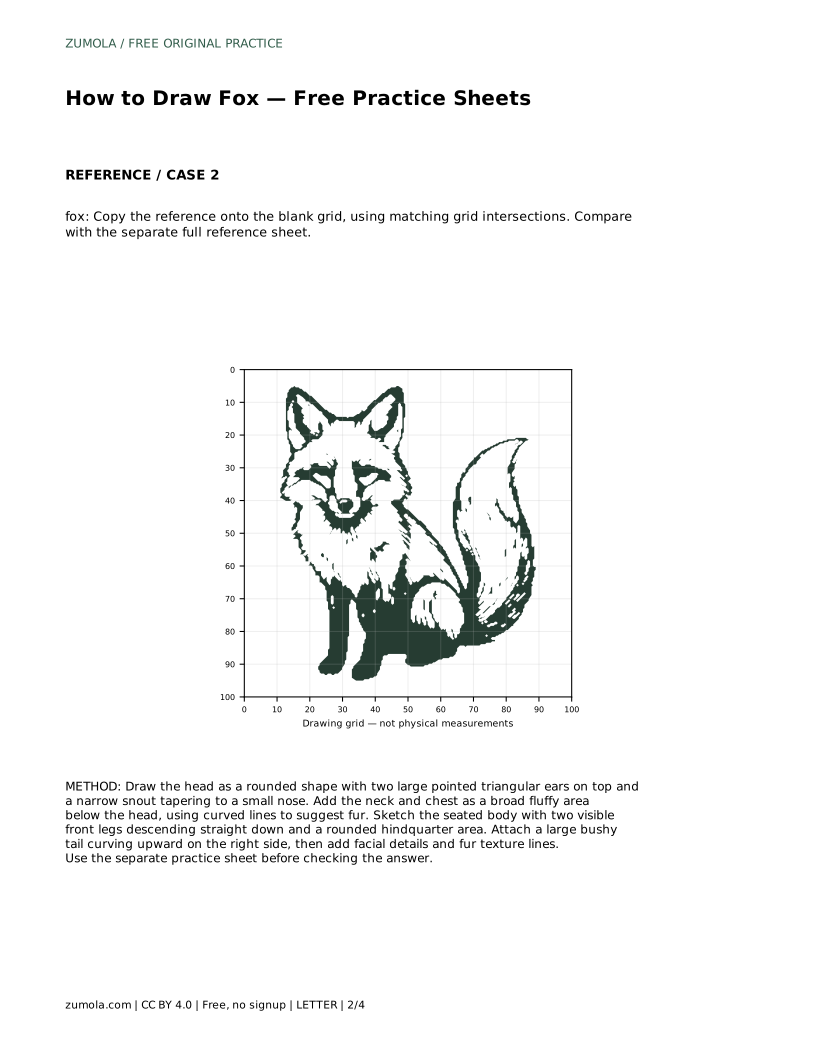
Tracing helps you feel the order of the contour: head, ears, snout, chest, legs, hindquarters, tail. Once the traced line feels smooth, put the reference aside and draw the same contour independently, then compare your result with the separate full reference sheet. This separates copying from recalling the structure.
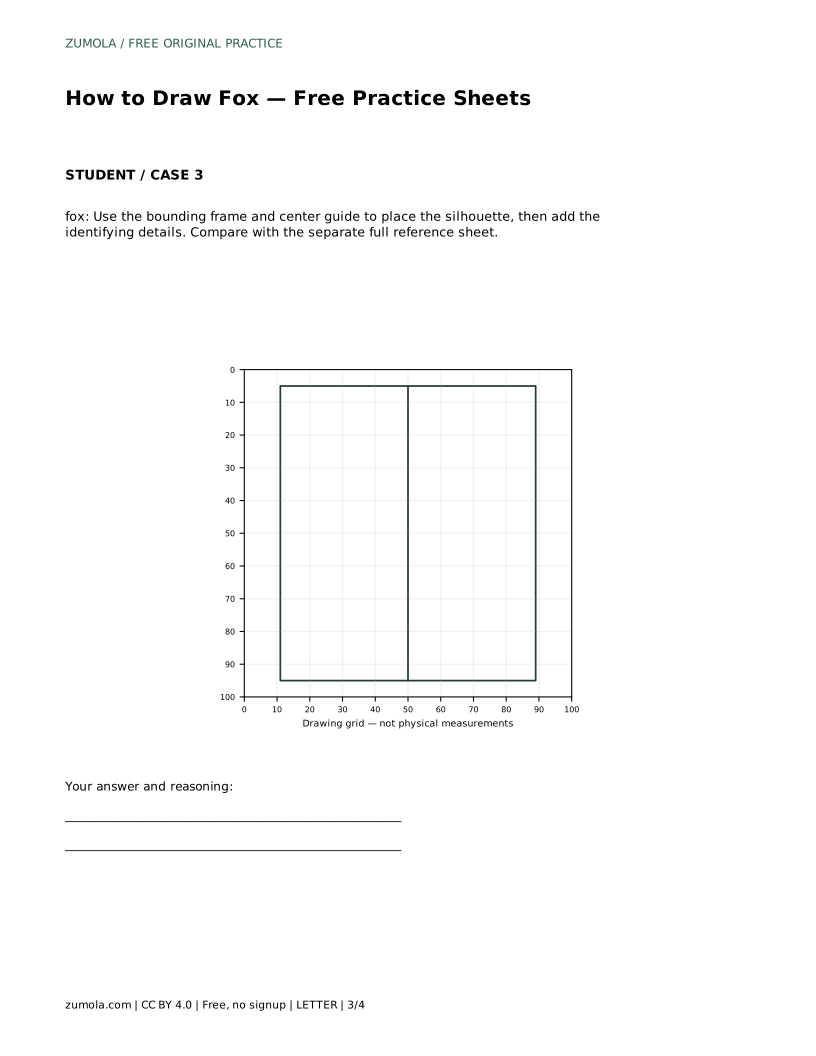
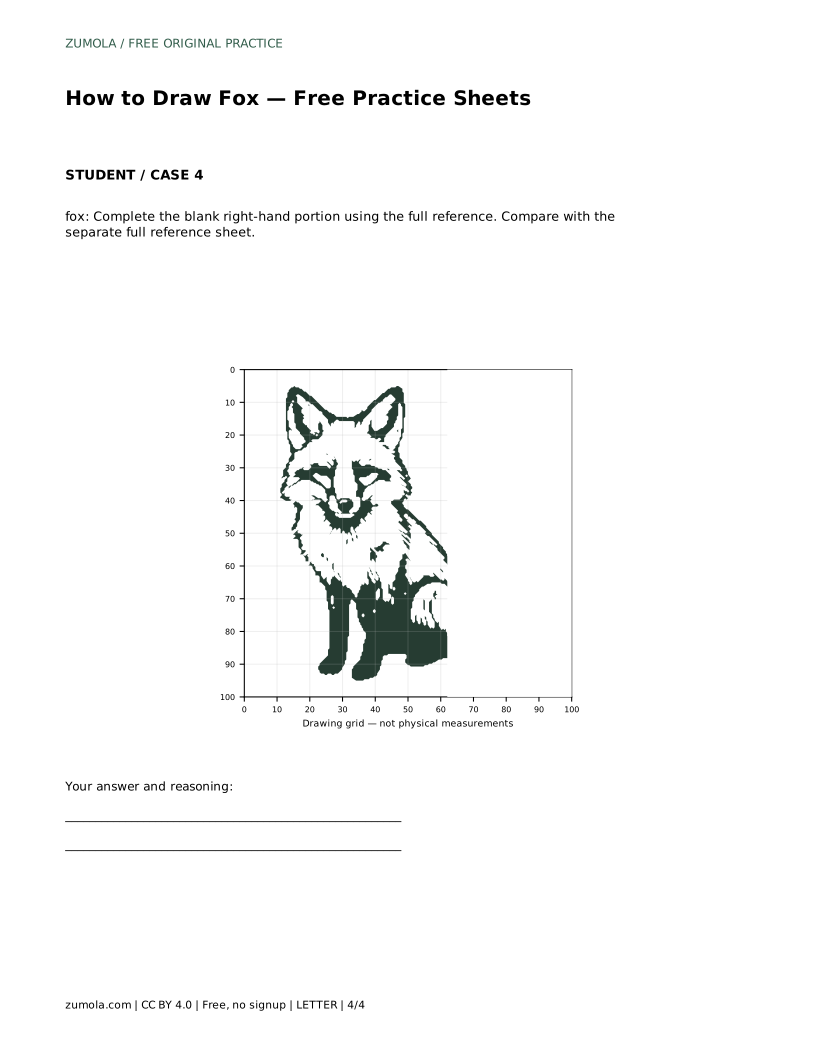
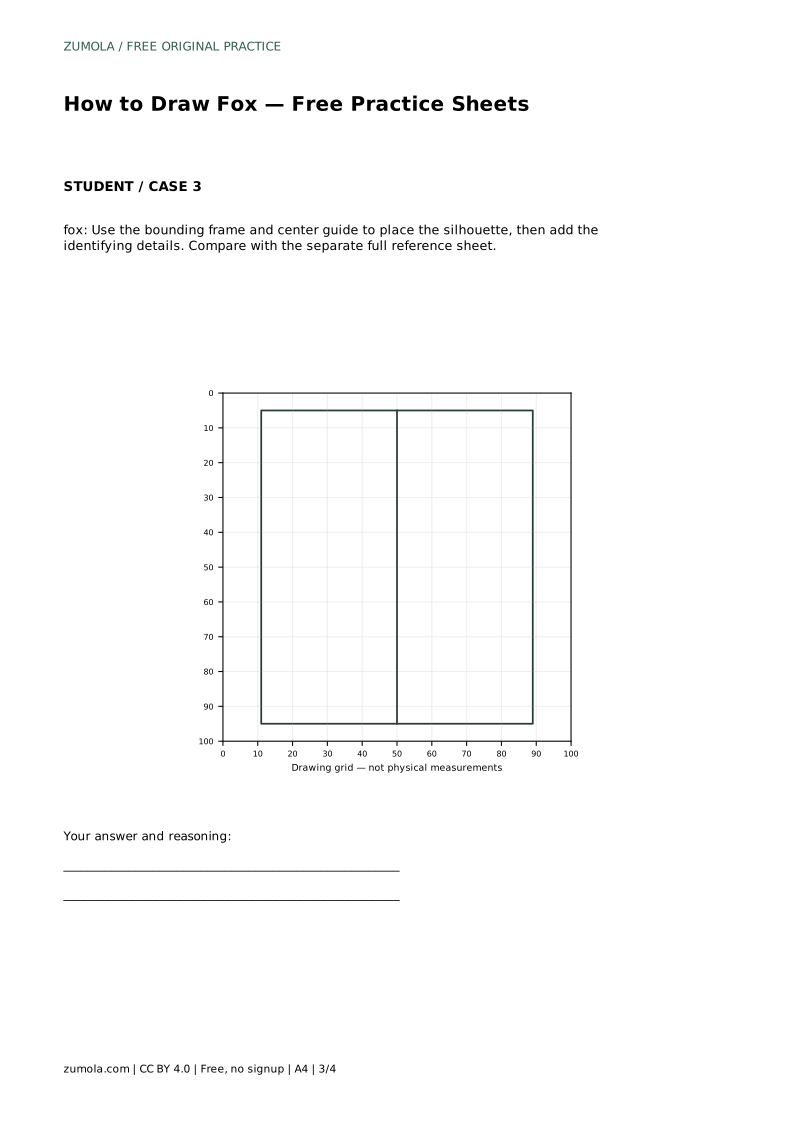
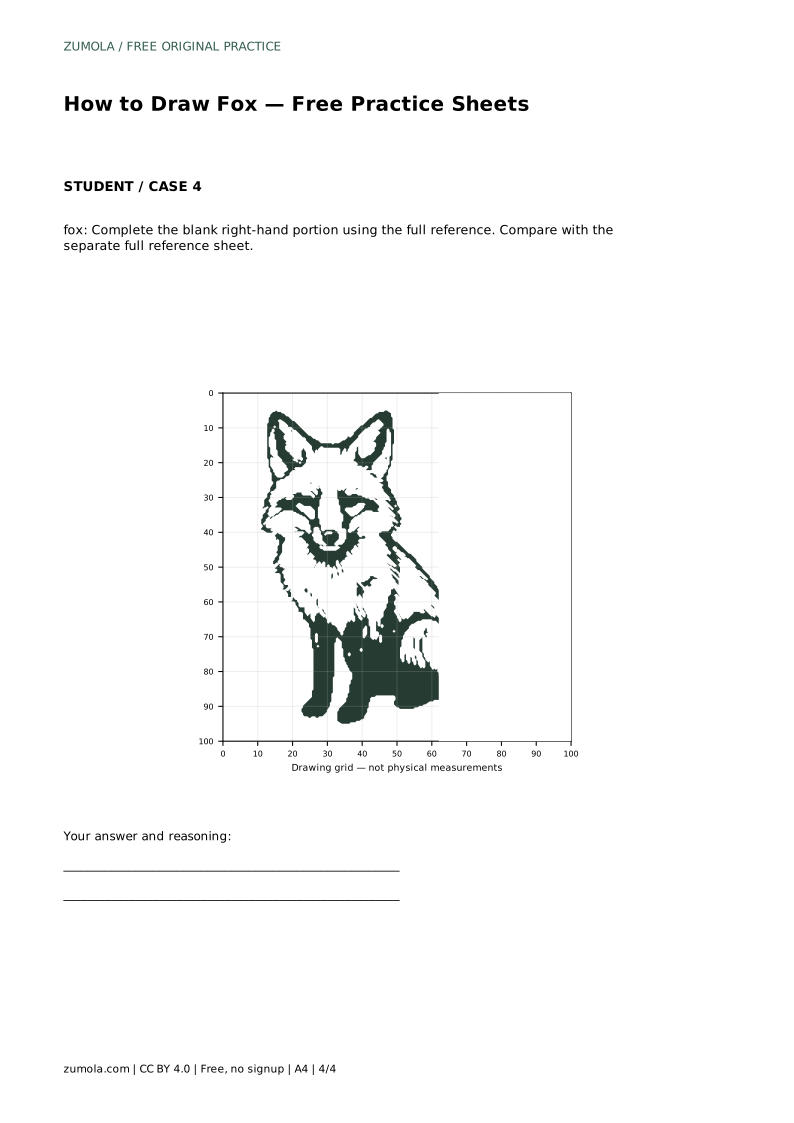
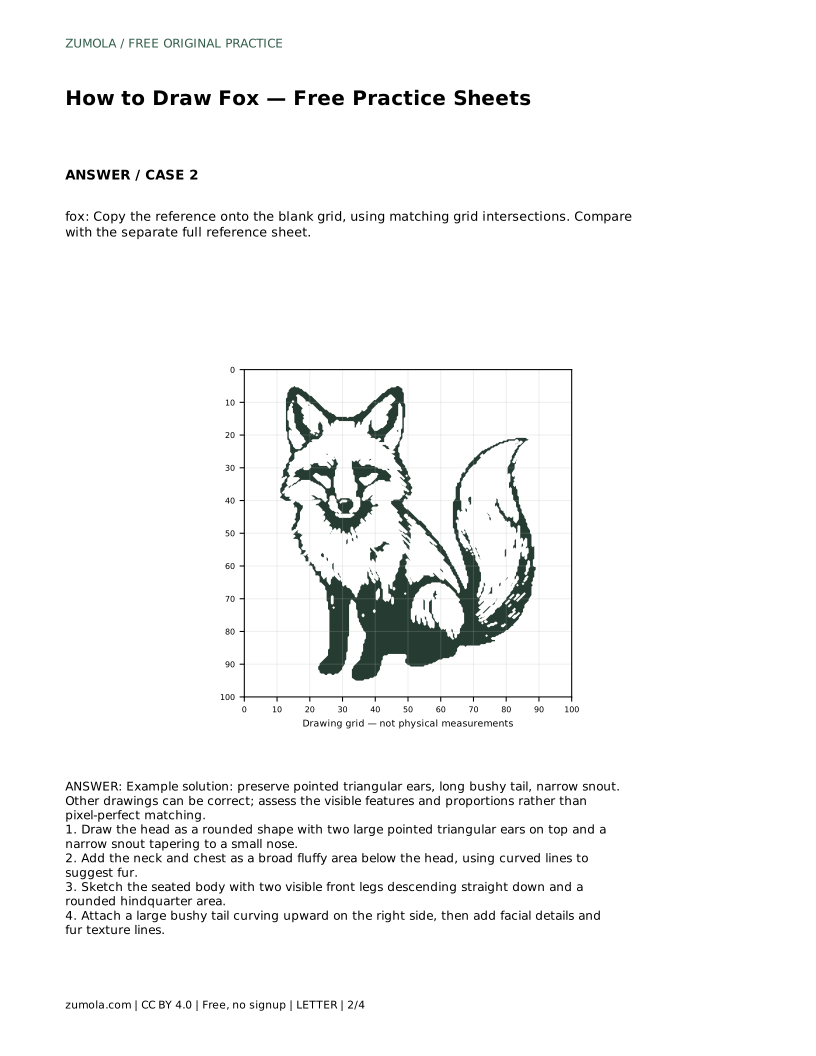
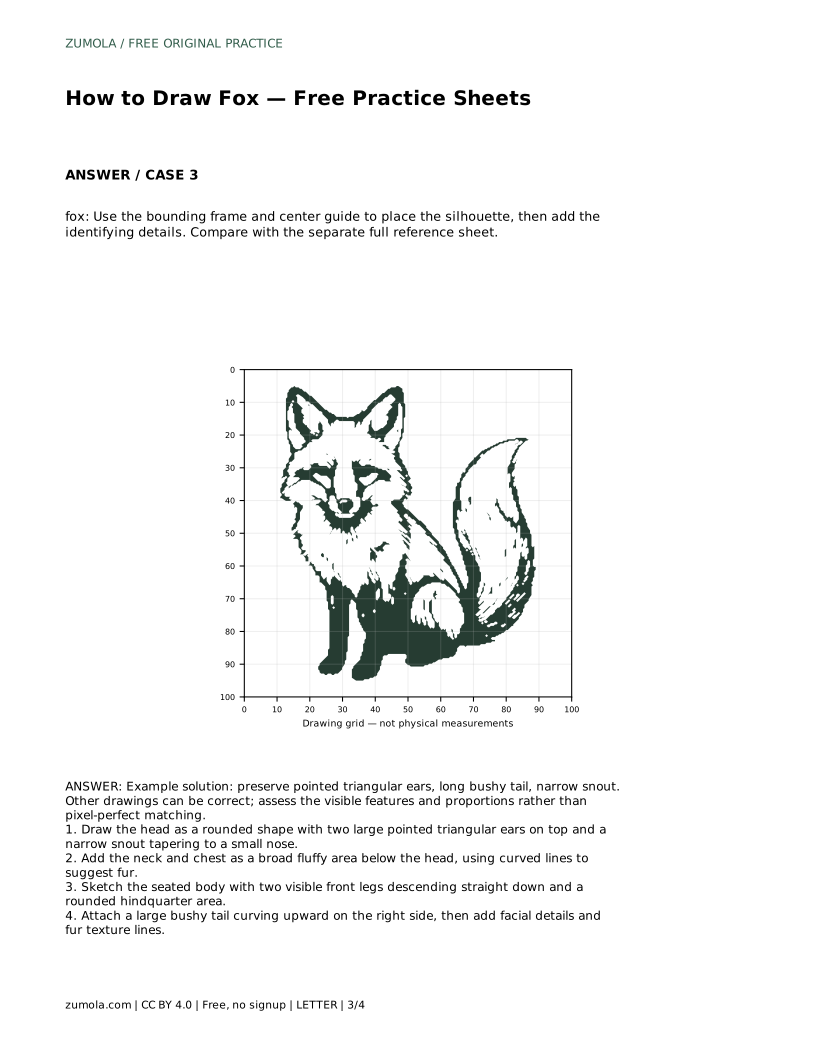
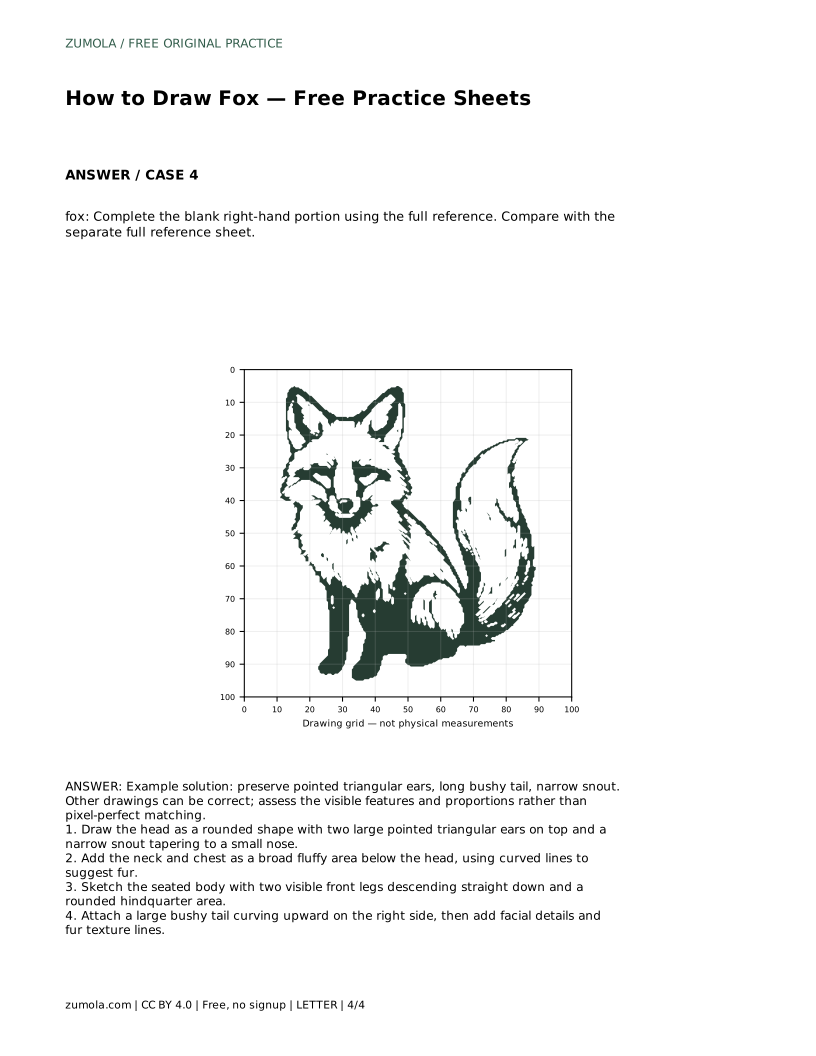
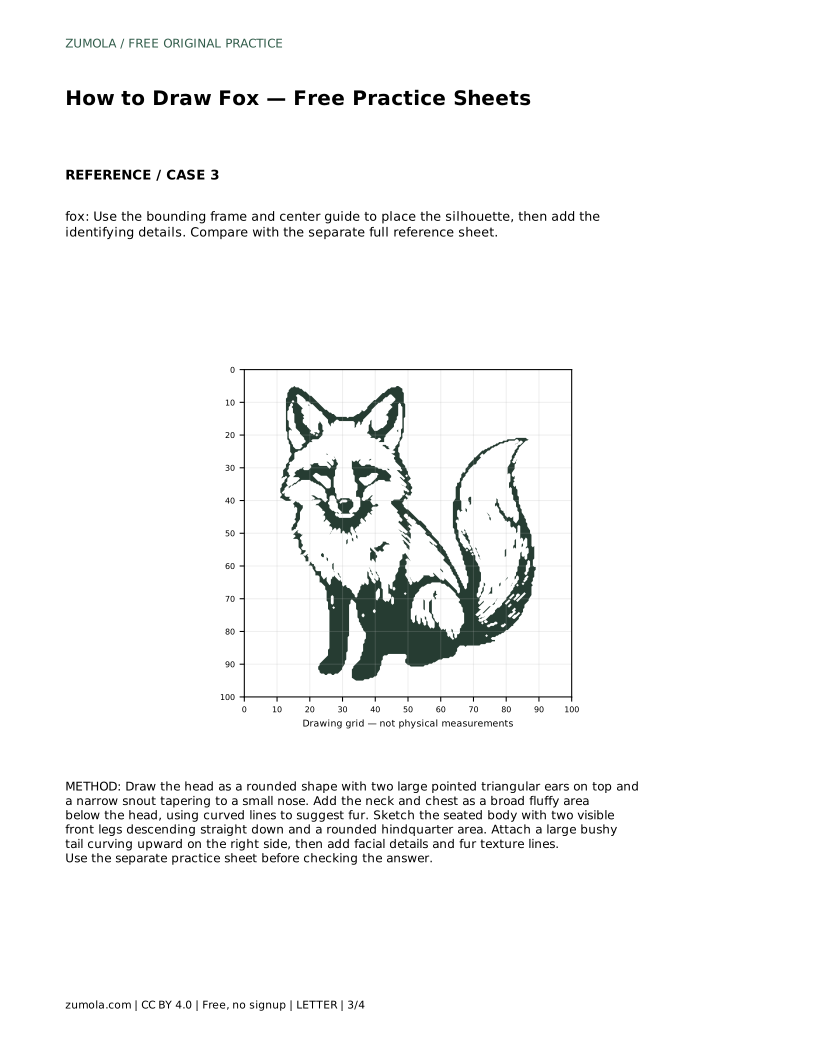
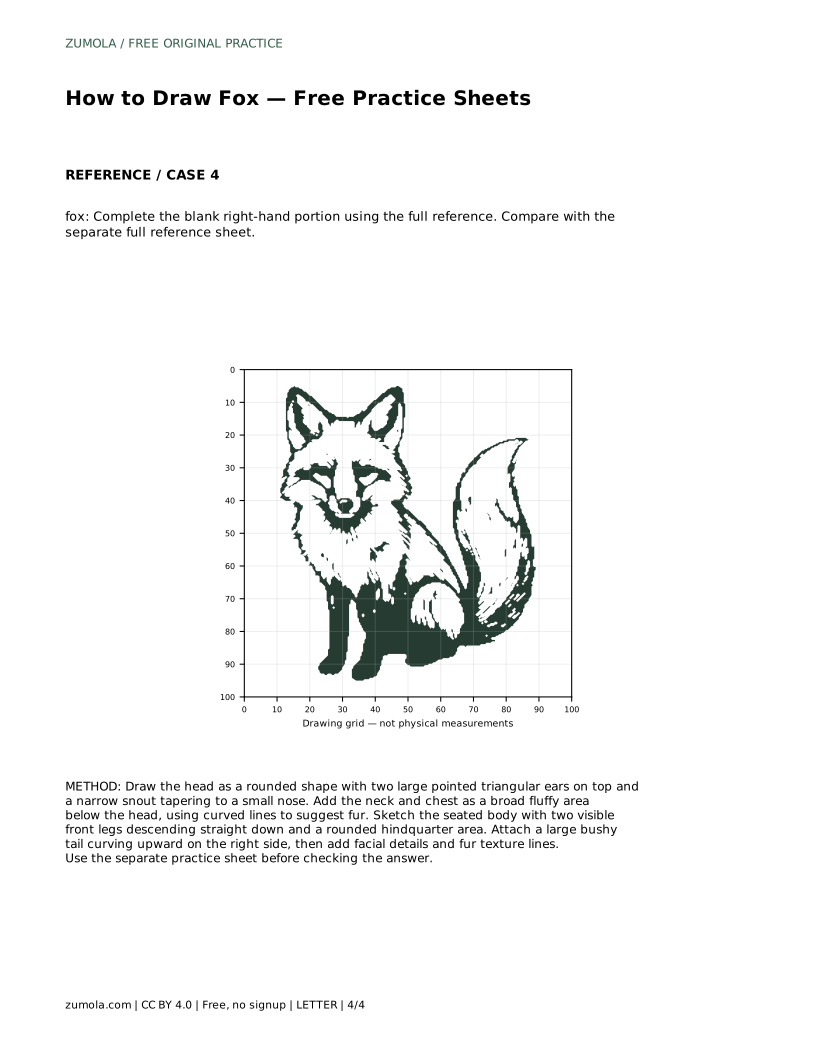
A grid copy asks you to match grid intersections rather than guess distances. Place each major point, such as an ear tip or the tail's outer curve, at the same intersection as the reference, then connect the points with flowing lines. The bounding frame and center guide work differently: use them to place the overall silhouette inside the frame before adding identifying details. On a half-completed sheet, use the full reference to finish the blank right-hand portion, keeping the ear height, snout length, and tail curve consistent with the drawn side.
A useful check is relative size. The ears should be tall enough to be noticed immediately, the snout narrow, and the tail roughly as long as the body is tall. The chest should look broader than the hindquarters in a seated pose, and the front legs should reach the ground evenly. If the tail looks short or thin, lengthen it before adding fur lines; texture cannot fix a weak silhouette.
Fur lines should follow the direction of the form. Short strokes along the chest and tail suggest fluff, while a few longer lines on the tail can show its curve. Keep facial marks simple: two eyes, a small nose, and a few whisker or cheek lines are enough. Avoid filling the whole body with texture, which can hide the shape you worked to build.
Use the rubric below to review your work. A drawing can be correct without matching every line, as long as the pointed ears, narrow snout, seated body, straight front legs, and long bushy tail are clearly present and reasonably proportioned. Note one strength and one proportion to improve on your next attempt.
fox: Trace the reference outline, then practise the contour independently. Compare with the separate full reference sheet.
Example solution: preserve pointed triangular ears, long bushy tail, narrow snout. Other drawings can be correct; assess the visible features and proportions rather than pixel-perfect matching. Draw the head as a rounded shape with two large pointed triangular ears on top and a narrow snout tapering to a small nose. Add the neck and chest as a broad fluffy area below the head, using curved lines to suggest fur. Sketch the seated body with two visible front legs descending straight down and a rounded hindquarter area. Attach a large bushy tail curving upward on the right side, then add facial details and fur texture lines.
No. Fox drawings have multiple valid outcomes. Preserve the pointed triangular ears, long bushy tail, and narrow snout, and check that the proportions look balanced rather than pixel-perfect.
Start with tracing if you are new to the shape, then try the independent contour, grid copy, bounding frame, or half-completed sheet as your confidence grows.
Aim for a tail roughly as long as the seated body is tall, with visible volume. A short or thin tail weakens the fox silhouette.
All drawing practice · Free coordinate paper
Original resources · CC BY 4.0 · Free for personal and classroom use with attribution.