Reference diagrams
LETTER · Download PDF
A4 · Download PDF
Free original resources
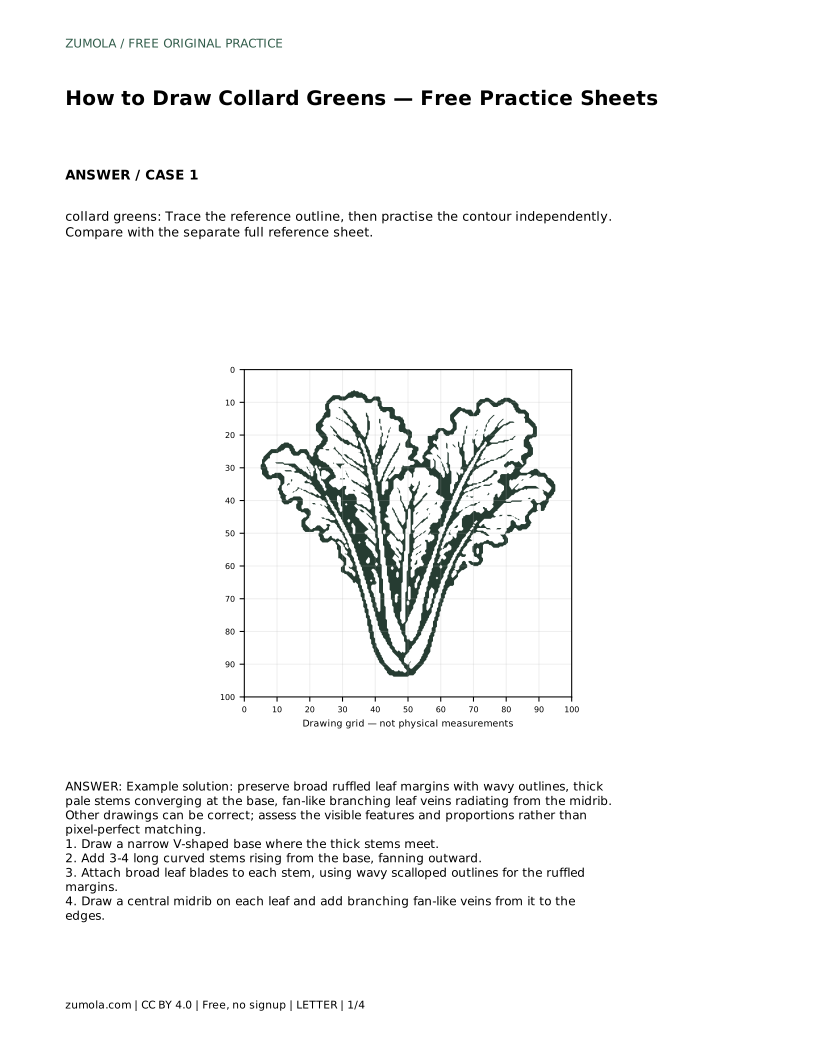
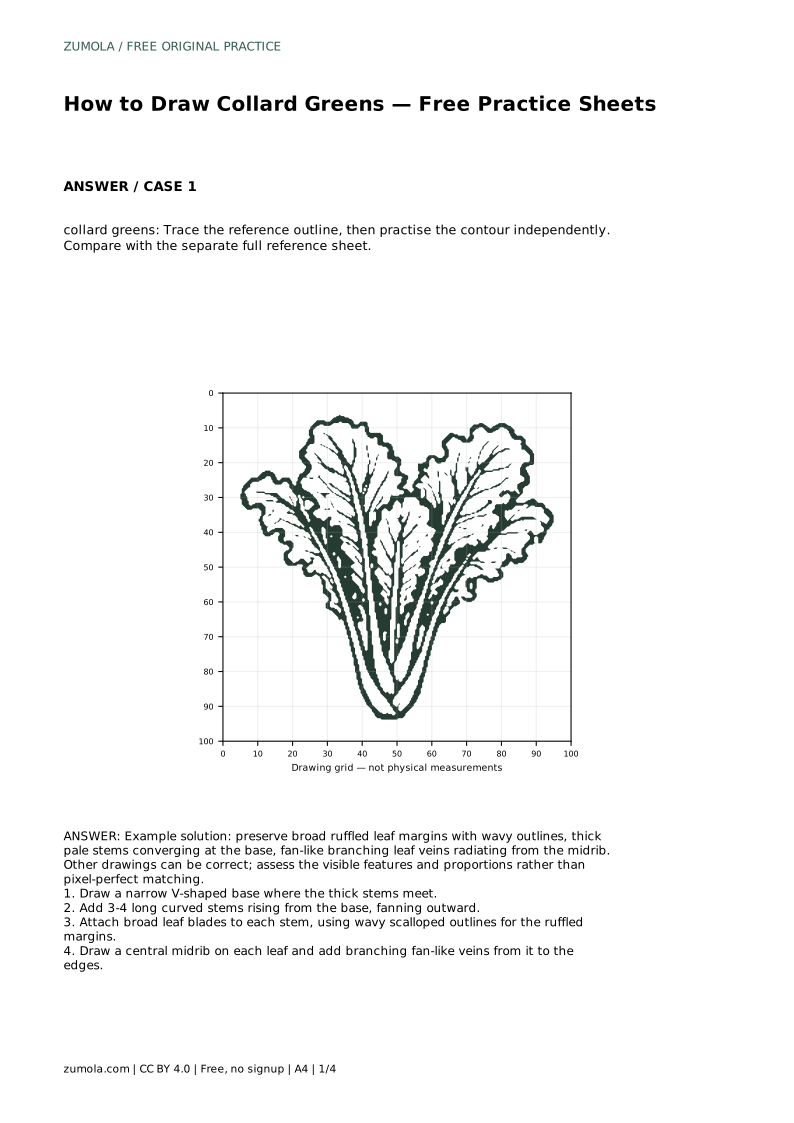
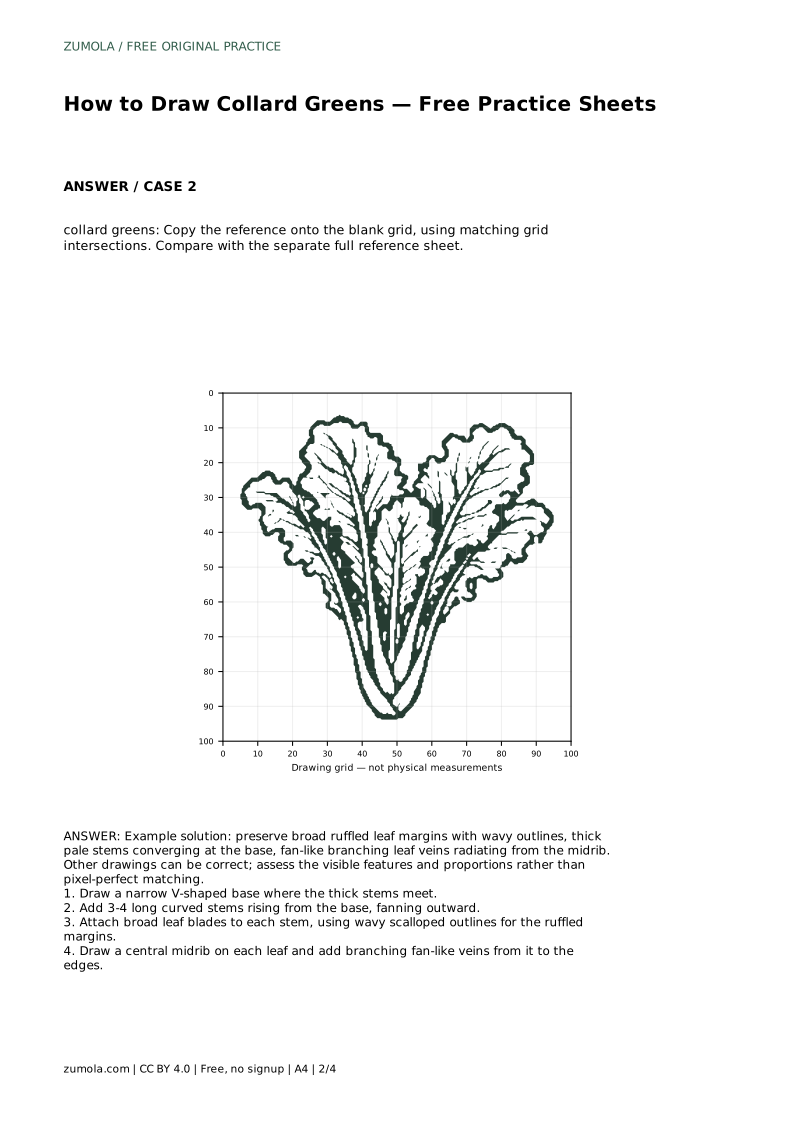
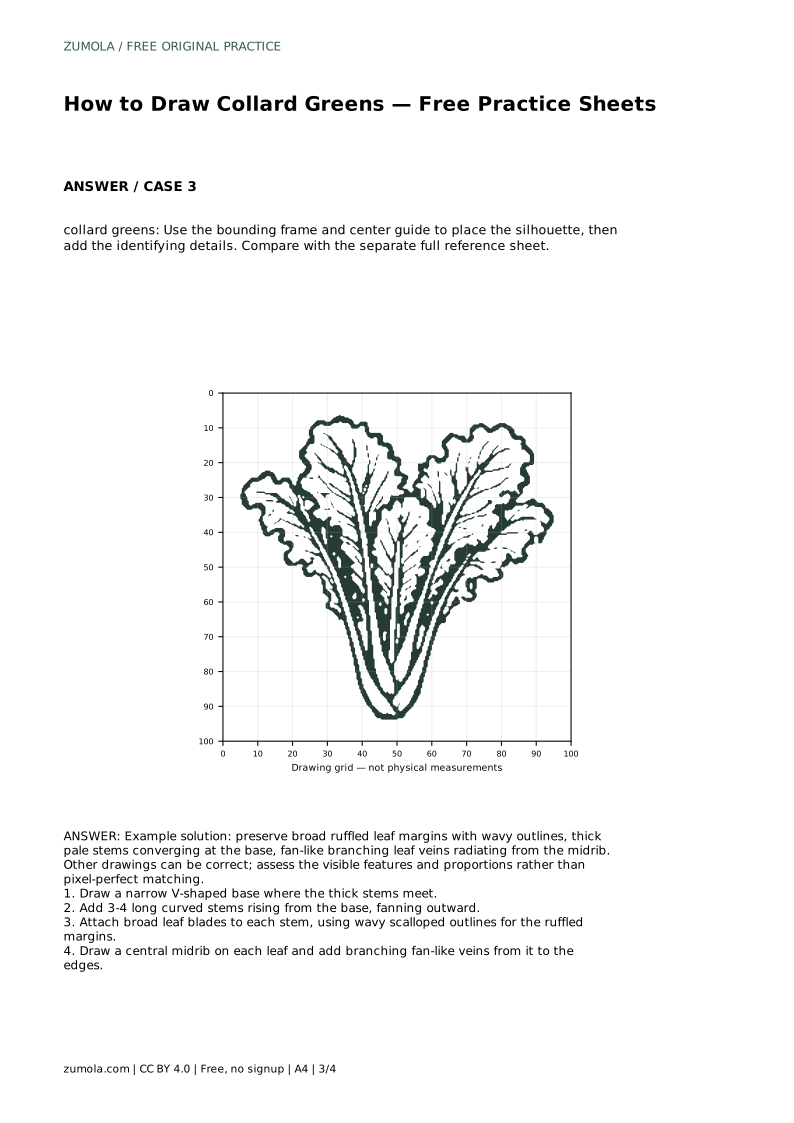
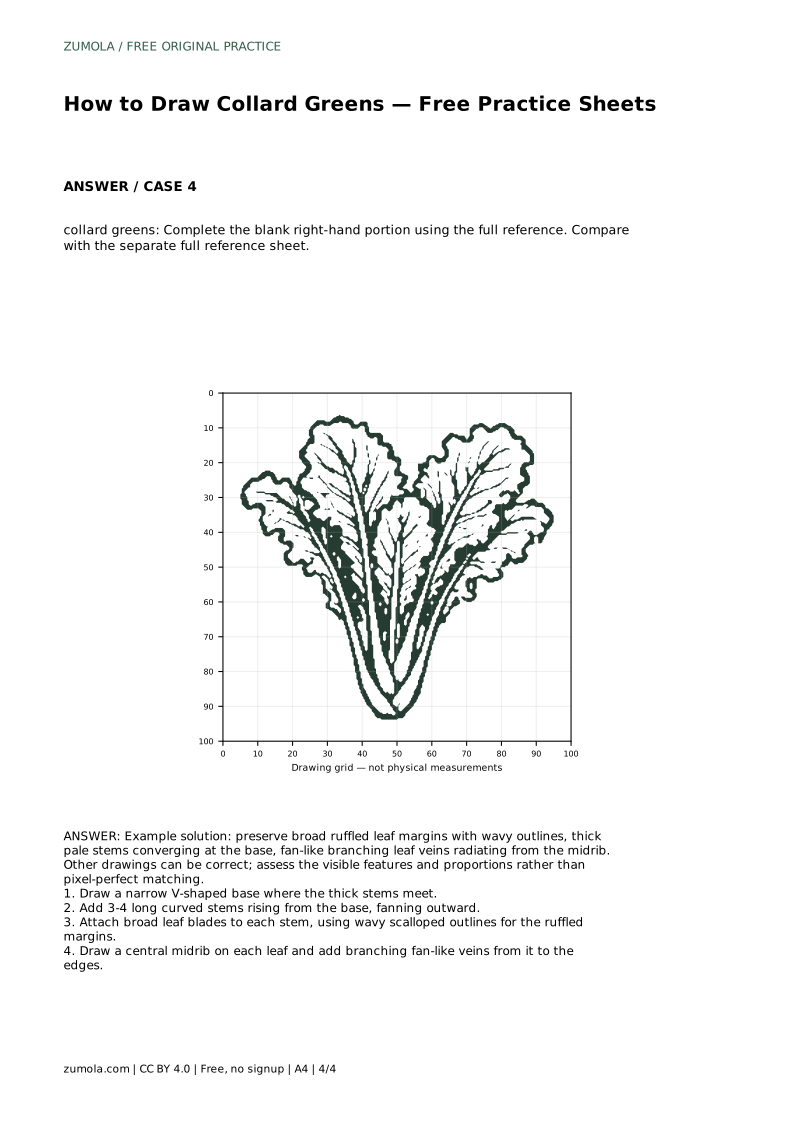
Learn to draw collard greens by building a V-shaped stem base, fanning curved stems, broad ruffled leaf blades, and branching veins from each midrib.
Four original cases, with reference diagrams, practice sheets and worked answers. Everything is free; no signup required.
LETTER · Download PDF
A4 · Download PDF
LETTER · Download PDF
A4 · Download PDF
LETTER · Download PDF
A4 · Download PDF
Use A4 or US Letter to match your printer. Use the stated values and conditions to solve each exercise; diagrams are not physical measuring rulers.
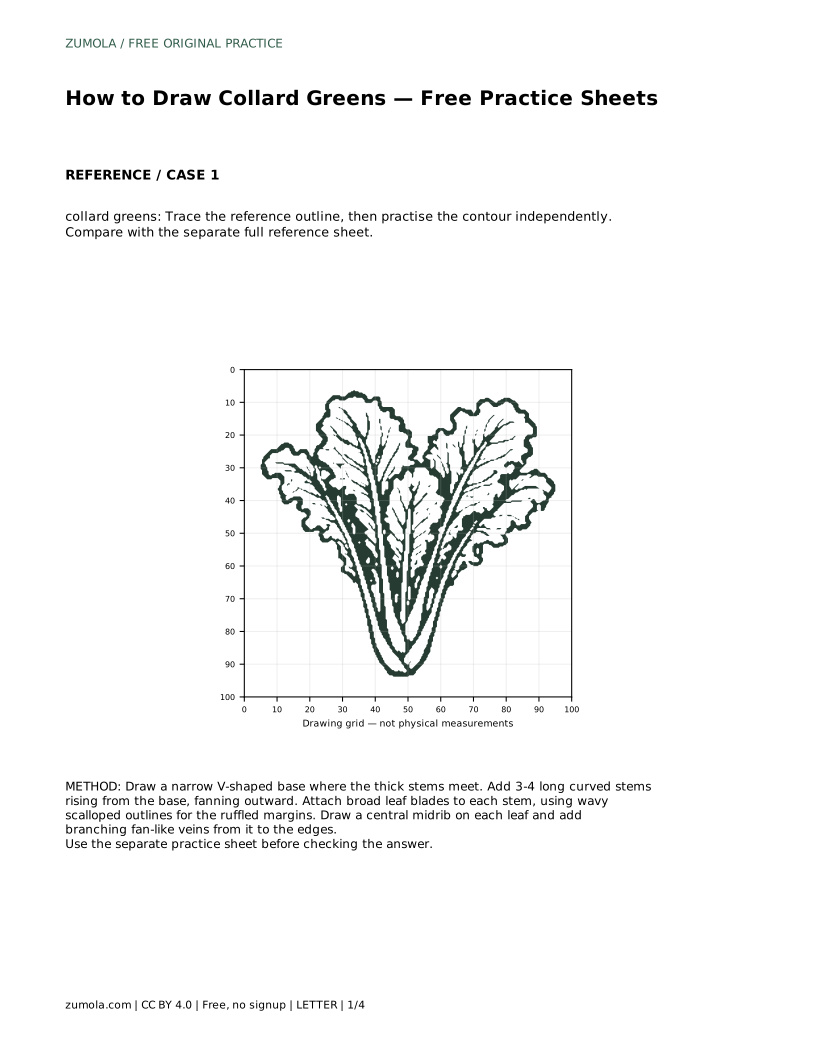
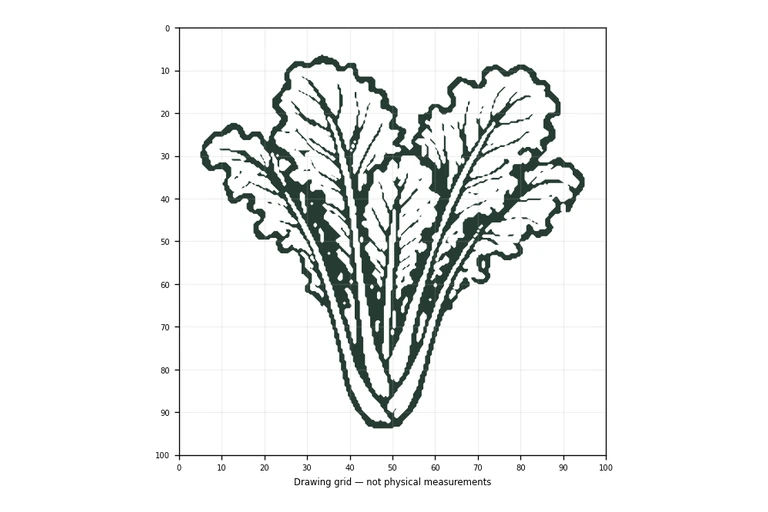
Collard greens are recognizable by their broad, ruffled leaves and thick pale stems that gather at the base. This page teaches a reliable drawing order: start with the stem junction, fan the stems outward, attach wide leaf blades with wavy margins, then add a midrib and branching veins on each leaf. The practice sheets let you trace a reference outline, copy onto a grid, place a silhouette with a frame and center guide, or complete a partially blank drawing.
Collard greens read as a cluster, not a single leaf. Begin at the bottom with a narrow V shape where the thick stems meet. Keep that junction compact so the leaves can spread above it. From the V, draw three or four long curved stems rising and fanning outward. Vary their lengths and angles slightly; a perfectly even fan looks stiff. Leave room between stems for the leaf blades that will attach later.
The stems are thick and pale compared with the blades, so give them visible width rather than drawing single lines. Curve them gently; collard stems bend rather than rising straight up.
Attach a broad leaf blade to each stem. Collard blades are wide relative to their length, and their margins are wavy and scalloped rather than smooth. Draw the outline with repeated soft waves, letting some sections bulge and others dip. Keep the waves irregular so the leaf looks organic. The blade should widen above the stem and taper toward its tip.
Check the overall silhouette before adding detail: the cluster should look full and leafy, with the stems visible below and between the blades. If one blade dominates, shorten it or narrow its width so the fan stays balanced.
Each blade needs a central midrib running from the stem toward the tip. From that midrib, draw branching veins that fan outward to the edges. Keep the veins thinner than the midrib and let them curve with the blade rather than running straight across it. A few main branches with smaller offshoots are enough; too many lines make the leaf busy.
This vein pattern is the detail that most clearly separates collard greens from smooth-leafed greens. Place veins so they follow the ruffled shape, reaching toward the dips and bulges of the margin.
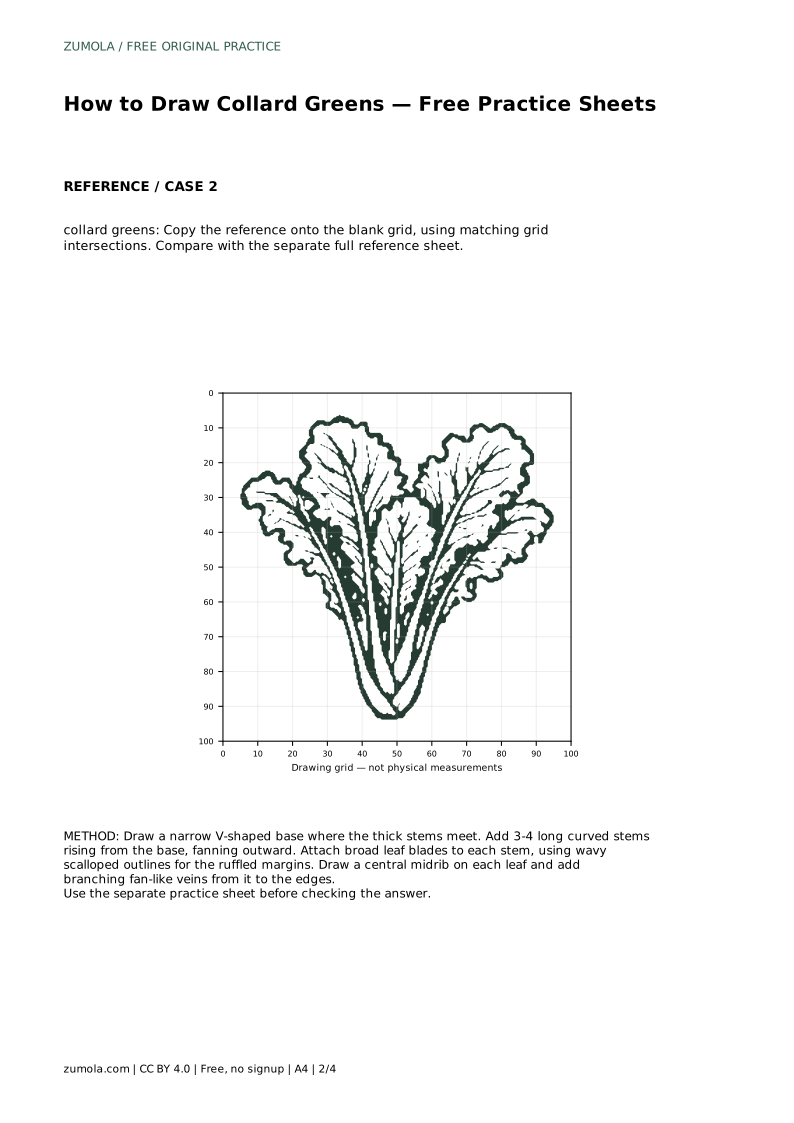
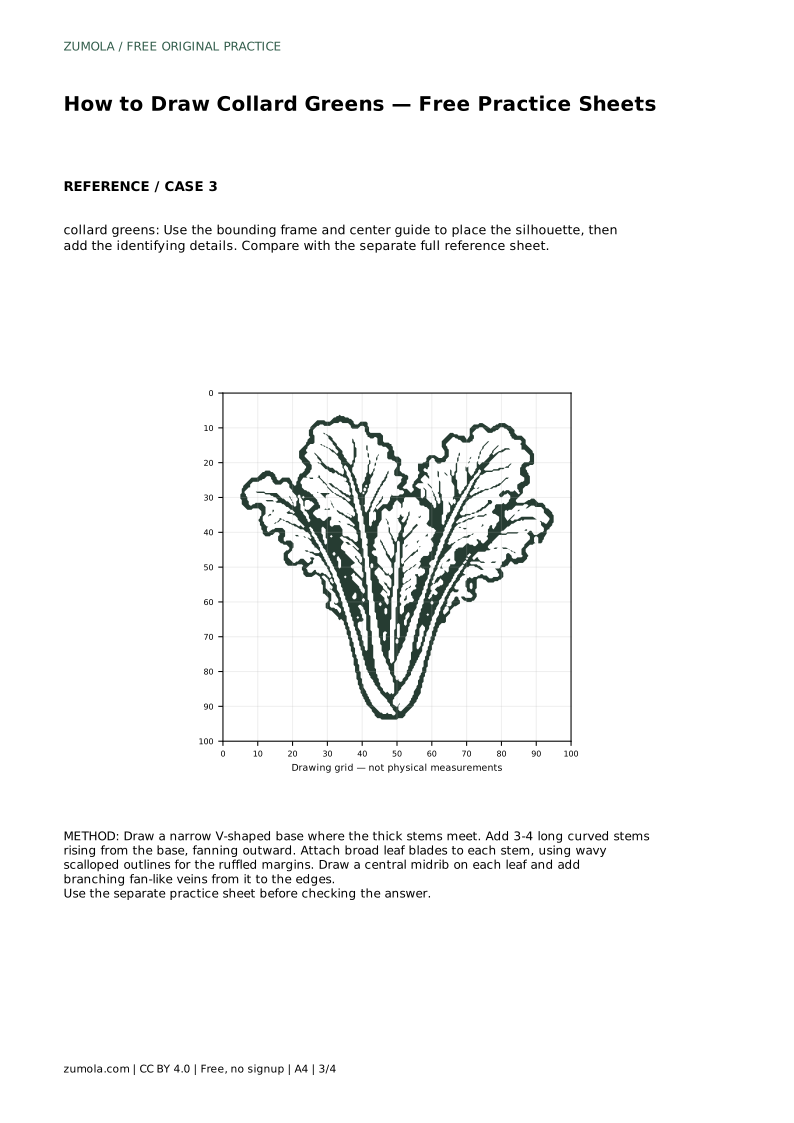
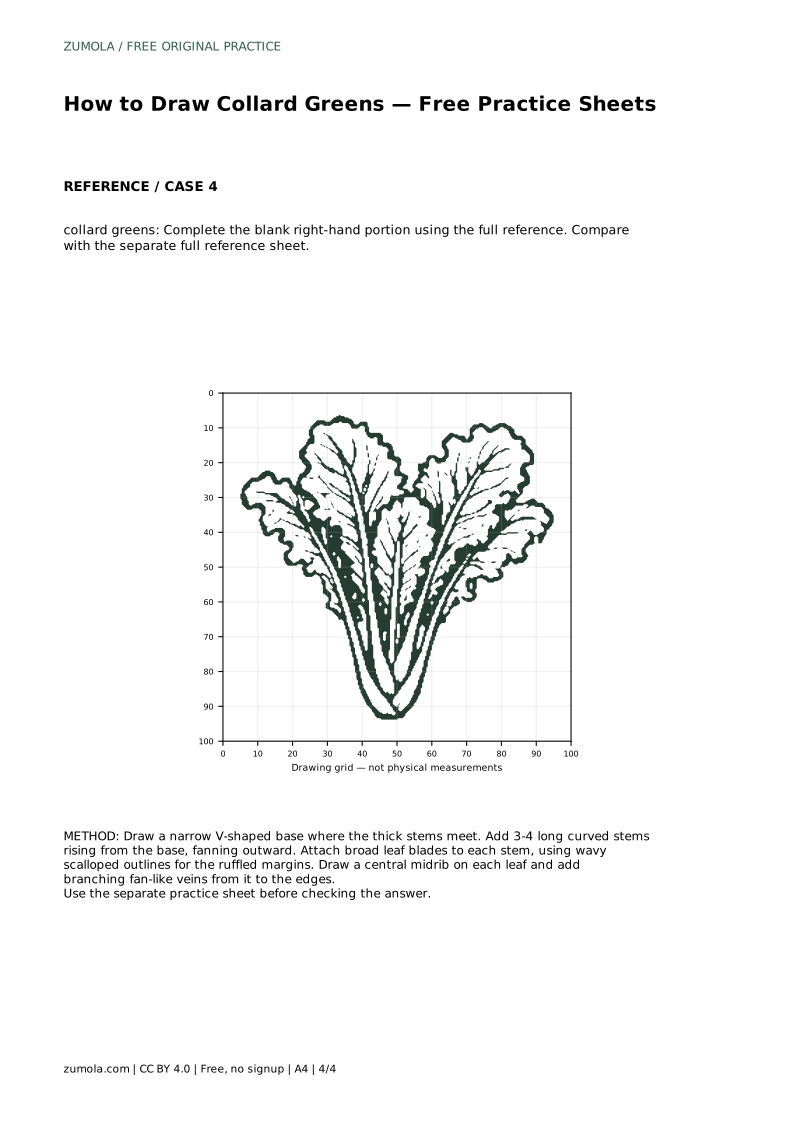
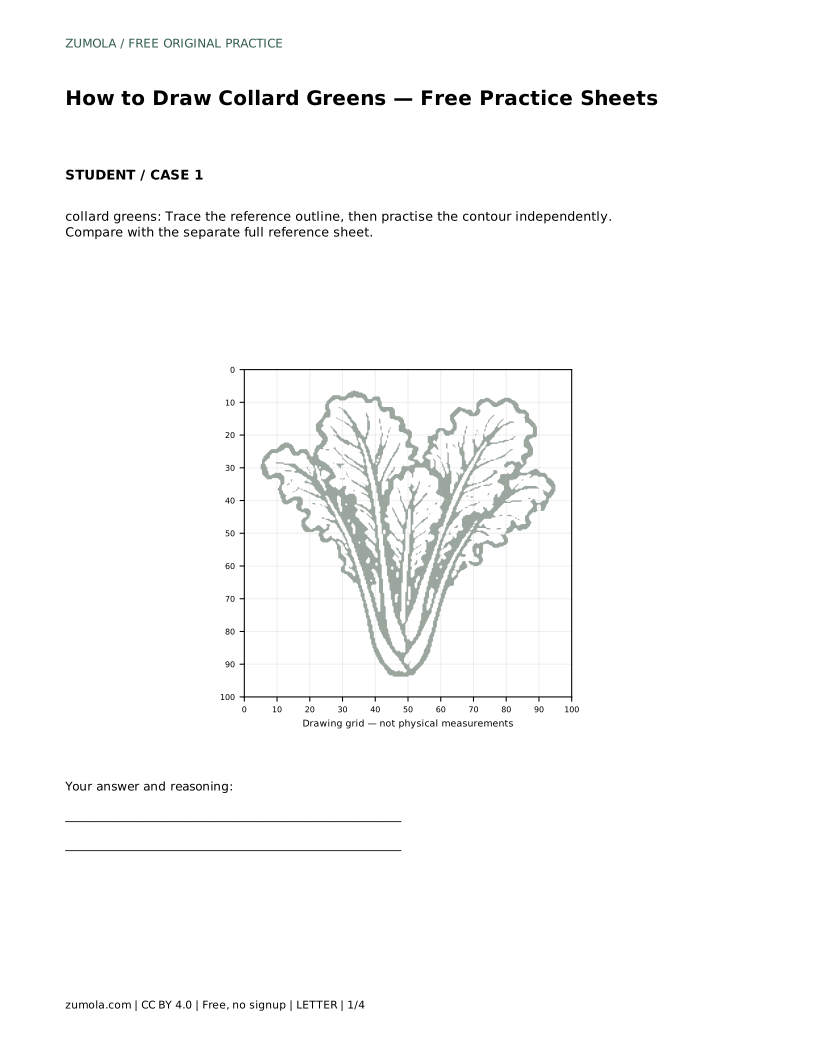
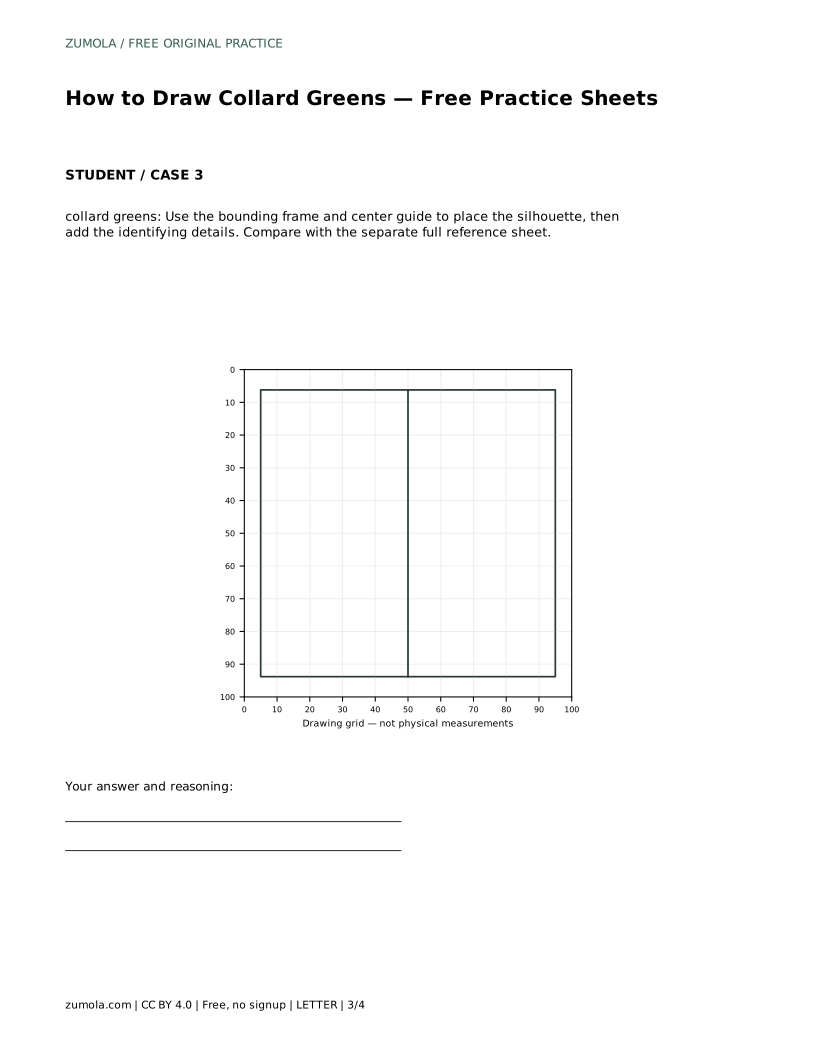
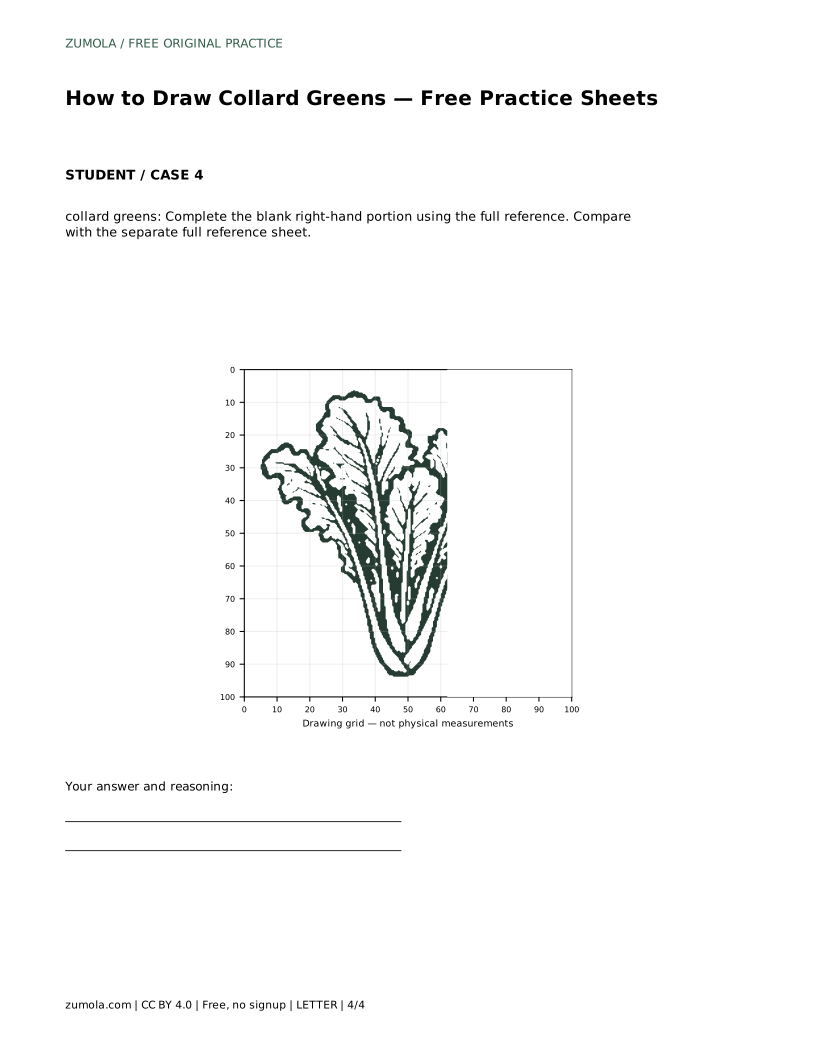
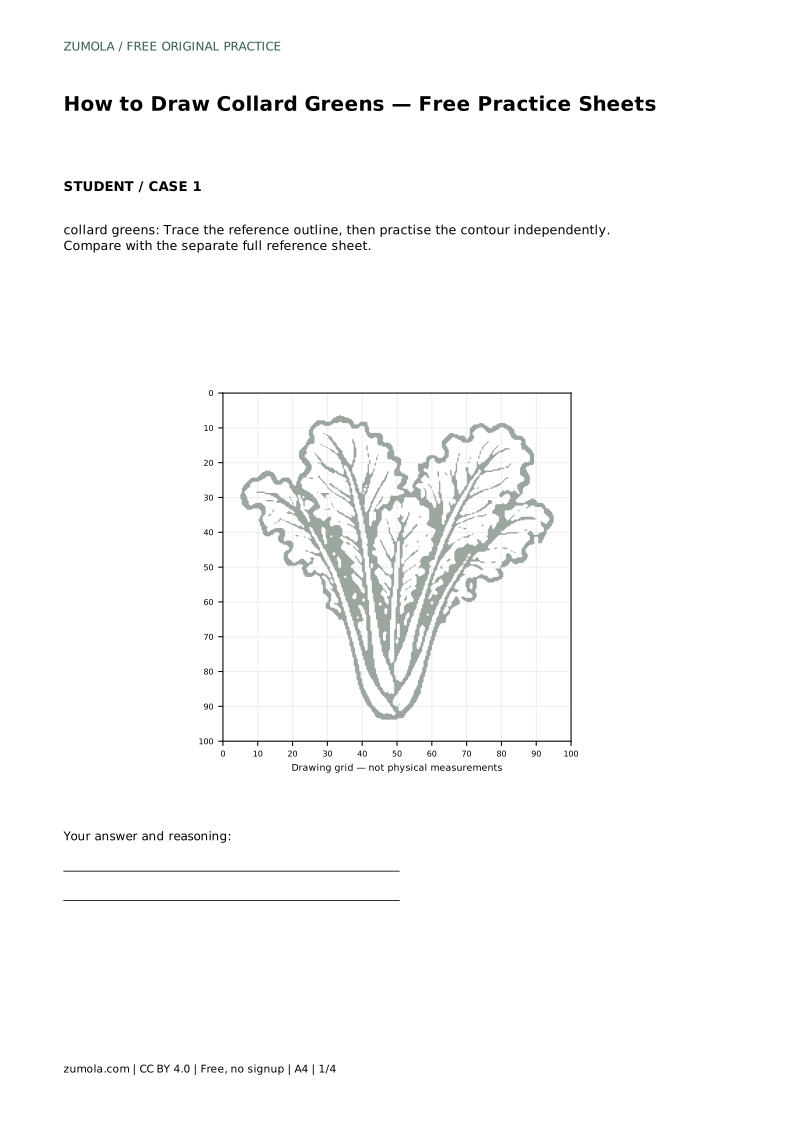
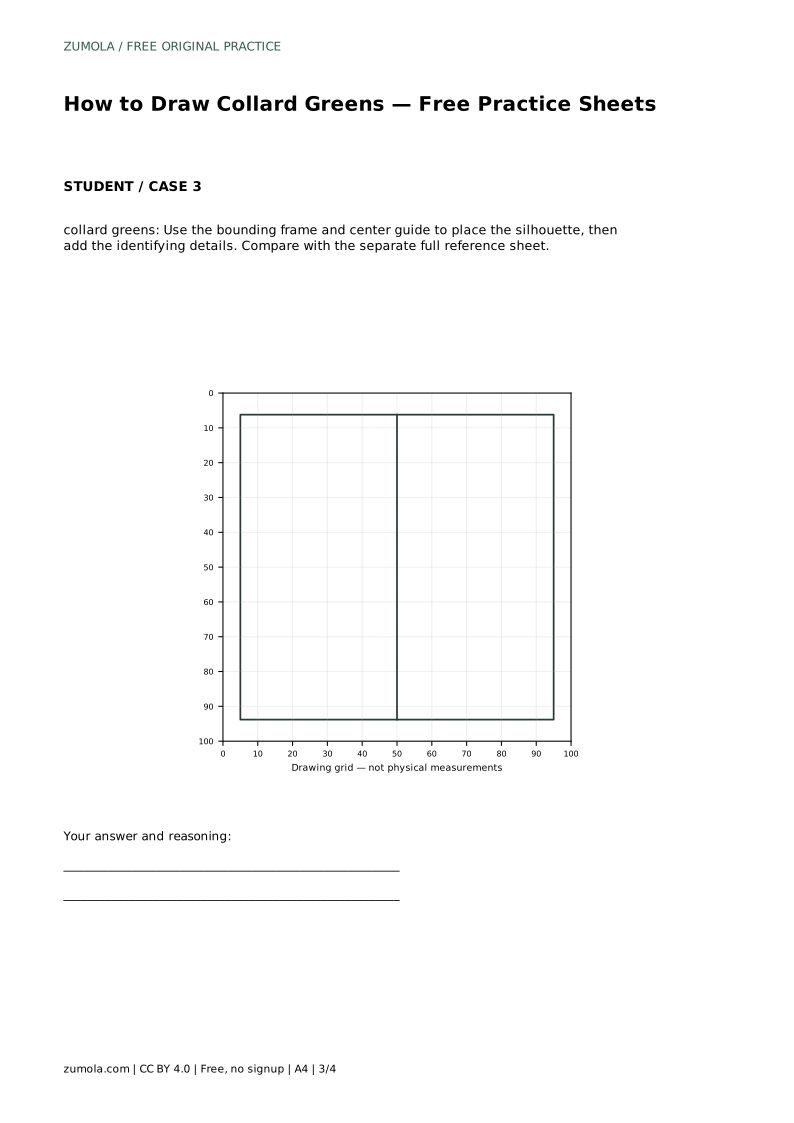
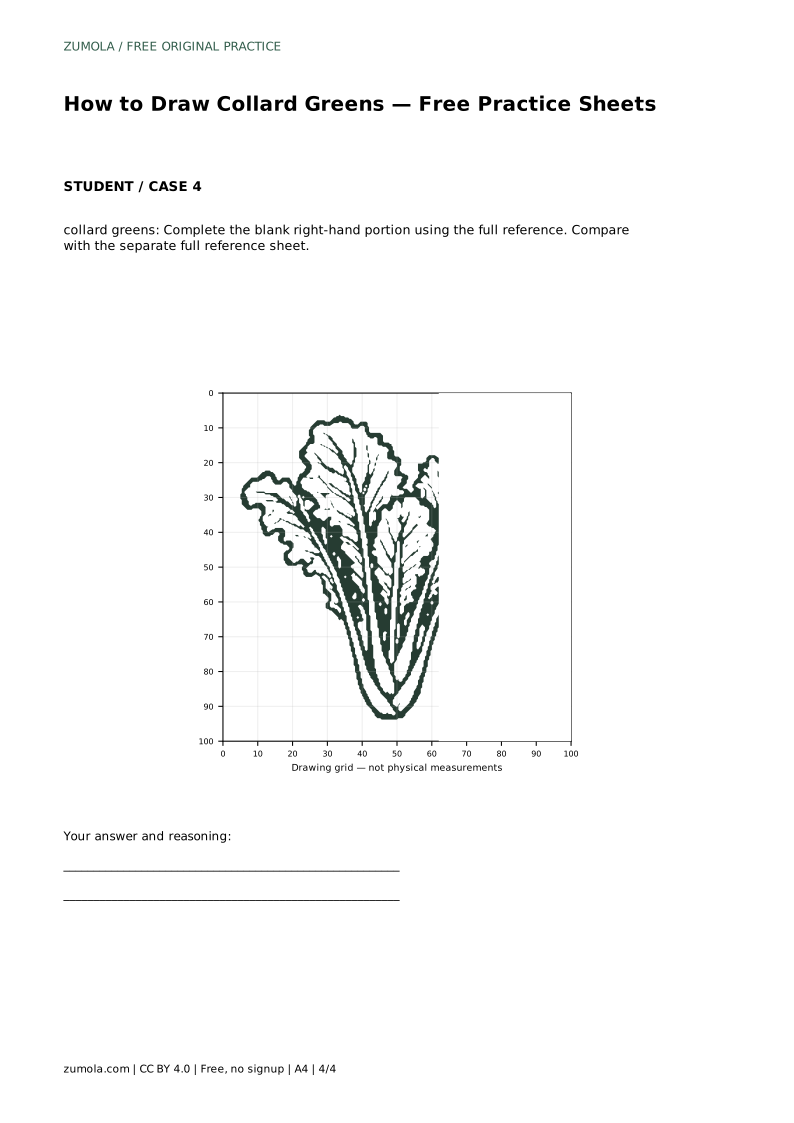
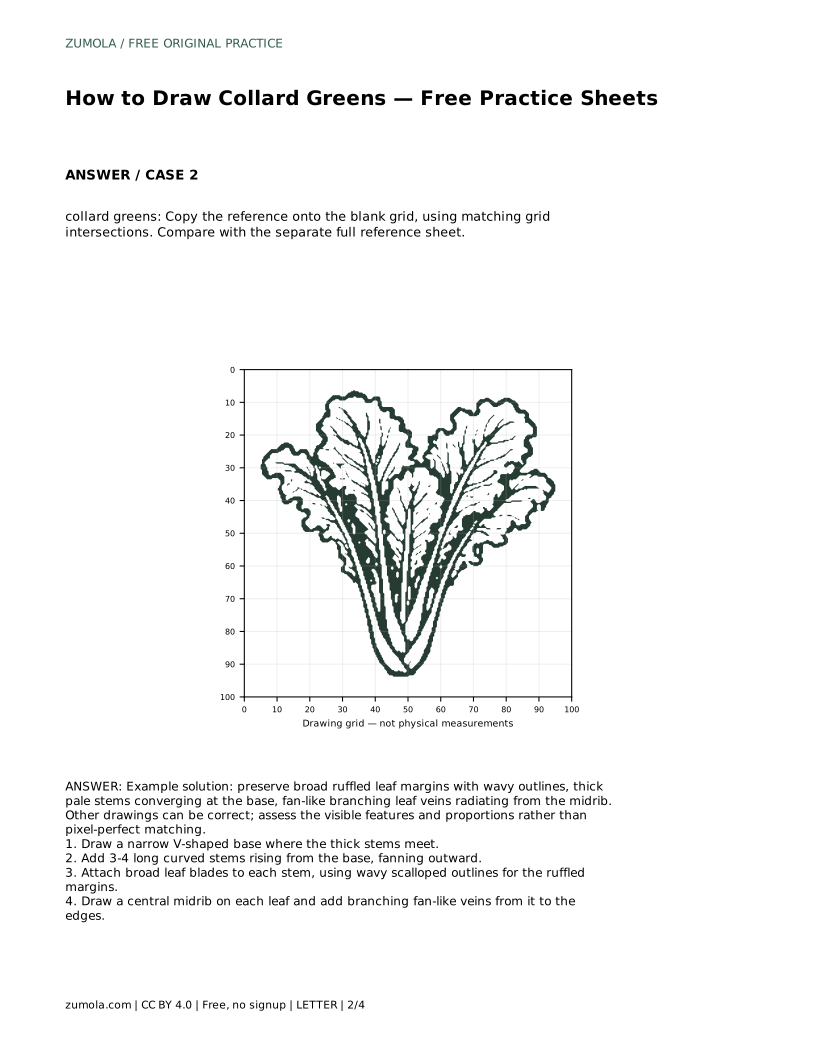
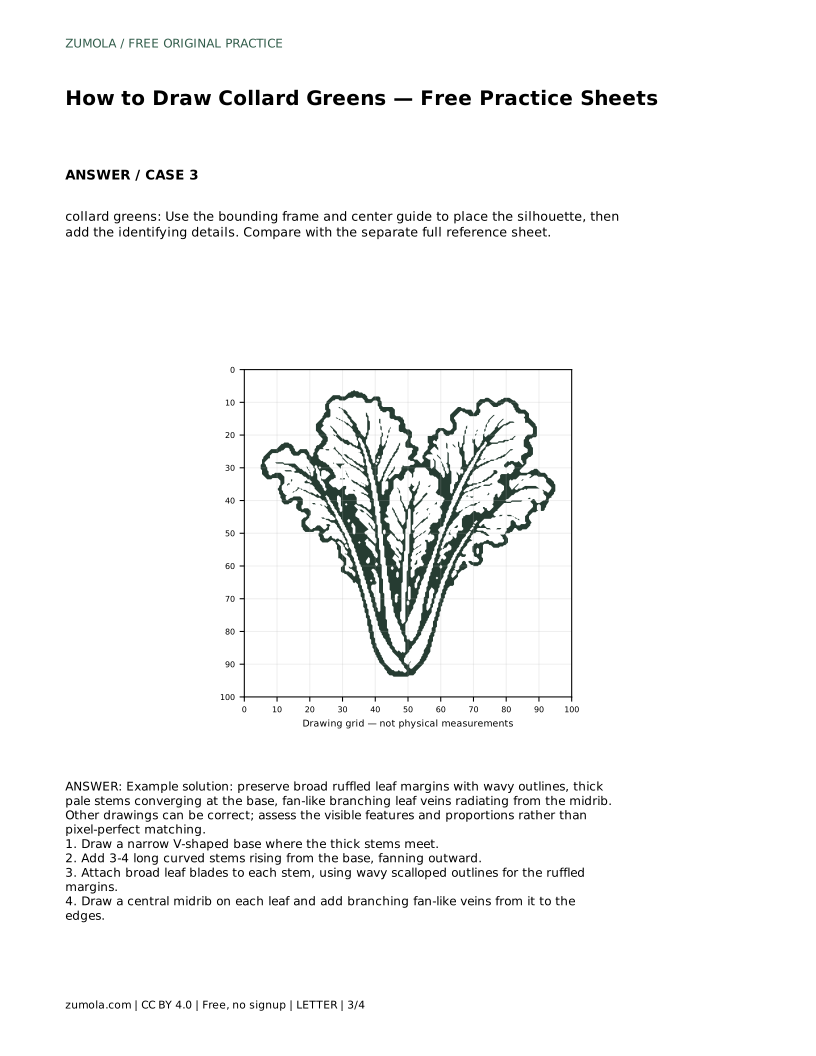
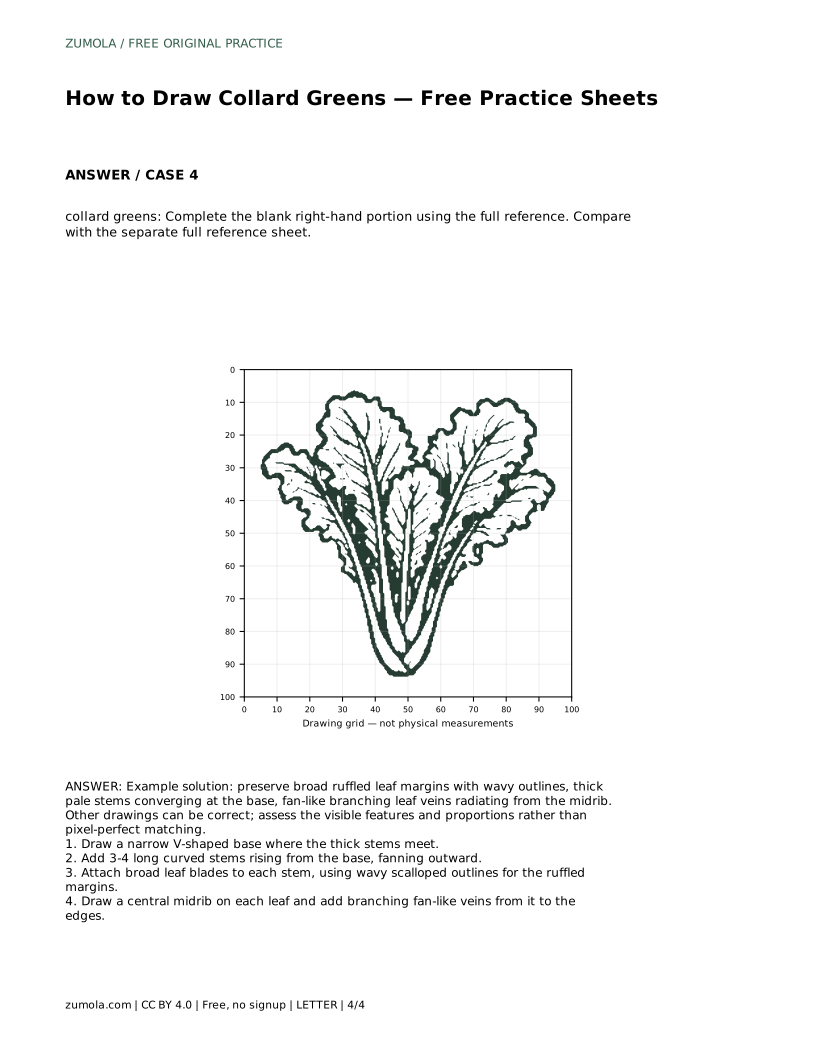
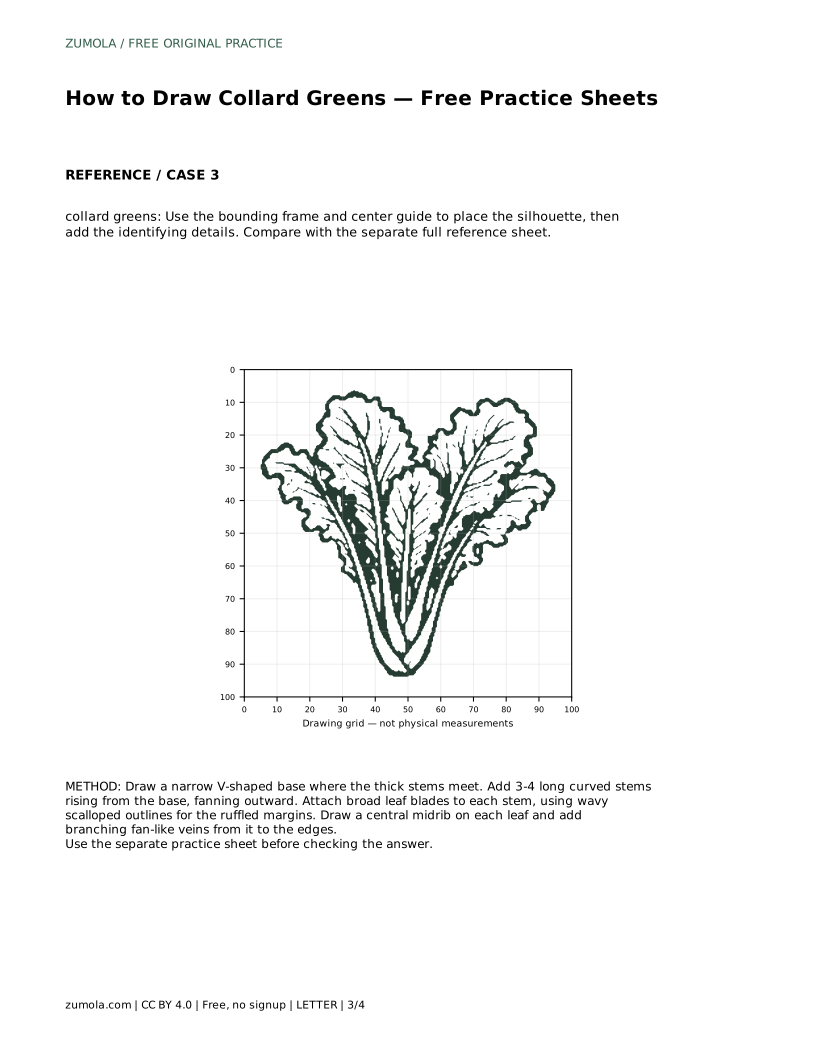
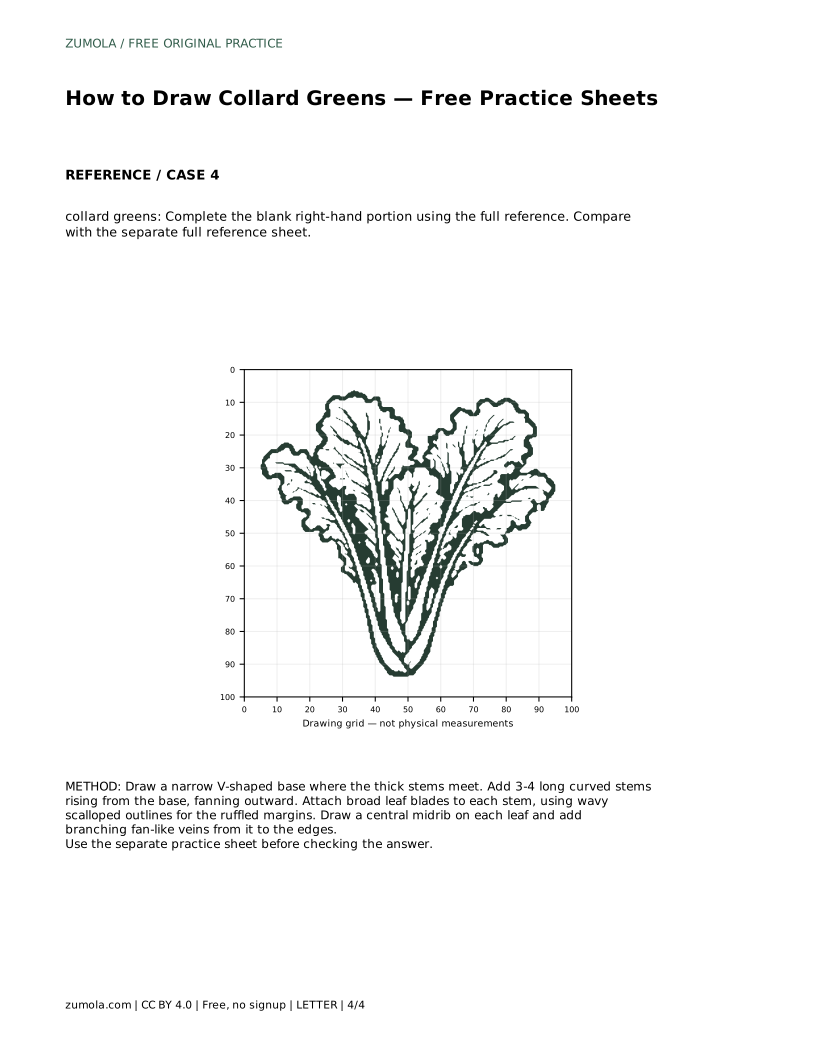
The trace sheet asks you to follow the reference outline first, then repeat the contour independently and compare with the full reference. The grid sheet asks you to copy the reference onto blank squares using matching grid intersections, which helps with proportion and placement. The frame sheet gives a bounding frame and center guide so you can position the silhouette before adding identifying details. The partial sheet leaves the right-hand portion blank for you to complete from the full reference.
In every format, compare your drawing with the separate full reference sheet and judge the visible features: stem junction, stem count and spread, blade width, ruffled margins, midribs, and vein branching. Different drawings can all be correct.
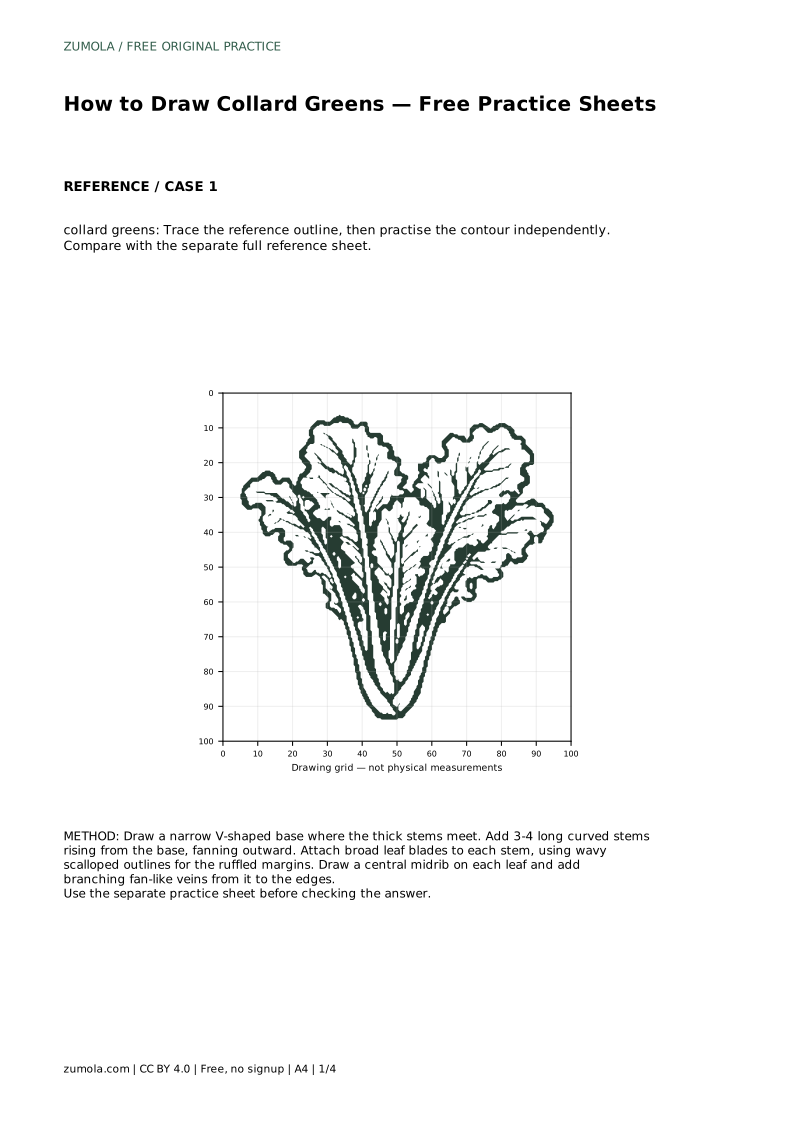
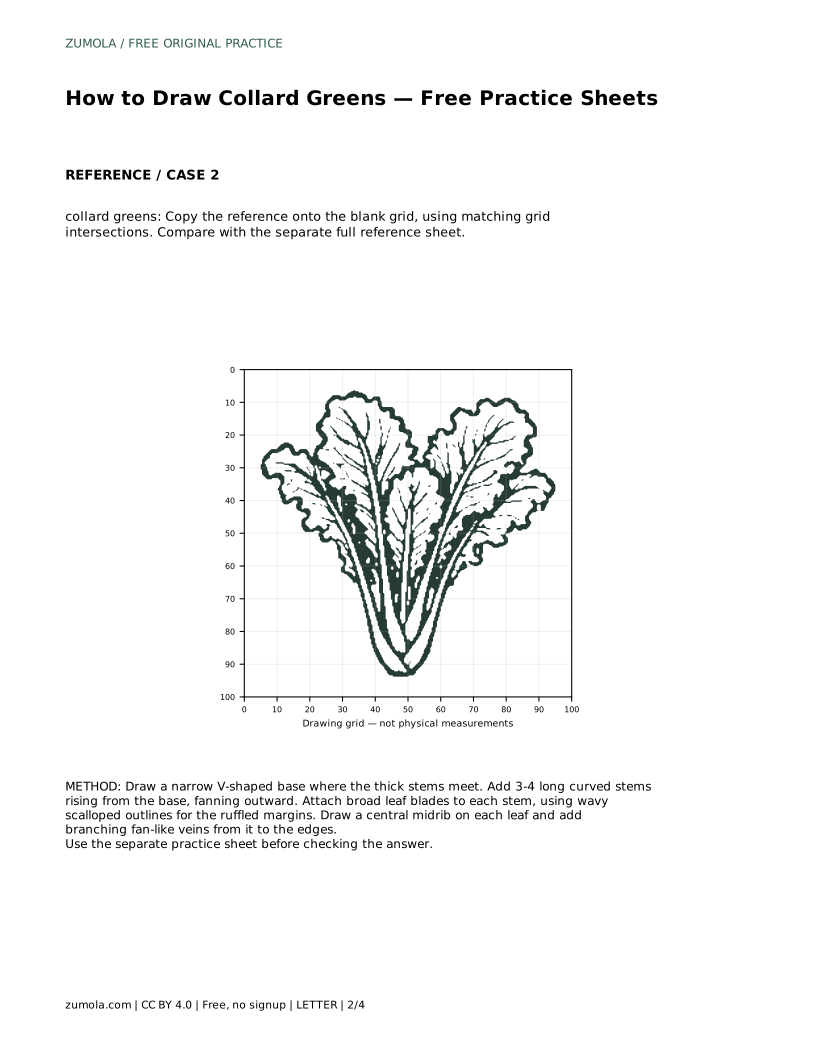
collard greens: Trace the reference outline, then practise the contour independently. Compare with the separate full reference sheet.
Example solution: preserve broad ruffled leaf margins with wavy outlines, thick pale stems converging at the base, fan-like branching leaf veins radiating from the midrib. Other drawings can be correct; assess the visible features and proportions rather than pixel-perfect matching. Draw a narrow V-shaped base where the thick stems meet. Add 3-4 long curved stems rising from the base, fanning outward. Attach broad leaf blades to each stem, using wavy scalloped outlines for the ruffled margins. Draw a central midrib on each leaf and add branching fan-like veins from it to the edges.
Three or four curved stems fanning from a narrow V-shaped base is a practical starting point. Adjust the count to match your reference.
No. Collard margins are wavy and scalloped, so irregular soft waves look more accurate than a smooth, even outline.
Compare visible features with the full reference: stem junction, stem spread, blade width, ruffled margins, midribs, and fan-like veins. Use the rubric rather than seeking a pixel-perfect copy.
All drawing practice · Free coordinate paper
Original resources · CC BY 4.0 · Free for personal and classroom use with attribution.