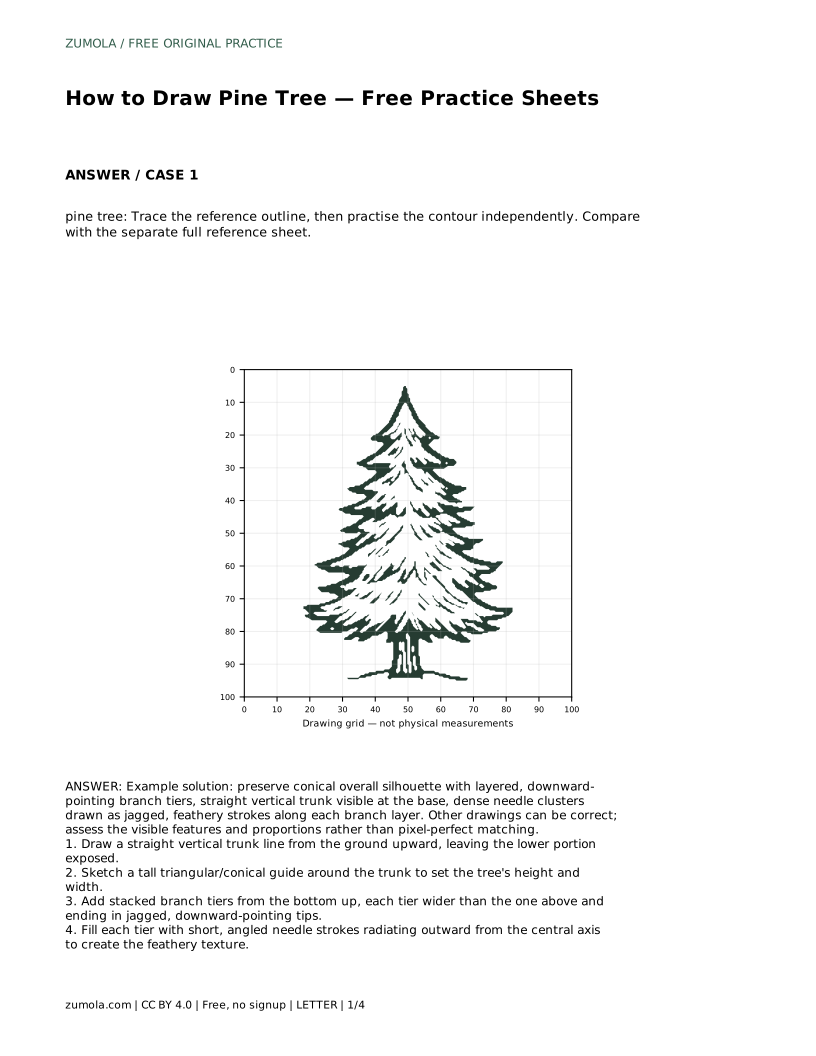
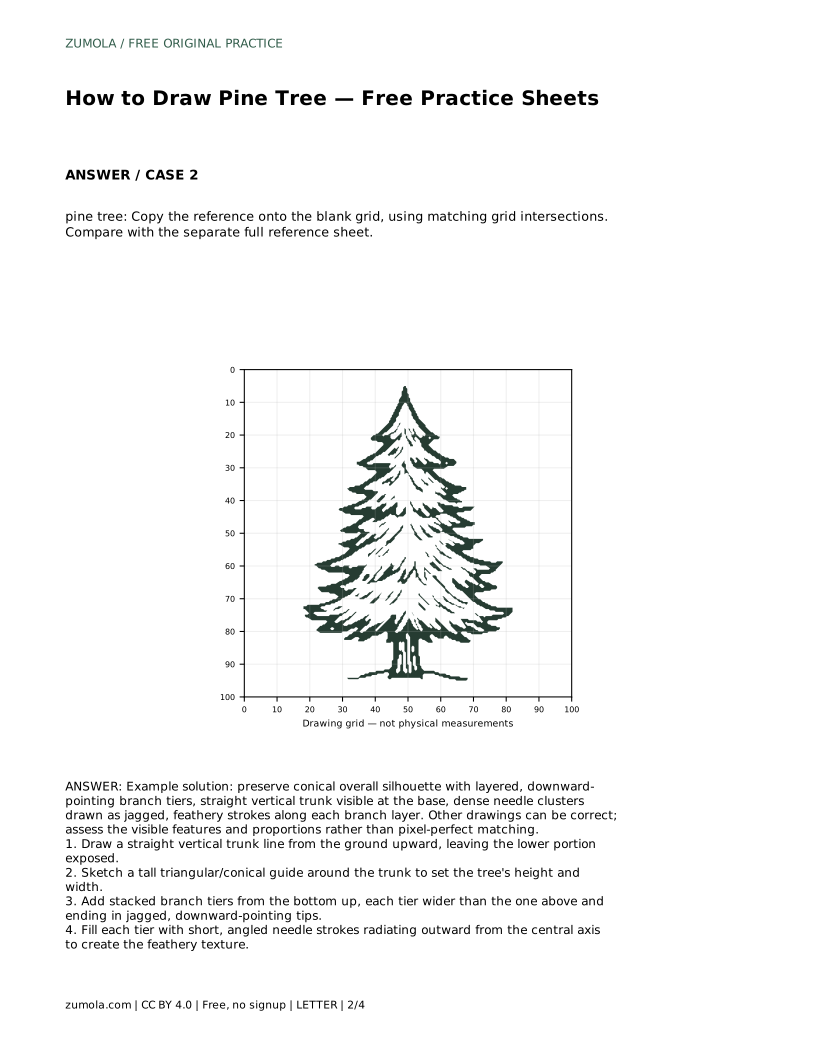
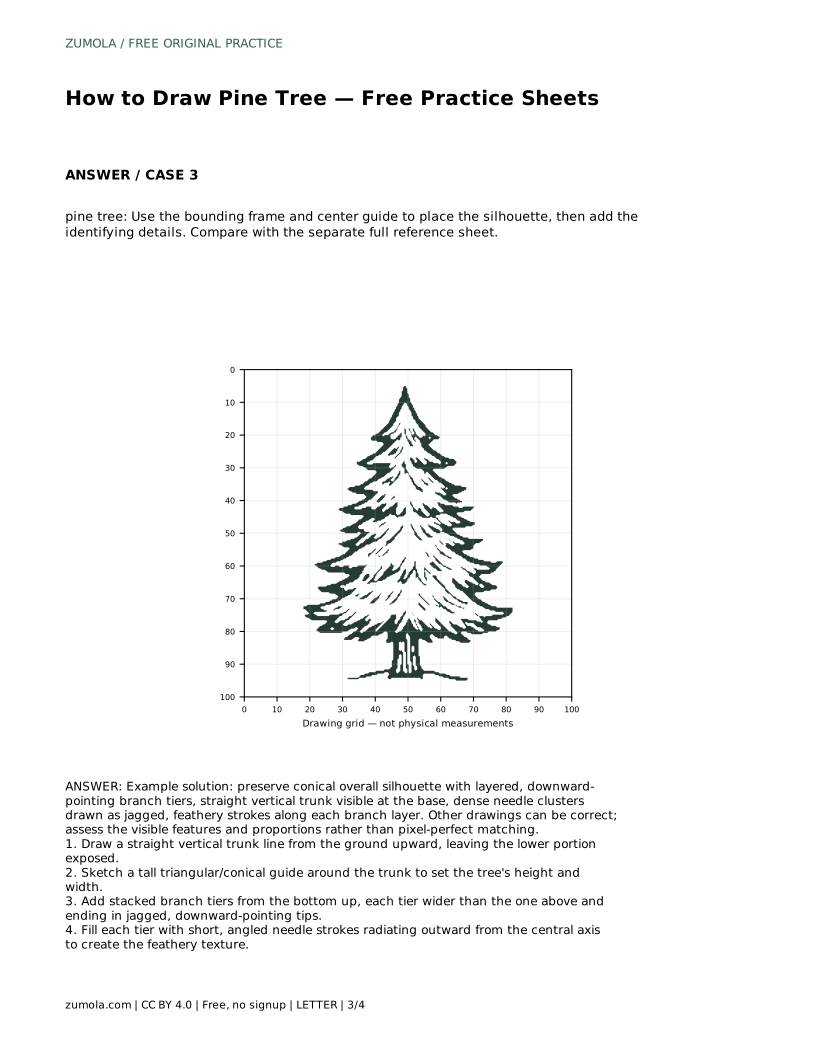
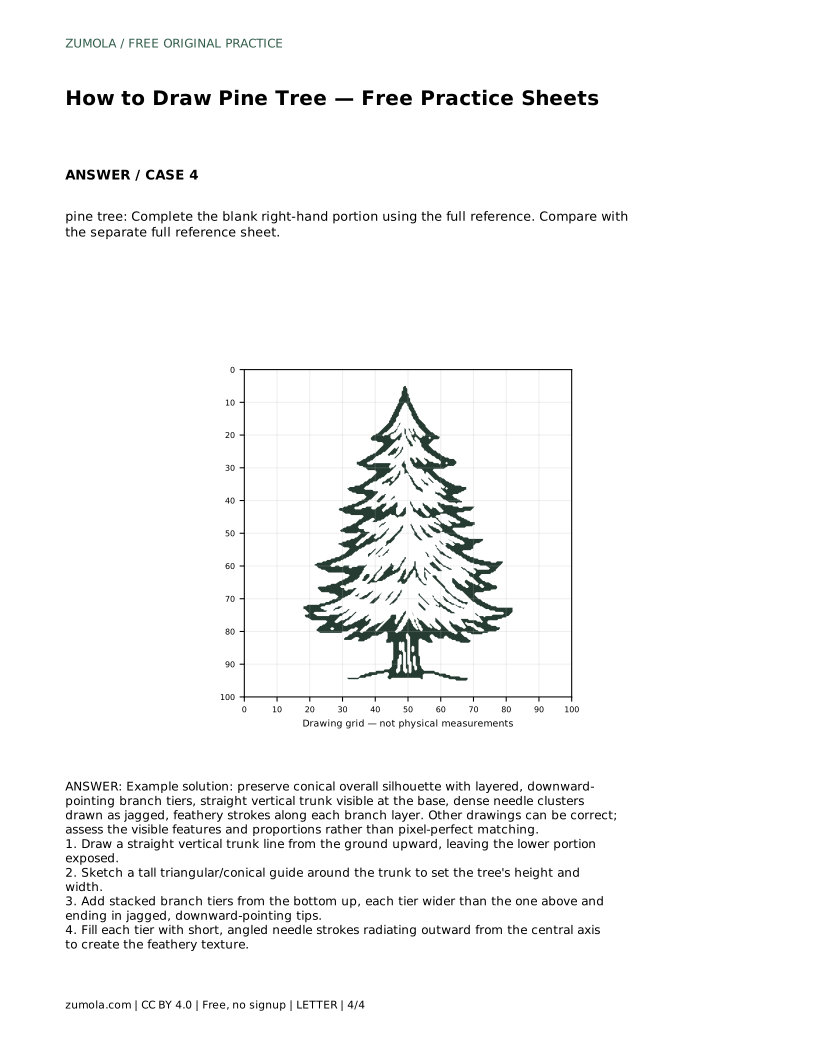
Reference diagrams
LETTER · Download PDF
A4 · Download PDF
Free original resources
Learn to draw a pine tree by building a straight trunk, a conical guide and stacked branch tiers, then adding feathery needle strokes. Free practice sheets included.
Four original cases, with reference diagrams, practice sheets and worked answers. Everything is free; no signup required.
LETTER · Download PDF
A4 · Download PDF
LETTER · Download PDF
A4 · Download PDF
LETTER · Download PDF
A4 · Download PDF
Use A4 or US Letter to match your printer. Use the stated values and conditions to solve each exercise; diagrams are not physical measuring rulers.
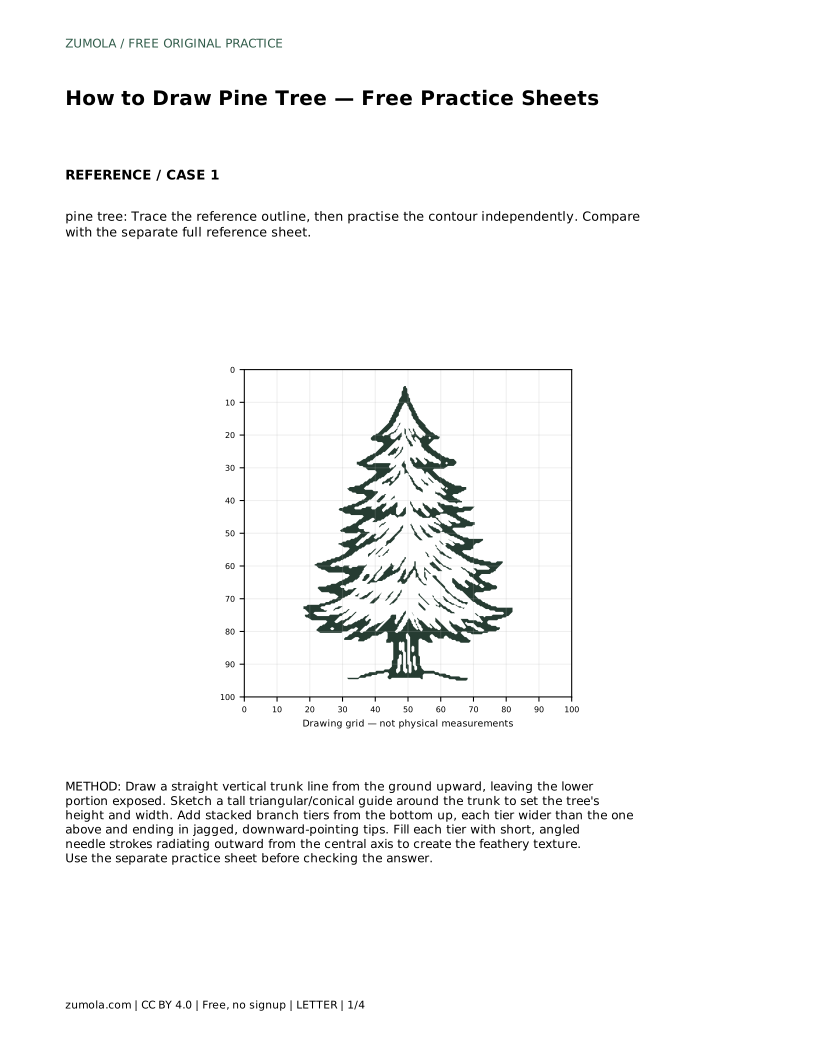
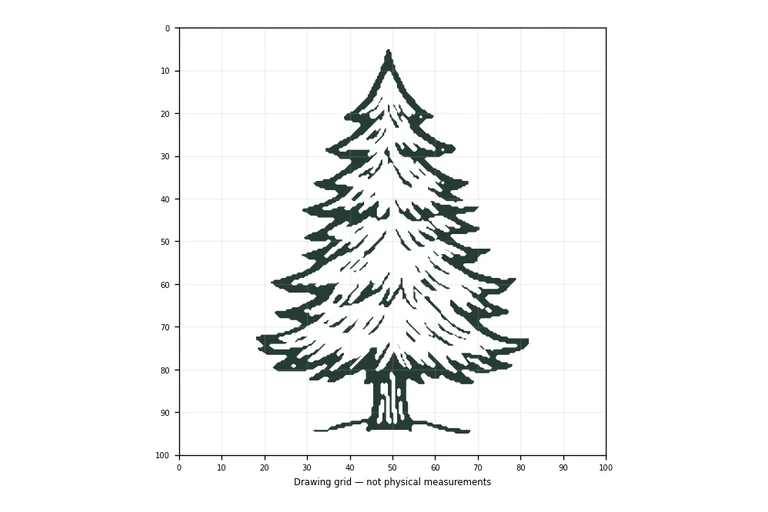
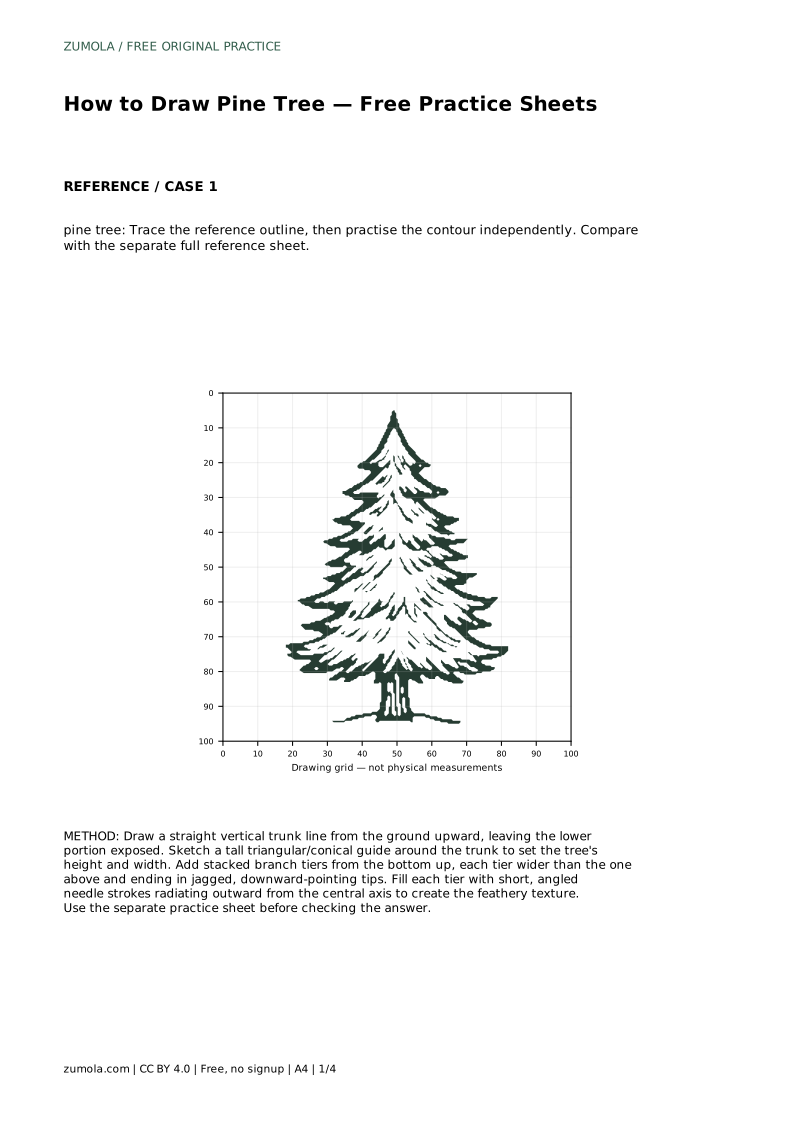
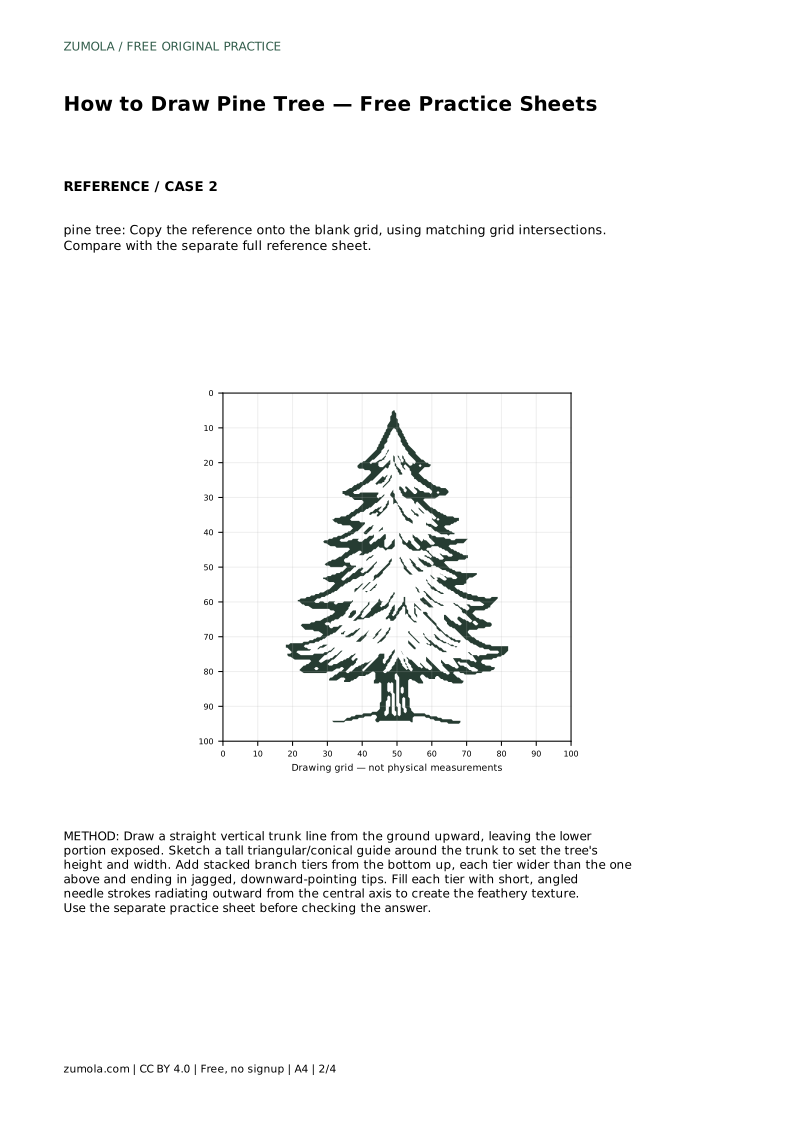
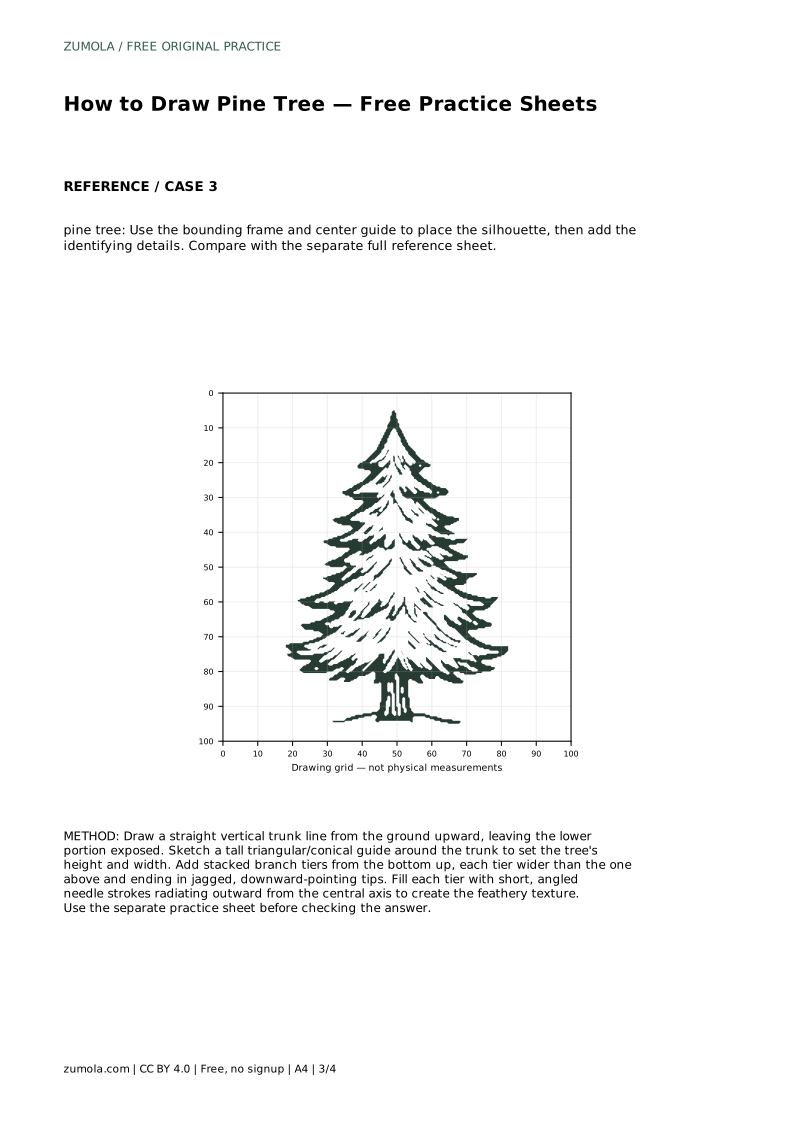
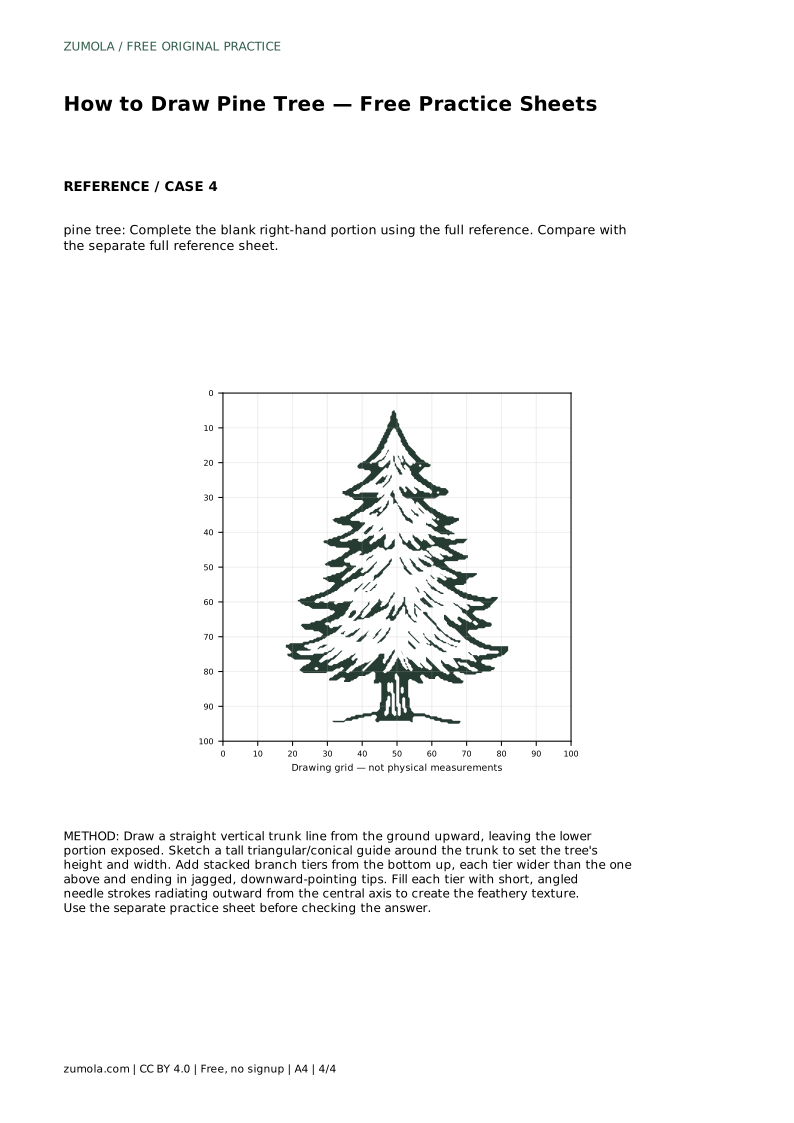
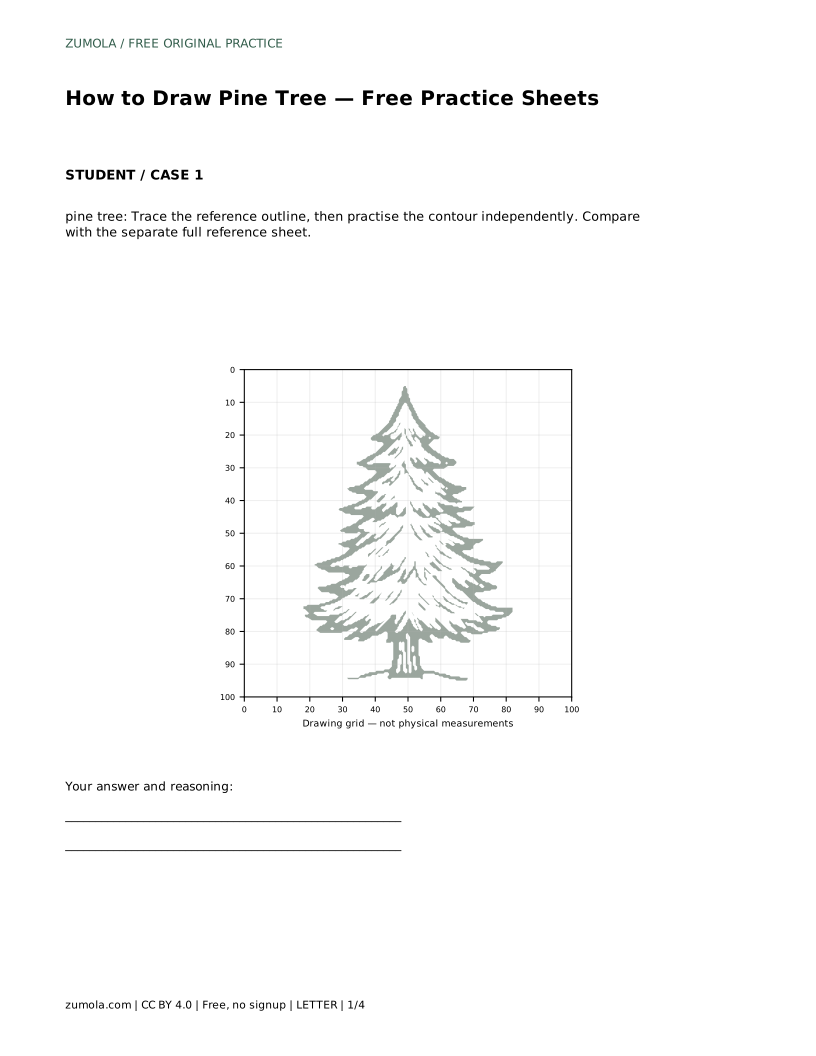
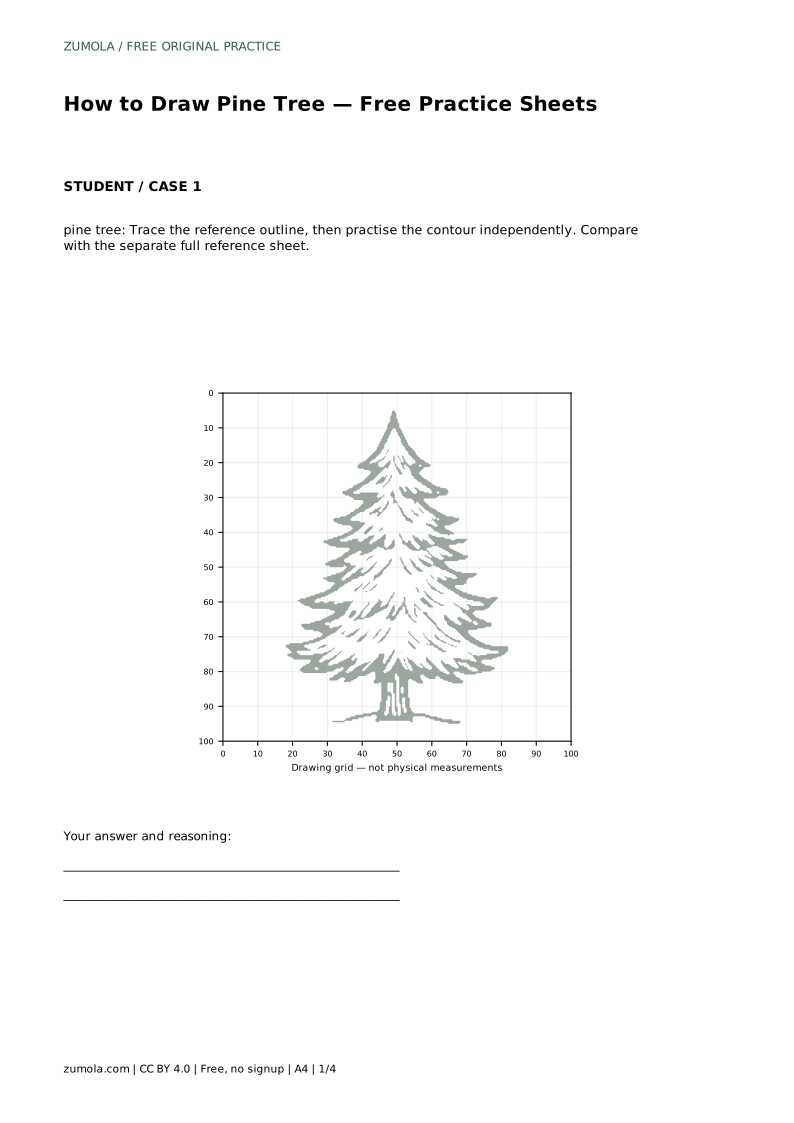
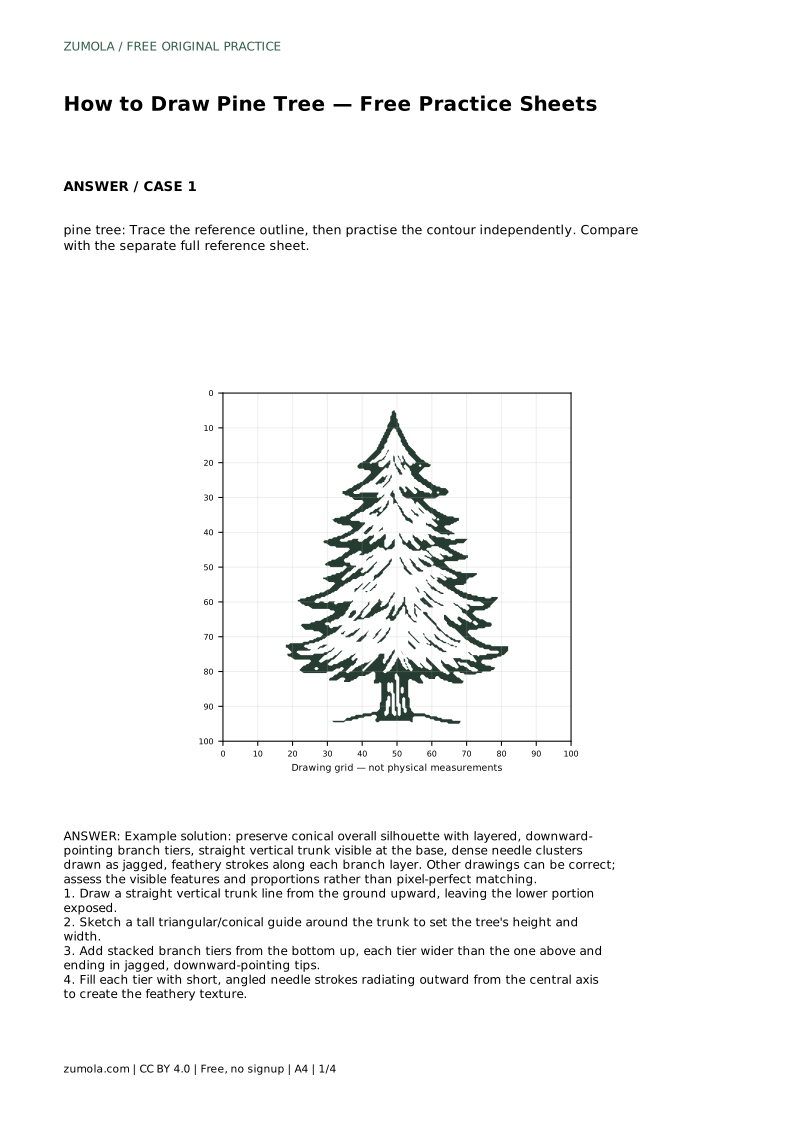
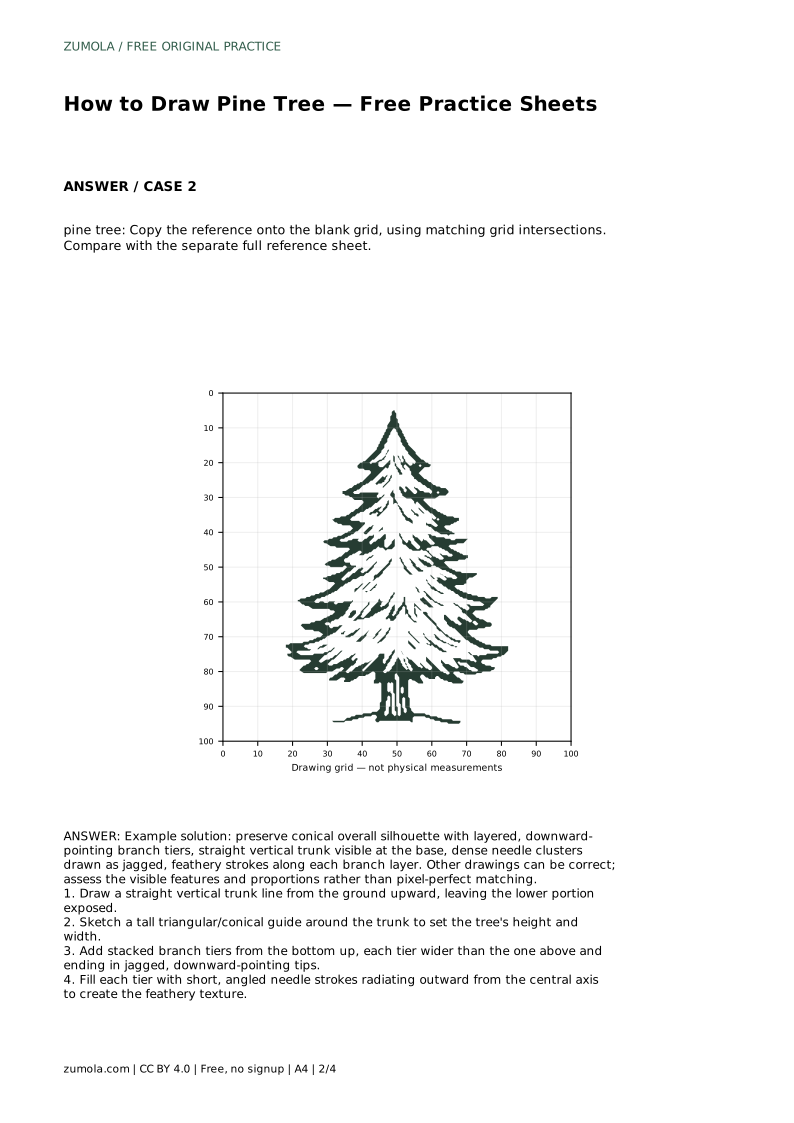
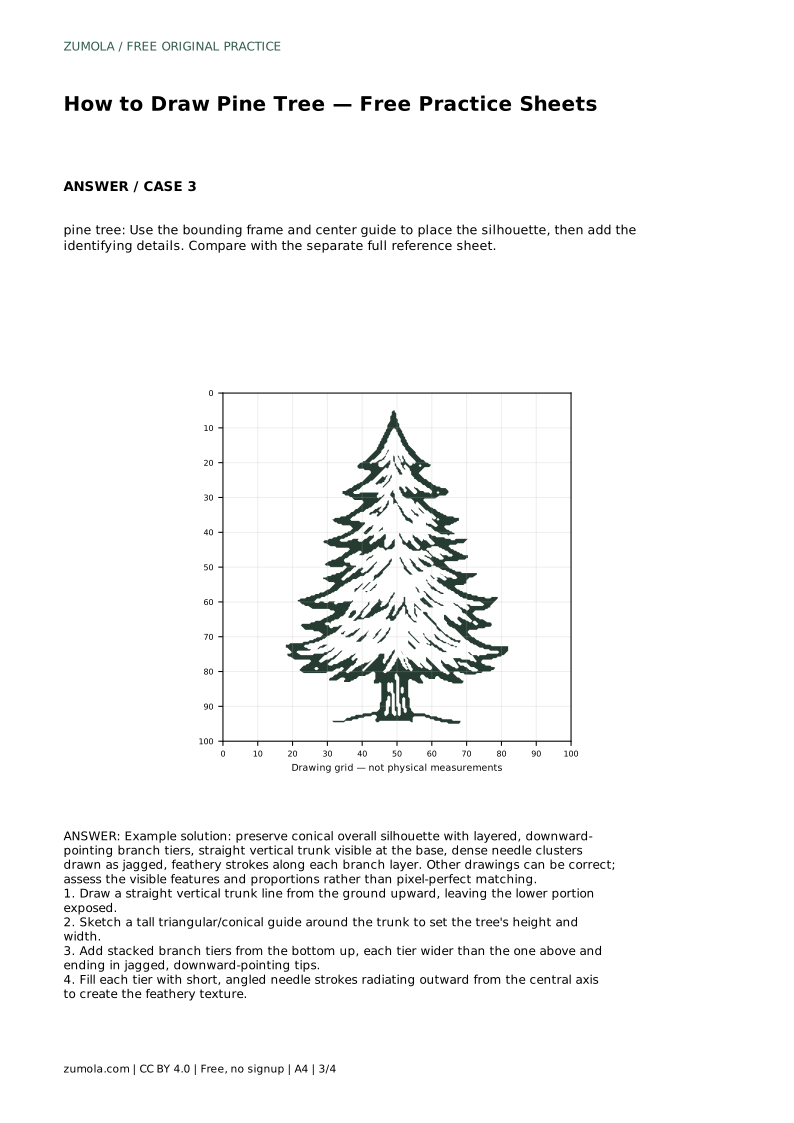
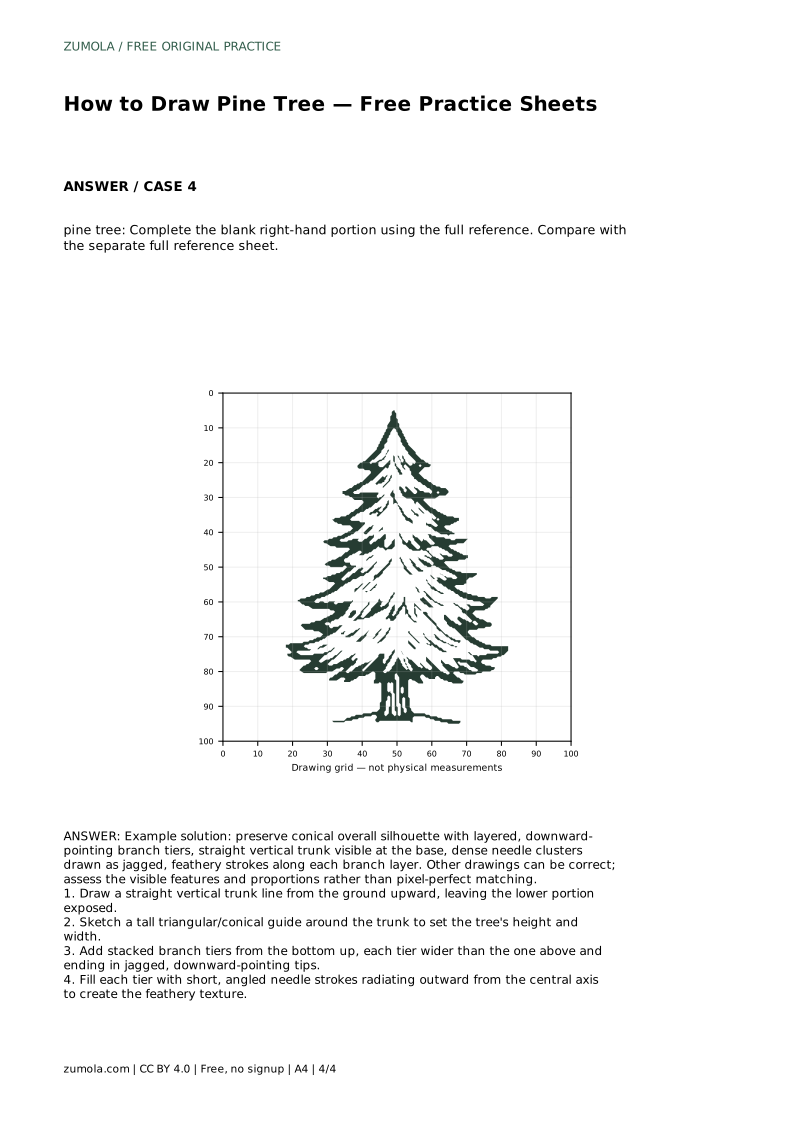
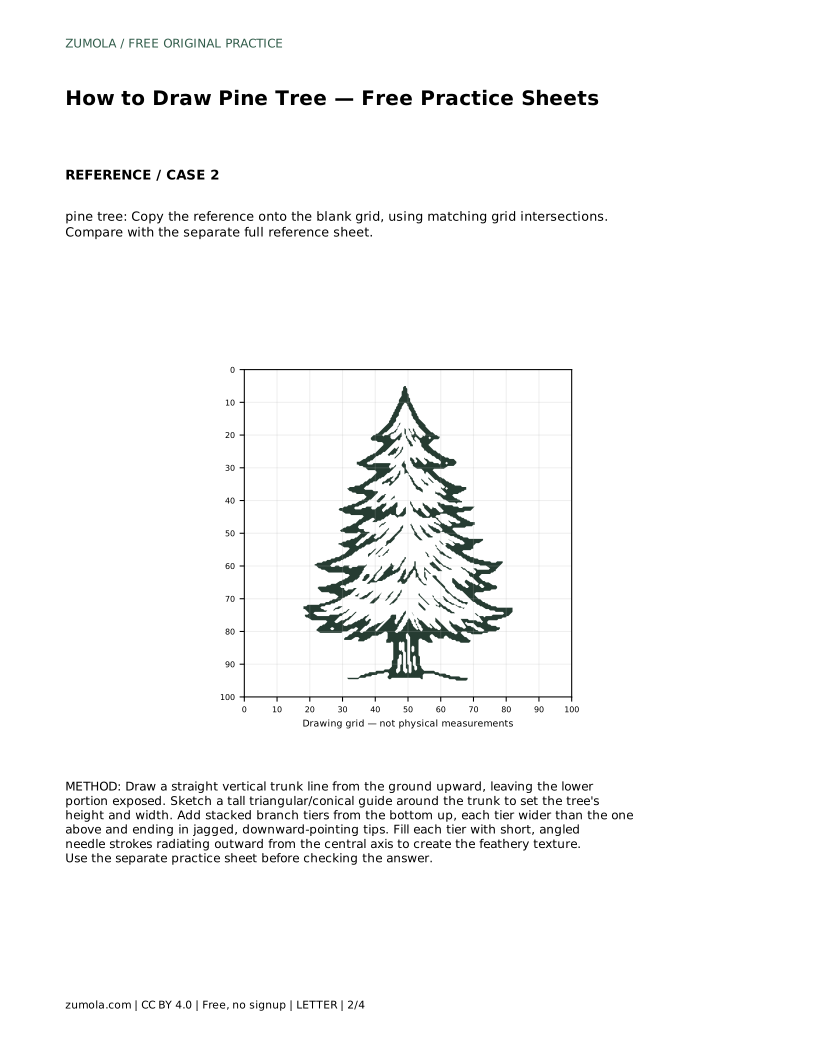
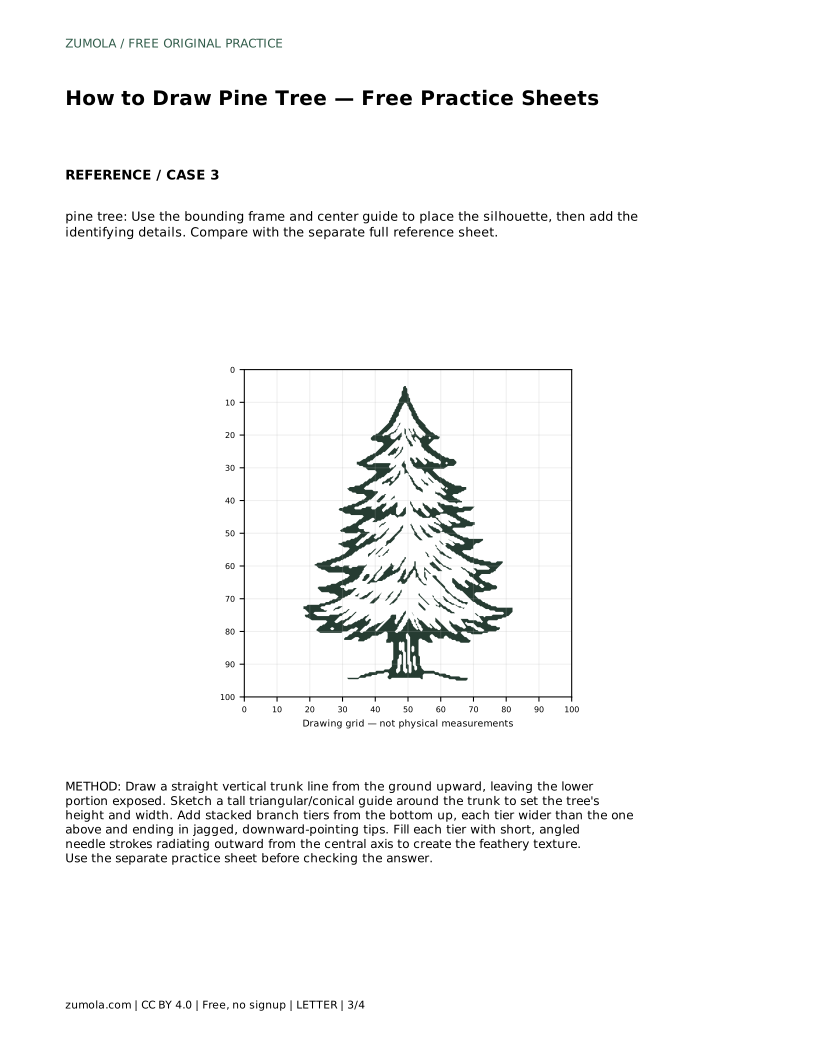
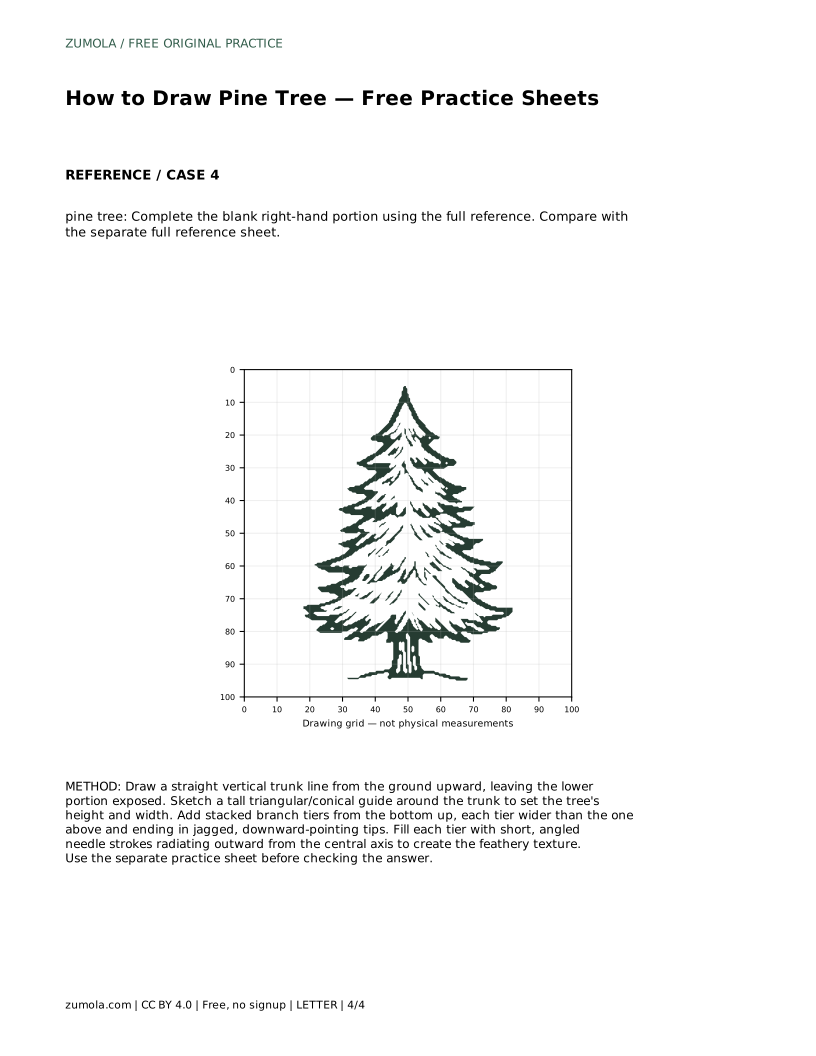
A pine tree reads clearly when three things are visible: a straight vertical trunk, a tall conical silhouette, and branch layers that point downward with jagged, feathery edges. This page explains how to build those features in order, so the tree looks like a pine rather than a generic triangle. Practice sheets let you trace a reference outline first, then draw the contour independently and compare your result with the separate full reference sheet.
Begin with a straight vertical line for the trunk, running from the ground upward. Leave the lower part of the trunk exposed, because a pine's bare base helps the tree look grounded rather than floating. Keep the line vertical; a leaning trunk changes the whole character of the drawing.
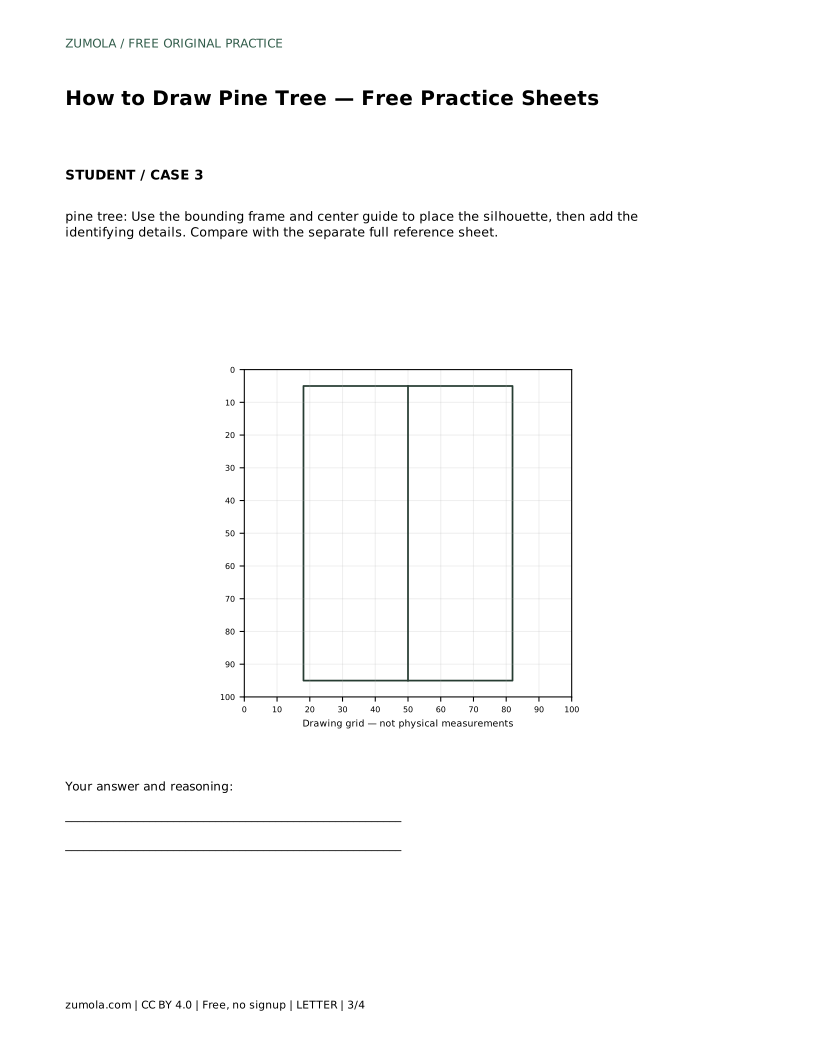
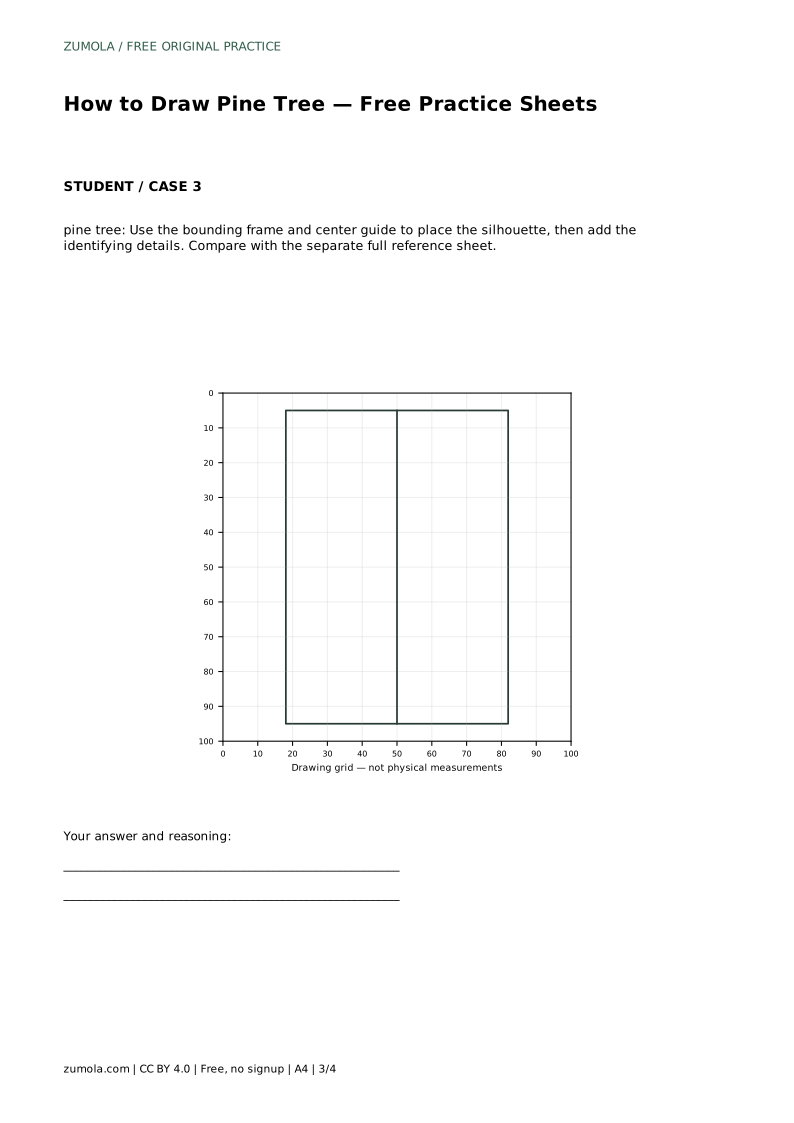
Next, sketch a tall triangular or conical guide around the trunk. This guide sets the tree's height and width before any branches are drawn. Make it taller than it is wide, since a pine silhouette is narrow and upright. The cone is a planning shape, not a final outline, so keep it light enough to adjust.
Build the branches in stacked tiers, working from the bottom upward. Each tier should be wider than the one above it, so the overall shape narrows toward the top. End each tier in jagged, downward-pointing tips rather than smooth curves; that drooping edge is what makes the layers read as pine branches.
Keep the tiers distinct. A small gap or change of direction between layers shows where one branch level ends and the next begins. If the tiers merge into one solid mass, the tree loses its layered structure and starts to look like a bush or a simple triangle.
Fill each tier with short, angled needle strokes that radiate outward from the central axis of that branch layer. Work in small groups rather than one continuous line, so the surface looks feathery and dense. Angle the strokes slightly downward to match the droop of the branch tips.
Texture should follow the structure. Needles on the outer edge can be longer and more separated; needles closer to the trunk can be shorter and packed together. This variation suggests depth without needing shading. Step back occasionally to check that the conical silhouette still holds.
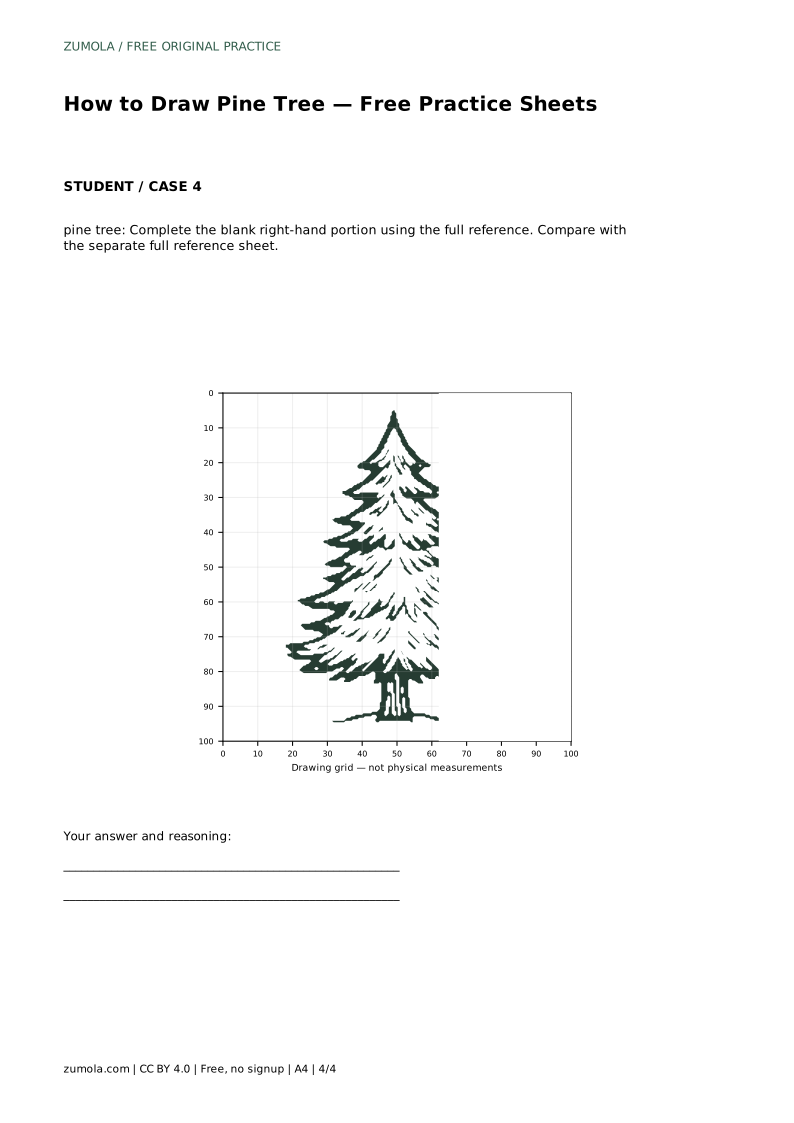
Use the trace sheet first: follow the reference outline to learn where the trunk, cone and tiers sit. Then move to a blank sheet and draw the contour without tracing. Finish by comparing your drawing with the separate full reference sheet.
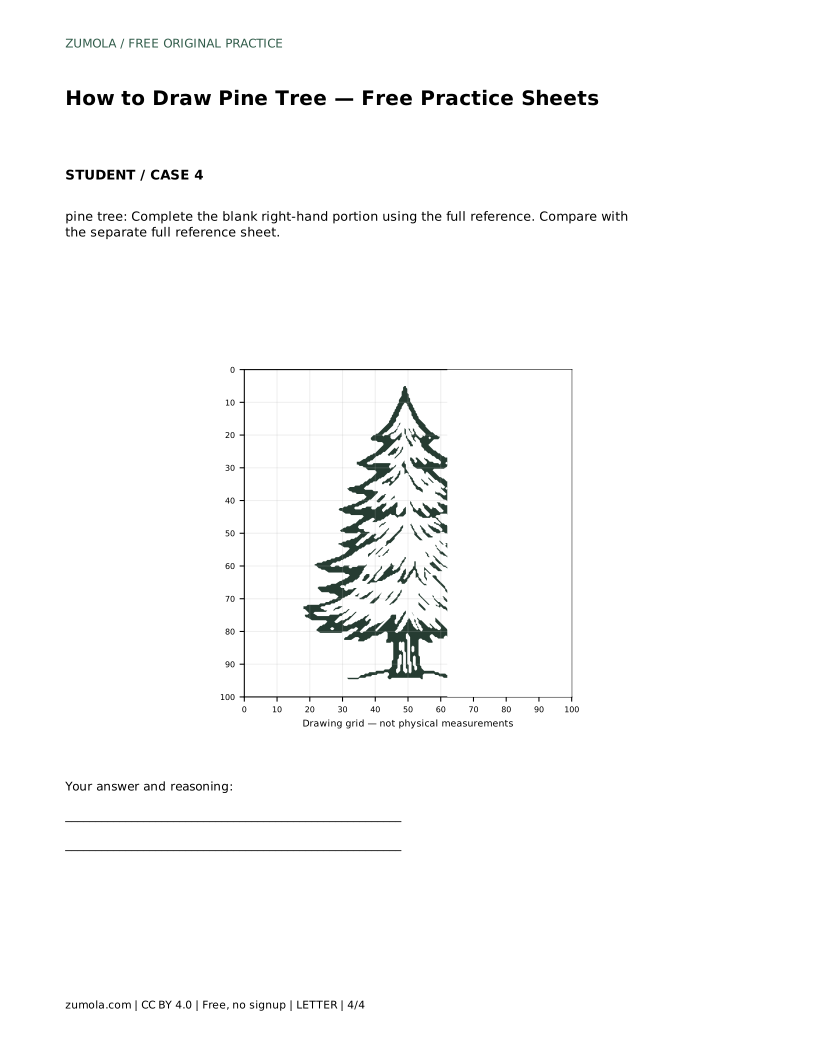
Comparison is about features, not pixel-perfect matching. Check whether the silhouette is conical, the tiers are layered and downward-pointing, the trunk is straight and visible at the base, and the needle clusters look jagged and feathery. Different proportions and branch arrangements can still be correct pine drawings.
pine tree: Trace the reference outline, then practise the contour independently. Compare with the separate full reference sheet.
Example solution: preserve conical overall silhouette with layered, downward-pointing branch tiers, straight vertical trunk visible at the base, dense needle clusters drawn as jagged, feathery strokes along each branch layer. Other drawings can be correct; assess the visible features and proportions rather than pixel-perfect matching. Draw a straight vertical trunk line from the ground upward, leaving the lower portion exposed. Sketch a tall triangular/conical guide around the trunk to set the tree's height and width. Add stacked branch tiers from the bottom up, each tier wider than the one above and ending in jagged, downward-pointing tips. Fill each tier with short, angled needle strokes radiating outward from the central axis to create the feathery texture.
No. The number of tiers can vary. What matters is that the layers stack from bottom to top, each narrower than the one below, with downward-pointing jagged tips.
Check visible features: conical silhouette, layered downward branch tiers, a straight vertical trunk exposed at the base, and jagged feathery needle clusters. Use the rubric to assess these rather than matching the reference exactly.
Draw the trunk first so the branches have a central axis to attach to. Keep the lower trunk exposed, then build the conical guide and tiers around the upper portion.
All drawing practice · Free coordinate paper
Original resources · CC BY 4.0 · Free for personal and classroom use with attribution.