Reference diagrams
LETTER · Download PDF
A4 · Download PDF
Free original resources
Learn a simple orchid drawing method using a triangular petal layout, a central lip, and a column. Includes tracing, grid, and frame practice guidance.
Four original cases, with reference diagrams, practice sheets and worked answers. Everything is free; no signup required.
LETTER · Download PDF
A4 · Download PDF
LETTER · Download PDF
A4 · Download PDF
LETTER · Download PDF
A4 · Download PDF
Use A4 or US Letter to match your printer. Use the stated values and conditions to solve each exercise; diagrams are not physical measuring rulers.
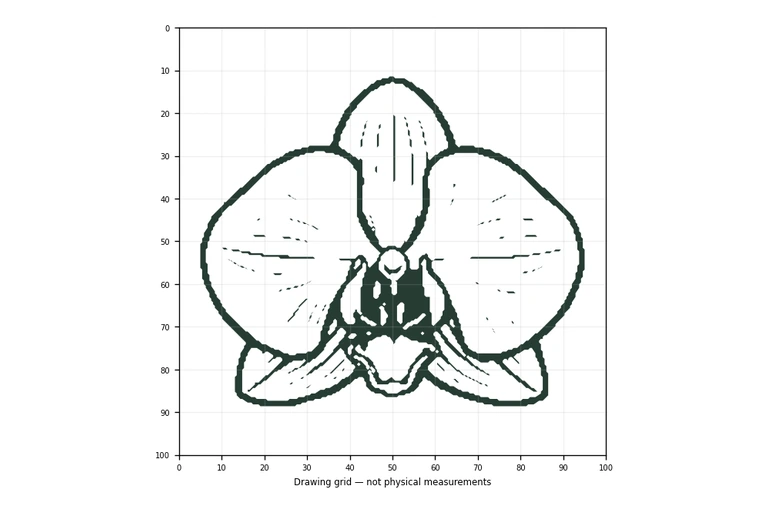
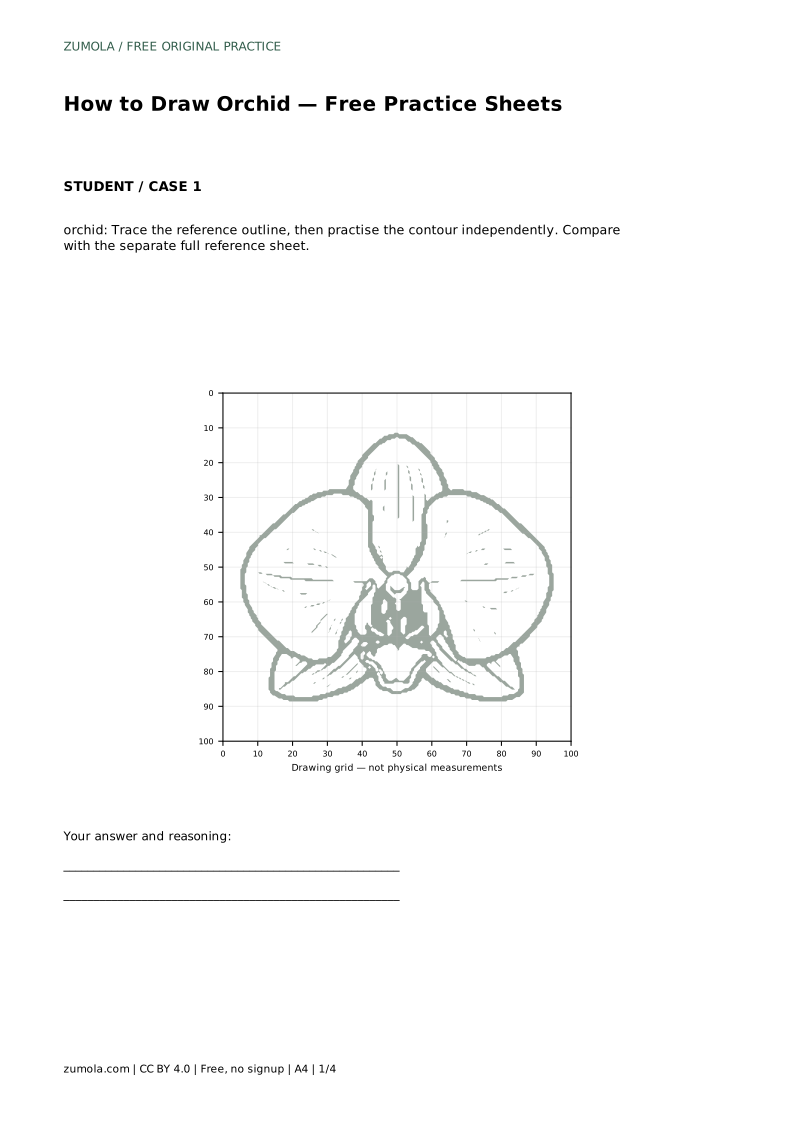
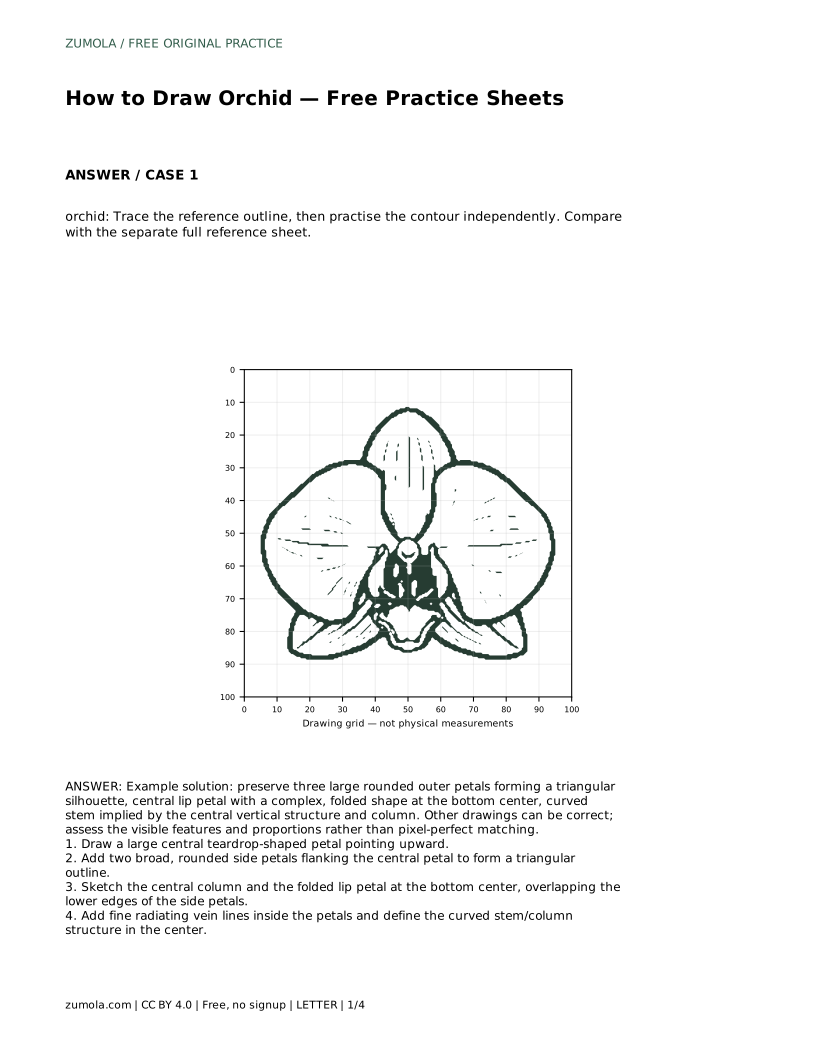
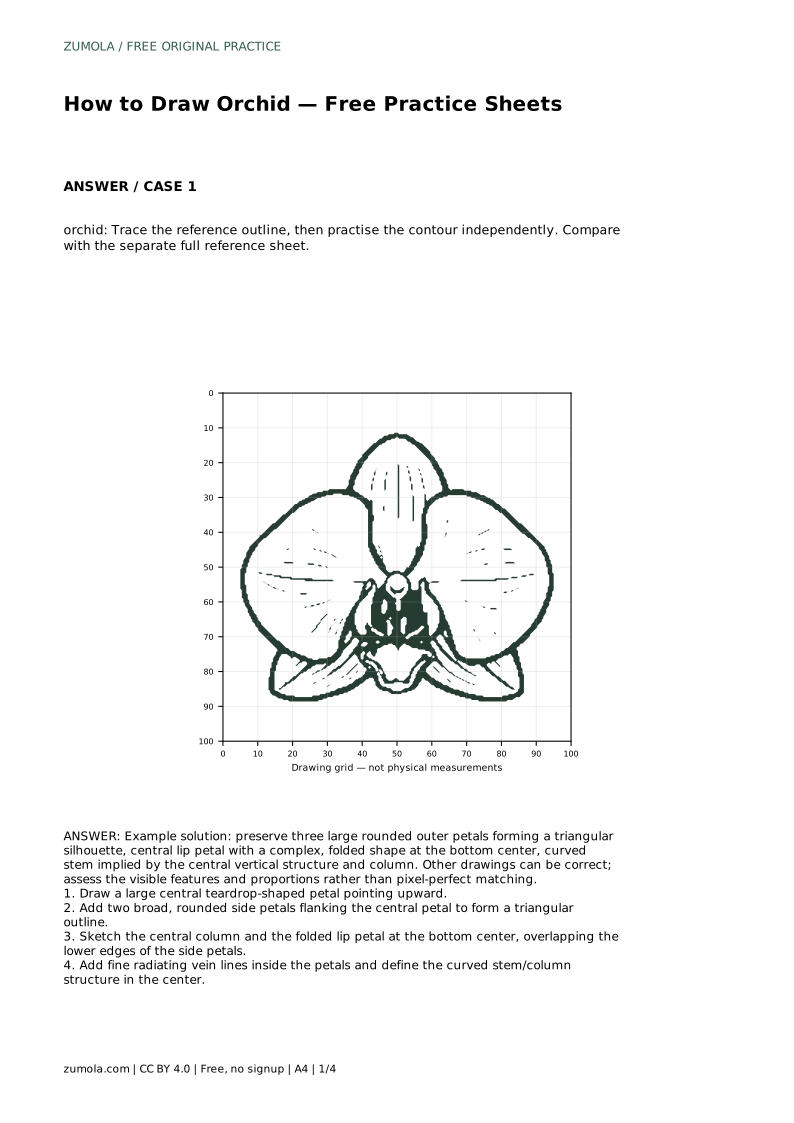
Orchids look complicated because several petals overlap near the center. A simple drawing approach separates the flower into a clear outer silhouette and a smaller set of central details. This page explains how to trace an orchid outline, then draw the same structure independently. The goal is not a pixel-perfect copy. Instead, check that the large petals, the folded lip, and the central column keep their relative positions and proportions.
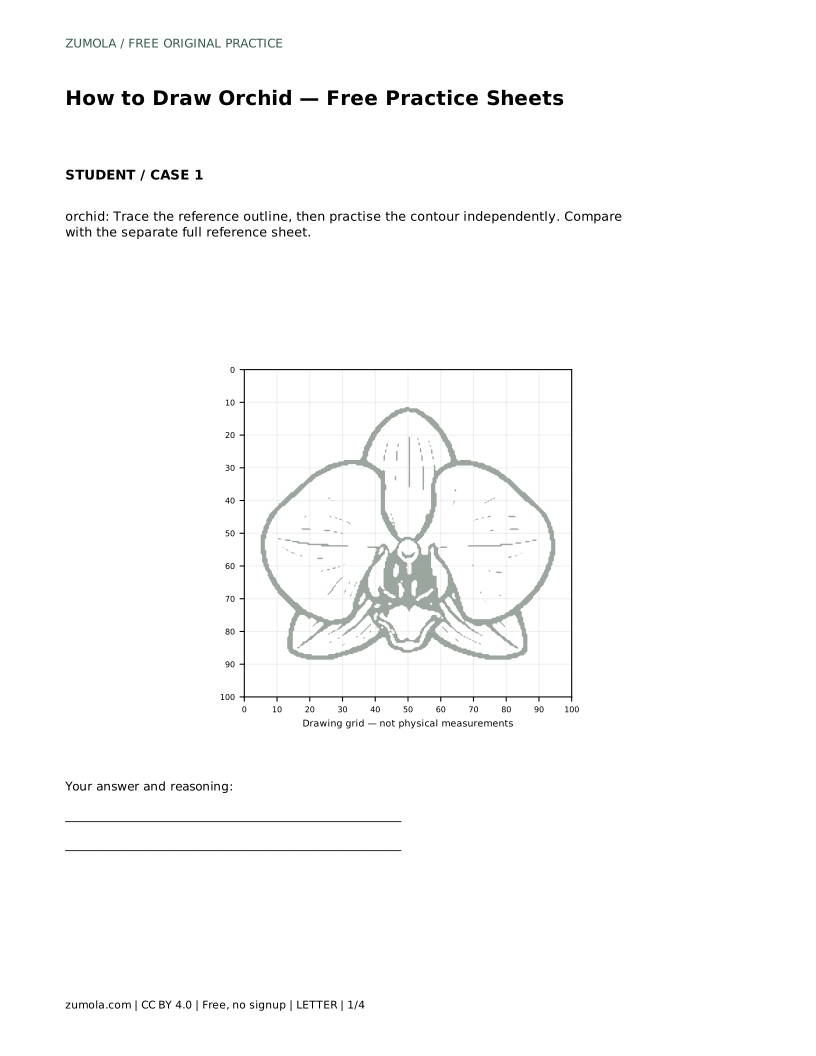
Begin by looking for the flower's overall shape rather than individual edges. A common orchid silhouette reads as a triangle: one large rounded petal points upward, and two broad side petals spread outward and slightly downward. Treat these three shapes as the main structure. Keep them large and rounded, and leave space between their tips so the outline stays open and readable.
Place the central column and lip before adding surface detail. The column is the narrow vertical structure at the center. The lip is the folded petal at the bottom center, and it usually overlaps the lower edges of the side petals. Getting this overlap right matters more than making every vein line identical.
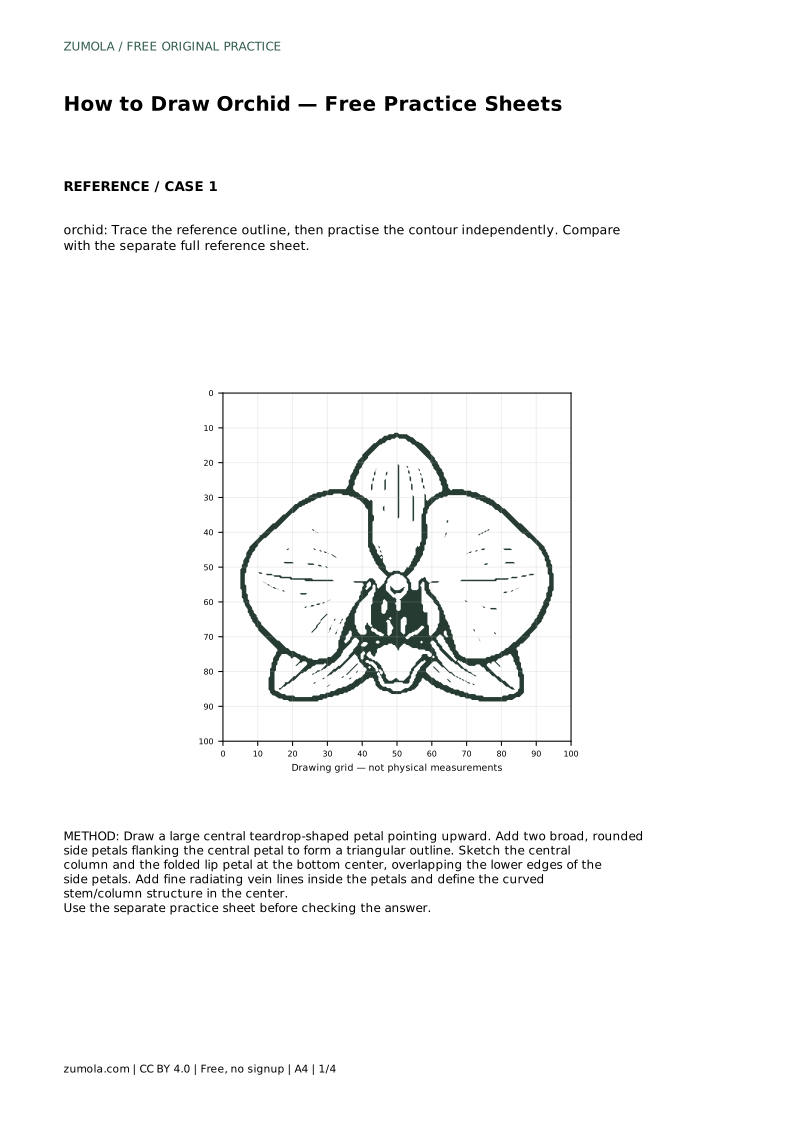
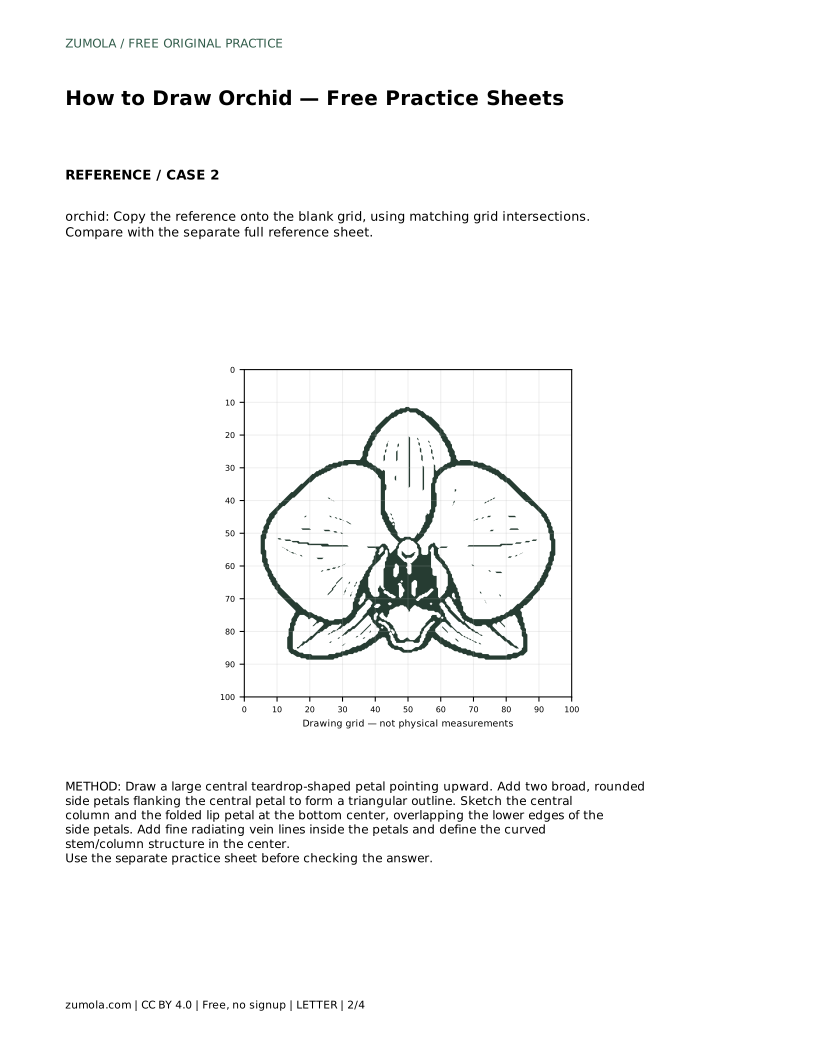
Tracing helps you feel where the contour changes direction. Follow the reference outline slowly, keeping your pencil on the outer edge of each petal. Do not fill in details while tracing the outline; finish the silhouette first. When the outline is complete, set the traced sheet aside and draw the same flower on blank paper.
Compare your independent drawing with a separate full reference sheet rather than with your traced copy. Check three things: whether the three outer petals still form a triangular silhouette, whether the lip sits at the bottom center, and whether the column remains central and vertical. Small differences in petal width or vein placement are acceptable.
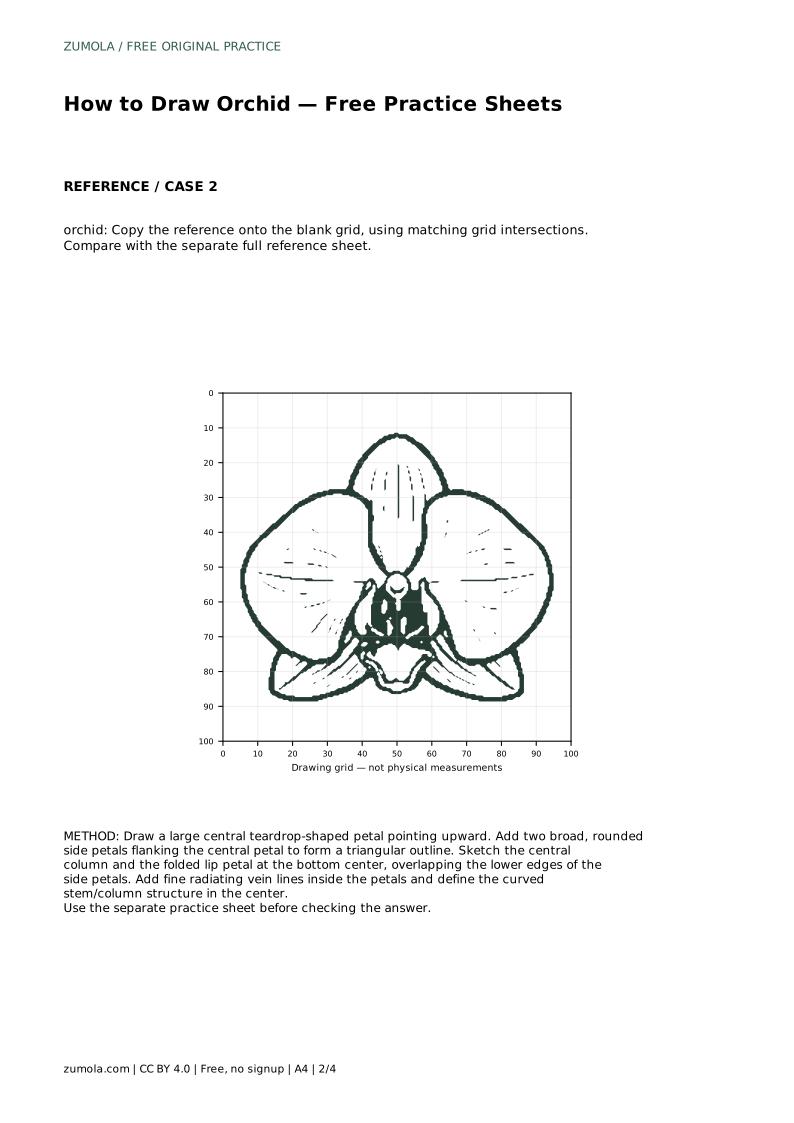
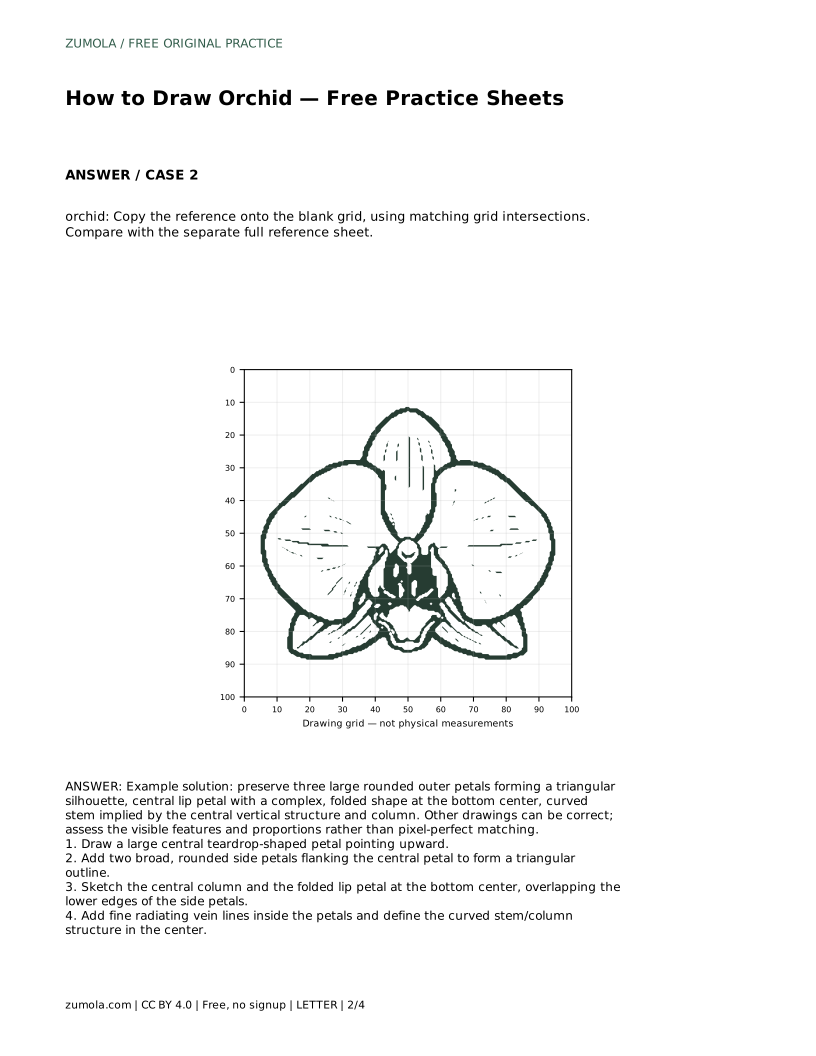
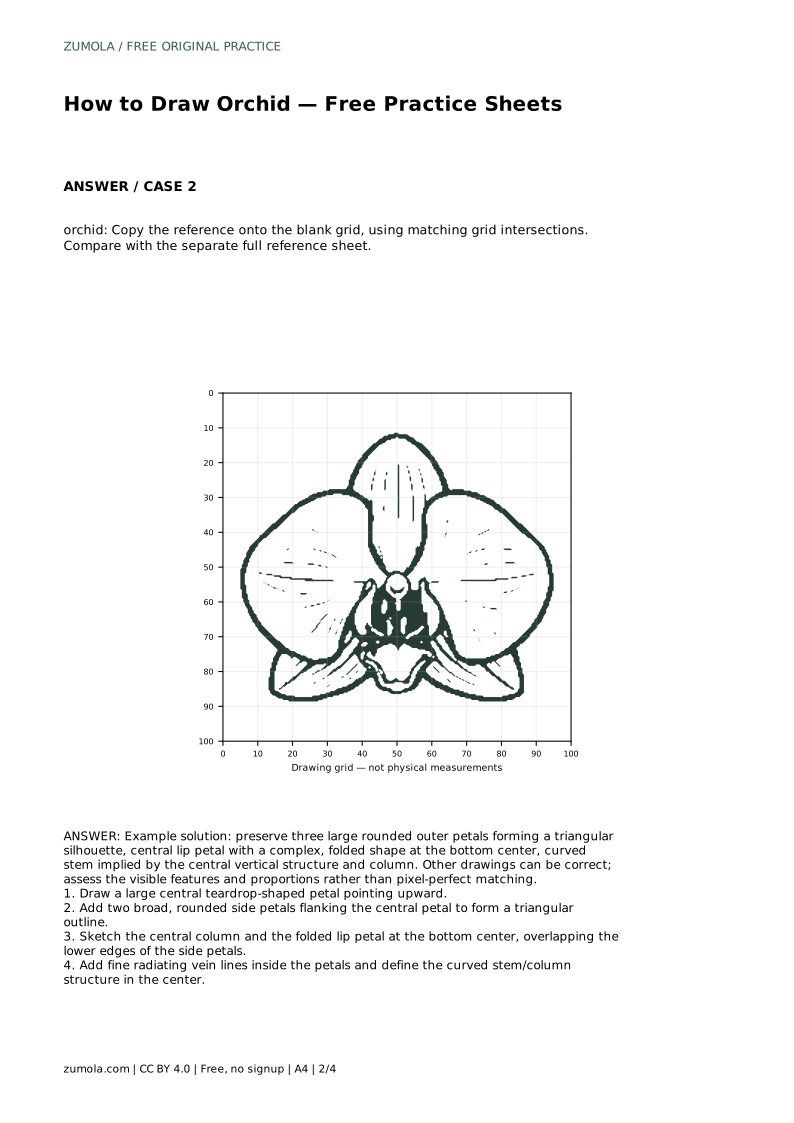
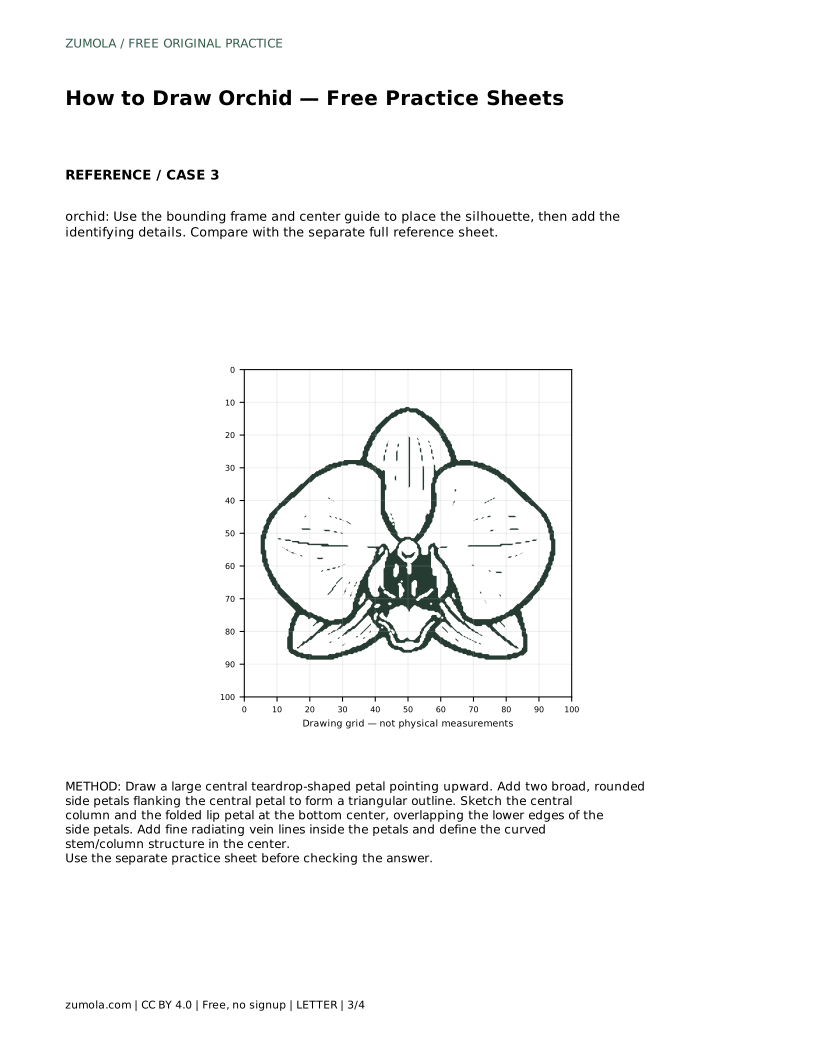
A grid helps you judge distance and alignment. Copy the reference onto the blank grid by matching where each petal tip and curve crosses grid intersections. Work one intersection at a time instead of trying to copy the whole flower at once. The grid is a placement tool, not a guarantee of an exact match.
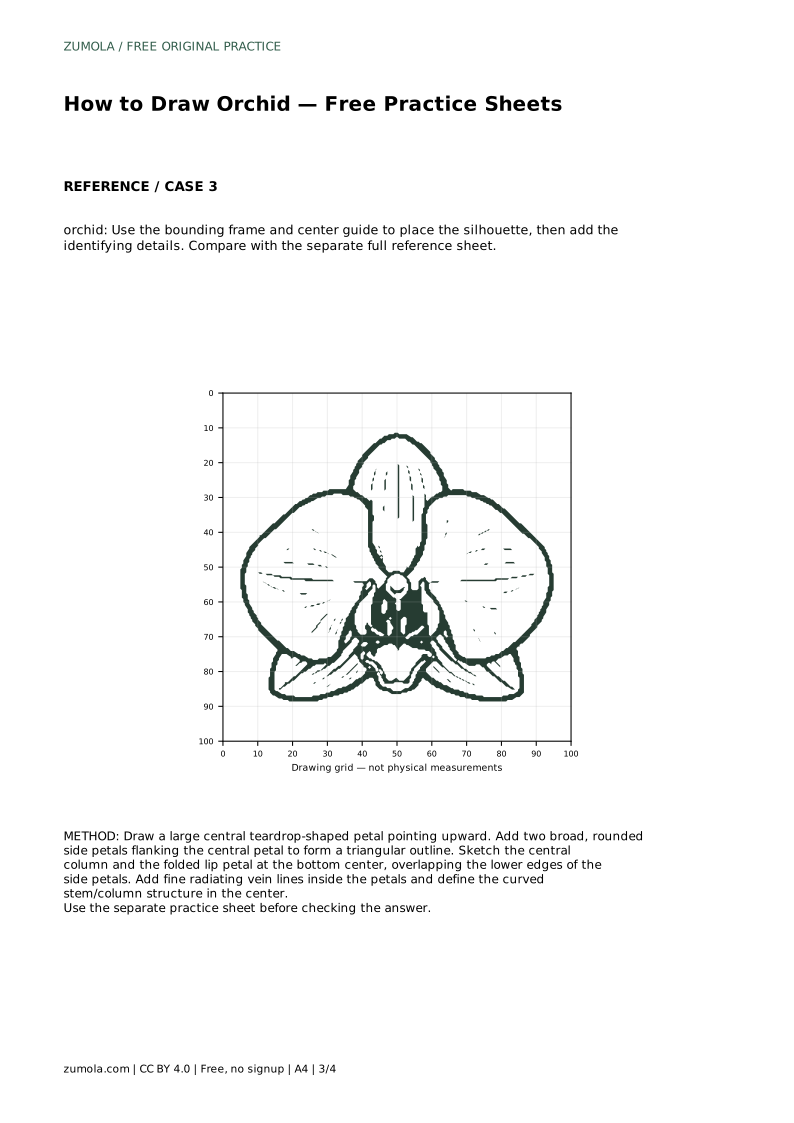
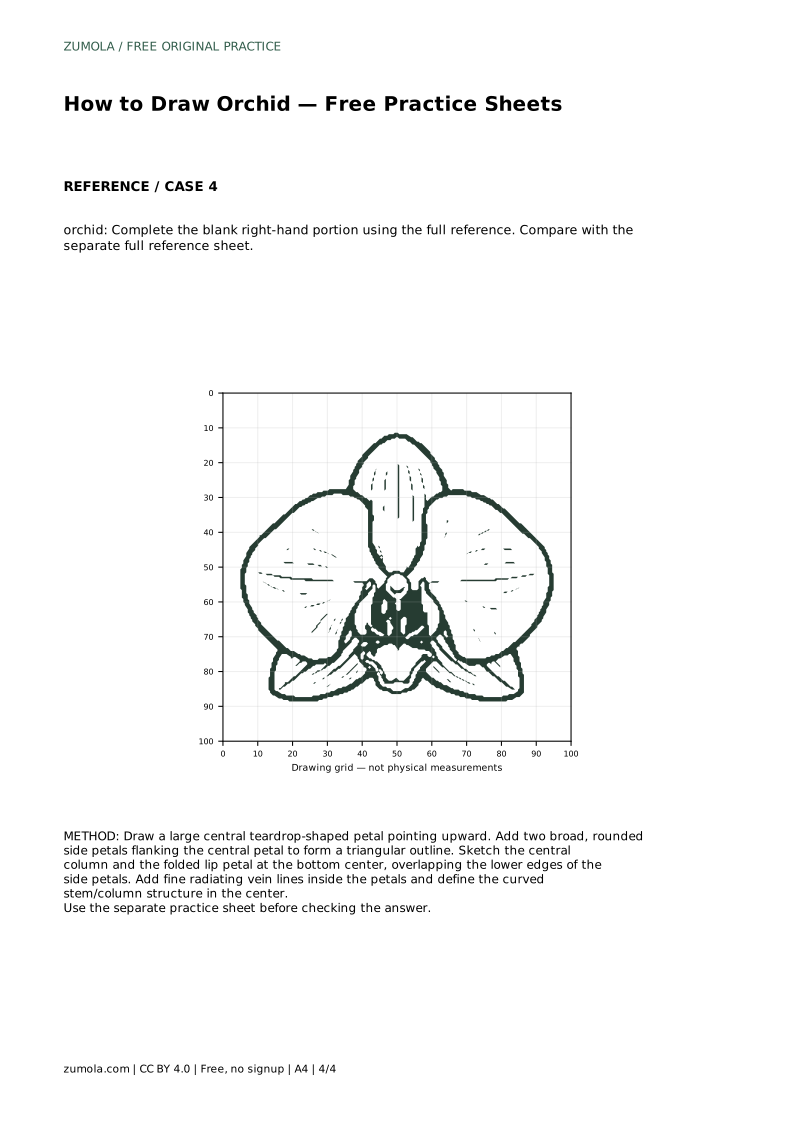
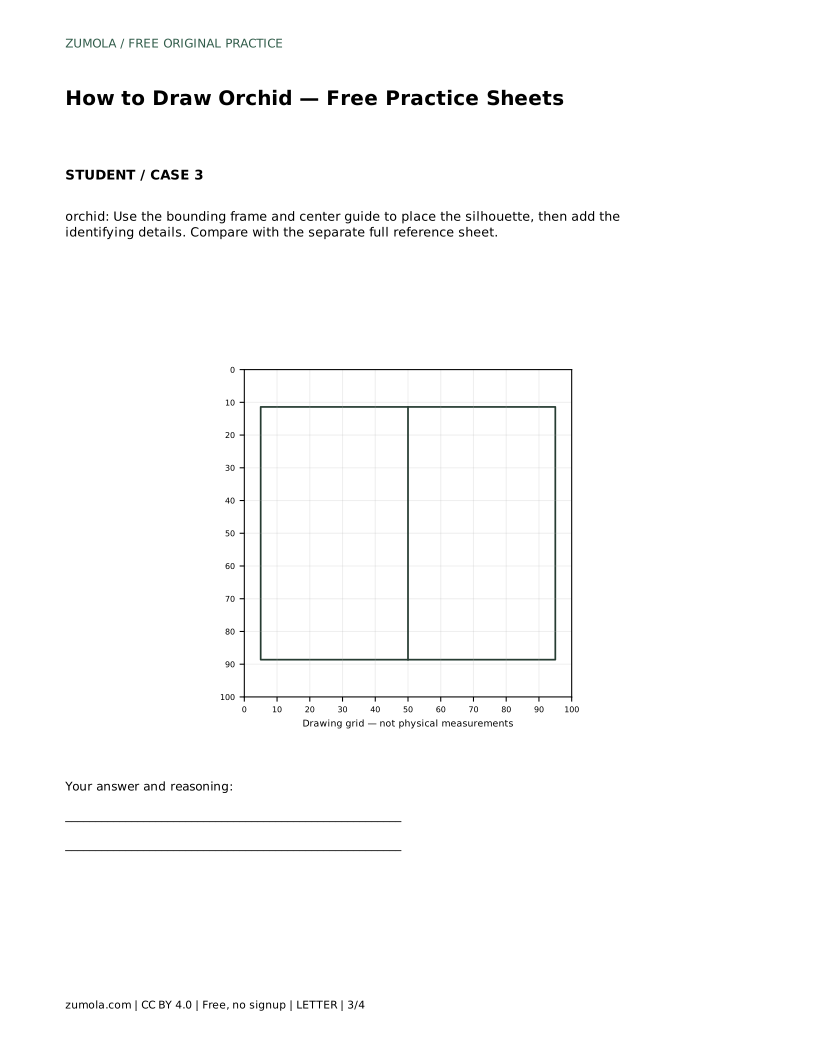
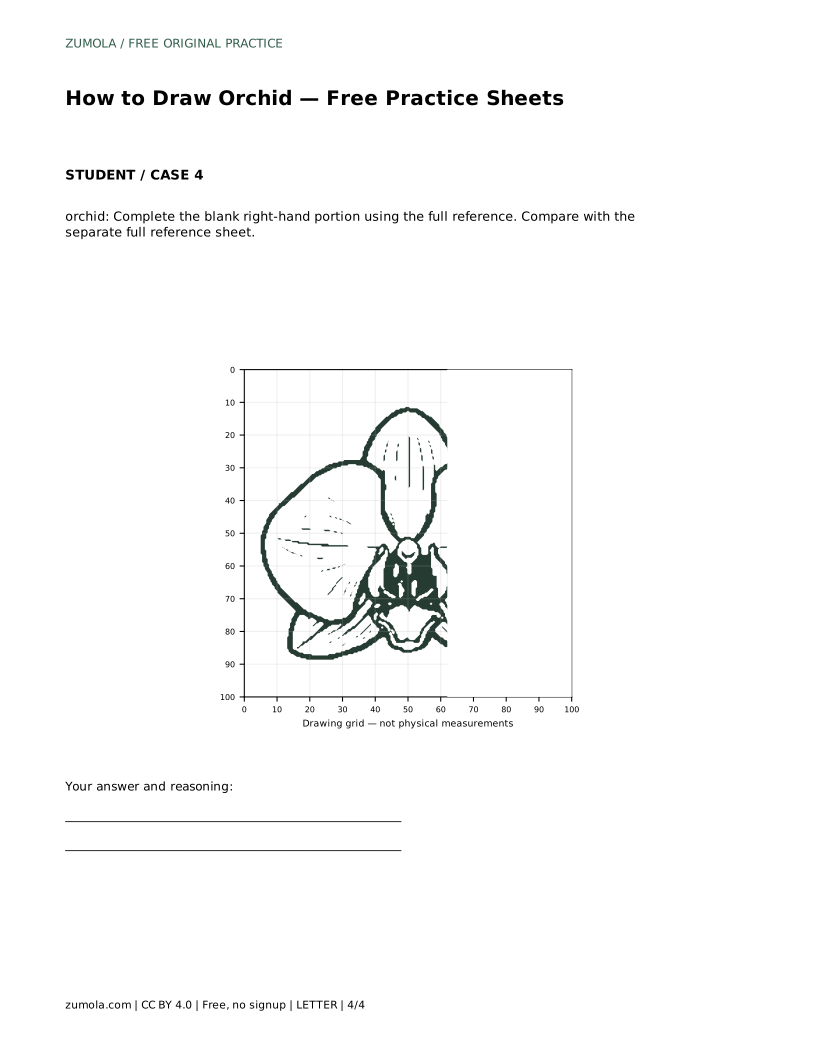
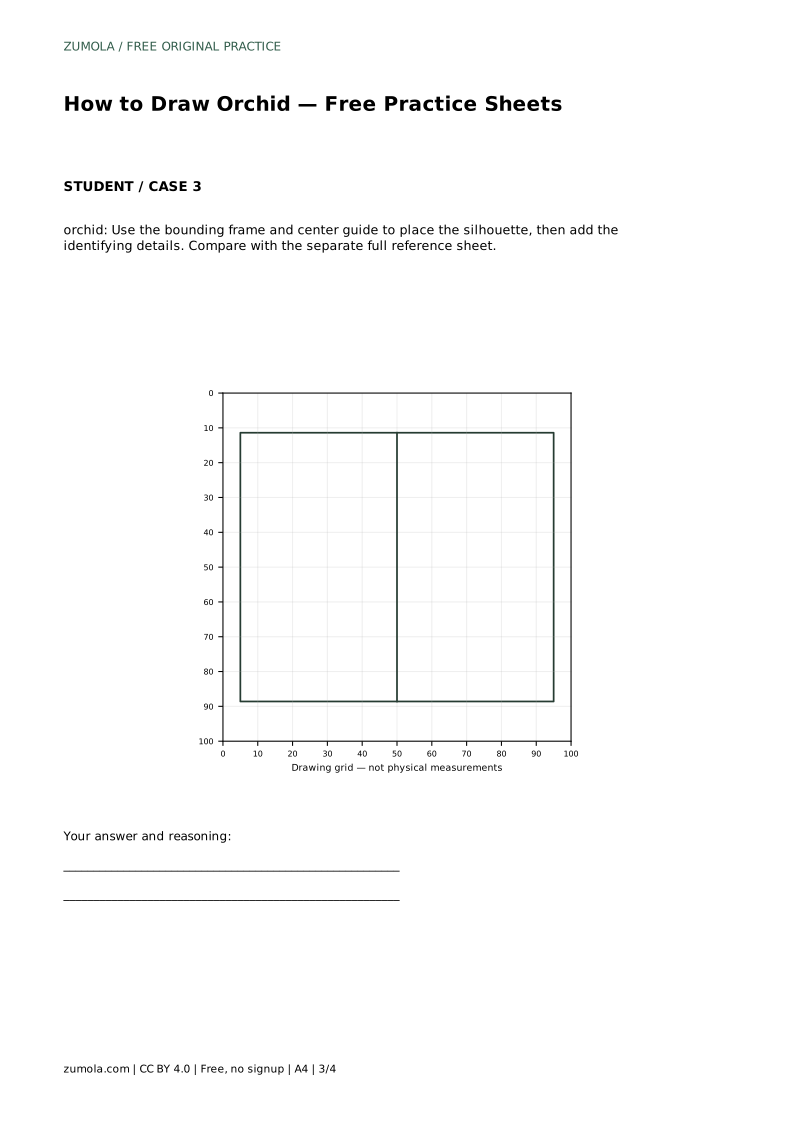
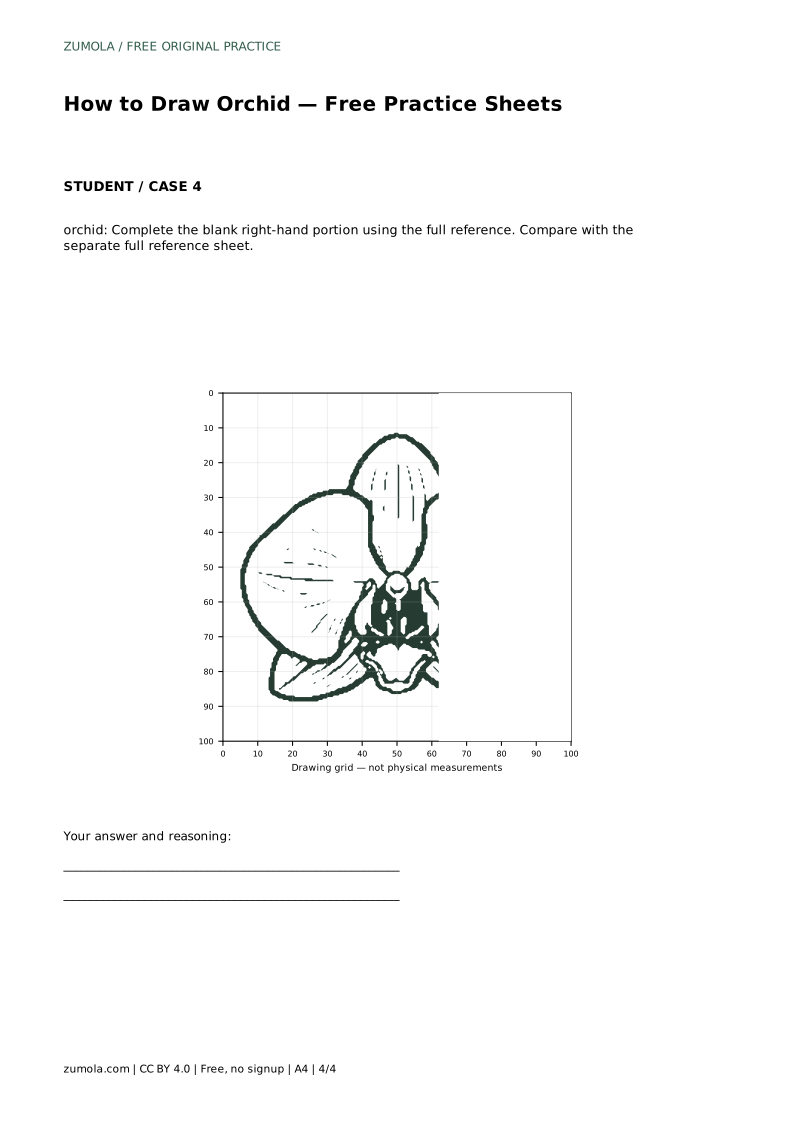
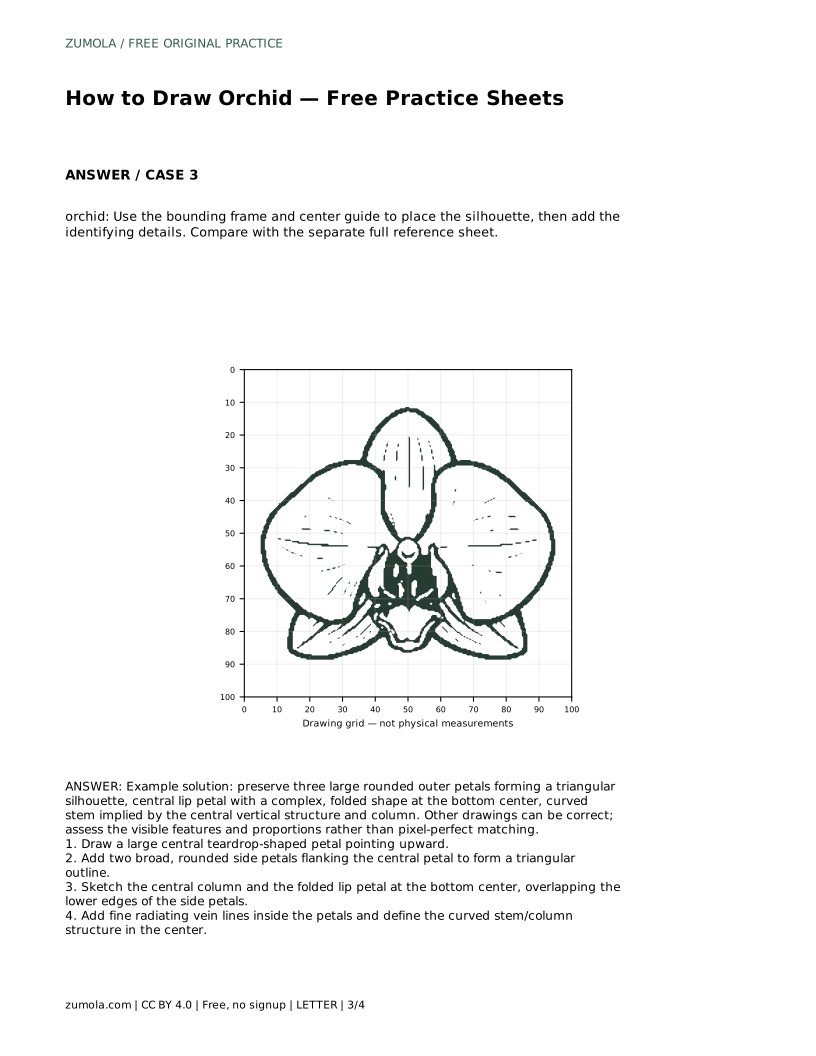
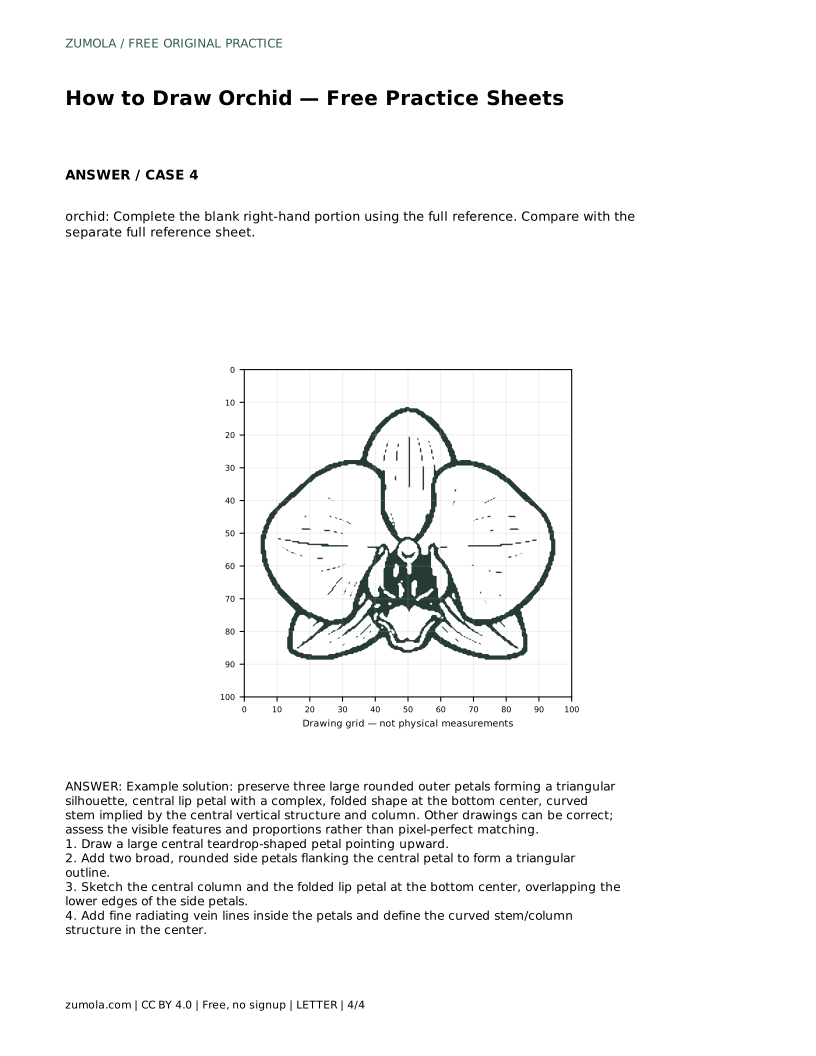
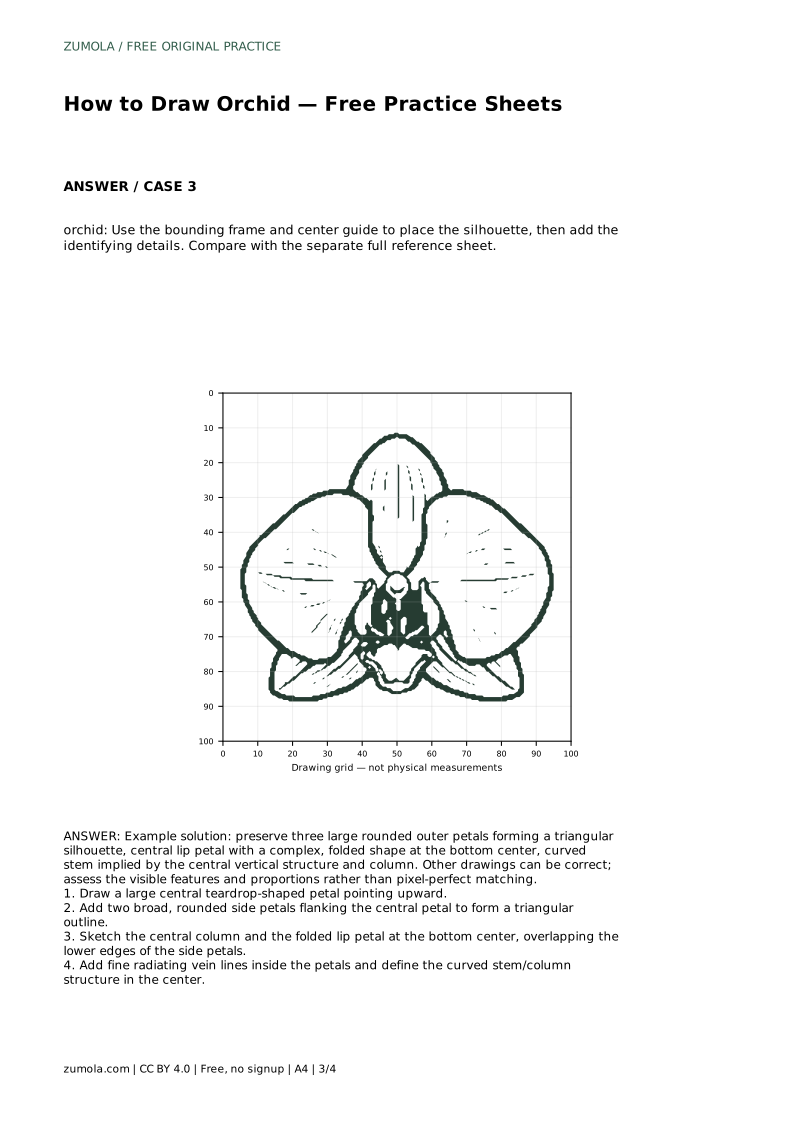
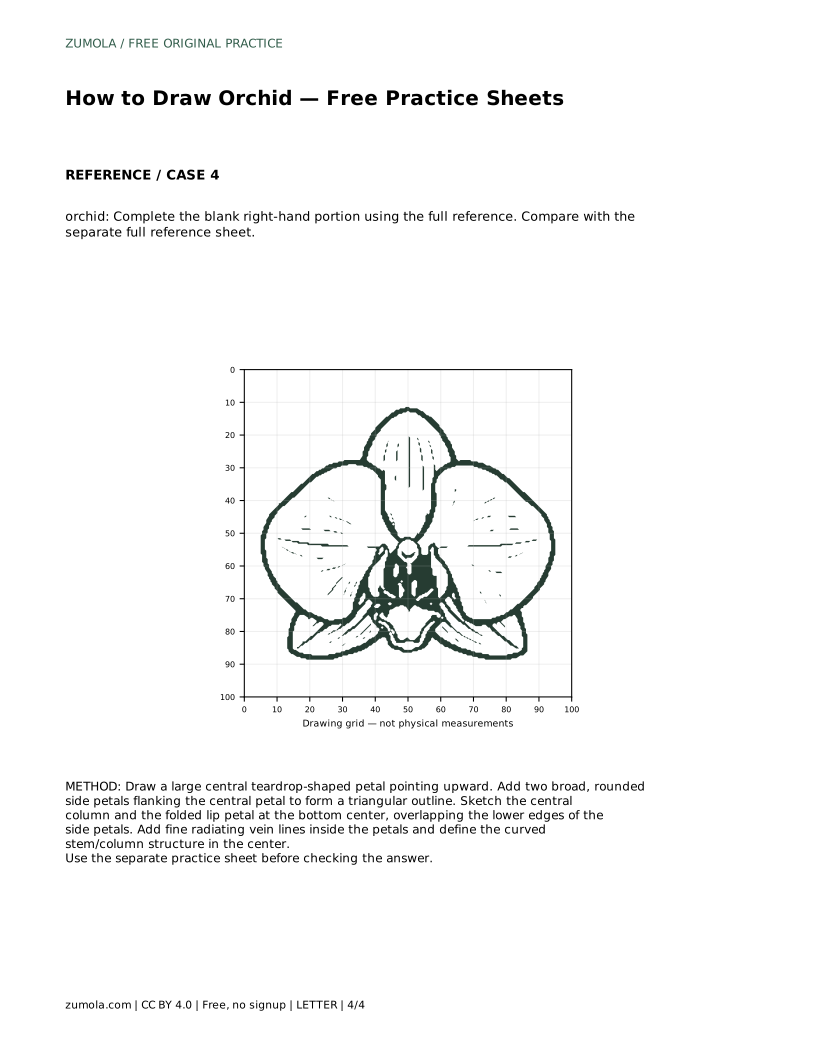
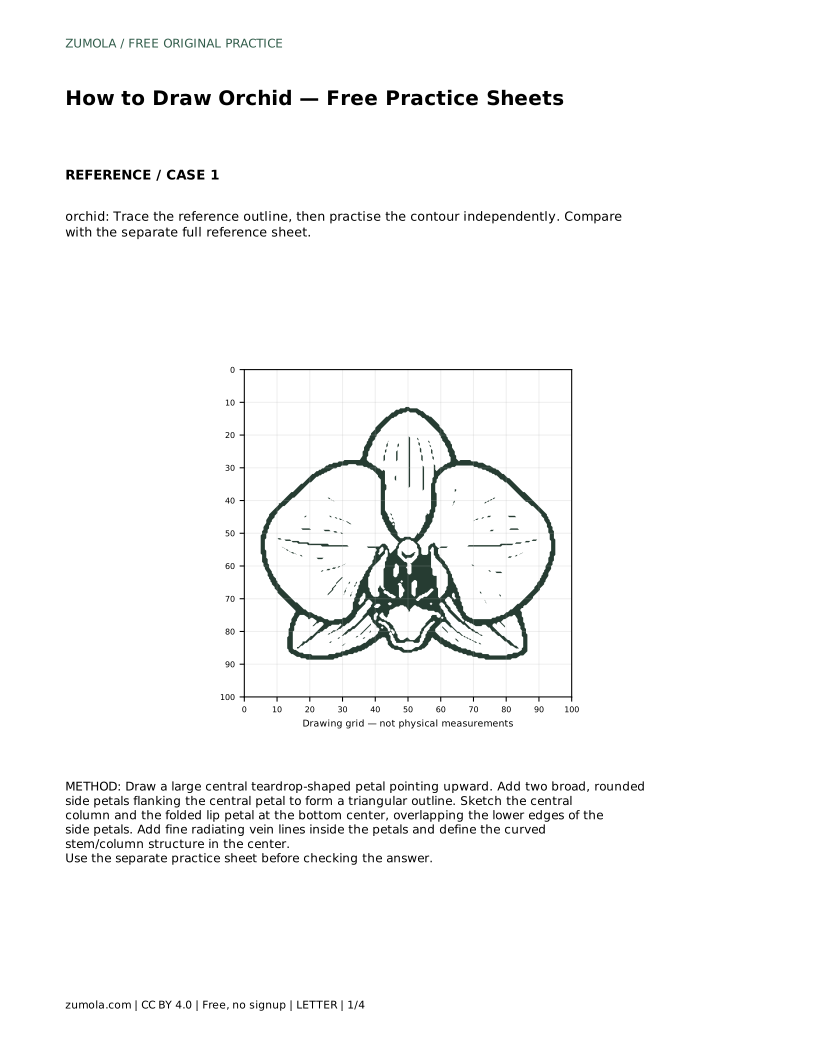
A bounding frame and center guide serve a similar purpose. Use the frame to set the outer limits of the flower and the center guide to keep the column and lip aligned. Place the silhouette first, then add the identifying details: the folded lip, the central column, and the fine radiating veins. If a practice sheet shows only part of the reference, complete the blank portion using the full reference sheet as your guide.
Most simple orchid drawings go wrong at the center, not at the outer edges. If the lip is too small, the flower looks flat. If the column drifts sideways, the flower loses its symmetry. Check these two features before drawing veins, because veins are the easiest detail to overwork.
Keep the stem and column structure curved and central. The stem should read as a supporting line rather than a straight pole. When you finish, step back and view the drawing from a short distance. The triangular silhouette and the bottom-center lip should still be visible at that distance.
orchid: Trace the reference outline, then practise the contour independently. Compare with the separate full reference sheet.
Example solution: preserve three large rounded outer petals forming a triangular silhouette, central lip petal with a complex, folded shape at the bottom center, curved stem implied by the central vertical structure and column. Other drawings can be correct; assess the visible features and proportions rather than pixel-perfect matching. Draw a large central teardrop-shaped petal pointing upward. Add two broad, rounded side petals flanking the central petal to form a triangular outline. Sketch the central column and the folded lip petal at the bottom center, overlapping the lower edges of the side petals. Add fine radiating vein lines inside the petals and define the curved stem/column structure in the center.
No. Several drawings can be correct. Assess the visible features and proportions, such as the triangular silhouette, the bottom-center lip, and the central column, rather than pixel-perfect matching.
Check the three large outer petals and the triangular silhouette. Then check that the folded lip sits at the bottom center and the column stays central.
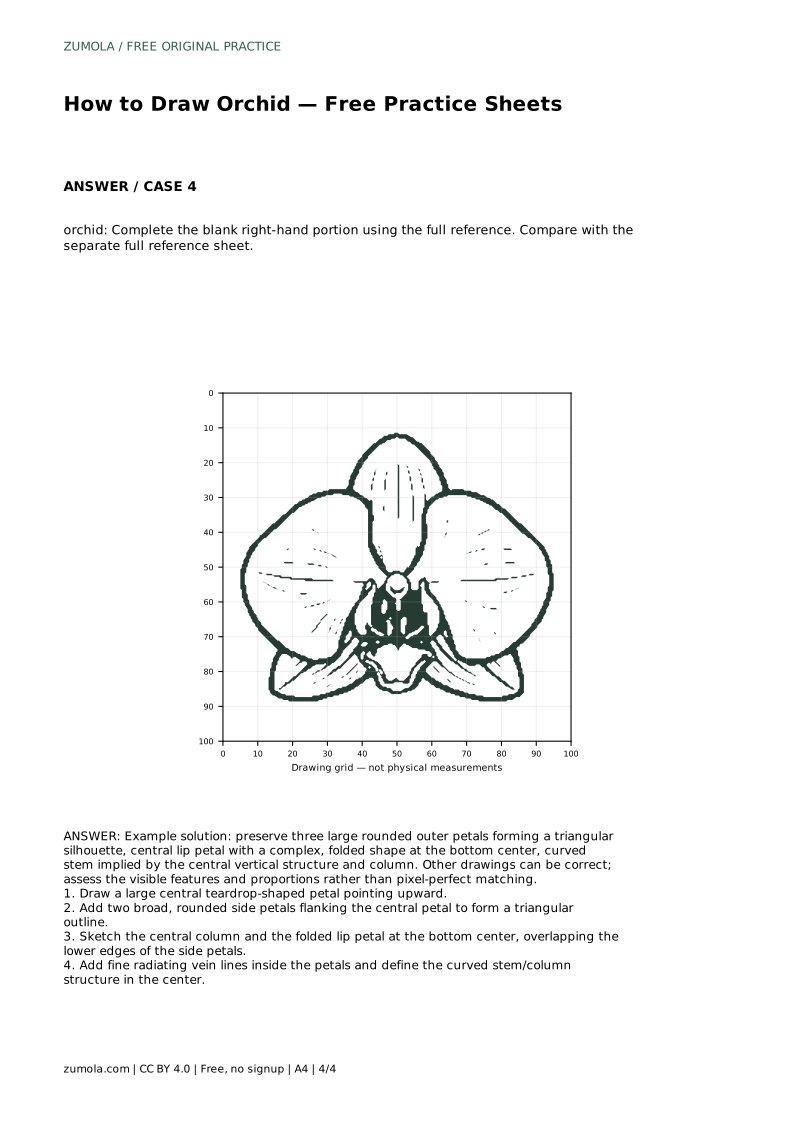
Complete the blank portion using the full reference sheet. Match the petal tips and curves to the visible portion so the finished silhouette stays consistent.
All drawing practice · Free coordinate paper
Original resources · CC BY 4.0 · Free for personal and classroom use with attribution.