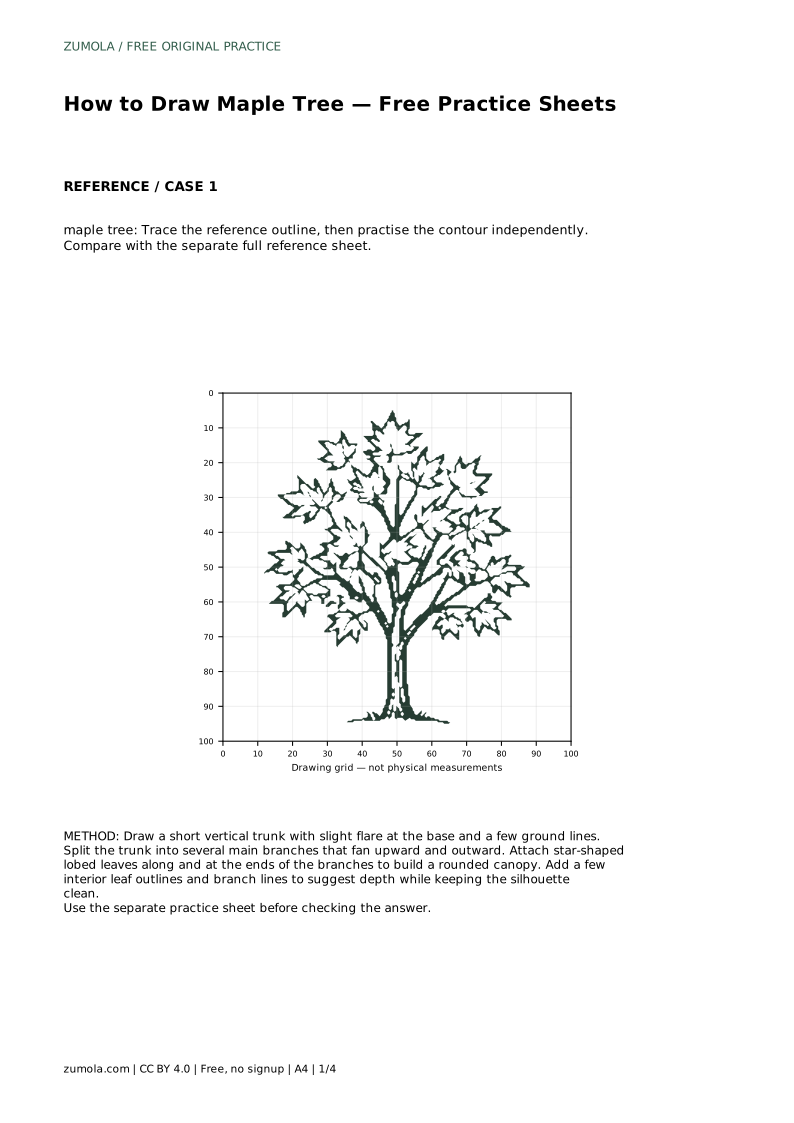
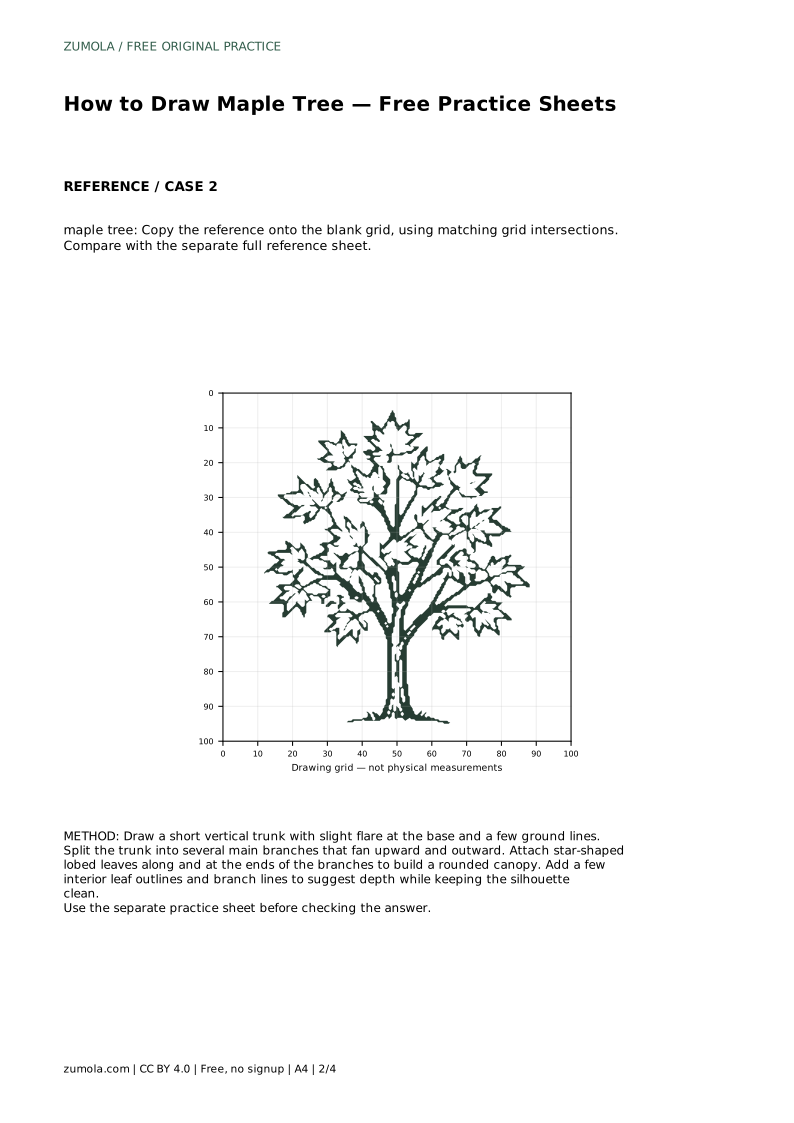
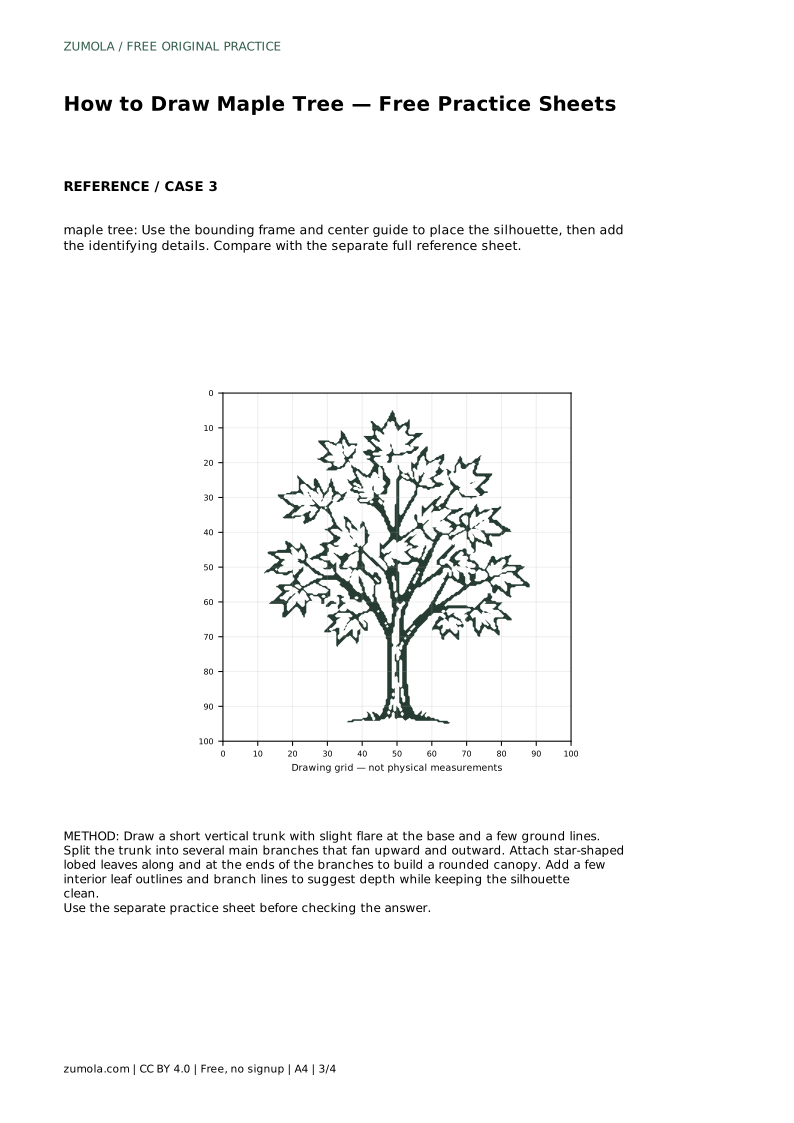
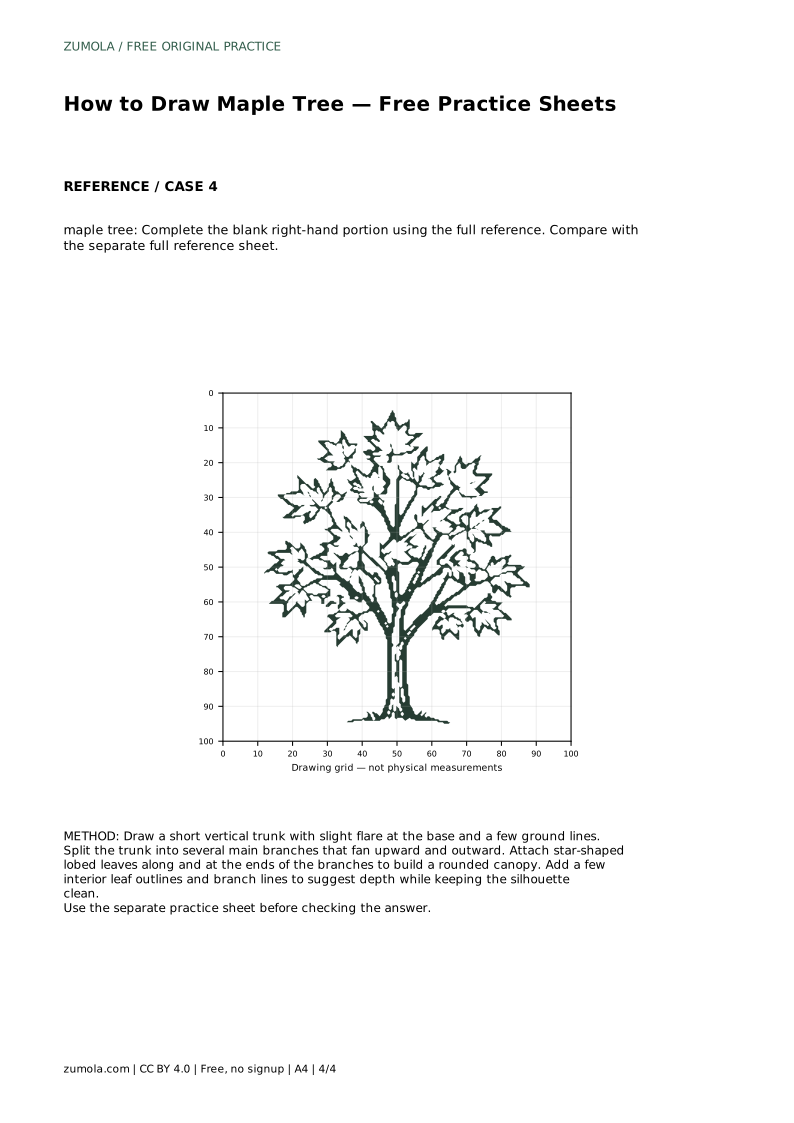
Reference diagrams
LETTER · Download PDF
A4 · Download PDF
Free original resources
Learn to draw a maple tree with a flared trunk, upward-fanning branches, and star-shaped lobed leaves. Trace, grid, and complete-the-drawing practice included.
Four original cases, with reference diagrams, practice sheets and worked answers. Everything is free; no signup required.
LETTER · Download PDF
A4 · Download PDF
LETTER · Download PDF
A4 · Download PDF
LETTER · Download PDF
A4 · Download PDF
Use A4 or US Letter to match your printer. Use the stated values and conditions to solve each exercise; diagrams are not physical measuring rulers.
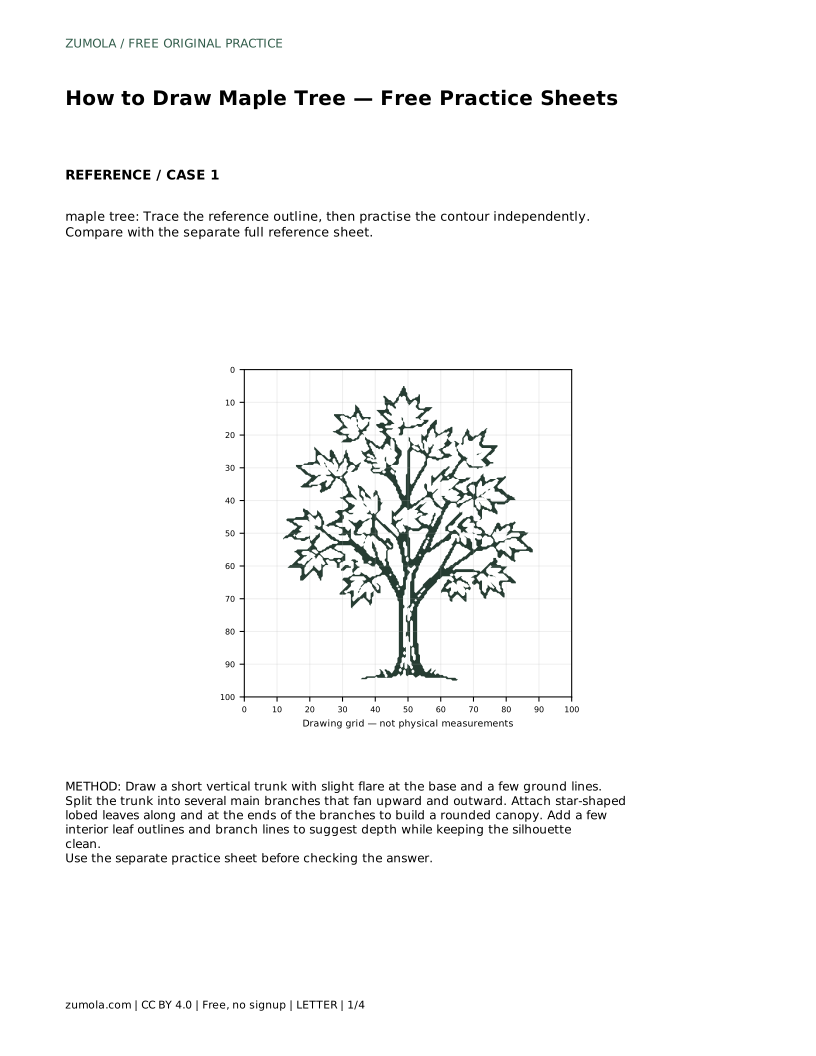
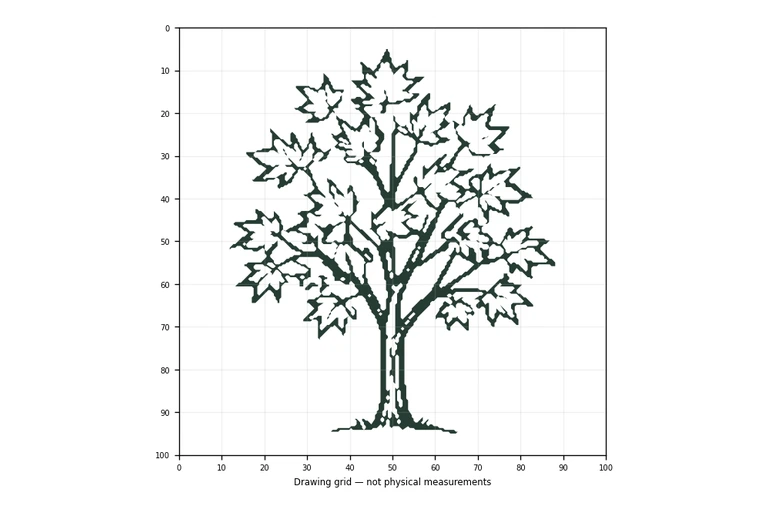
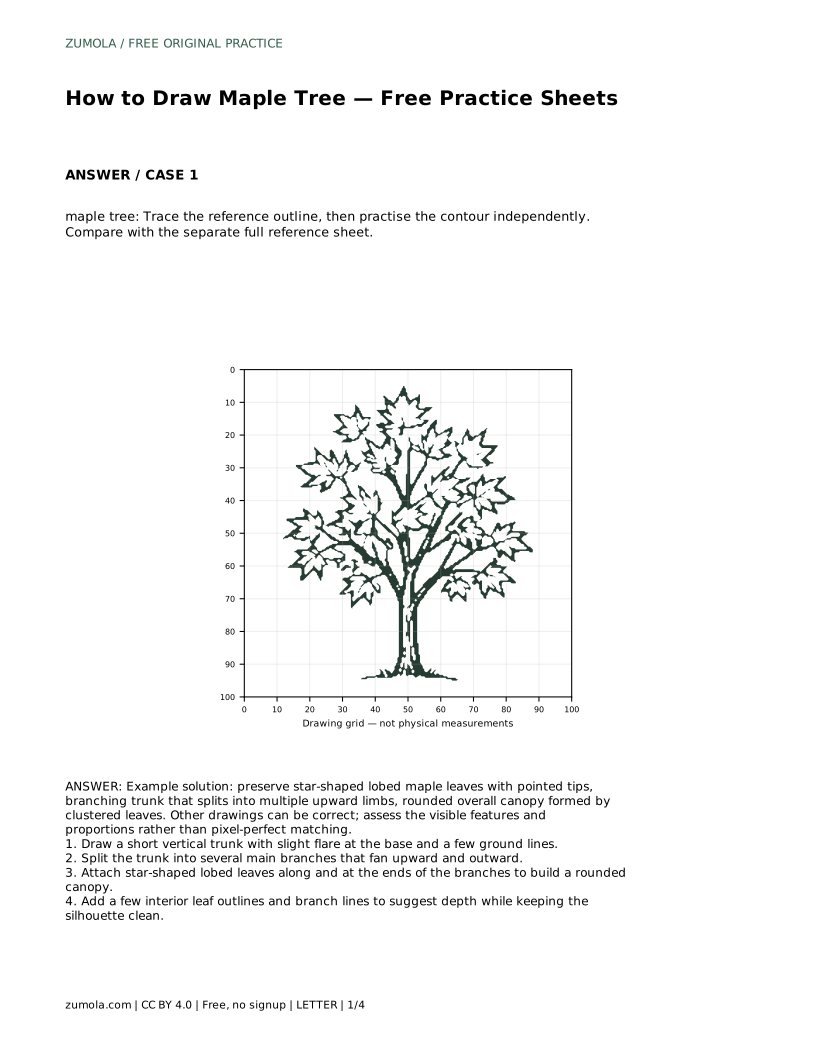
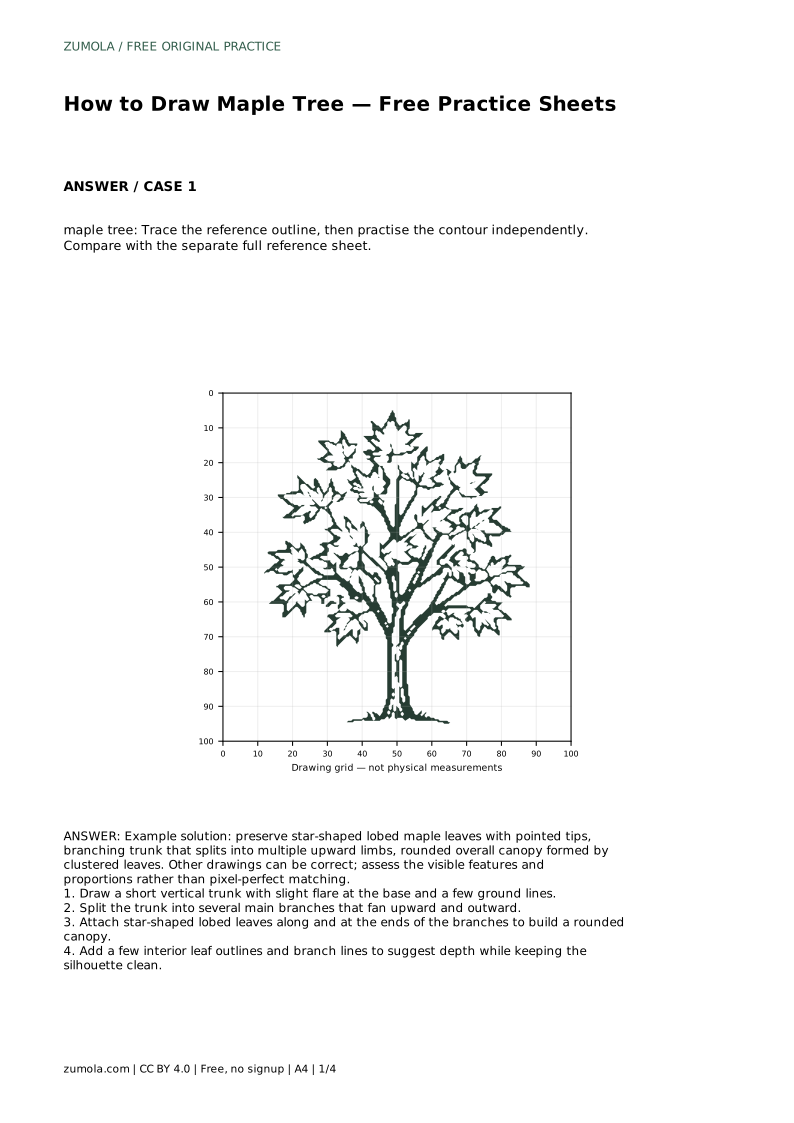
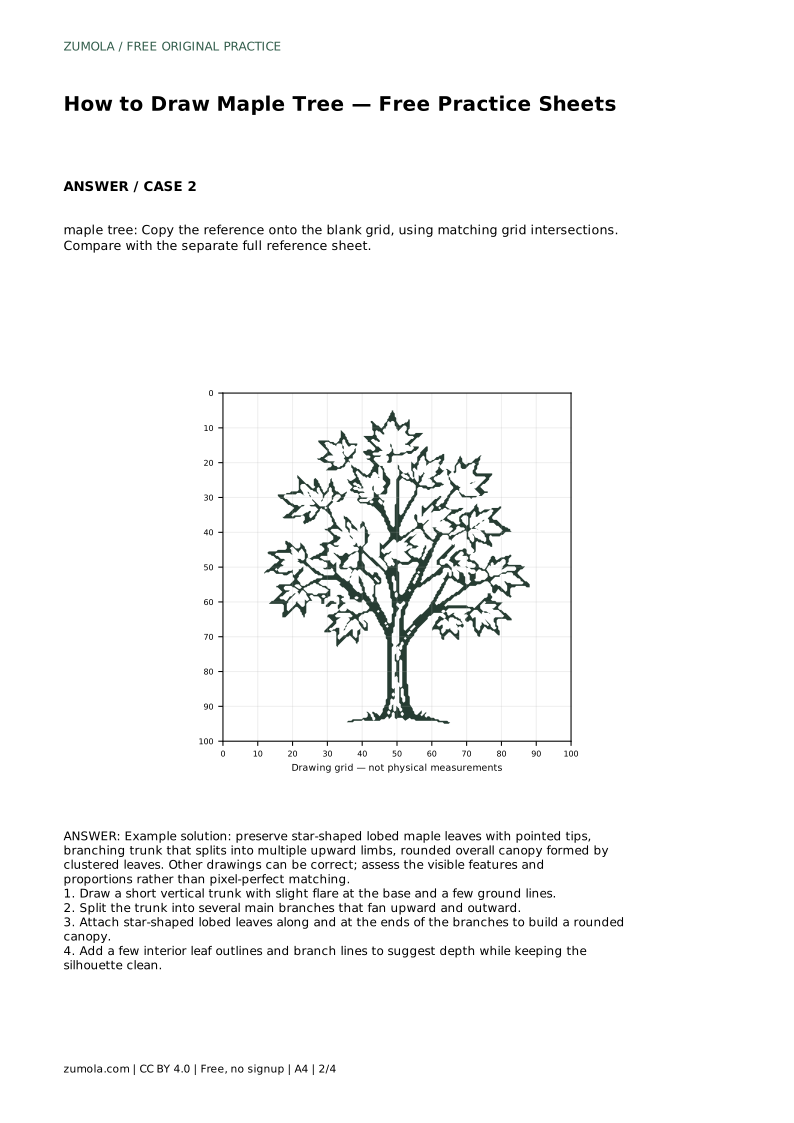
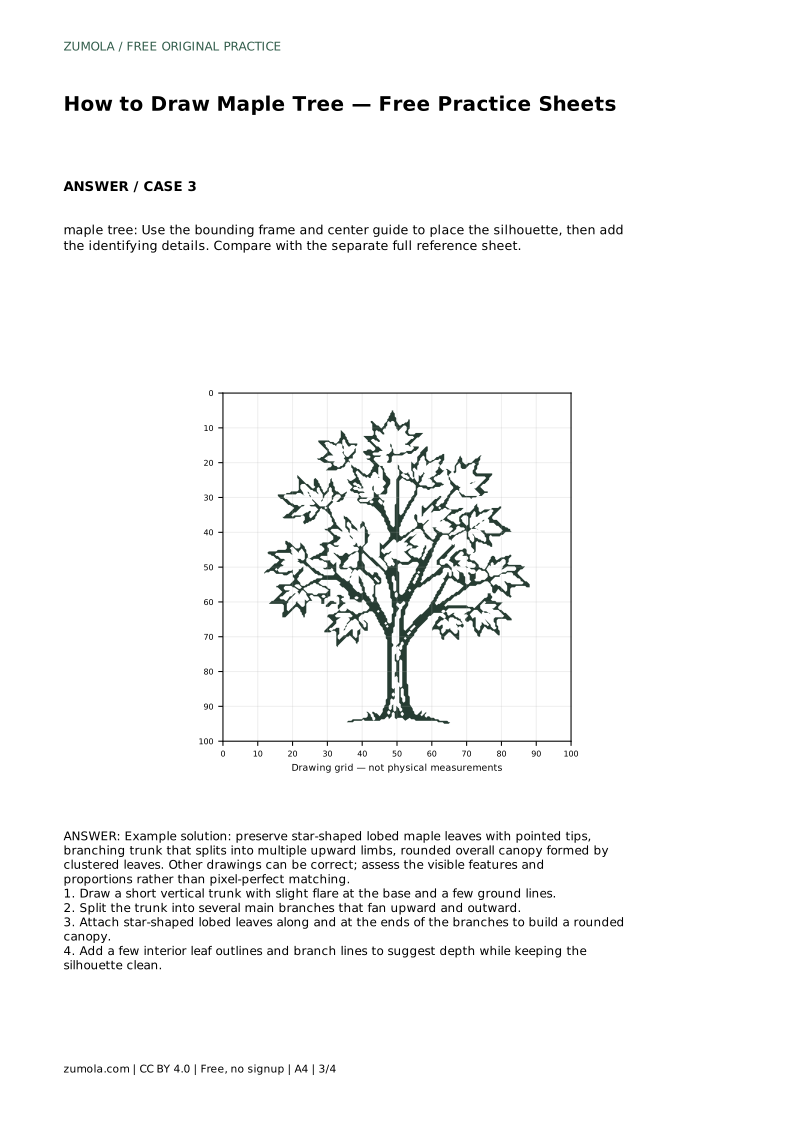
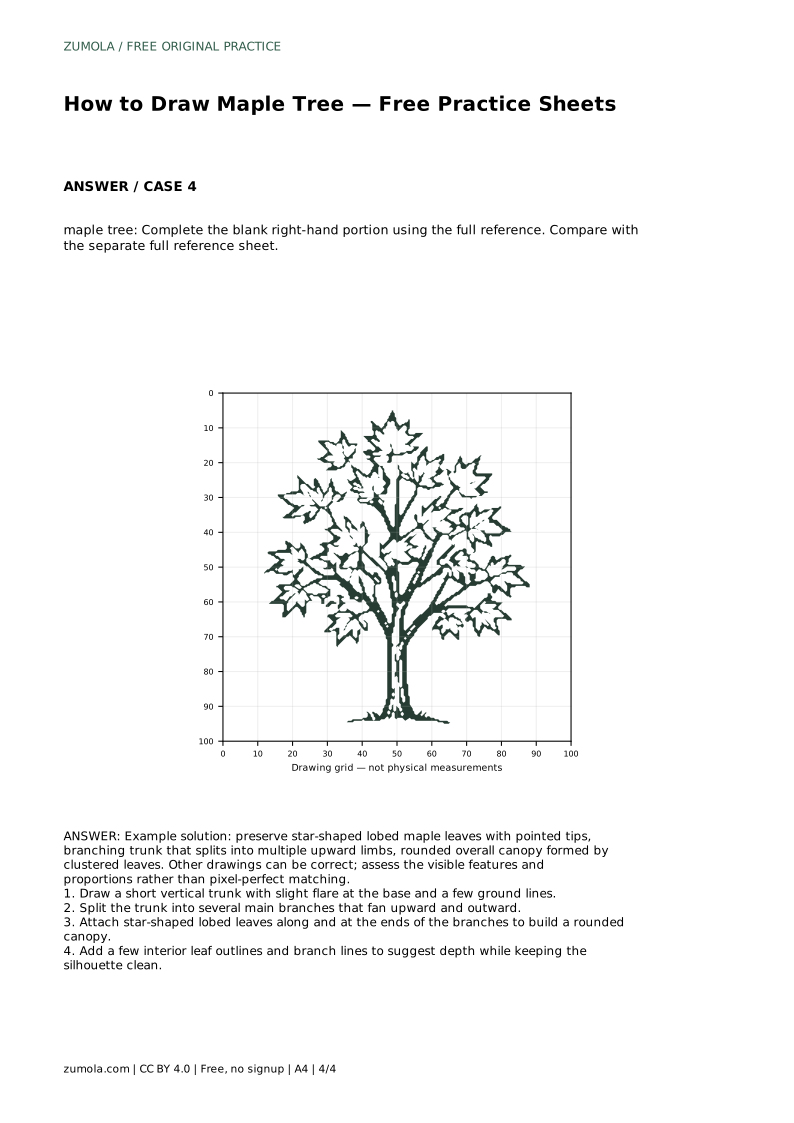
Drawing a maple tree is mostly about two things: a trunk that splits into several upward limbs, and a rounded canopy built from star-shaped leaves with pointed tips. This page explains those features step by step, then shows how to use tracing, grid, and partial-outline practice sheets to build the same drawing independently. The goal is a clear, recognizable maple silhouette, not a pixel-perfect copy.
Begin with a short vertical trunk. Give it a slight flare where it meets the ground, then add a few simple ground lines so the tree looks planted rather than floating. Keep the trunk narrow relative to the canopy; a maple's character comes mostly from its branching and leaves.
From the top of the trunk, split into several main branches that fan upward and outward. Spread them so the tree does not lean to one side. Each main branch can divide once more into smaller limbs. Draw these lines lightly at first, because leaves will cover much of the structure later.
Maple leaves are the identifying feature, so draw them as star-shaped outlines with several pointed lobes rather than as simple ovals. Attach leaves along the branches and cluster them at the branch ends to form a rounded overall canopy. Vary leaf size slightly so the tree looks natural.
Keep the outer silhouette clean. Add a few interior leaf outlines and short branch lines to suggest depth, but avoid filling every gap. A tidy outline reads more clearly than a crowded one.
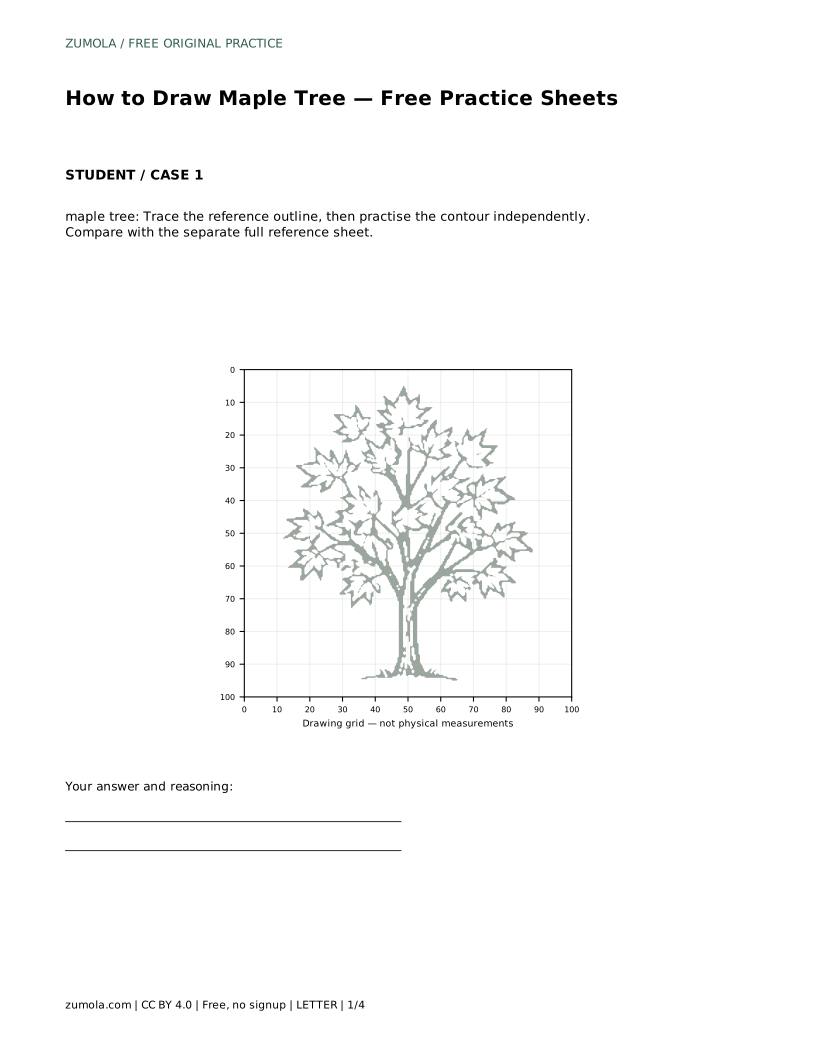
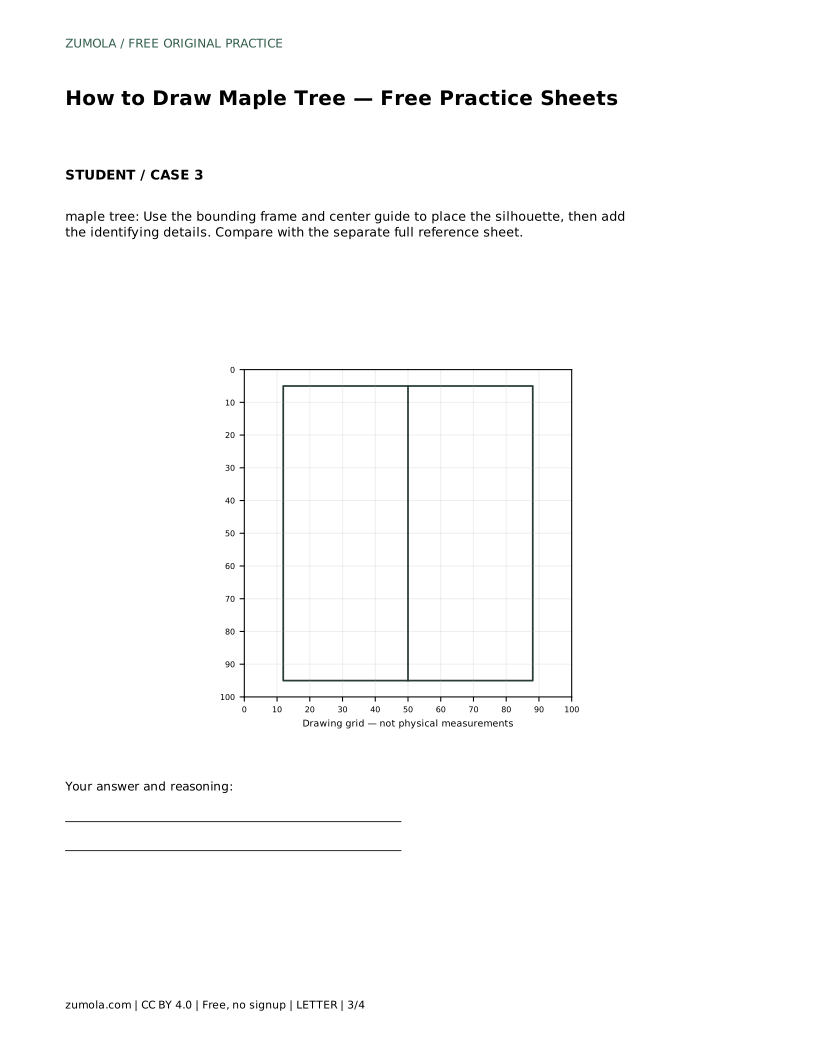
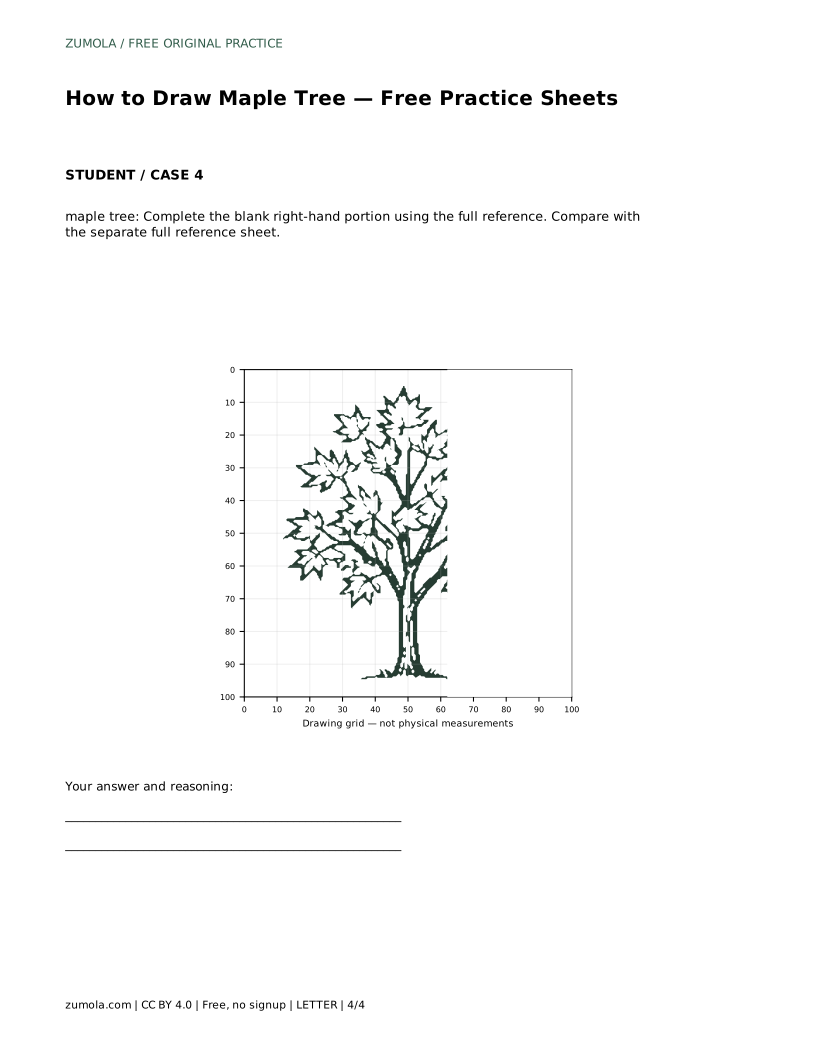
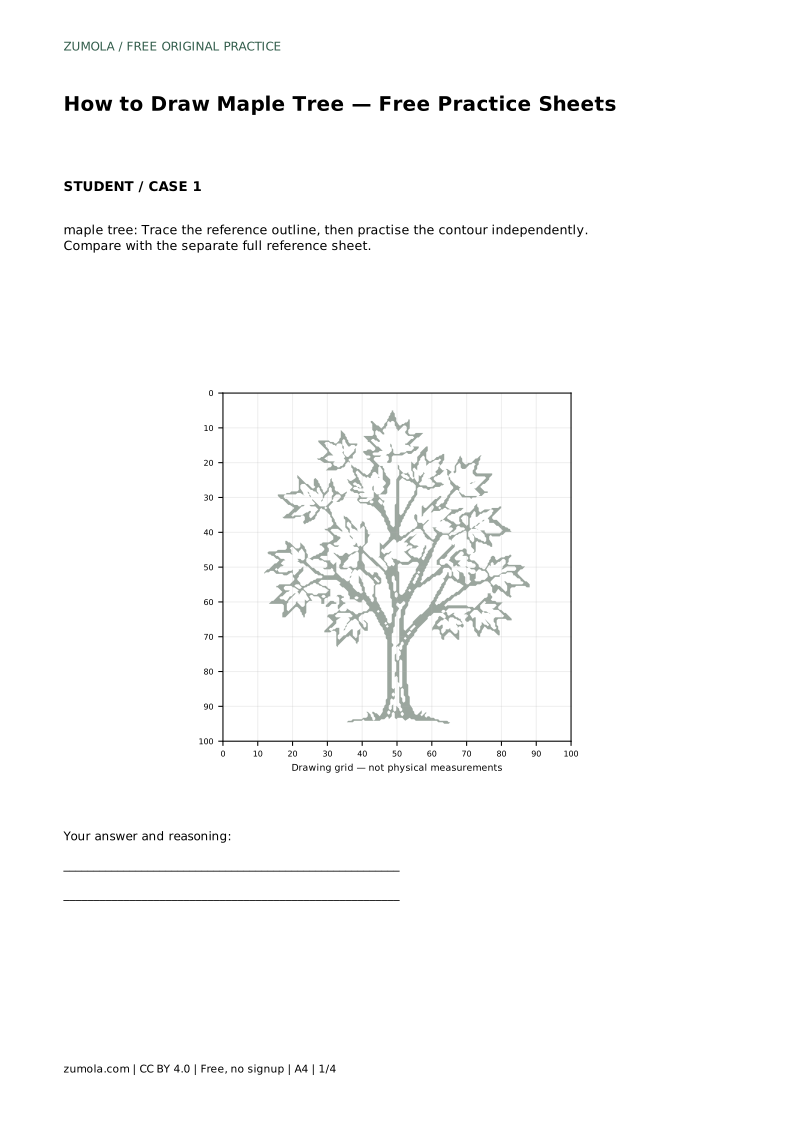
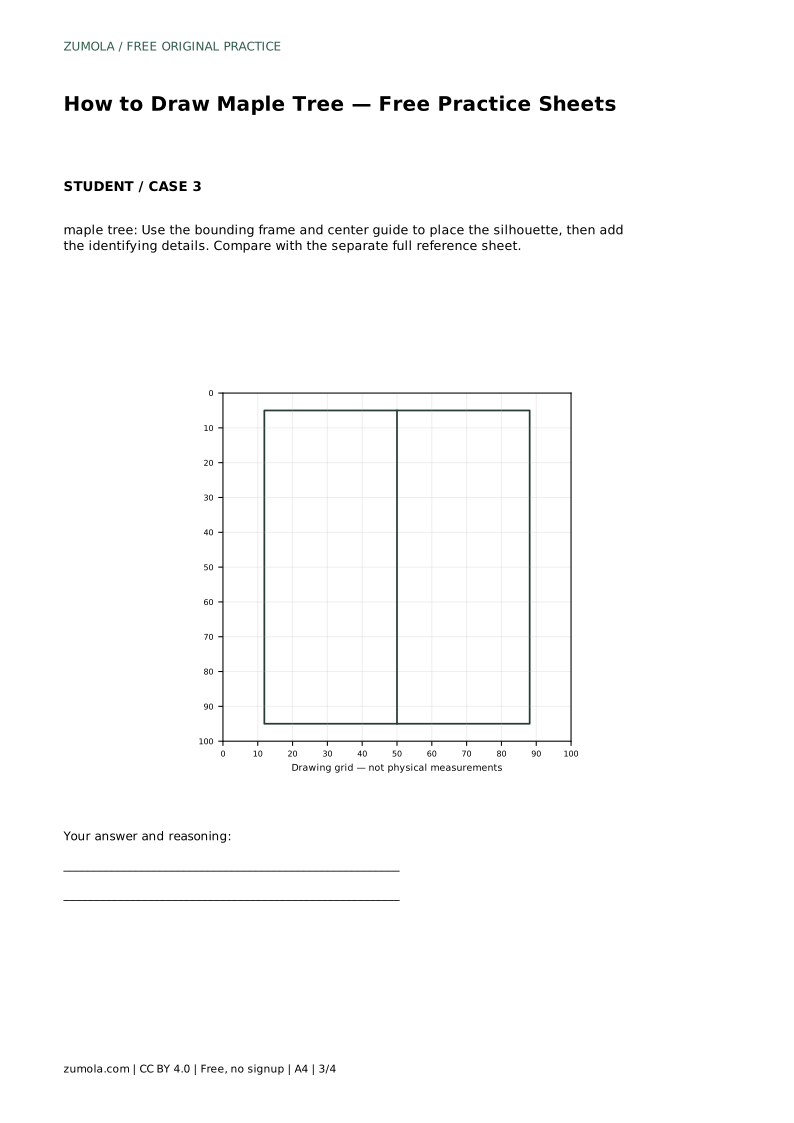
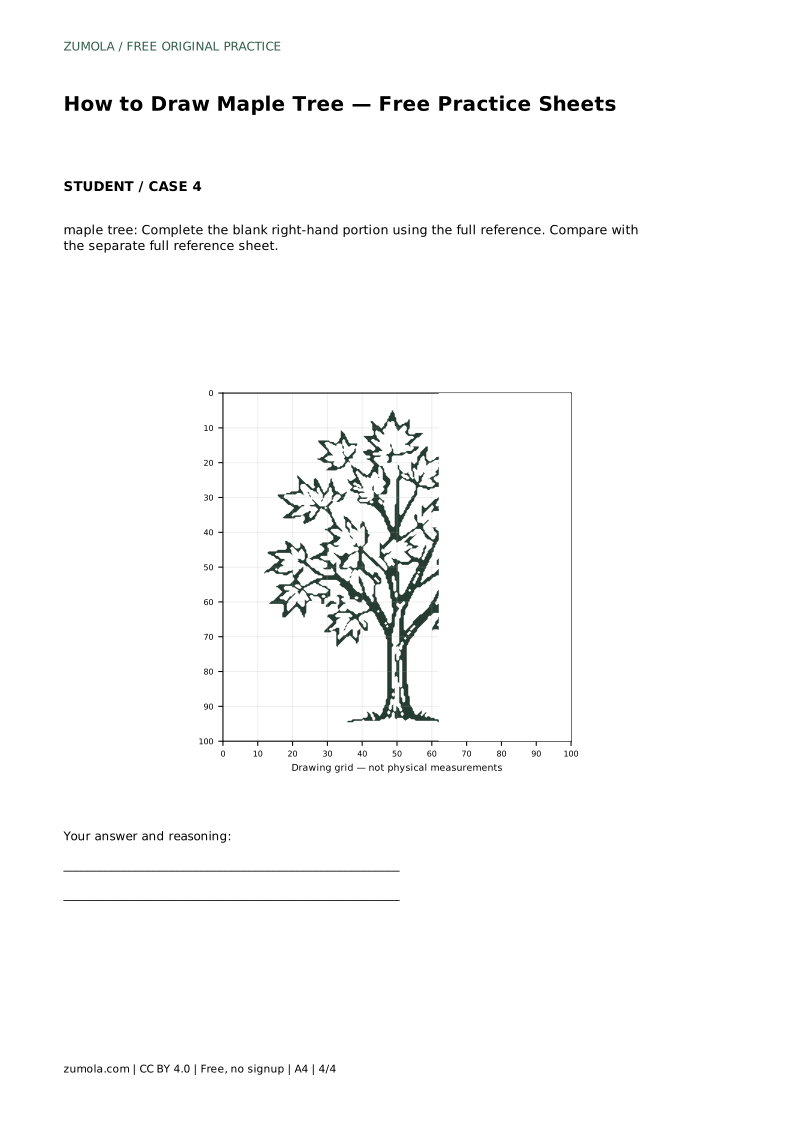
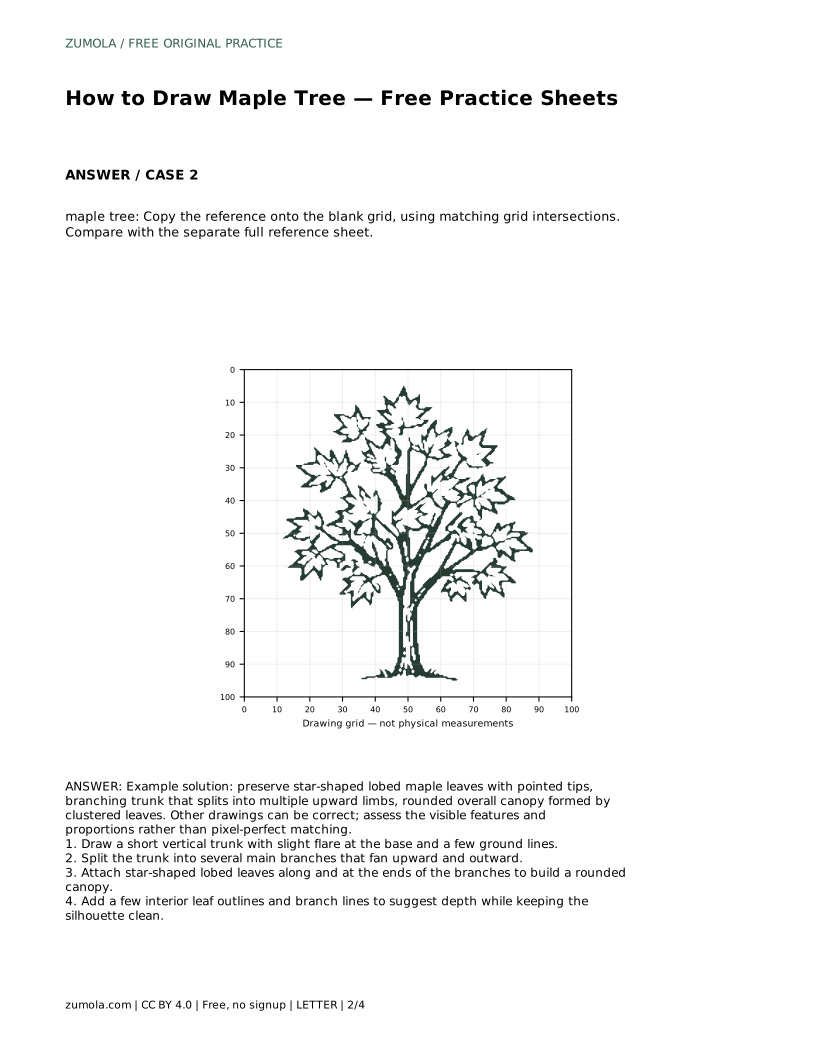
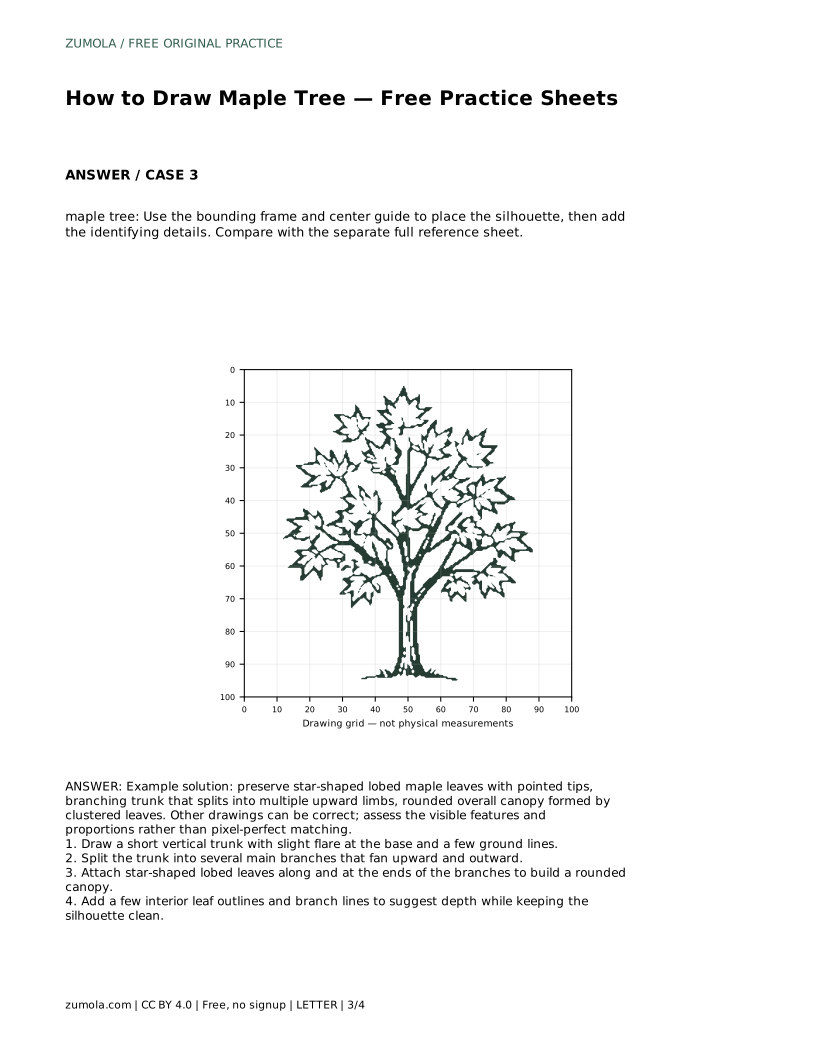
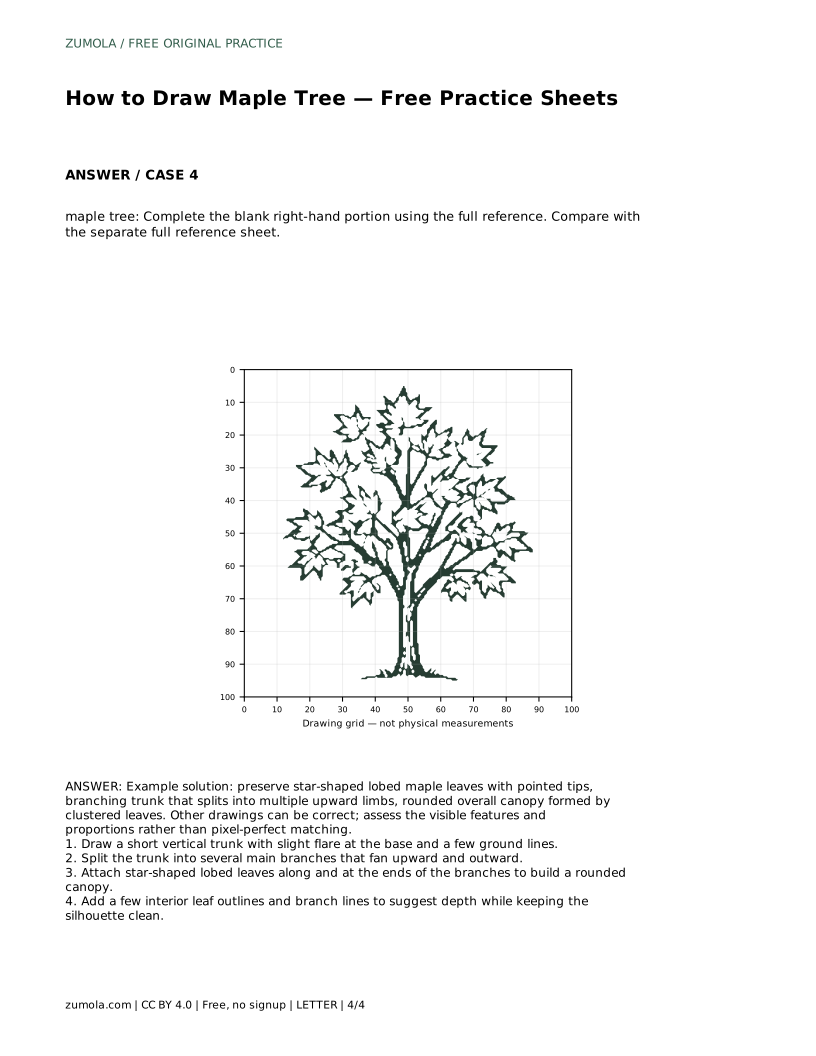
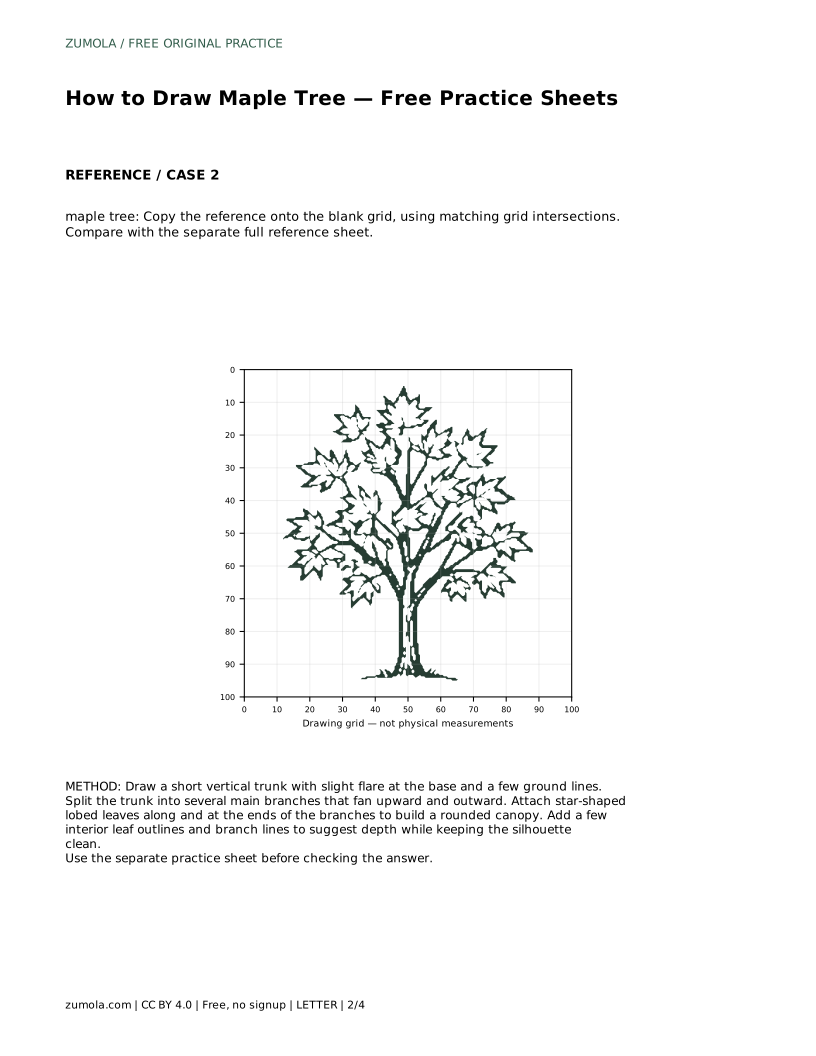
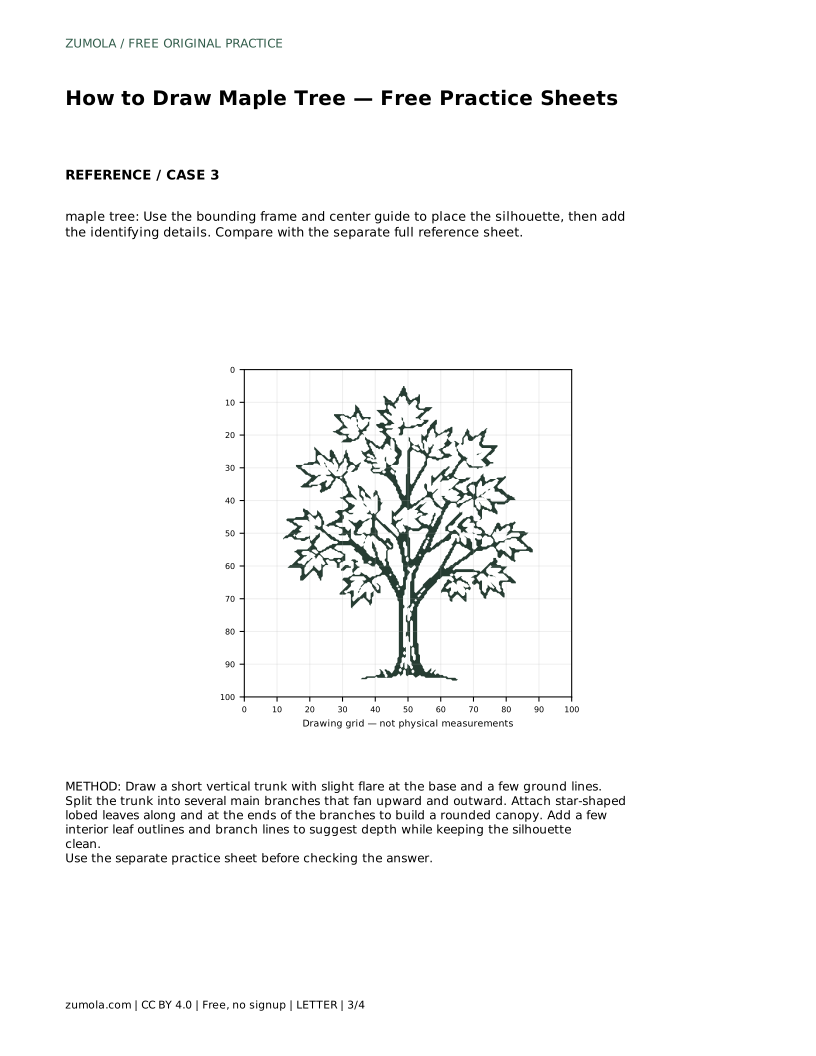
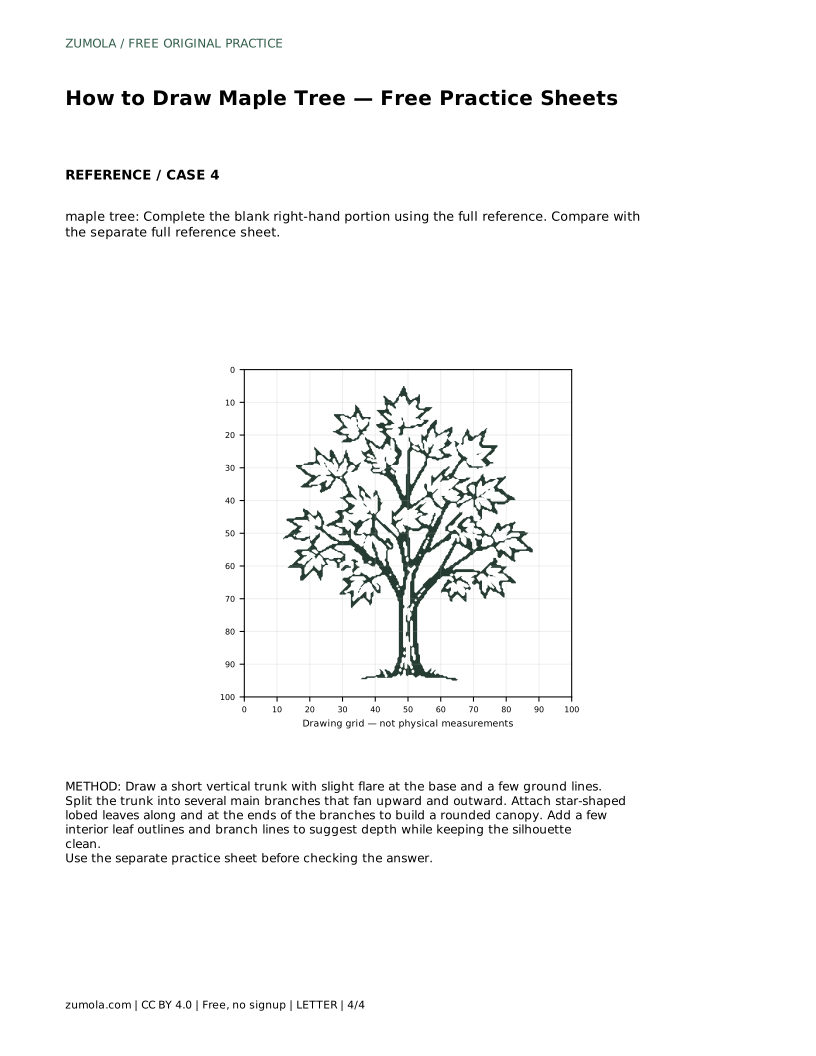
The tracing sheet asks you to follow the reference outline first, then repeat the contour on your own. Compare your result with the separate full reference sheet. The grid sheet asks you to copy the drawing onto a blank grid, matching intersections so proportions stay consistent. The bounding-frame sheet gives a center guide for placing the silhouette before adding details. The partial sheet leaves the right-hand portion blank for you to complete from the full reference.
Each sheet trains a different skill: tracing builds the shape, the grid builds proportion, the frame builds placement, and the partial sheet builds recall. Work through them in any order, but always compare against the full reference rather than guessing.
Because drawings vary, judge the visible features rather than exact matching. Check that the leaves are star-shaped with pointed tips, the trunk splits into multiple upward limbs, and the canopy is rounded and formed by clustered leaves. If one of these is missing, adjust that part rather than redrawing everything.
maple tree: Trace the reference outline, then practise the contour independently. Compare with the separate full reference sheet.
Example solution: preserve star-shaped lobed maple leaves with pointed tips, branching trunk that splits into multiple upward limbs, rounded overall canopy formed by clustered leaves. Other drawings can be correct; assess the visible features and proportions rather than pixel-perfect matching. Draw a short vertical trunk with slight flare at the base and a few ground lines. Split the trunk into several main branches that fan upward and outward. Attach star-shaped lobed leaves along and at the ends of the branches to build a rounded canopy. Add a few interior leaf outlines and branch lines to suggest depth while keeping the silhouette clean.
No. Other drawings can be correct. Assess the visible features and proportions rather than pixel-perfect matching.
Star-shaped lobed leaves with pointed tips, a trunk that splits into multiple upward limbs, and a rounded canopy formed by clustered leaves.
Start with tracing to learn the shape, then move to the grid or frame sheet to practise proportion and placement independently.
All drawing practice · Free coordinate paper
Original resources · CC BY 4.0 · Free for personal and classroom use with attribution.