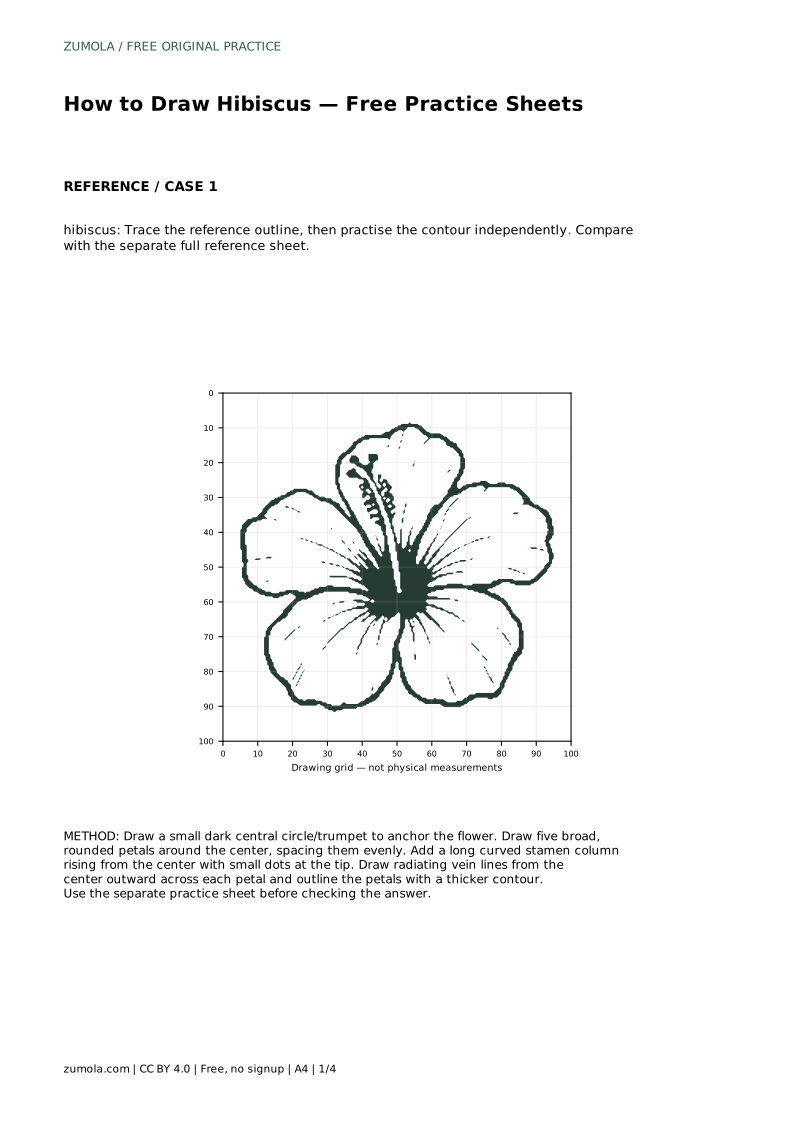
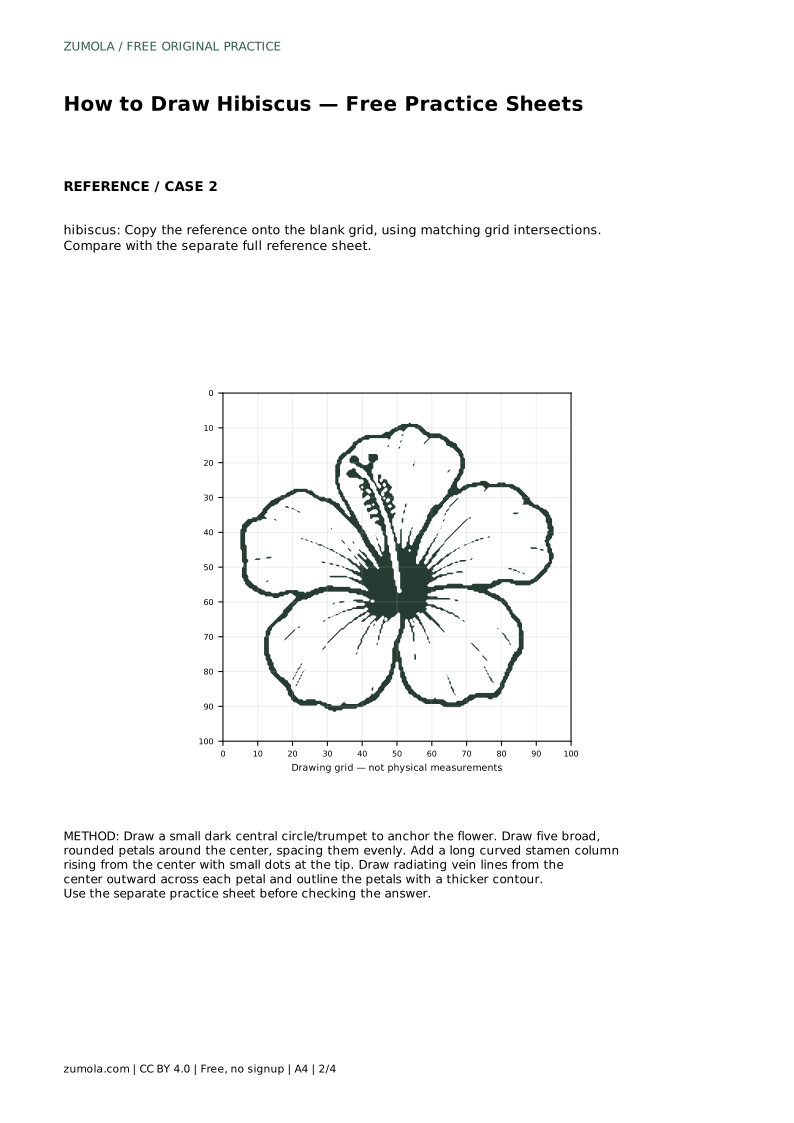
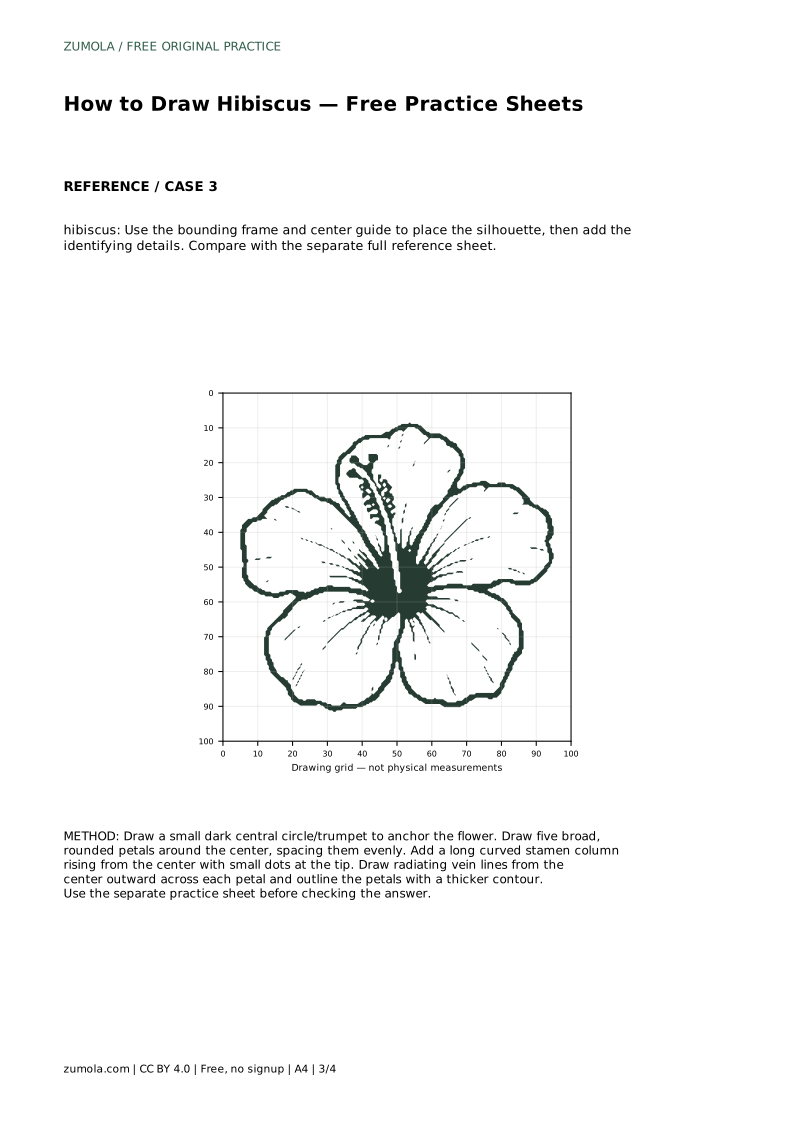
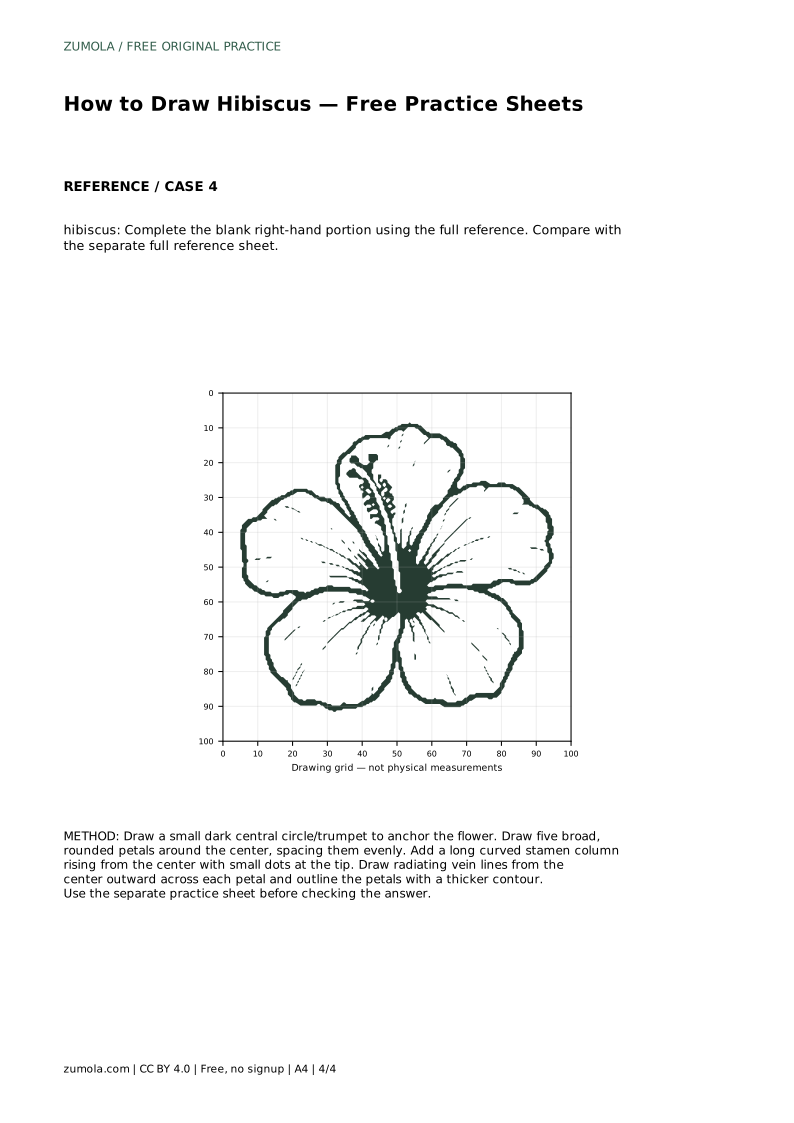
Reference diagrams
LETTER · Download PDF
A4 · Download PDF
Free original resources
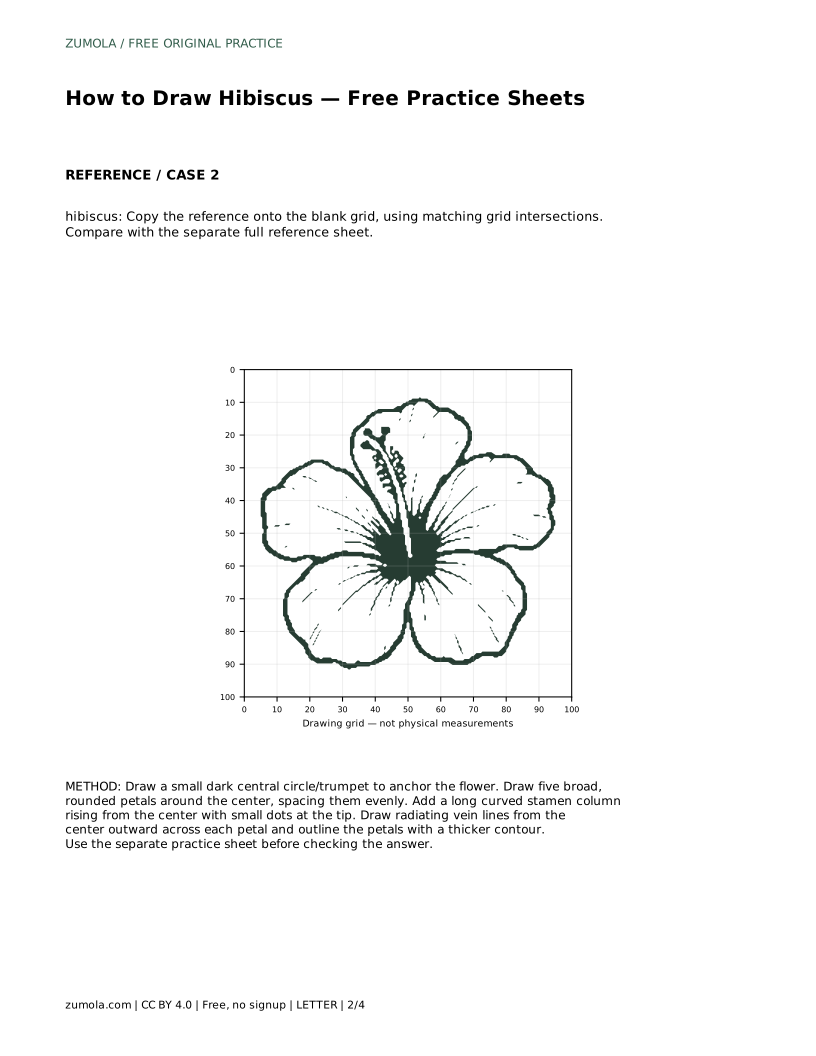
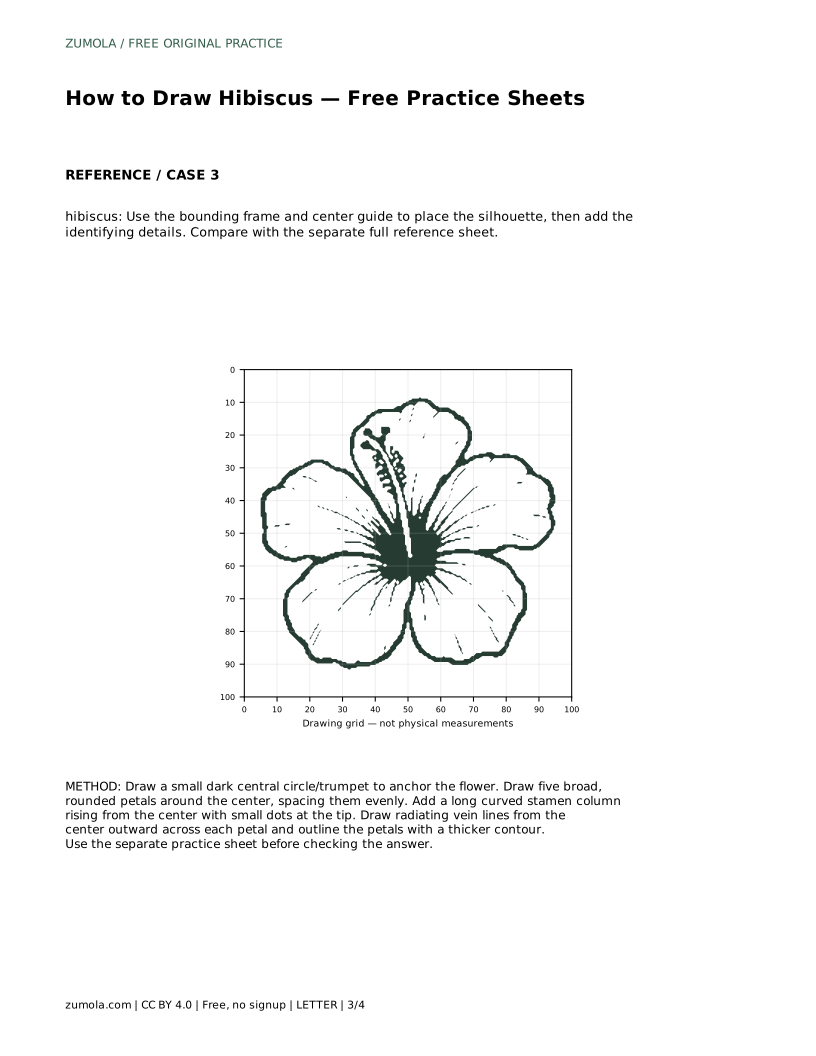
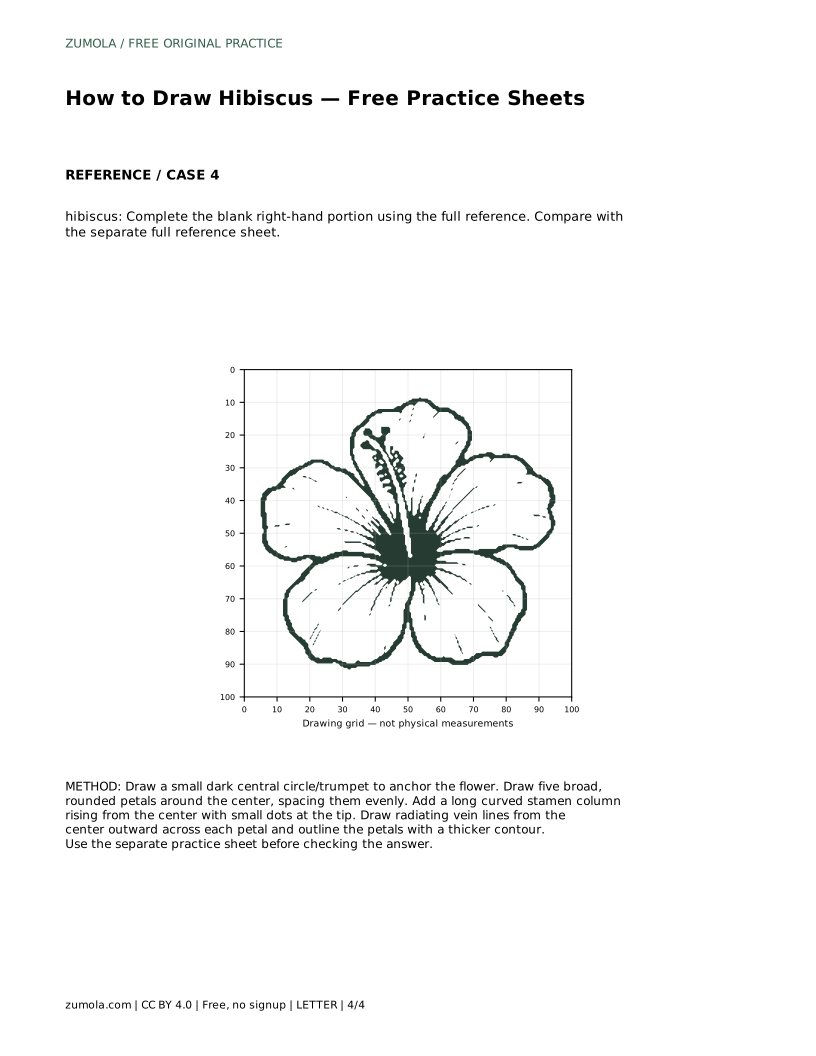
Learn an easy hibiscus flower drawing method: anchor a dark trumpet center, space five broad petals, add the long stamen column and radiating veins, then check proportions.
Four original cases, with reference diagrams, practice sheets and worked answers. Everything is free; no signup required.
LETTER · Download PDF
A4 · Download PDF
LETTER · Download PDF
A4 · Download PDF
LETTER · Download PDF
A4 · Download PDF
Use A4 or US Letter to match your printer. Use the stated values and conditions to solve each exercise; diagrams are not physical measuring rulers.
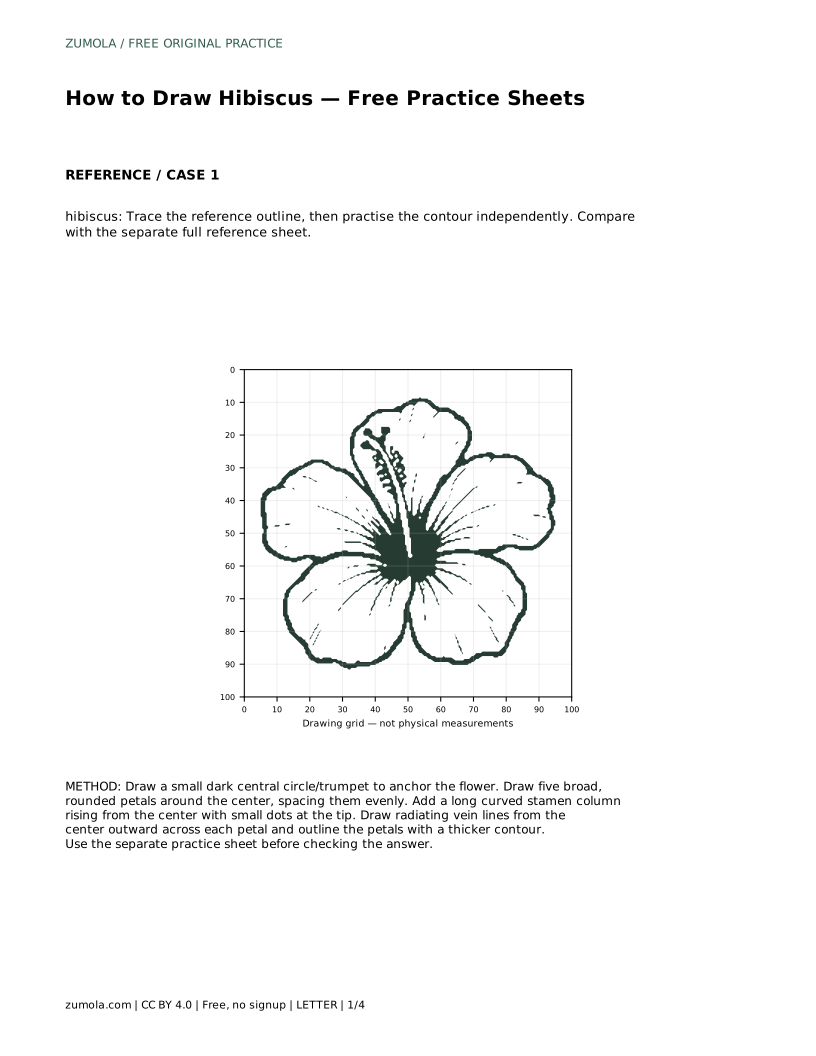
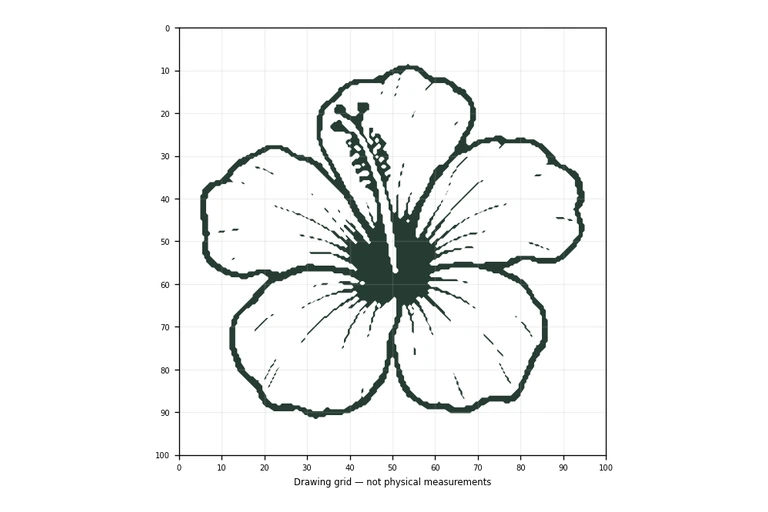
A hibiscus is easy to recognise once you know its three anchors: a dark, trumpet-like center; five broad, rounded petals spaced around it; and a long stamen column rising from the middle with small anther dots at the tip. This page teaches that structure step by step, then explains how to use the practice sheets to trace, copy, and complete the flower independently.
Most beginners draw the outer petal edges first and then struggle to fit the middle. Reverse that order. The hibiscus center is a small dark circle or shallow trumpet where all five petals meet. Draw it small and place it slightly off-center on your page, because the stamen column needs room to rise above the flower.
Treat this center as the hub of a wheel. Every petal grows outward from it, and every vein line runs away from it. Keeping that single point fixed makes the whole drawing easier to correct later.
Hibiscus petals are wide and rounded, not pointed or narrow. Working around the center, draw five petals with roughly equal gaps between them, like five wide spokes. Petals may overlap slightly at their edges, which looks natural, but each petal should clearly connect back to the dark center.
Keep the petals generous in width. A common error is drawing them too small and thin, which makes the flower look like a daisy rather than a hibiscus. If one petal looks cramped, redraw its outer curve rather than shrinking the others.
The stamen column is the hibiscus signature: a long, slender curve rising from the center and extending beyond the petals, topped with small dots representing the anthers. Draw it as one continuous curve, then add a few tiny dots at the tip. Keep it thin so it reads as a column rather than a petal.
Next, add radiating vein lines. Start each line near the center and fan it outward across a petal, following the petal's curve. A few lines per petal is enough; too many can make the drawing busy. Finally, go over the outer petal edges with a thicker contour so the silhouette stands out from the veins.
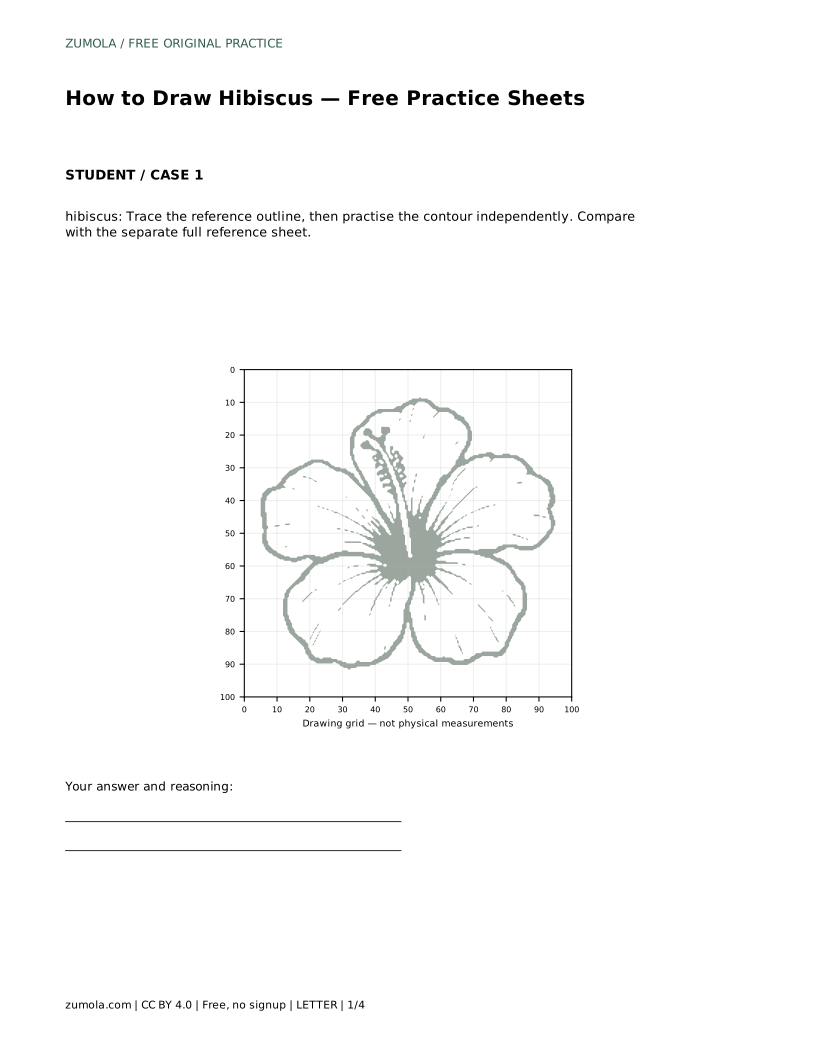
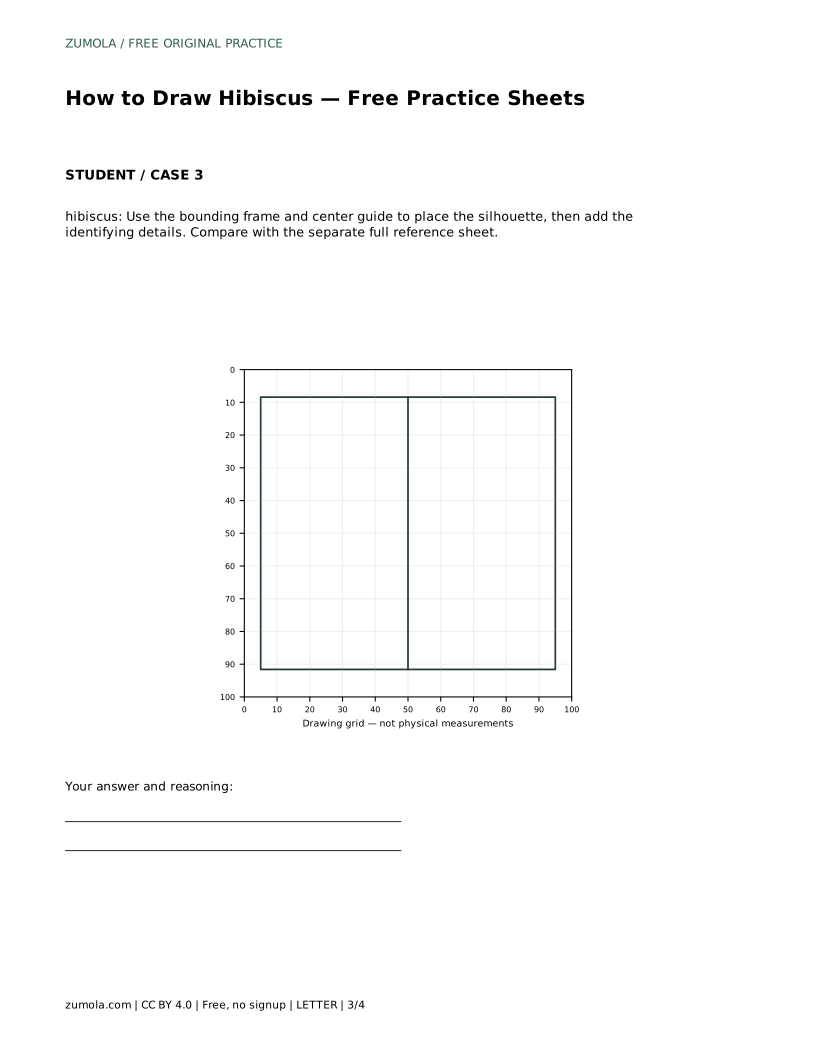
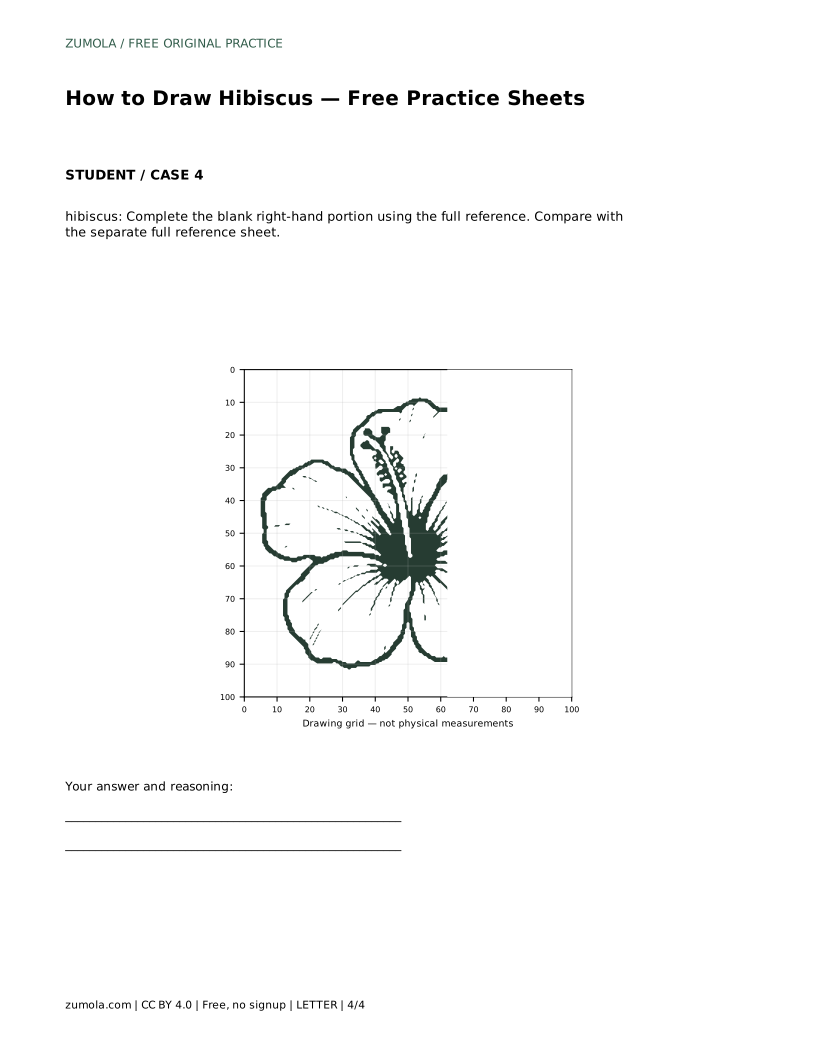
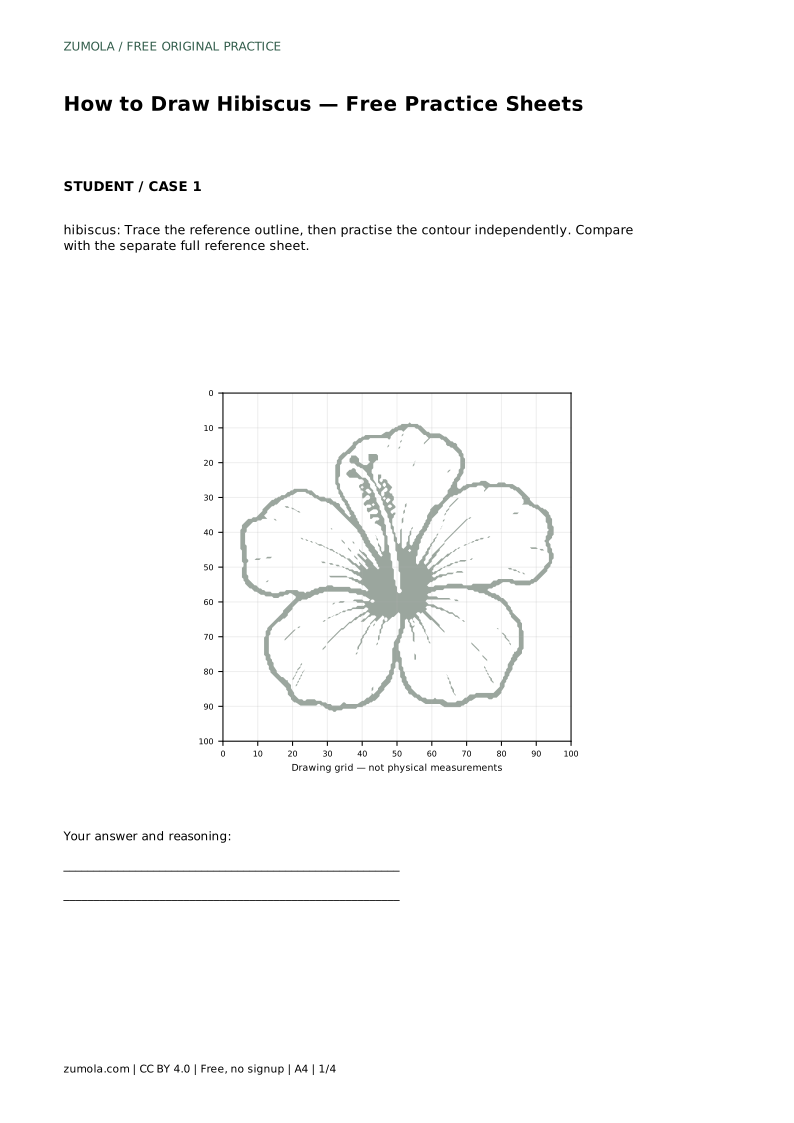
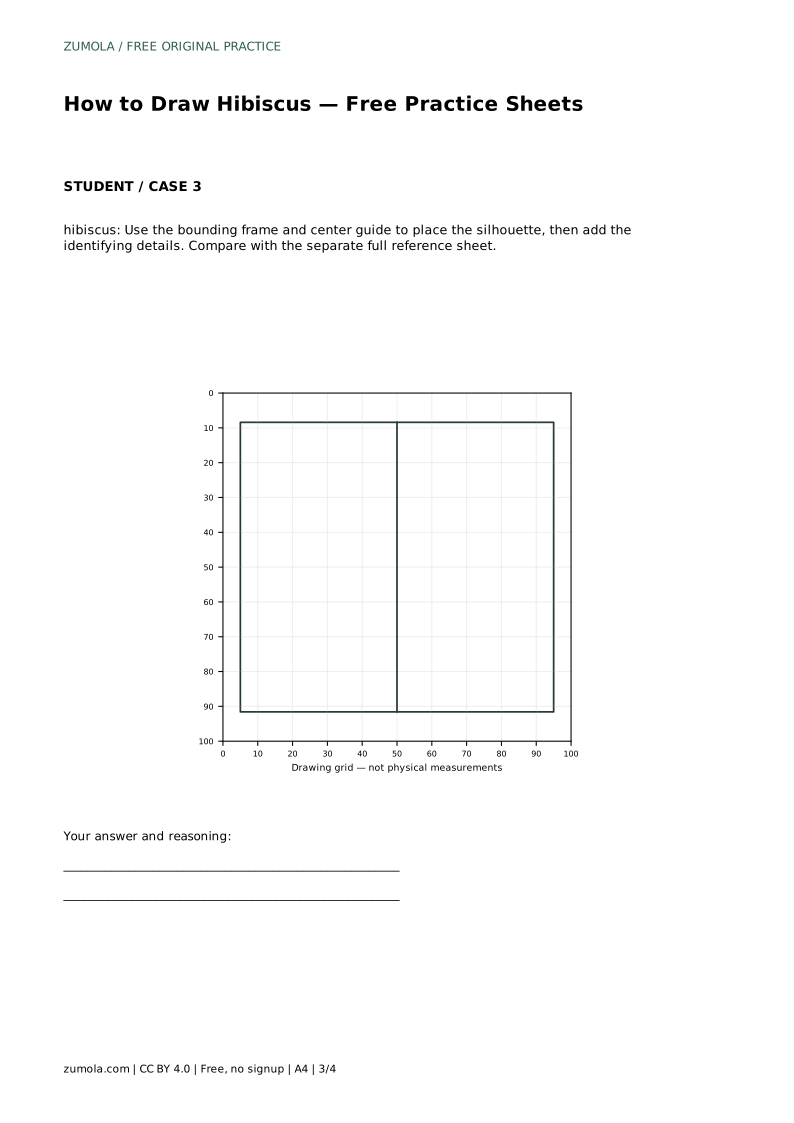
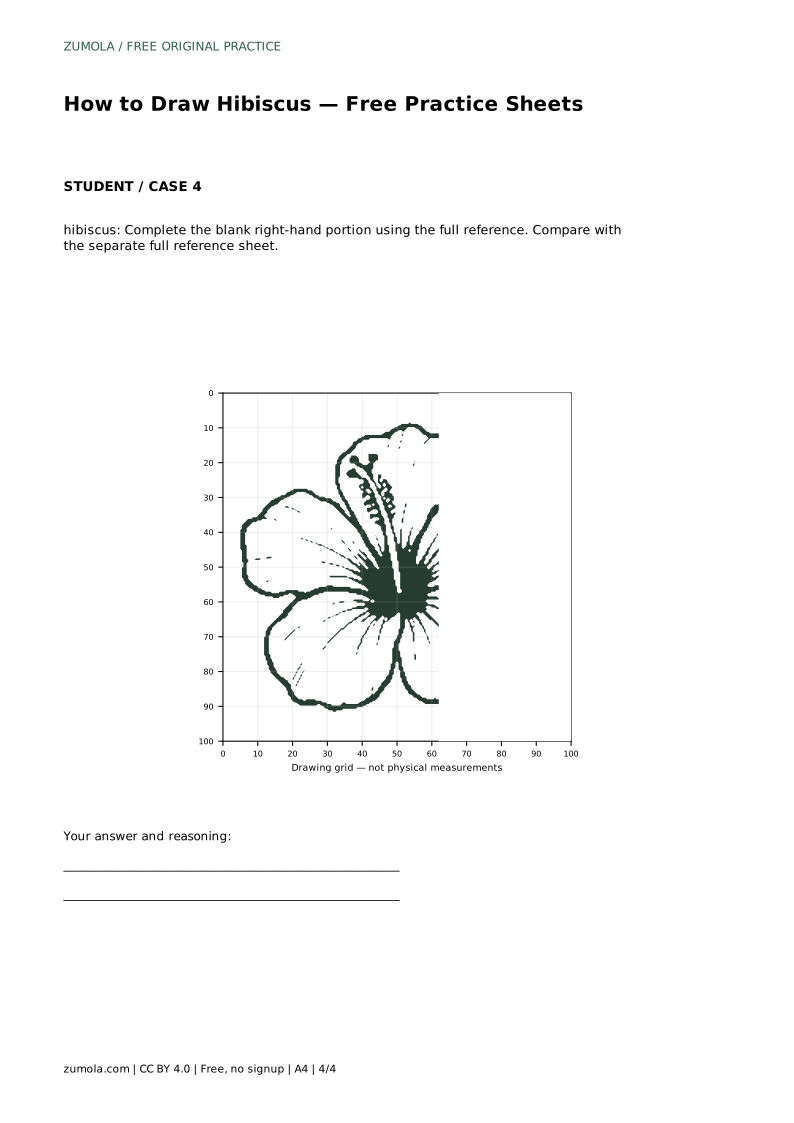
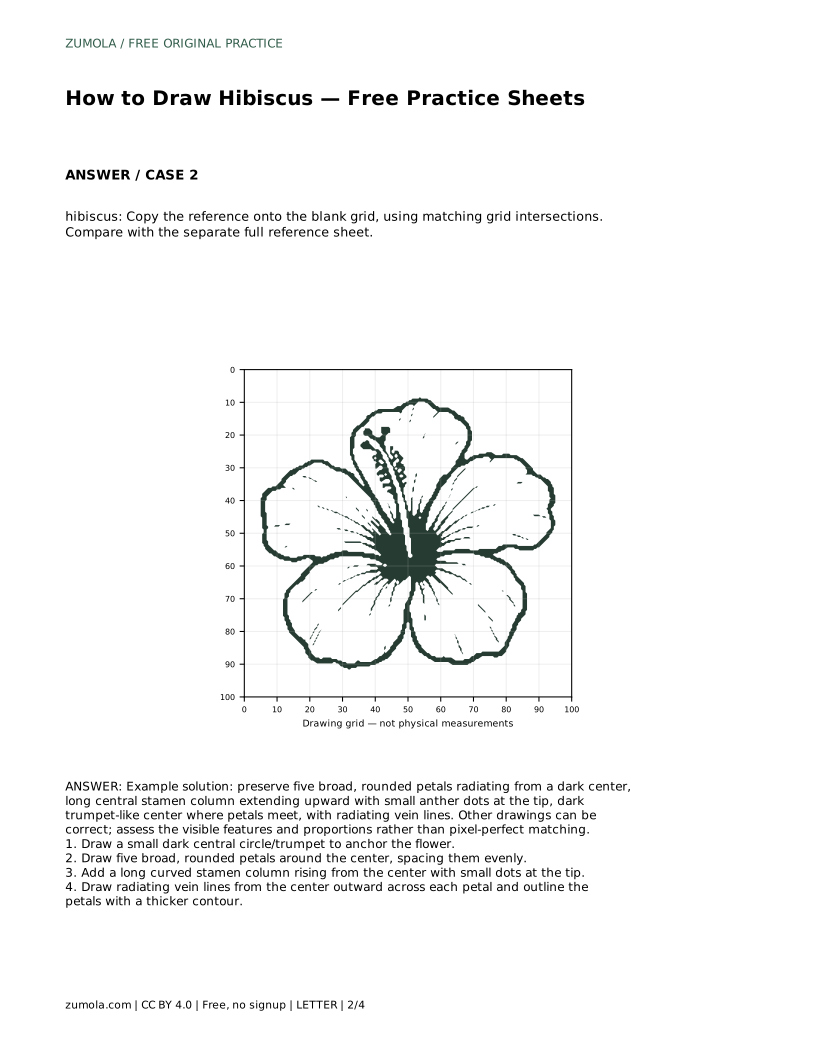
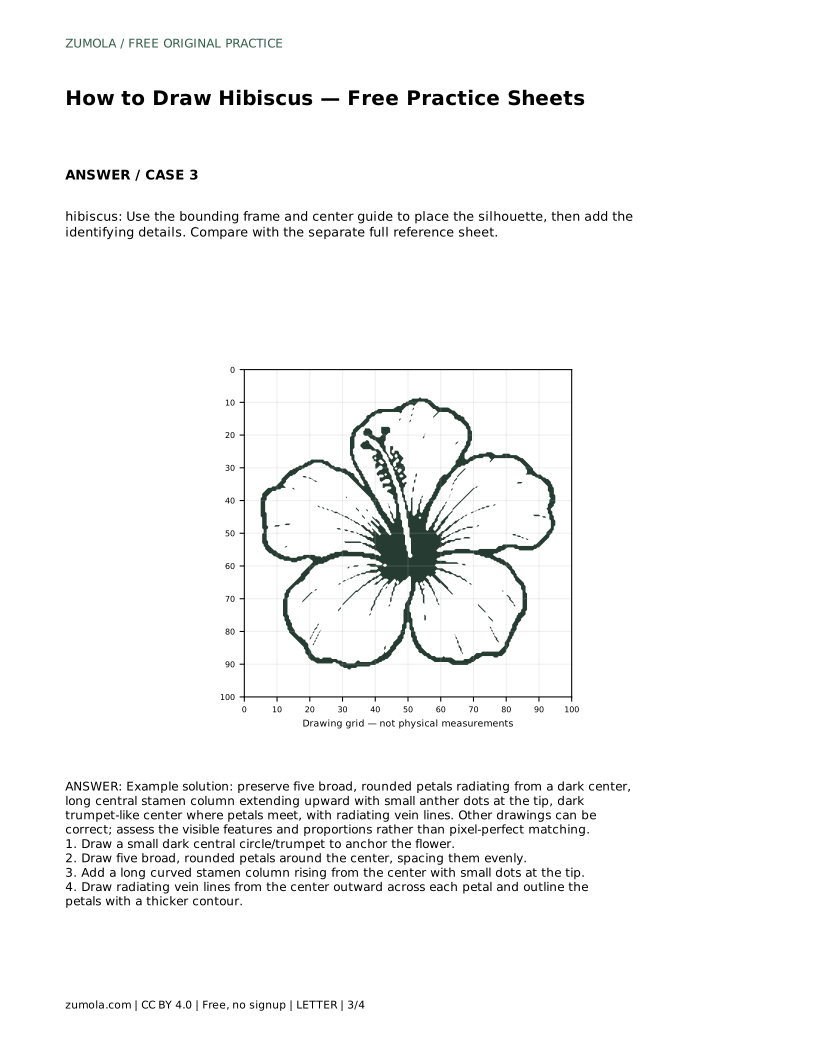
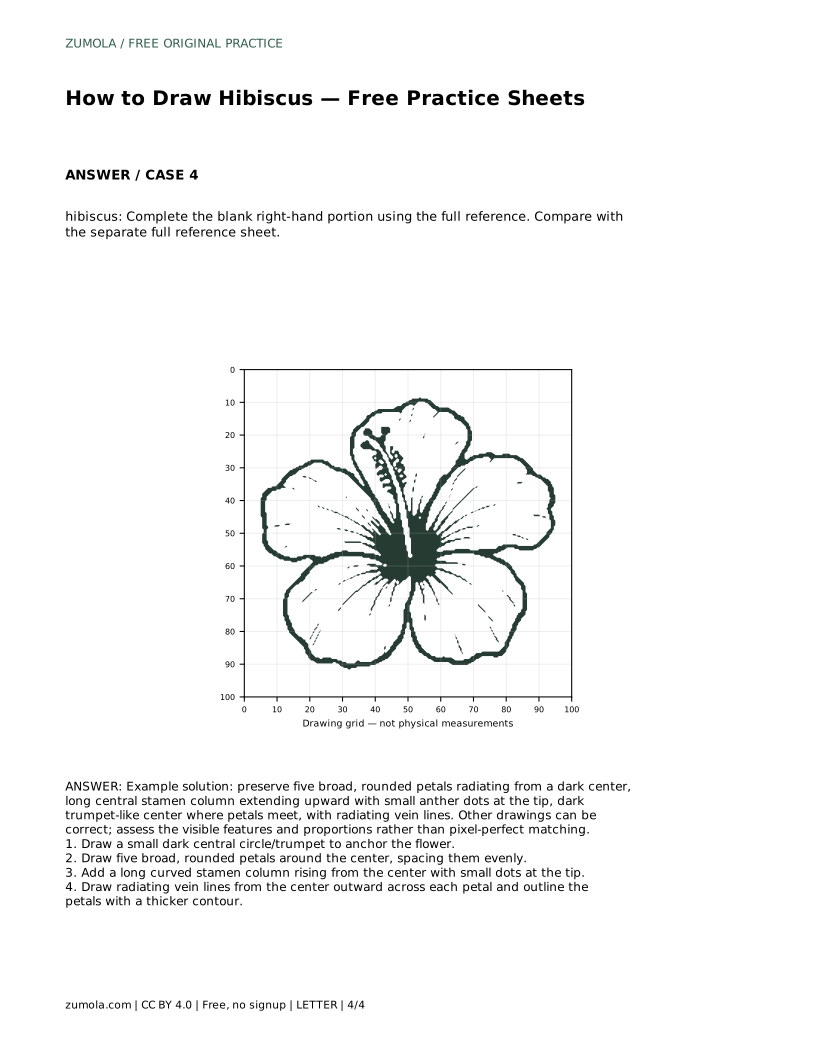
The sheets offer different levels of support. On the tracing sheet, follow the reference outline first, then attempt the contour independently on blank space and compare with the separate full reference sheet. On the grid sheet, copy the flower onto the blank grid by matching grid intersections, which trains proportion and placement. On the frame-and-center-guide sheet, use the bounding frame and center guide to position the silhouette before adding identifying details. On the partial sheet, complete the blank right-hand portion using the full reference.
After each attempt, compare visible features rather than aiming for a pixel-perfect match: five broad rounded petals, a dark trumpet center, a long stamen column with tip dots, and radiating veins. Different drawings can all be correct.
Use a simple rubric rather than hunting for one exact answer. Ask whether the center is dark and trumpet-like, whether exactly five broad petals radiate from it with even spacing, whether the stamen column is long and curved with dots at the tip, and whether vein lines fan outward from the center. Then check overall proportion: the stamen should extend clearly beyond the petals, and no petal should look pinched or narrow.
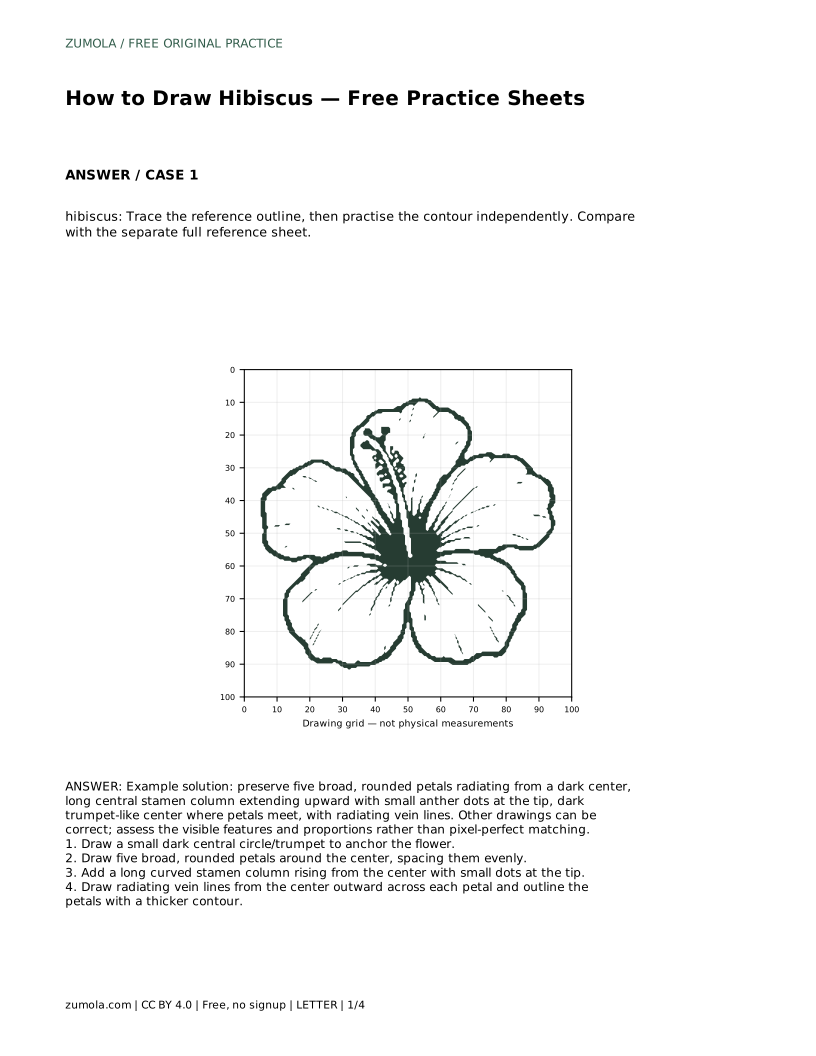
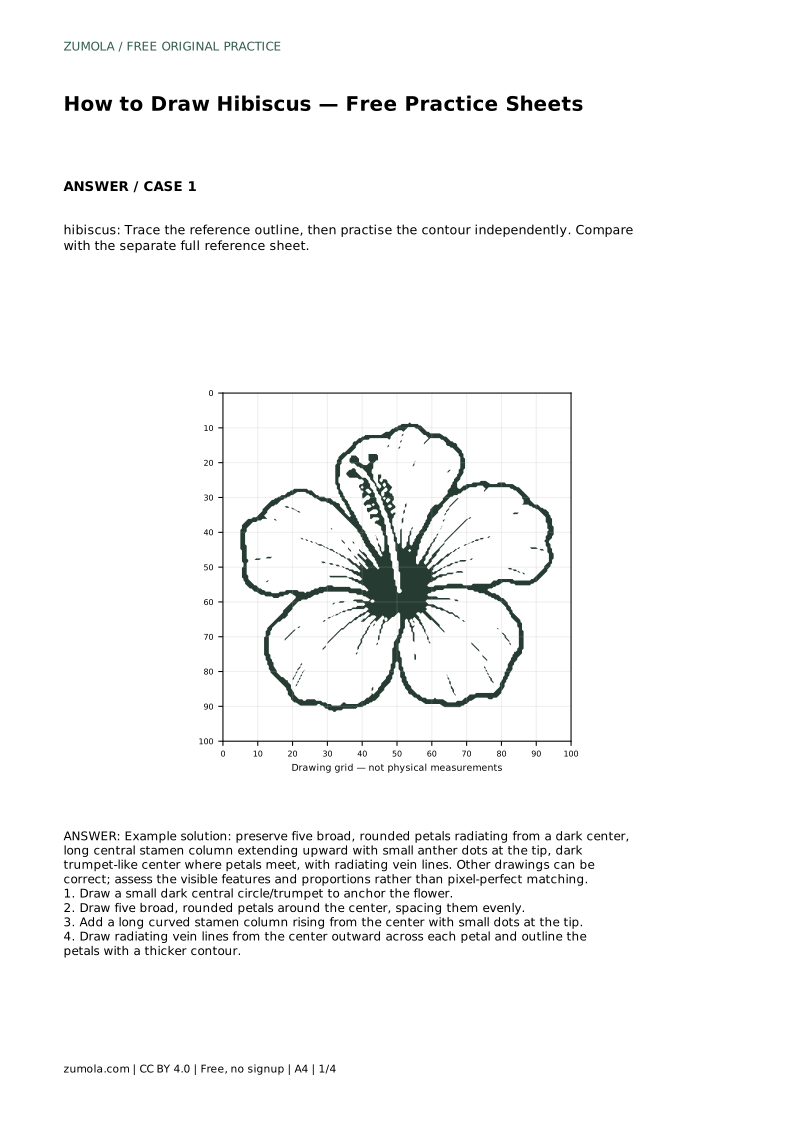
Prompt: hibiscus: Trace the reference outline, then practise the contour independently. Compare with the separate full reference sheet.
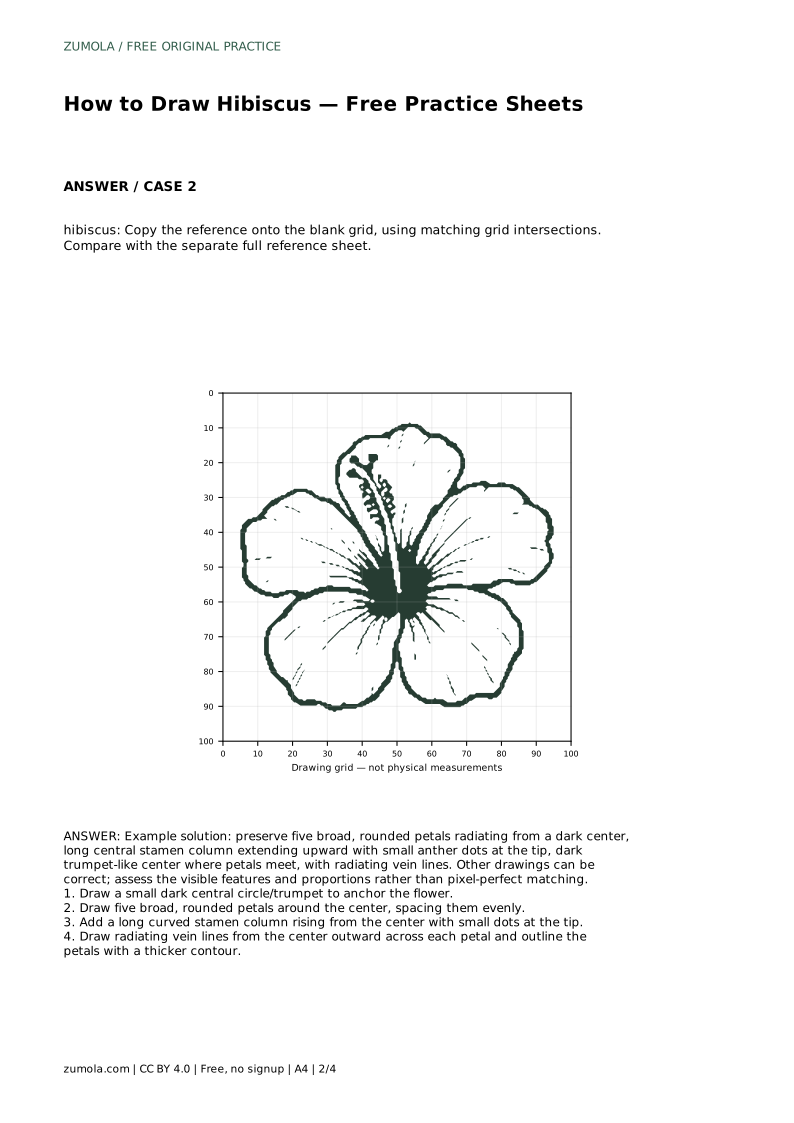
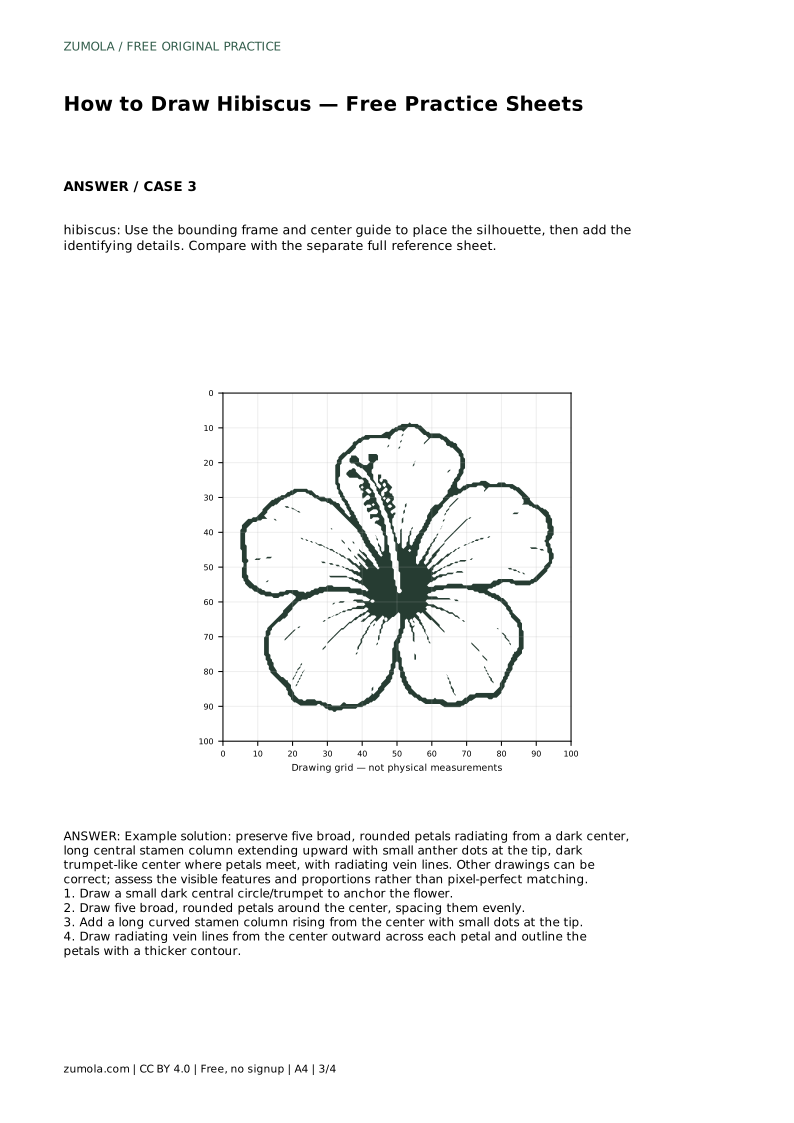
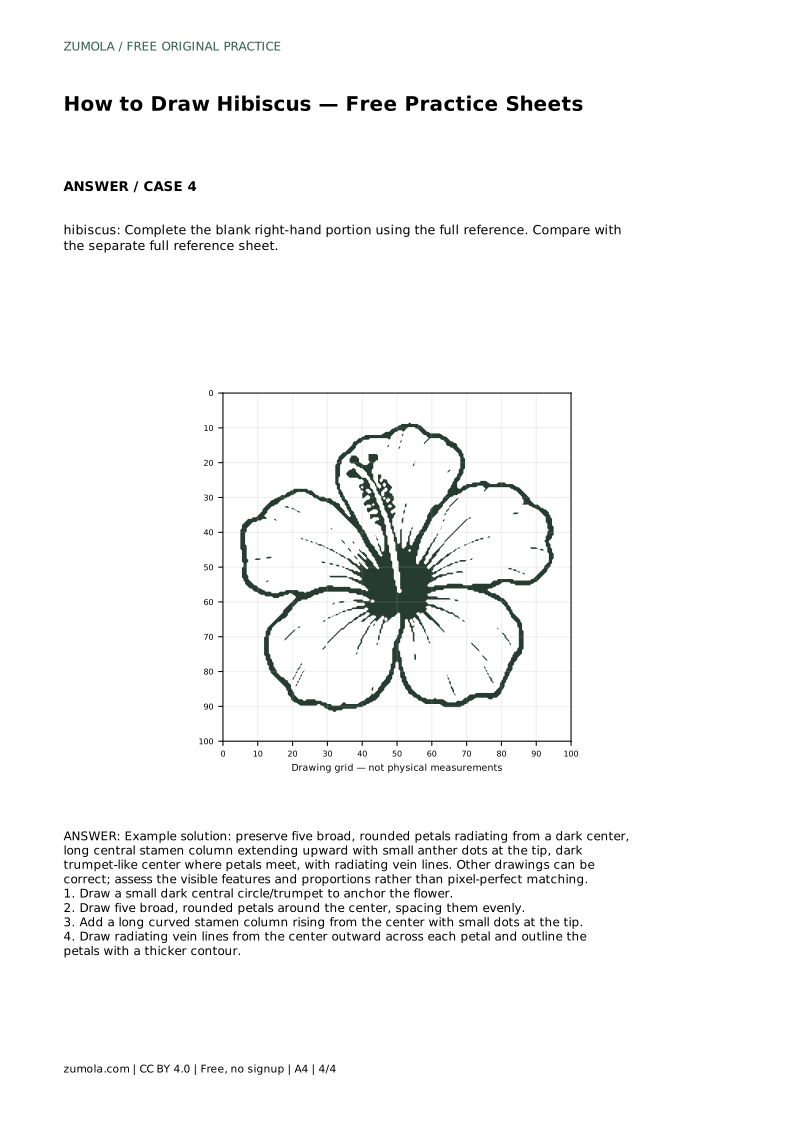
Example solution: preserve five broad, rounded petals radiating from a dark center, long central stamen column extending upward with small anther dots at the tip, dark trumpet-like center where petals meet, with radiating vein lines. Other drawings can be correct; assess the visible features and proportions rather than pixel-perfect matching.
hibiscus: Trace the reference outline, then practise the contour independently. Compare with the separate full reference sheet.
Example solution: preserve five broad, rounded petals radiating from a dark center, long central stamen column extending upward with small anther dots at the tip, dark trumpet-like center where petals meet, with radiating vein lines. Other drawings can be correct; assess the visible features and proportions rather than pixel-perfect matching. Draw a small dark central circle/trumpet to anchor the flower. Draw five broad, rounded petals around the center, spacing them evenly. Add a long curved stamen column rising from the center with small dots at the tip. Draw radiating vein lines from the center outward across each petal and outline the petals with a thicker contour.
Five broad, rounded petals spaced around the dark center. Count them before adding veins or shading.
It rises from the dark center and curves upward beyond the petal edges, ending in small anther dots.
No. Veins should fan outward from the center across each petal; the number and exact curve can vary.
All drawing practice · Free coordinate paper
Original resources · CC BY 4.0 · Free for personal and classroom use with attribution.