Reference diagrams
LETTER · Download PDF
A4 · Download PDF
Free original resources
Learn to draw a common loon with a low swimming body, pointed bill, and barred black-and-white plumage. Includes tracing, grid, and outline practice methods.
Four original cases, with reference diagrams, practice sheets and worked answers. Everything is free; no signup required.
LETTER · Download PDF
A4 · Download PDF
LETTER · Download PDF
A4 · Download PDF
LETTER · Download PDF
A4 · Download PDF
Use A4 or US Letter to match your printer. Use the stated values and conditions to solve each exercise; diagrams are not physical measuring rulers.
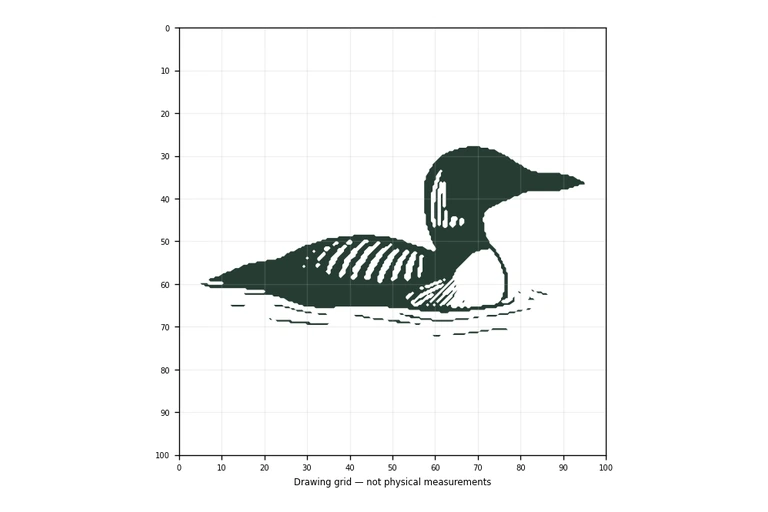
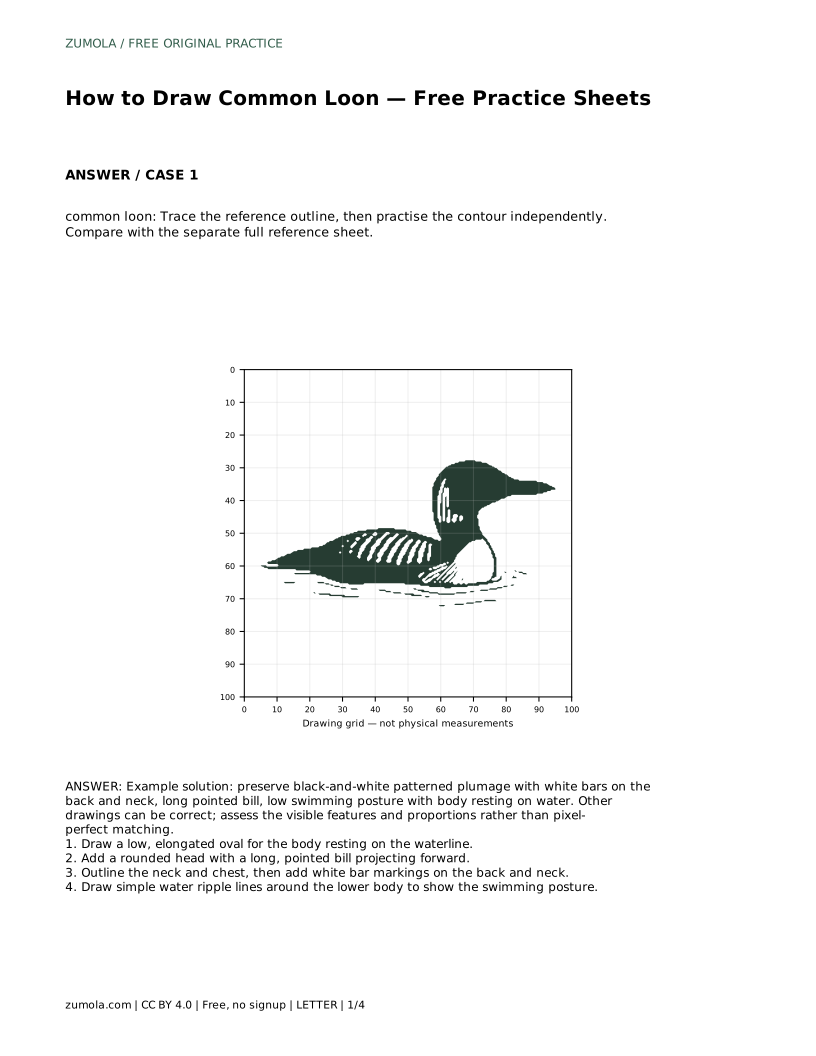
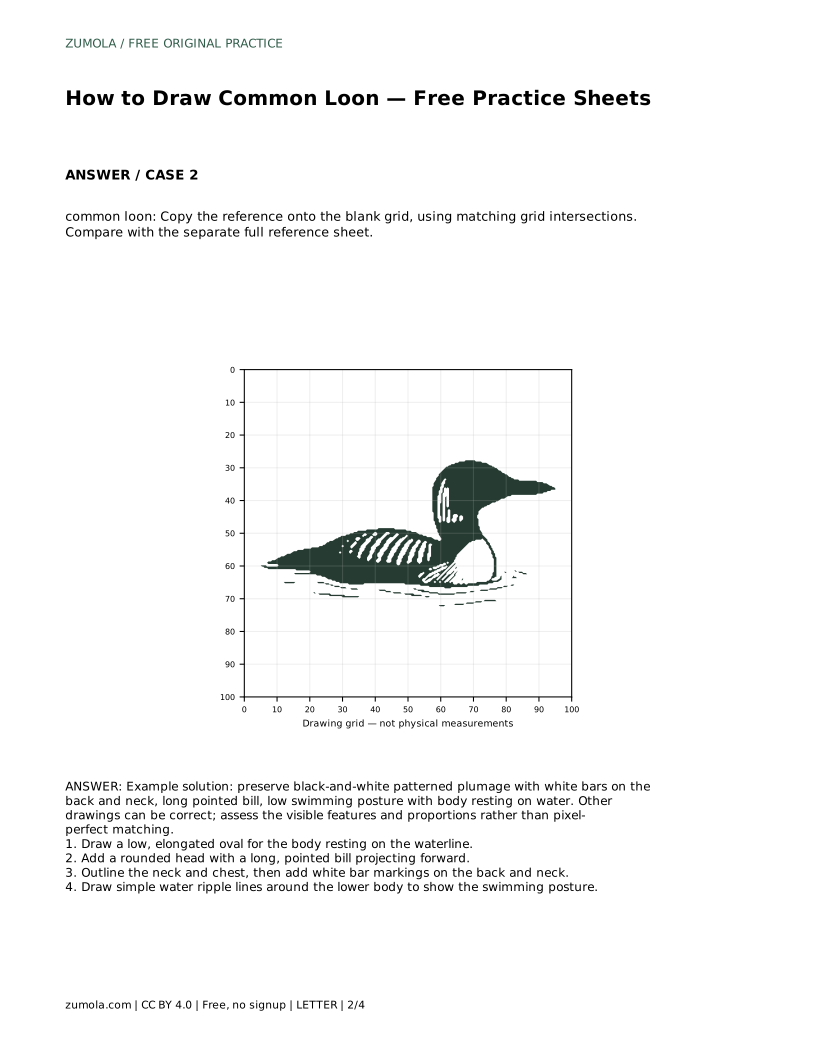
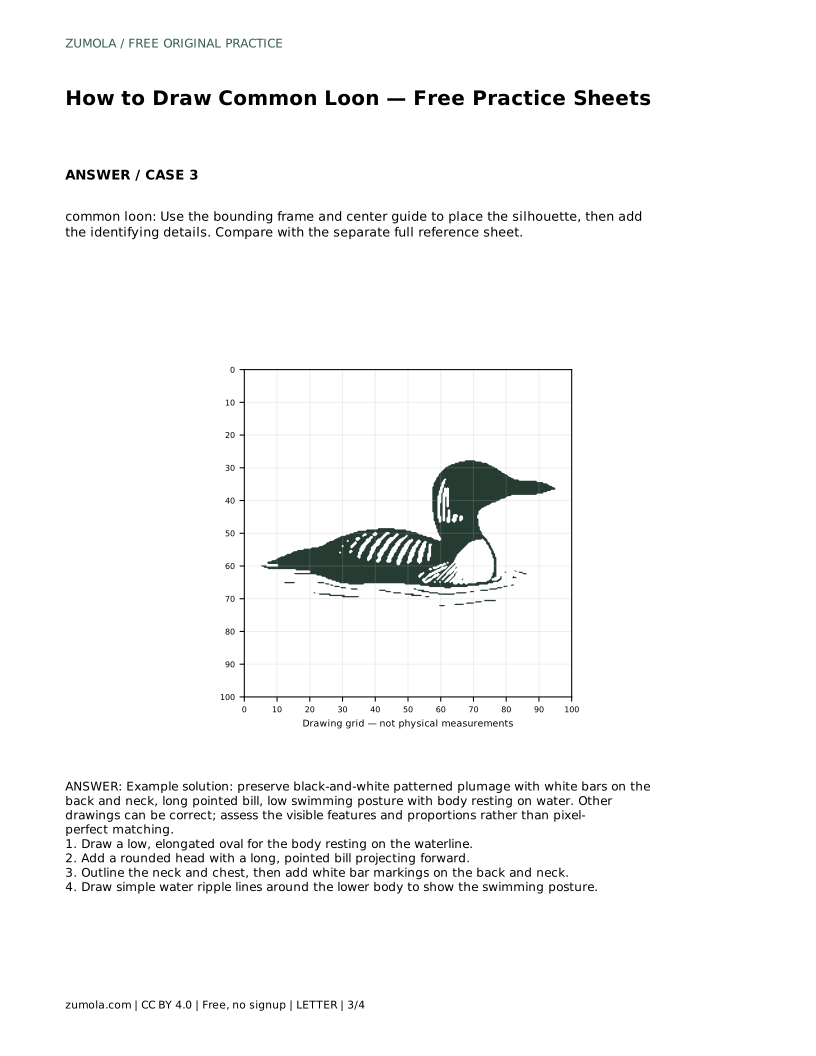
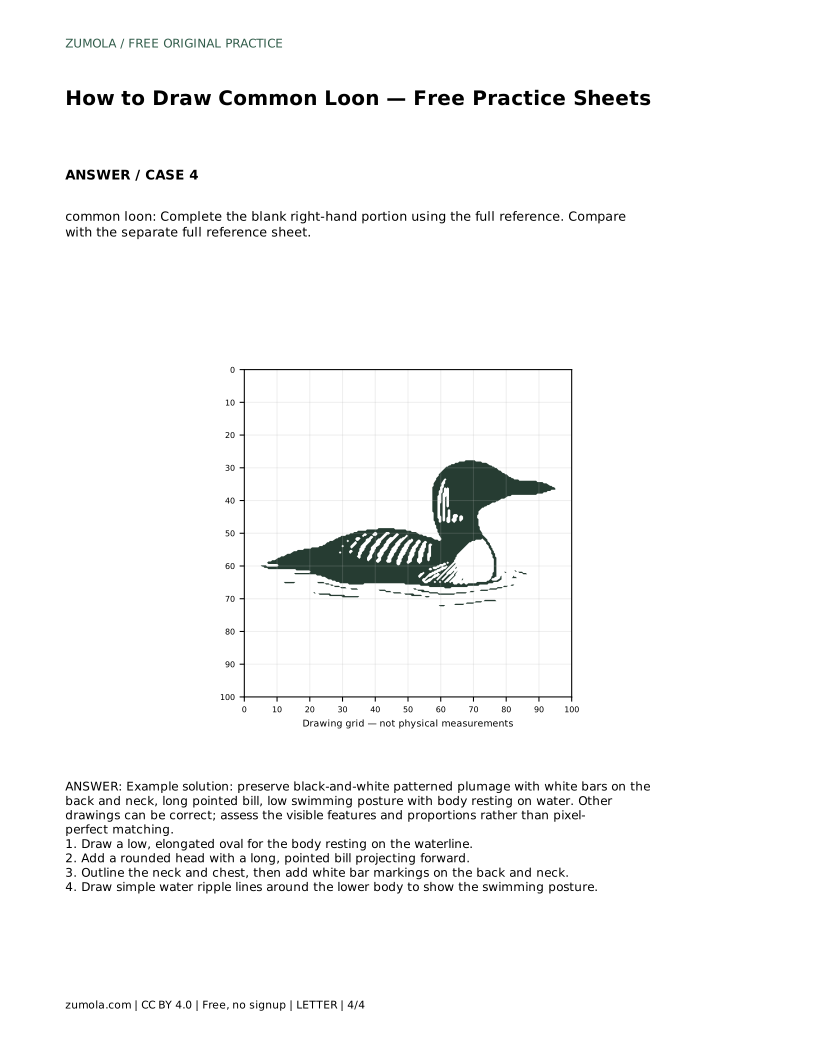
A common loon is easiest to draw when you start with its posture rather than its markings. Loons sit low in the water, so the body reads as a long oval resting on the surface, with the head and neck rising above it. This guide walks through building that silhouette first, then adding the pointed bill and the white bar patterns that make the bird recognizable. Practice sheets let you trace, copy, or complete the outline independently.
Before drawing any feather markings, decide where the waterline sits. A swimming loon's body is mostly submerged, so the visible shape is a low, elongated oval that flattens along the bottom edge. The head sits forward of the body's center, and the neck connects them in a gentle curve rather than a straight column.
Keep the proportions simple: the body should be noticeably longer than the head is tall, and the bill should extend forward roughly as far as the head is wide. These rough relationships matter more than exact measurements, because a loon's identity comes from its low profile and forward-projecting bill.
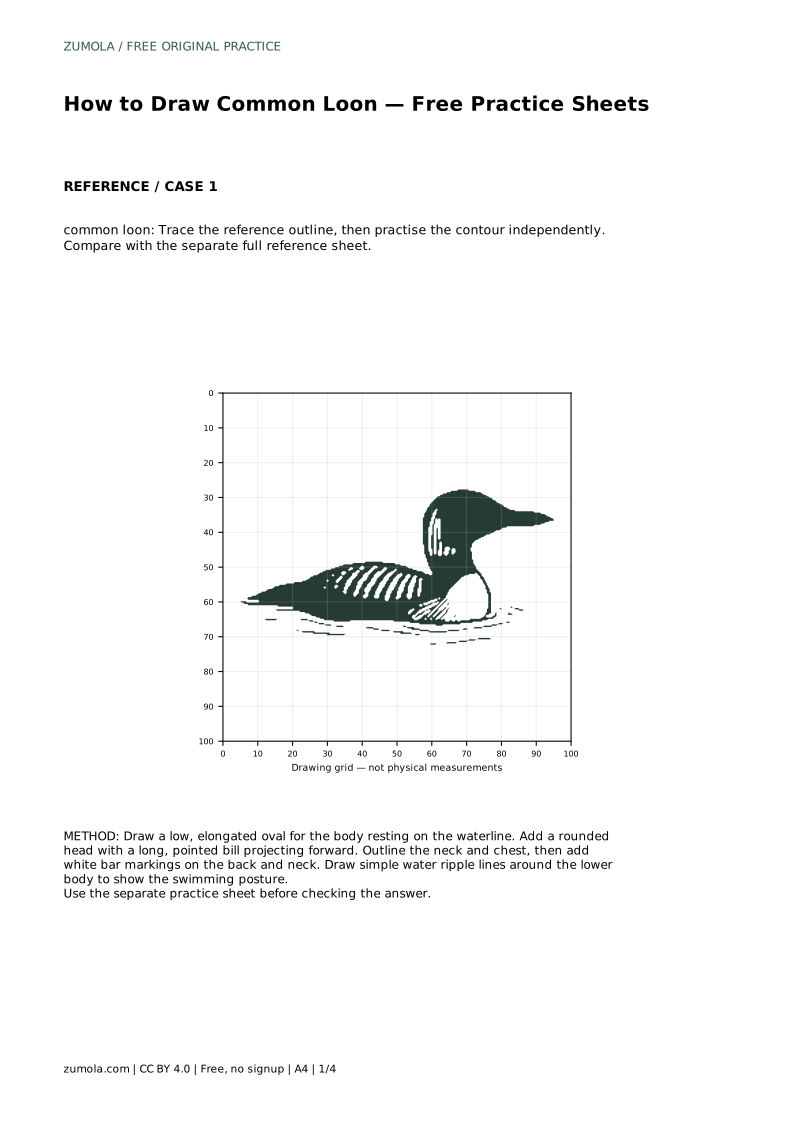
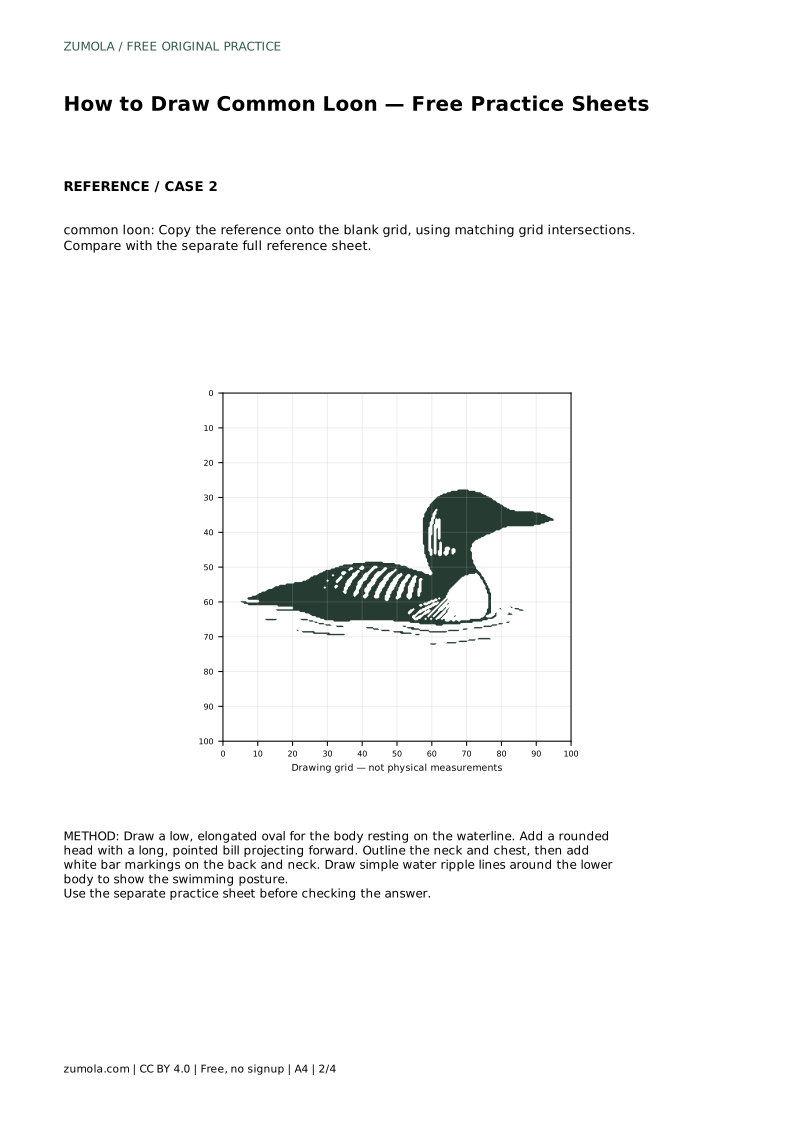
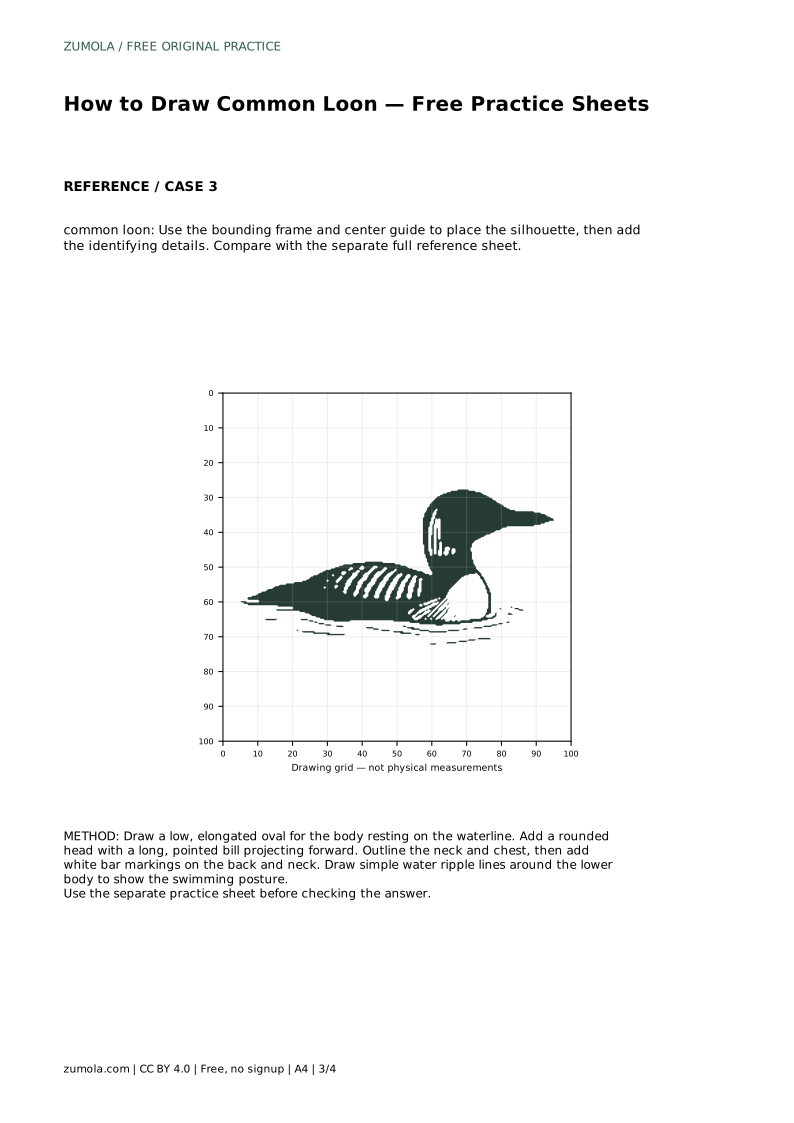
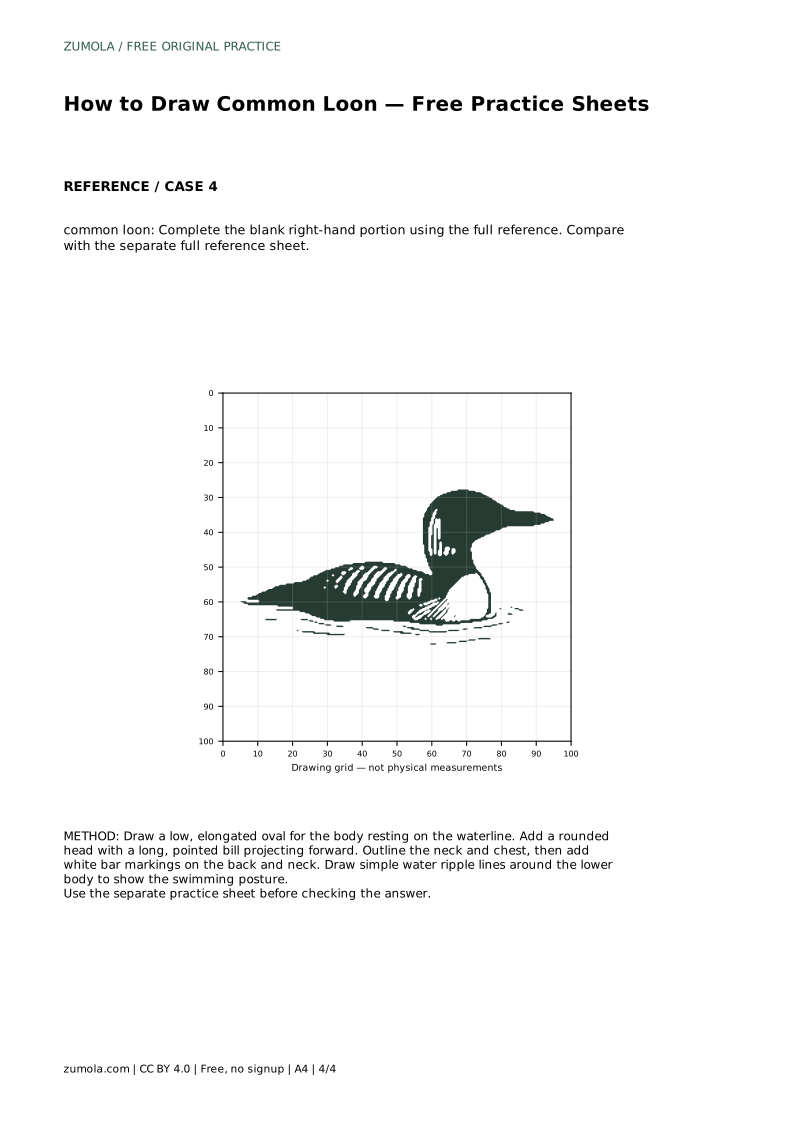
The common loon's plumage is a study in contrast: dark areas broken by white bars on the back and neck, plus a pale chest. Treat the bars as a pattern of short, roughly parallel marks rather than random speckles. On the back, they run across the dark surface; on the neck, they form a narrow banded collar.
The bill is long and tapered to a point, held roughly level with the water. Draw it as a slim triangle attached to the front of the head, then refine the edges. Avoid making it short or blunt, which changes the bird's character.
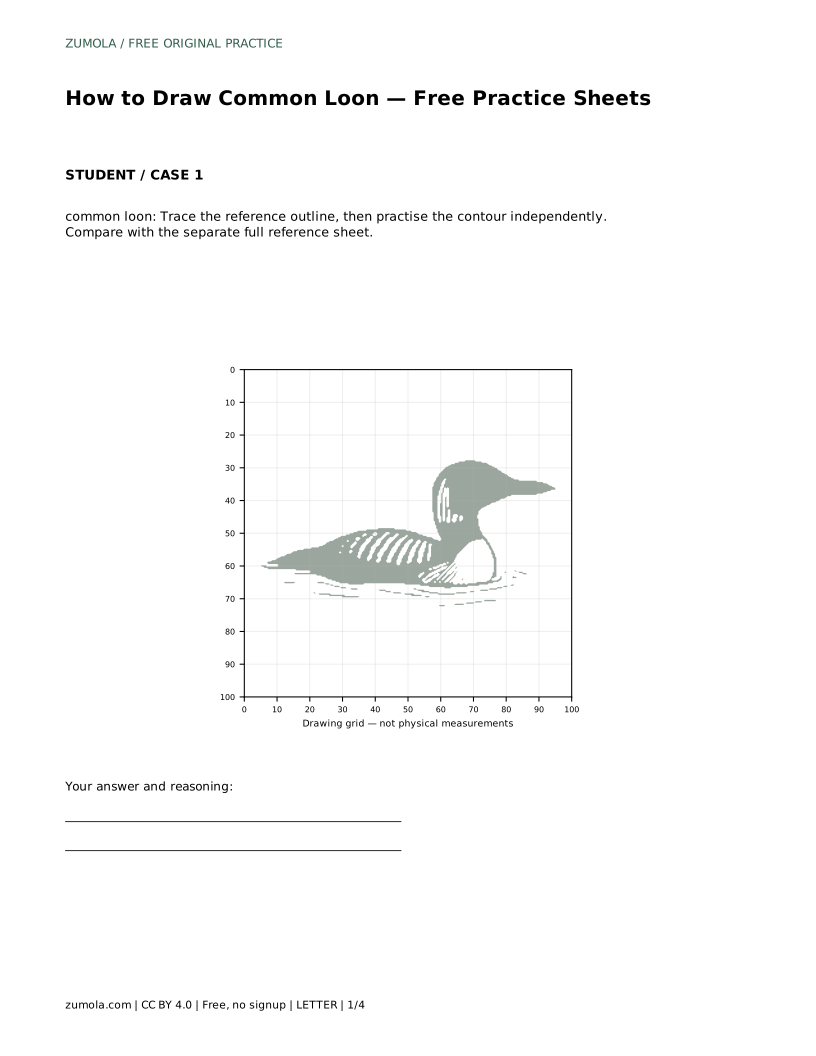
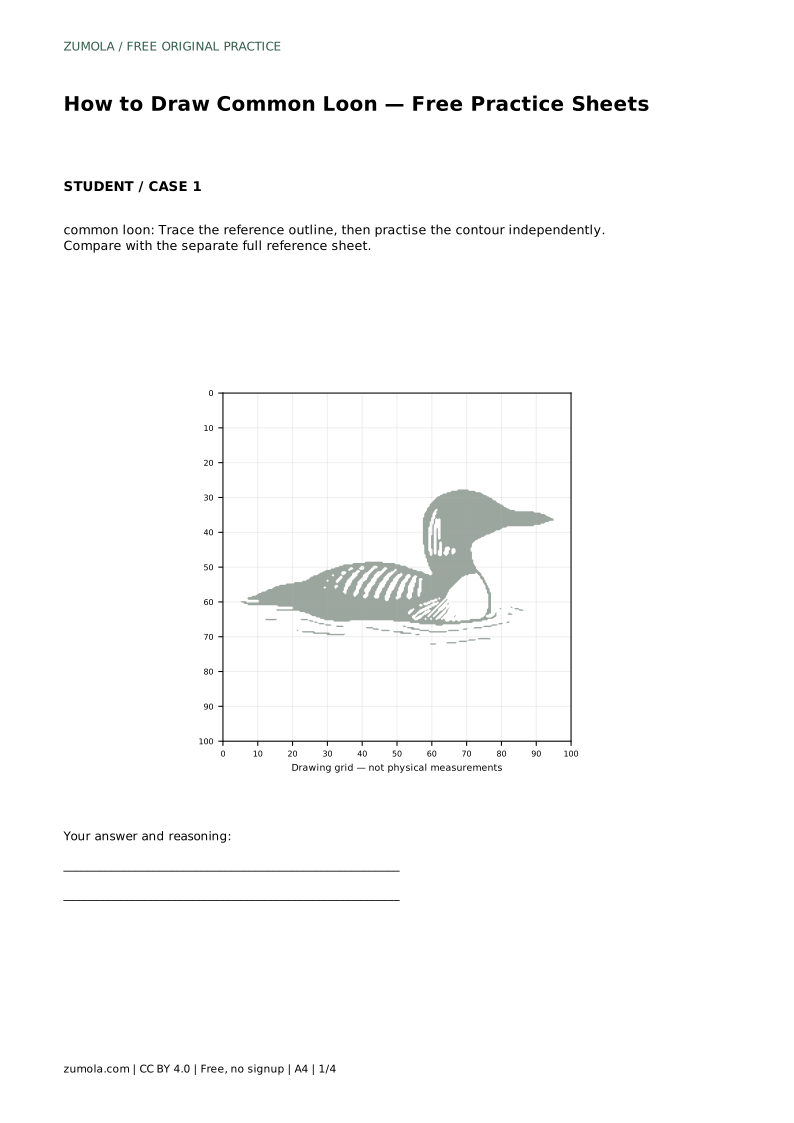
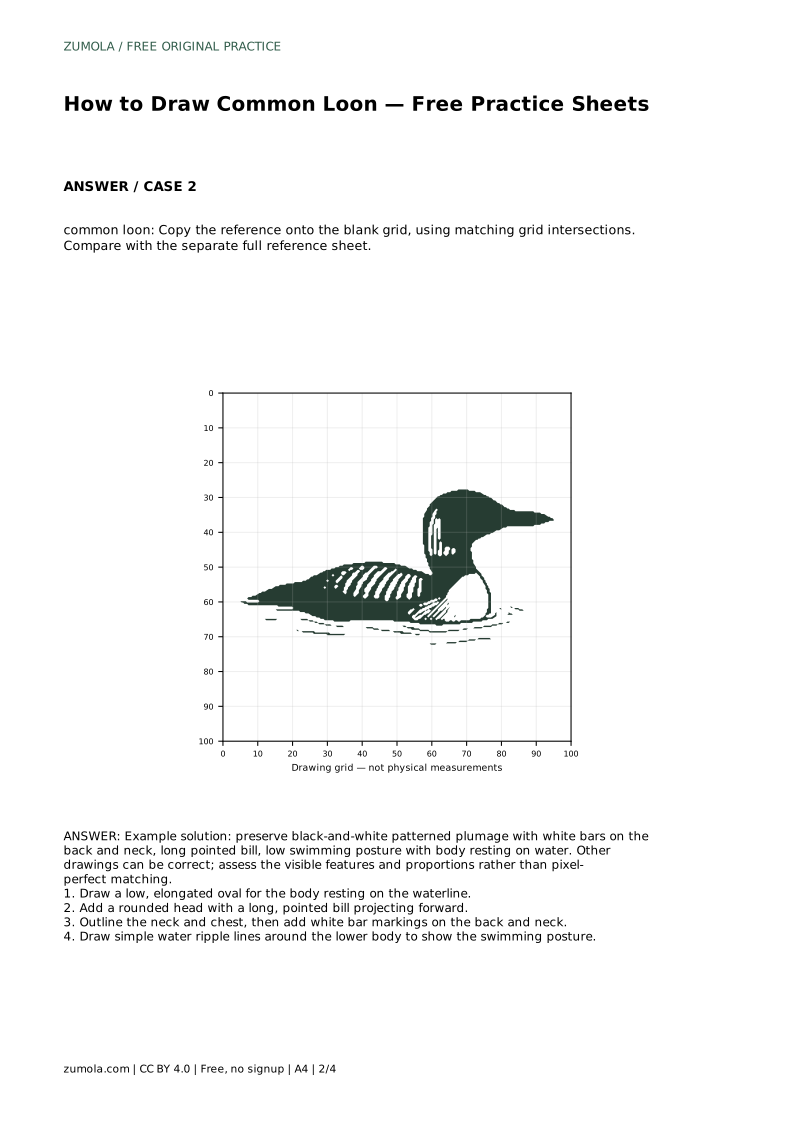
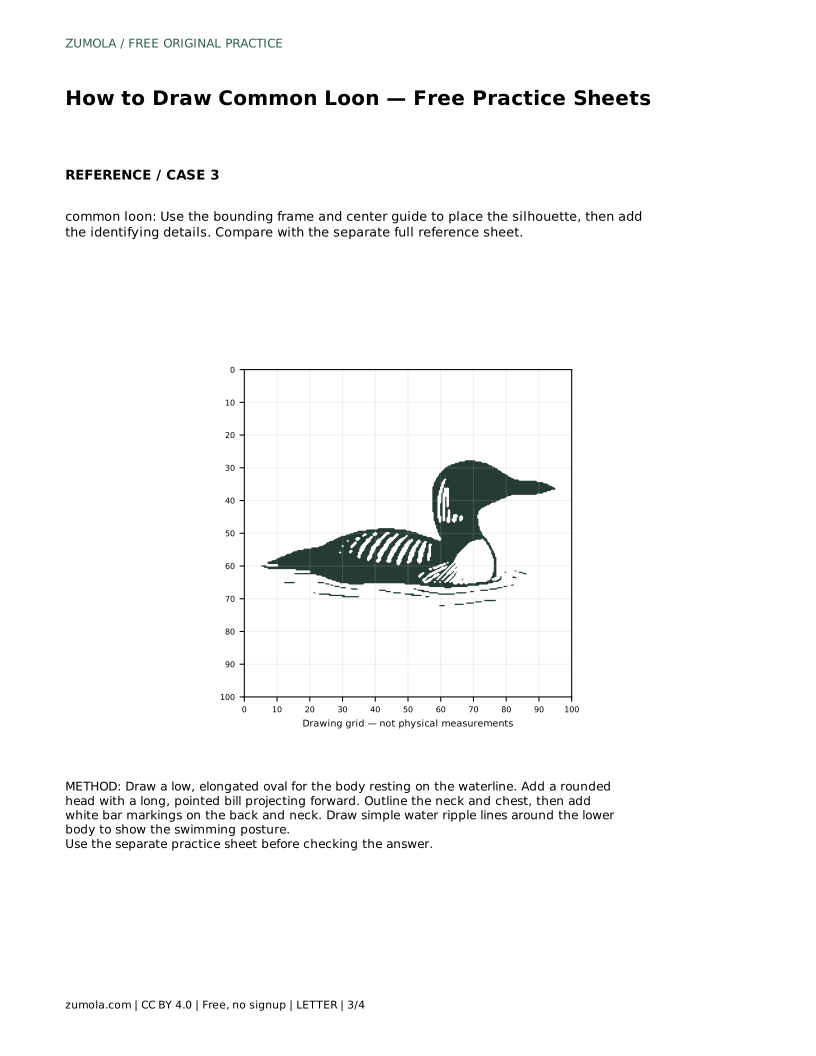
Tracing the reference outline first builds familiarity with the silhouette. Once you have traced it, set the reference aside and draw the contour independently, then compare your result with the full reference sheet. The grid method works differently: copy the drawing square by square, matching where lines cross grid intersections. This trains placement and proportion.
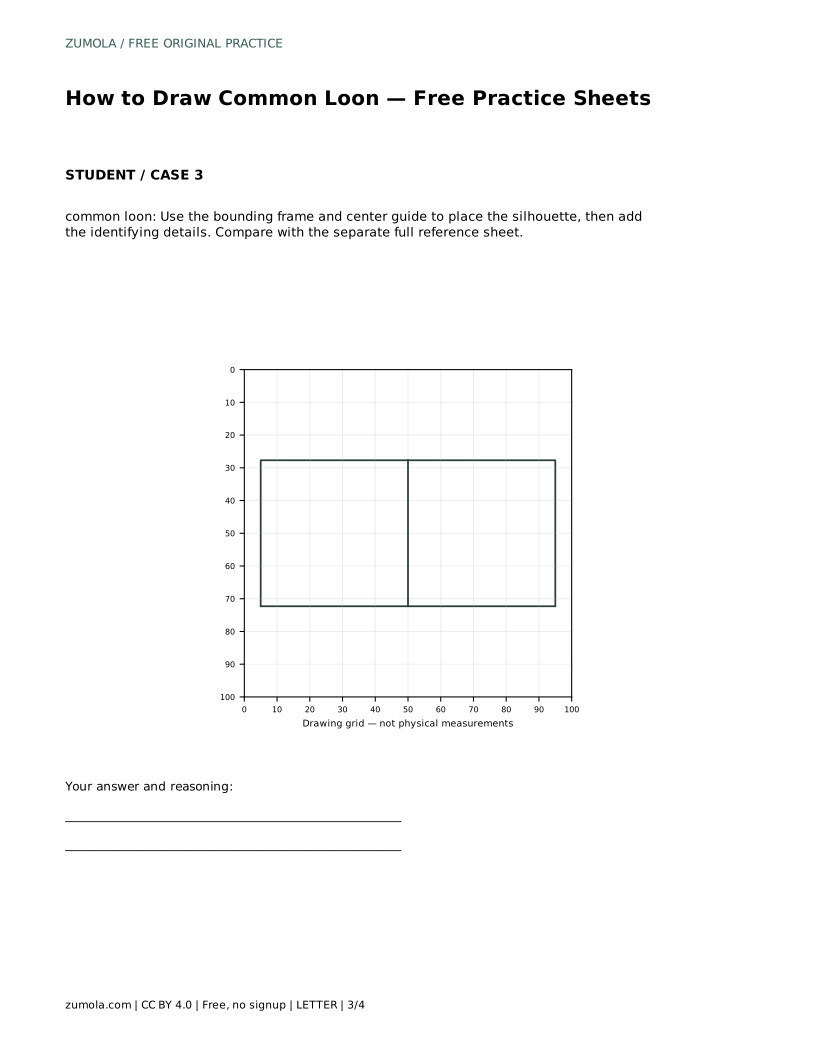
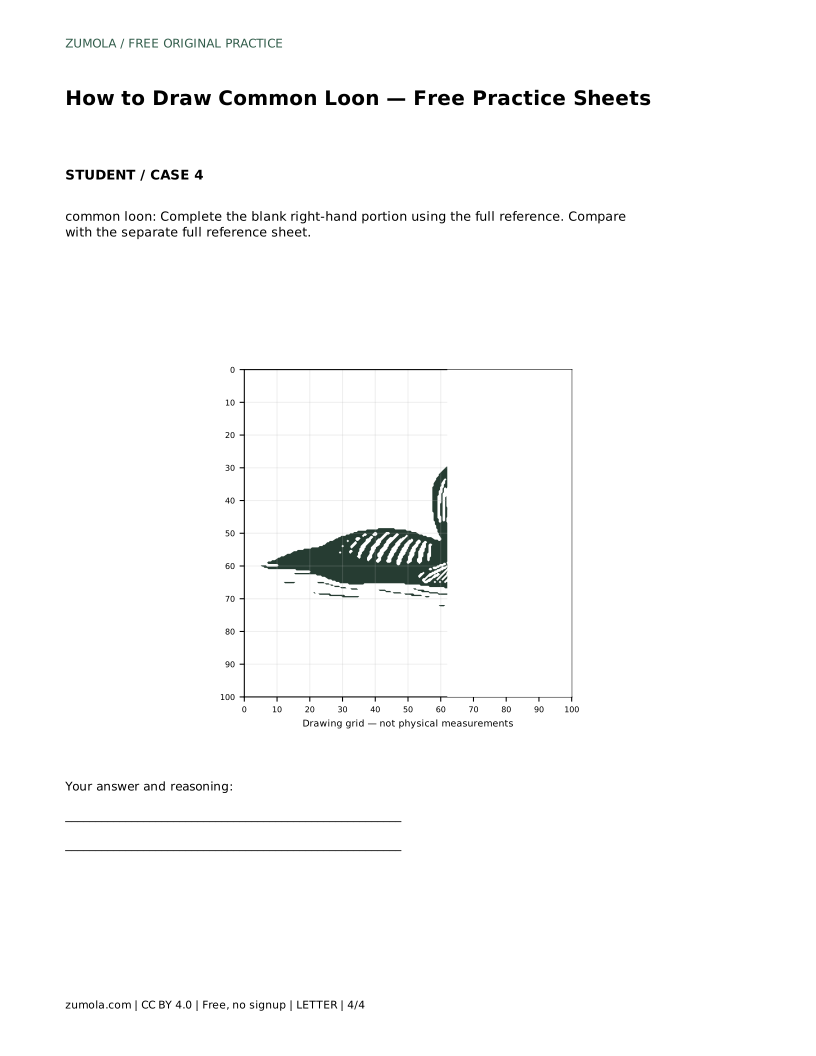
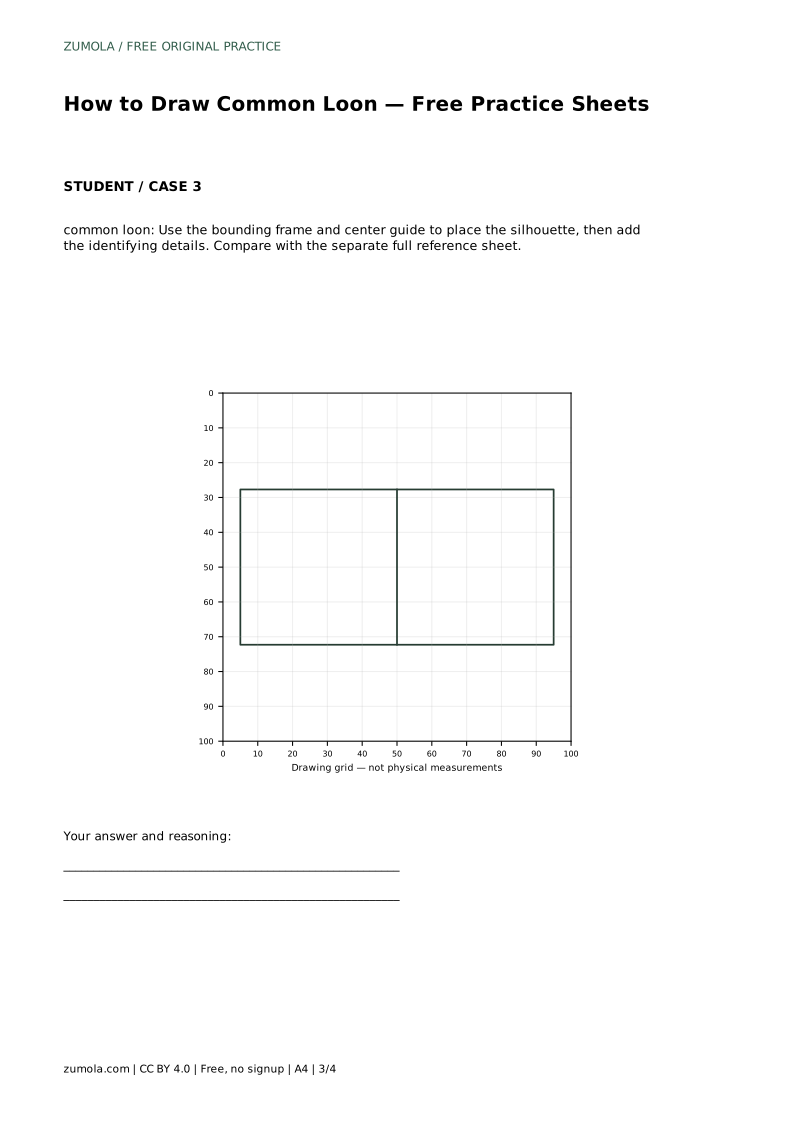
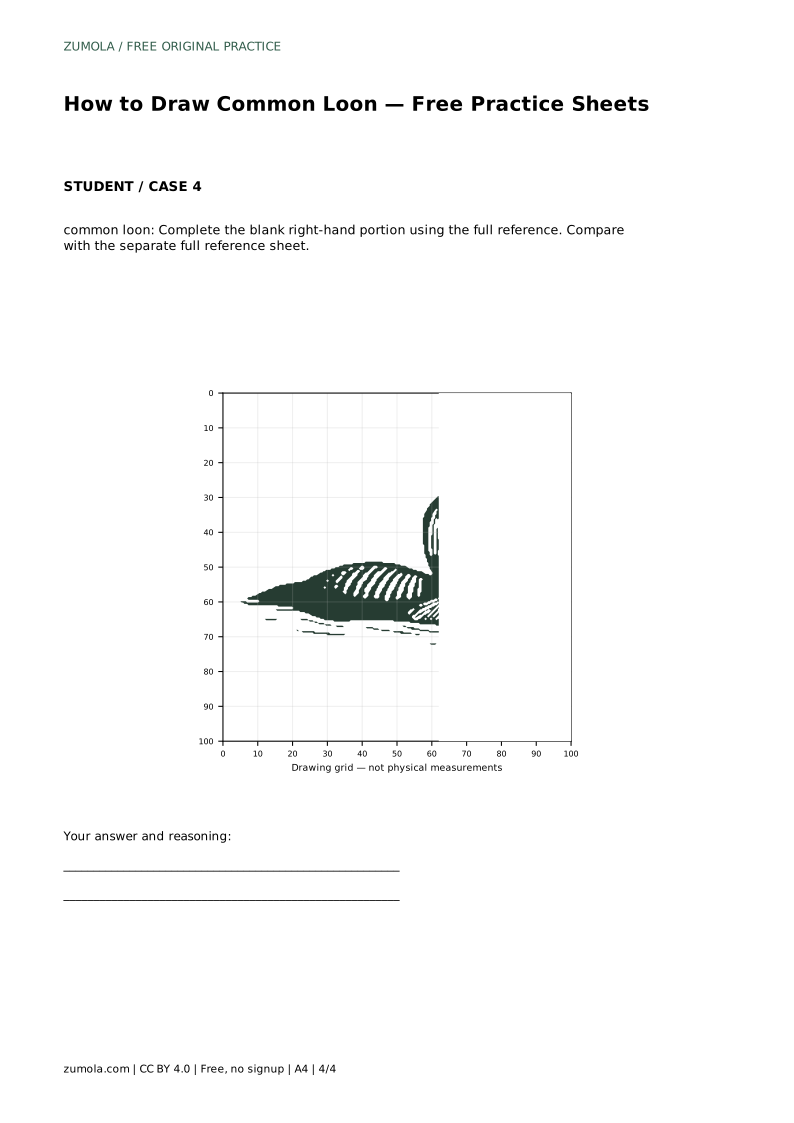
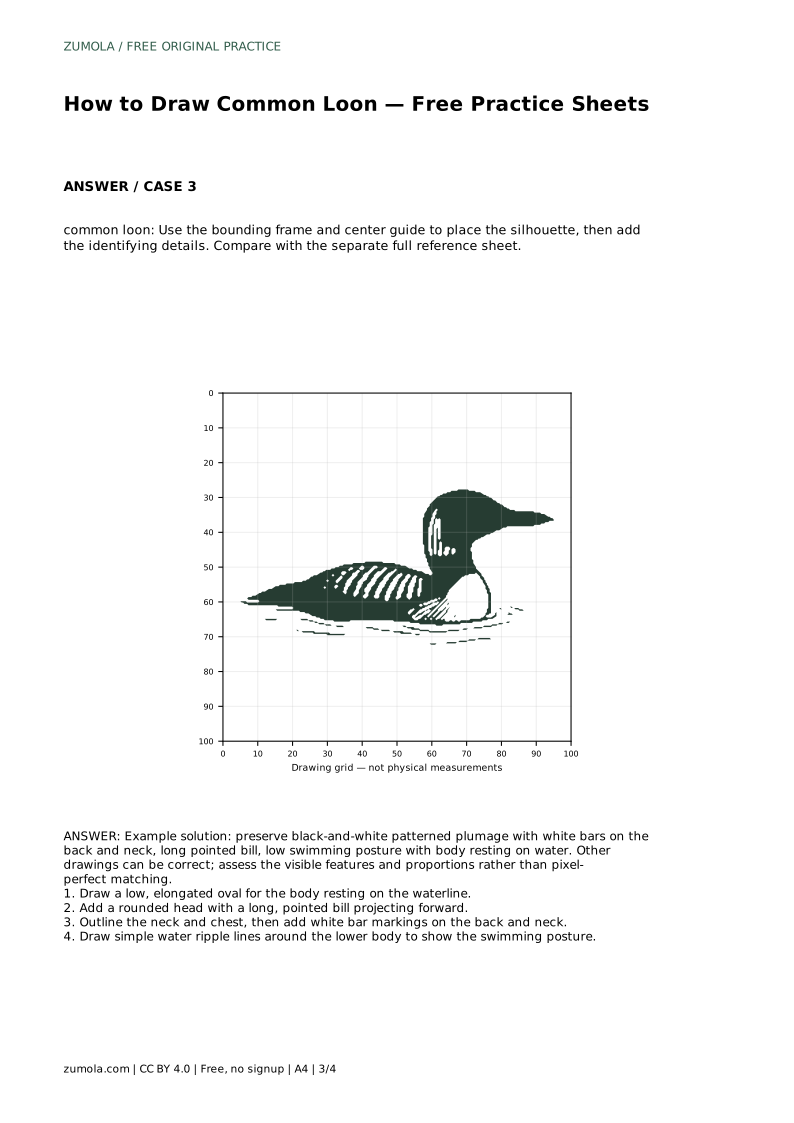
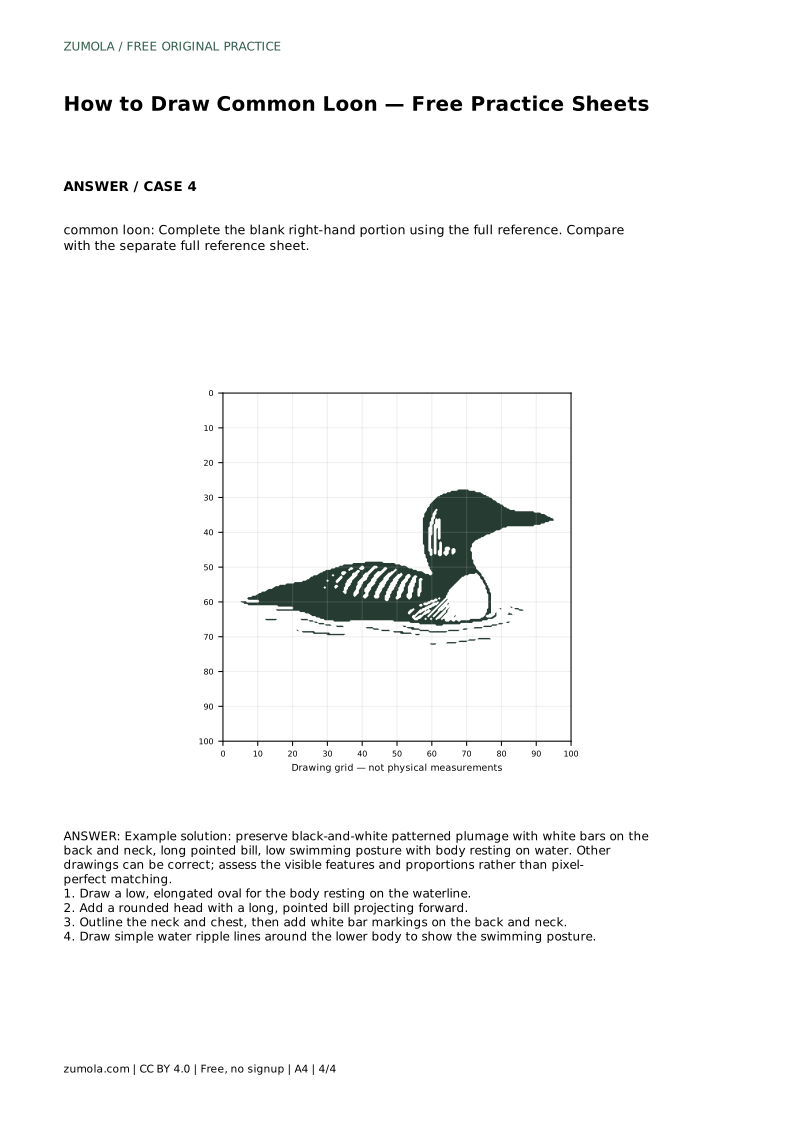
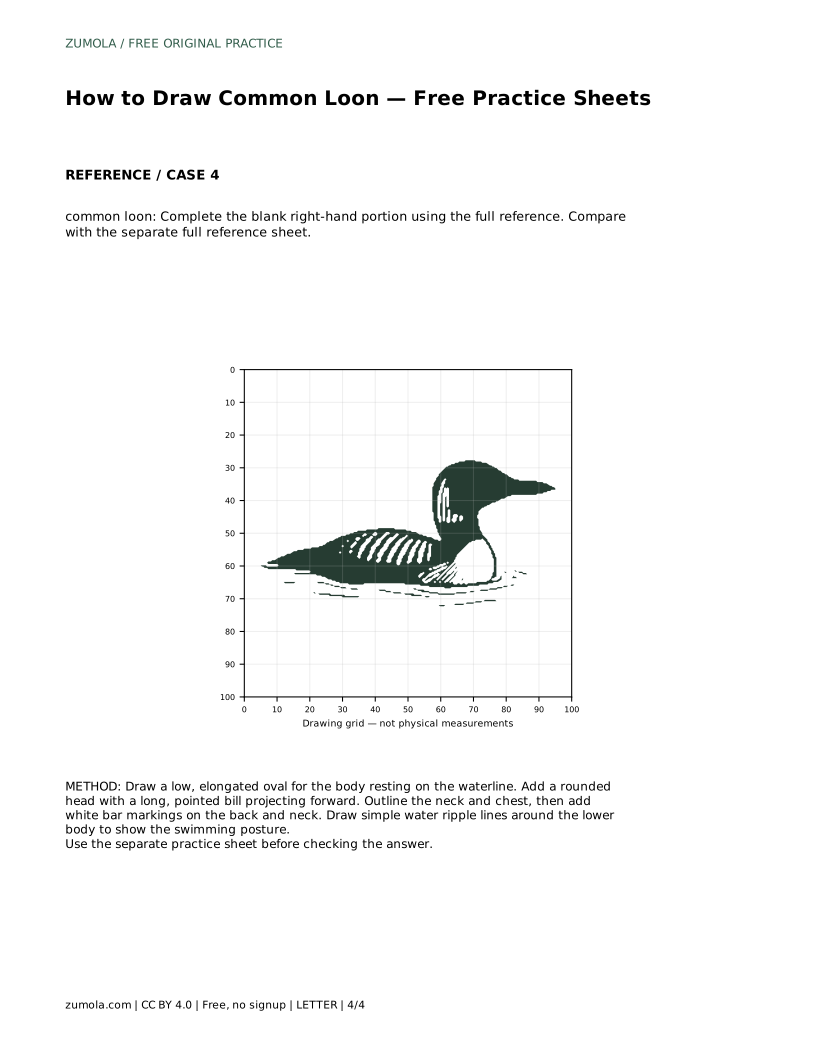
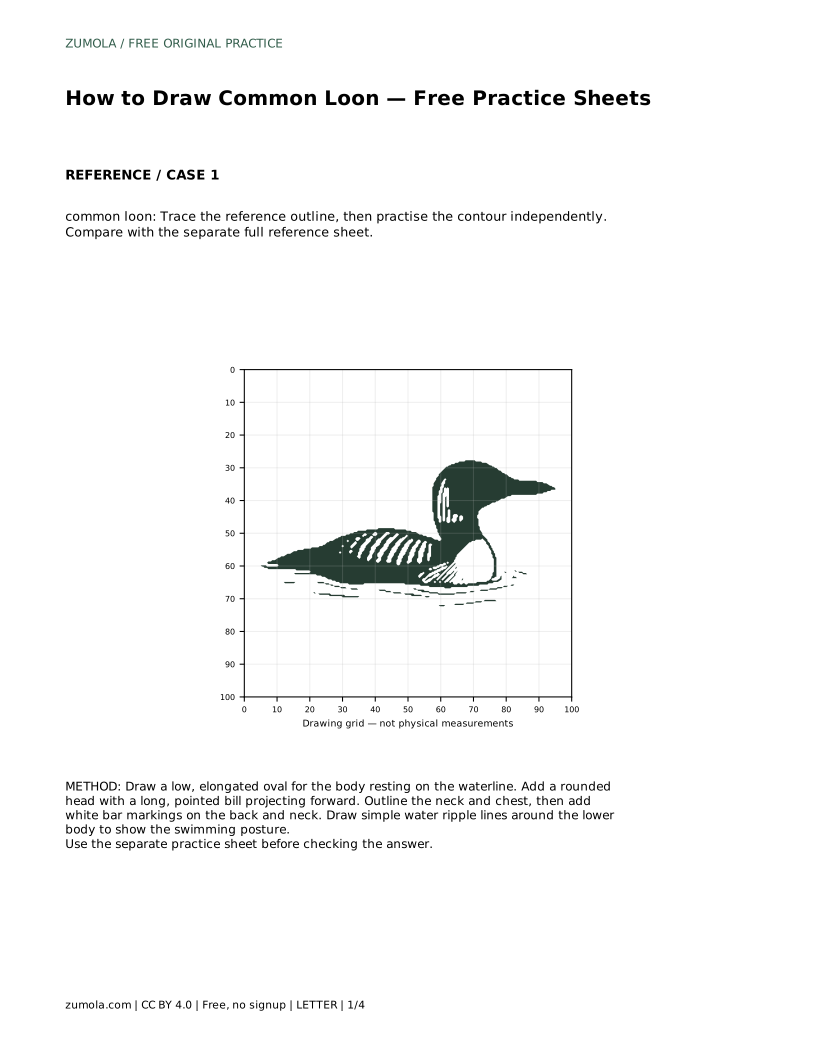
A bounding frame with a center guide helps you position the silhouette before adding details, while a partially blank sheet asks you to complete the missing portion using the full reference. Each method targets a different skill, so rotate between them rather than repeating one approach.
Because drawings vary, judge your work by visible features rather than exact matching. Ask whether the body sits low on the water, whether the bill is long and pointed, and whether the white bars appear on the back and neck. A drawing that captures these traits can look quite different from the reference and still be correct.
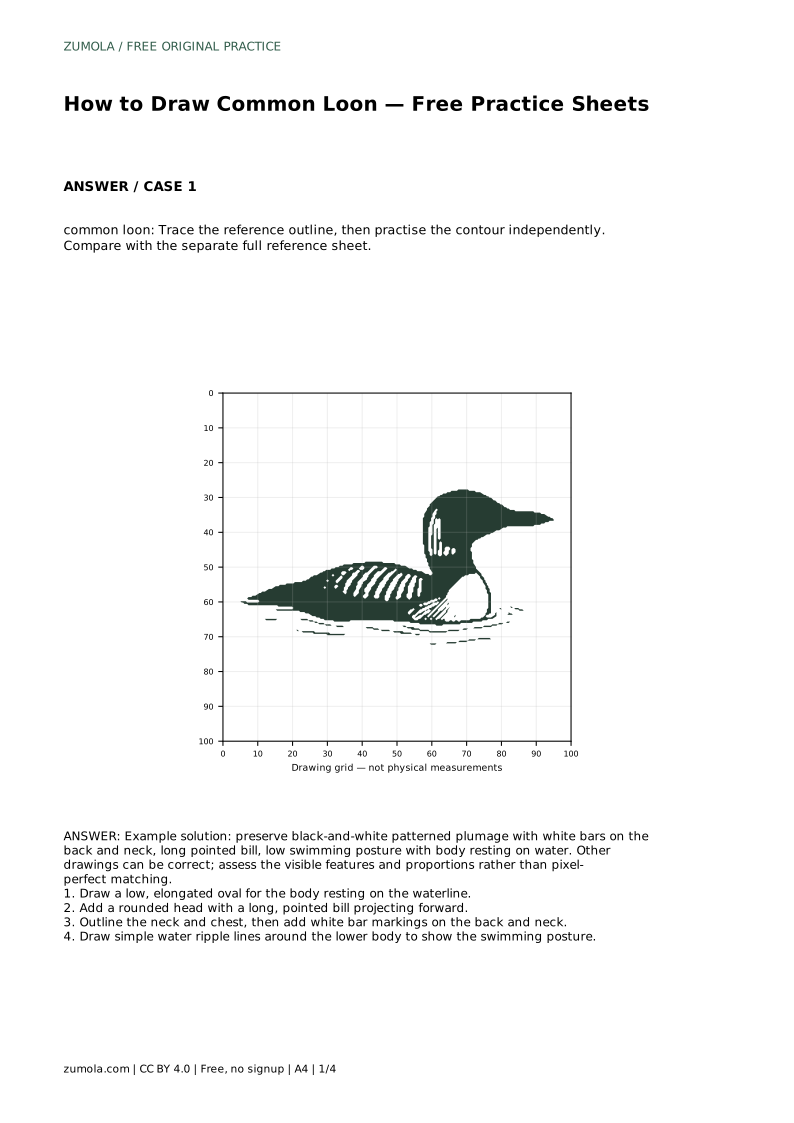
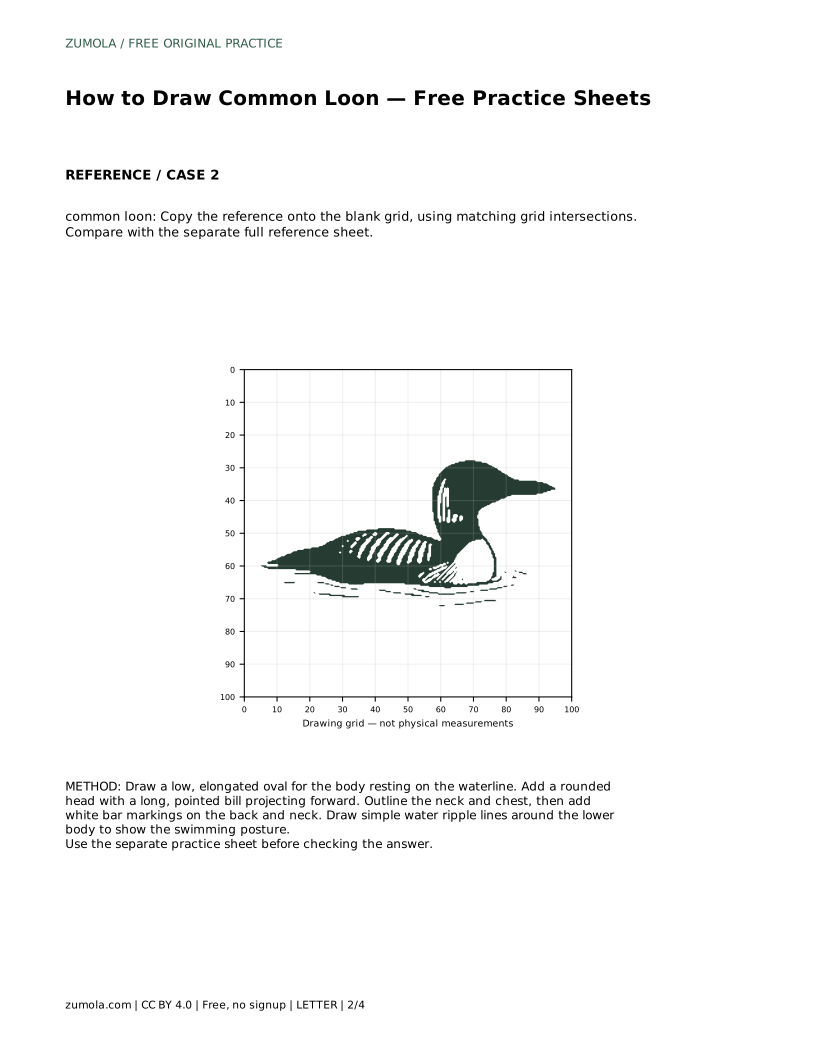
common loon: Trace the reference outline, then practise the contour independently. Compare with the separate full reference sheet.
Example solution: preserve black-and-white patterned plumage with white bars on the back and neck, long pointed bill, low swimming posture with body resting on water. Other drawings can be correct; assess the visible features and proportions rather than pixel-perfect matching. Draw a low, elongated oval for the body resting on the waterline. Add a rounded head with a long, pointed bill projecting forward. Outline the neck and chest, then add white bar markings on the back and neck. Draw simple water ripple lines around the lower body to show the swimming posture.
No. The white bars on the back and neck are the key pattern; a few well-placed marks read more clearly than dense detail.
Draw it on water. The low swimming posture is central to the bird's shape, and ripple lines help show it.
Compare visible features: low body, pointed bill, and barred back and neck. Exact matching is not required.
All drawing practice · Free coordinate paper
Original resources · CC BY 4.0 · Free for personal and classroom use with attribution.