Reference diagrams
LETTER · Download PDF
A4 · Download PDF
Free original resources
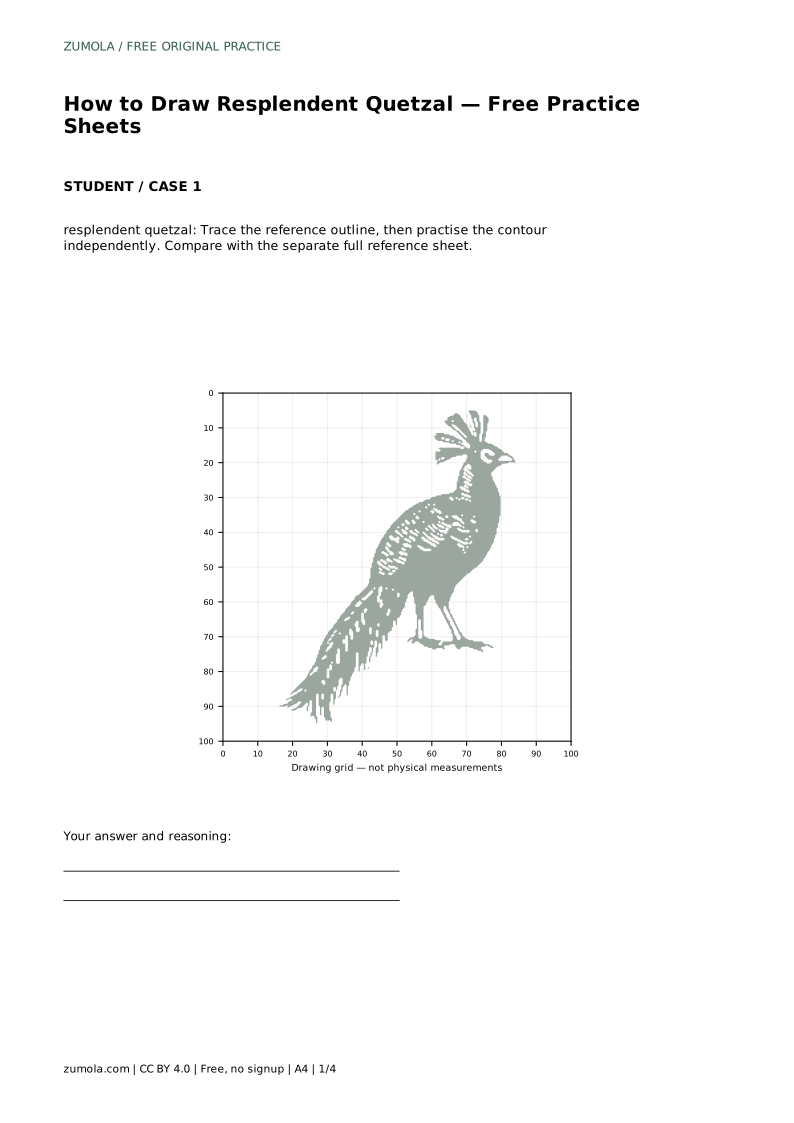
Learn to draw a resplendent quetzal by tracing its outline, then working independently. Focus on the crest, plump body, hatched plumage, and long tail streamers.
Four original cases, with reference diagrams, practice sheets and worked answers. Everything is free; no signup required.
LETTER · Download PDF
A4 · Download PDF
LETTER · Download PDF
A4 · Download PDF
LETTER · Download PDF
A4 · Download PDF
Use A4 or US Letter to match your printer. Use the stated values and conditions to solve each exercise; diagrams are not physical measuring rulers.
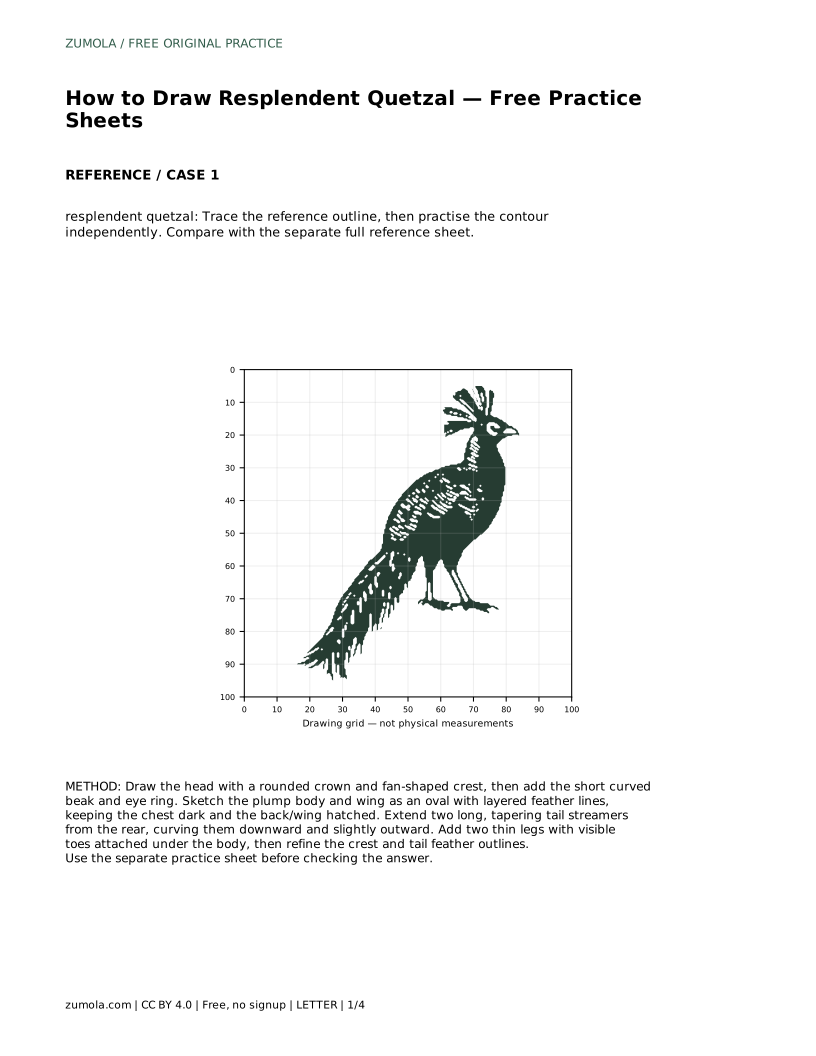
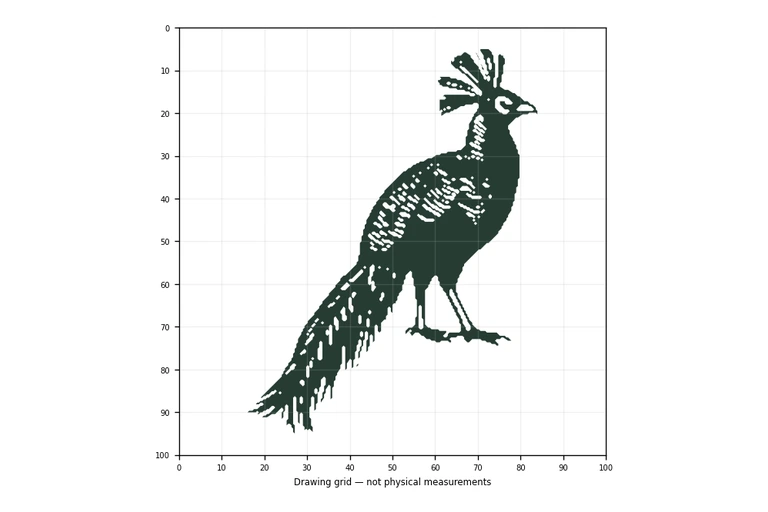
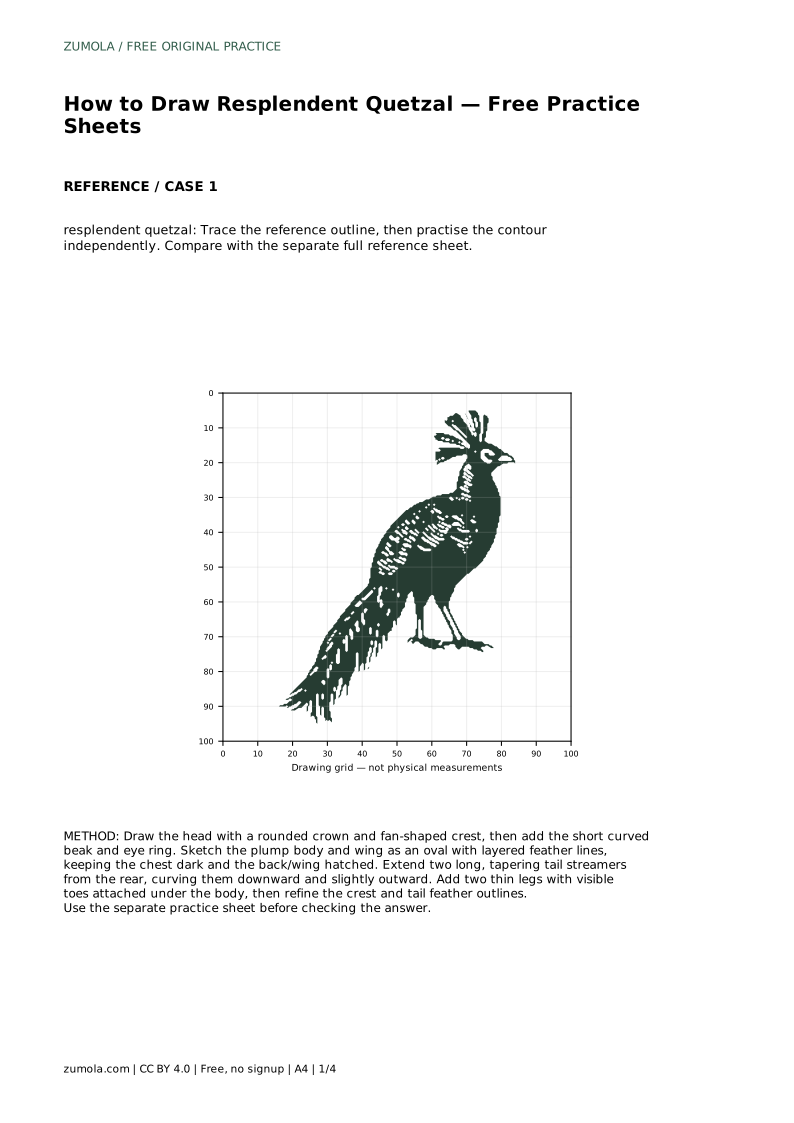
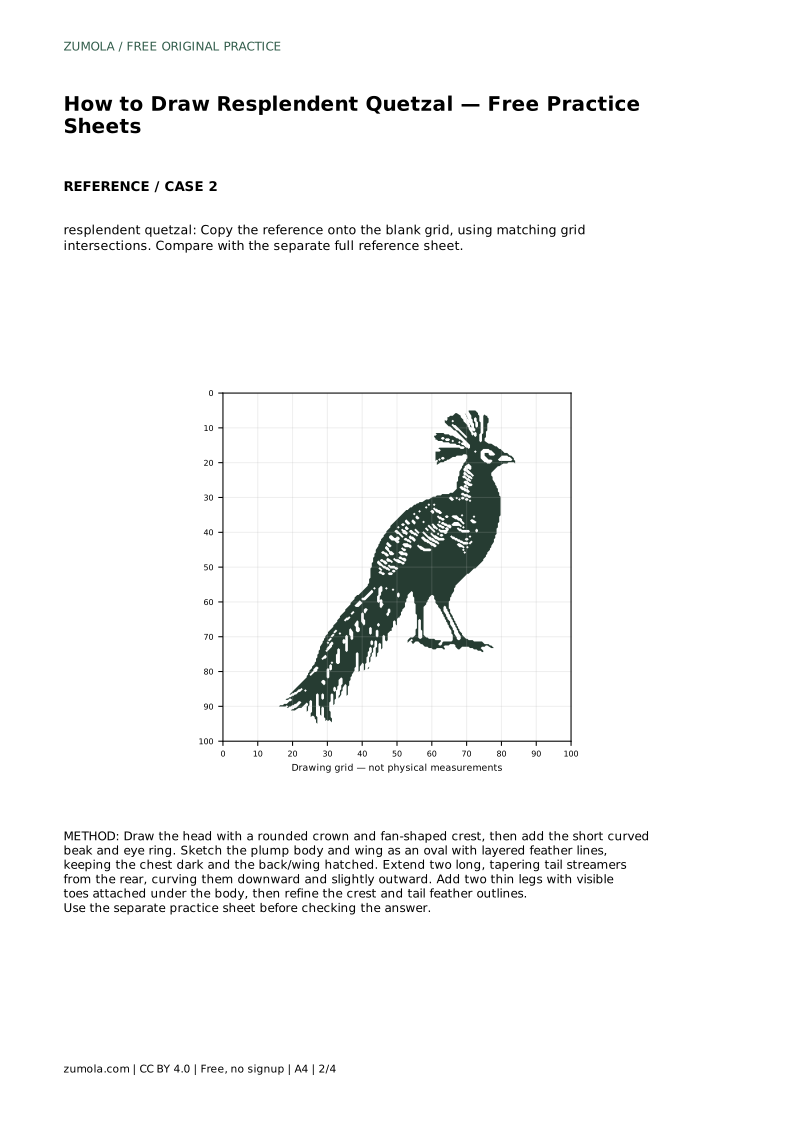
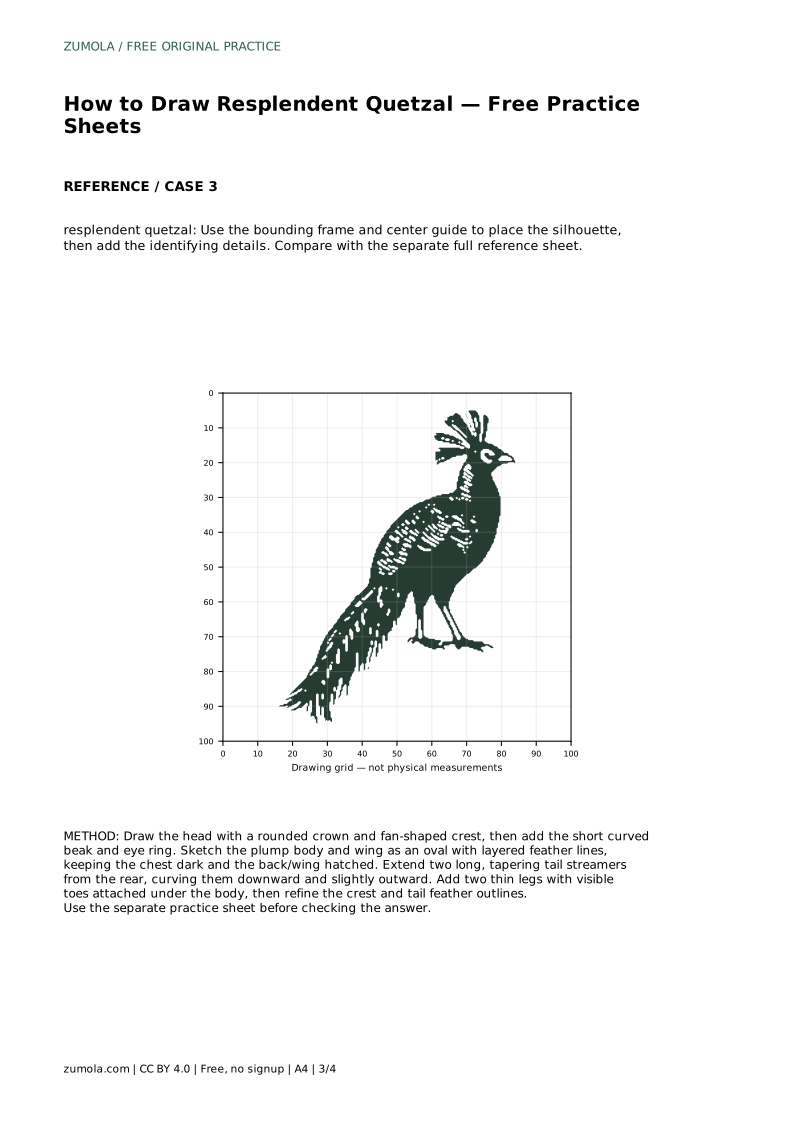
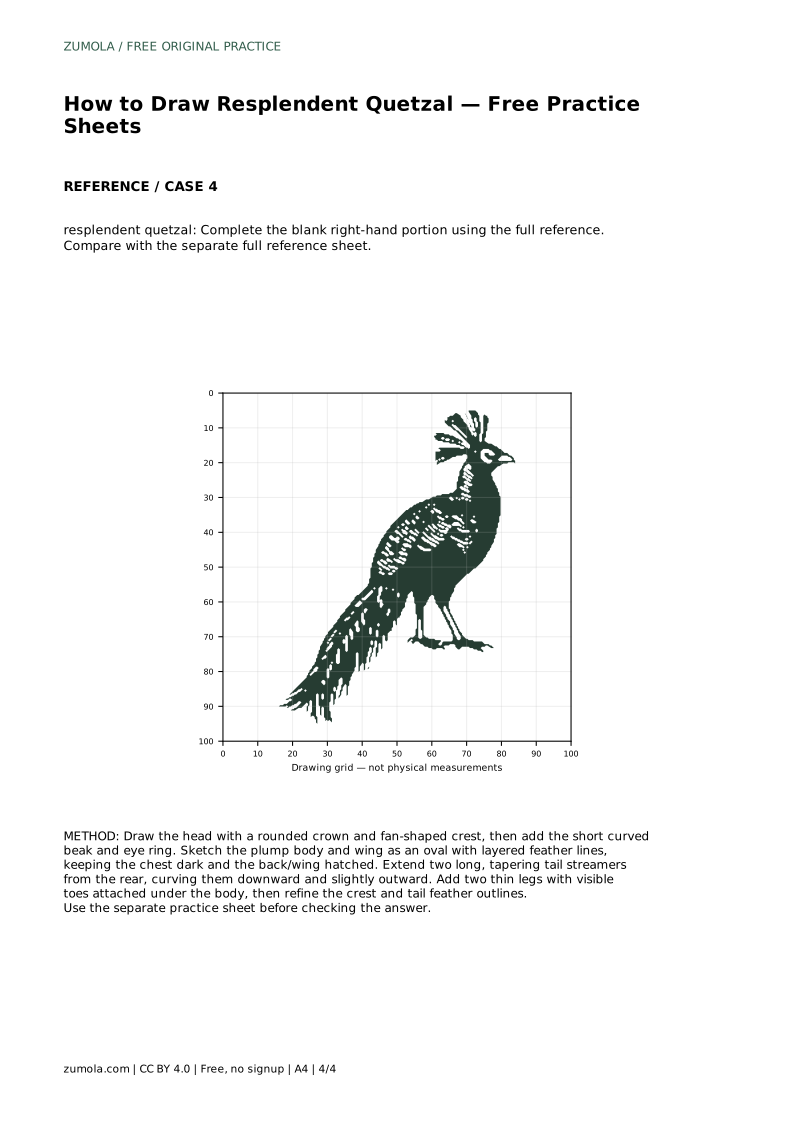
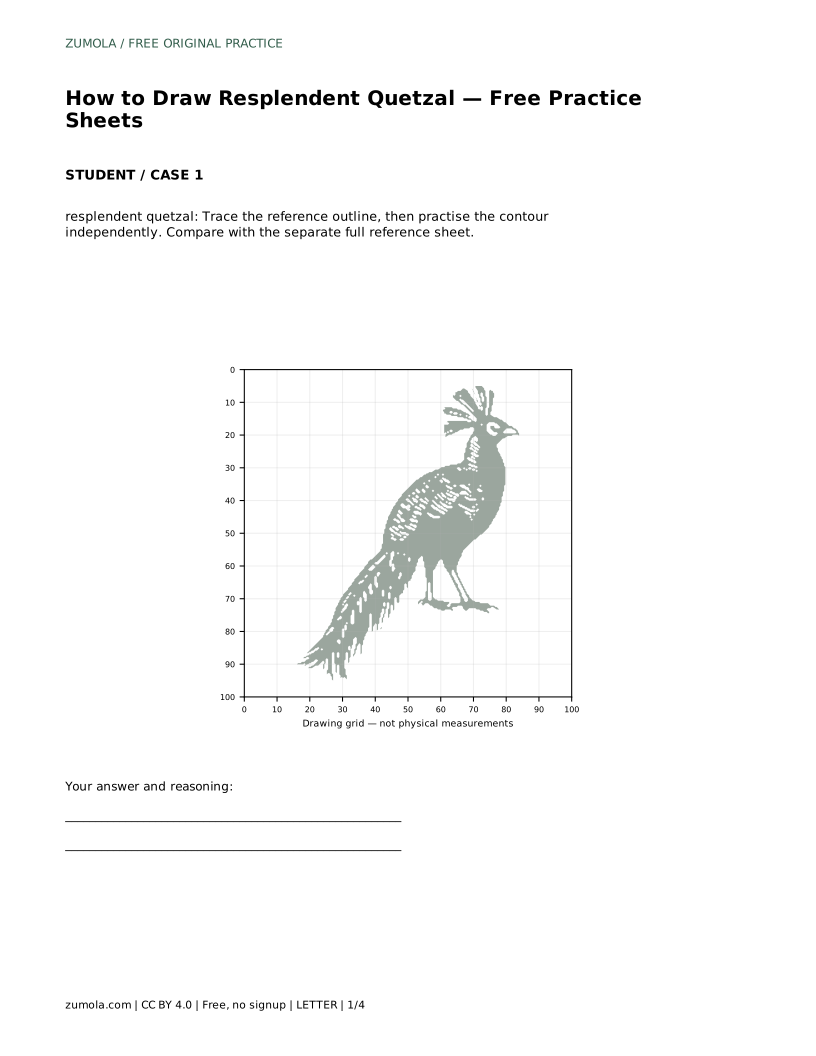
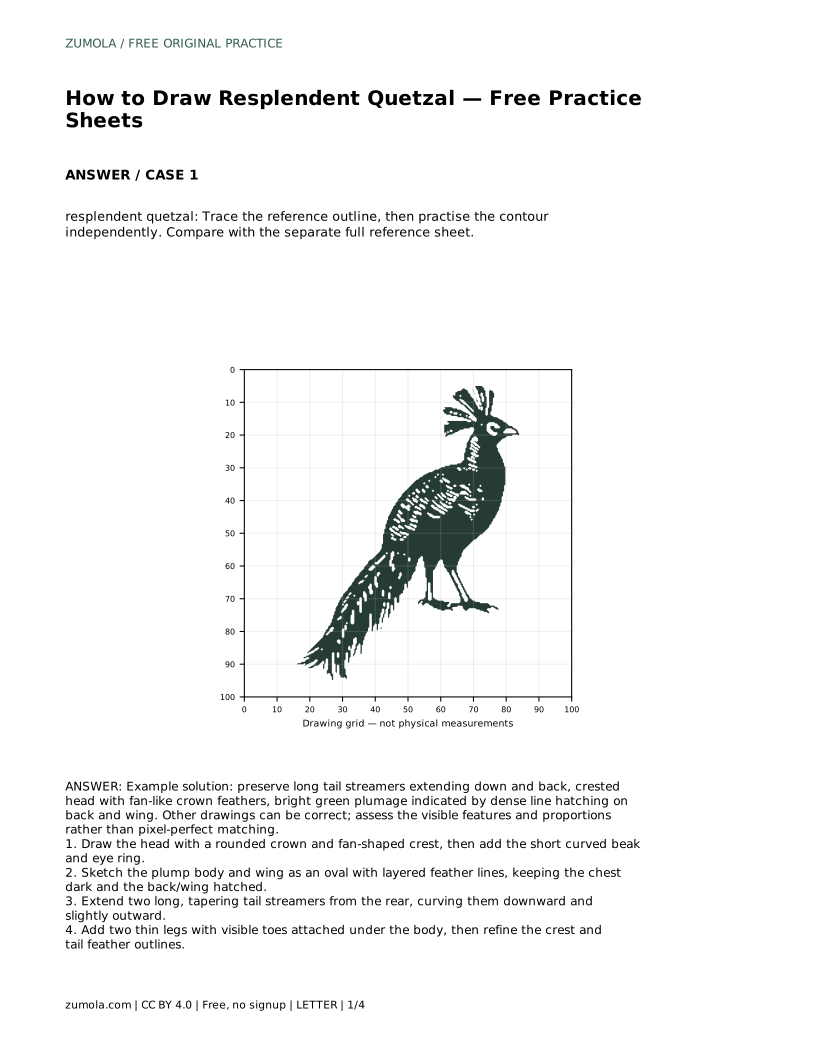
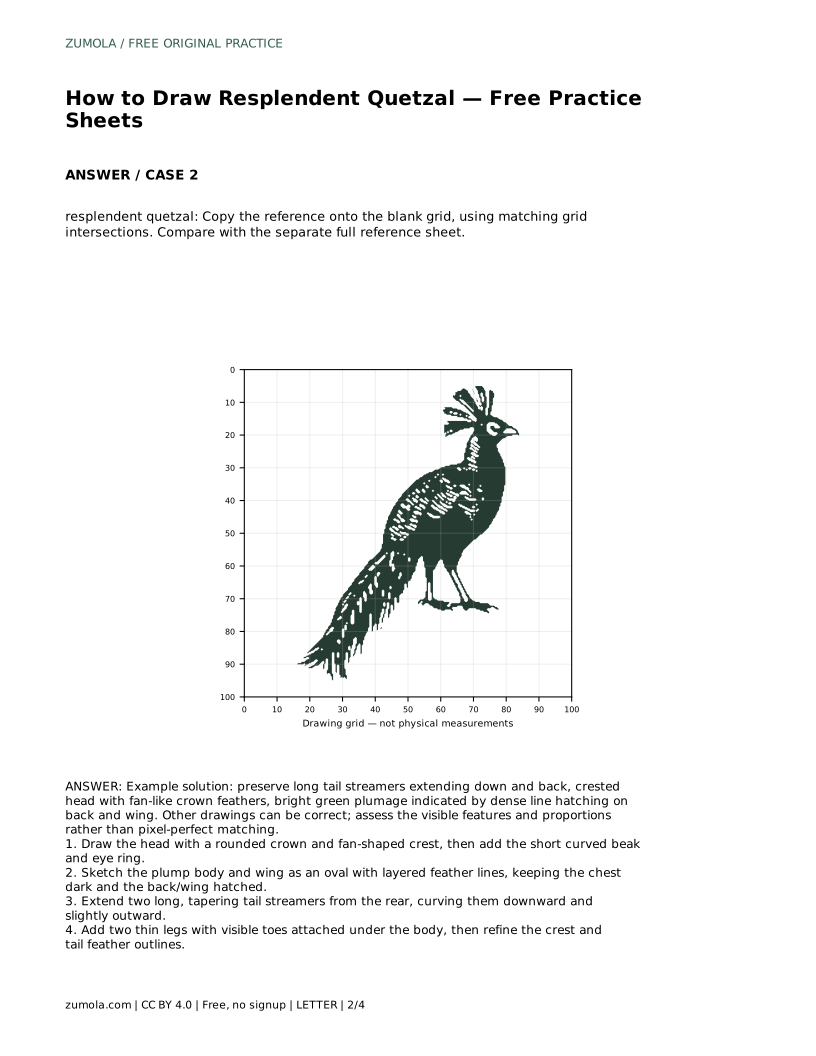
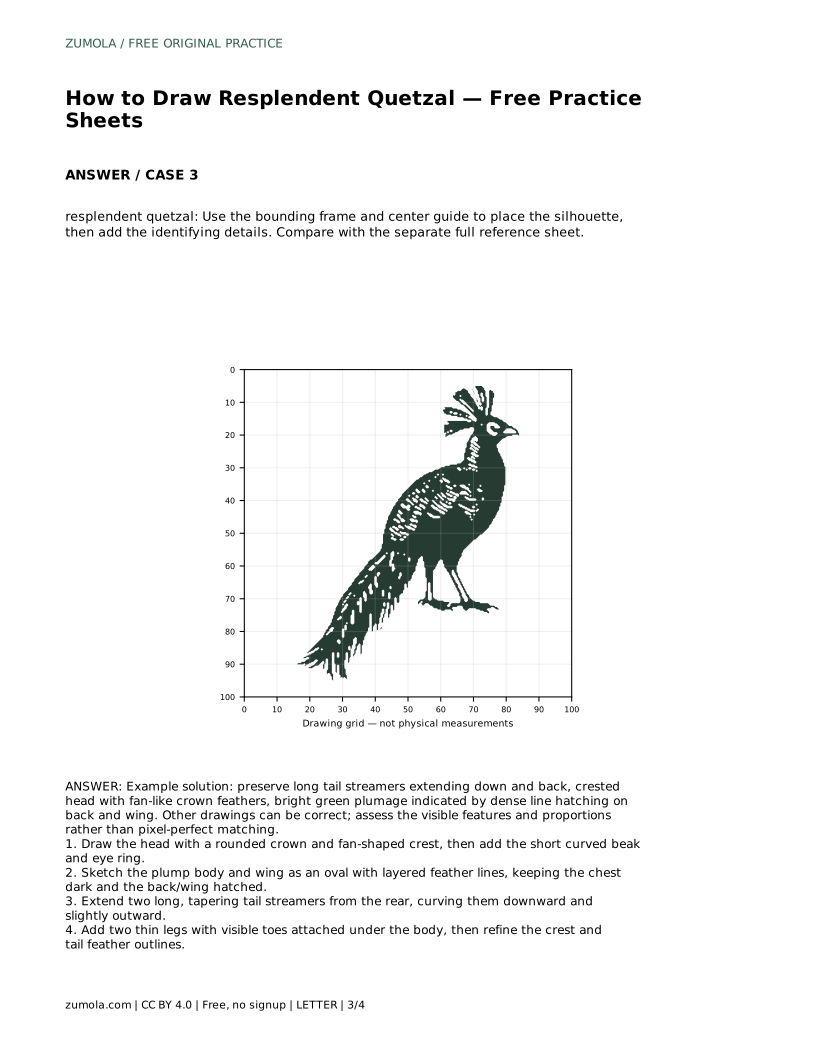
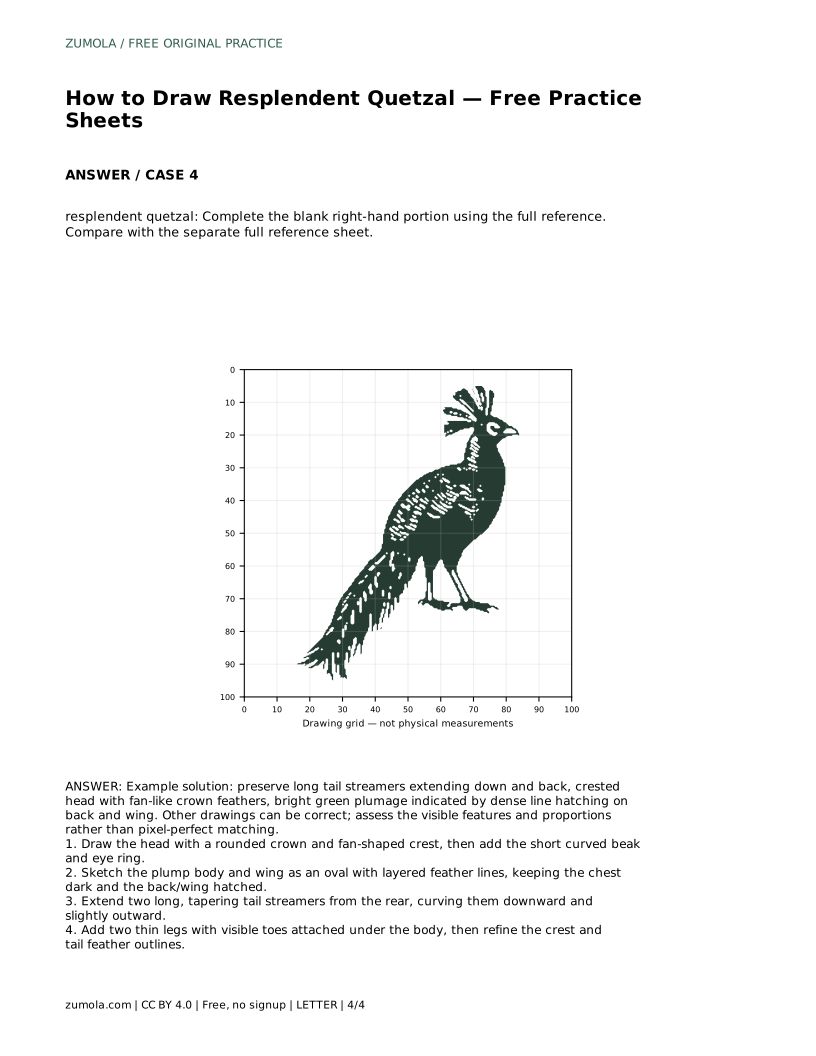
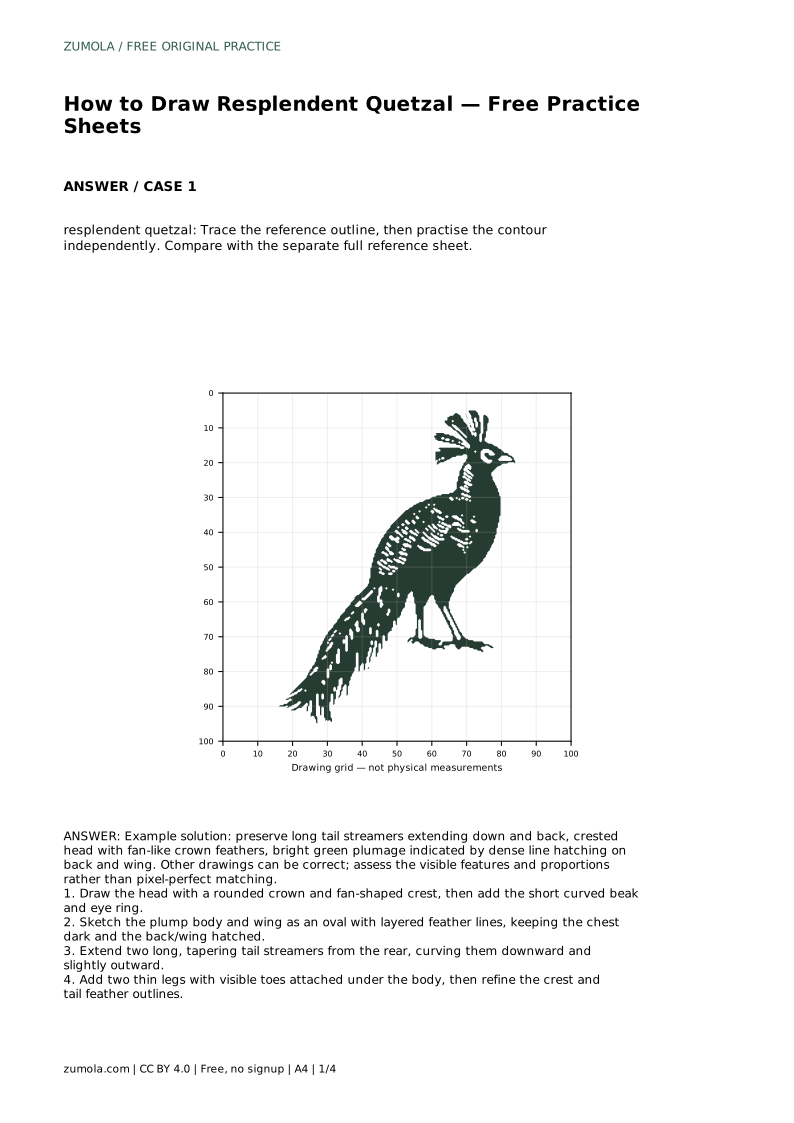
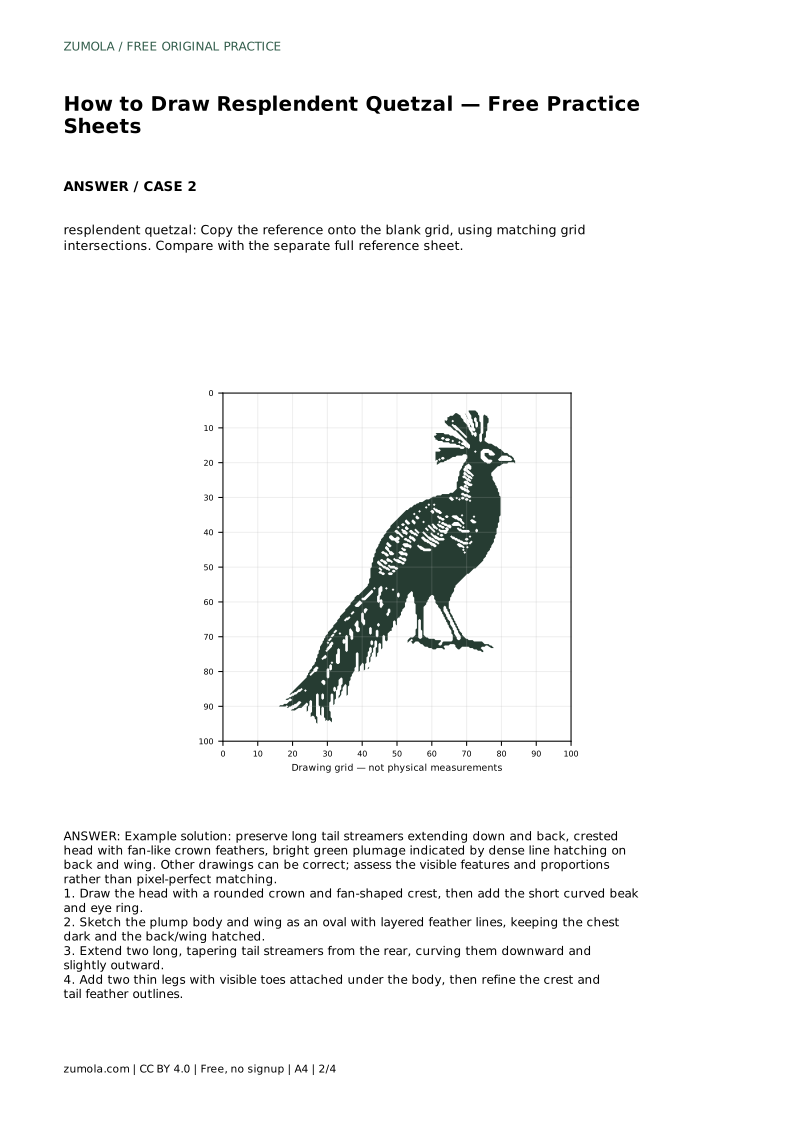
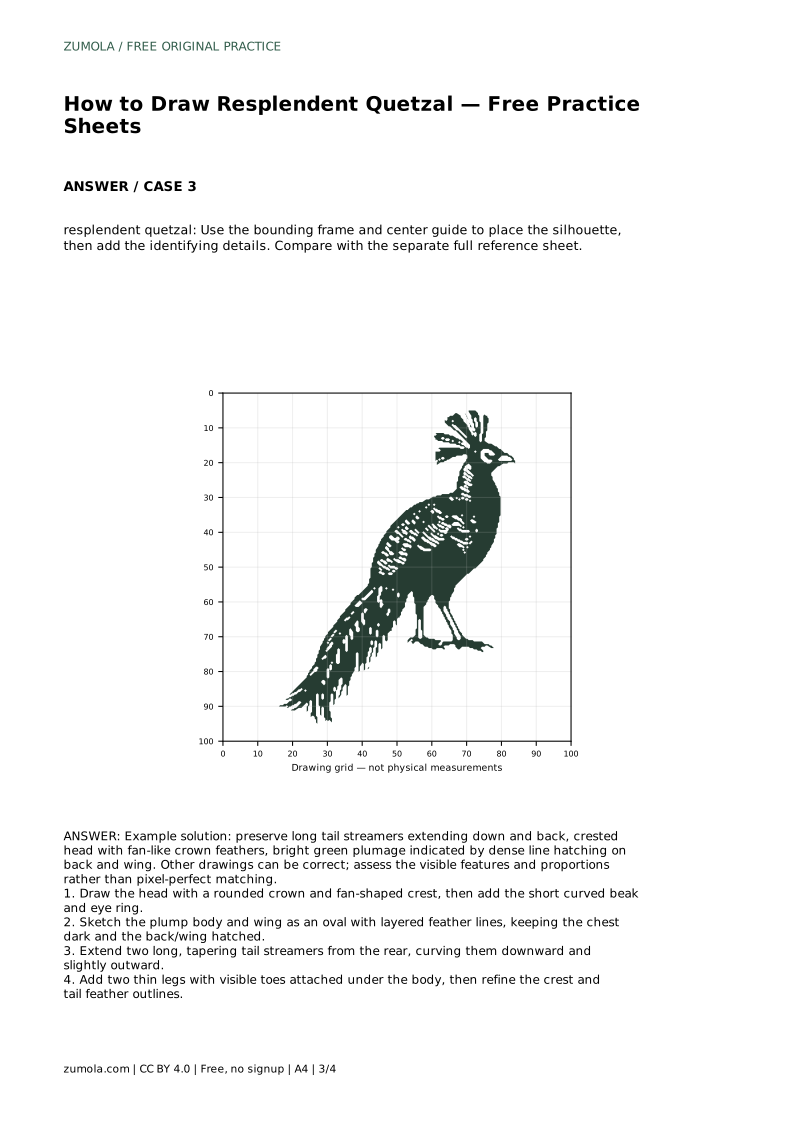
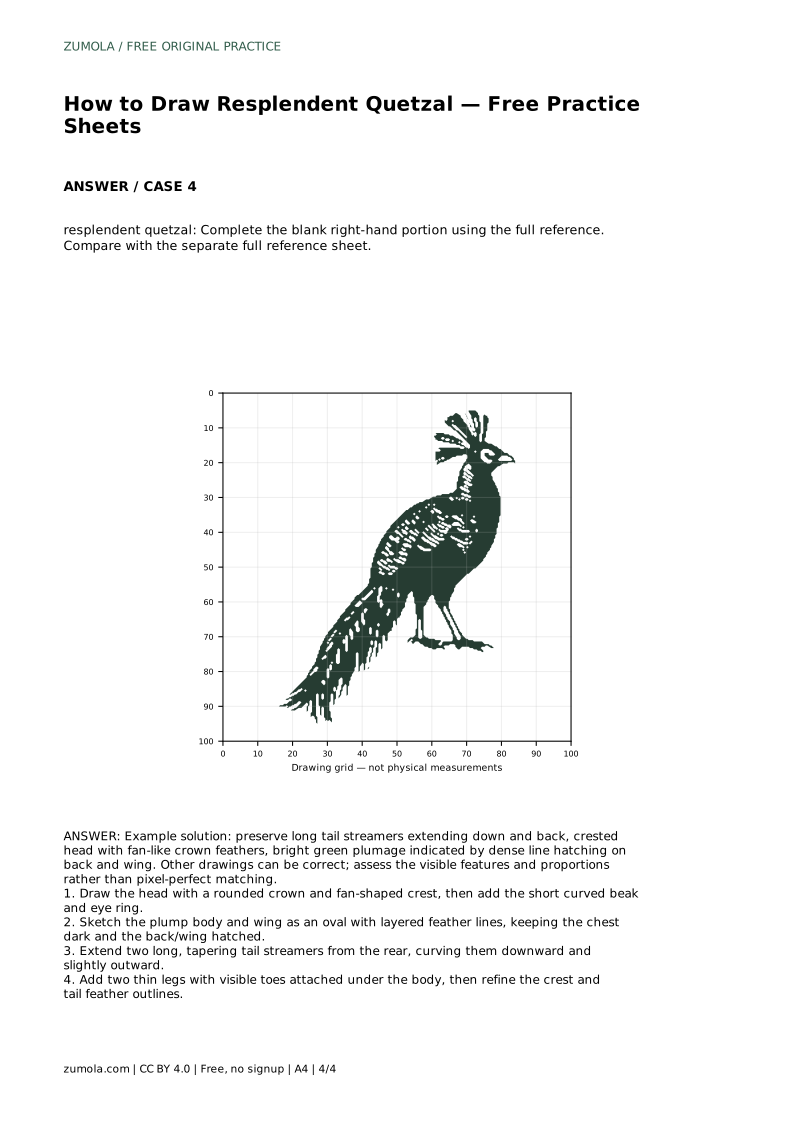
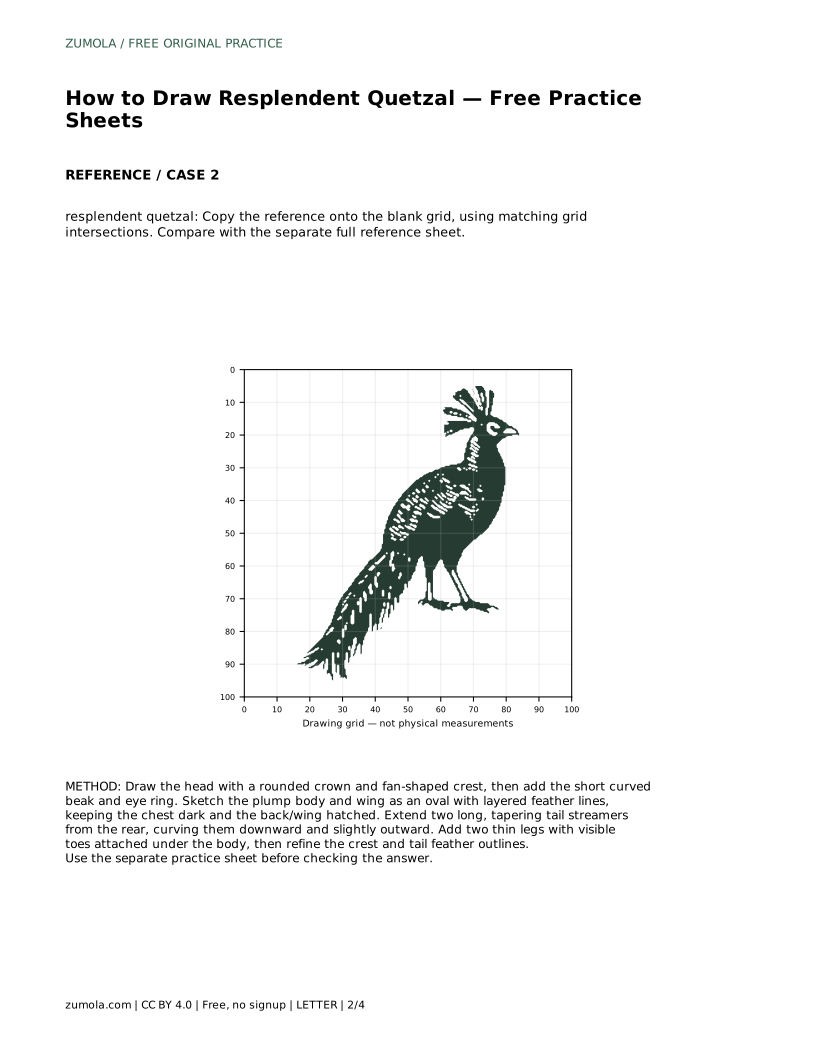
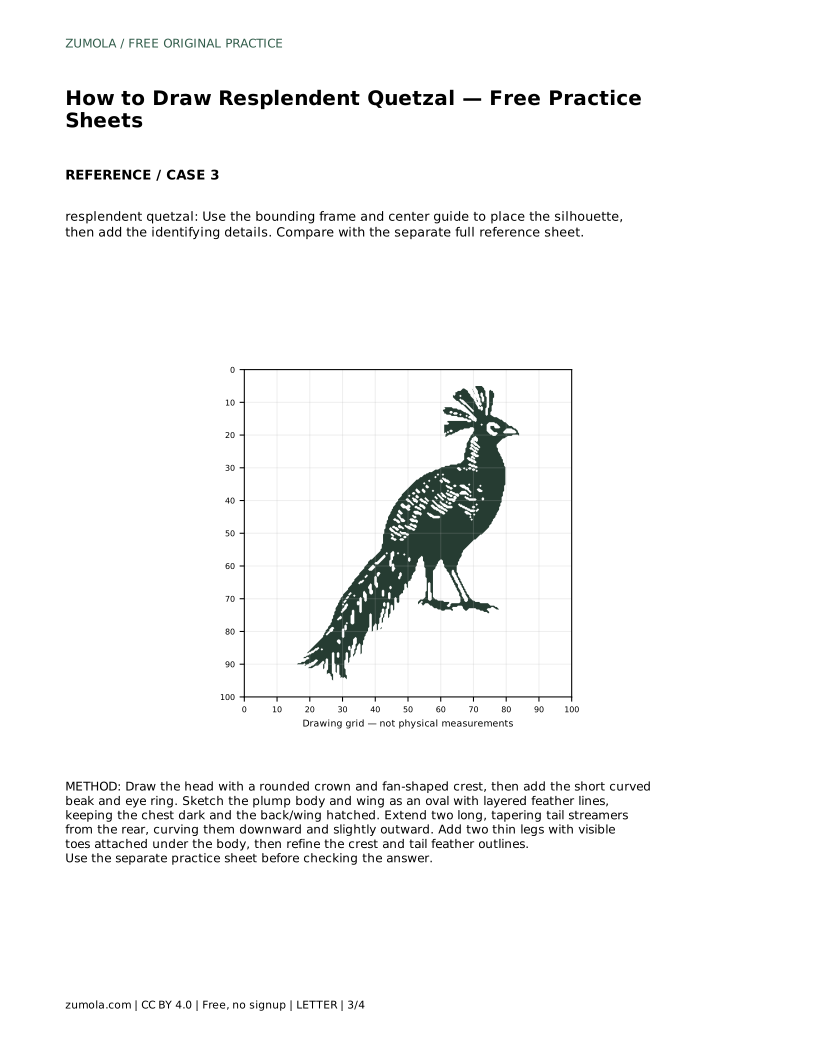
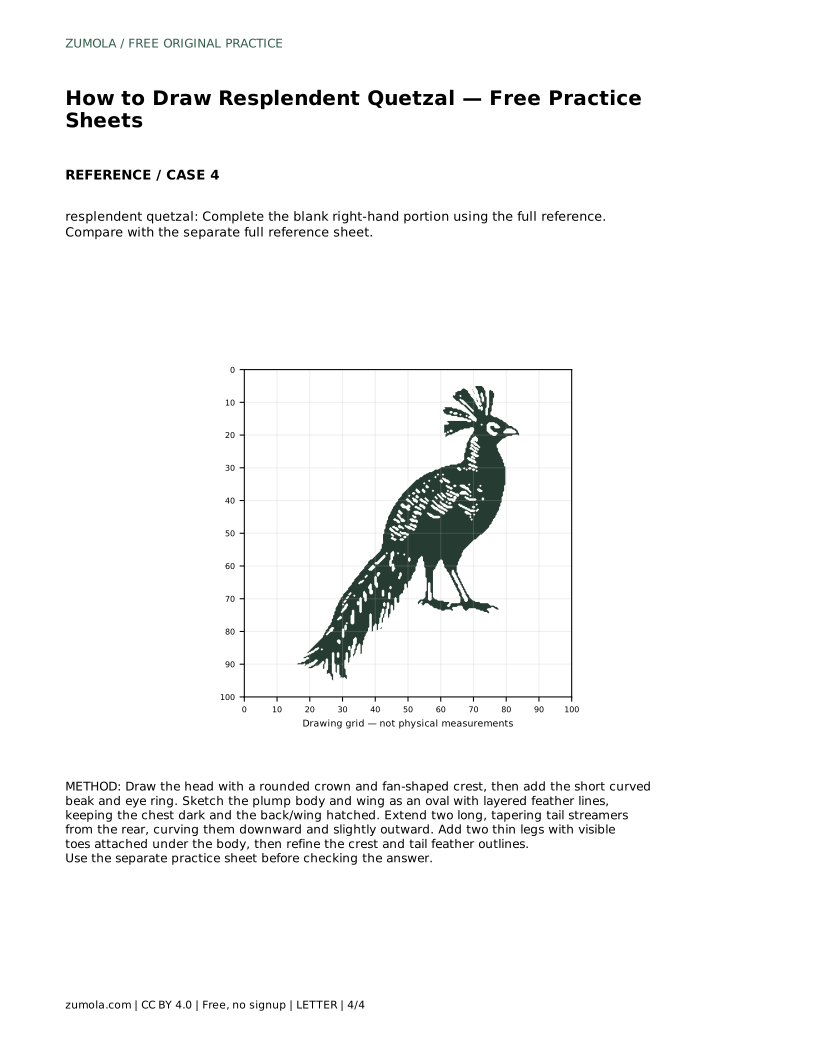
The resplendent quetzal is recognizable by a few bold shapes: a rounded head topped with a fan-like crest, a short curved beak, a plump body, and two very long tail streamers that sweep down and back. This page shows how to trace a reference outline first, then practise the same contour without tracing. The goal is not a pixel-perfect copy but a drawing that keeps the bird's key features and proportions visible.
Begin at the top of the bird. Draw a rounded crown, then add the fan-shaped crest as a set of short feathers spreading upward and slightly back. Keep the crest attached to the crown rather than floating above it. Add the short, curved beak at the front of the head and a small eye ring. These features set the bird's direction and scale, so place them before the body.
If you are tracing, follow the reference outline closely here. If you are working independently, check that the beak points the same way as the reference and that the crest sits on top of the head, not behind it.
Sketch the body as a plump oval beneath the head. The chest stays relatively dark, while the back and wing carry dense line hatching to suggest bright green plumage. Draw the wing as a layered oval with feather lines running along its length. Keep the body compact; a stretched or thin body will make the bird look unlike the reference.
Hatching is a drawing convention here, not a colour instruction. Dense parallel lines on the back and wing stand in for the vivid green, while lighter or sparser marks can suggest the paler chest.
From the rear of the body, extend two long, tapering tail streamers. Curve them downward and slightly outward, keeping them clearly separate so each reads as a single feather. Their length is a defining feature, so give them room on the page before you commit.
Add two thin legs under the body with visible toes. Attach the legs where the body meets the lower edge, not at the tail. Finally, refine the crest and tail outlines so the edges are clean and the feather shapes are readable.
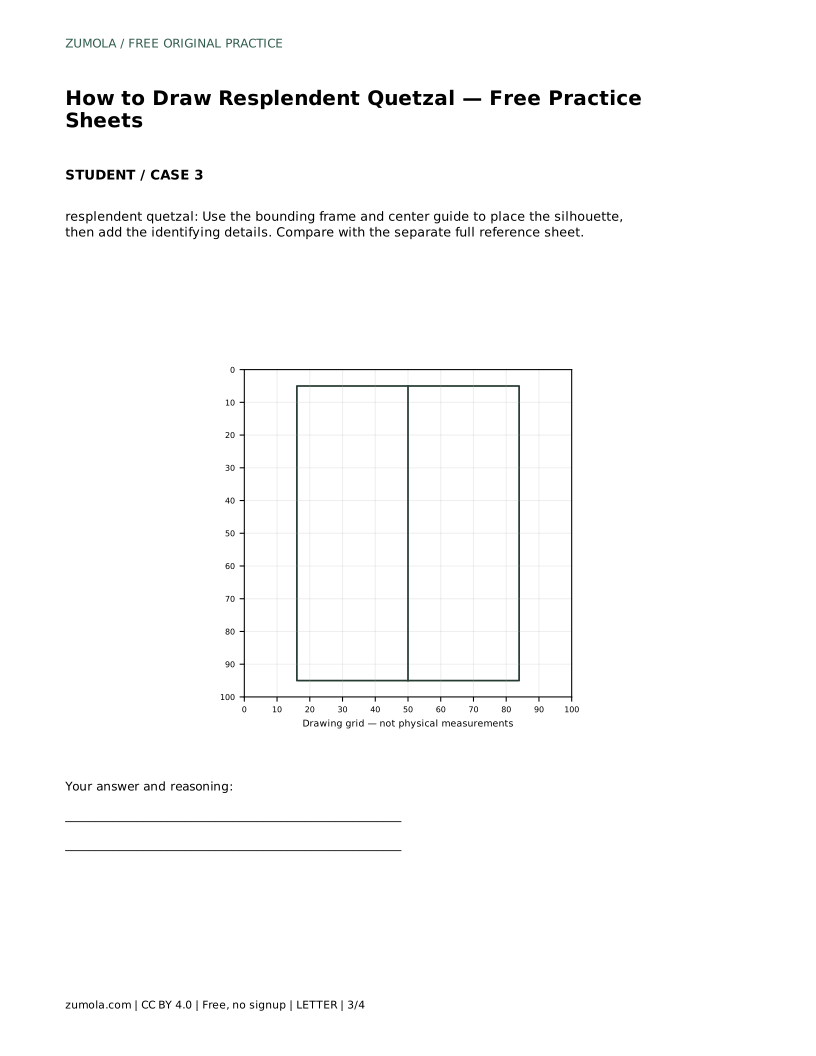
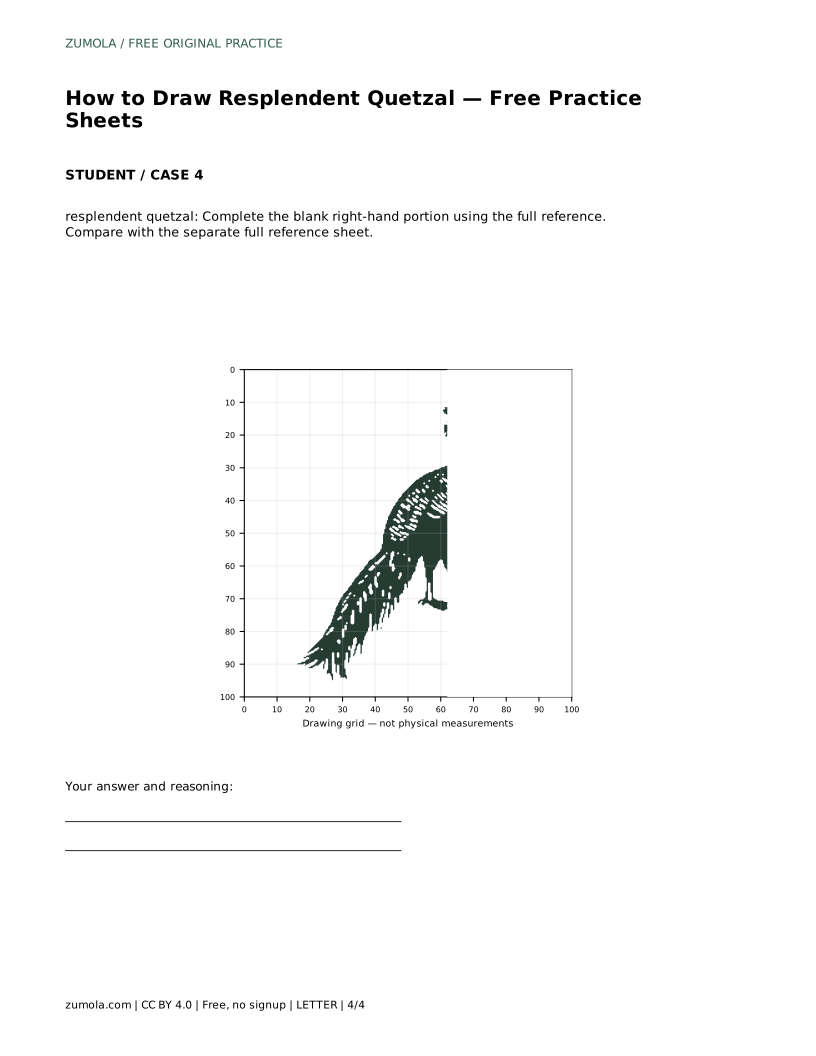
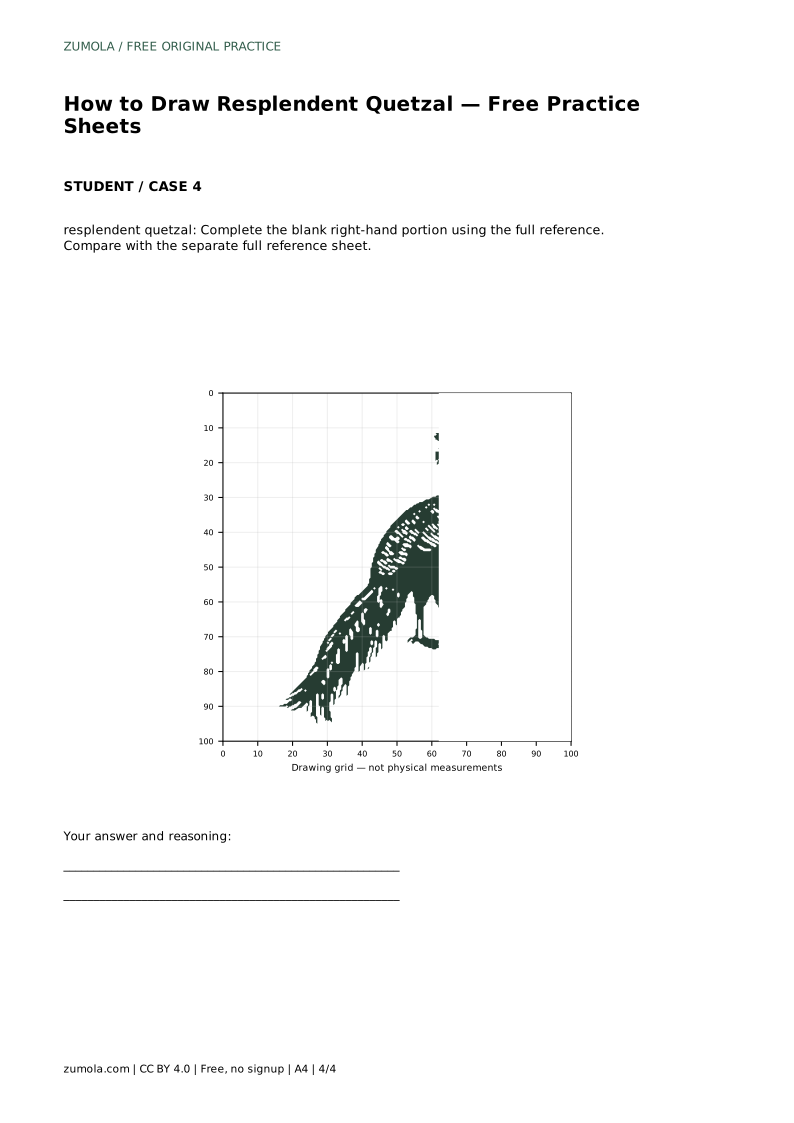
Use the tracing sheet to learn the contour: follow the reference outline, then set the trace aside and redraw the same bird on blank paper. Compare your independent drawing with the separate full reference sheet, checking the crest, beak direction, body plumpness, hatching, and tail streamer length.
Other drawings can be correct. Assess the visible features and proportions rather than pixel-perfect matching. A drawing with a slightly different crest shape but accurate streamers and a plump body still succeeds.
Most problems come from placing the tail or crest before the body is settled. Fix the head and body first, then extend the streamers. Keep the beak short and curved, and keep the legs thin and attached under the body.
resplendent quetzal: Trace the reference outline, then practise the contour independently. Compare with the separate full reference sheet.
Example solution: preserve long tail streamers extending down and back, crested head with fan-like crown feathers, bright green plumage indicated by dense line hatching on back and wing. Other drawings can be correct; assess the visible features and proportions rather than pixel-perfect matching. Draw the head with a rounded crown and fan-shaped crest, then add the short curved beak and eye ring. Sketch the plump body and wing as an oval with layered feather lines, keeping the chest dark and the back/wing hatched. Extend two long, tapering tail streamers from the rear, curving them downward and slightly outward. Add two thin legs with visible toes attached under the body, then refine the crest and tail feather outlines.
No. Dense line hatching on the back and wing indicates the bright green plumage; the chest stays darker and simpler.
Long enough to read as the bird's defining feature. Extend two separate tapering streamers downward and slightly outward from the rear, and check their length against the reference sheet.
That is acceptable. Compare the visible features and proportions, such as the crest, beak direction, plump body, hatching, and streamer length, rather than expecting a pixel-perfect copy.
All drawing practice · Free coordinate paper
Original resources · CC BY 4.0 · Free for personal and classroom use with attribution.