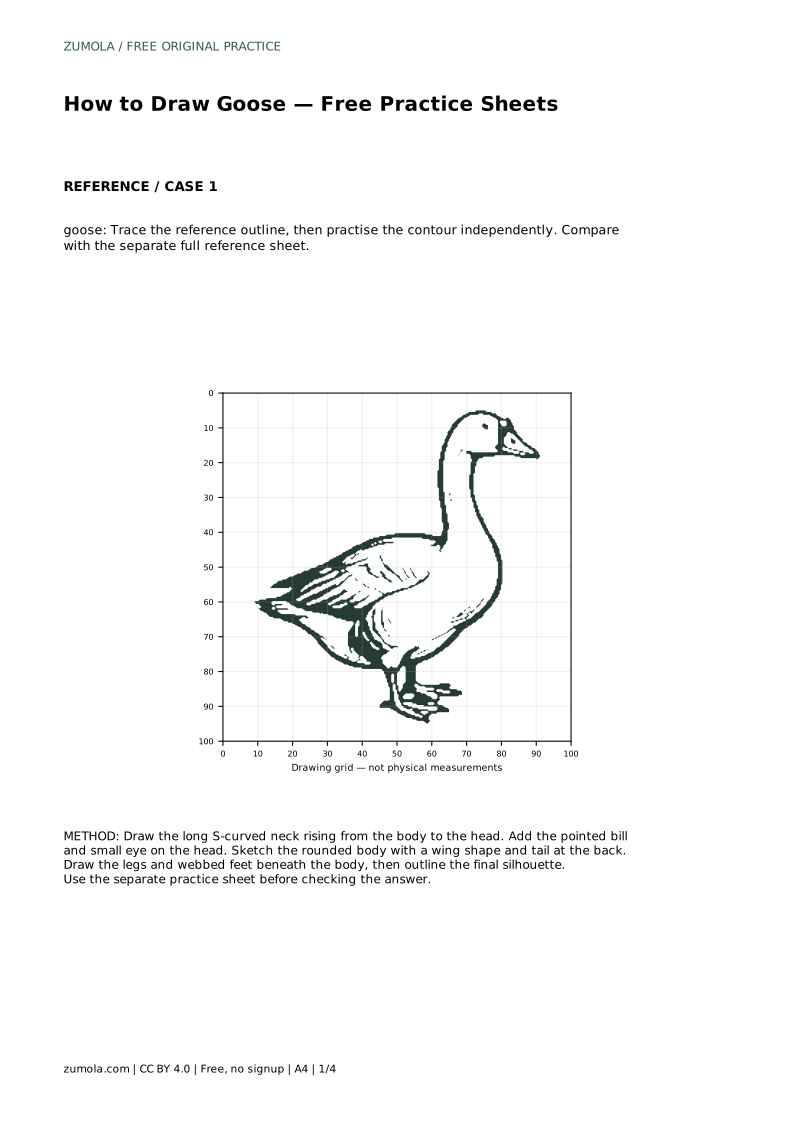
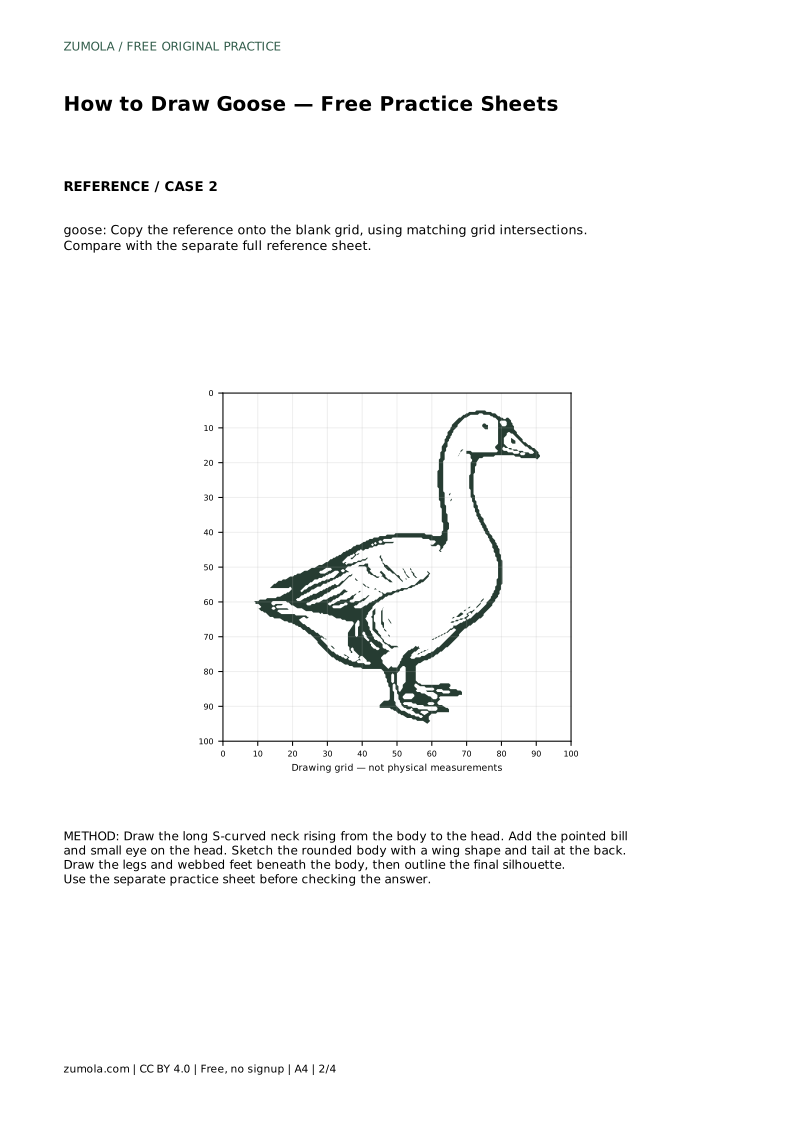
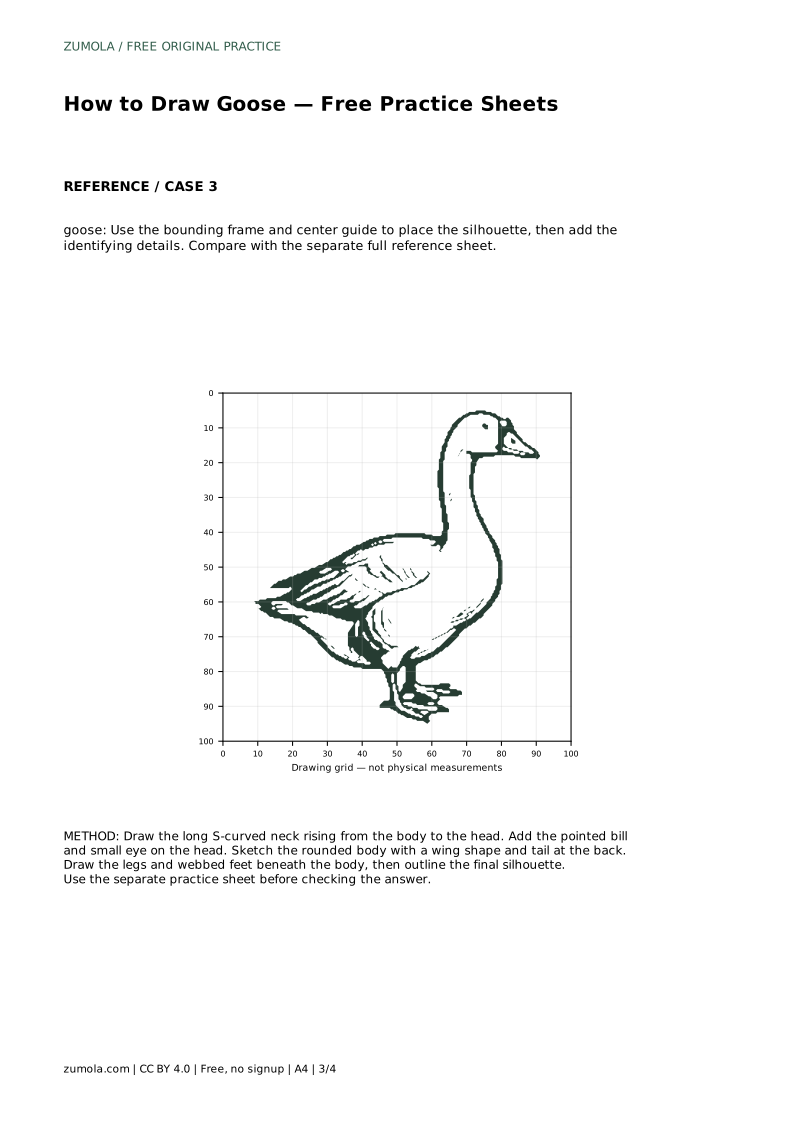
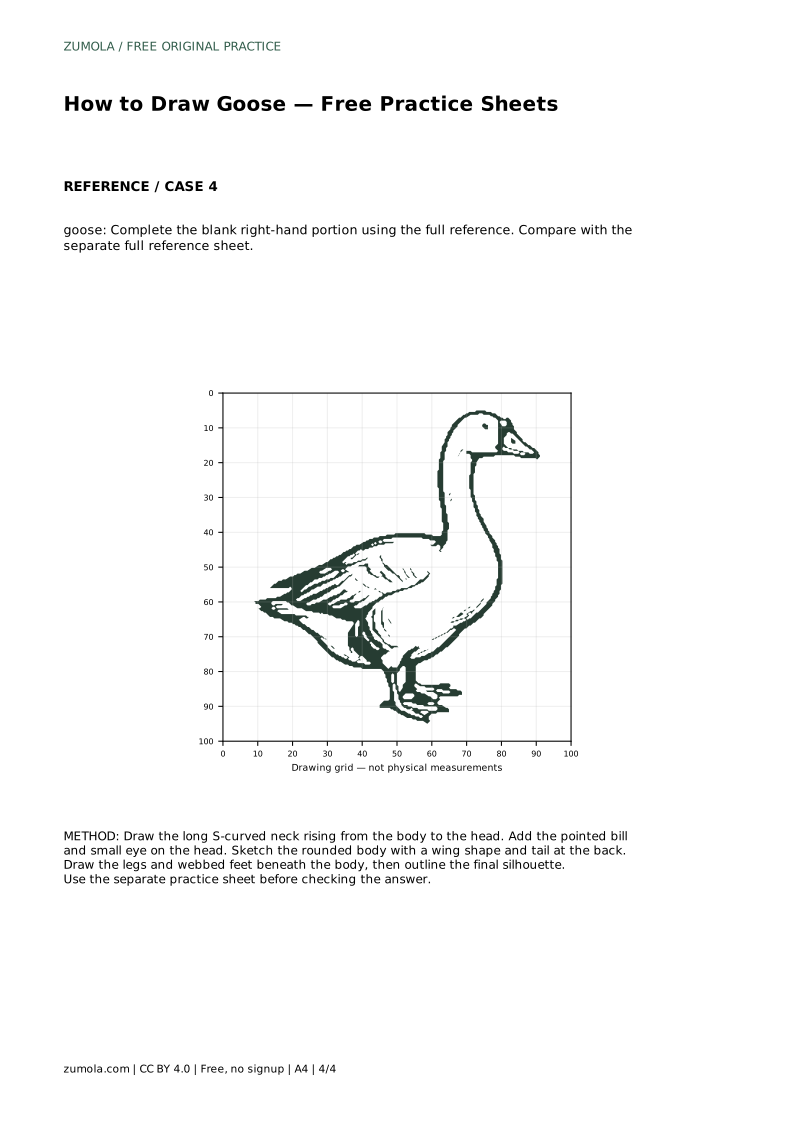
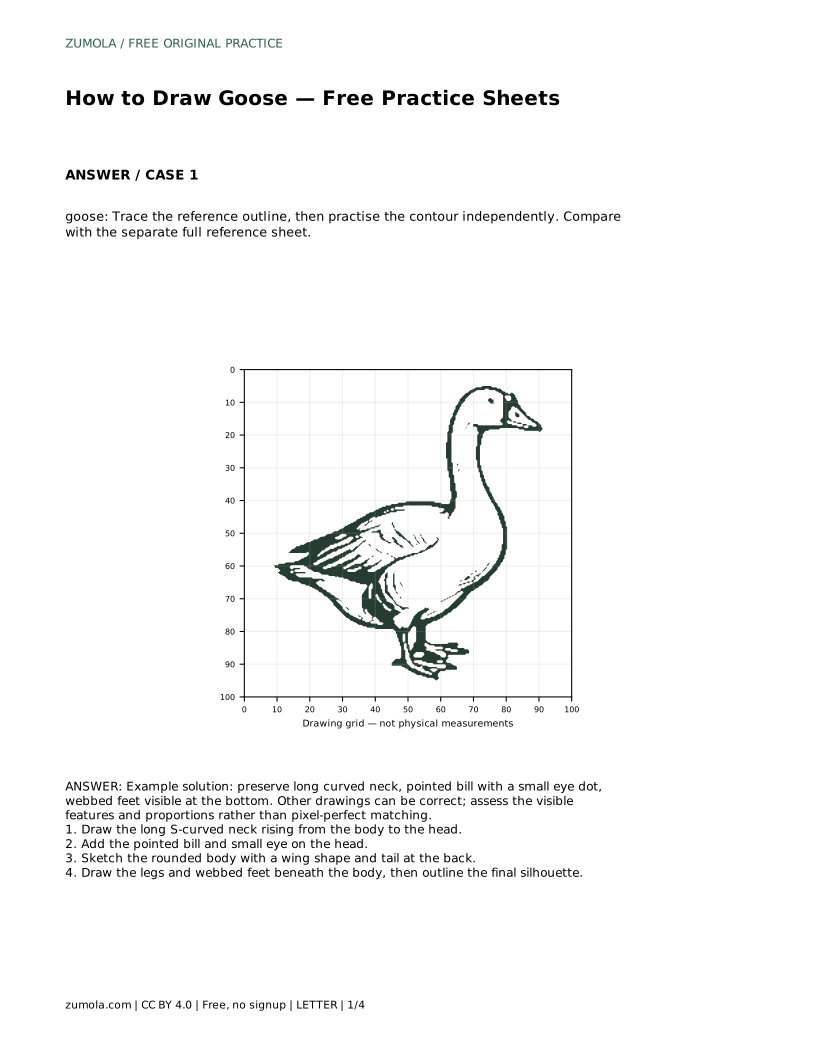
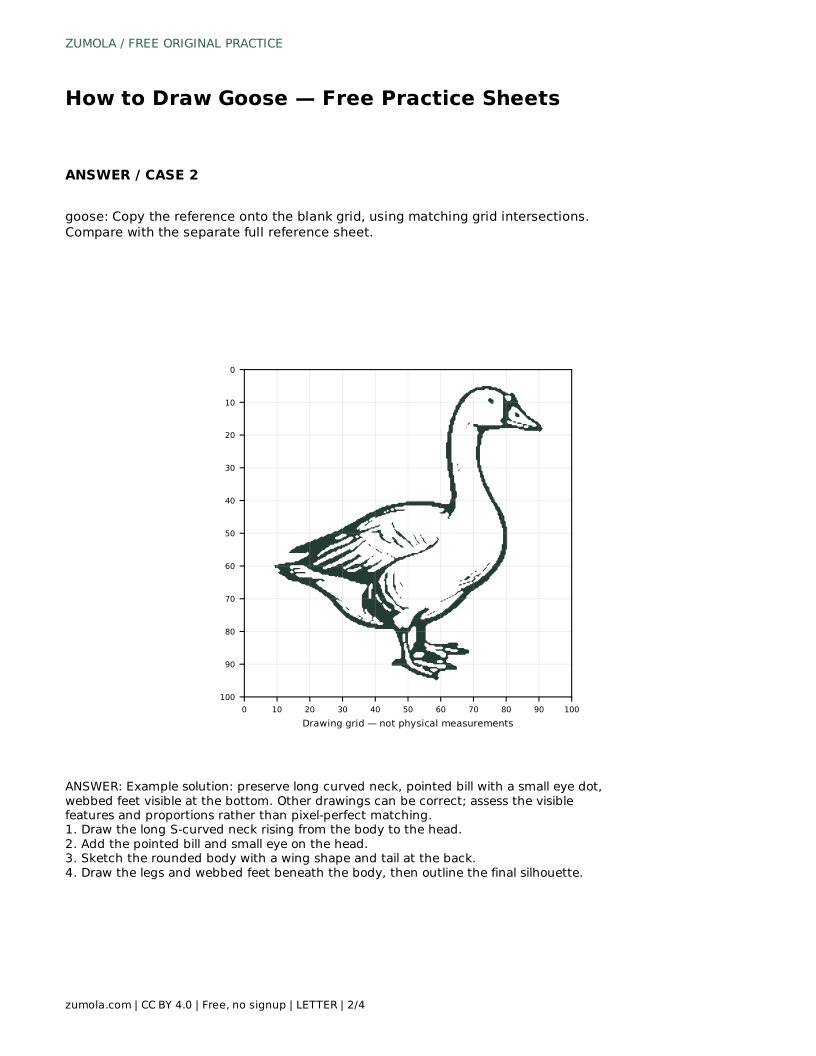
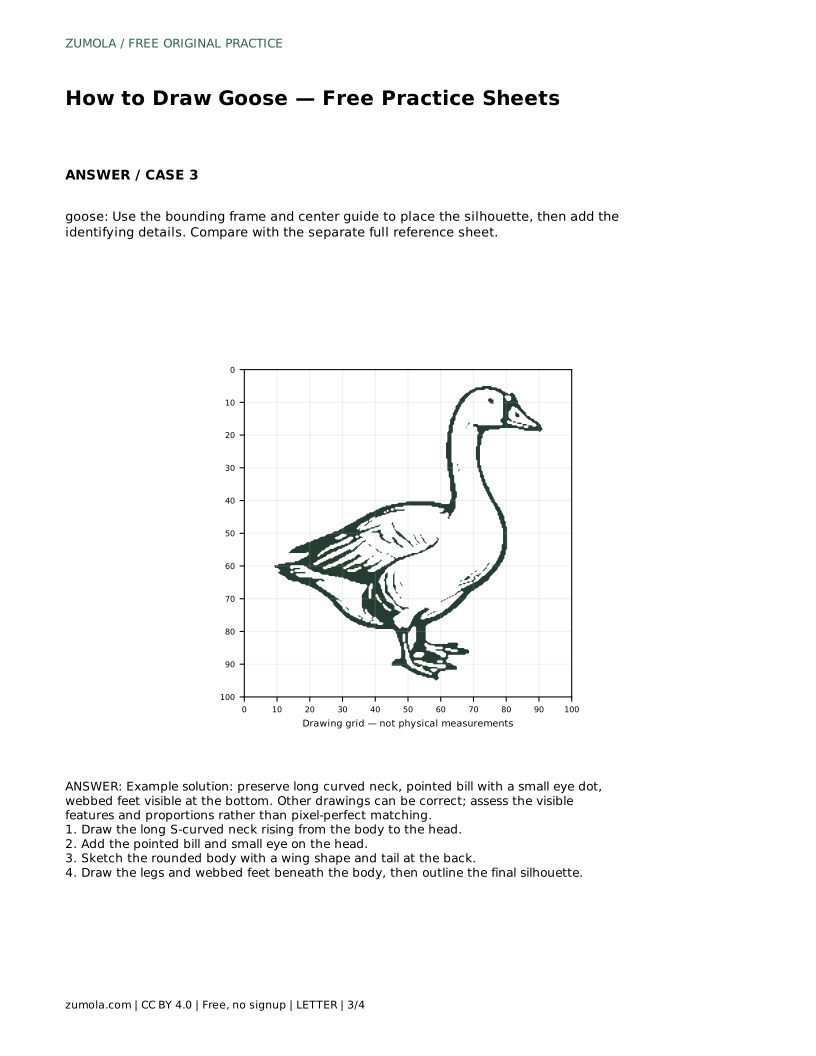
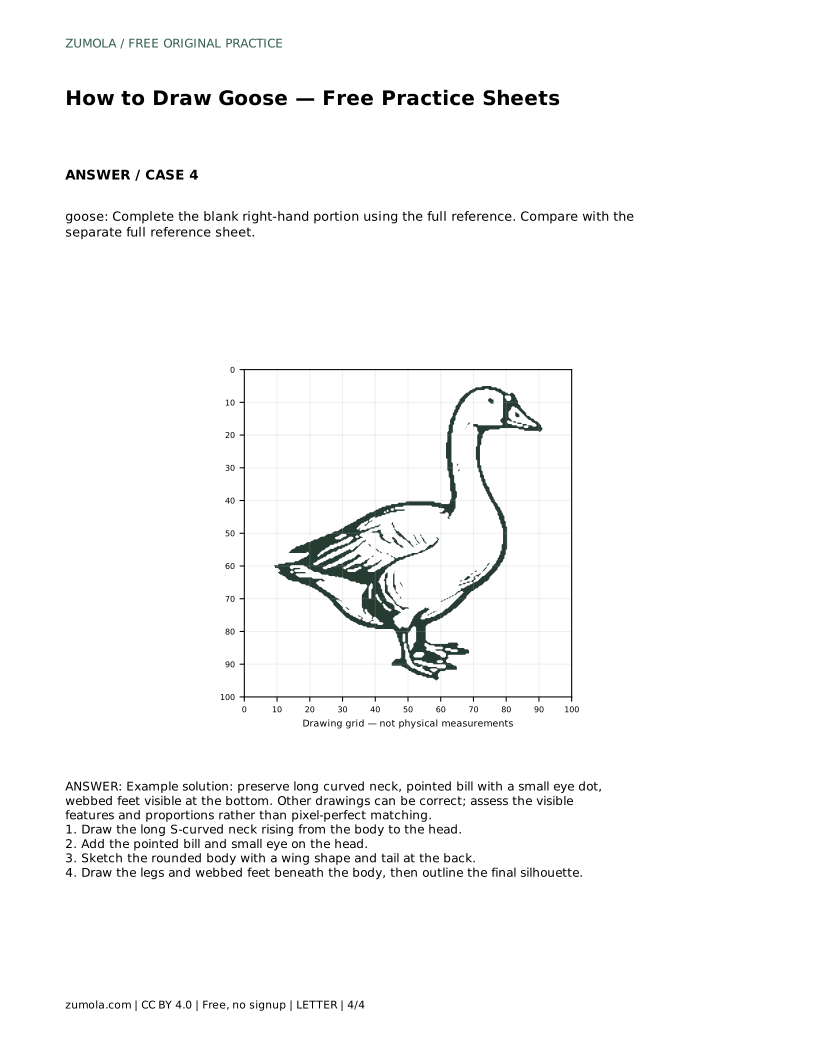
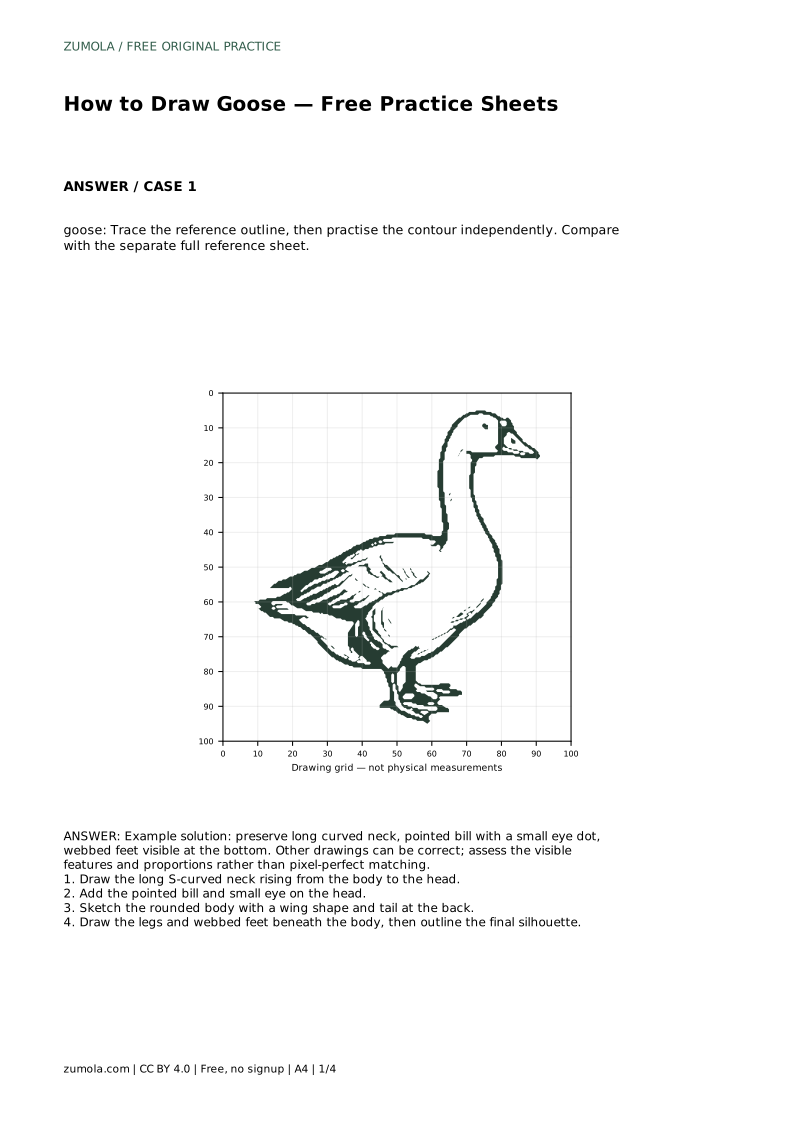
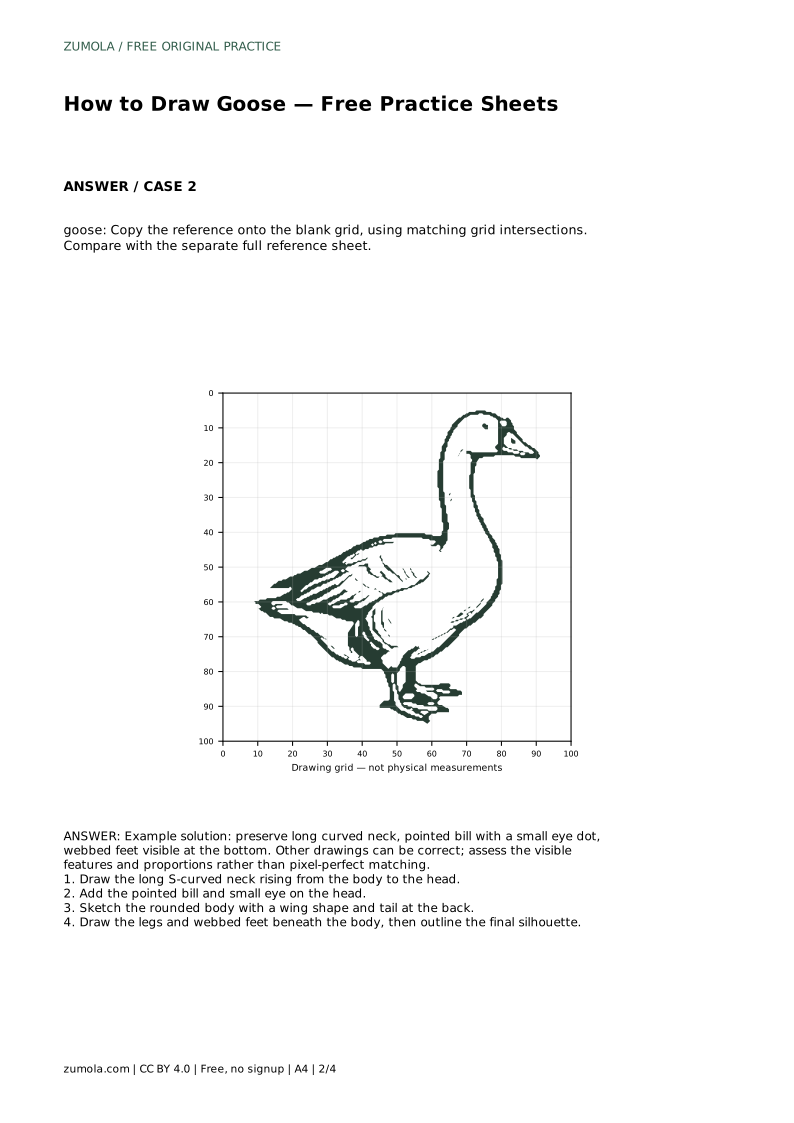
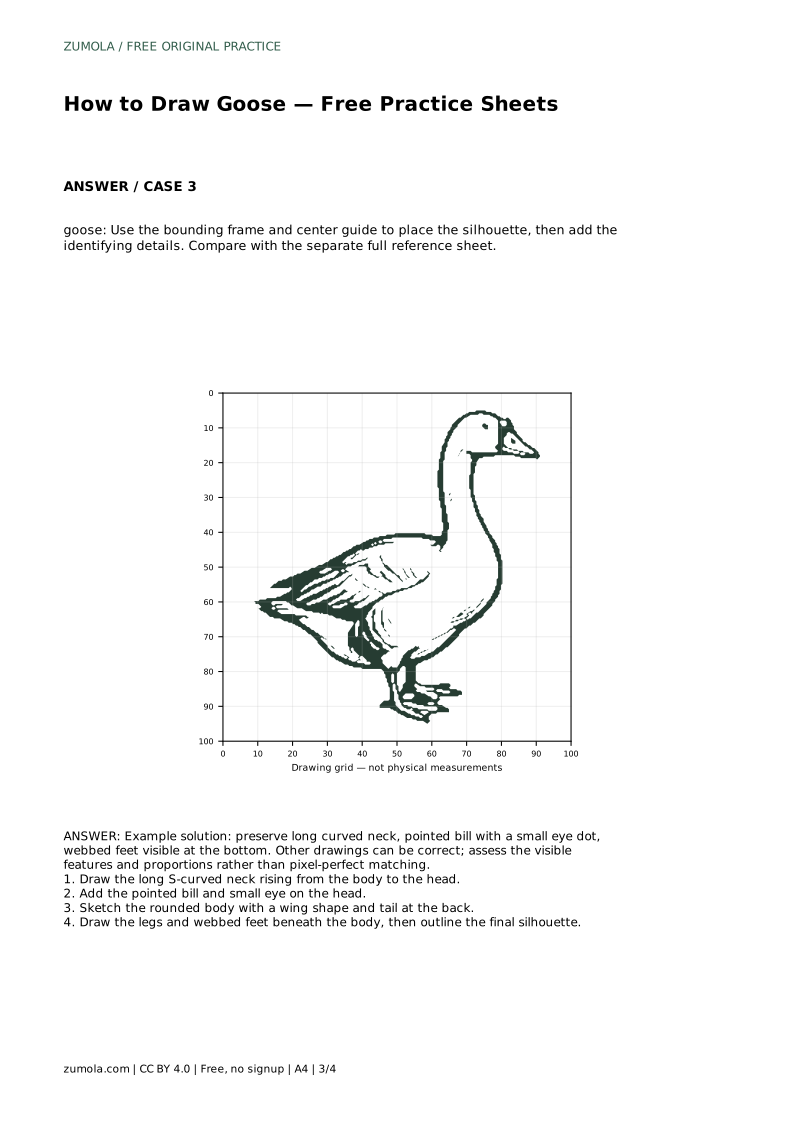
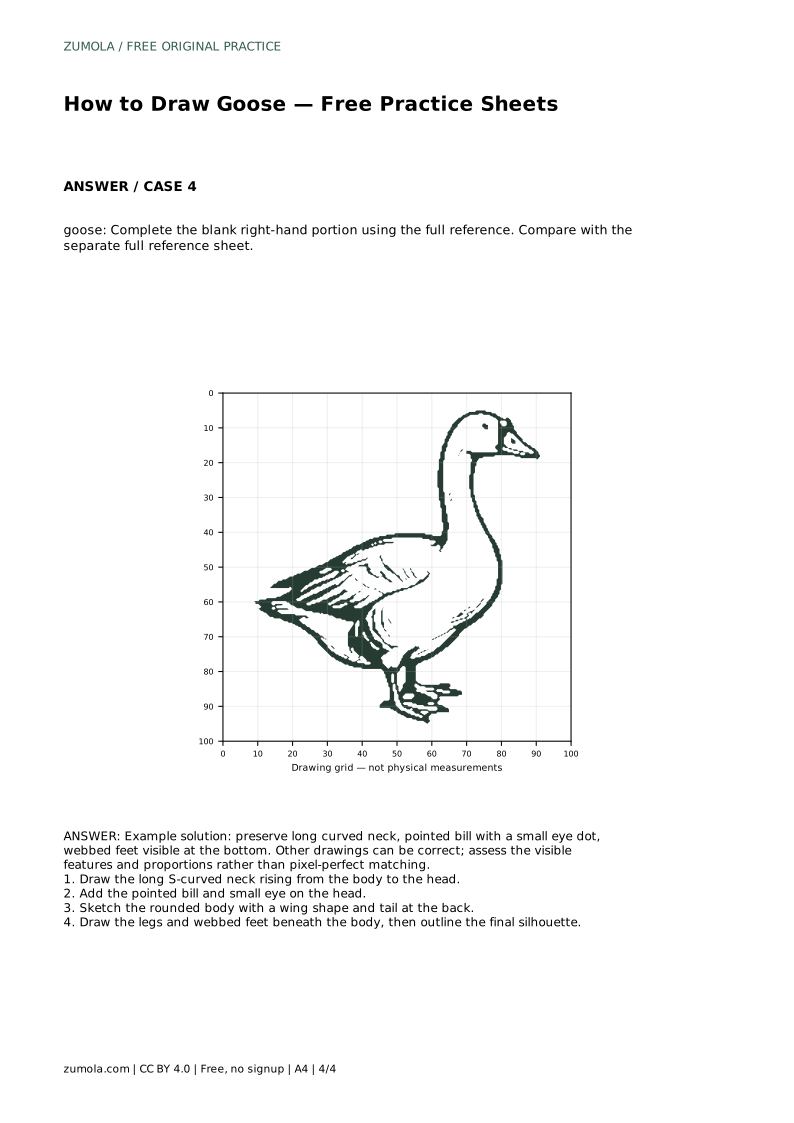
Reference diagrams
LETTER · Download PDF
A4 · Download PDF
Free original resources
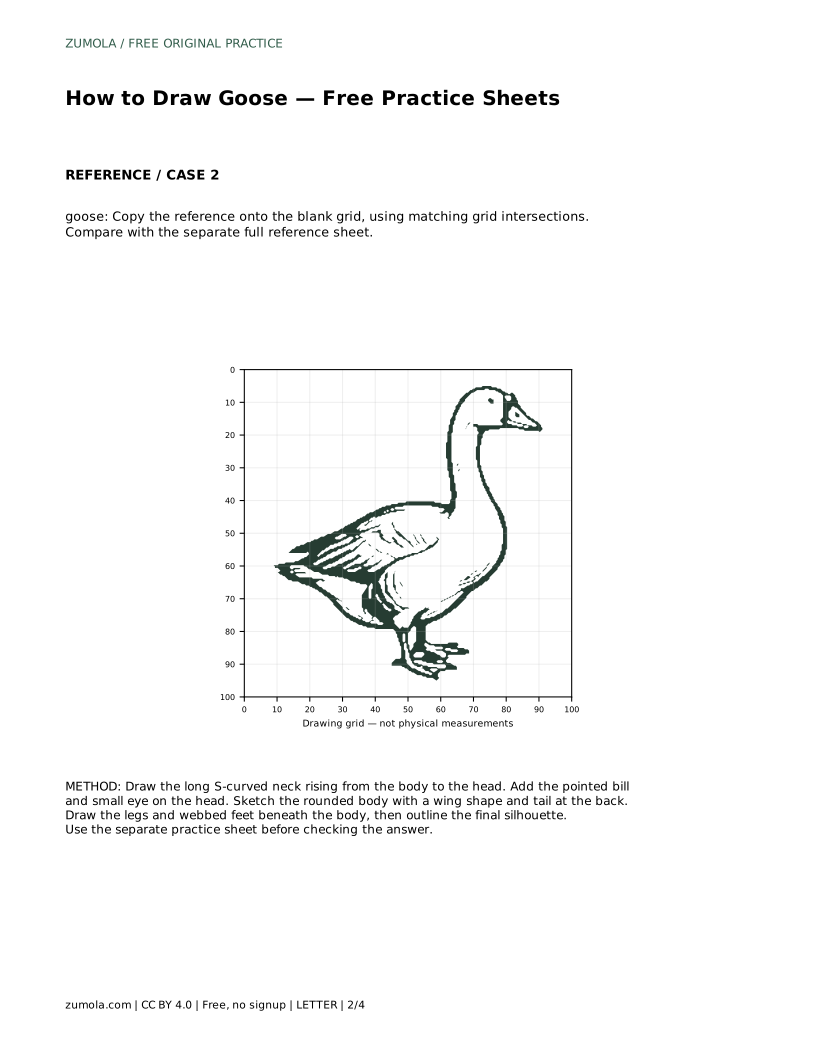
Learn to draw a goose by tracing its outline, then working independently. Covers the S-curved neck, pointed bill, rounded body, and webbed feet.
Four original cases, with reference diagrams, practice sheets and worked answers. Everything is free; no signup required.
LETTER · Download PDF
A4 · Download PDF
LETTER · Download PDF
A4 · Download PDF
LETTER · Download PDF
A4 · Download PDF
Use A4 or US Letter to match your printer. Use the stated values and conditions to solve each exercise; diagrams are not physical measuring rulers.
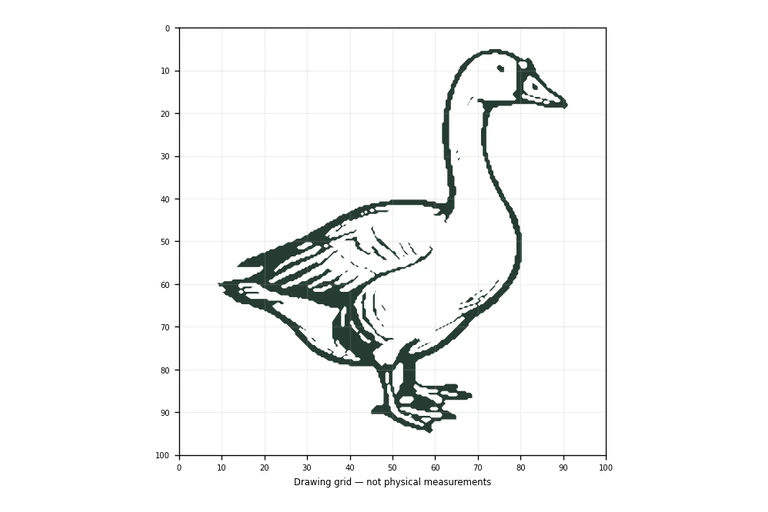
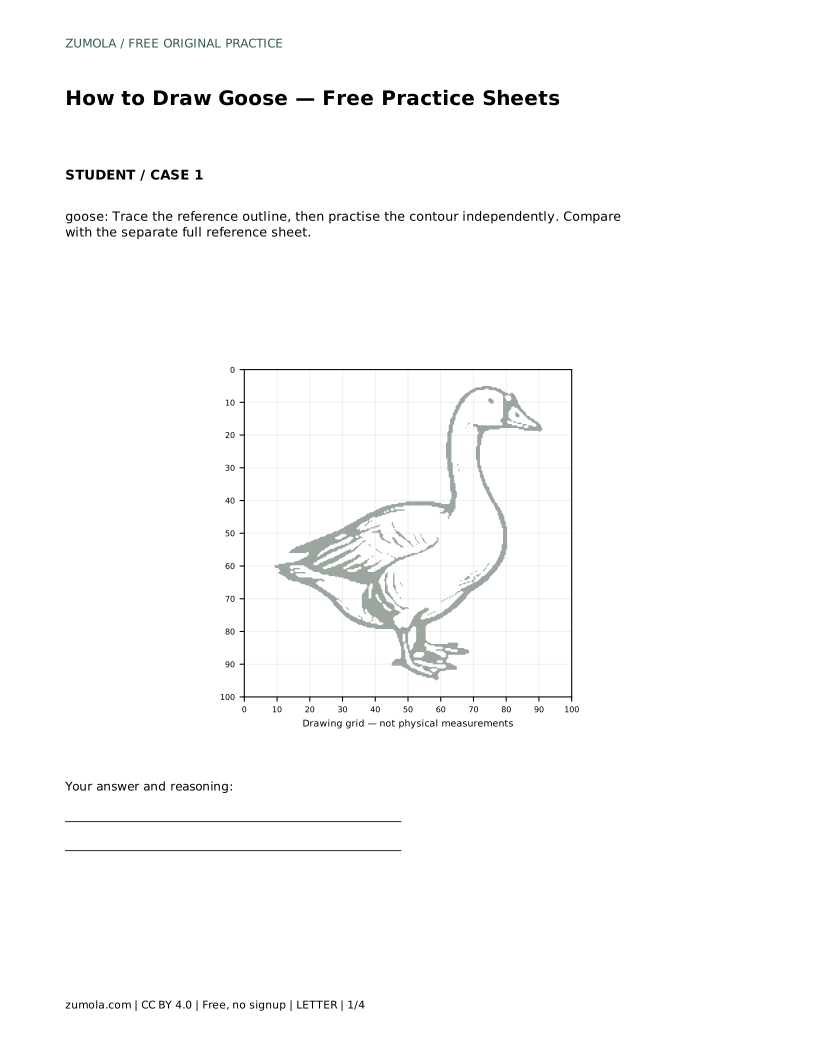
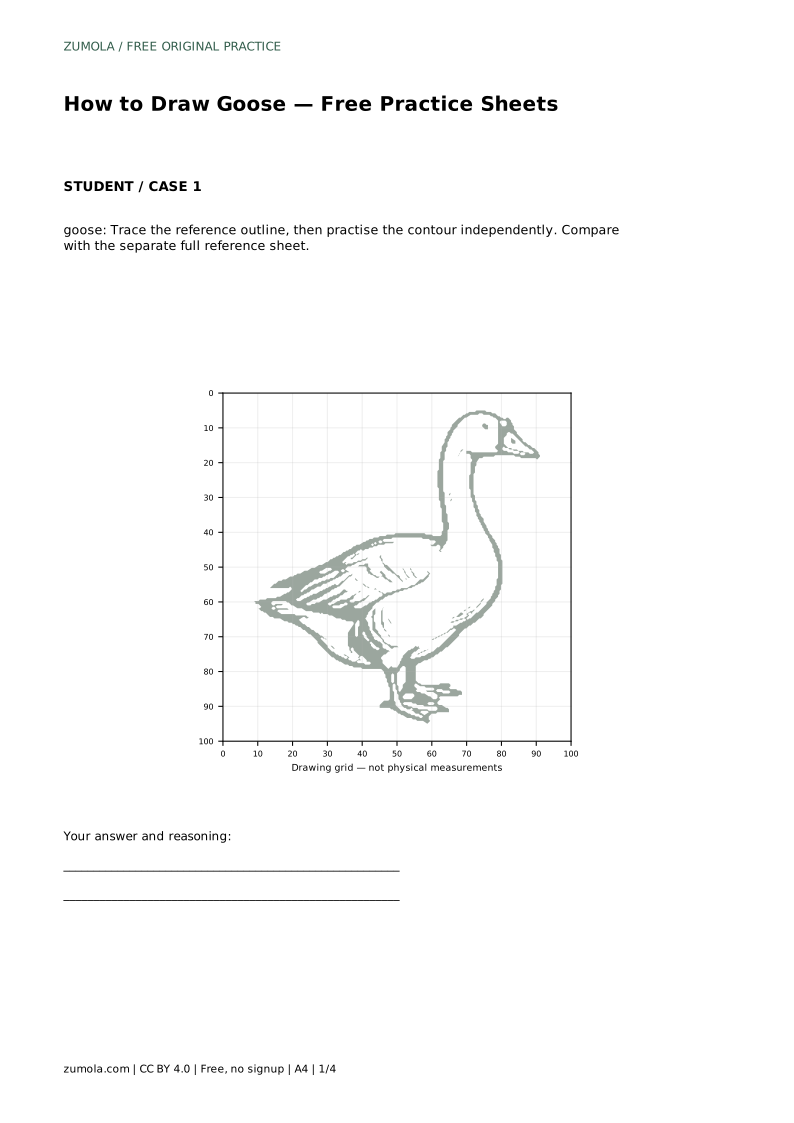
Drawing a goose is mostly about getting a few distinctive shapes in the right relationship: a long S-curved neck, a pointed bill, a rounded body with a wing and tail, and legs ending in webbed feet. This page explains how to use tracing, grid, and guided practice sheets to build that skill. Start by tracing the reference outline, then practise the contour independently and compare your work with the separate full reference sheet.
Before you put pencil to paper, decide which features must survive any change in size or style. A goose reads as a goose because of its long, curved neck rising from the body to the head, a pointed bill with a small eye, a rounded body with a wing shape and a tail at the back, and legs with webbed feet visible beneath the body. These are the identifying details; the exact curve of a feather or the angle of a wing can vary and the drawing can still be correct.
Treat the reference as a guide to proportions, not a target for pixel-perfect matching. When you compare your drawing with the full reference sheet, ask whether each listed feature is present and whether the neck, body, and feet sit in a believable relationship to one another.
Tracing builds familiarity with the contour before you have to produce it from memory. Follow the reference outline with a steady line, keeping the long S-curve of the neck continuous rather than breaking it into short segments. Add the pointed bill and small eye on the head, sketch the rounded body with a wing shape and tail at the back, then draw the legs and webbed feet beneath the body and outline the final silhouette.
Once the traced version feels comfortable, move to a blank area and practise the same contour without the outline underneath. Keep the reference sheet nearby for comparison, but draw from observation rather than tracing. The goal is to reproduce the relationships between features, not to copy every edge exactly.
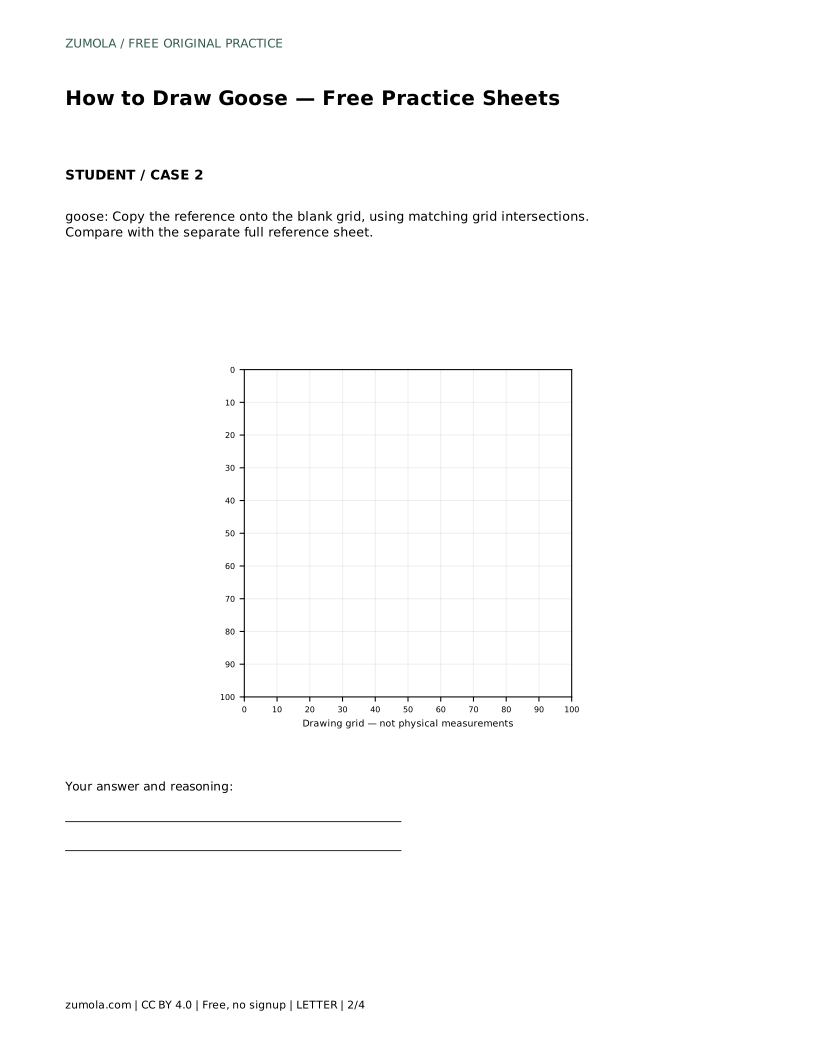
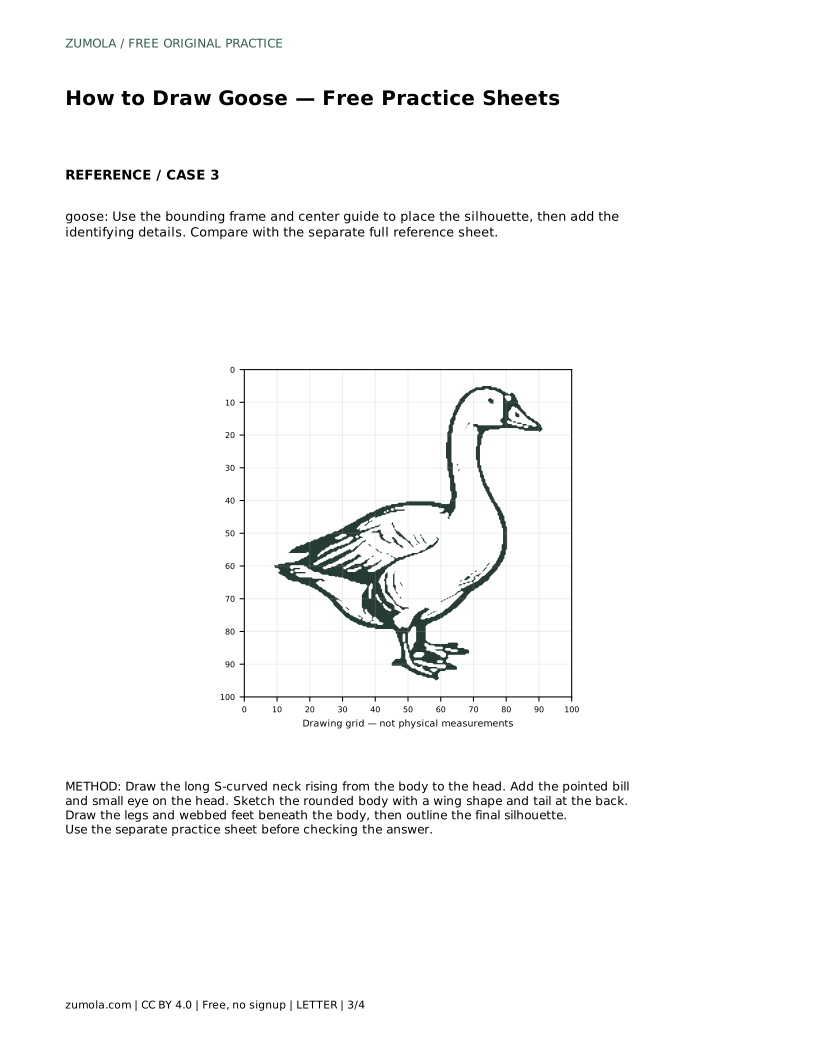
Grid sheets help you place the silhouette by matching intersections. Copy the reference onto the blank grid square by square, using matching grid intersections to keep the neck, body, and feet in proportion. Work from the largest shapes first, then add the bill, eye, wing, and webbed feet.
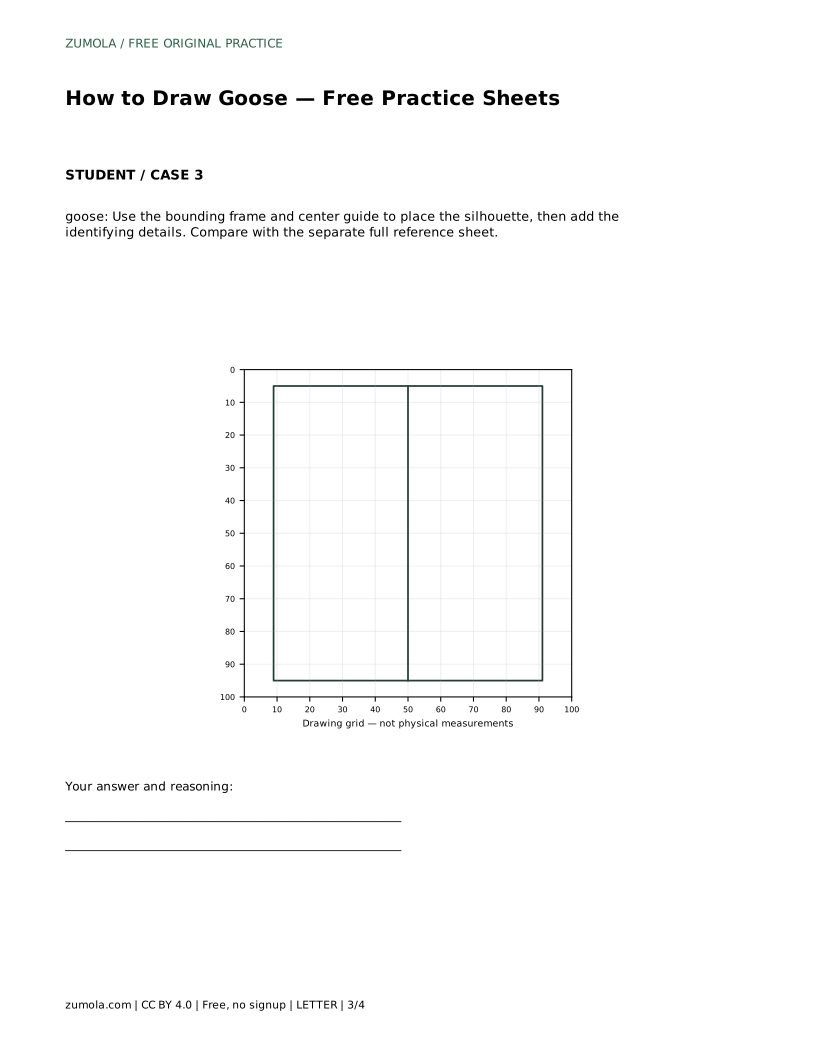
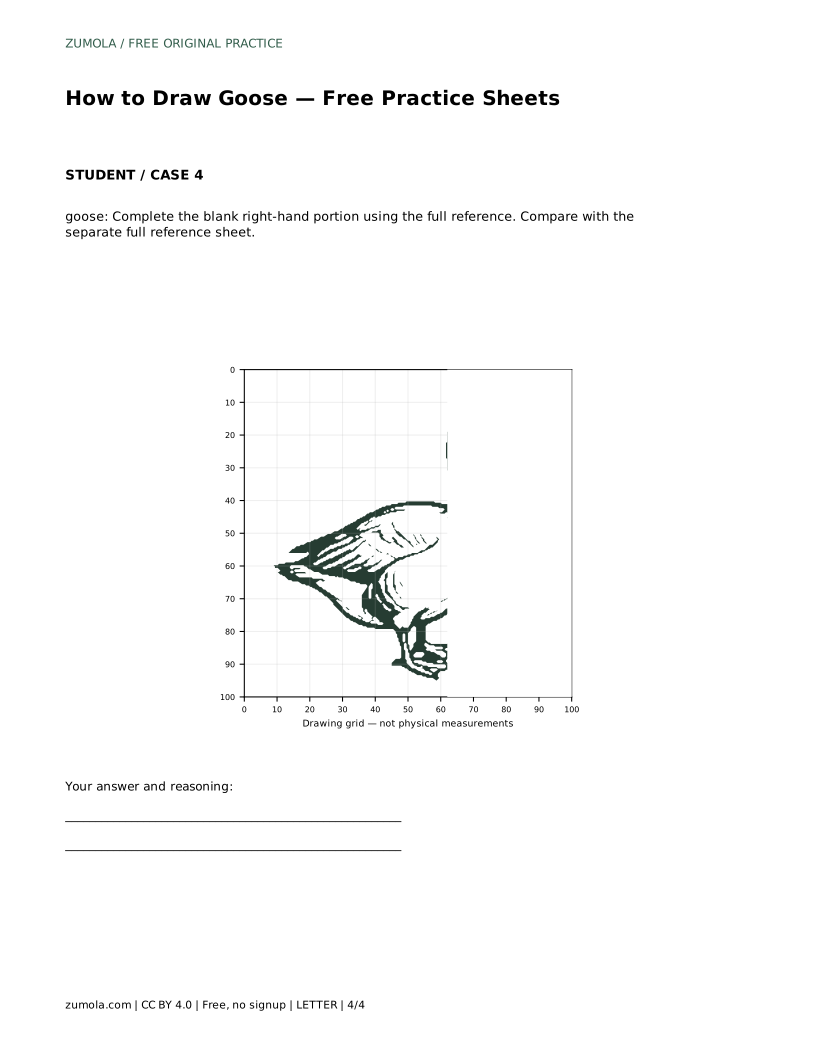
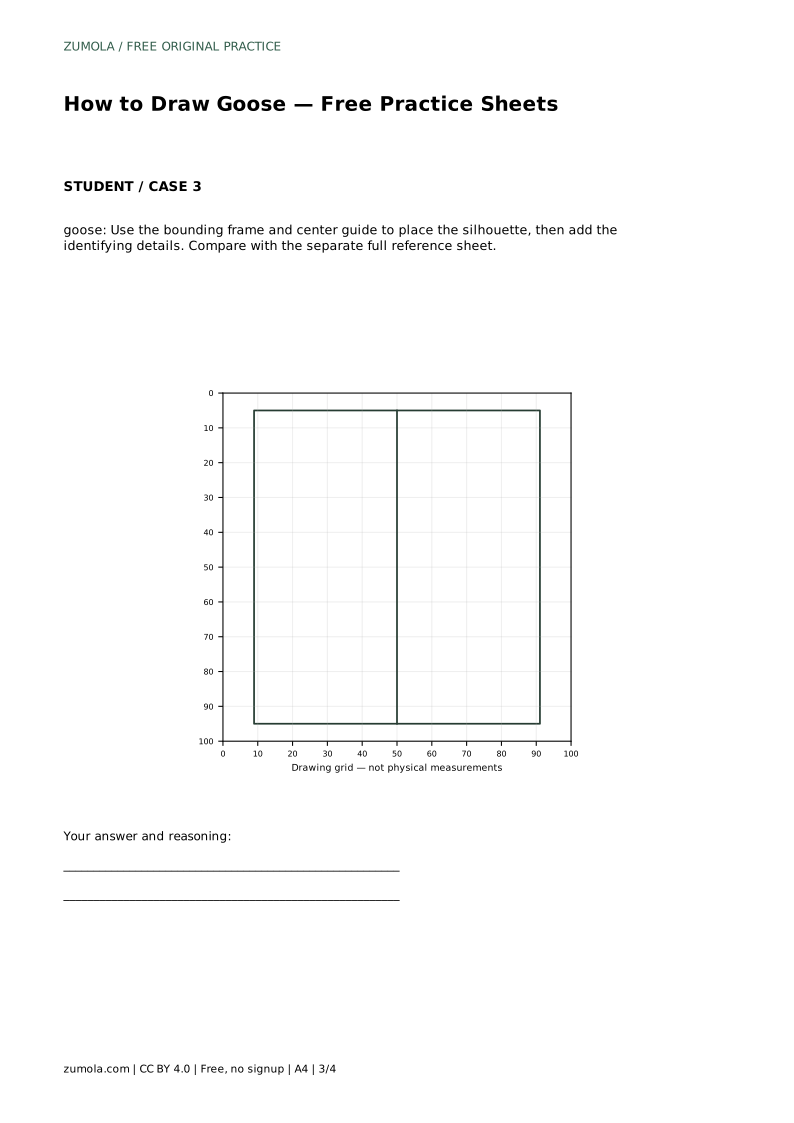
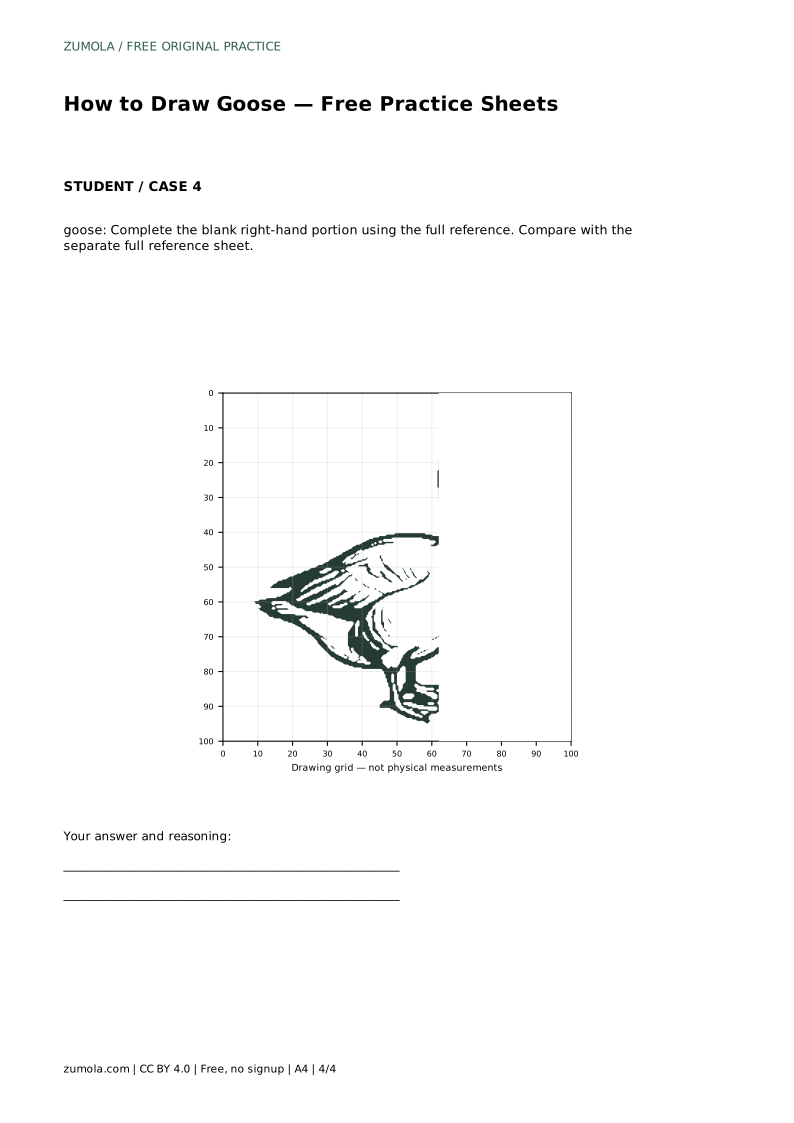
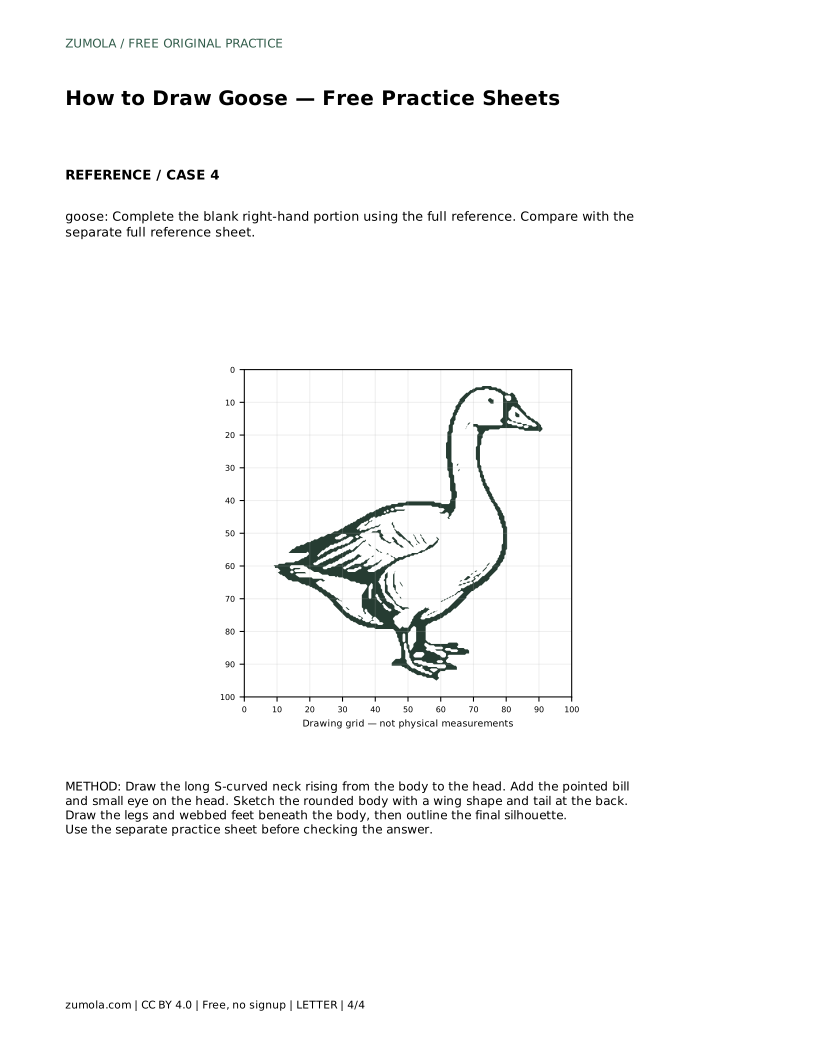
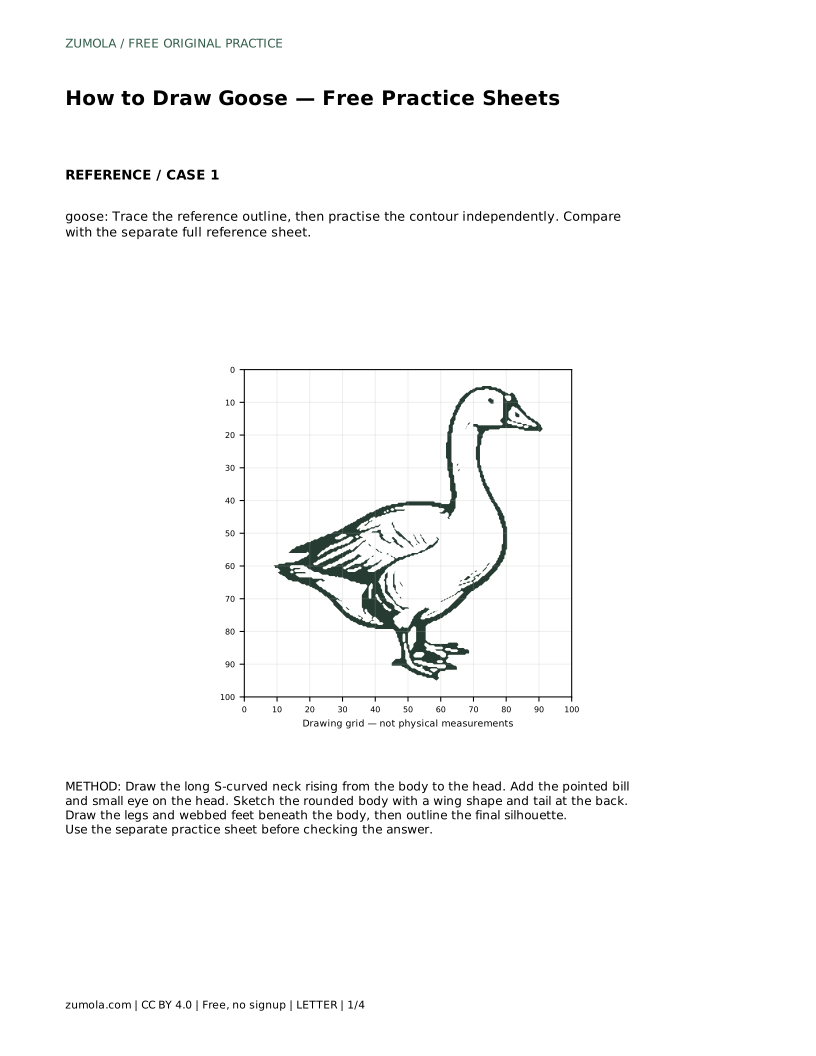
Guided sheets with a bounding frame and center guide work differently: use the frame to place the overall silhouette, then add the identifying details. Partial sheets that leave the right-hand portion blank ask you to complete the drawing from the full reference, which tests whether you can carry the proportions across without a grid. Each sheet type trains a slightly different skill, so use them in sequence rather than interchangeably.
Compare your finished drawing with the separate full reference sheet and check the visible features and proportions rather than pixel-perfect matching. Confirm the neck is long and curved, the bill is pointed with a small eye, the body is rounded with a wing and tail, and the webbed feet are visible at the bottom. If a feature is missing or misplaced, redraw that part rather than starting over.
Prompt: Trace the reference outline, then practise the contour independently. Compare with the separate full reference sheet.
Example solution: preserve long curved neck, pointed bill with a small eye dot, webbed feet visible at the bottom. Other drawings can be correct; assess the visible features and proportions rather than pixel-perfect matching.
goose: Trace the reference outline, then practise the contour independently. Compare with the separate full reference sheet.
Example solution: preserve long curved neck, pointed bill with a small eye dot, webbed feet visible at the bottom. Other drawings can be correct; assess the visible features and proportions rather than pixel-perfect matching. Draw the long S-curved neck rising from the body to the head. Add the pointed bill and small eye on the head. Sketch the rounded body with a wing shape and tail at the back. Draw the legs and webbed feet beneath the body, then outline the final silhouette.
Tracing first is recommended because it builds familiarity with the contour, but the independent practice is the main skill. Use the traced version as a warm-up, then redraw the contour on a blank area.
That can still be correct. Check that the long curved neck, pointed bill with a small eye, rounded body with wing and tail, and webbed feet are present and in believable proportion.
Grid sheets use matching intersections to place the silhouette square by square. Partial sheets leave a blank portion to complete from the full reference, testing proportion without a grid.
All drawing practice · Free coordinate paper
Original resources · CC BY 4.0 · Free for personal and classroom use with attribution.