Reference diagrams
LETTER · Download PDF
A4 · Download PDF
Free original resources
Learn to draw a Steller's jay by building its crest, black head and breast, rounded body, and long notched tail, then check your work with a feature-based rubric.
Four original cases, with reference diagrams, practice sheets and worked answers. Everything is free; no signup required.
LETTER · Download PDF
A4 · Download PDF
LETTER · Download PDF
A4 · Download PDF
LETTER · Download PDF
A4 · Download PDF
Use A4 or US Letter to match your printer. Use the stated values and conditions to solve each exercise; diagrams are not physical measuring rulers.
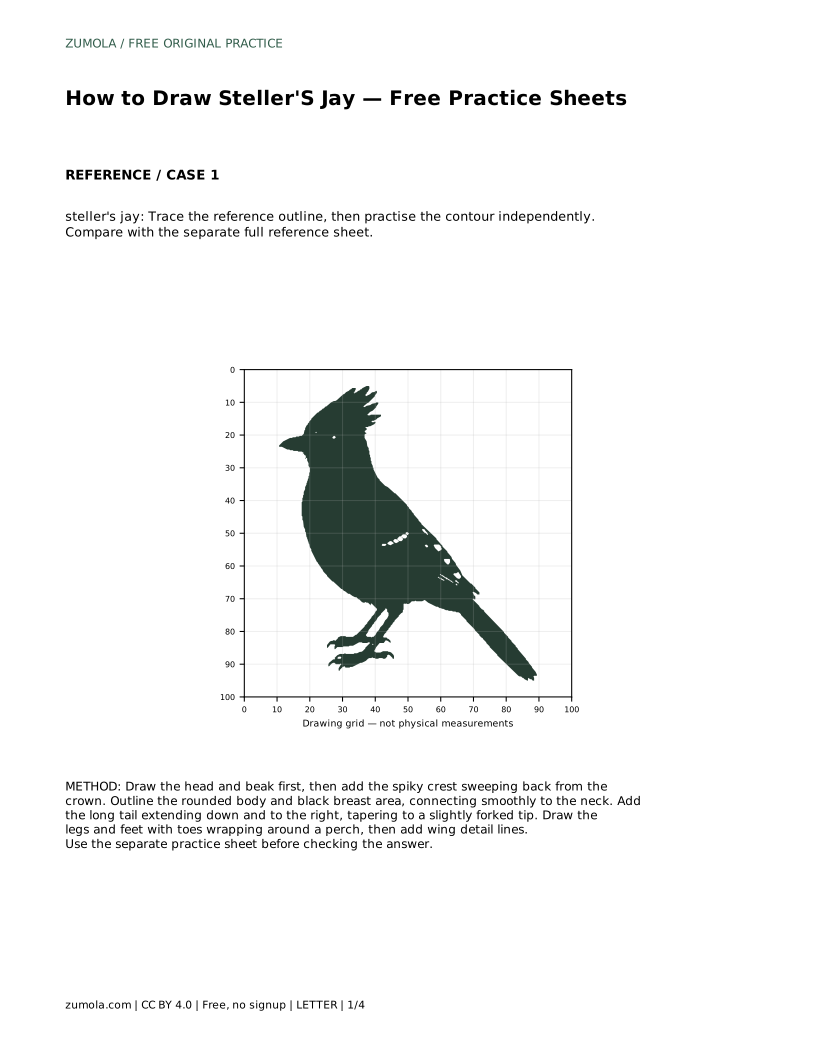
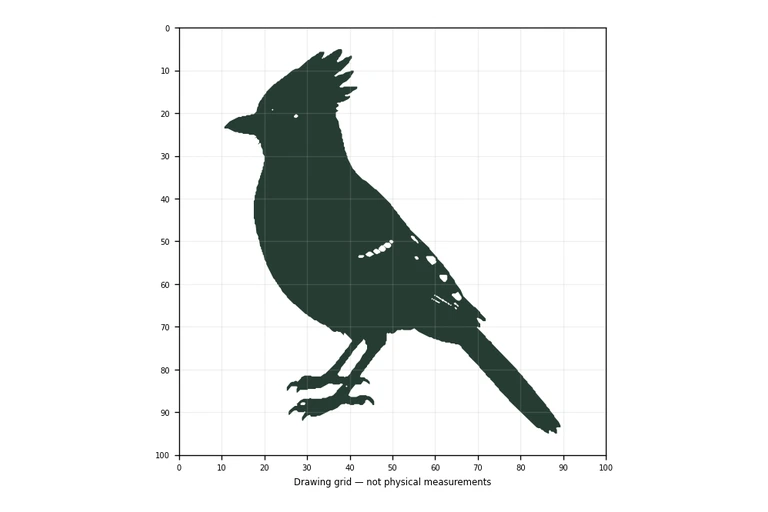
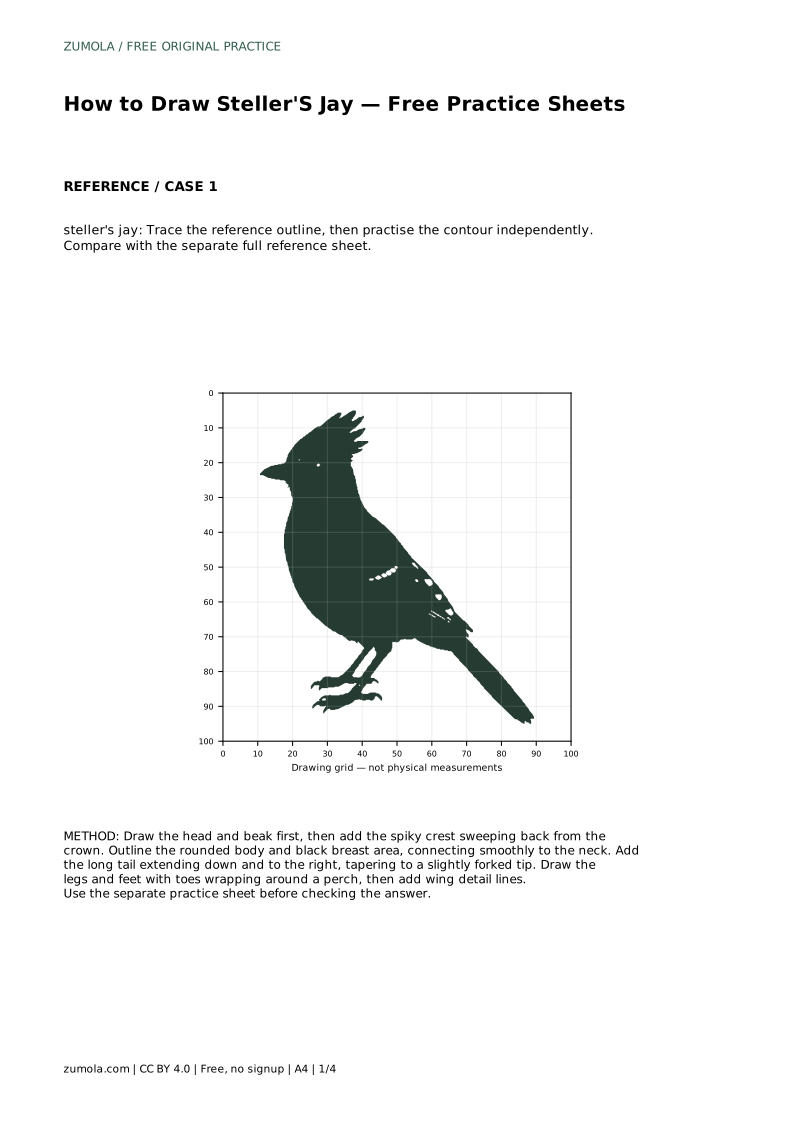
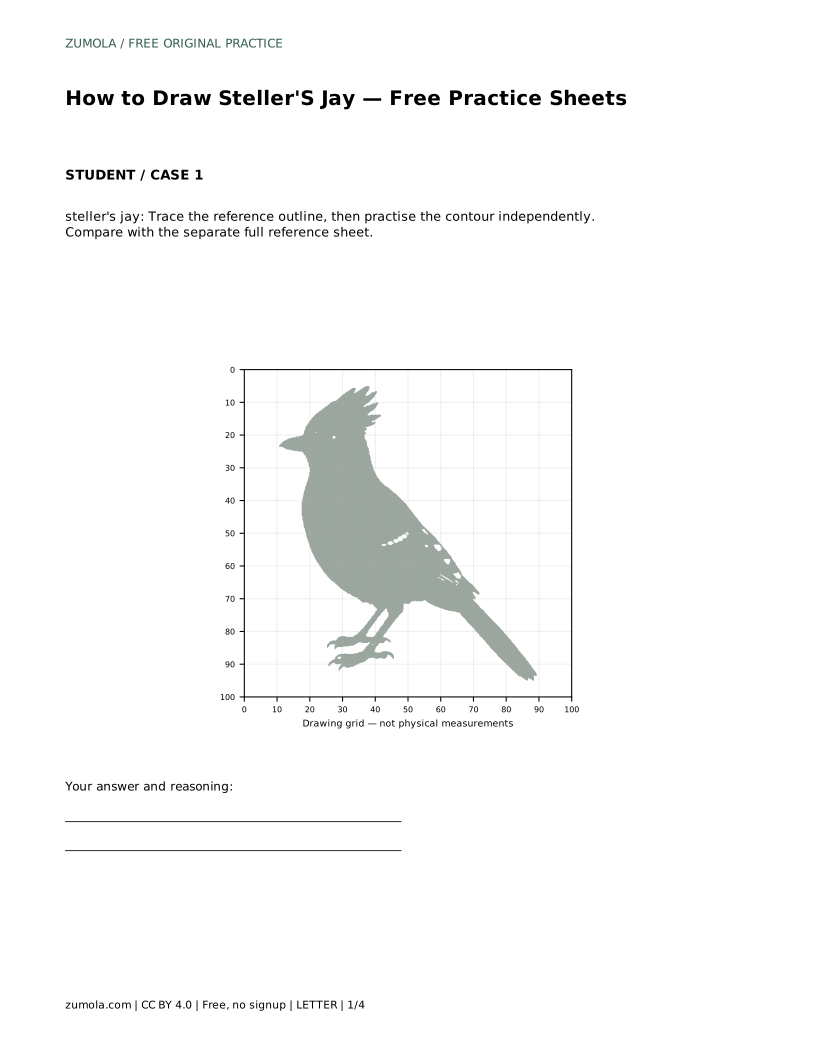
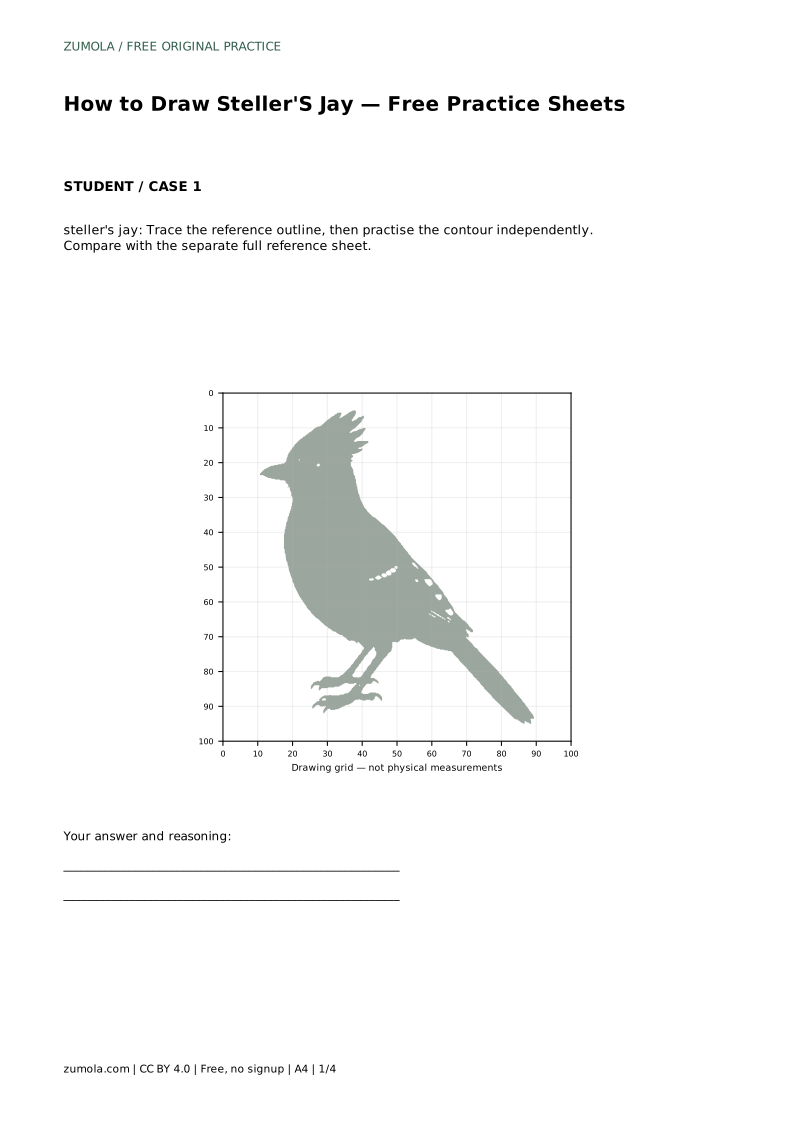
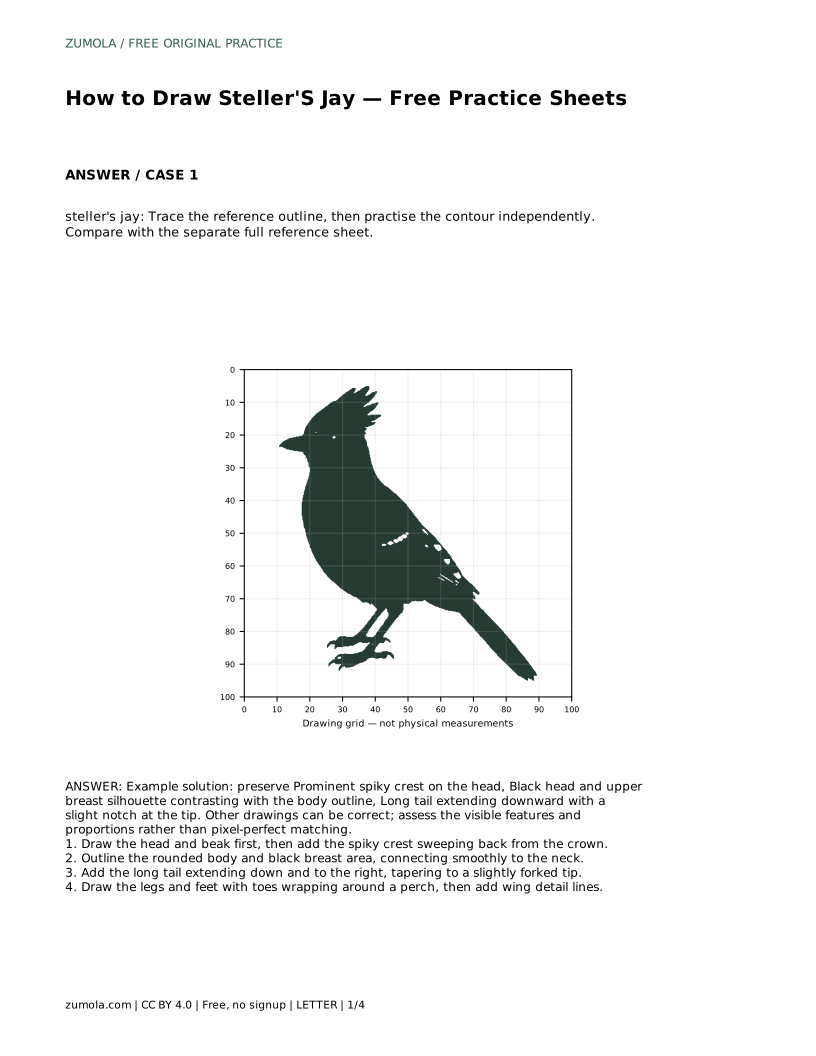
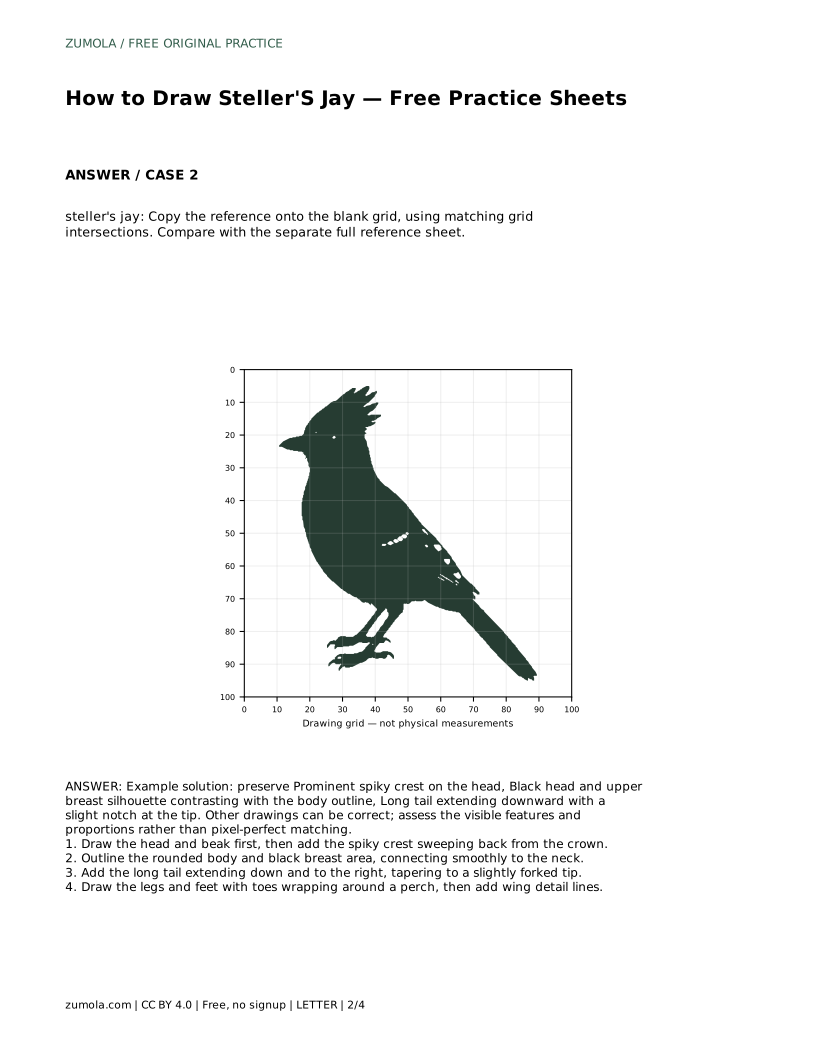
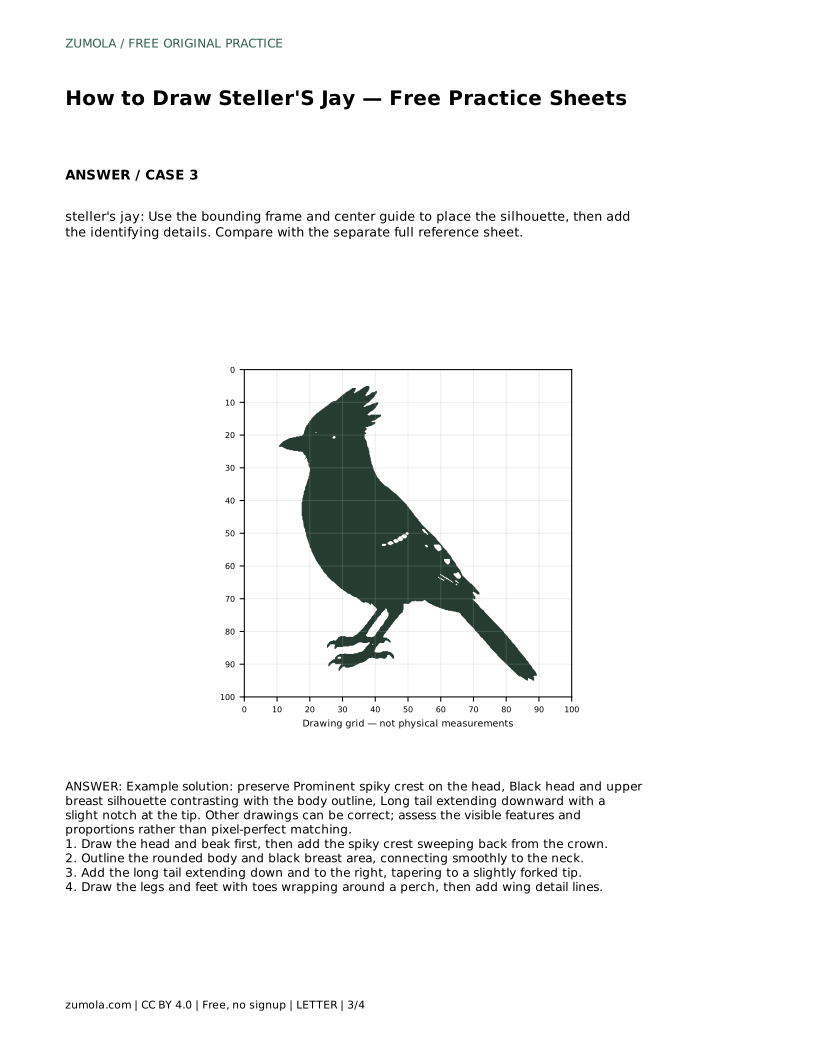
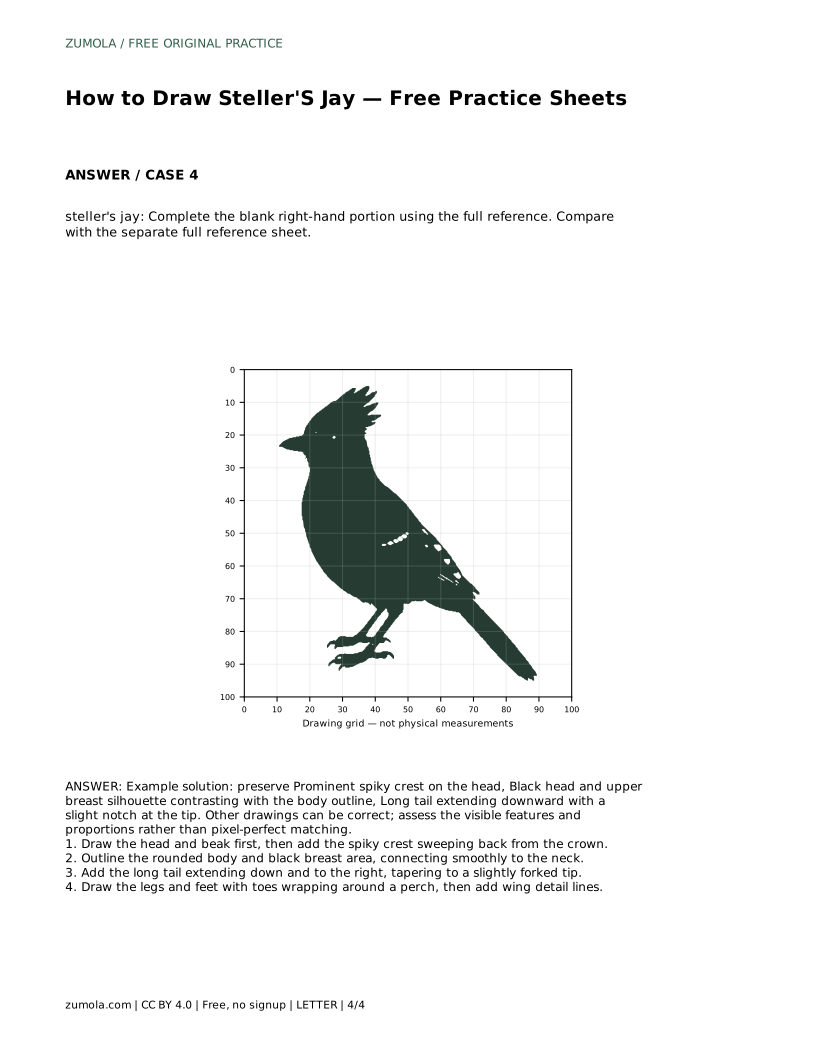
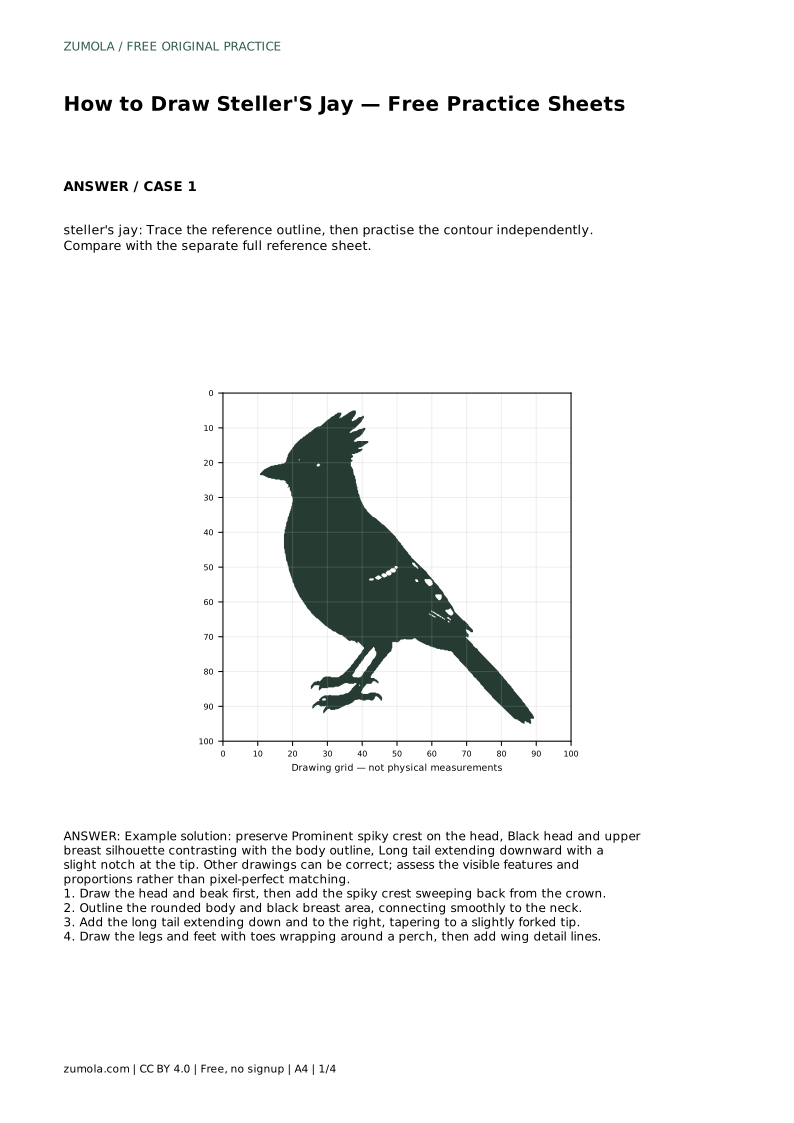
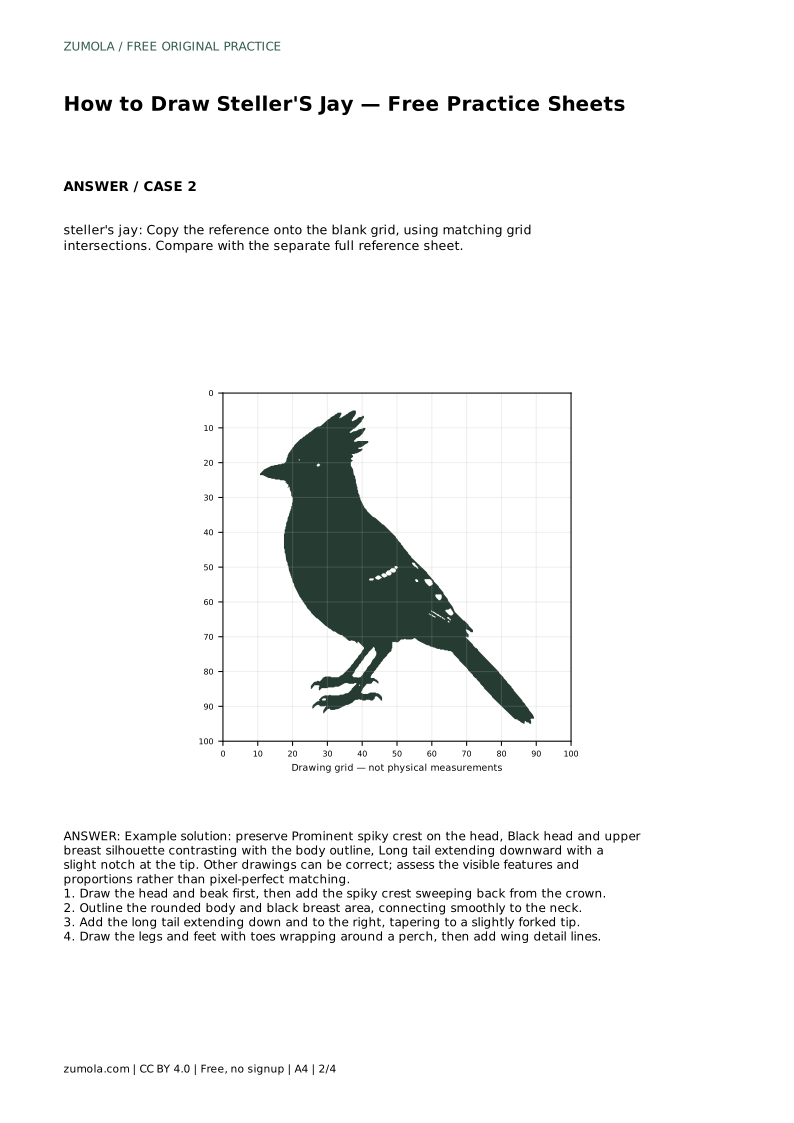
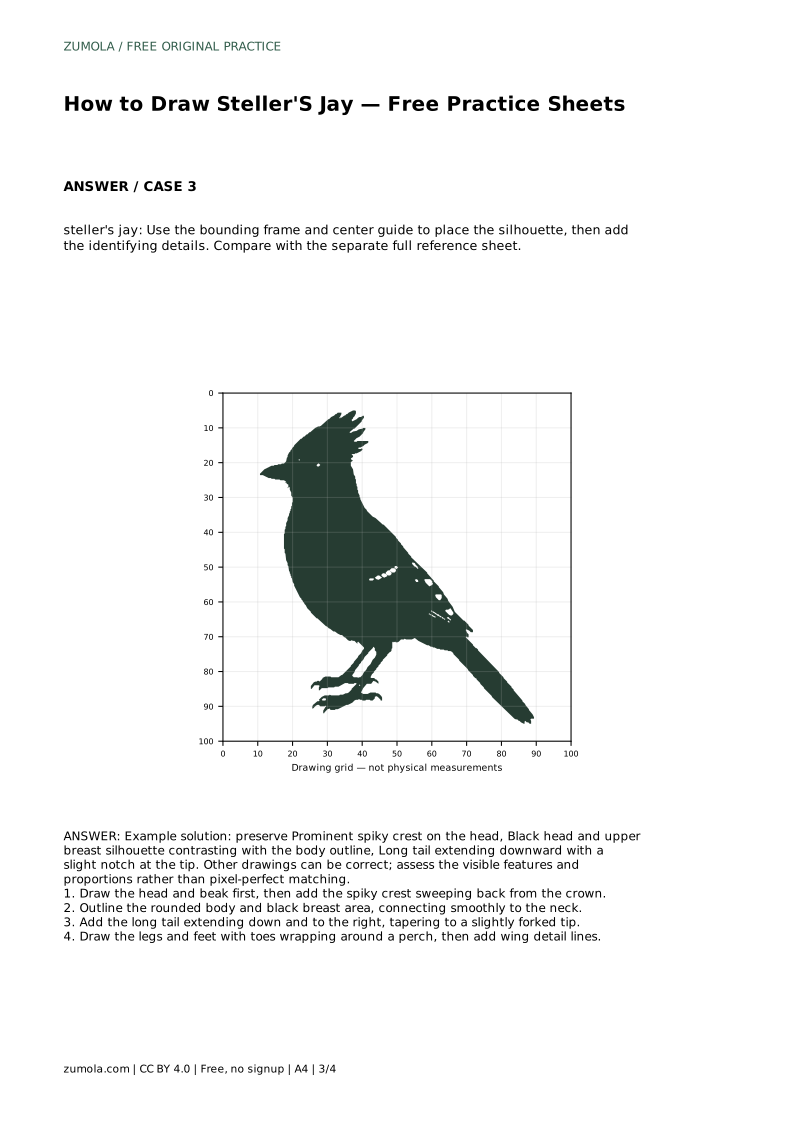
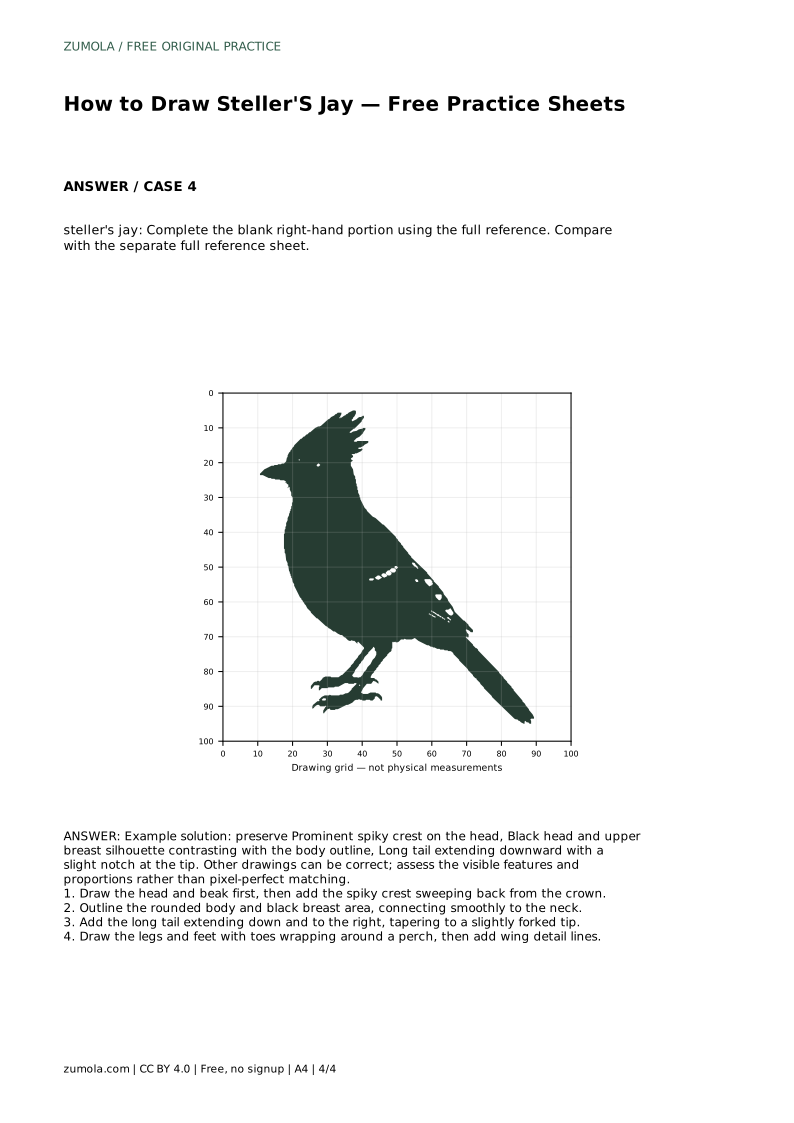
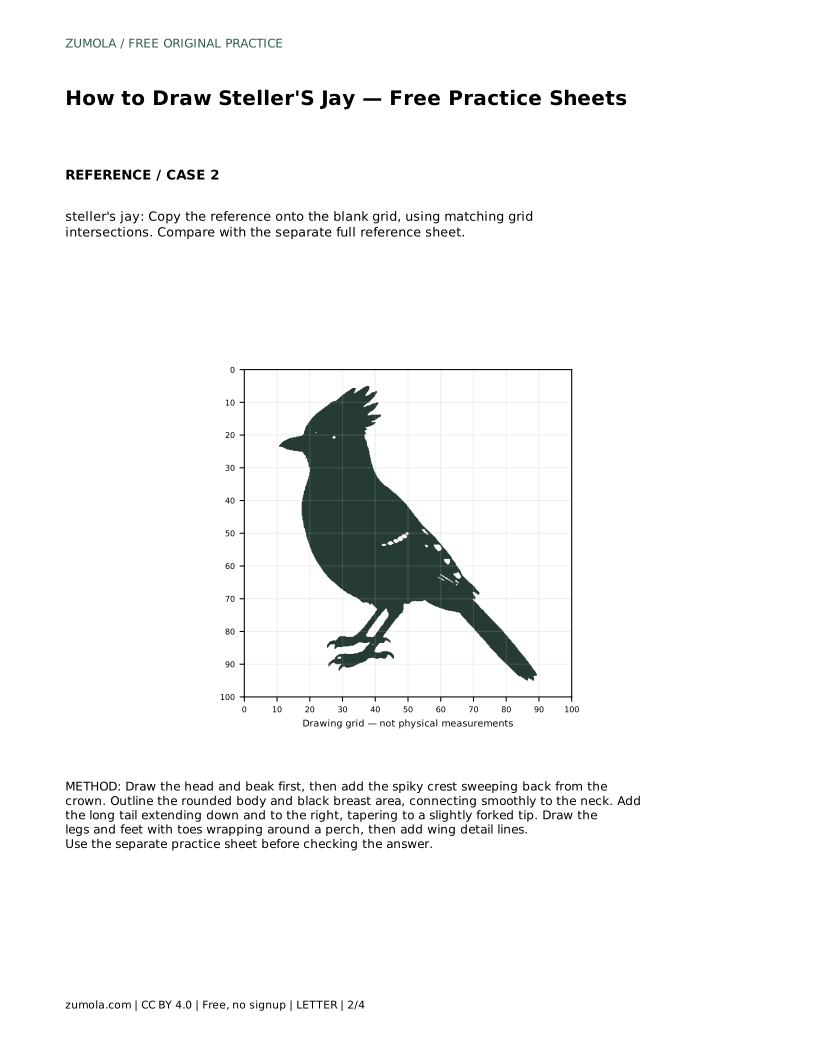
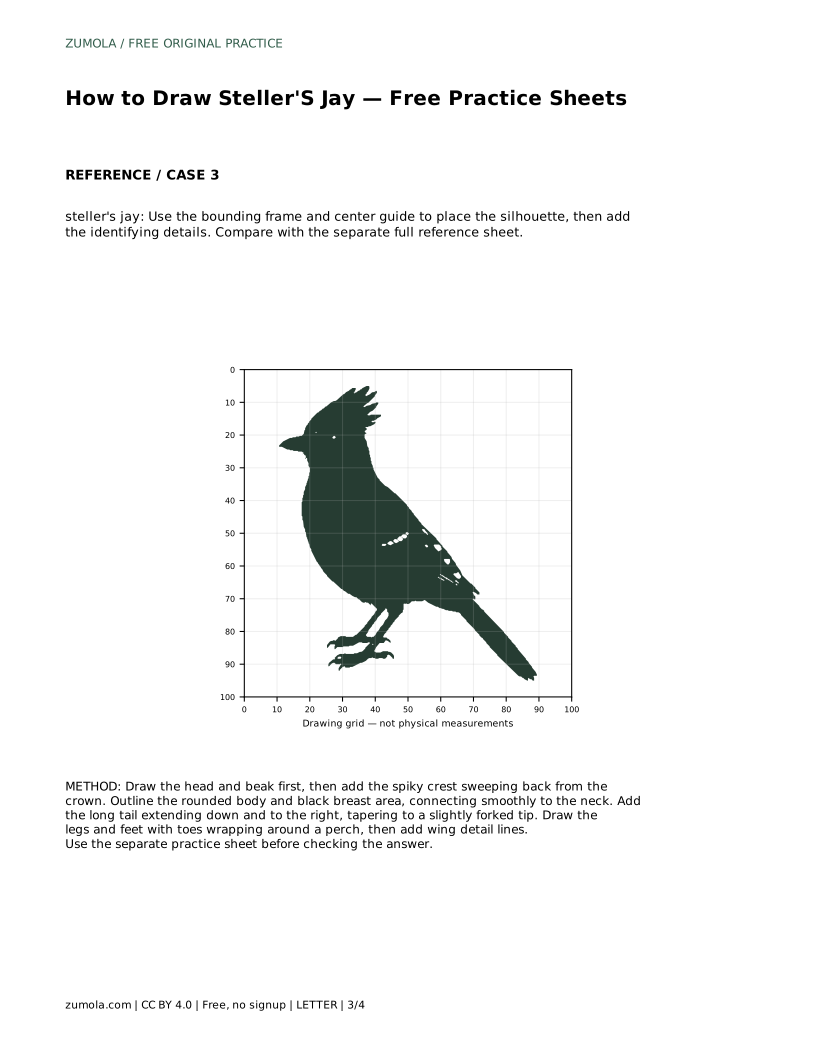
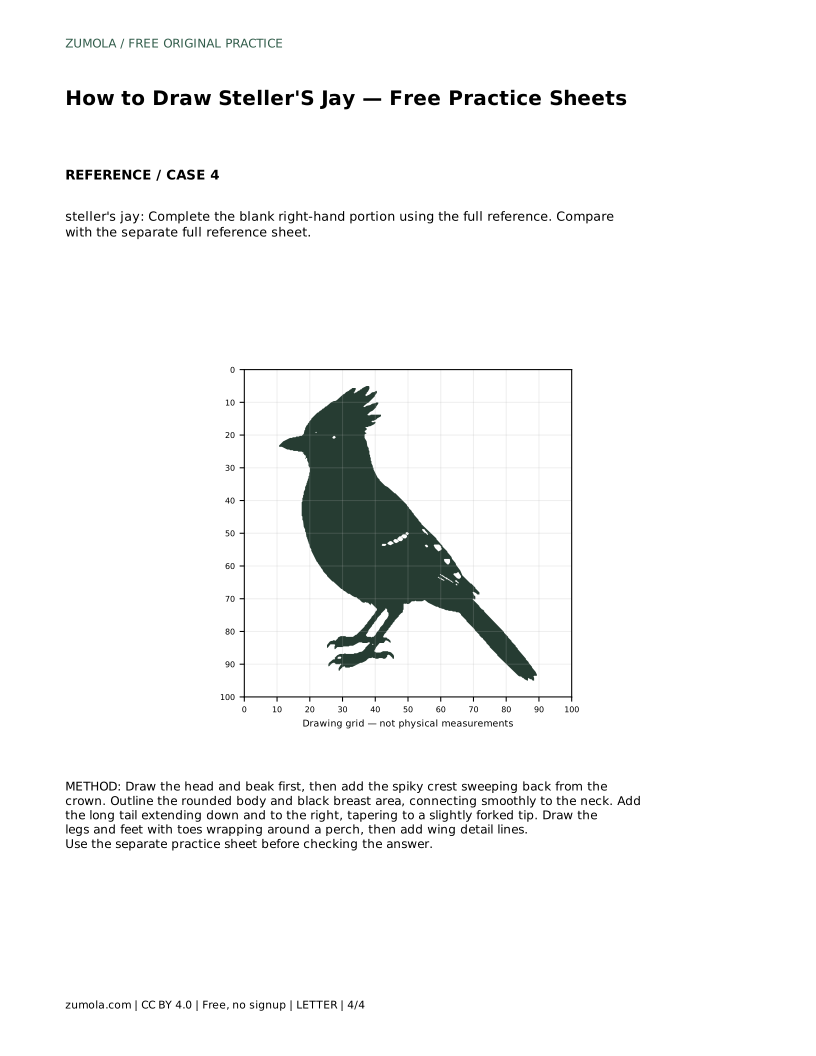
A Steller's jay is recognizable before you add a single feather line: a spiky crest sweeps back from the crown, a dark head and upper breast sit against a rounded body, and a long tail drops downward with a slight notch at the tip. This page shows how to build that silhouette in a sensible order, then how to judge your drawing by visible features and proportions rather than pixel-perfect matching.
Begin with the head shape and beak, because the crest grows out of the crown and its angle depends on where the head sits. Draw a small rounded head, place the beak at the front, then add the crest as a series of backward-sweeping spikes from the top of the crown. Keep the crest attached to the head outline rather than floating above it.
The crest is the bird's most distinctive feature, so give it enough height and a clear backward lean. A short, upright crest reads as a different bird. Check that the beak points in the same direction the crest sweeps away from.
Outline a rounded body that connects smoothly to the neck. The black head and upper breast form one continuous dark silhouette, so treat that area as a single shape rather than separate patches. Let the dark region flow from the head down into the chest, then stop where the lighter body begins.
Keep the body proportions compact. A Steller's jay is not a long, slender bird; the rounded chest and short body support the heavy head and crest. Compare the width of the body to the height of the head as you work.
Add the long tail extending down and to the right, tapering to a slightly forked tip. The tail should look long relative to the body, and the notch at the tip should be subtle rather than a deep V. Draw the legs and feet next, with toes wrapping around a perch so the bird looks supported rather than floating.
Finish with a few wing detail lines. These lines suggest feather groups without turning the drawing into a feather-by-feather study. Keep them light so the silhouette stays readable.
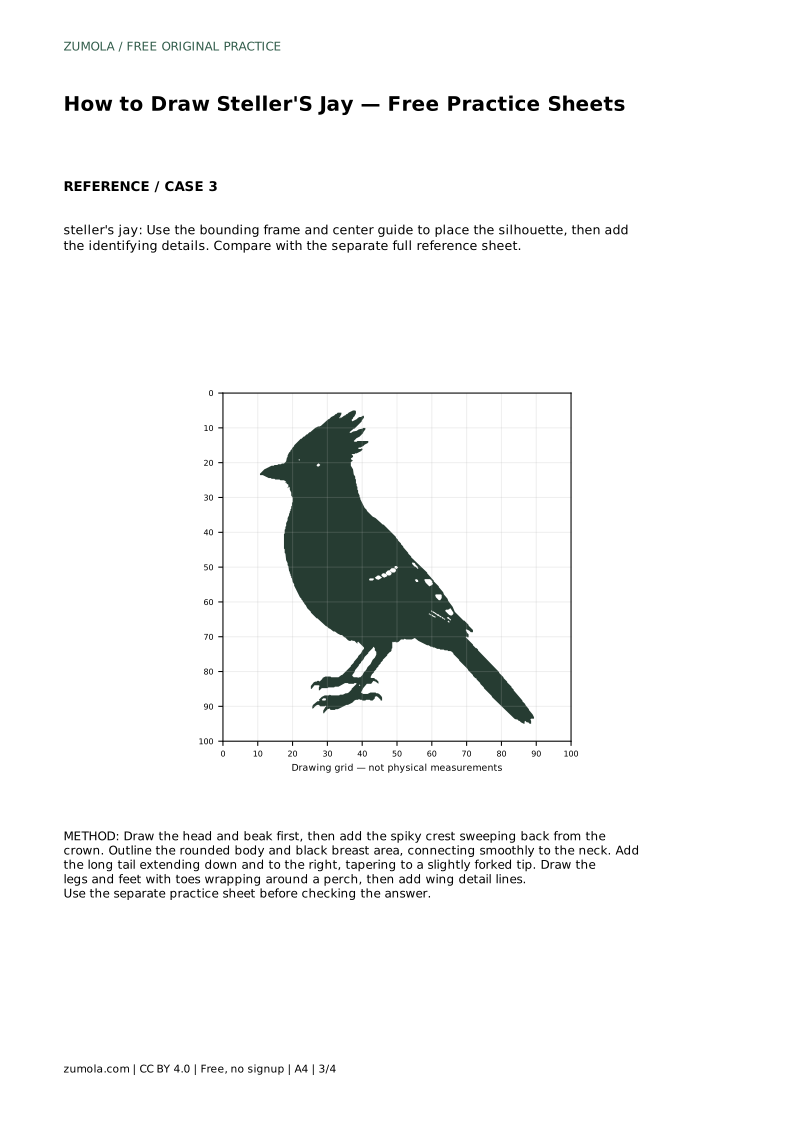
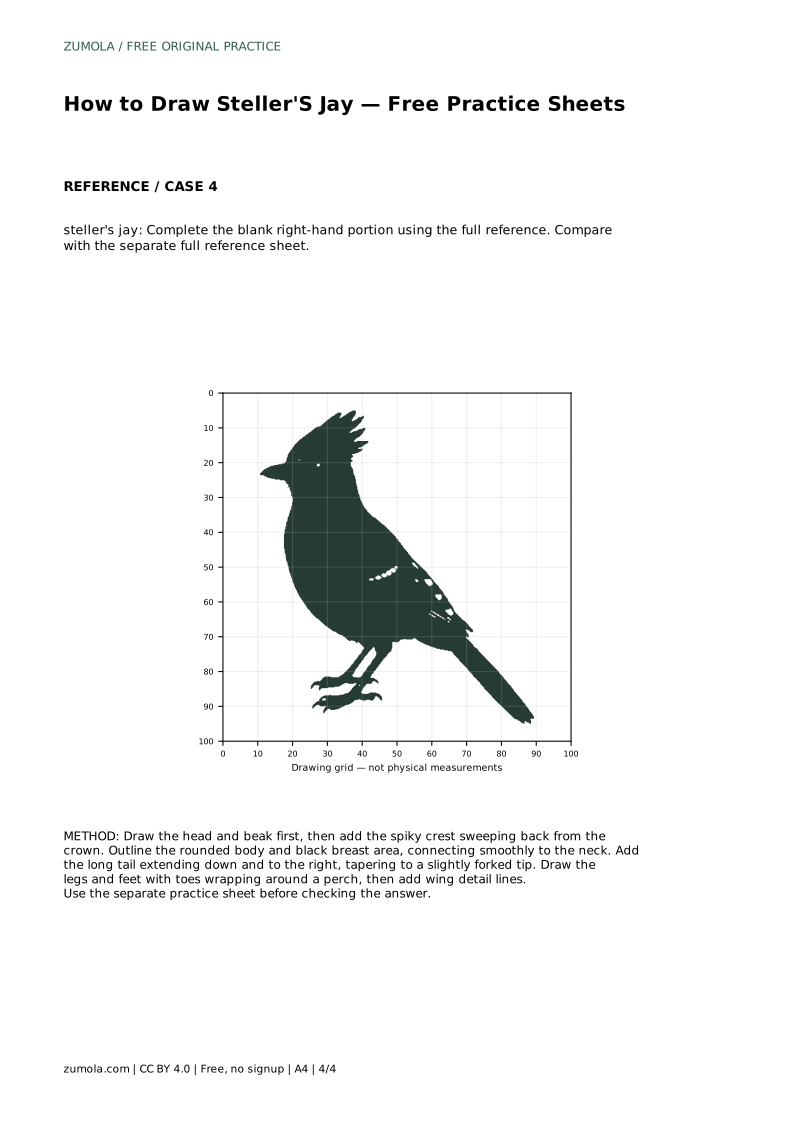
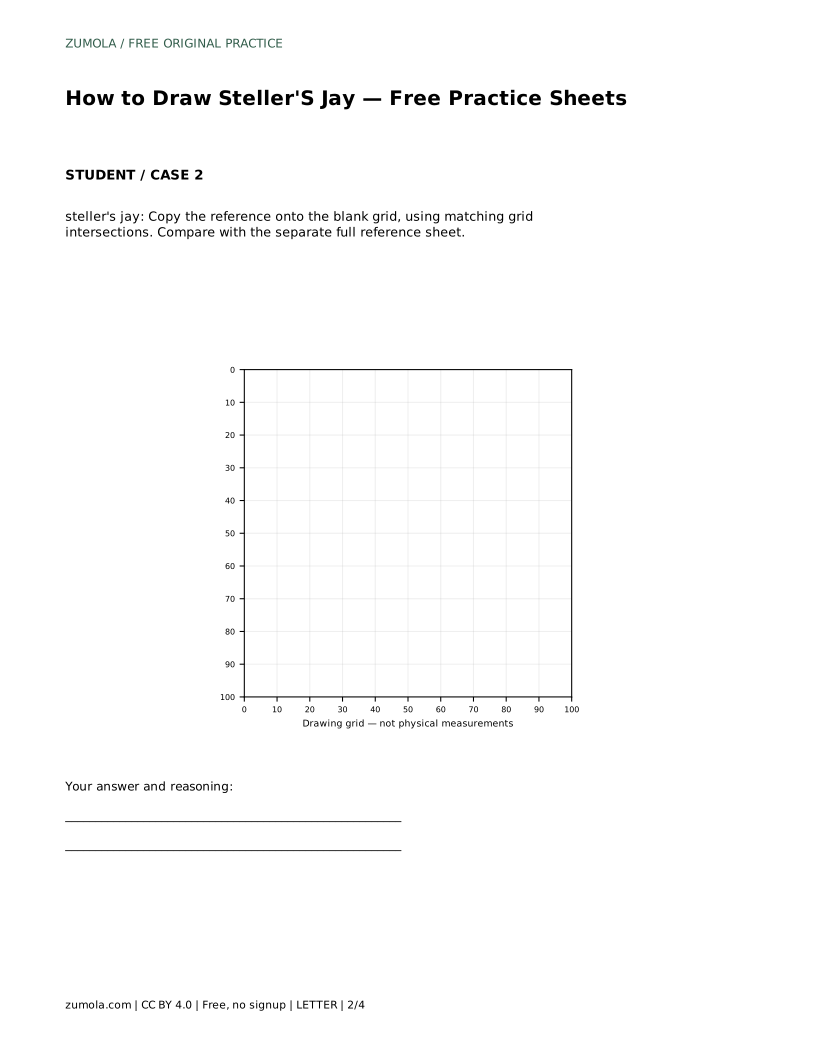
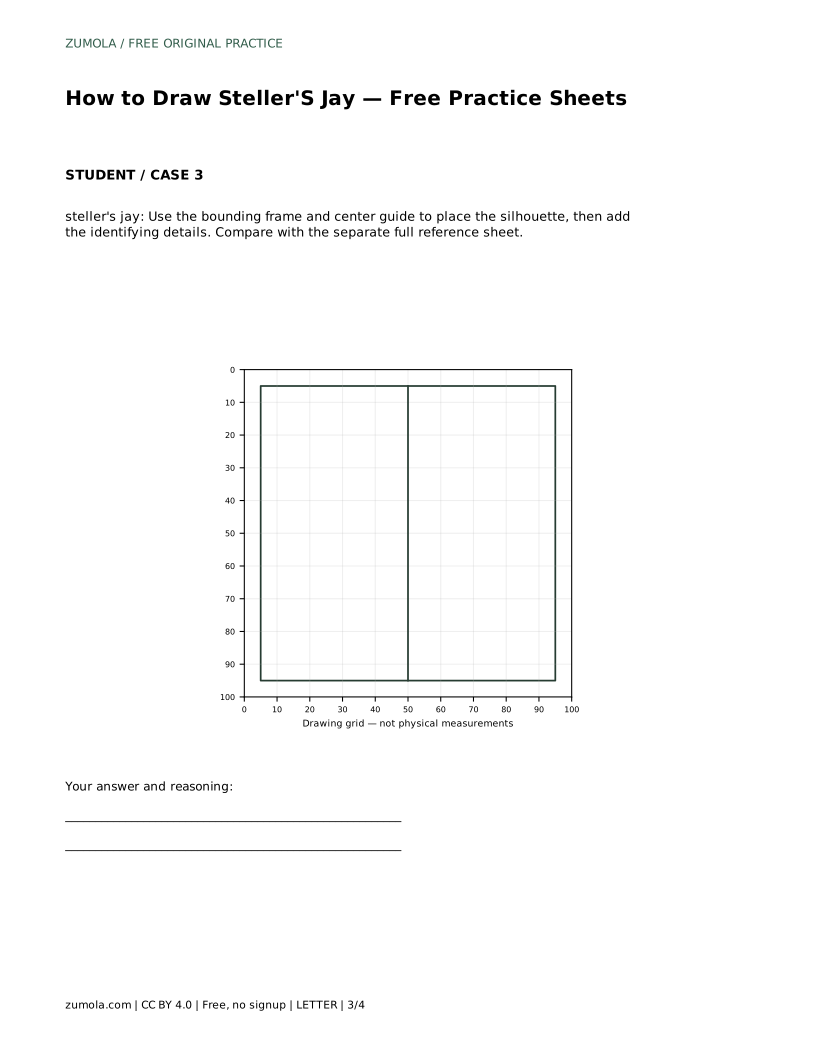
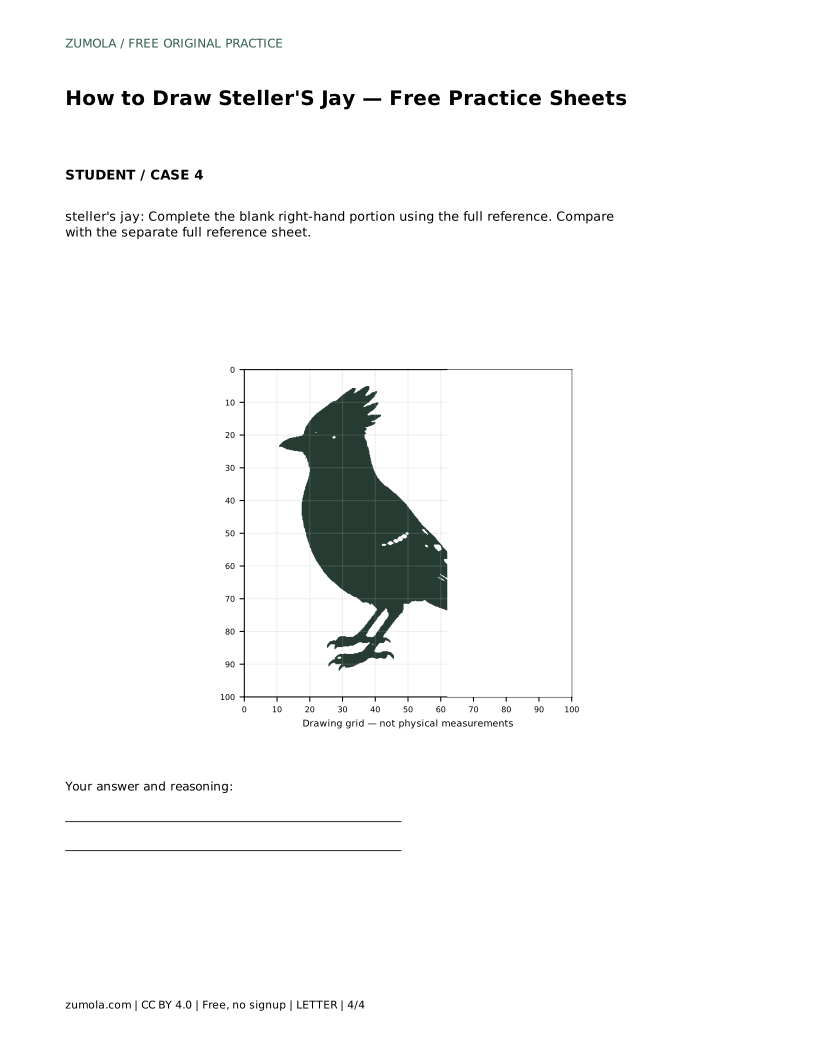
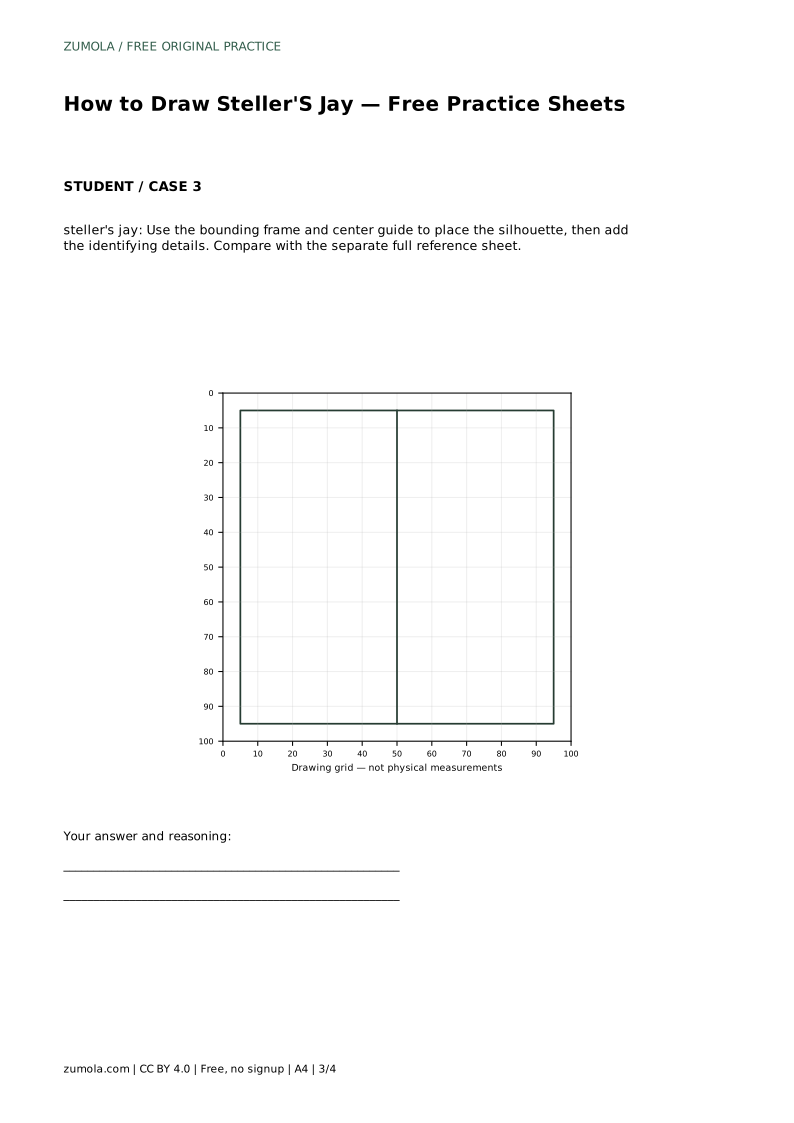
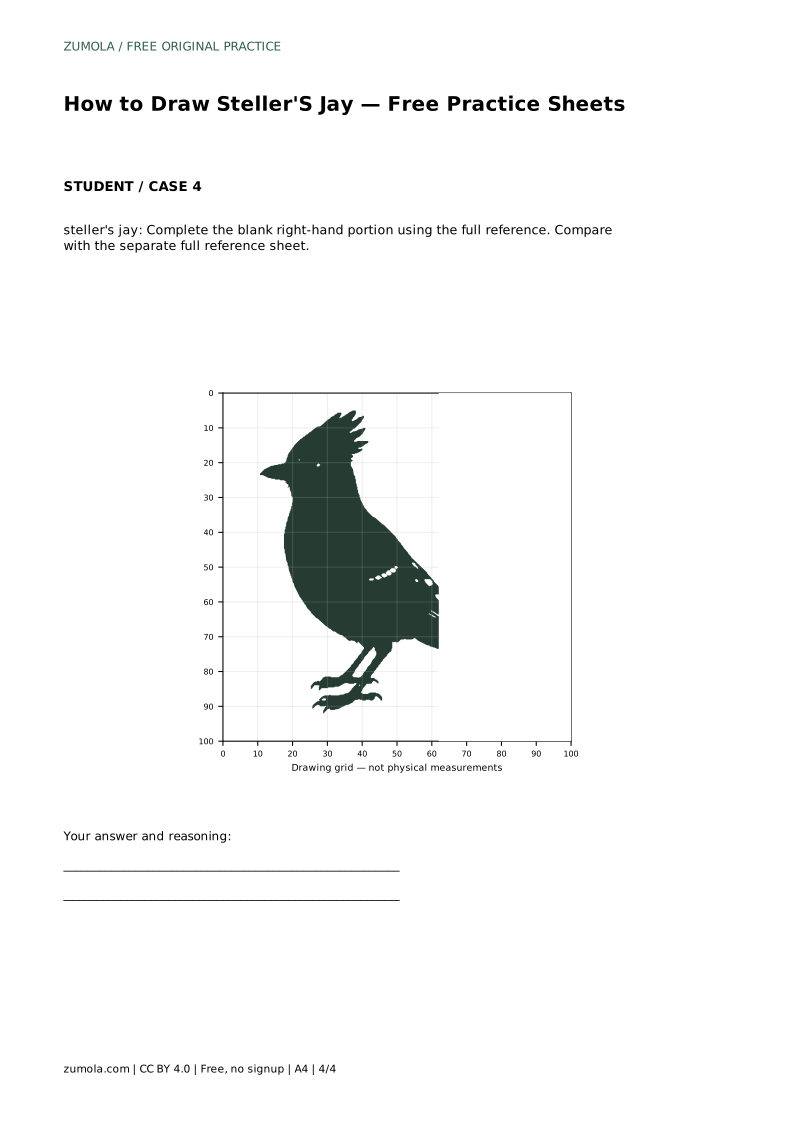
The trace format asks you to follow the reference outline first, then practise the contour independently and compare with the separate full reference sheet. The grid format asks you to copy the reference onto the blank grid using matching grid intersections. The bounding-frame format asks you to place the silhouette using the frame and center guide before adding identifying details. The partial format asks you to complete the blank right-hand portion using the full reference.
In every format, the goal is the same set of visible features: the spiky crest, the dark head and breast silhouette, and the long notched tail. Other drawings can be correct, so assess features and proportions rather than exact line placement.
Compare your finished drawing with the separate full reference sheet. Ask whether the crest is prominent and backward-sweeping, whether the dark head and breast read as one shape, and whether the tail is long with a slight notch. If one feature is missing, redraw just that part rather than starting over.
steller's jay: Trace the reference outline, then practise the contour independently. Compare with the separate full reference sheet.
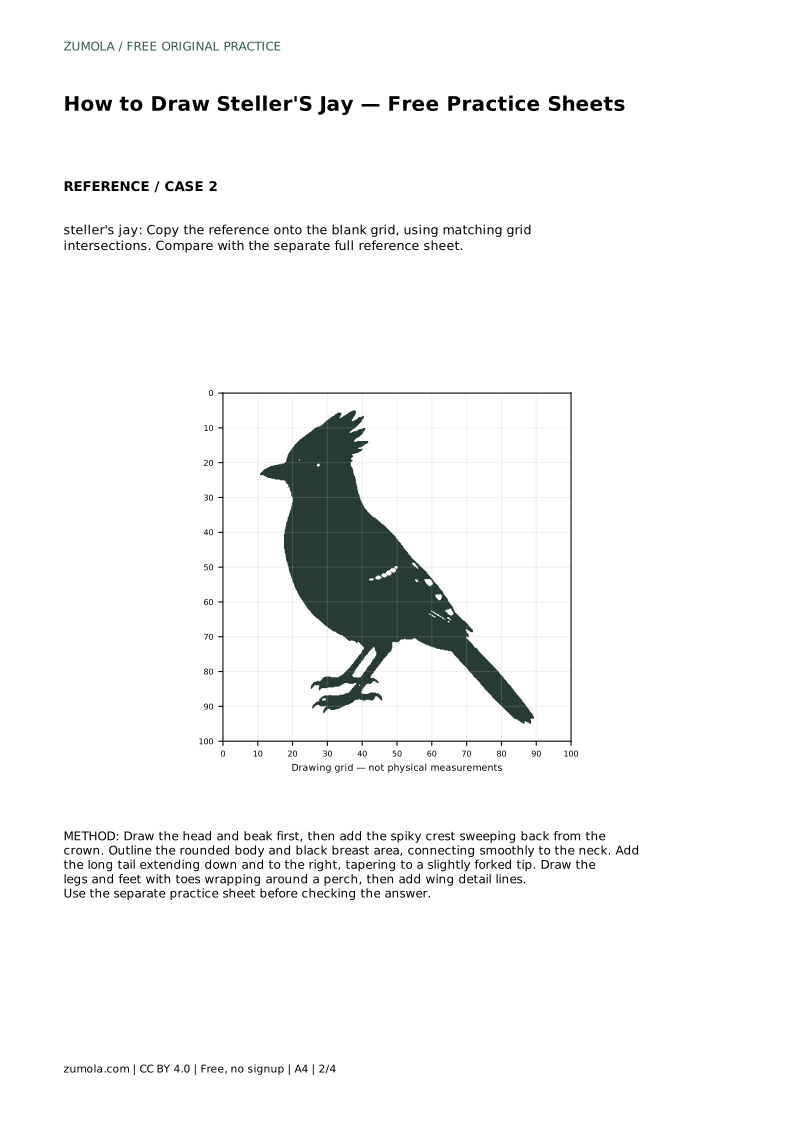
Example solution: preserve Prominent spiky crest on the head, Black head and upper breast silhouette contrasting with the body outline, Long tail extending downward with a slight notch at the tip. Other drawings can be correct; assess the visible features and proportions rather than pixel-perfect matching. Draw the head and beak first, then add the spiky crest sweeping back from the crown. Outline the rounded body and black breast area, connecting smoothly to the neck. Add the long tail extending down and to the right, tapering to a slightly forked tip. Draw the legs and feet with toes wrapping around a perch, then add wing detail lines.
No. Other drawings can be correct. Judge your work by the visible features and proportions: prominent spiky crest, black head and upper breast silhouette, and a long tail with a slight notch.
Draw the head and beak first, add the crest, outline the body and dark breast, then add the tail, feet, and wing detail lines.
Copy the reference onto the blank grid using matching grid intersections, then compare your result with the separate full reference sheet.
All drawing practice · Free coordinate paper
Original resources · CC BY 4.0 · Free for personal and classroom use with attribution.