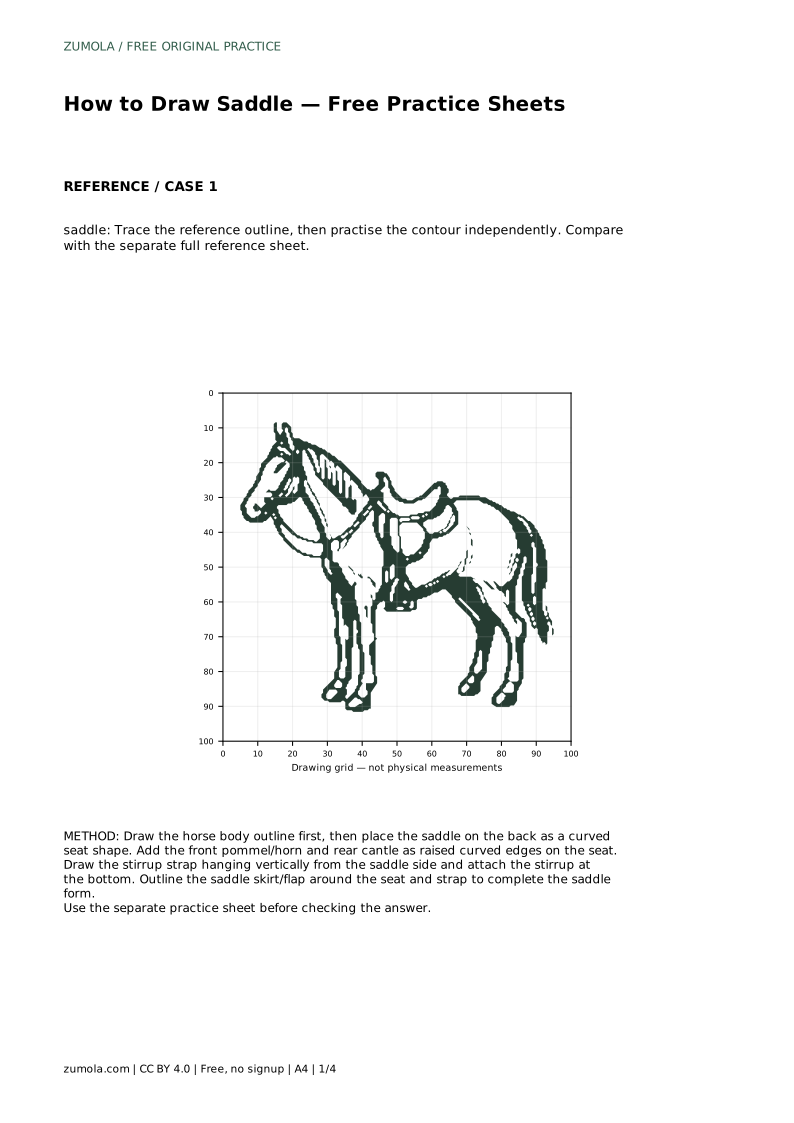
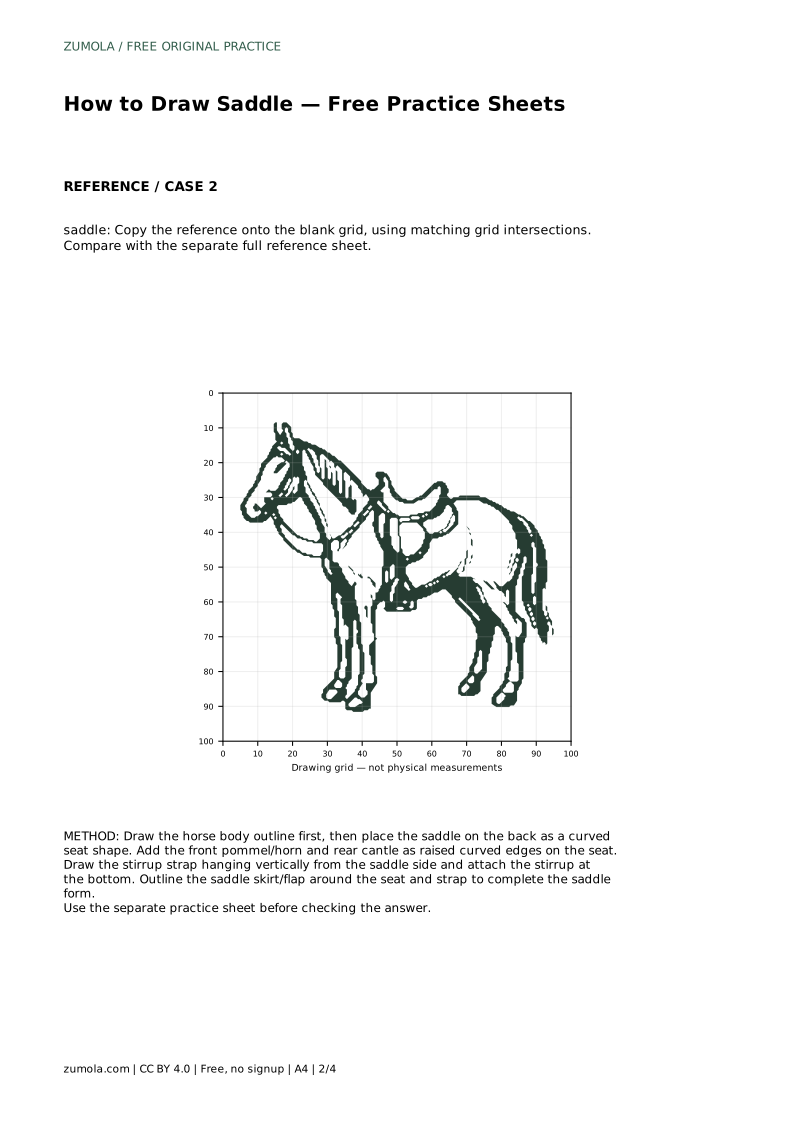
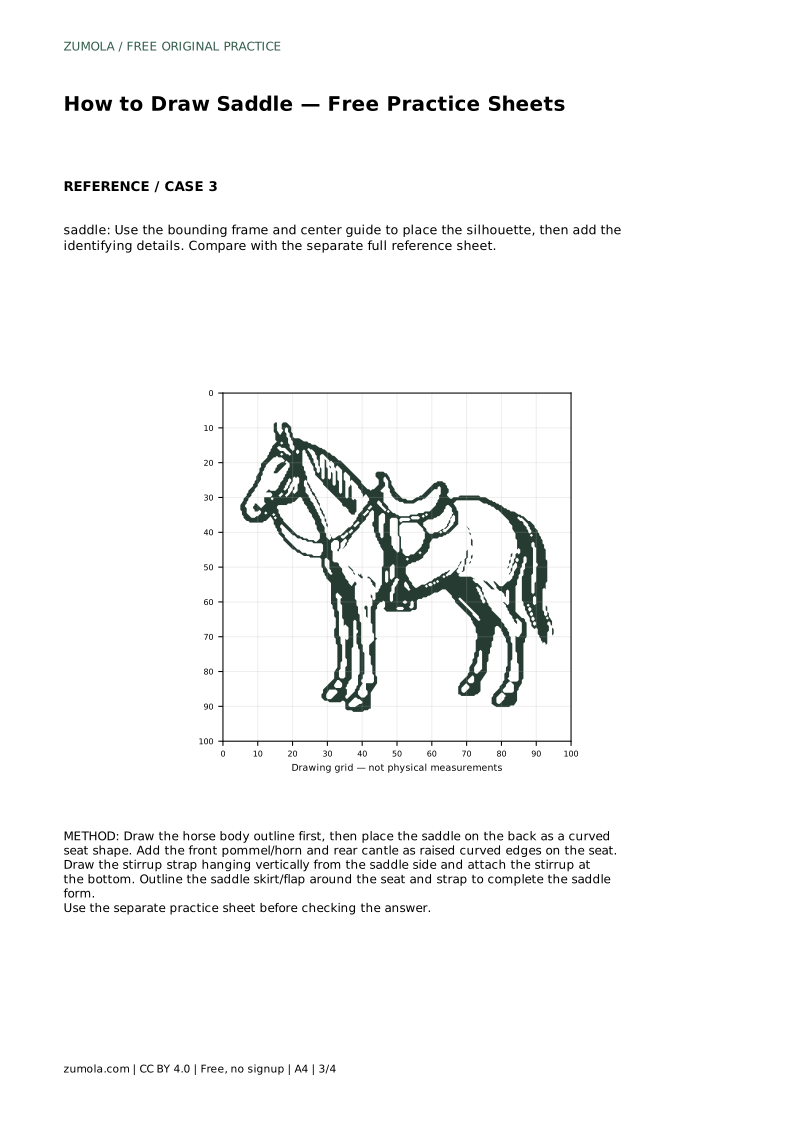
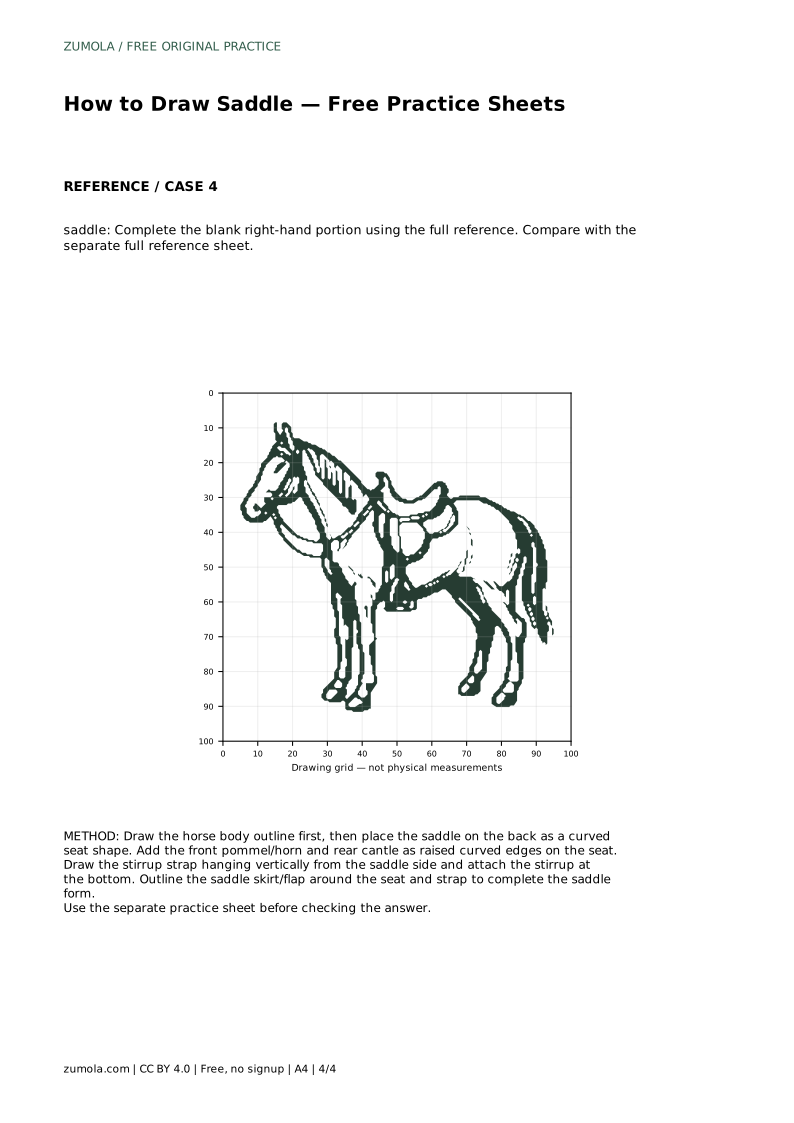
Reference diagrams
LETTER · Download PDF
A4 · Download PDF
Free original resources
Learn to draw a saddle by building the horse's back line, curved seat, pommel, cantle, skirt, and hanging stirrup. Includes practice guidance and a rubric.
Four original cases, with reference diagrams, practice sheets and worked answers. Everything is free; no signup required.
LETTER · Download PDF
A4 · Download PDF
LETTER · Download PDF
A4 · Download PDF
LETTER · Download PDF
A4 · Download PDF
Use A4 or US Letter to match your printer. Use the stated values and conditions to solve each exercise; diagrams are not physical measuring rulers.
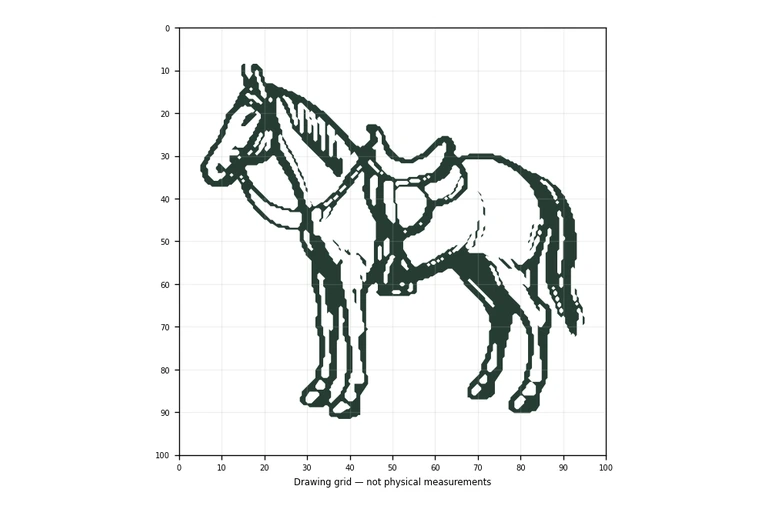
A saddle is easier to draw when you treat it as a set of connected shapes rather than one complicated outline. Start with the horse's back, then build the seat, raised front and rear edges, side skirt, and stirrup strap in a sensible order. This page explains that construction method and shows how to use tracing, grid, guide-frame, and partial-reference practice sheets to improve accuracy without expecting every drawing to match pixel for pixel.
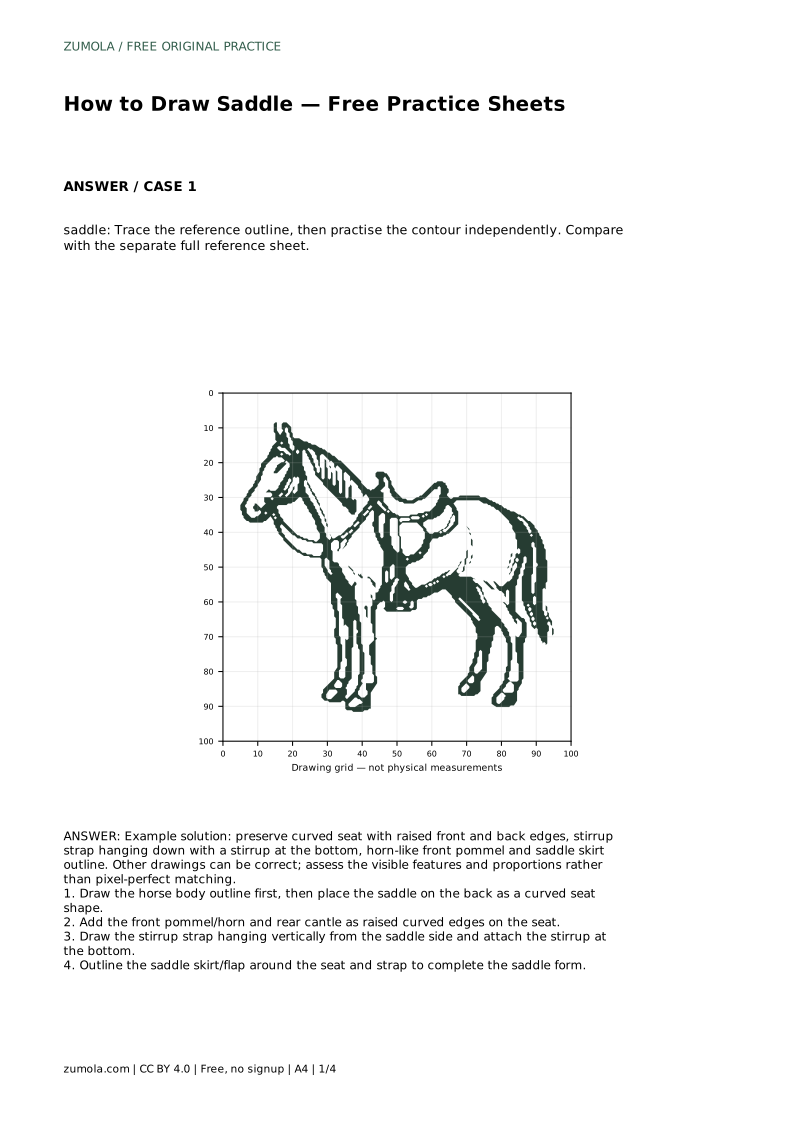
Begin with the horse body outline, because the saddle sits on the back and its curves should follow that supporting shape. Place the saddle as a curved seat shape resting along the back. This first line is not the finished saddle; it is the foundation that keeps the seat from floating or looking flat.
Next, add the raised front pommel or horn and the raised rear cantle. These two curved edges give the seat its recognizable profile. Keep their heights related to each other and to the seat length. Then draw the stirrup strap hanging vertically from the saddle side, with the stirrup attached at the bottom. Finish by outlining the saddle skirt or flap around the seat and strap so the parts read as one object.
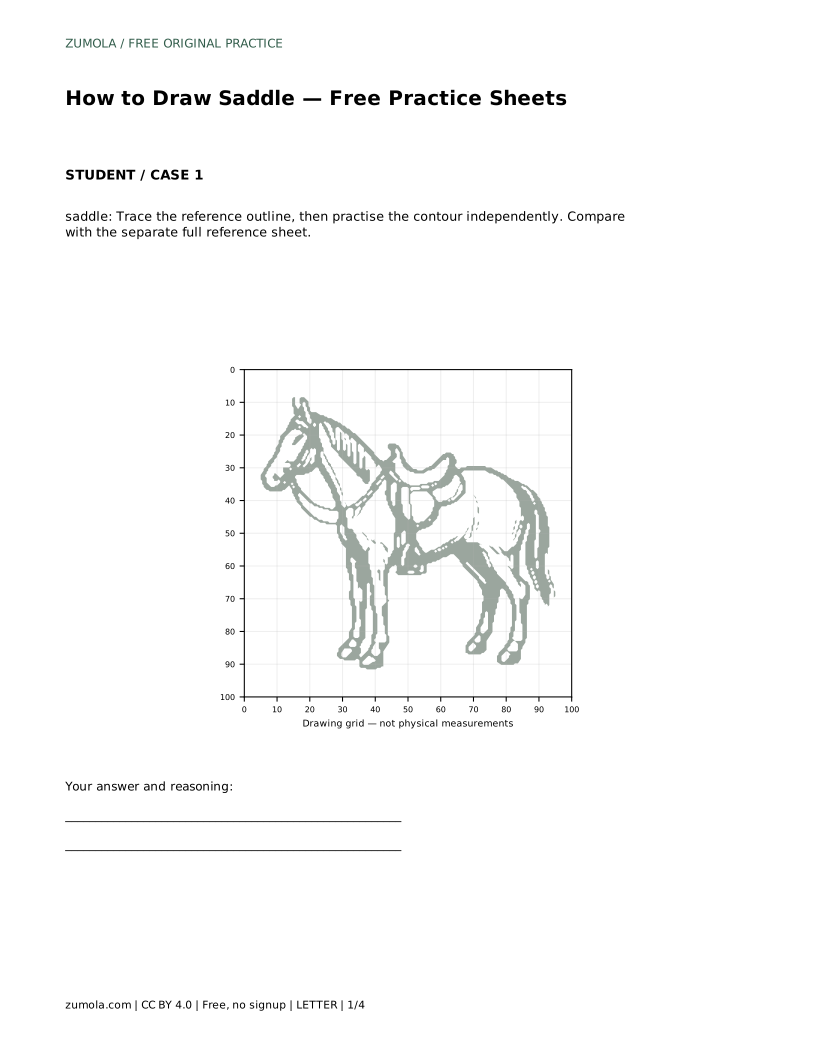
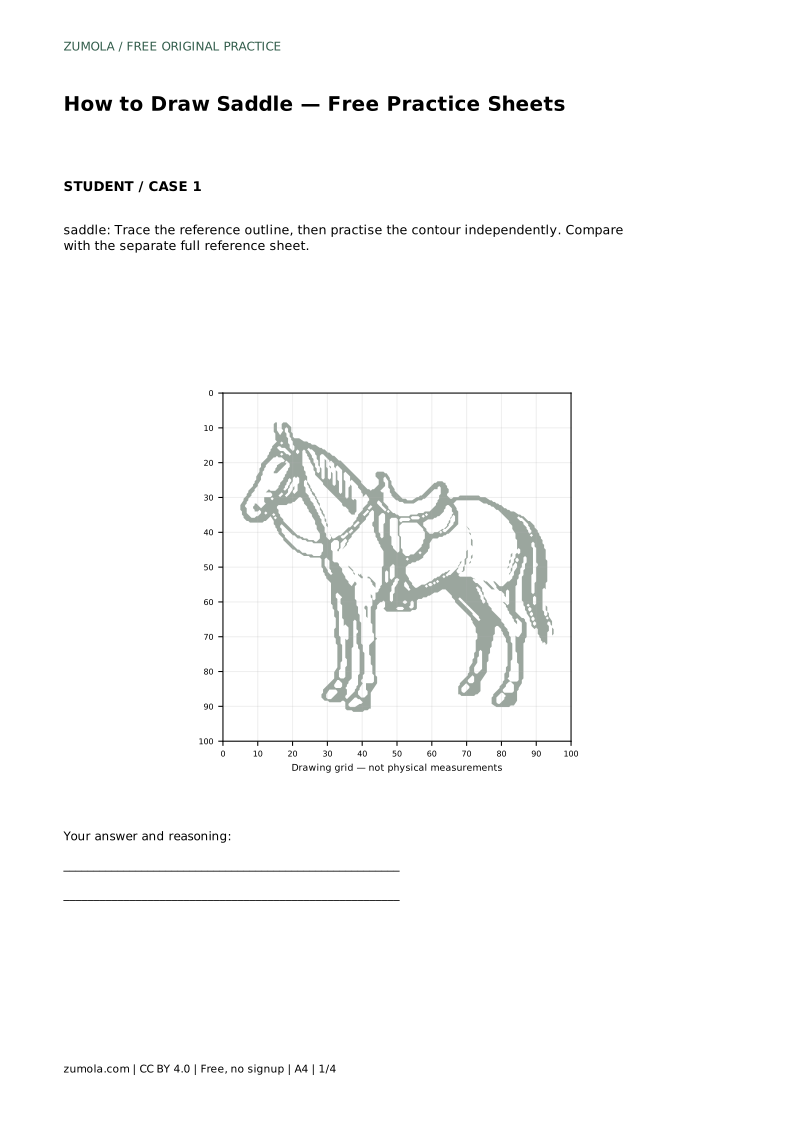
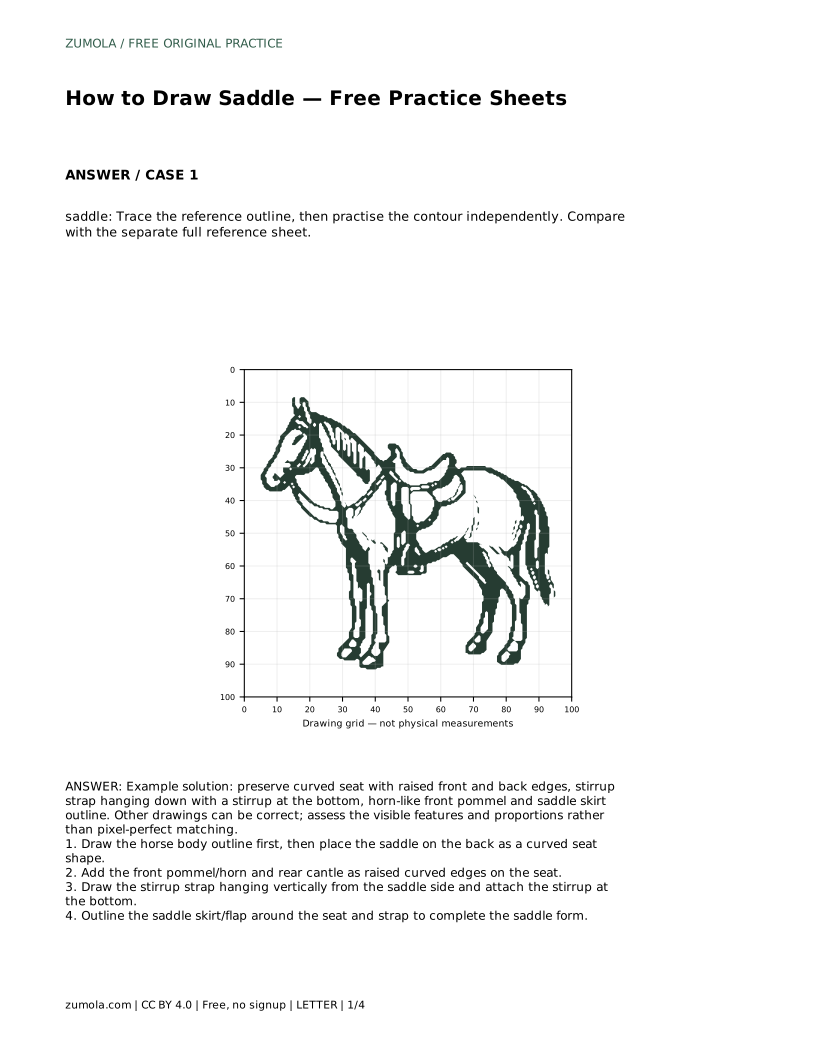
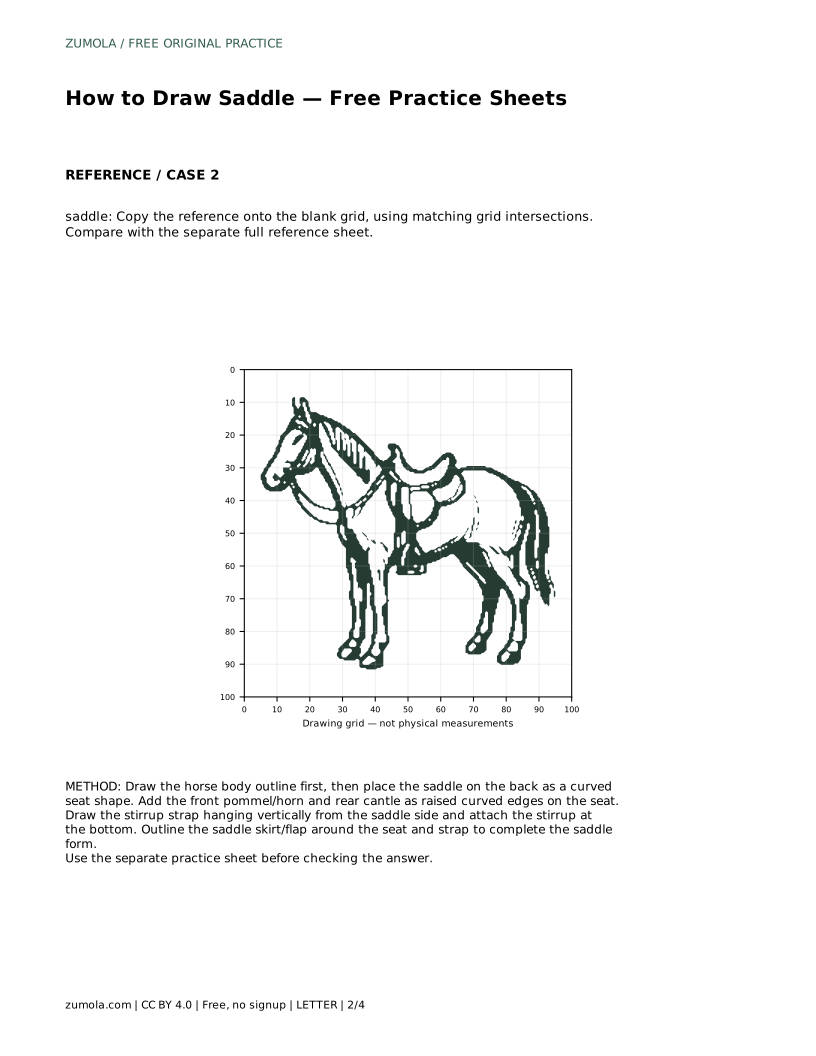
On the tracing sheet, trace the reference outline once, then practise the contour independently on blank space. Compare your free drawing with the separate full reference sheet, not with your traced line, so you can see which curves drifted.
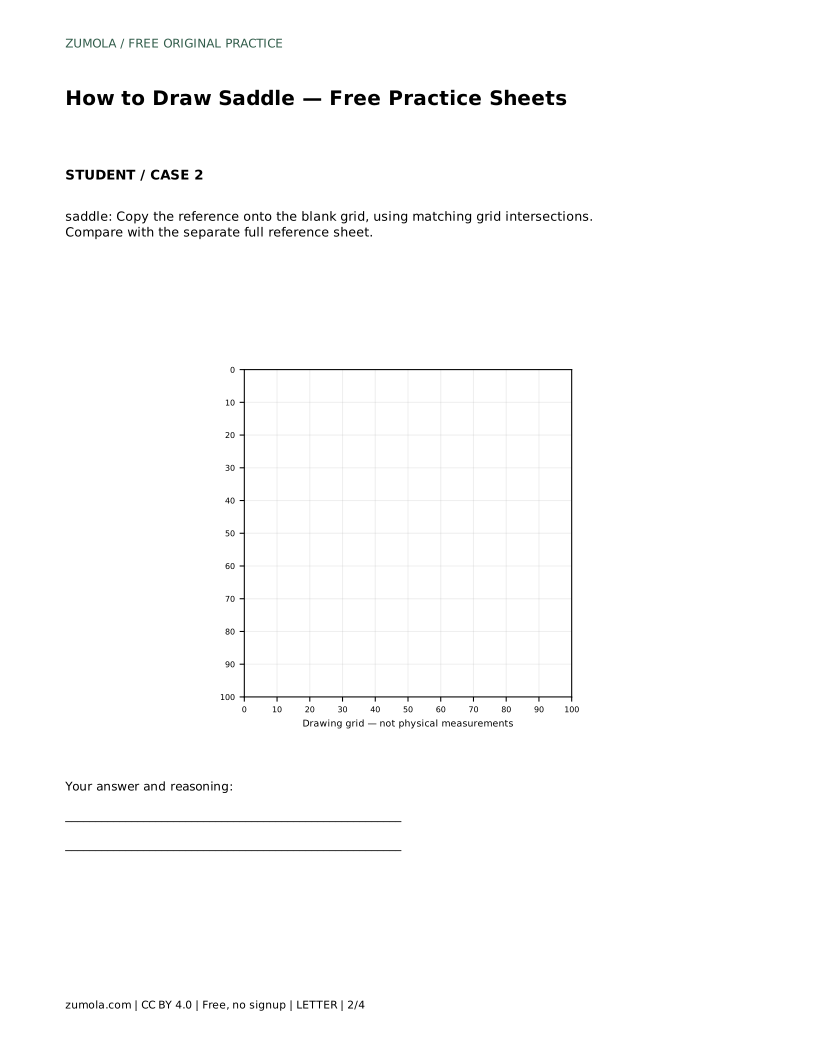
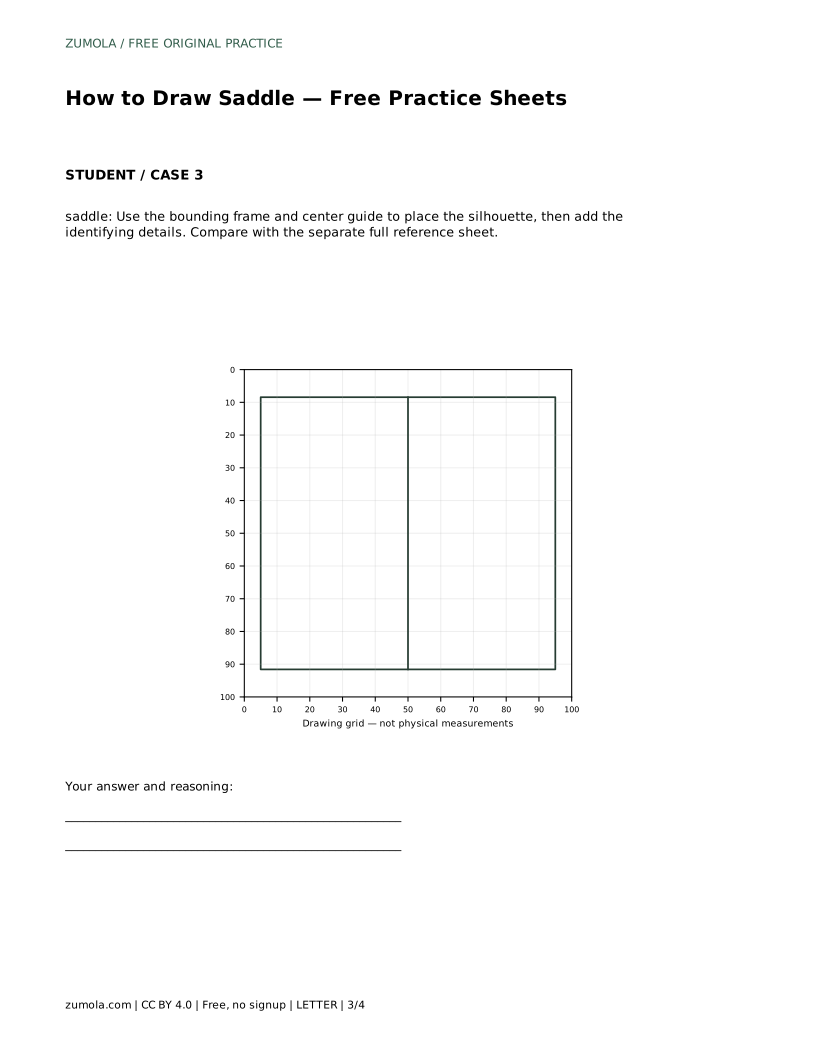
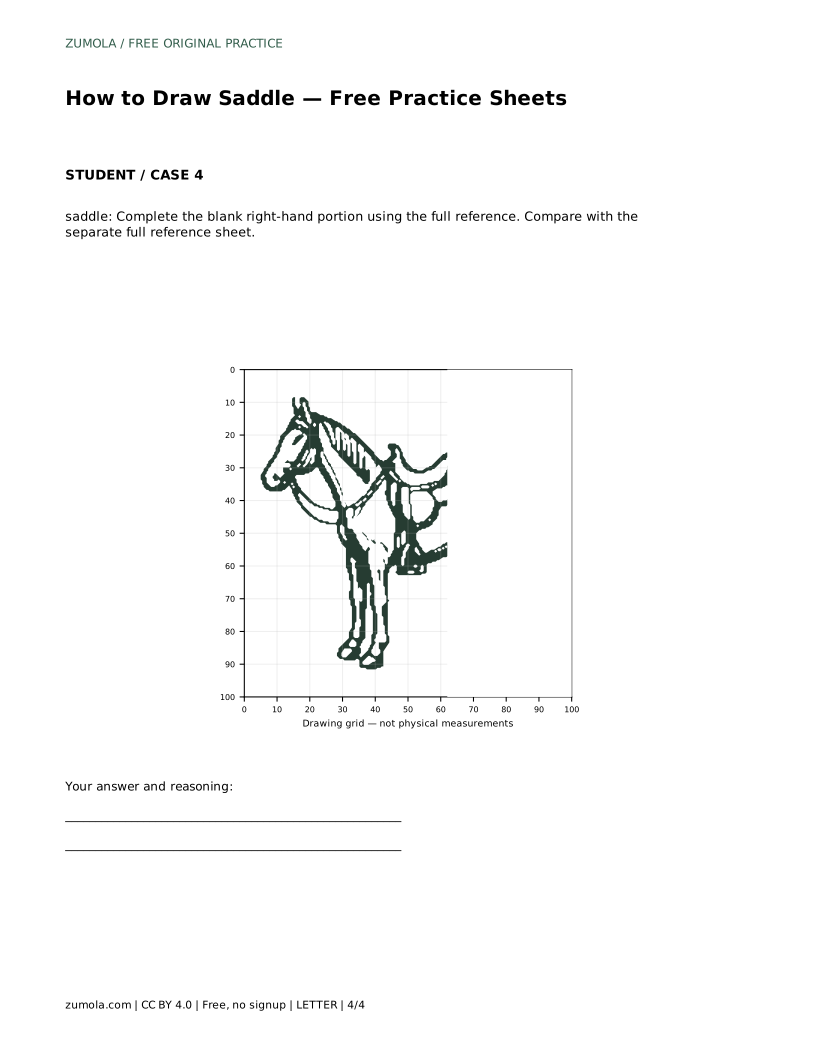
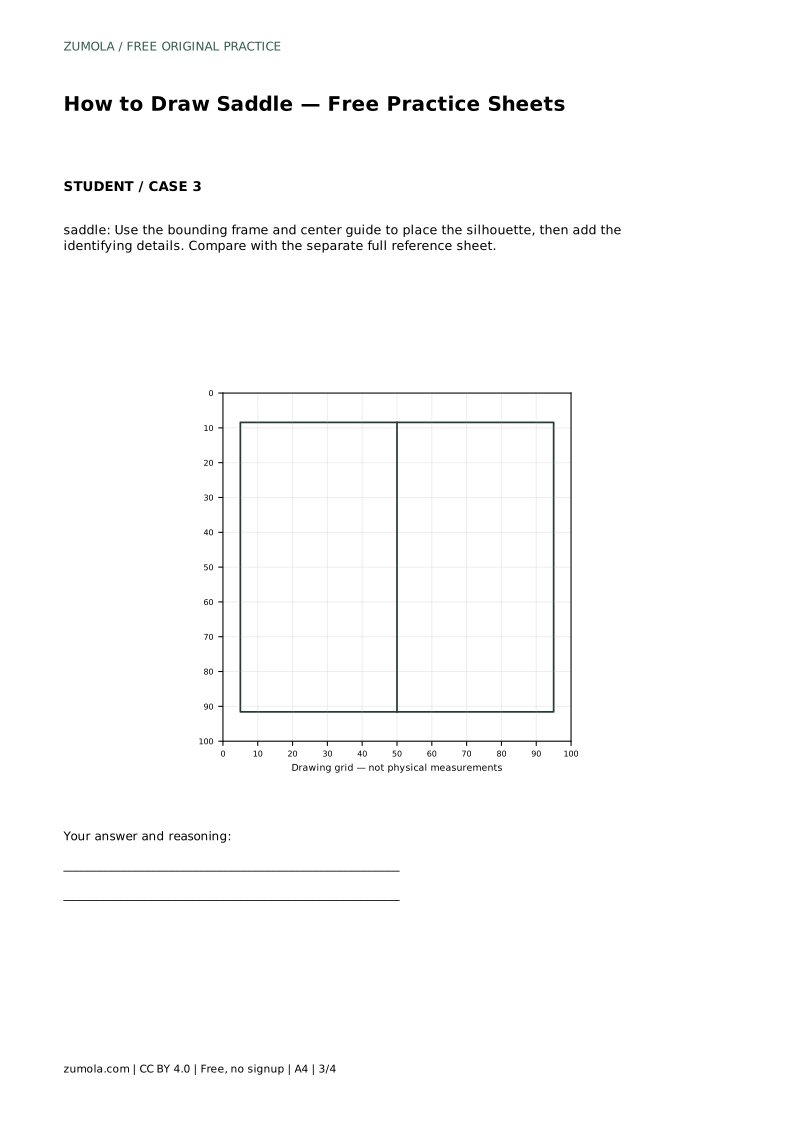
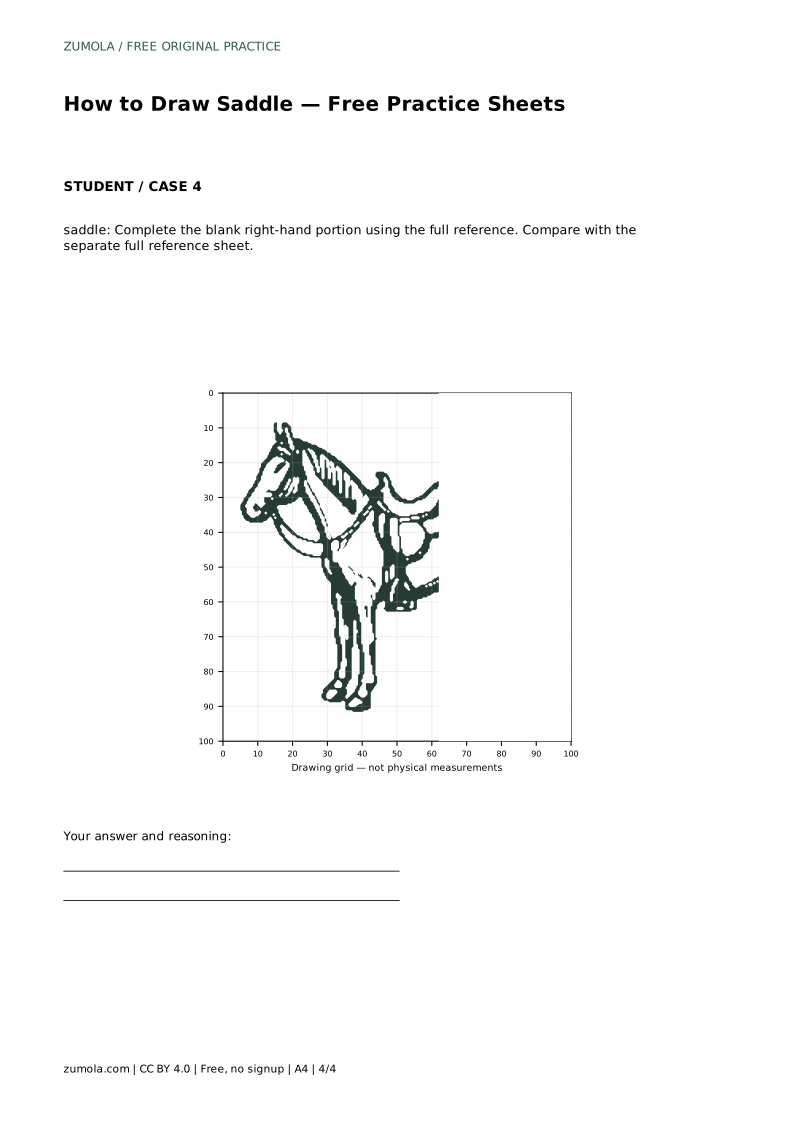
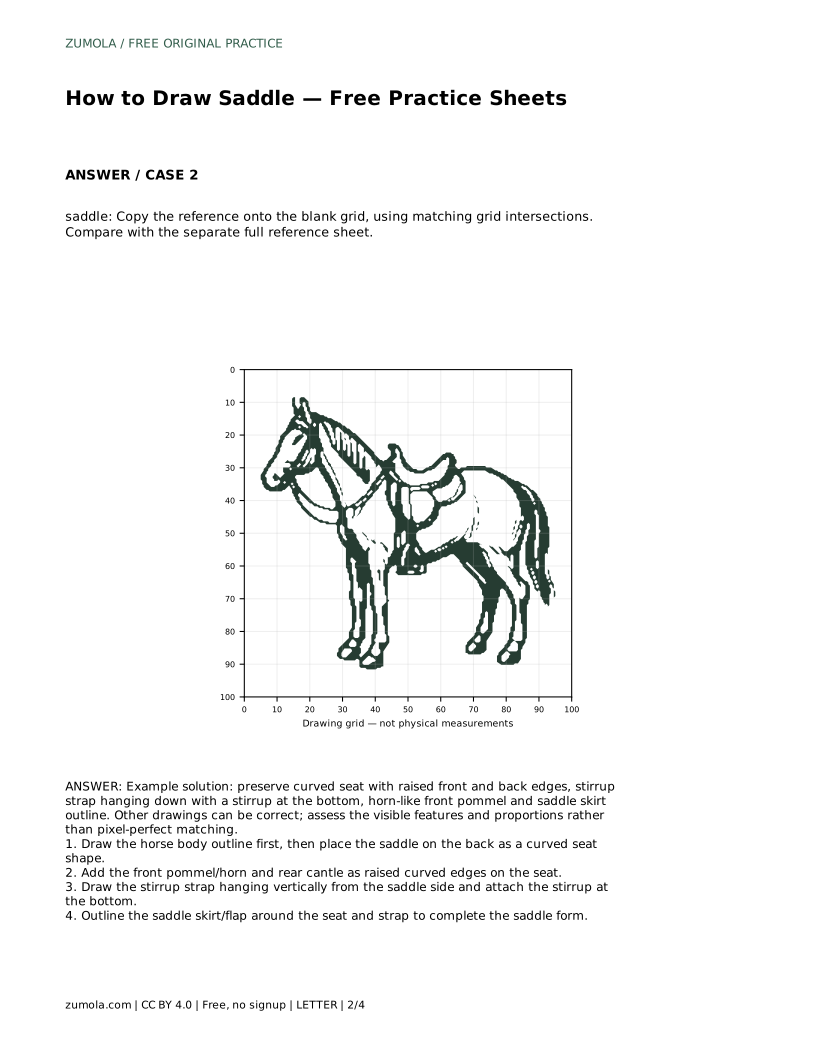
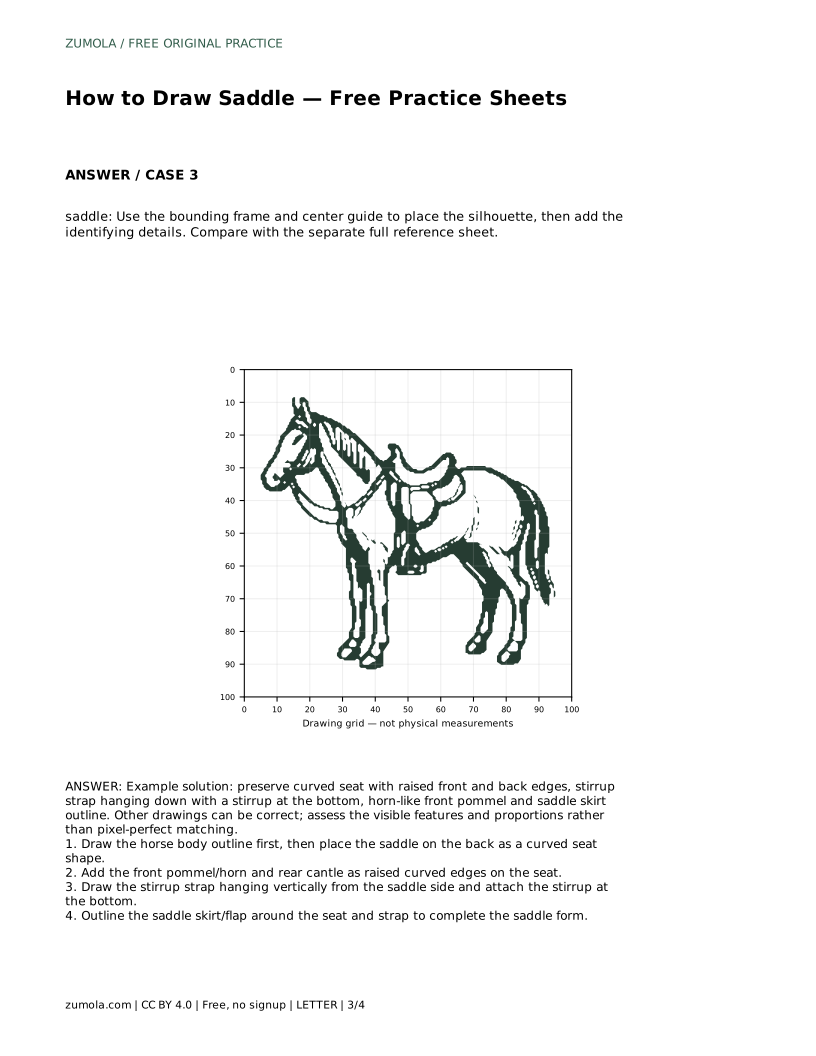
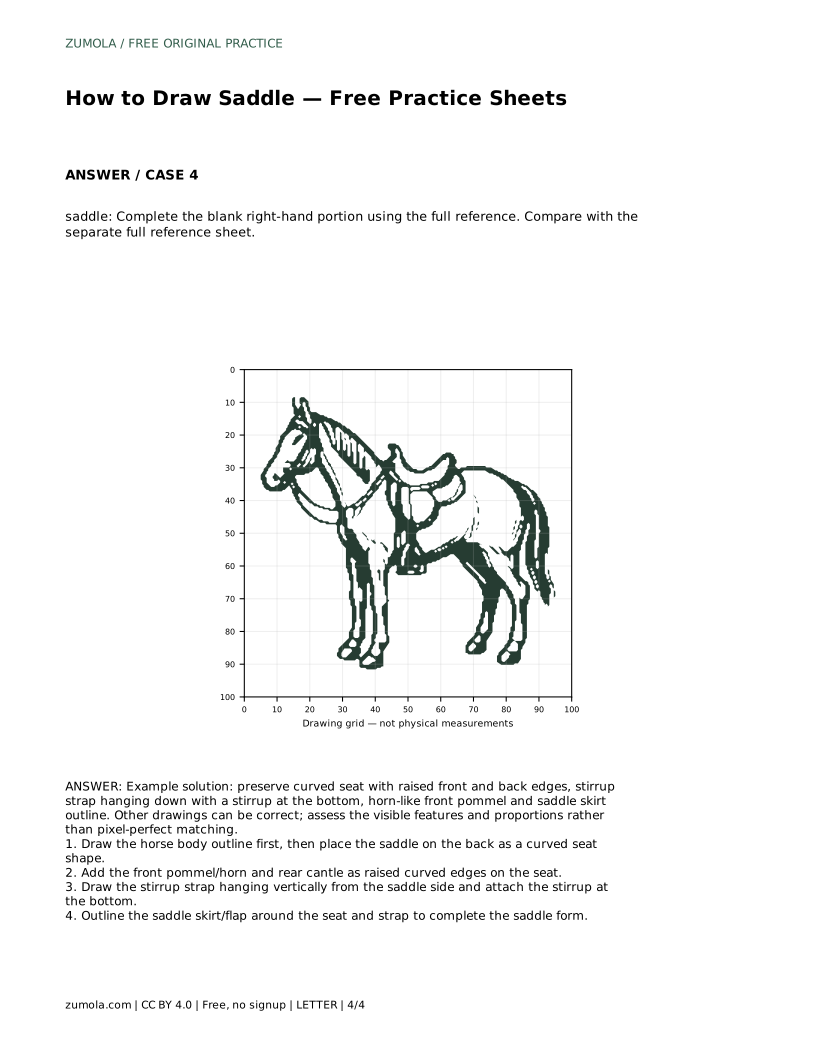
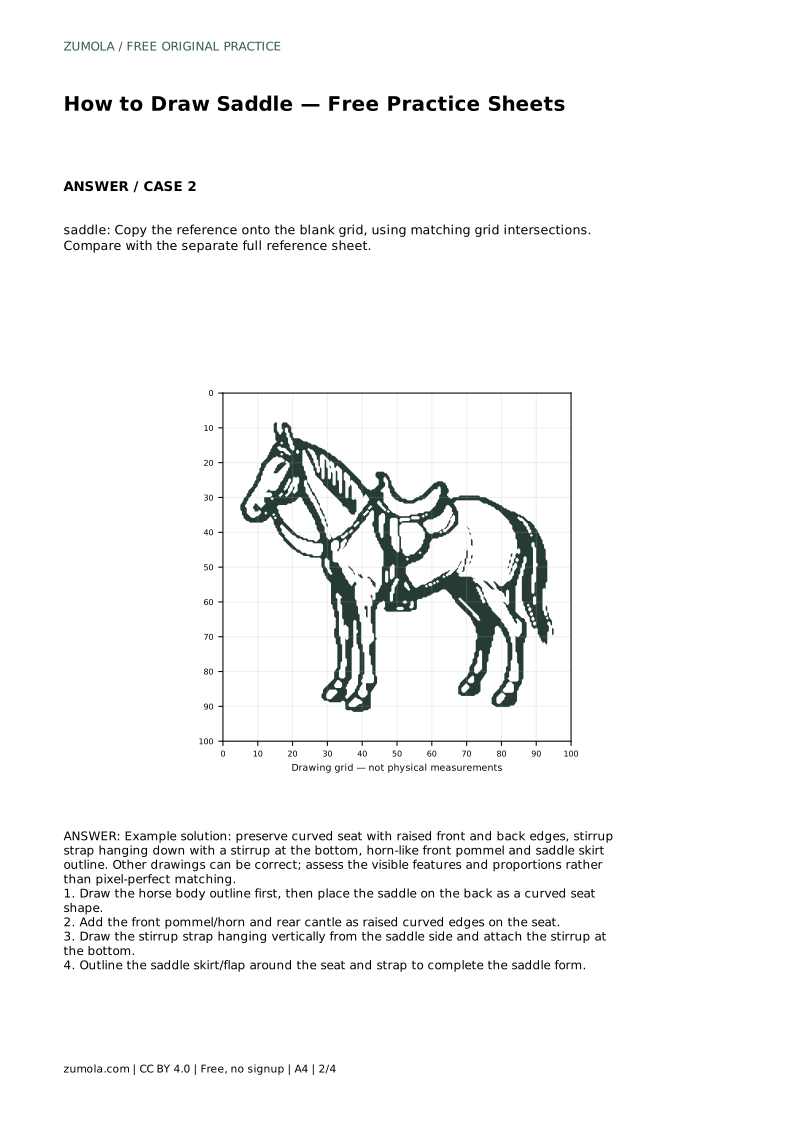
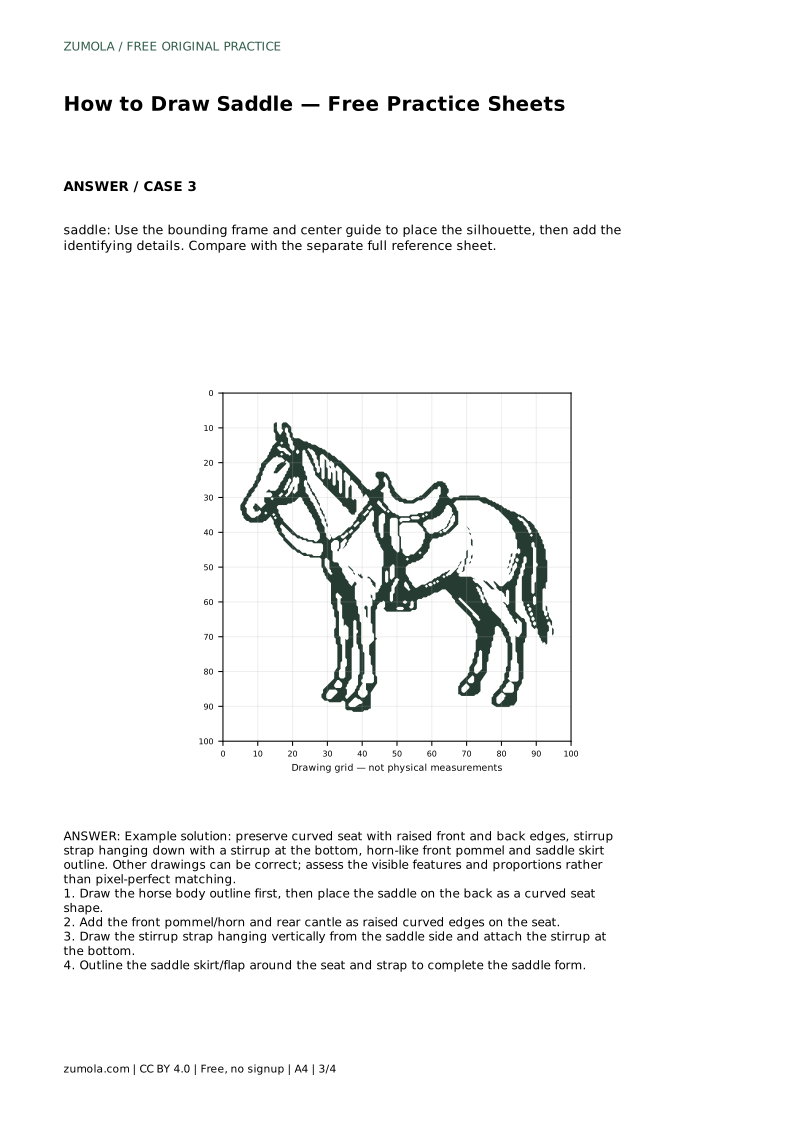
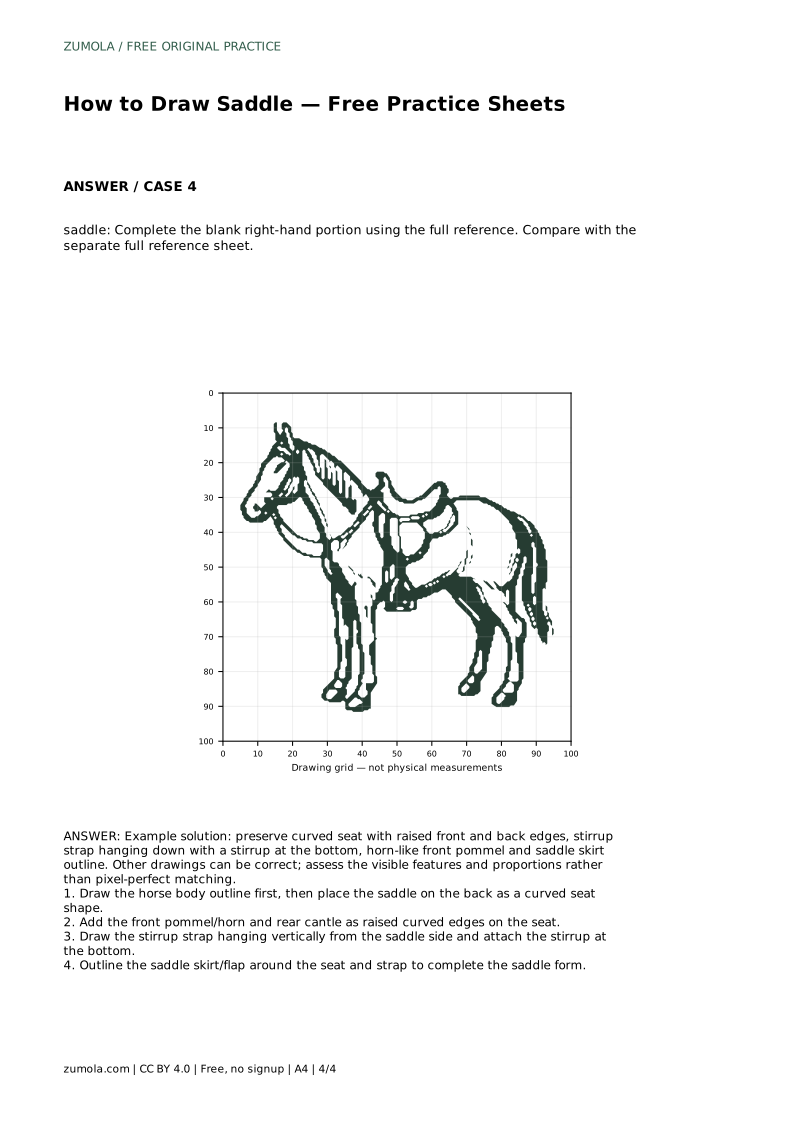
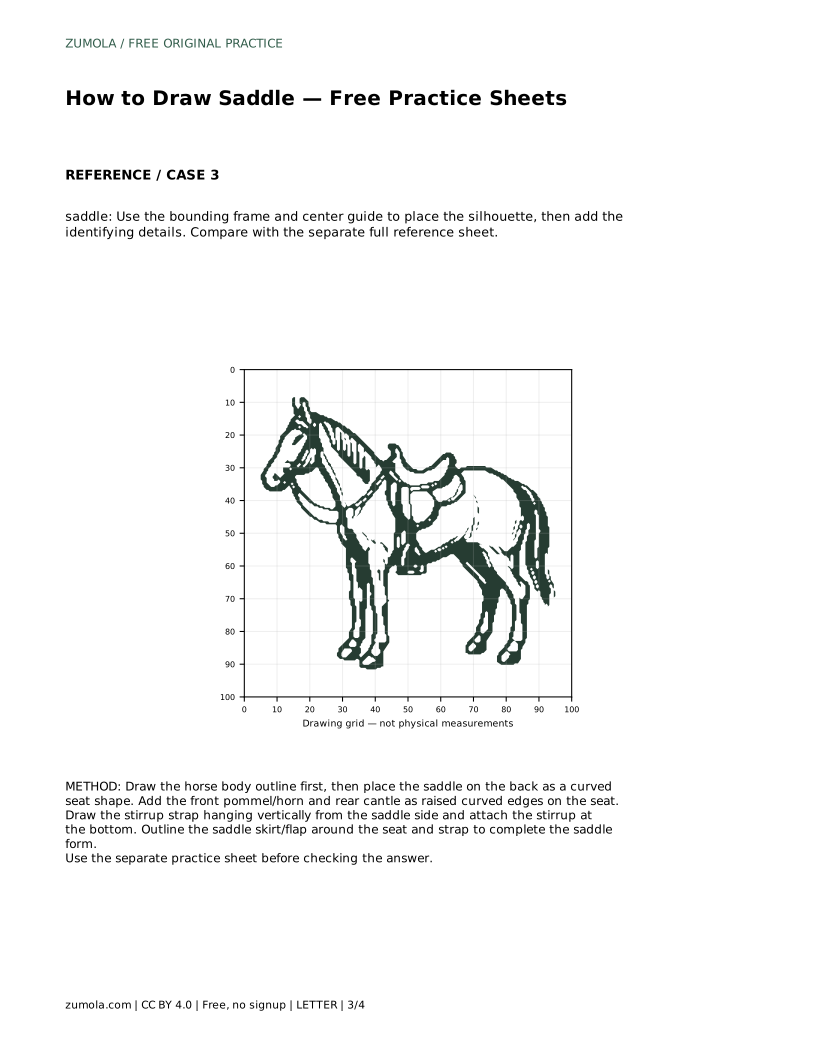
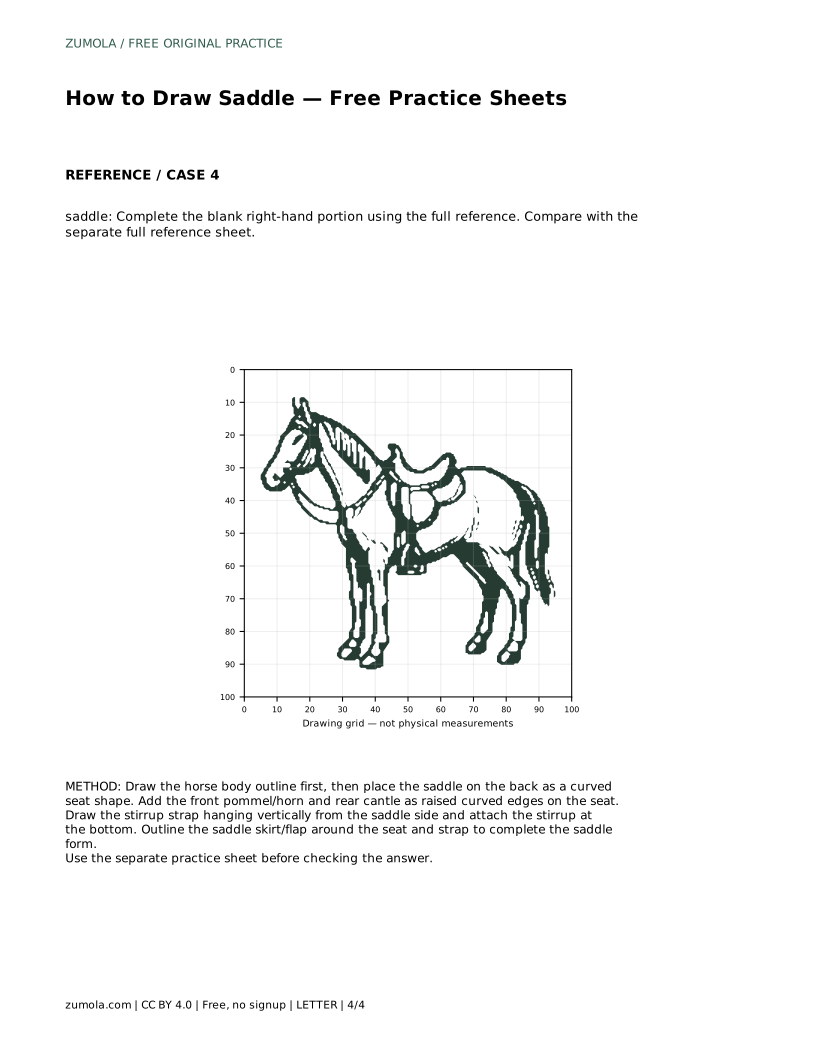
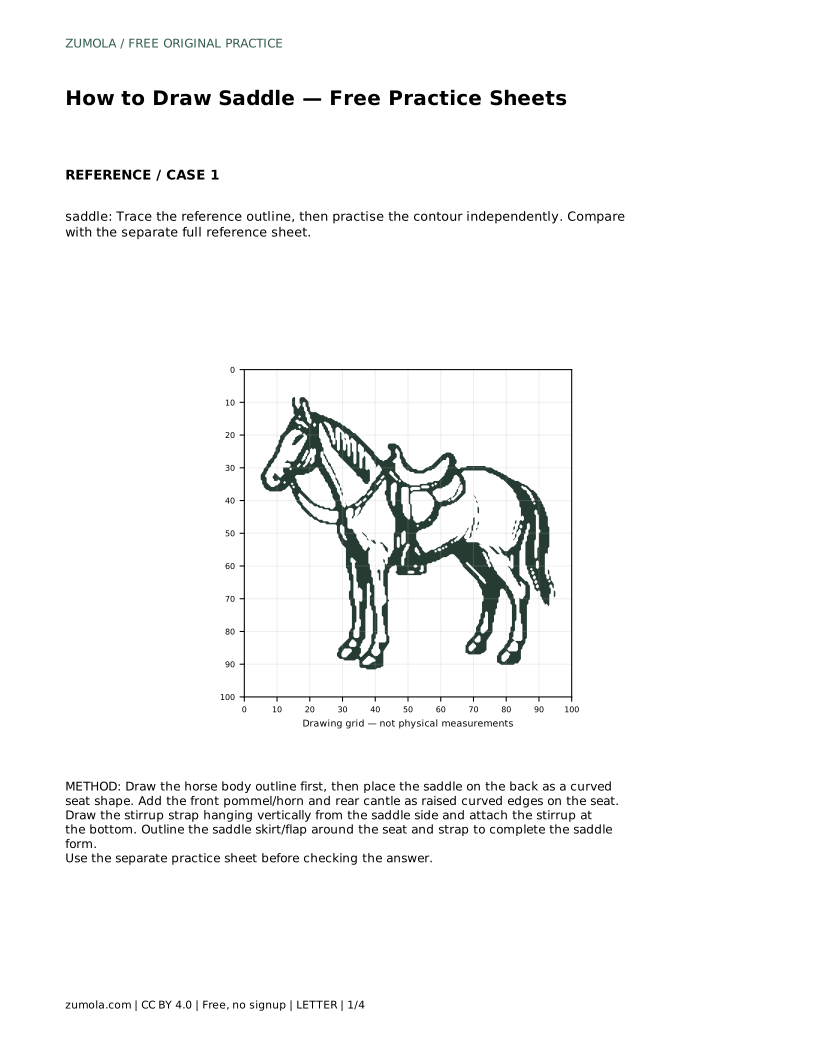
On the grid sheet, copy the reference onto the blank grid by matching grid intersections. Use the grid to compare where the pommel, cantle, strap, and stirrup sit relative to one another. On the guide-frame sheet, use the bounding frame and center guide to place the silhouette before adding identifying details. On the partial-reference sheet, complete the blank right-hand portion using the full reference, checking that the seat and strap continue naturally across the divide.
A saddle drawing can be correct in more than one way. Assess whether the curved seat has raised front and back edges, whether the stirrup strap hangs down with a stirrup at the bottom, whether the front pommel or horn is present, and whether the saddle skirt outline surrounds the seat and strap. Proportions matter, but small differences in curve shape are acceptable.
Keep the drawing about the saddle as an object. Do not turn the lesson into a clinical anatomy study of the horse, and do not treat one reference as the only valid artistic outcome.
Prompt: Trace the reference outline, then practise the contour independently. Compare with the separate full reference sheet.
Example solution: preserve curved seat with raised front and back edges, stirrup strap hanging down with a stirrup at the bottom, horn-like front pommel and saddle skirt outline. Other drawings can be correct; assess the visible features and proportions rather than pixel-perfect matching.
saddle: Trace the reference outline, then practise the contour independently. Compare with the separate full reference sheet.
Example solution: preserve curved seat with raised front and back edges, stirrup strap hanging down with a stirrup at the bottom, horn-like front pommel and saddle skirt outline. Other drawings can be correct; assess the visible features and proportions rather than pixel-perfect matching. Draw the horse body outline first, then place the saddle on the back as a curved seat shape. Add the front pommel/horn and rear cantle as raised curved edges on the seat. Draw the stirrup strap hanging vertically from the saddle side and attach the stirrup at the bottom. Outline the saddle skirt/flap around the seat and strap to complete the saddle form.
No. Preserve the visible features and sensible proportions: curved seat, raised front and back edges, pommel or horn, hanging stirrup strap with stirrup, and skirt outline. Small curve differences are acceptable.
Draw the horse body outline, place the curved seat on the back, add the raised pommel and cantle, draw the hanging stirrup strap and stirrup, then outline the skirt or flap.
Complete the blank right-hand portion using the full reference. Check that the seat, strap, and skirt continue naturally across the divide rather than starting a separate shape.
All drawing practice · Free coordinate paper
Original resources · CC BY 4.0 · Free for personal and classroom use with attribution.