Reference diagrams
LETTER · Download PDF
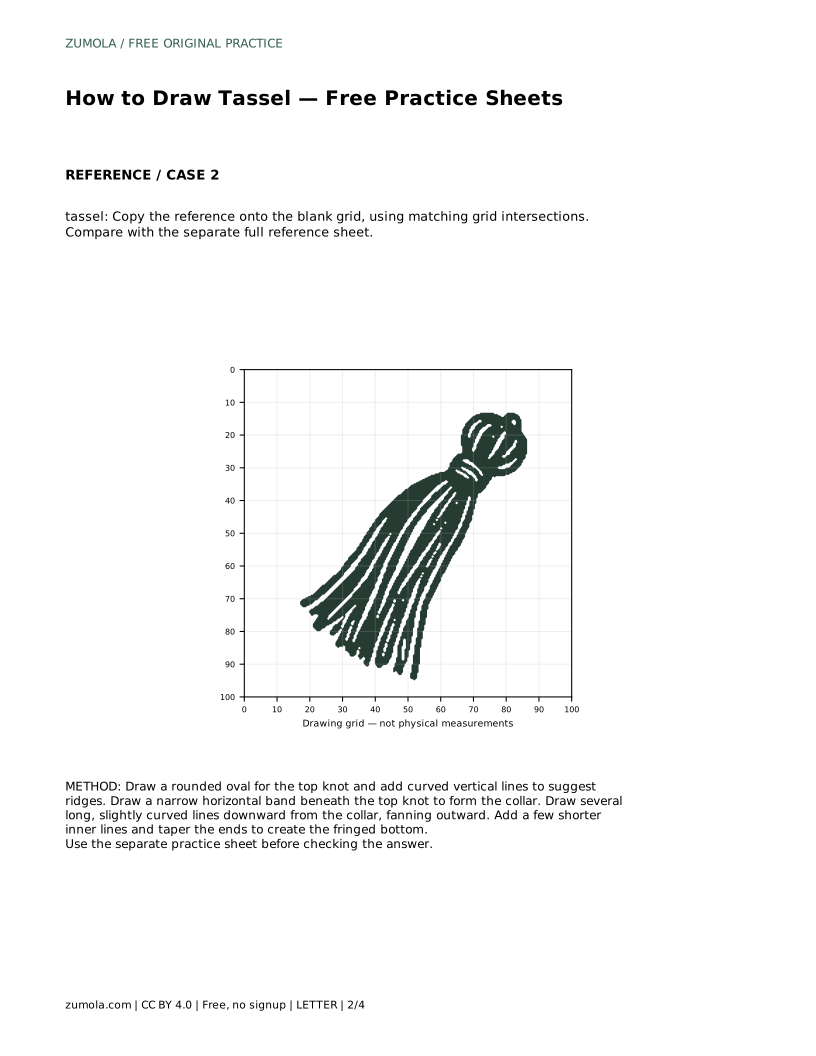
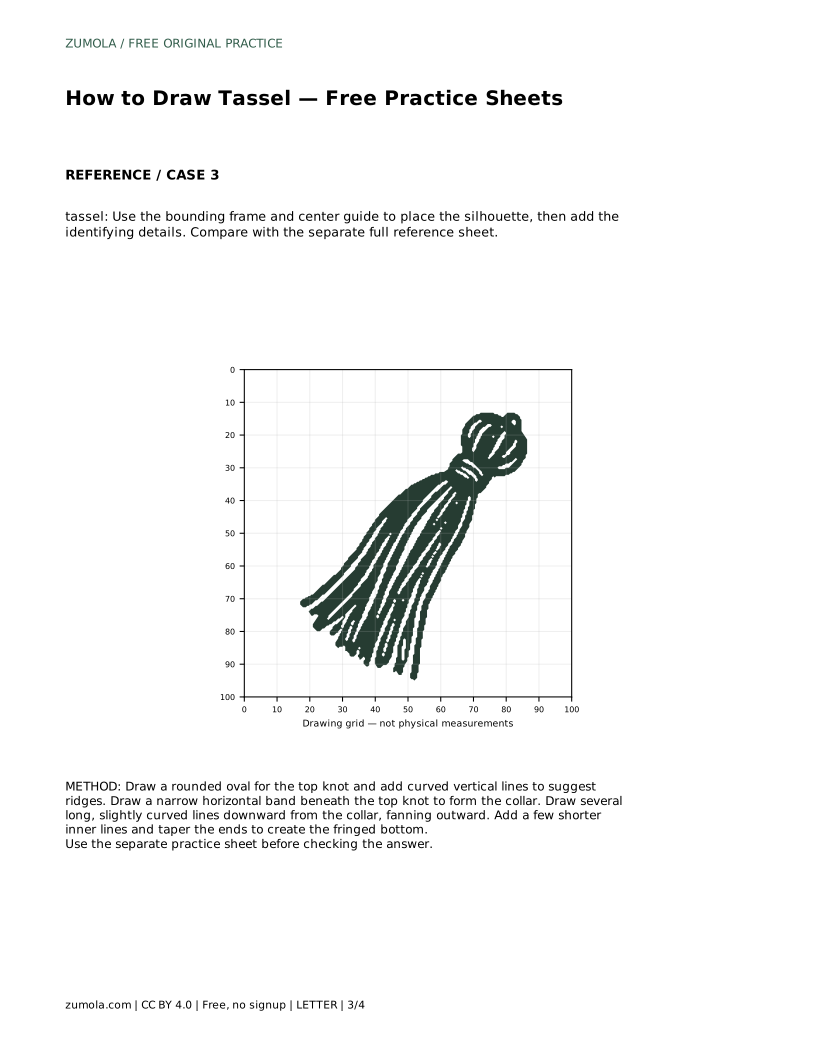
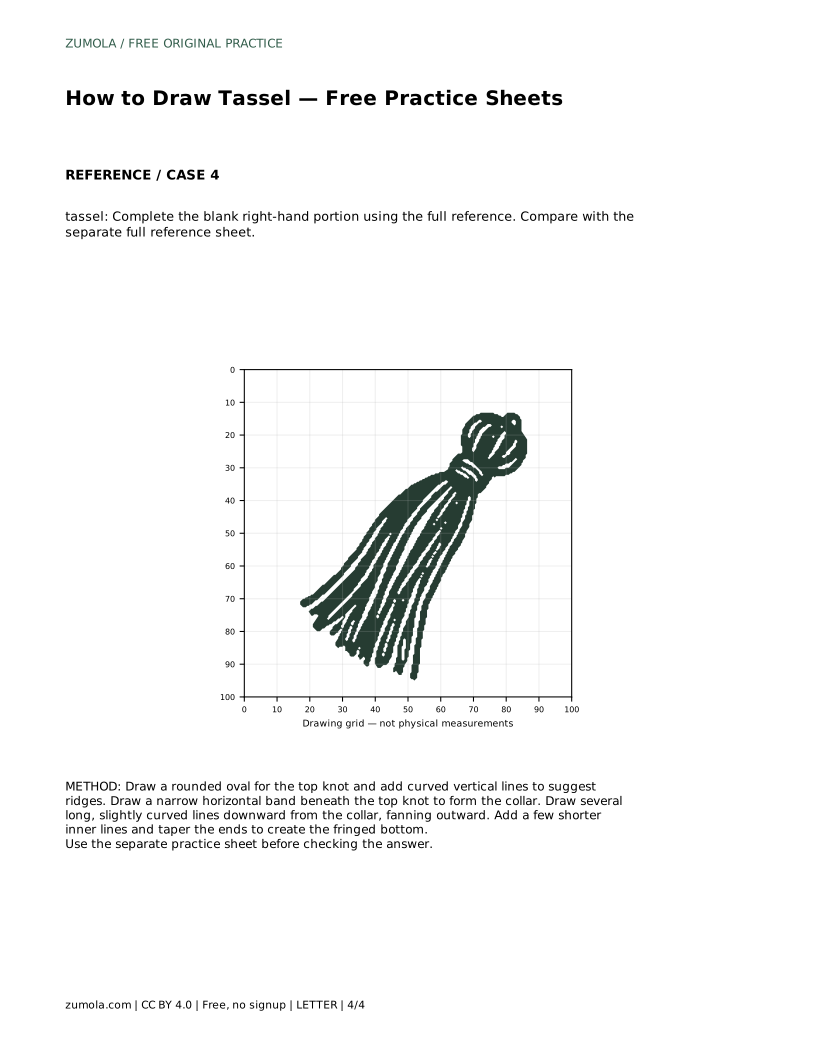
A4 · Download PDF
Free original resources
Learn to draw a tassel with a rounded top knot, banded collar, and fringed threads. Use free practice sheets to trace, grid, and complete the drawing.
Four original cases, with reference diagrams, practice sheets and worked answers. Everything is free; no signup required.
LETTER · Download PDF
A4 · Download PDF
LETTER · Download PDF
A4 · Download PDF
LETTER · Download PDF
A4 · Download PDF
Use A4 or US Letter to match your printer. Use the stated values and conditions to solve each exercise; diagrams are not physical measuring rulers.
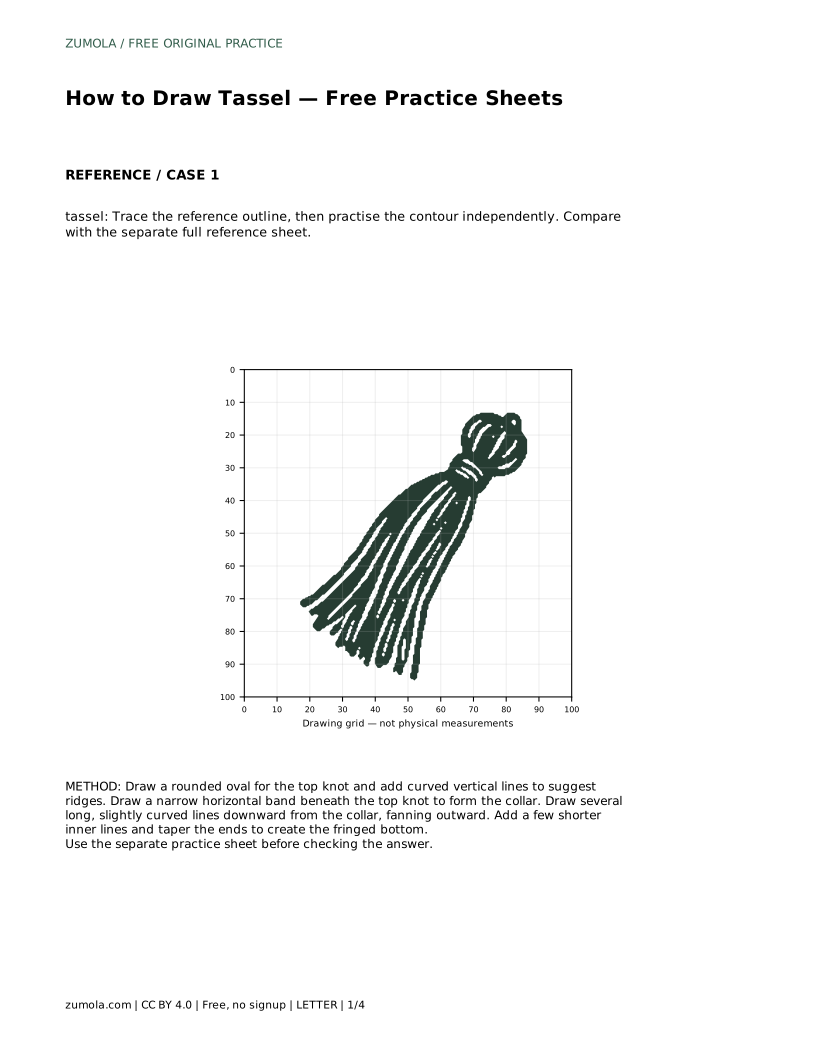
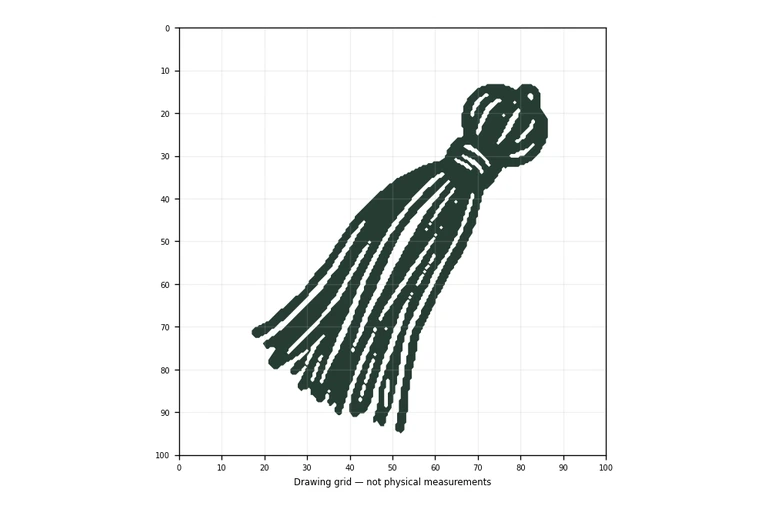
Drawing a tassel is a manageable exercise in observing a few key features: a rounded top knot with vertical ridges, a narrow banded collar beneath it, and a bundle of long hanging threads that taper into a fringe. This guide explains how to place those parts in proportion and how to use the practice sheets to build confidence. The focus is on visible structure, not on making every line identical to a reference.
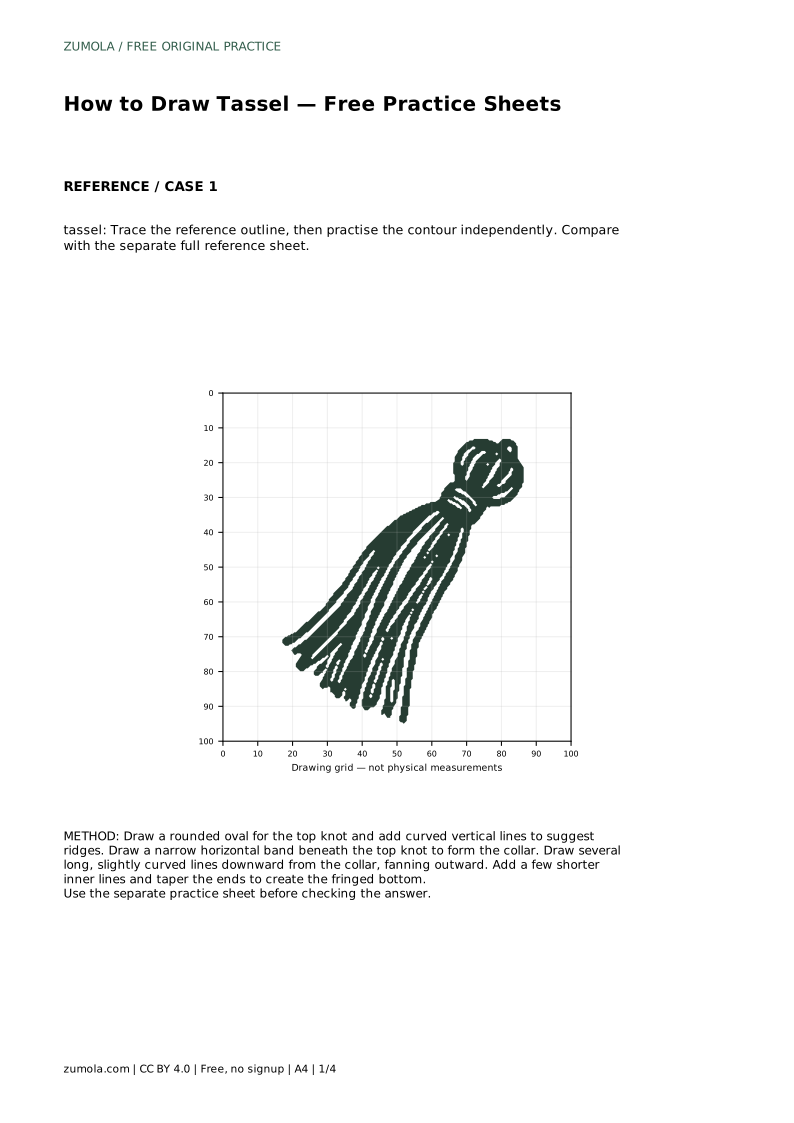
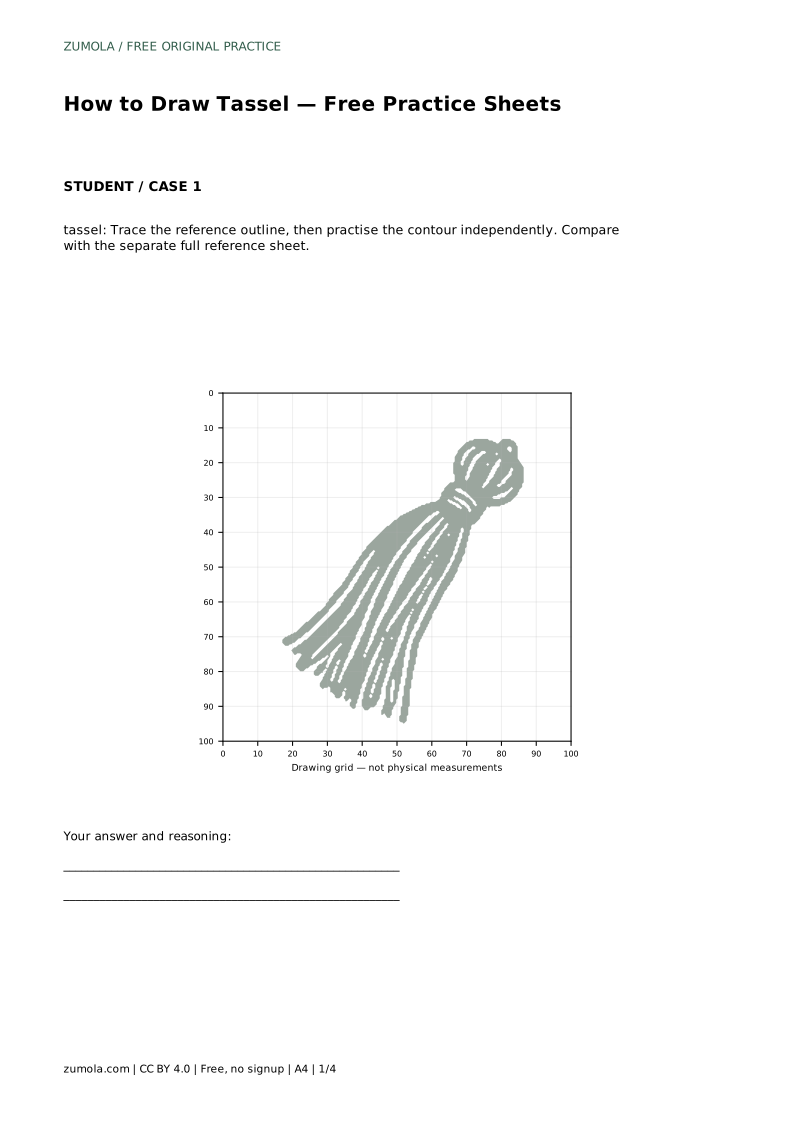
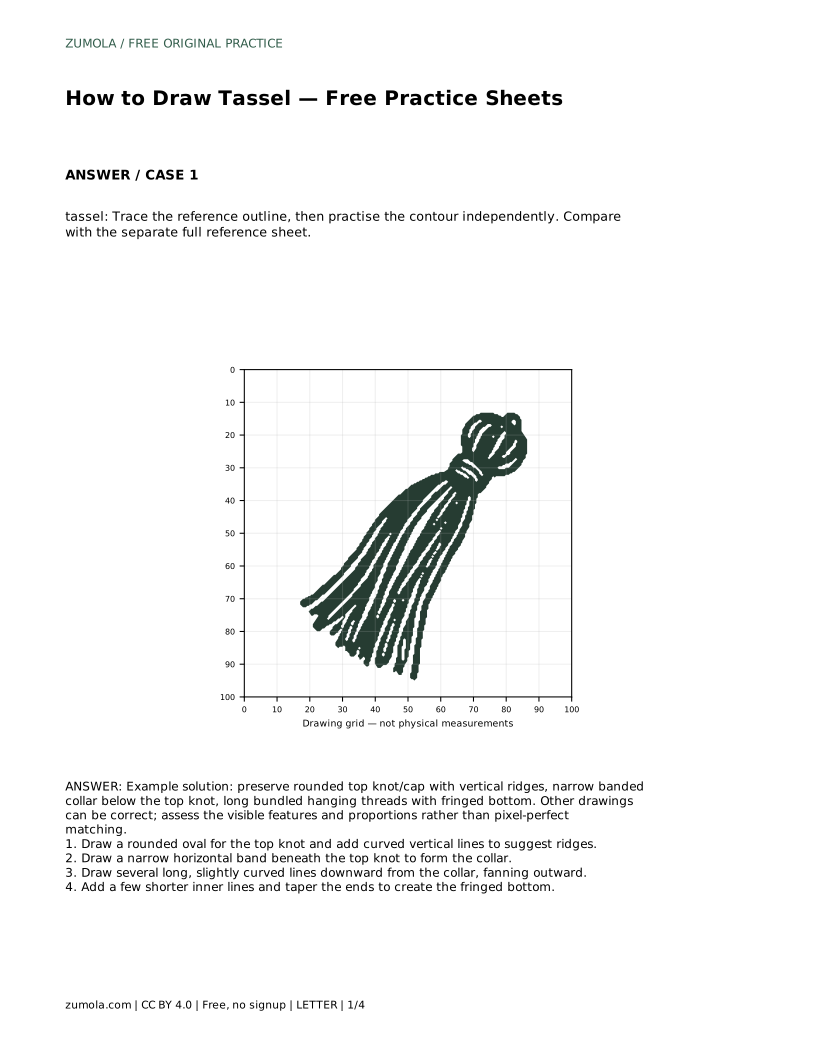
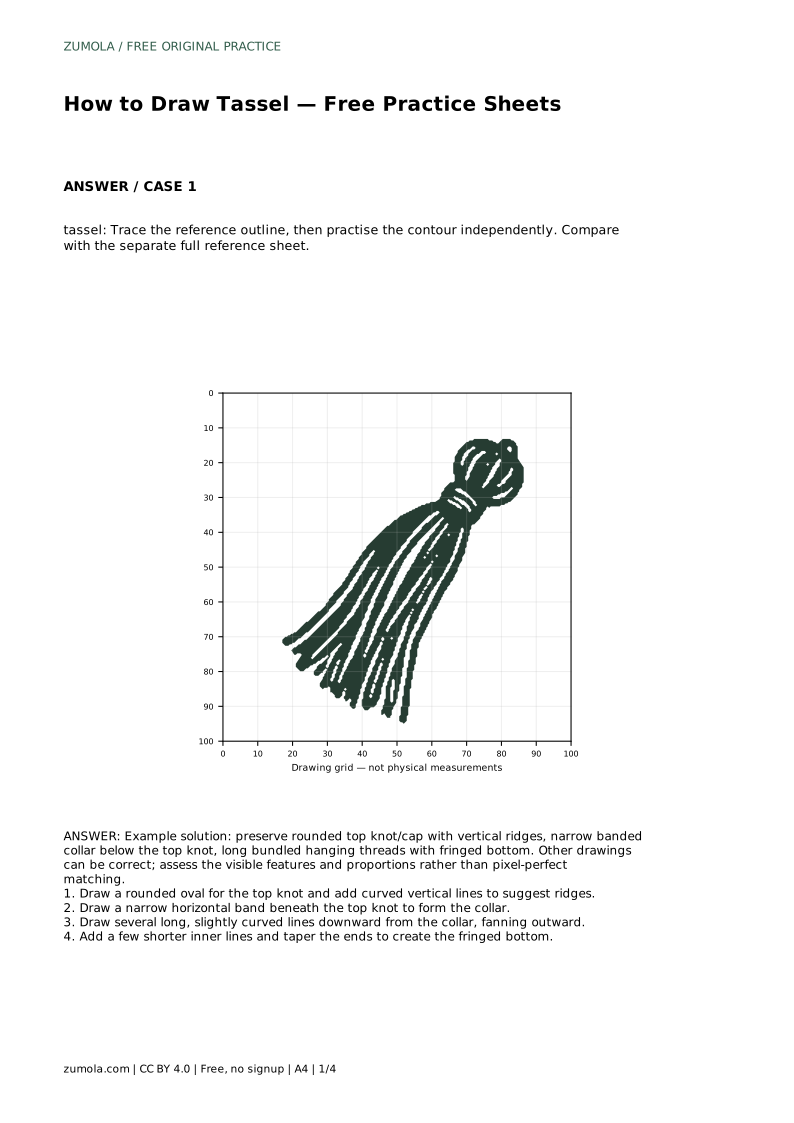
A tassel has three main visible parts stacked vertically. At the top is a rounded knot or cap, often with curved vertical ridges that suggest a wrapped or molded surface. Below that is a narrow horizontal band, the collar, which separates the top from the hanging threads. The threads themselves form a long bundle that fans outward slightly and ends in a fringe of tapered tips.
Before drawing, look at the reference and note the overall height-to-width ratio. The top knot is usually the widest rounded element, the collar is a thin strip, and the thread bundle is the longest section. Keeping these relative sizes consistent is more important than copying every small curve.
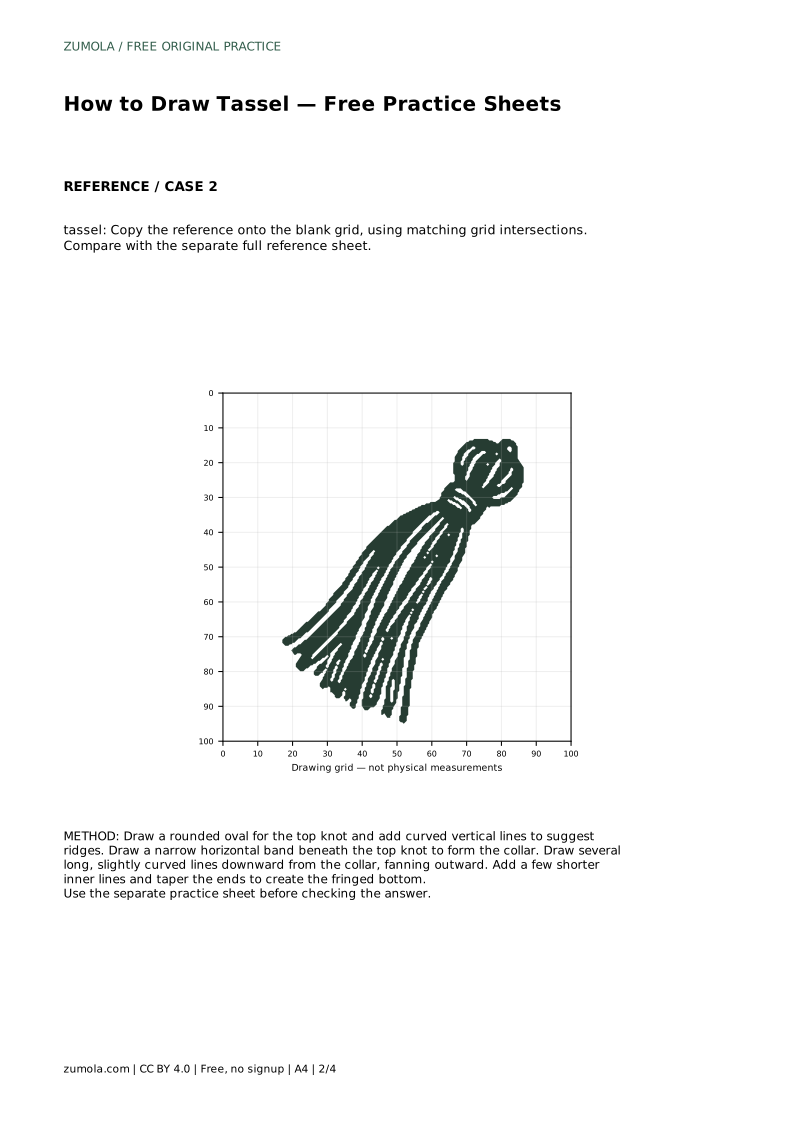
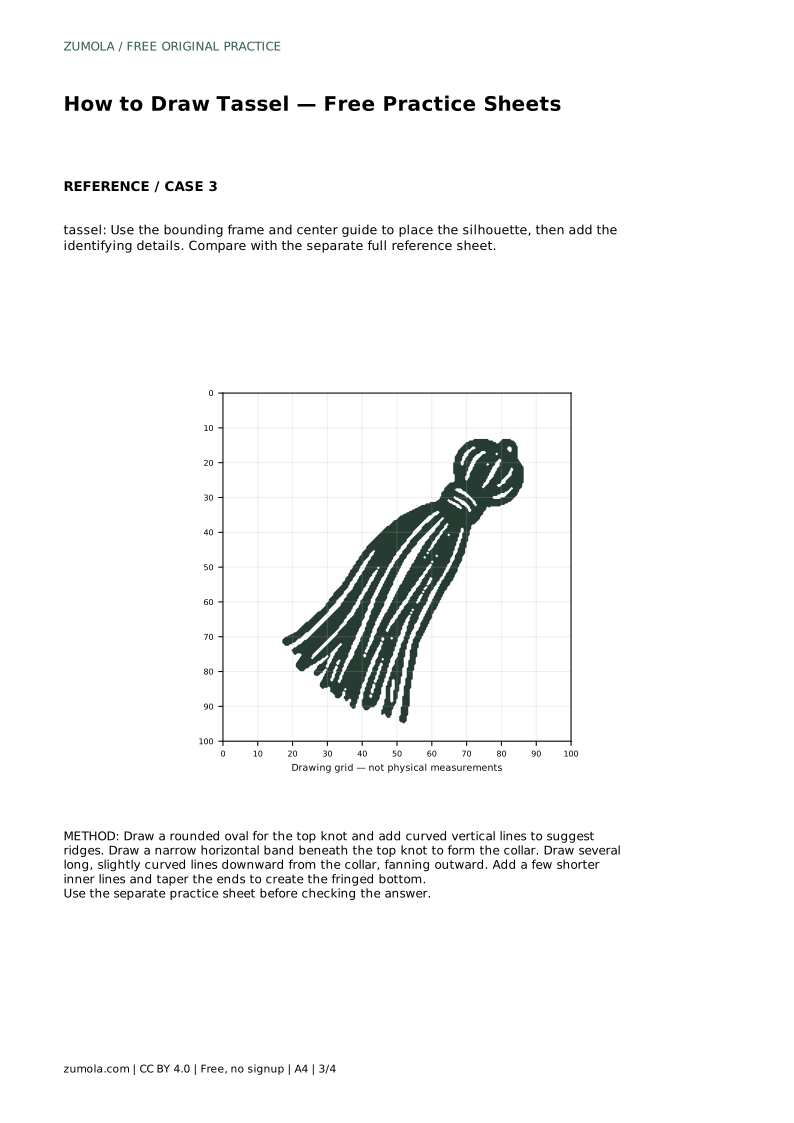
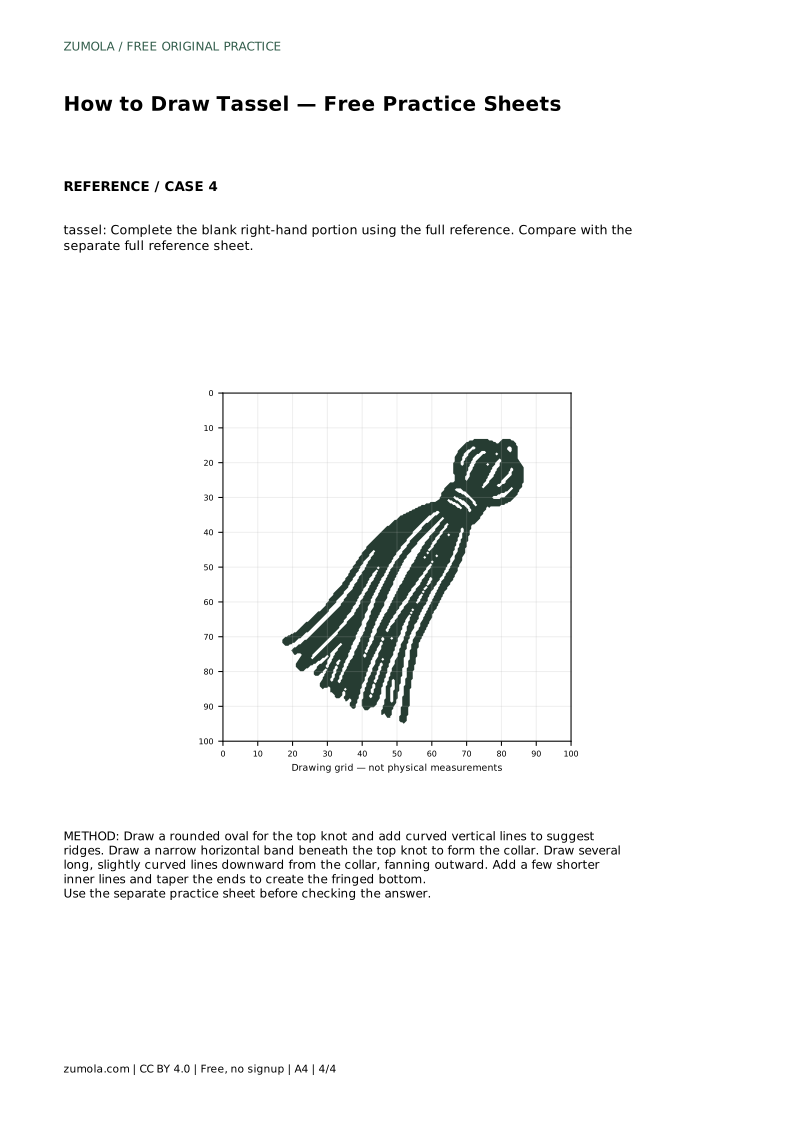
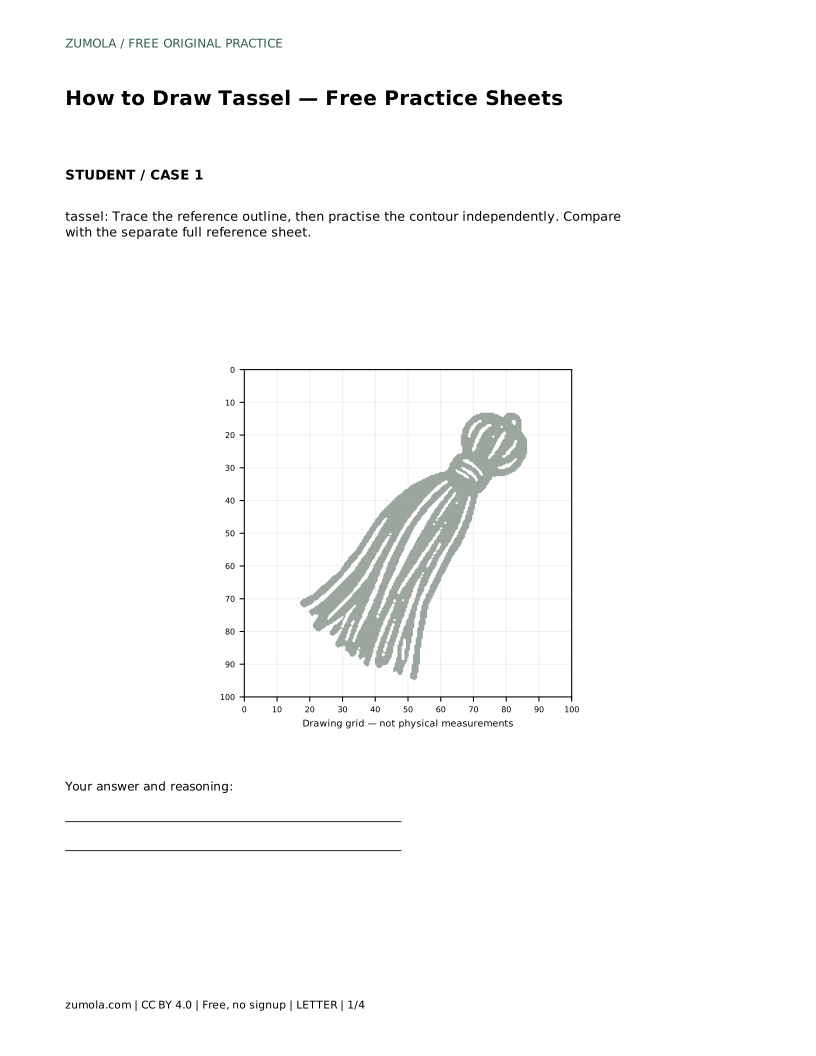
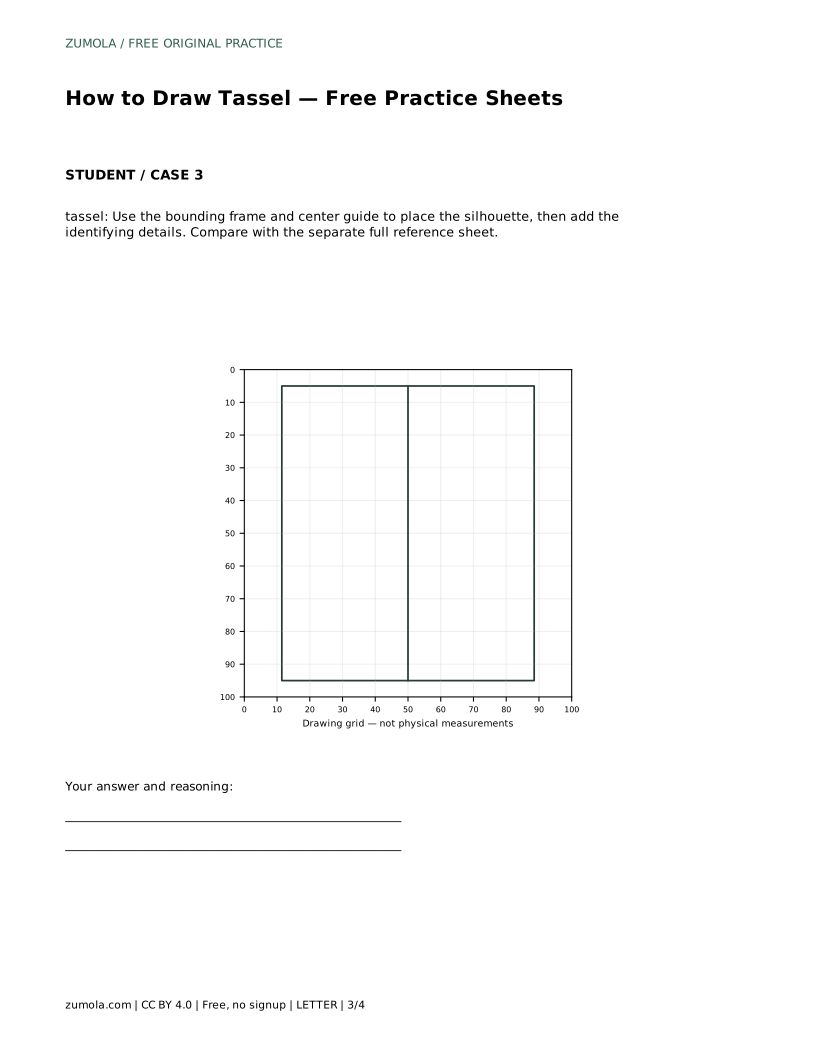
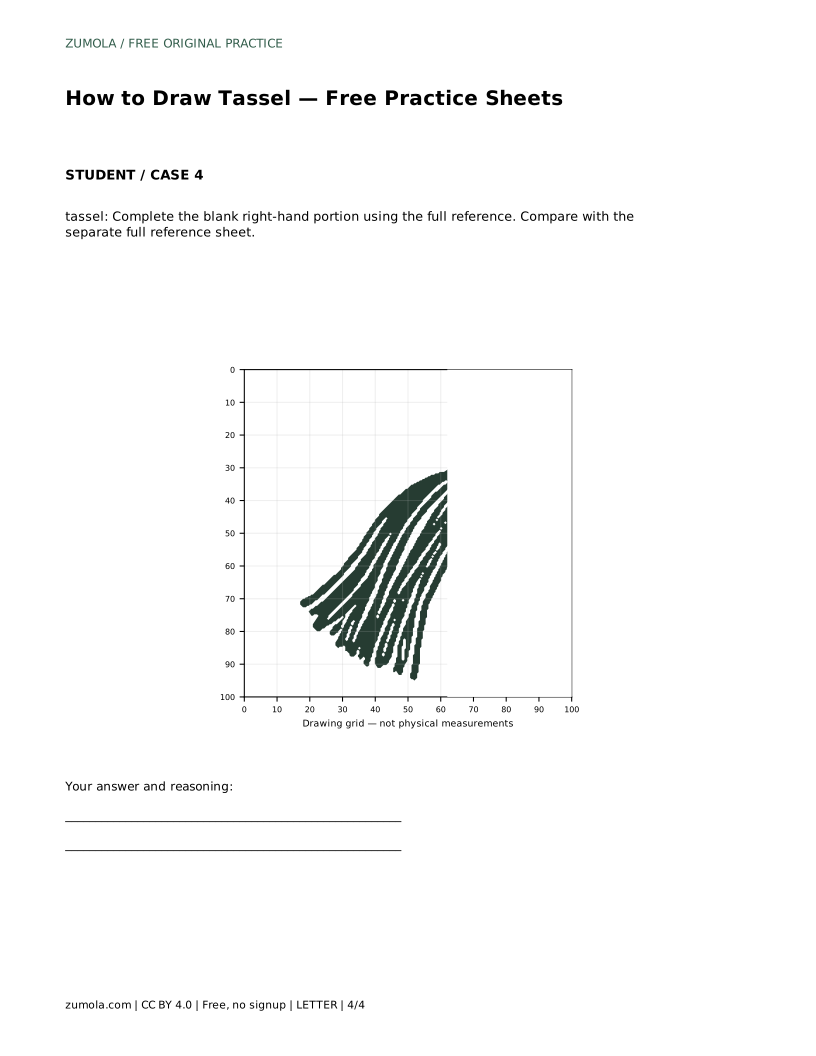
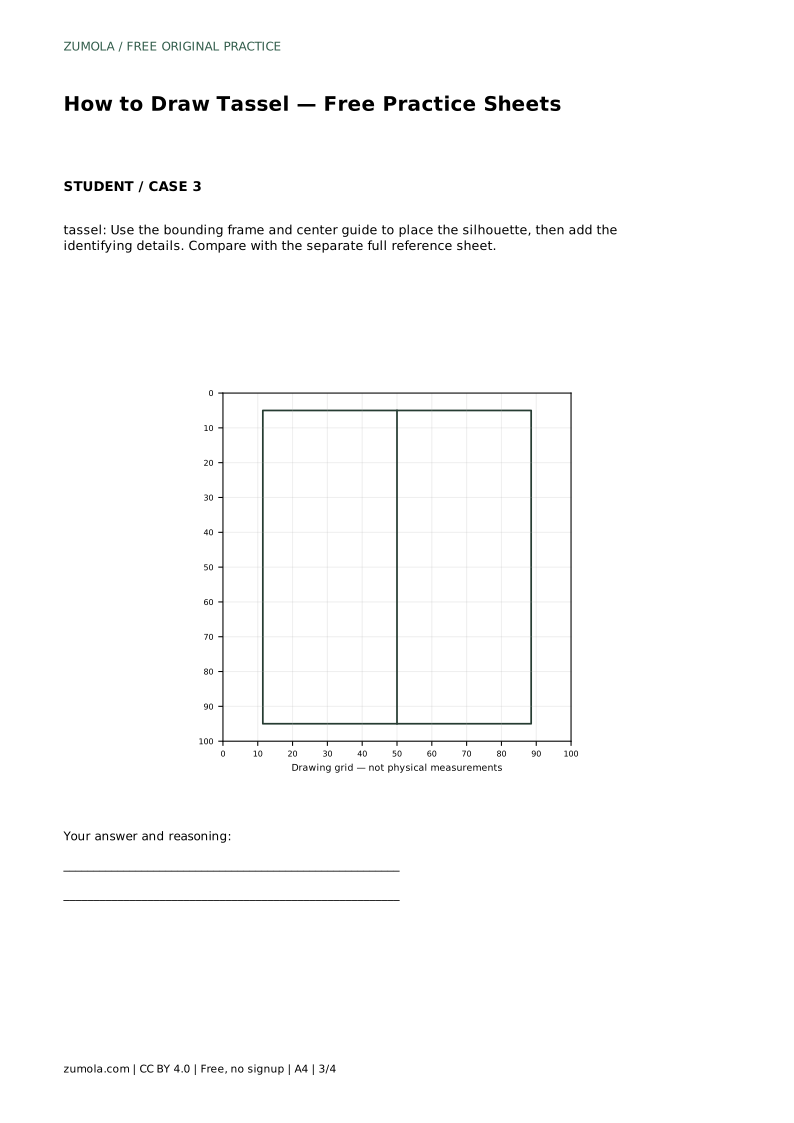
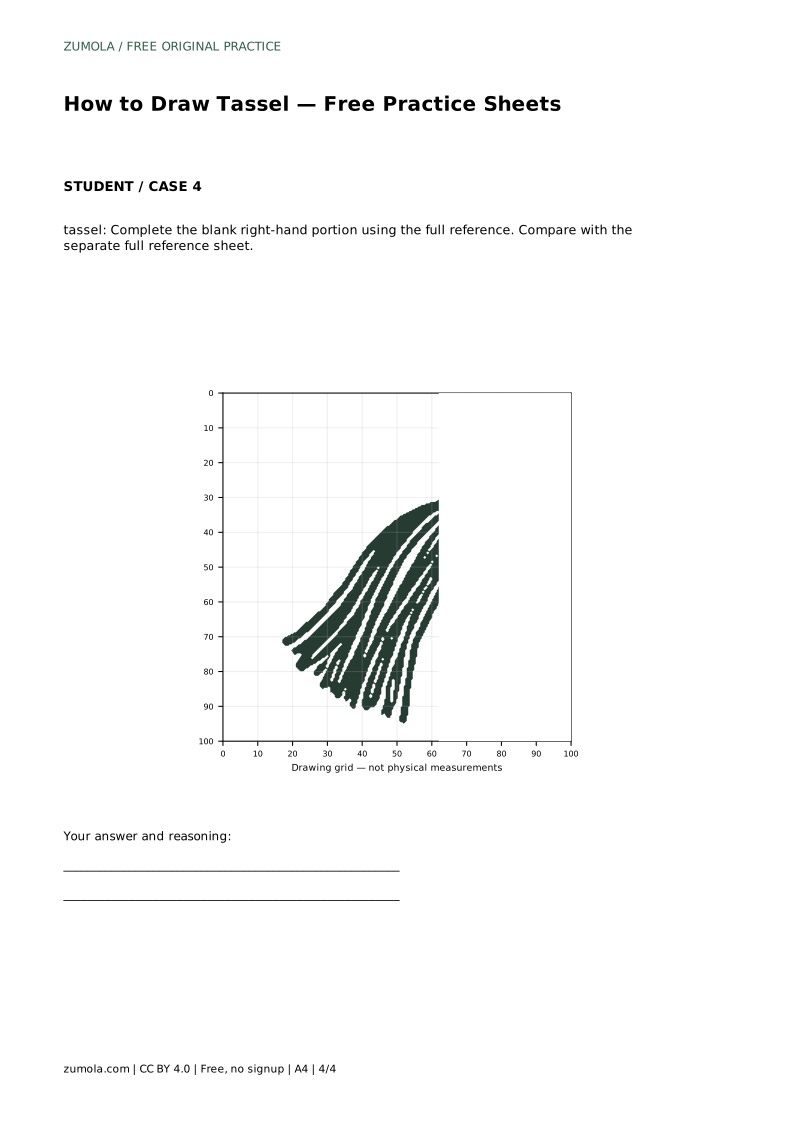
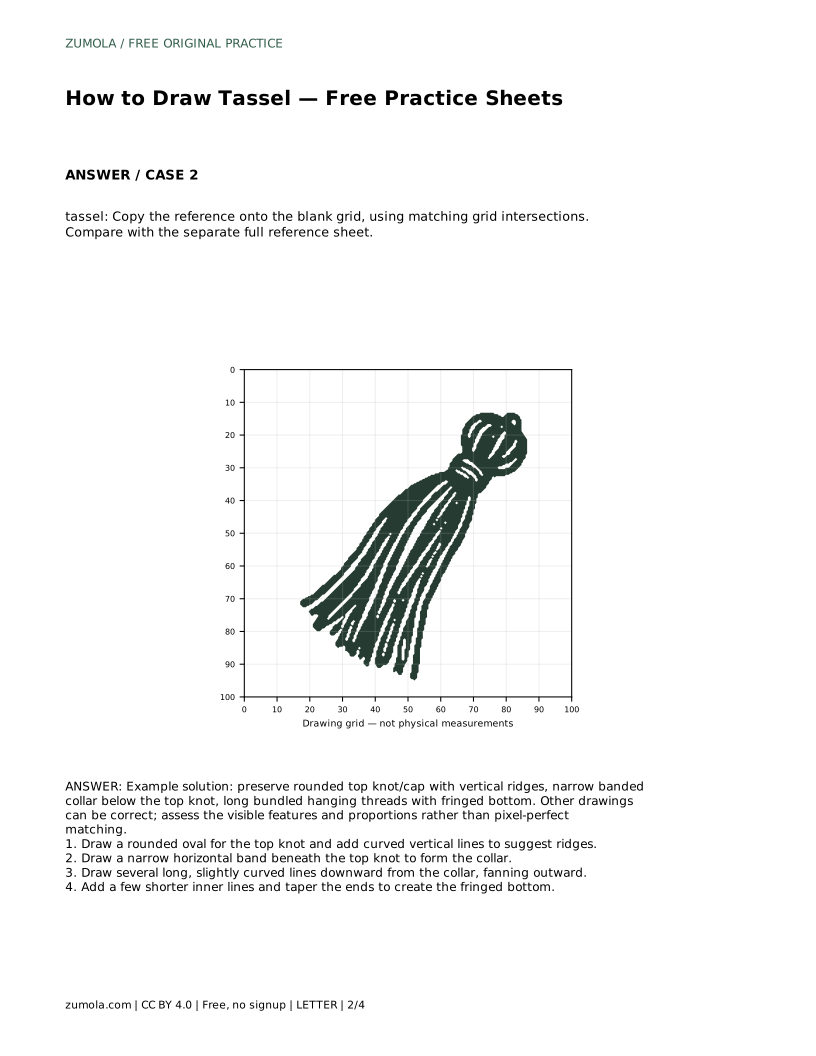
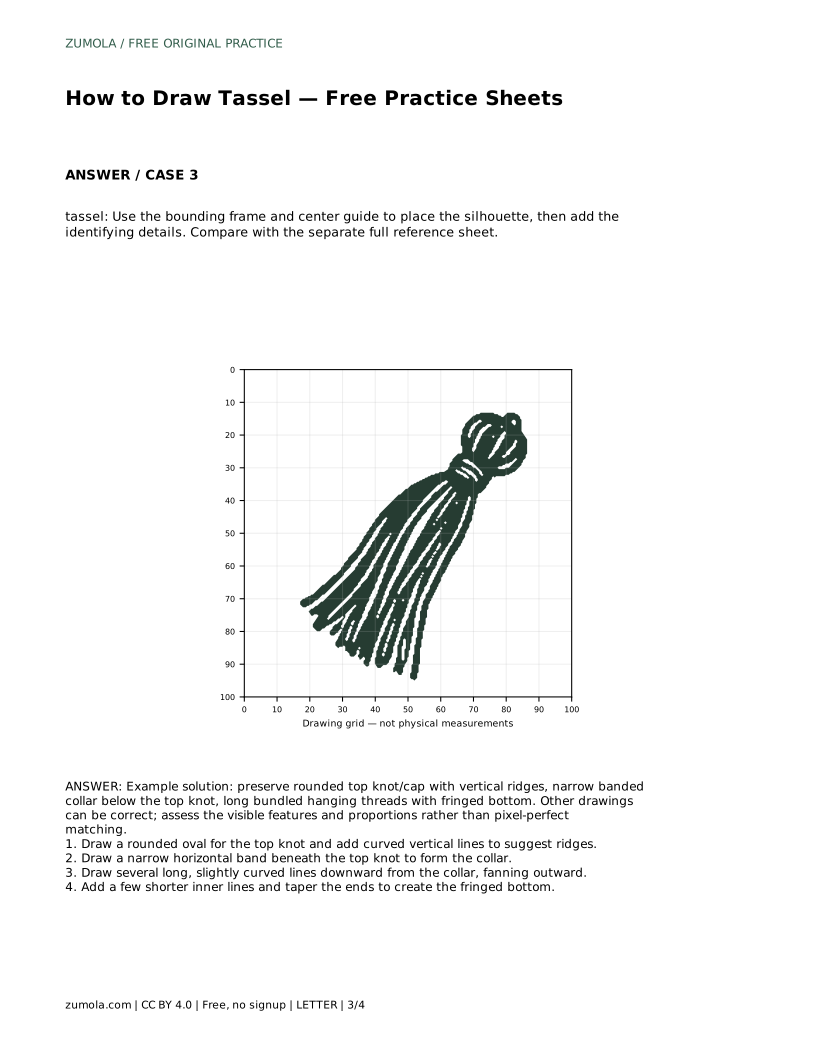
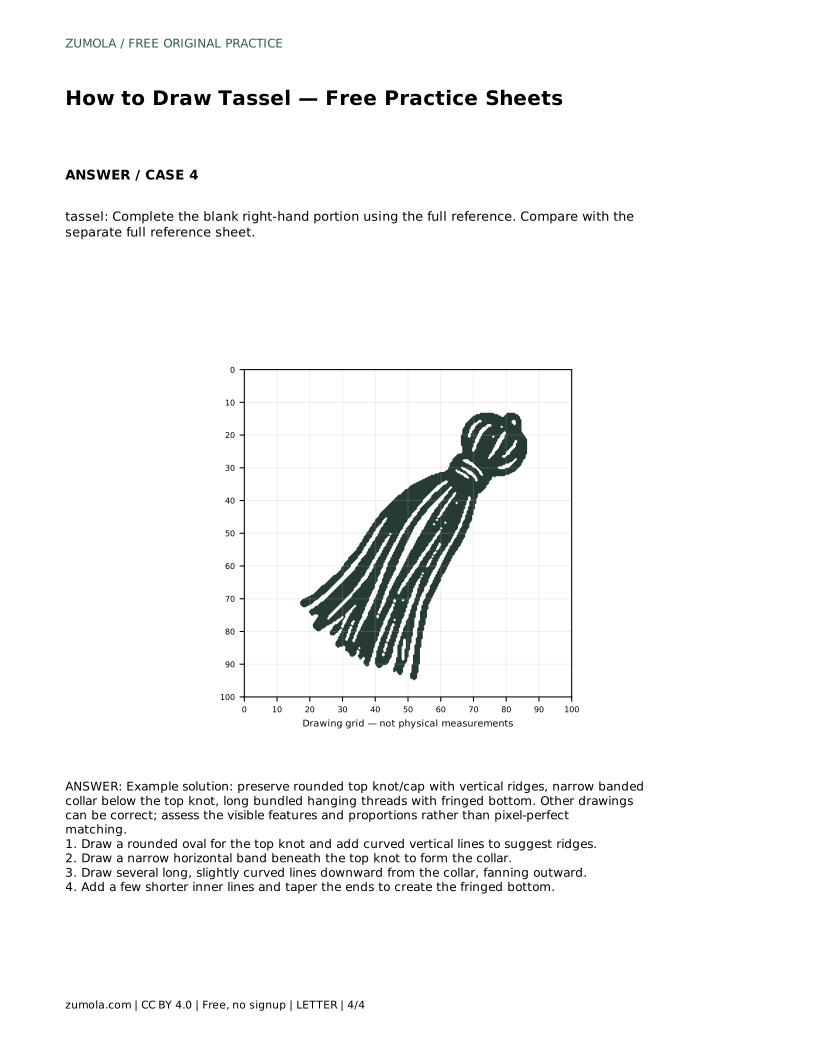
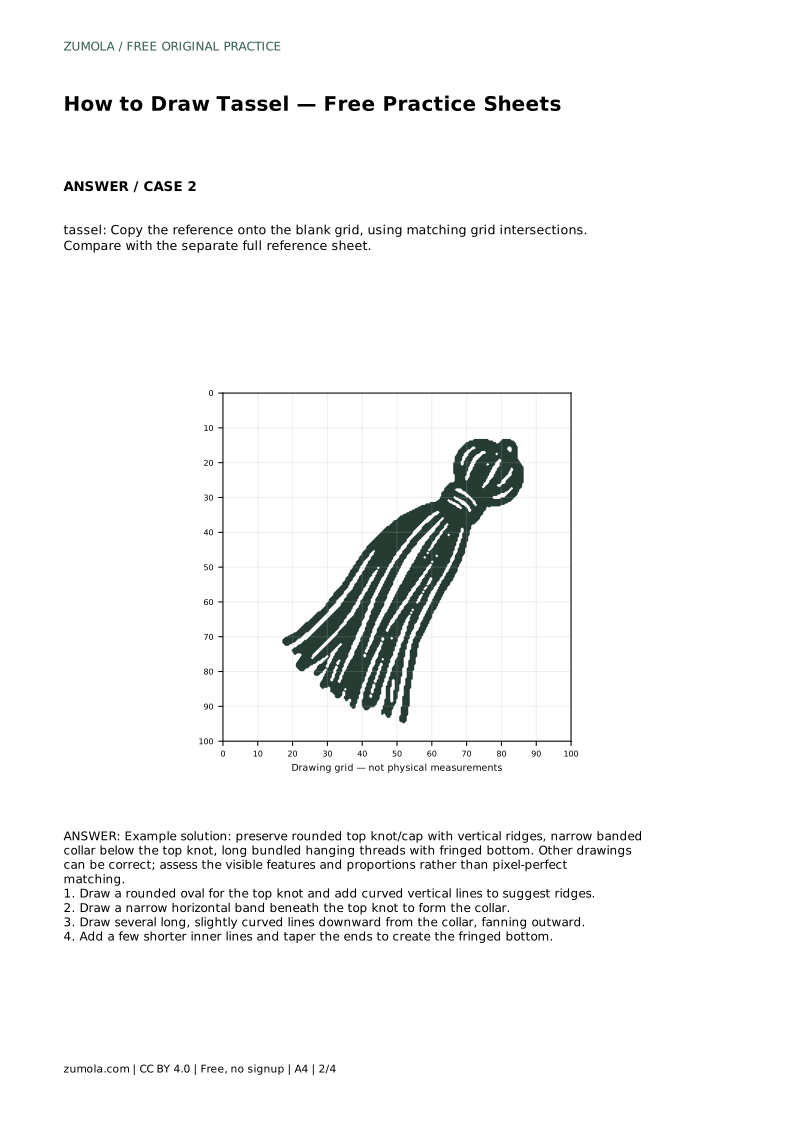
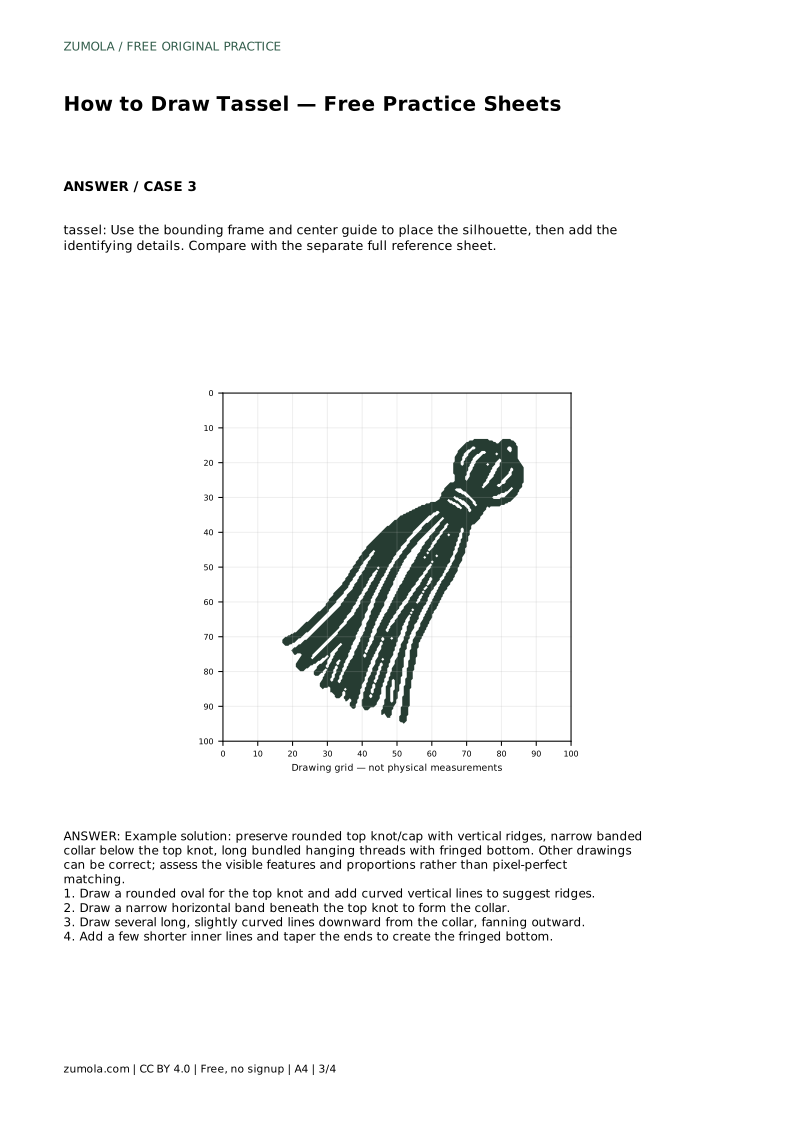
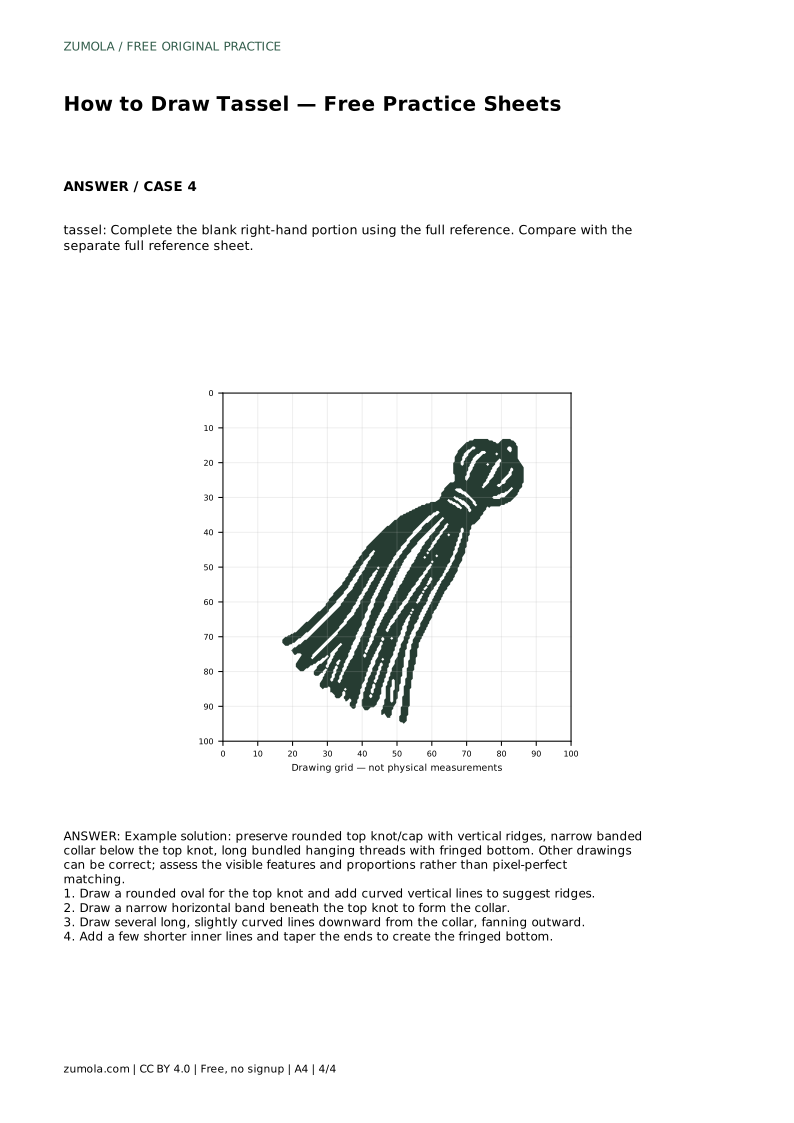
The trace-and-compare sheet asks you to follow the reference outline first, then draw the contour independently on a blank area. This separates guided hand movement from recall. The grid-copy sheet places the reference on a grid so you can match intersections; use the grid to check where the collar sits relative to the top knot and how far the threads spread. The bounding-frame sheet gives you a center guide and outer limits, which helps you place the silhouette before adding details. The partial-completion sheet provides the left side of the drawing and asks you to finish the right side using the full reference.
Each format targets a different skill: tracing builds familiarity, gridding builds proportion checking, framing builds placement, and partial completion builds inference. Work through them in any order, but compare your result with the separate full reference sheet after each attempt.
After drawing, compare your tassel to the reference by checking three relationships: the top knot's height compared with the collar's thickness, the collar's width compared with the thread bundle's spread, and the total length of the threads compared with the top section. Small differences are acceptable; the drawing should still read as a tassel.
Thread lines should start at the collar and flow downward with gentle curves. They do not need to be perfectly parallel. A few shorter inner lines suggest depth, and tapering the ends creates the fringe. Avoid making the threads too stiff or evenly spaced, which can look like a comb rather than a soft bundle.
tassel: Trace the reference outline, then practise the contour independently. Compare with the separate full reference sheet.
Example solution: preserve rounded top knot/cap with vertical ridges, narrow banded collar below the top knot, long bundled hanging threads with fringed bottom. Other drawings can be correct; assess the visible features and proportions rather than pixel-perfect matching. Draw a rounded oval for the top knot and add curved vertical lines to suggest ridges. Draw a narrow horizontal band beneath the top knot to form the collar. Draw several long, slightly curved lines downward from the collar, fanning outward. Add a few shorter inner lines and taper the ends to create the fringed bottom.
No. The goal is to preserve the visible features and proportions: a rounded top knot with ridges, a narrow banded collar, and long fringed threads. Other drawings can be correct if those features are clear.
Start with the trace-and-compare sheet to build familiarity, then move to the grid or bounding-frame sheet to practice placement and proportion. The partial-completion sheet is useful once you can recall the basic structure.
Taper the ends of the thread lines instead of stopping them abruptly, and let a few lines curve slightly inward or outward. Avoid making every thread the same length.
All drawing practice · Free coordinate paper
Original resources · CC BY 4.0 · Free for personal and classroom use with attribution.