Reference diagrams
LETTER · Download PDF
A4 · Download PDF
Free original resources
Learn to draw a tunic by building a rounded neckline, two short sleeves, curved side seams, and a hem. Practice with tracing, grid, frame, and partial-reference sheets.
Four original cases, with reference diagrams, practice sheets and worked answers. Everything is free; no signup required.
LETTER · Download PDF
A4 · Download PDF
LETTER · Download PDF
A4 · Download PDF
LETTER · Download PDF
A4 · Download PDF
Use A4 or US Letter to match your printer. Use the stated values and conditions to solve each exercise; diagrams are not physical measuring rulers.
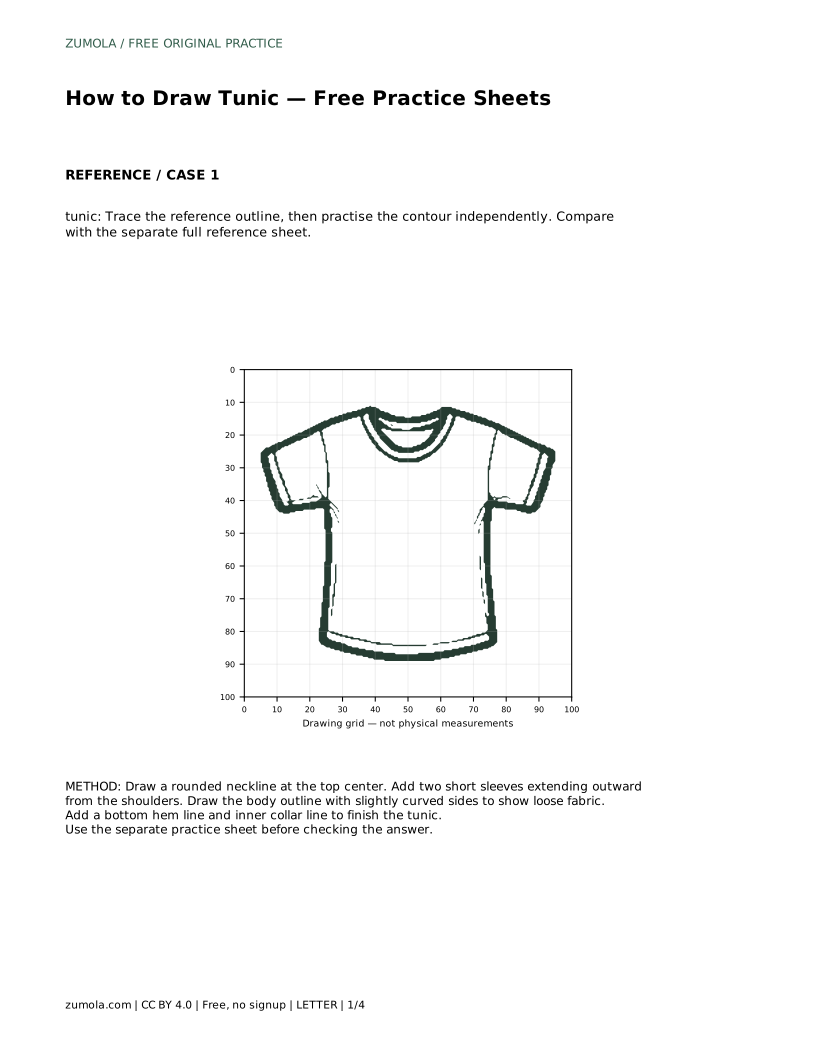
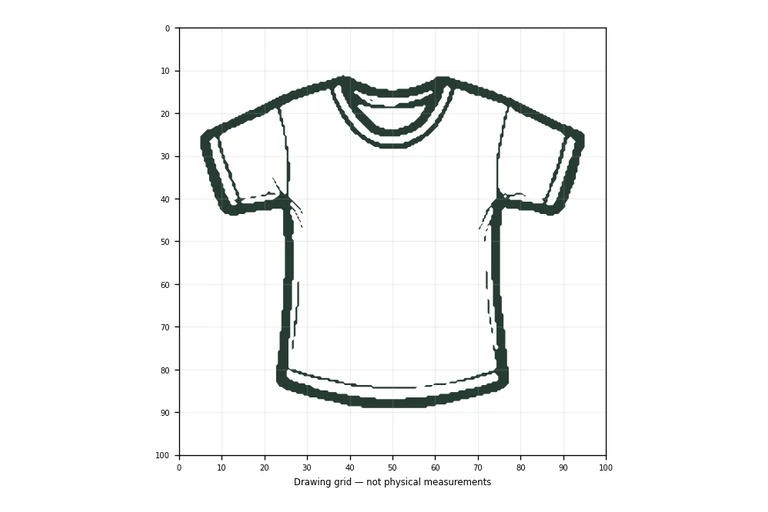
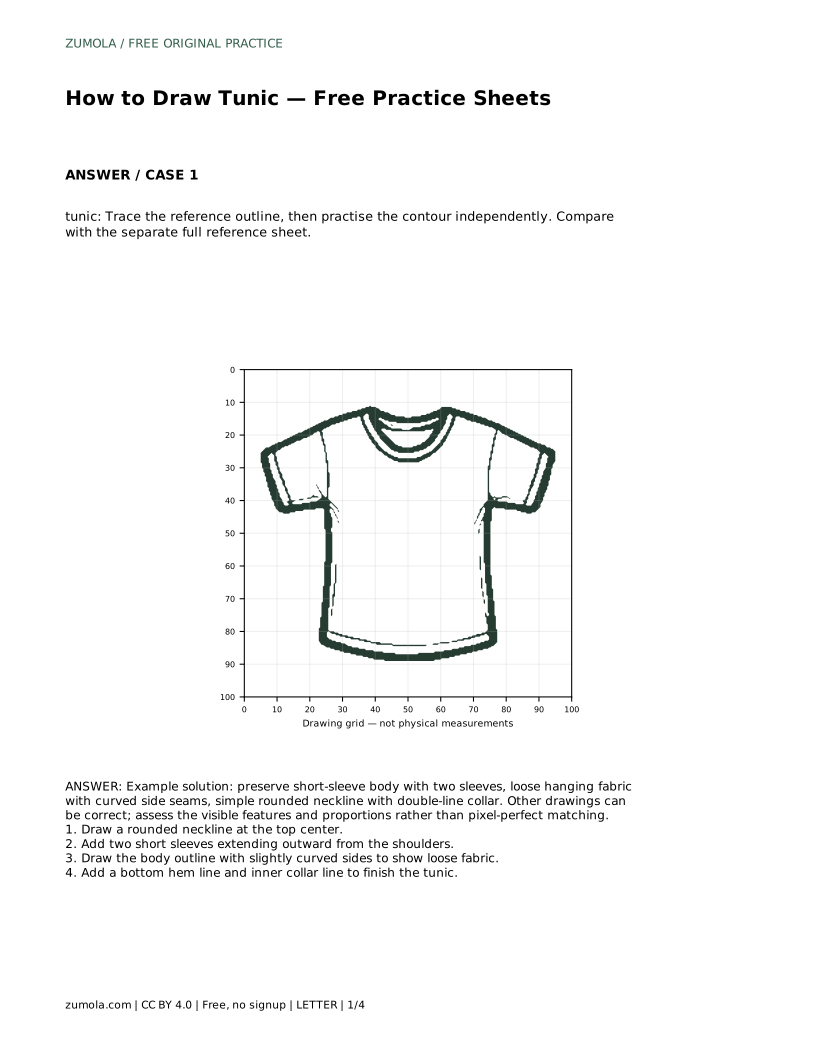
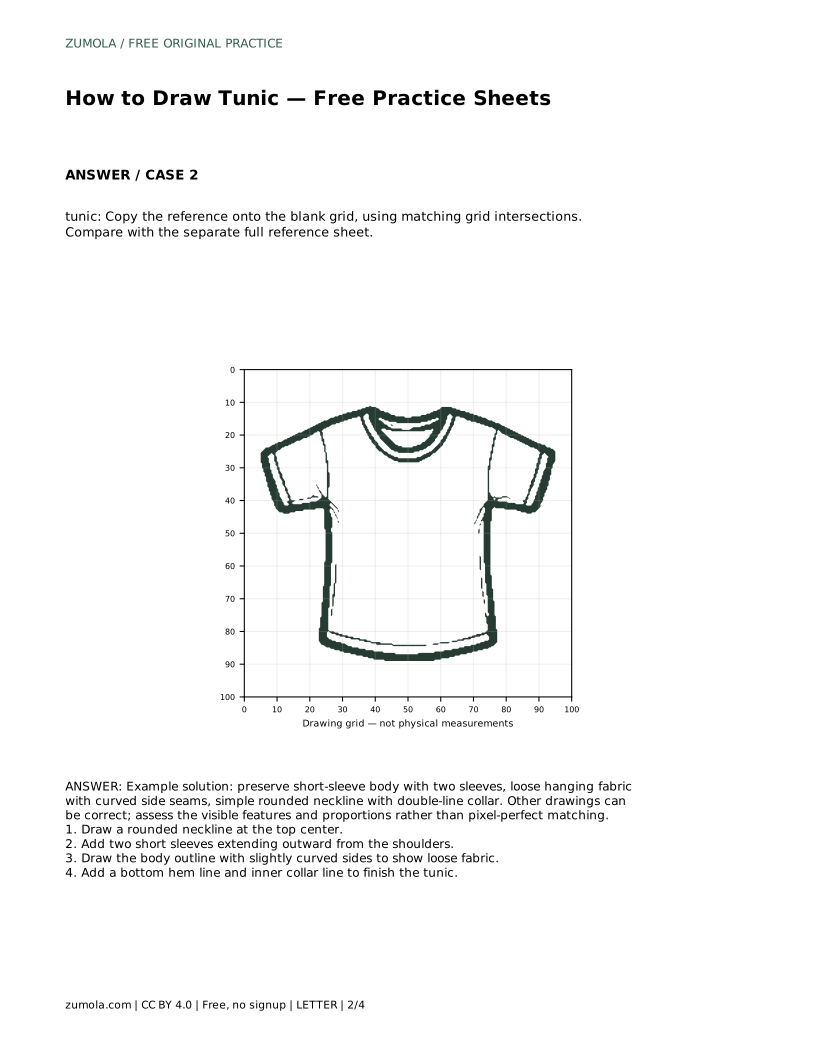
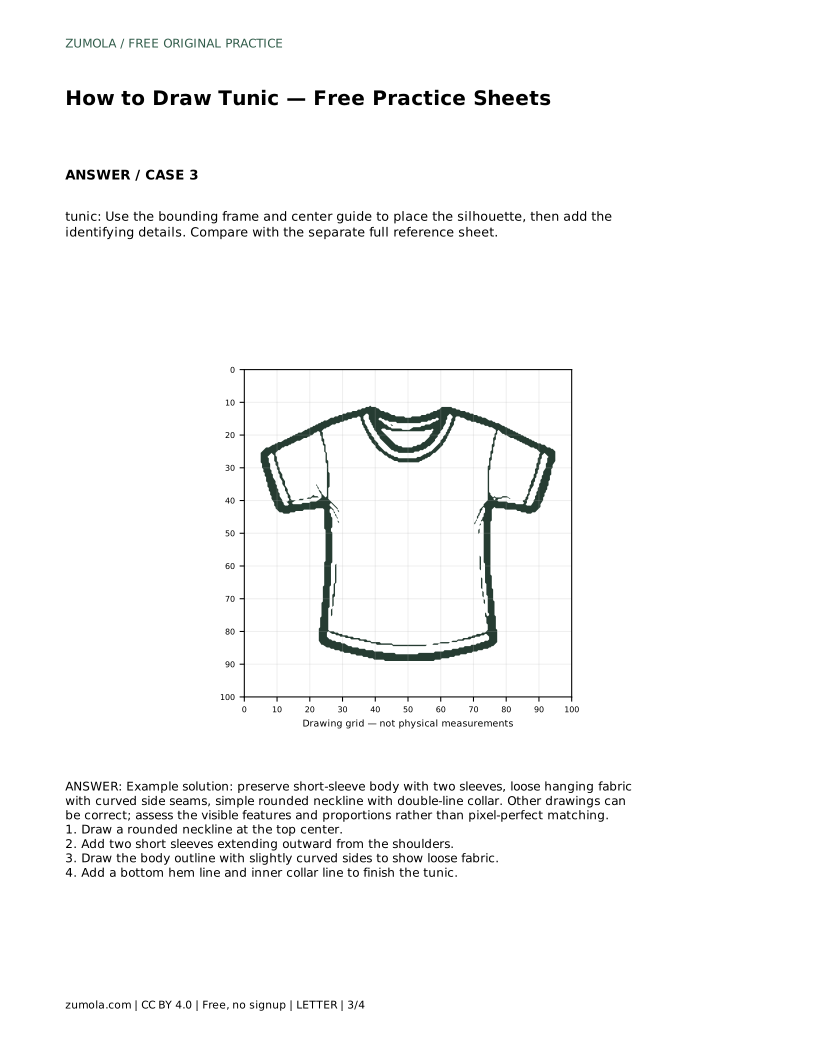
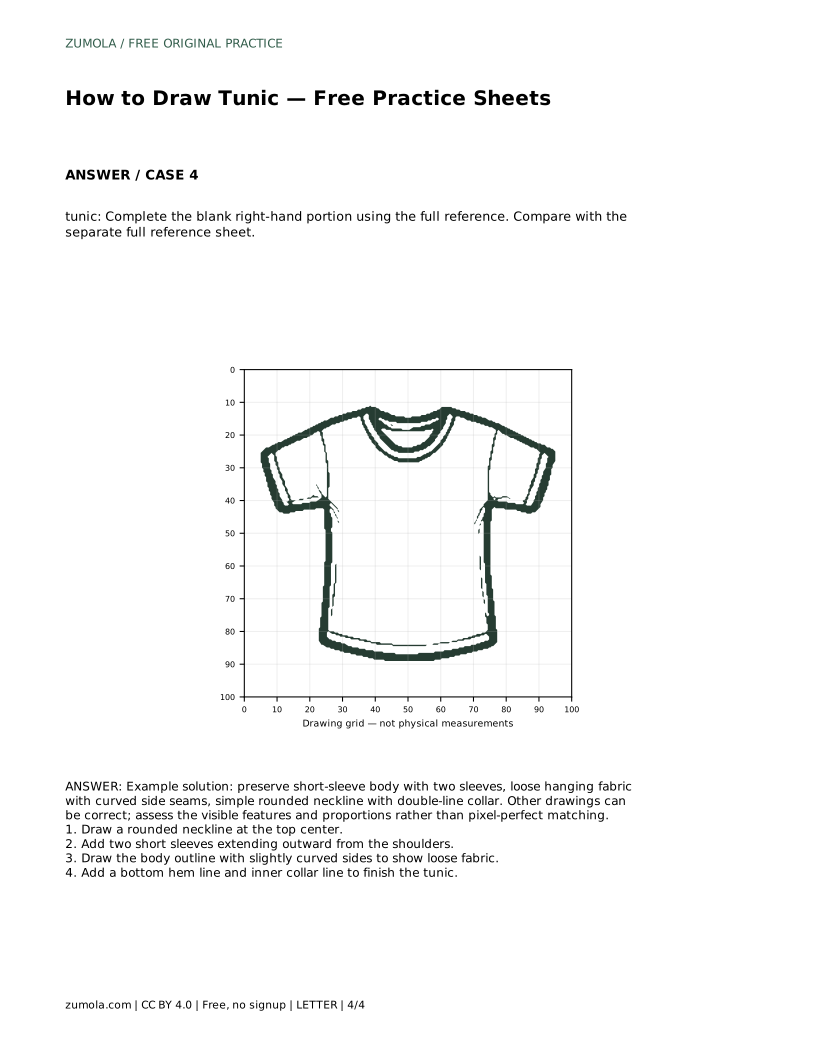
A tunic is a simple garment shape, but drawing one well depends on a few clear features: a rounded neckline, two short sleeves, a loose body with gently curved sides, and a bottom hem. This page explains how to build those features in order, then how to use the practice sheets to compare your drawing with a separate full reference. The goal is not a pixel-perfect copy. Different drawings can be correct when the visible features and proportions hold together.
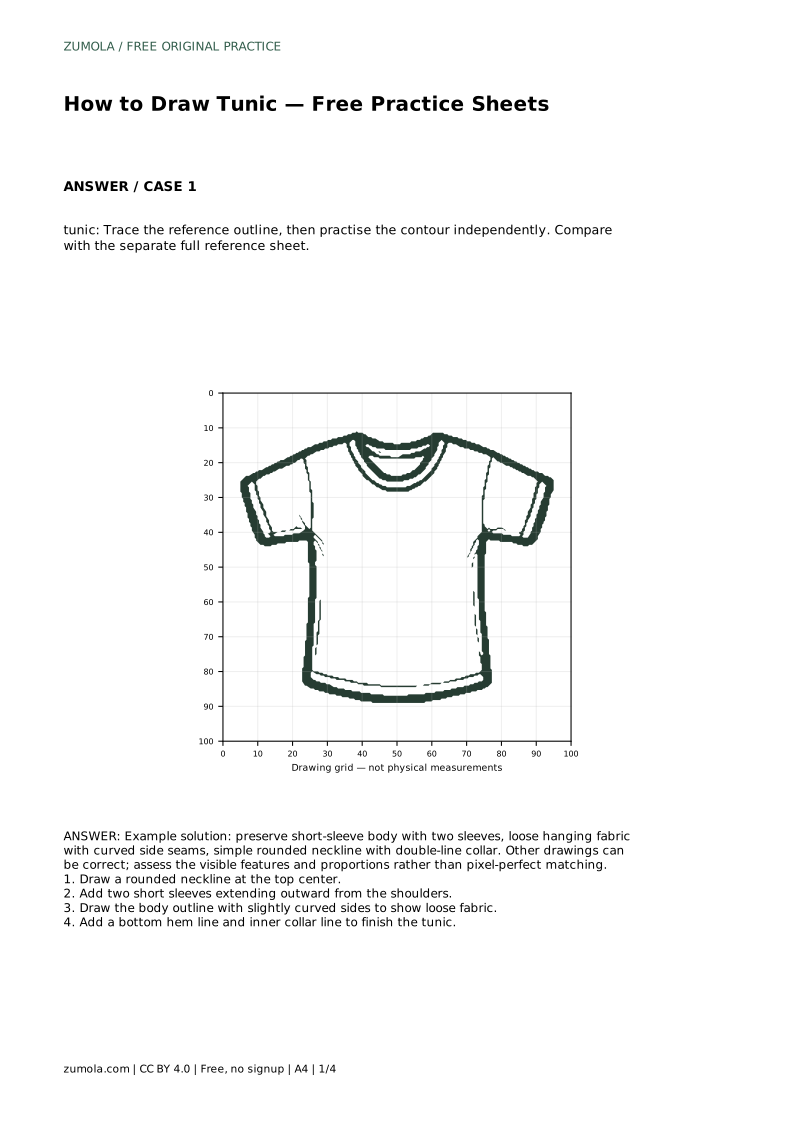
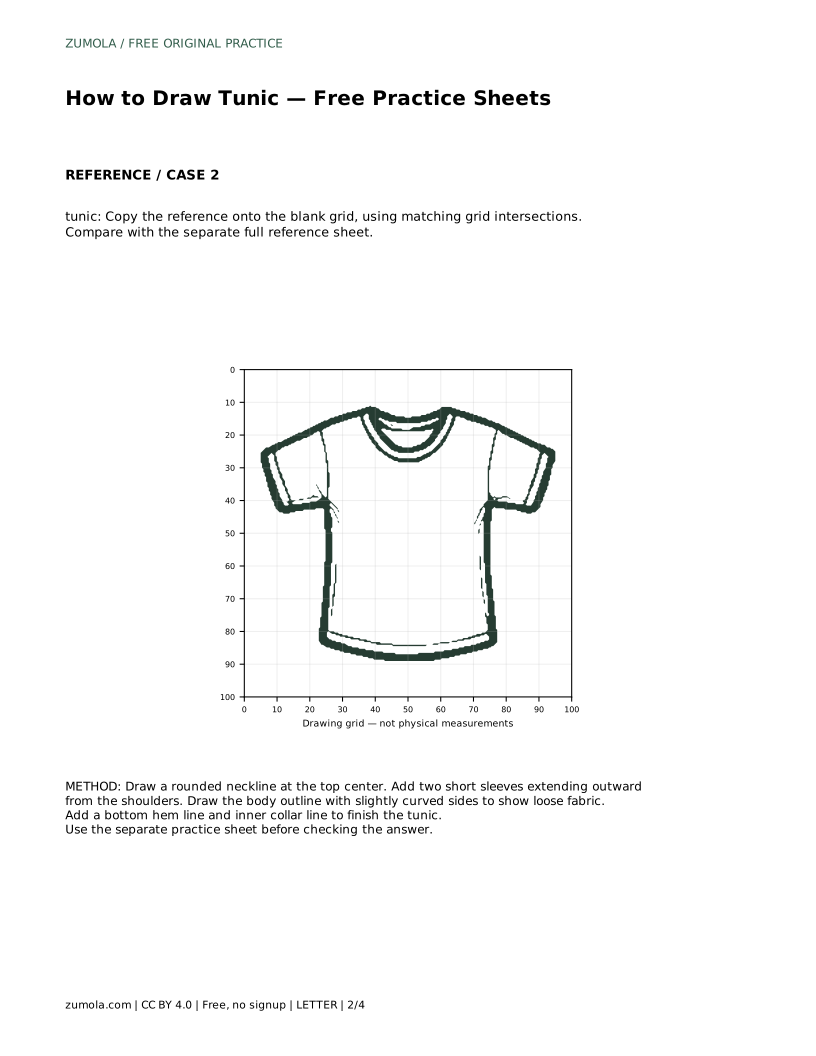
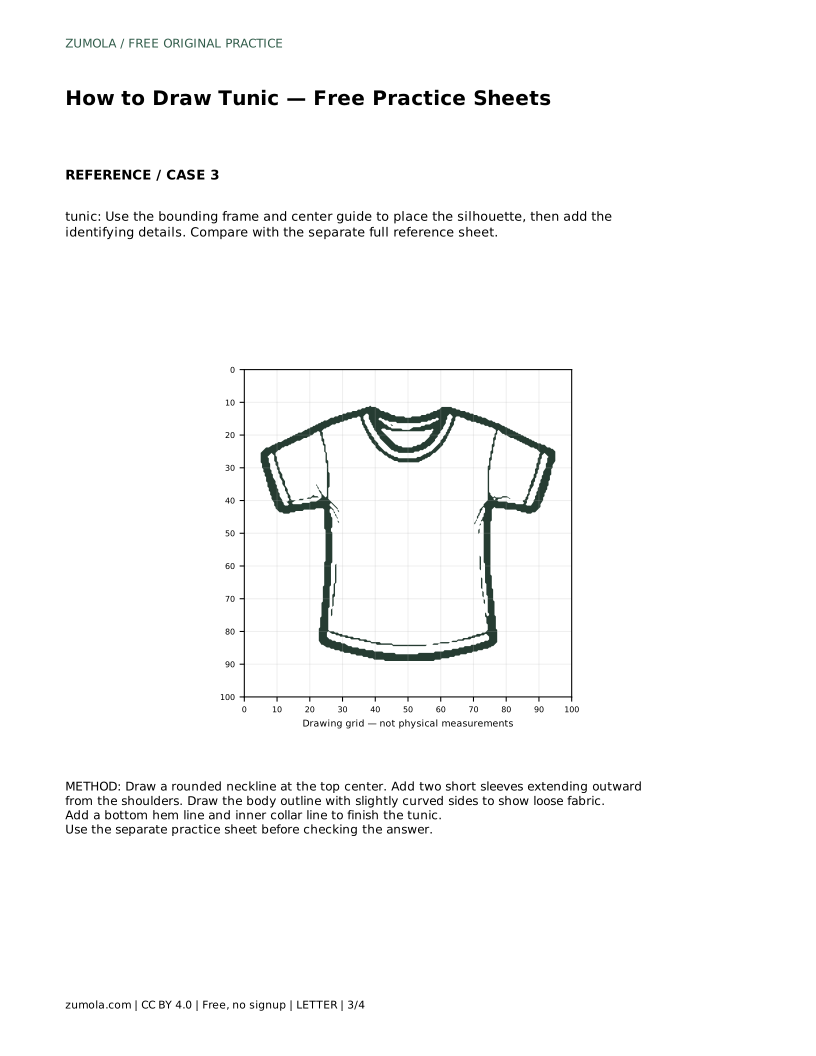
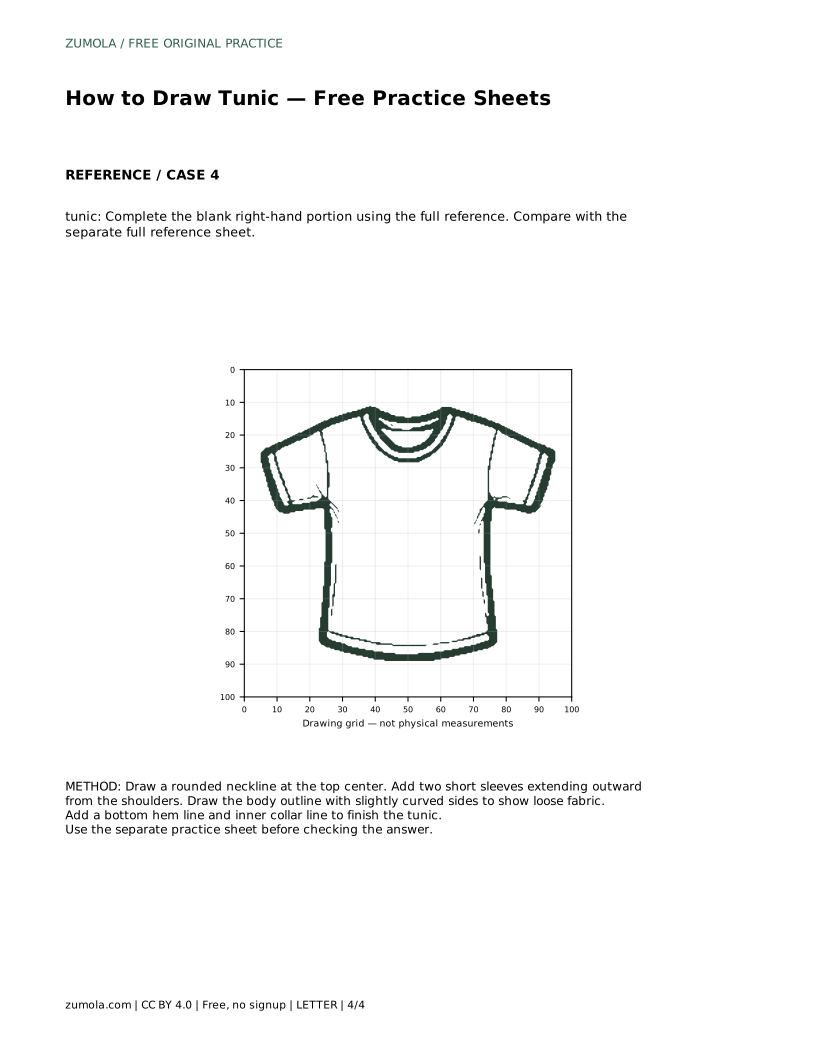
Start at the top center of the page. Draw a rounded neckline, keeping it wide enough that the head opening reads clearly. Add an inner collar line just inside the outer neckline so the collar appears as a double line rather than a single edge.
From the shoulders, extend two short sleeves outward. Keep them roughly balanced in length and angle. Then draw the body outline downward, letting the sides curve slightly outward and back in to suggest loose hanging fabric. Finish with a bottom hem line across the lower edge.
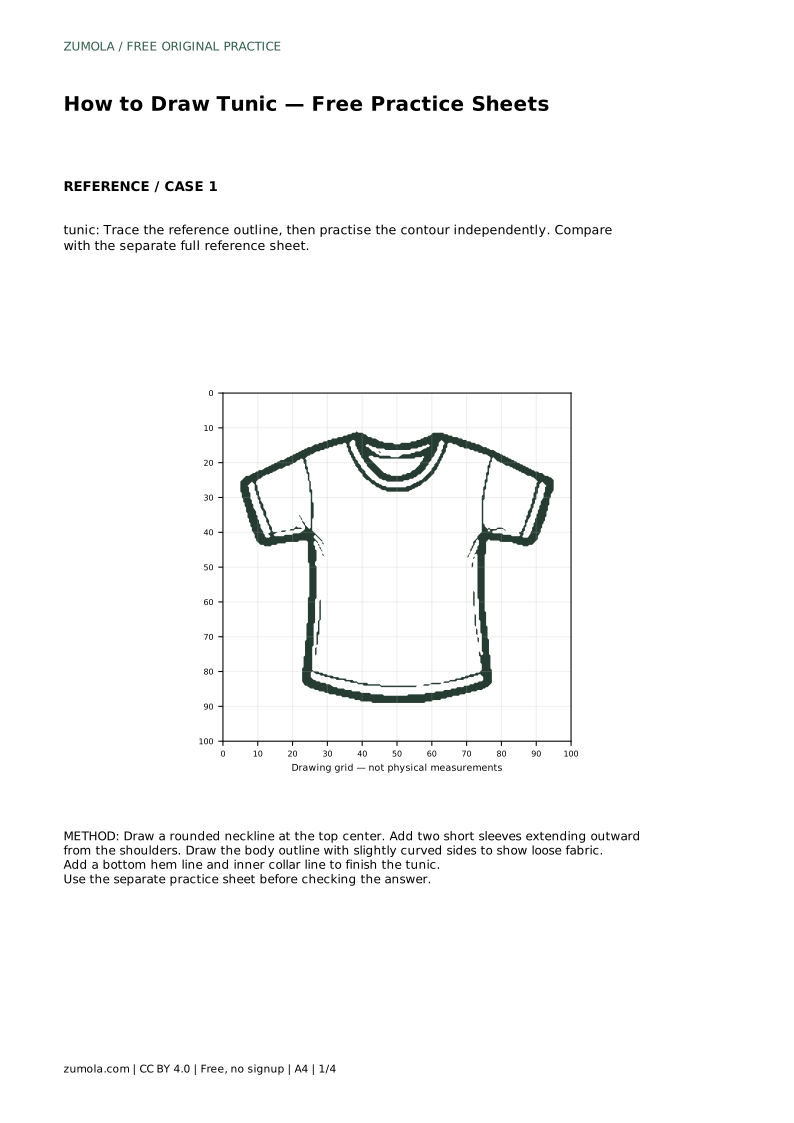
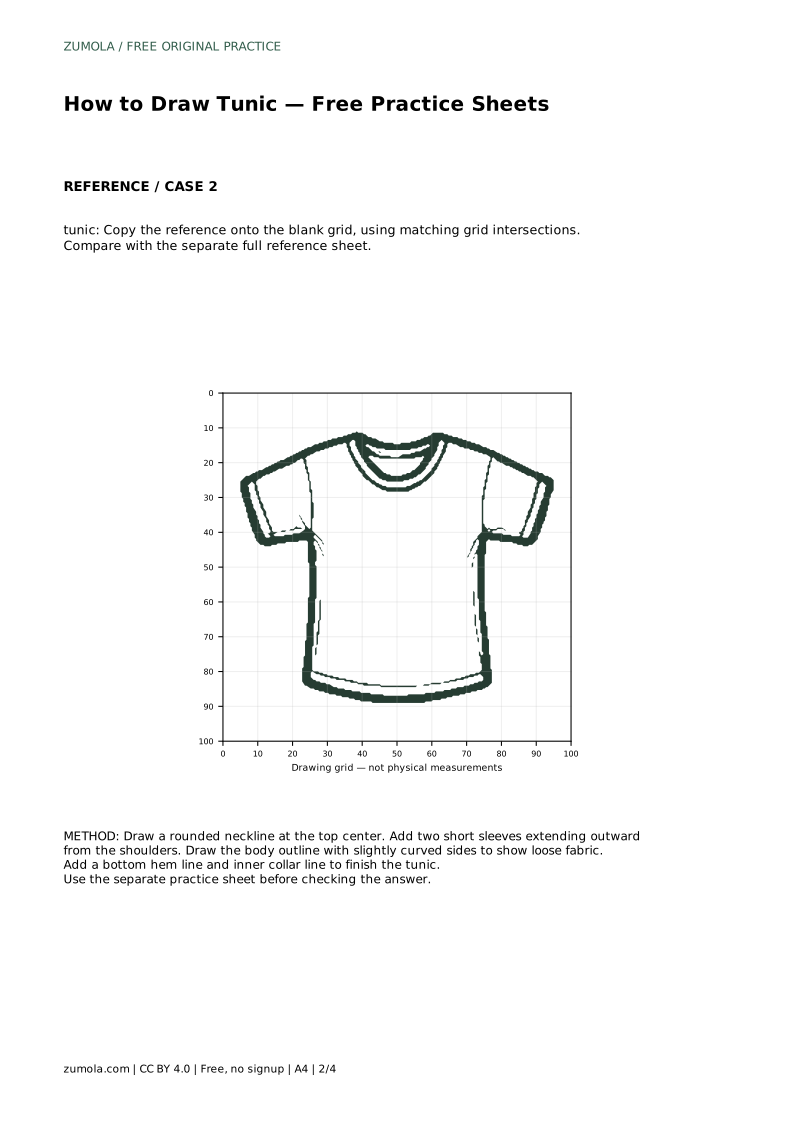
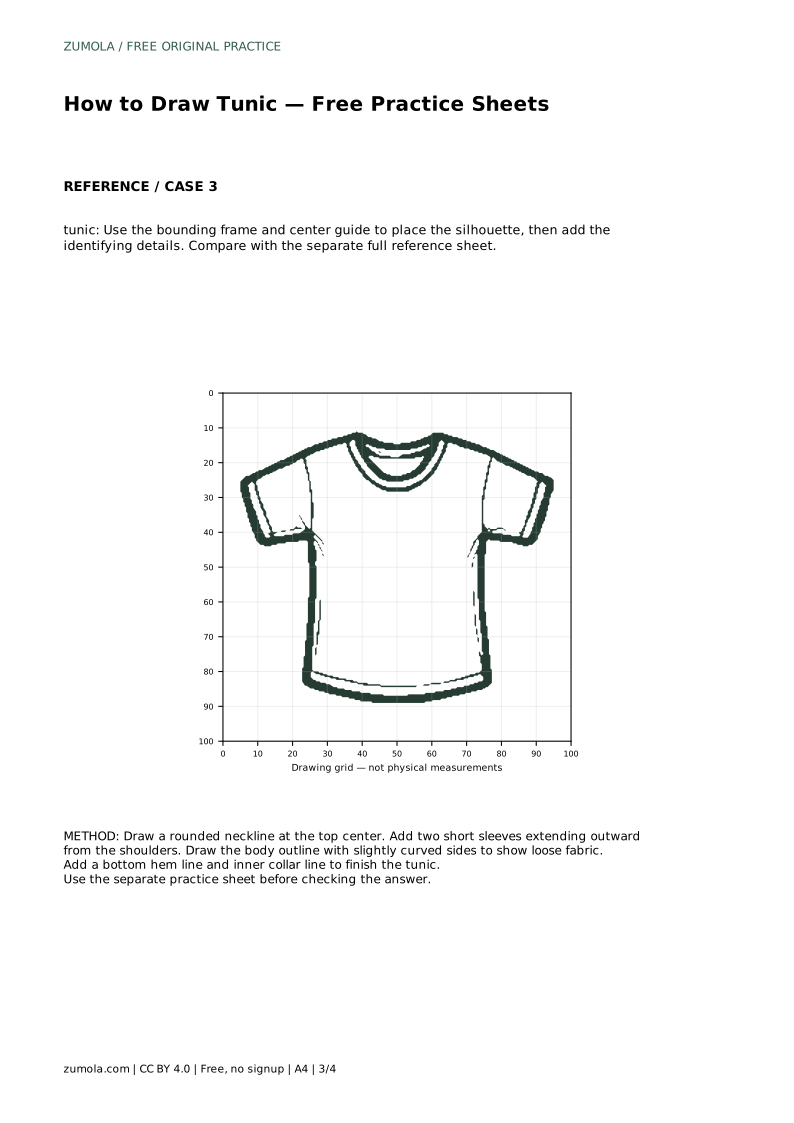
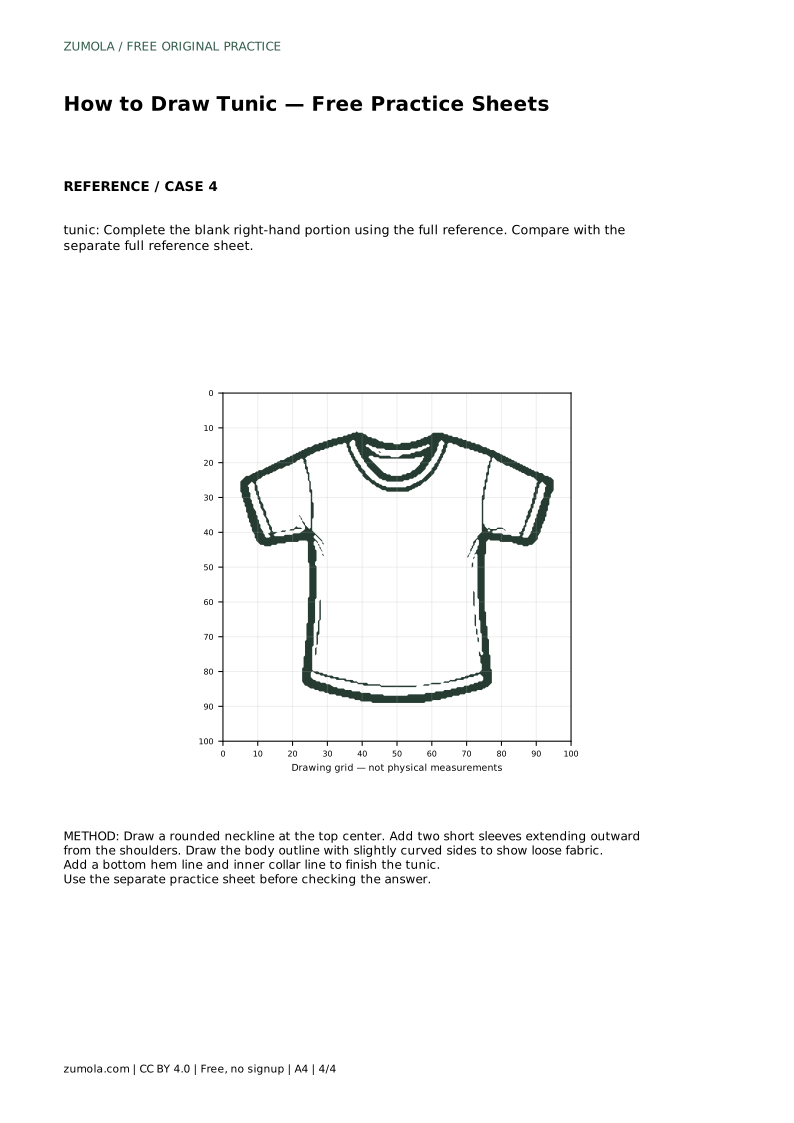
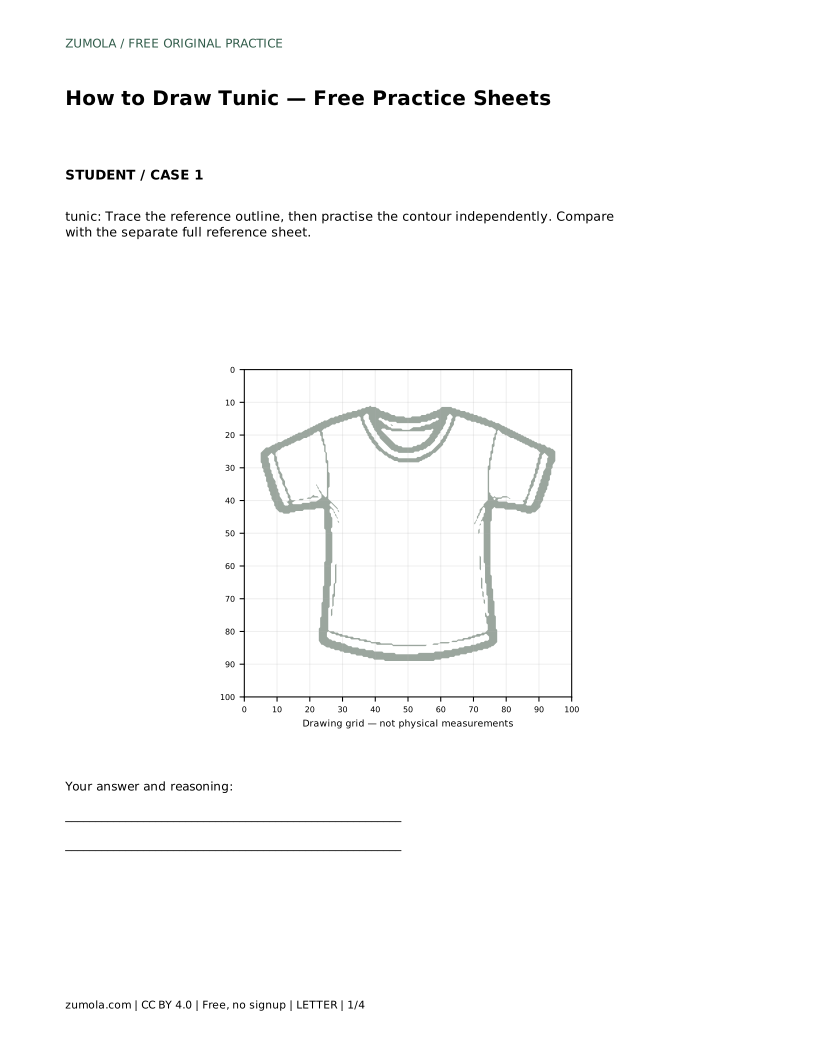
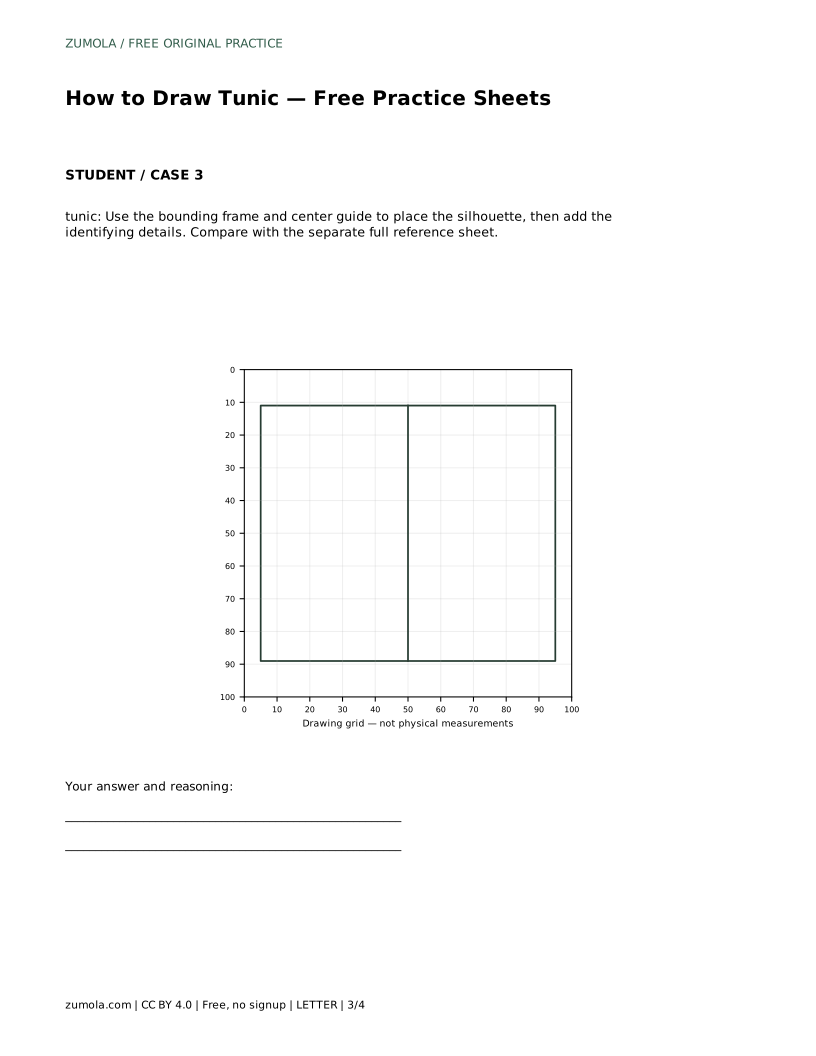
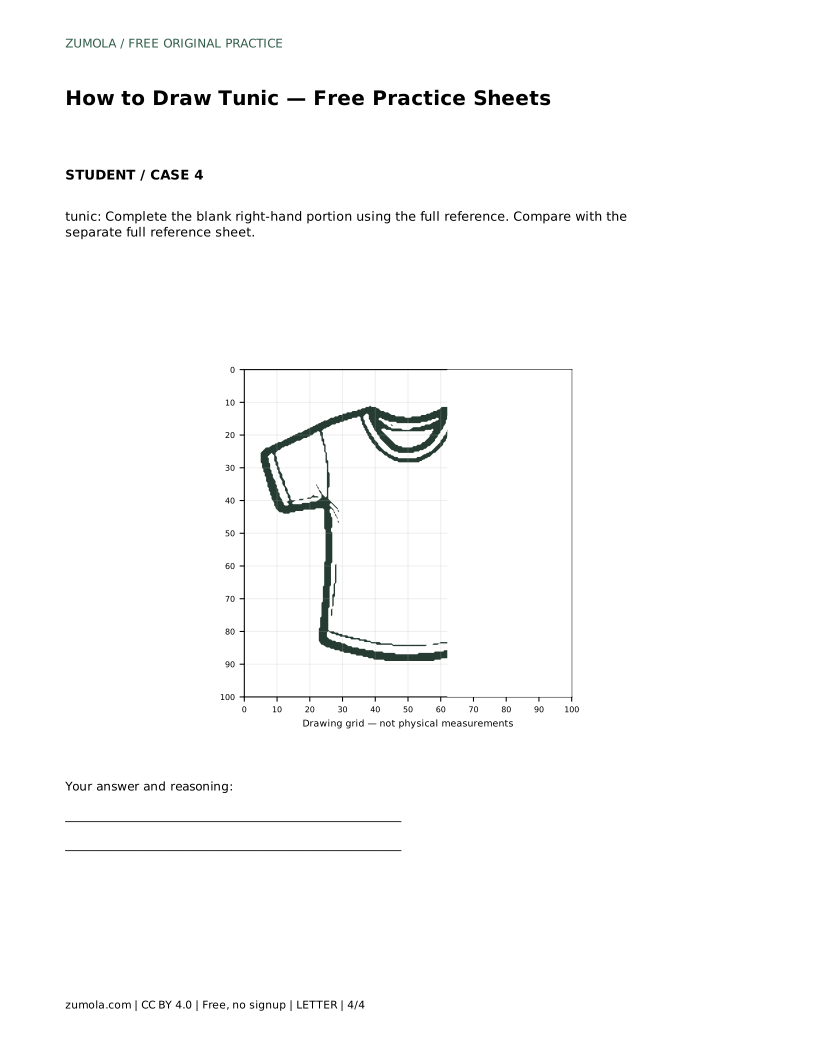
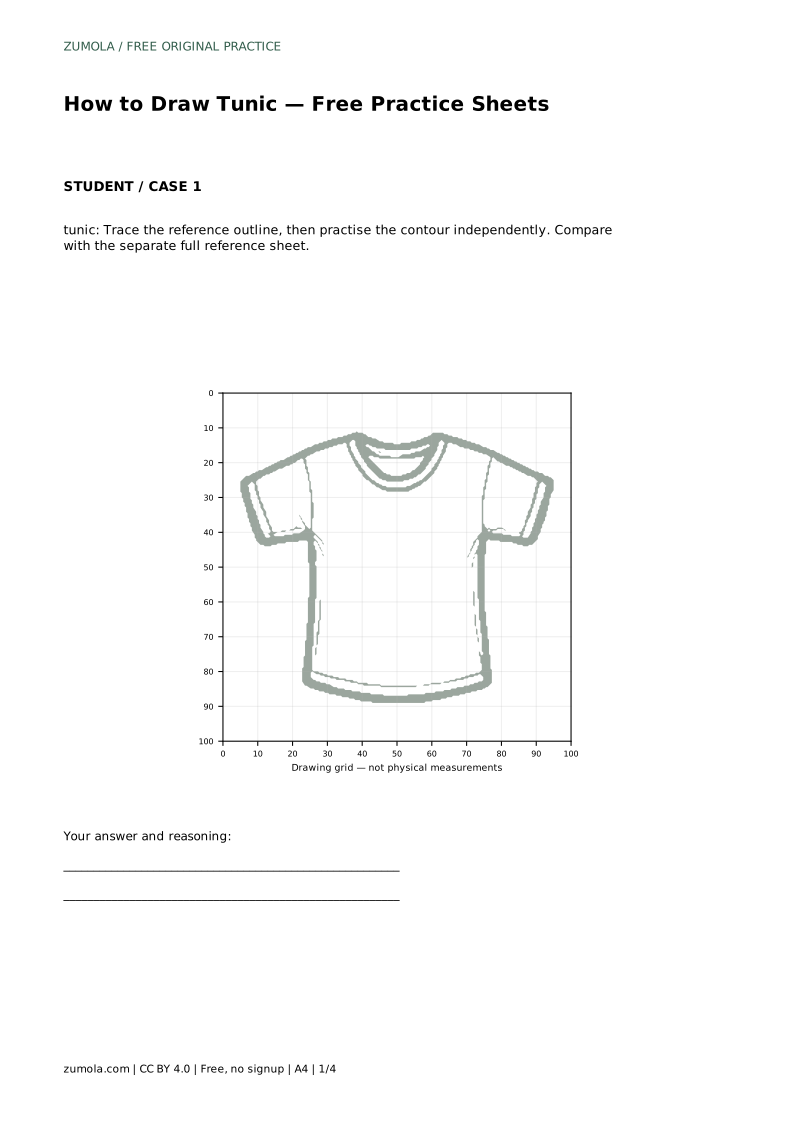
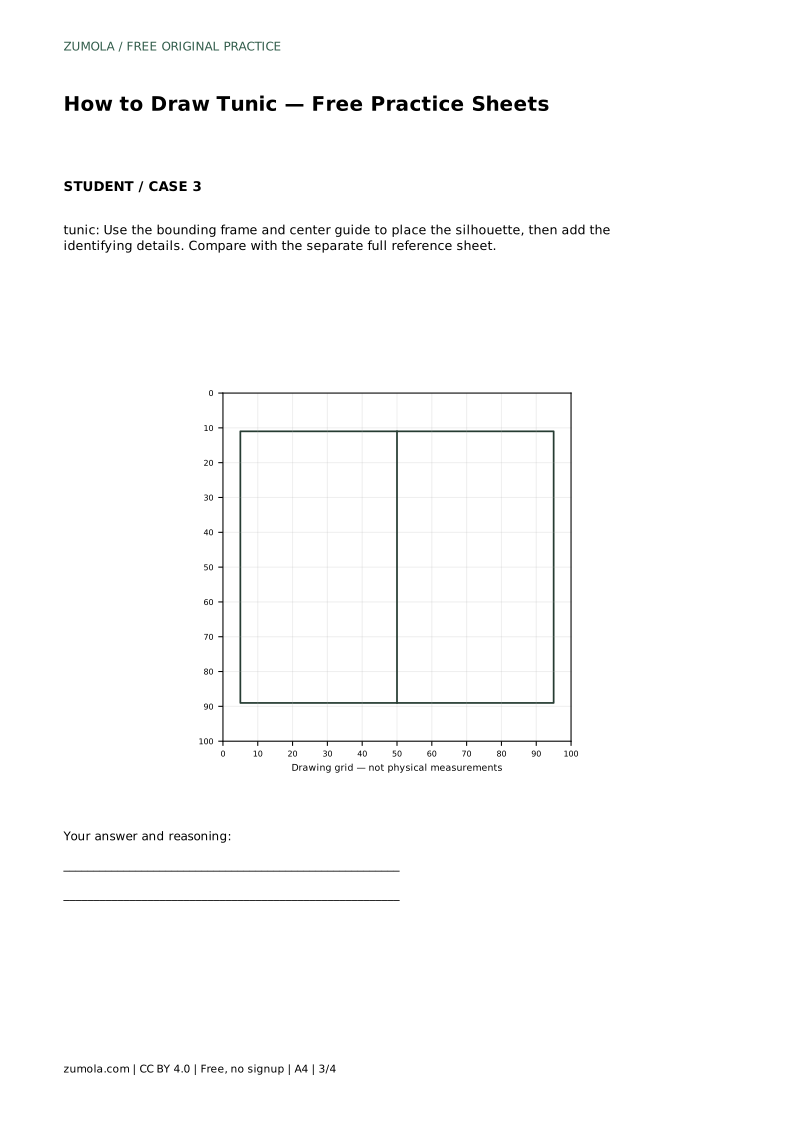
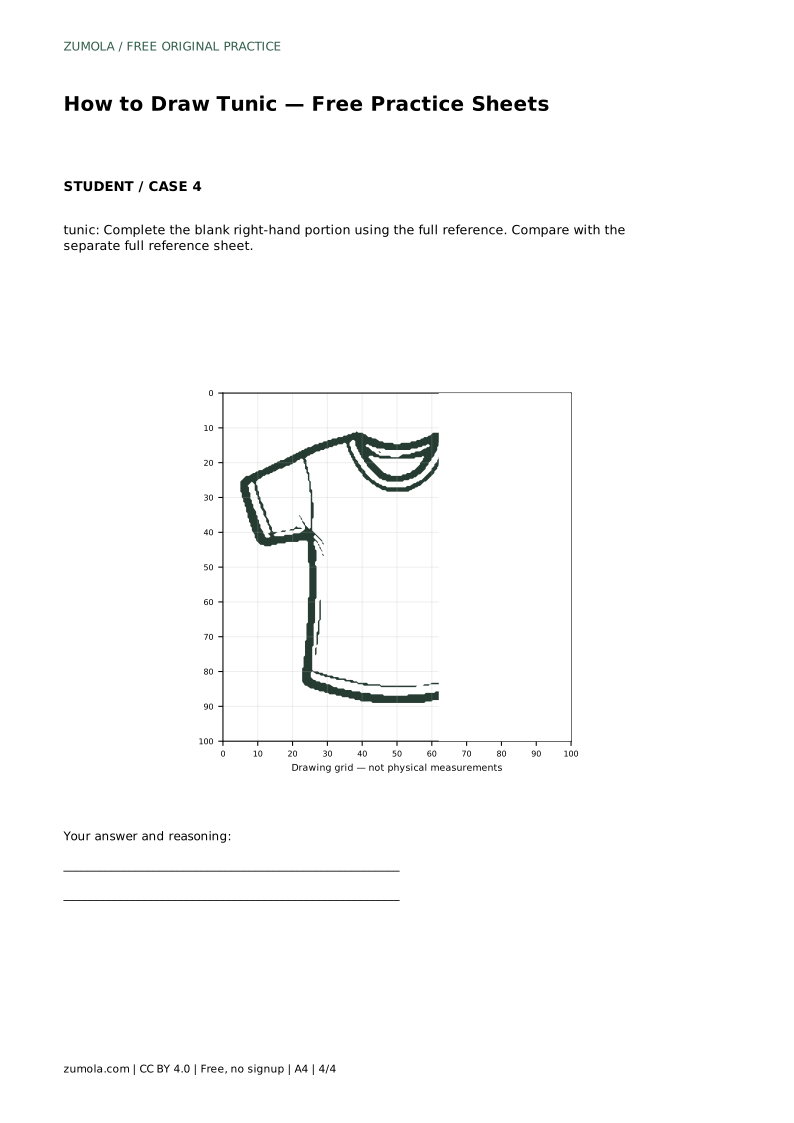
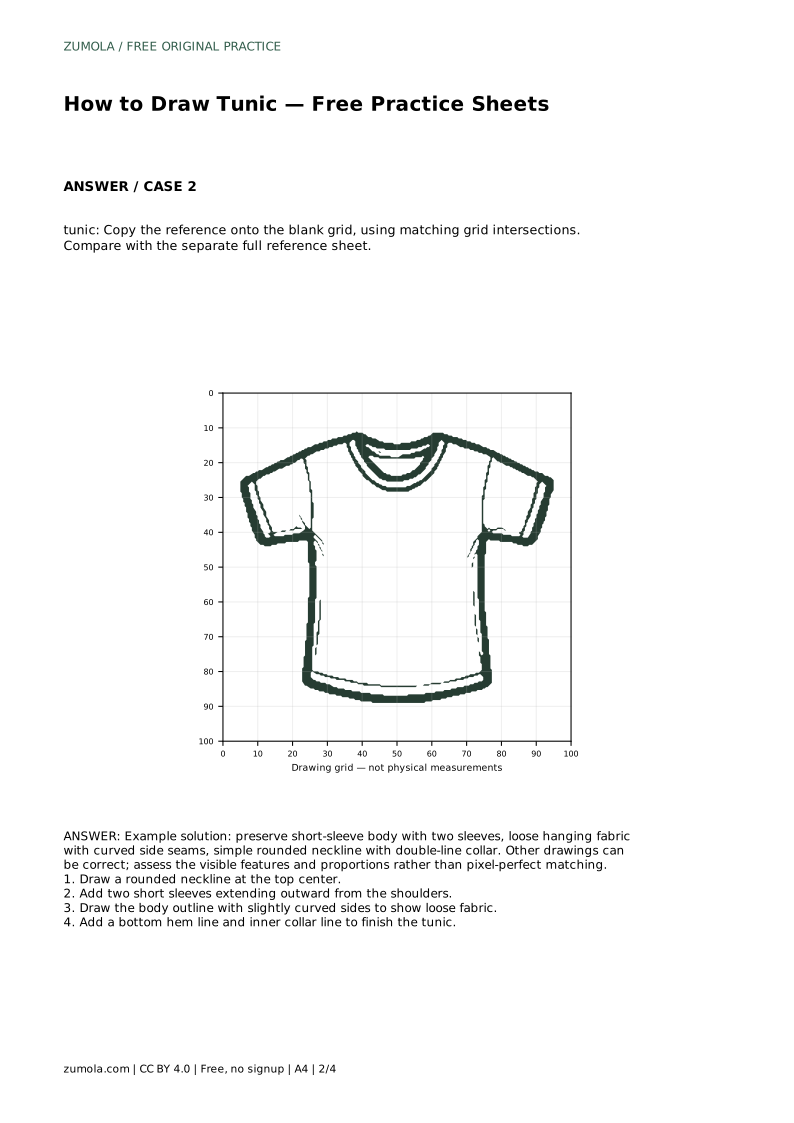
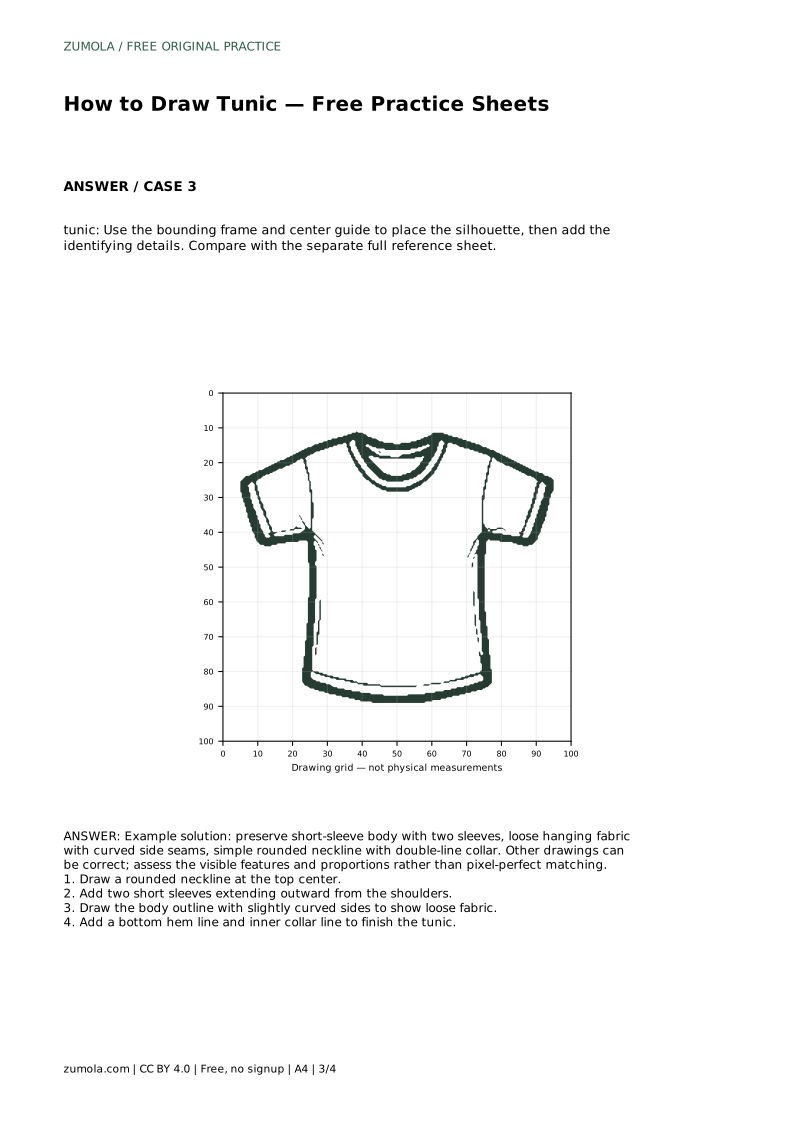
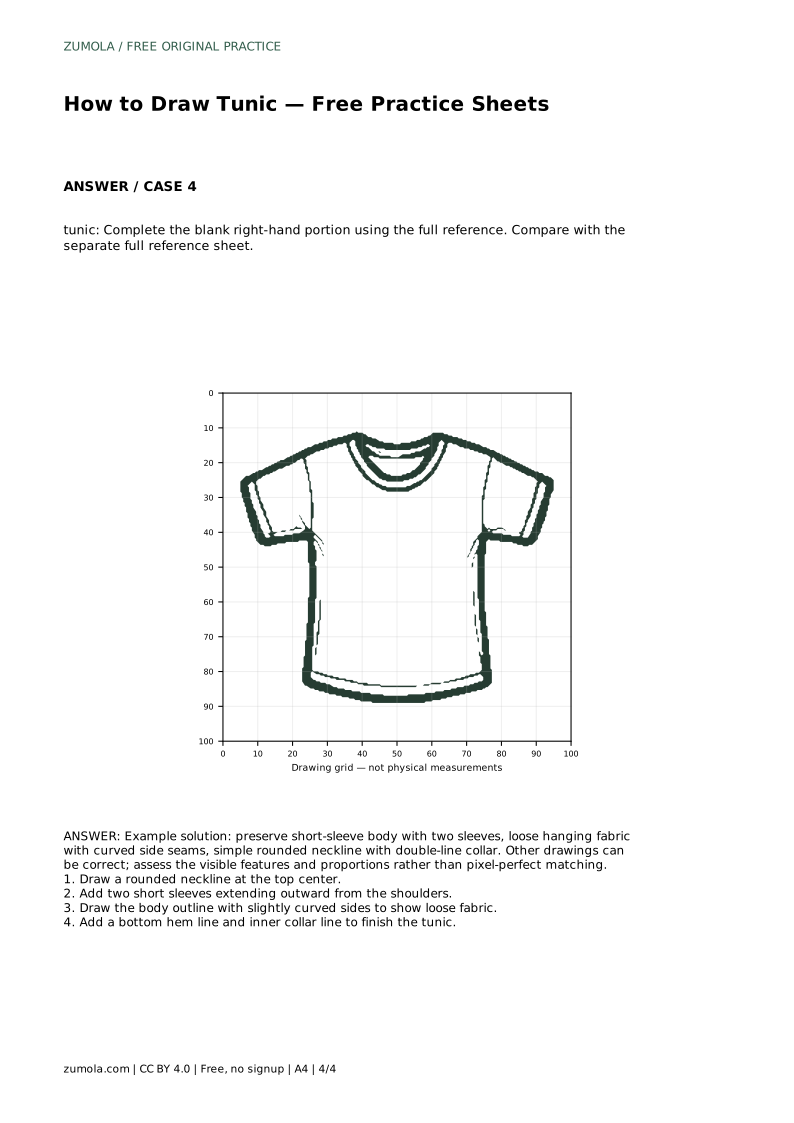
The tracing sheet asks you to follow the reference outline first, then practise the contour independently. The grid sheet asks you to copy the reference onto the blank grid, matching grid intersections so proportions stay consistent. The frame sheet gives a bounding frame and center guide for placing the silhouette before adding details. The partial-reference sheet asks you to complete the blank right-hand portion using the full reference.
In every case, compare your finished drawing with the separate full reference sheet. Check the four identifying features in order: neckline, sleeves, side seams, hem. If one feature drifts, redraw that part rather than starting over.
A tunic drawing can vary in sleeve angle, hem width, and how much the sides curve. What matters is that the garment reads as a short-sleeved, loose body with a rounded double-line neckline. Use a rubric to assess those visible features and their proportions.
Keep the drawing about clothing construction, not anatomy. You are showing a garment shape, not a clinical figure.
Most problems come from drawing the body before the neckline and sleeves are placed. Build the top first, then the sides, then the hem. If the sleeves look uneven, measure their length against each other before continuing. If the body looks stiff, add a gentle curve to each side seam rather than a straight line.
tunic: Trace the reference outline, then practise the contour independently. Compare with the separate full reference sheet.
Example solution: preserve short-sleeve body with two sleeves, loose hanging fabric with curved side seams, simple rounded neckline with double-line collar. Other drawings can be correct; assess the visible features and proportions rather than pixel-perfect matching. Draw a rounded neckline at the top center. Add two short sleeves extending outward from the shoulders. Draw the body outline with slightly curved sides to show loose fabric. Add a bottom hem line and inner collar line to finish the tunic.
Tracing first helps you learn the contour, but the independent redraw is the real practice. Compare both with the separate full reference sheet.
That can still be correct. Check the rounded neckline, two short sleeves, curved side seams, and hem, then judge proportions with the rubric.
No. It is about garment construction and shape. Keep the focus on the clothing outline rather than clinical anatomy.
All drawing practice · Free coordinate paper
Original resources · CC BY 4.0 · Free for personal and classroom use with attribution.