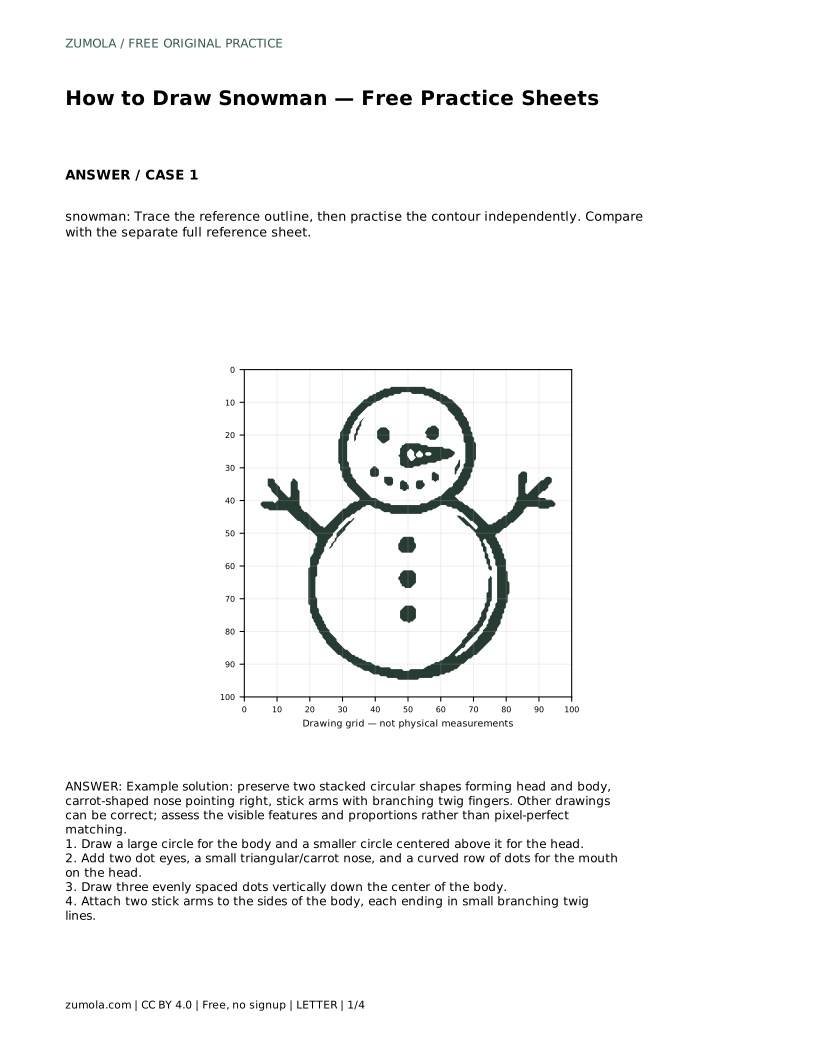
Reference diagrams
LETTER · Download PDF
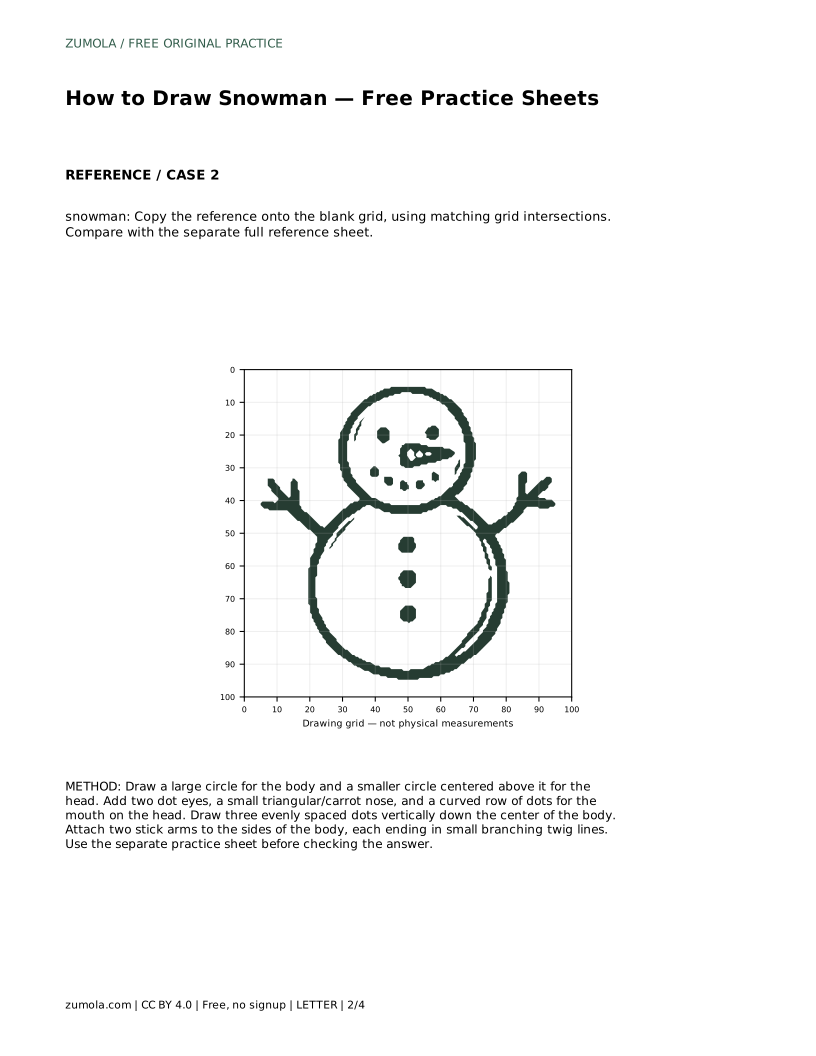
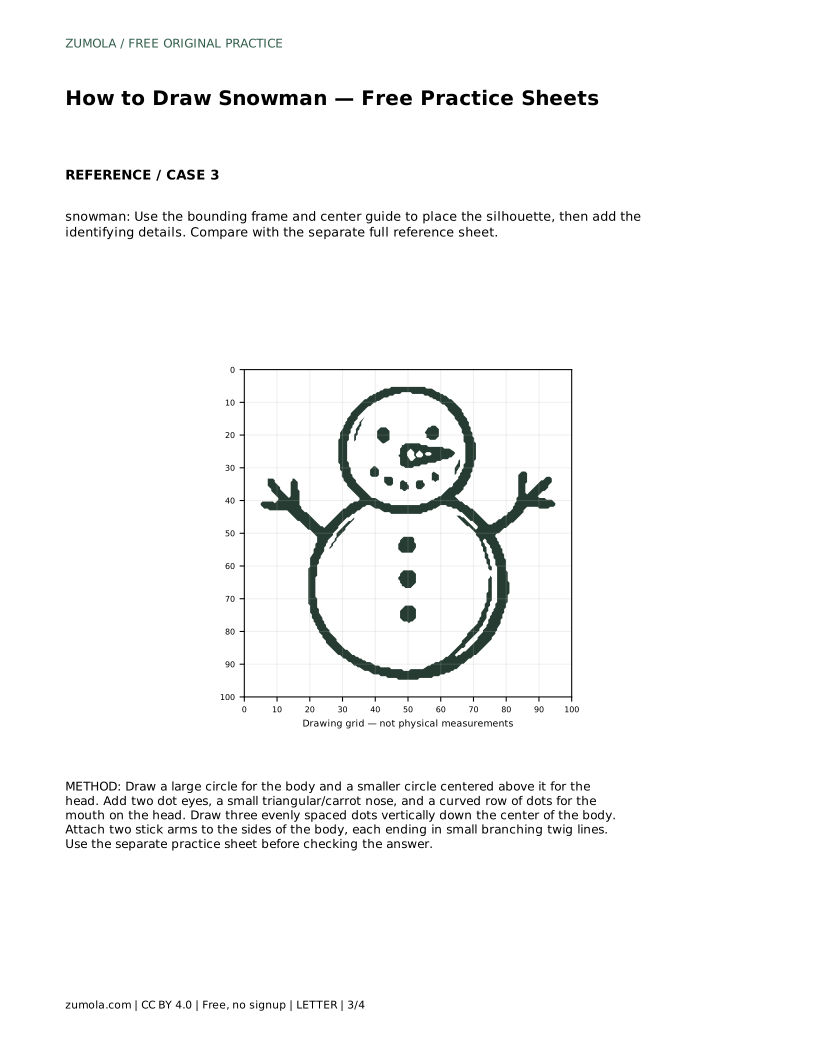
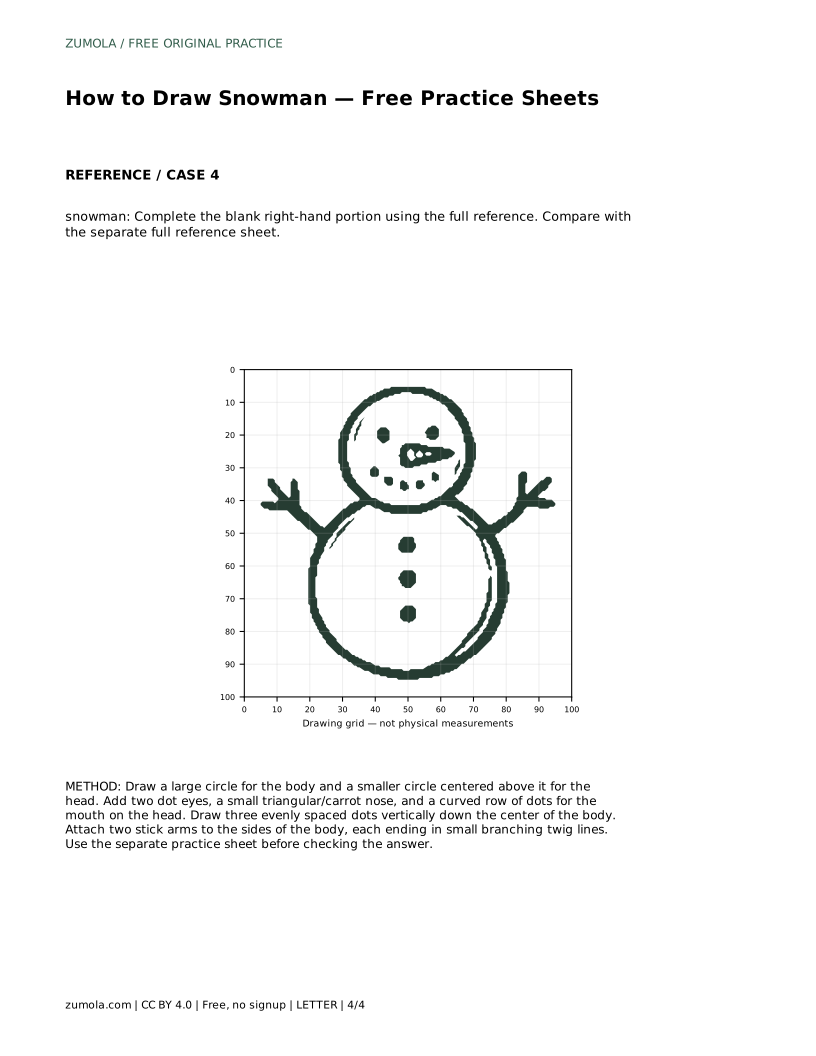
A4 · Download PDF
Free original resources
Learn to draw a snowman with stacked circles, a carrot nose, dot buttons, and branching stick arms. Trace, grid, and complete-the-drawing practice included.
Four original cases, with reference diagrams, practice sheets and worked answers. Everything is free; no signup required.
LETTER · Download PDF
A4 · Download PDF
LETTER · Download PDF
A4 · Download PDF
LETTER · Download PDF
A4 · Download PDF
Use A4 or US Letter to match your printer. Use the stated values and conditions to solve each exercise; diagrams are not physical measuring rulers.
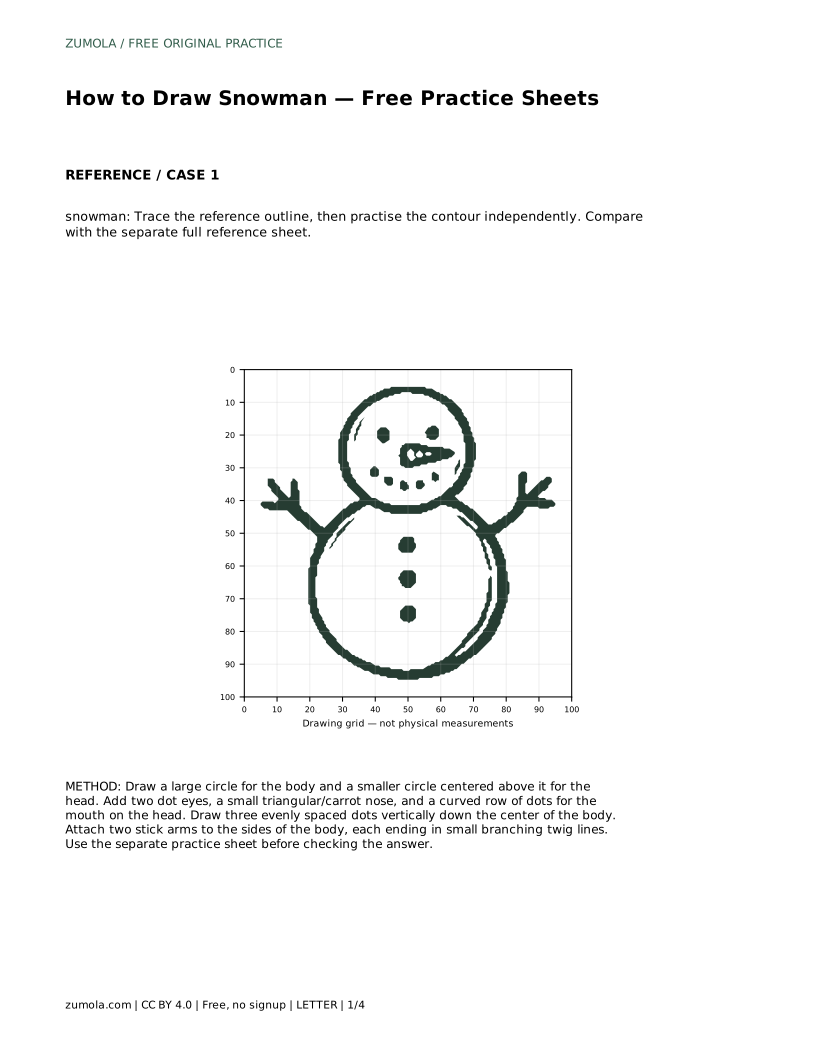
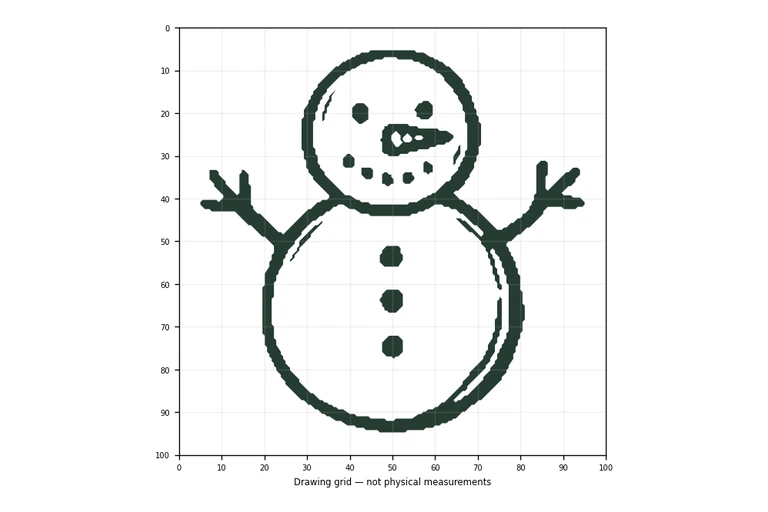
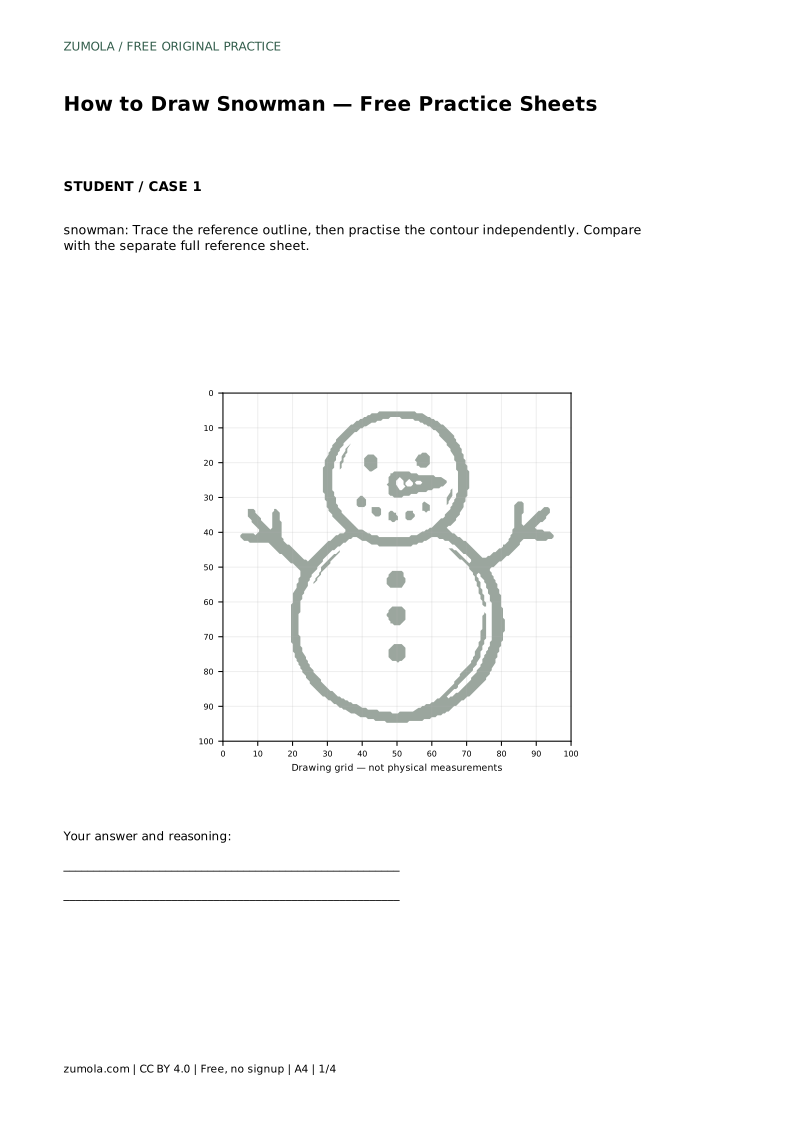
A snowman drawing is built from a few clear shapes: a large circle for the body, a smaller circle above it for the head, and simple details that make the figure readable. This page explains how to place those shapes, add the face and twig arms, and check your work against a reference. The practice sheets let you trace, copy onto a grid, use a center guide, or complete a partly drawn figure.
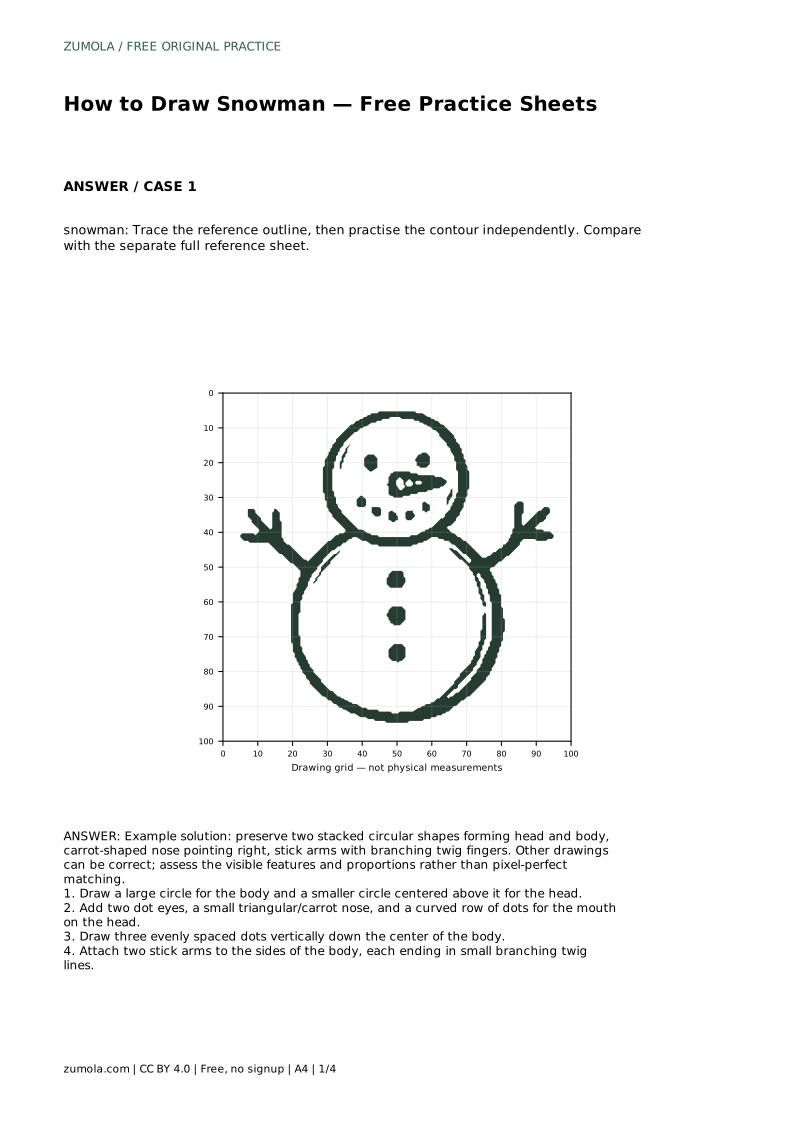
Begin with the body: draw a large circle low on the page, leaving room above for the head. Draw a smaller circle centered directly above it so the two shapes touch or nearly touch. Keeping the head centered over the body gives the snowman a stable, upright look. If the head drifts to one side, the figure appears to lean.
Check the size relationship before adding details. The head should be noticeably smaller than the body, roughly half the body's width or a little more. A head that is too large makes the snowman look top-heavy; one that is too small can look like a snowball on a boulder. Lightly adjust the circles now, while the lines are still easy to change.
On the head, place two dot eyes with a small gap between them. Add a carrot-shaped nose pointing to one side; pointing right is a common choice, but either direction is valid. Below the nose, draw a curved row of small dots for the mouth, following the curve of the head rather than a straight line.
Down the center of the body, draw three evenly spaced dots as buttons. Spacing them by eye is fine, but check that the gaps look similar. The buttons should sit on the body's vertical center line, aligned with the middle of the head above.
Draw one stick arm from each side of the body, angling outward and slightly upward. At the end of each arm, add two or three short branching lines to suggest twig fingers. The branches should fork from the main stick rather than float beside it.
Arms can differ in length and angle without being wrong. What matters is that each arm clearly connects to the body and that the branching reads as twigs. Keep the lines simple; a snowman drawing does not need dense texture to be recognizable.
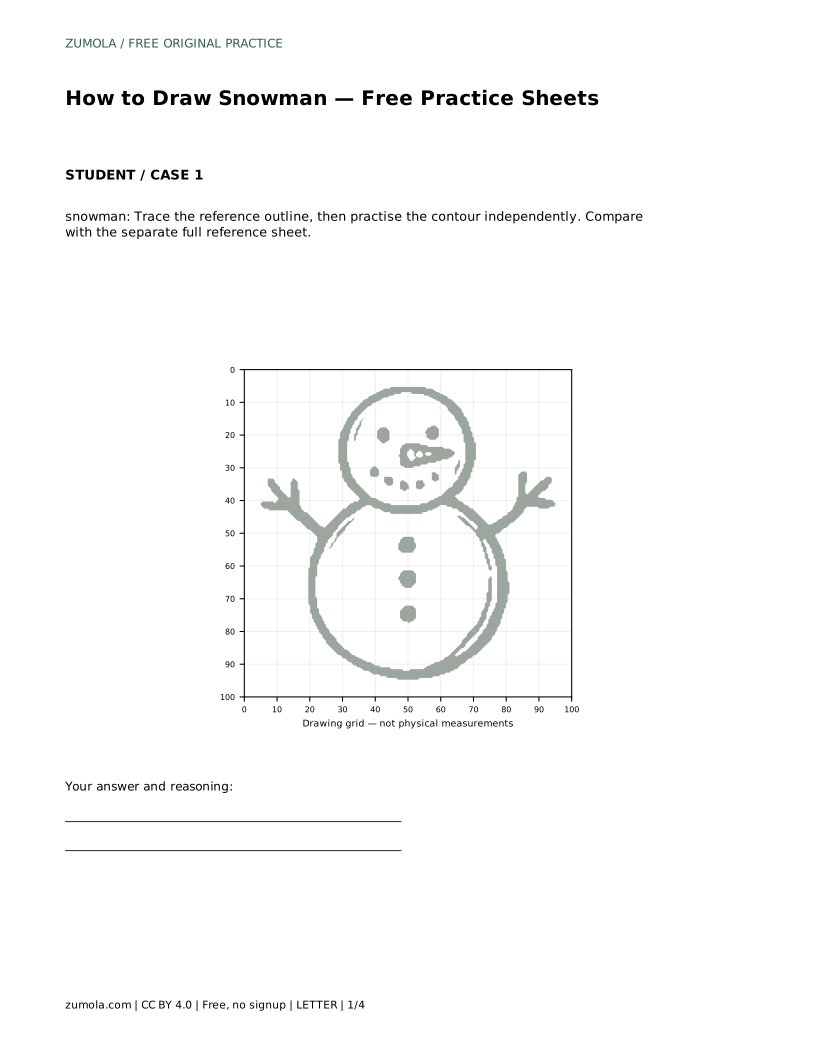
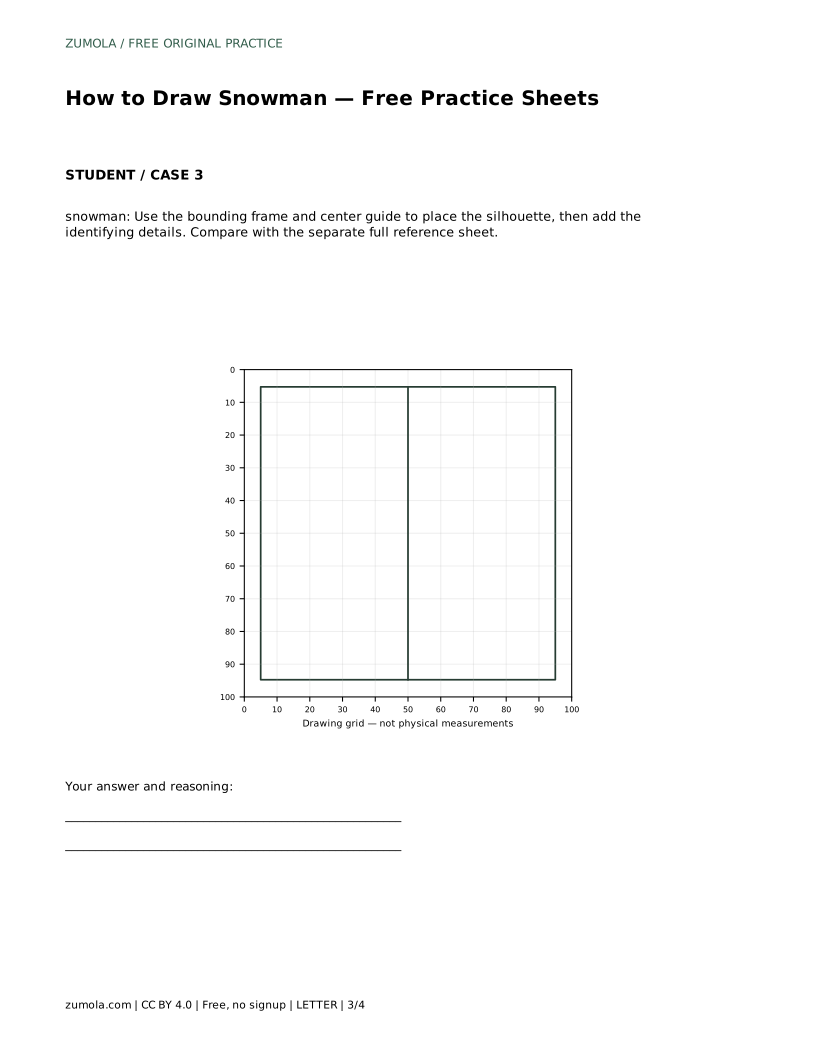
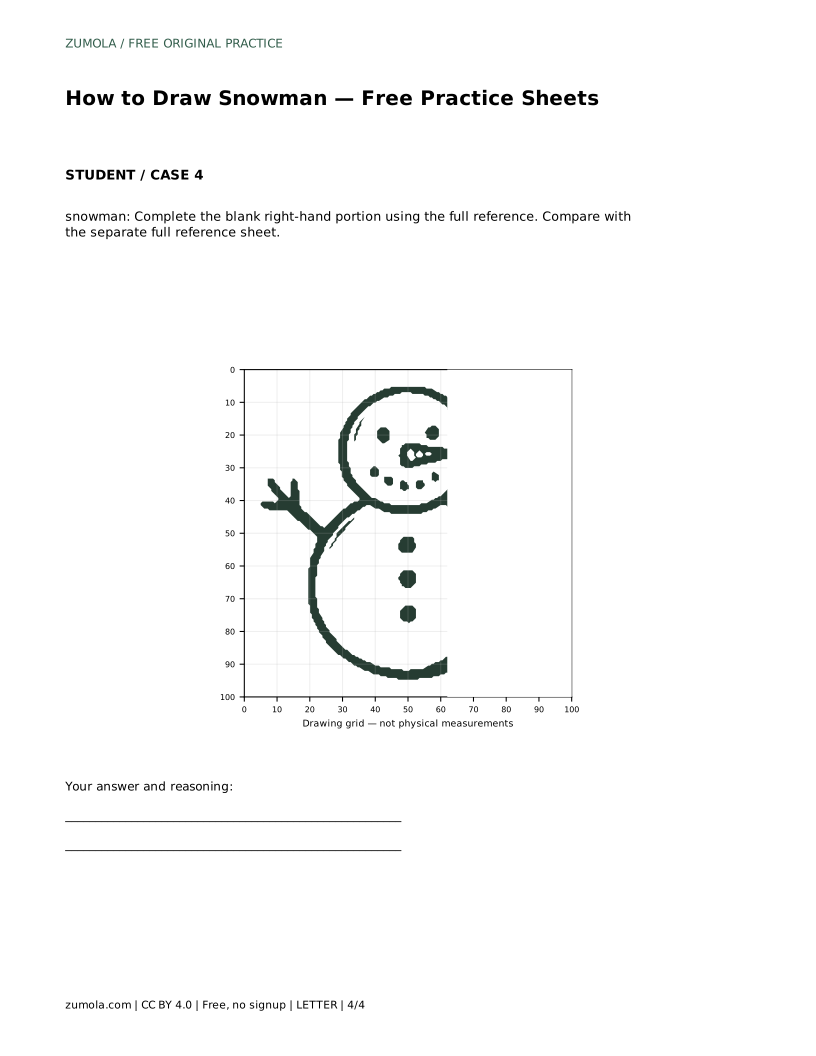
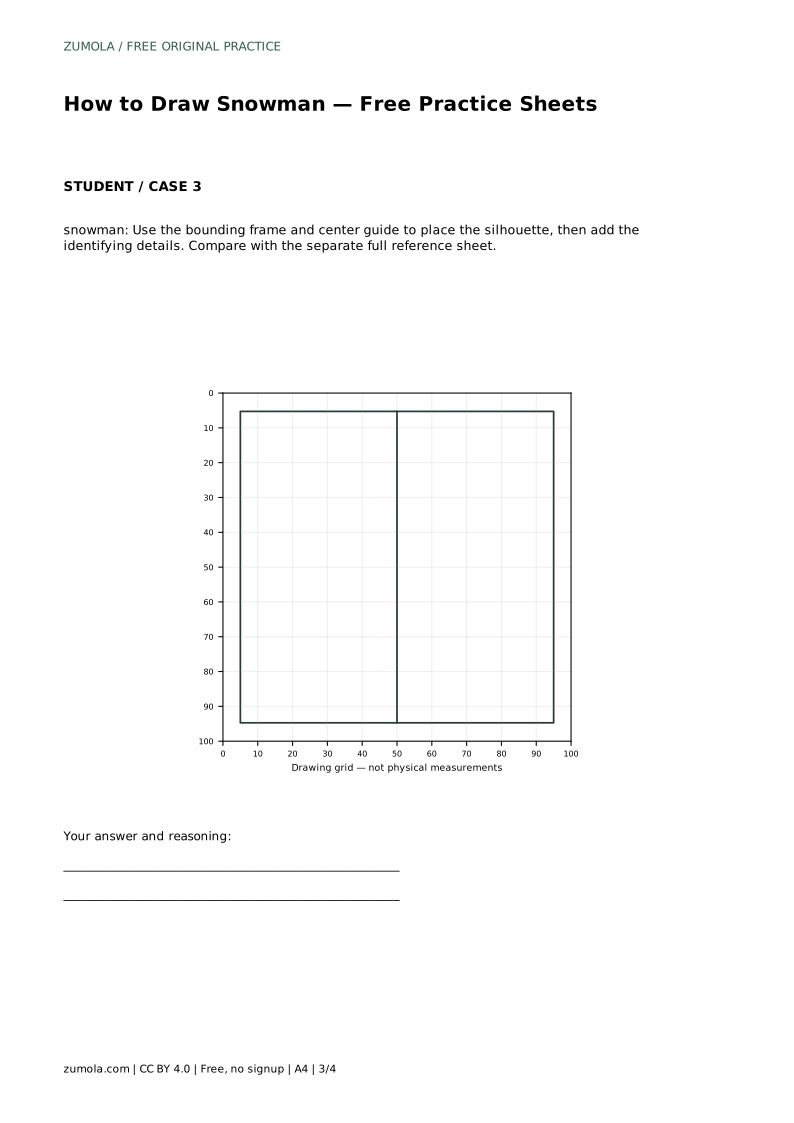
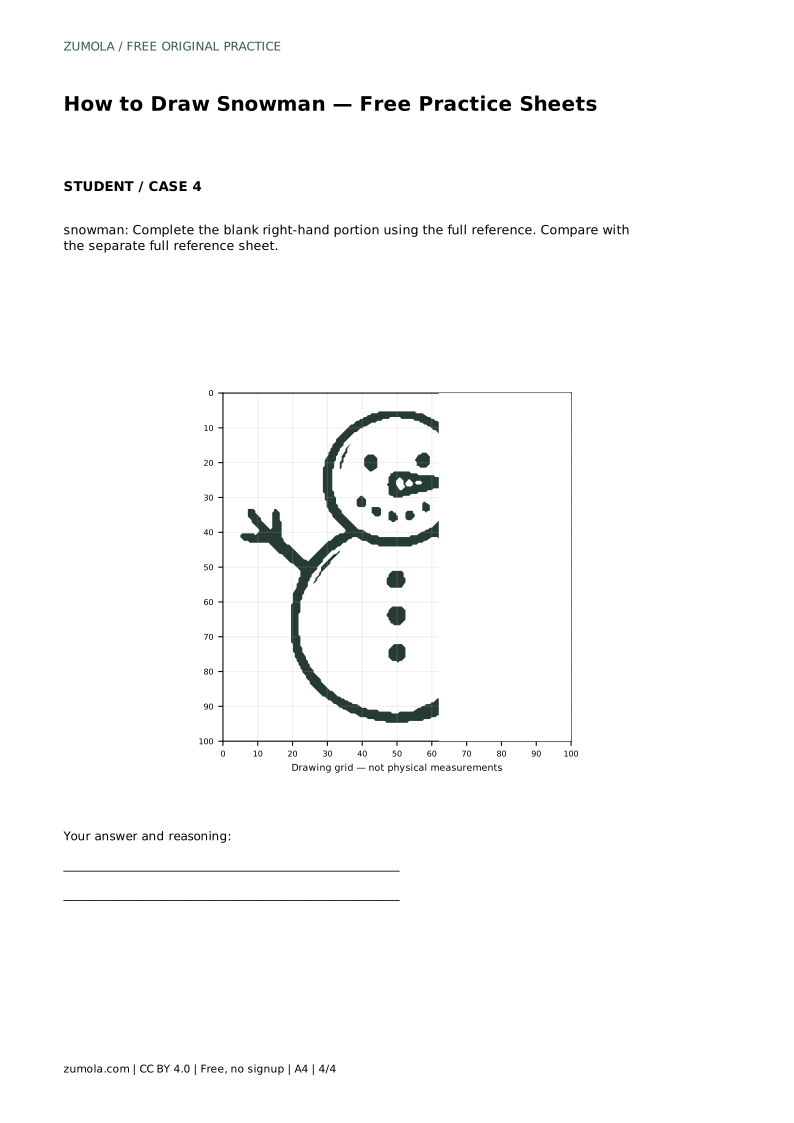
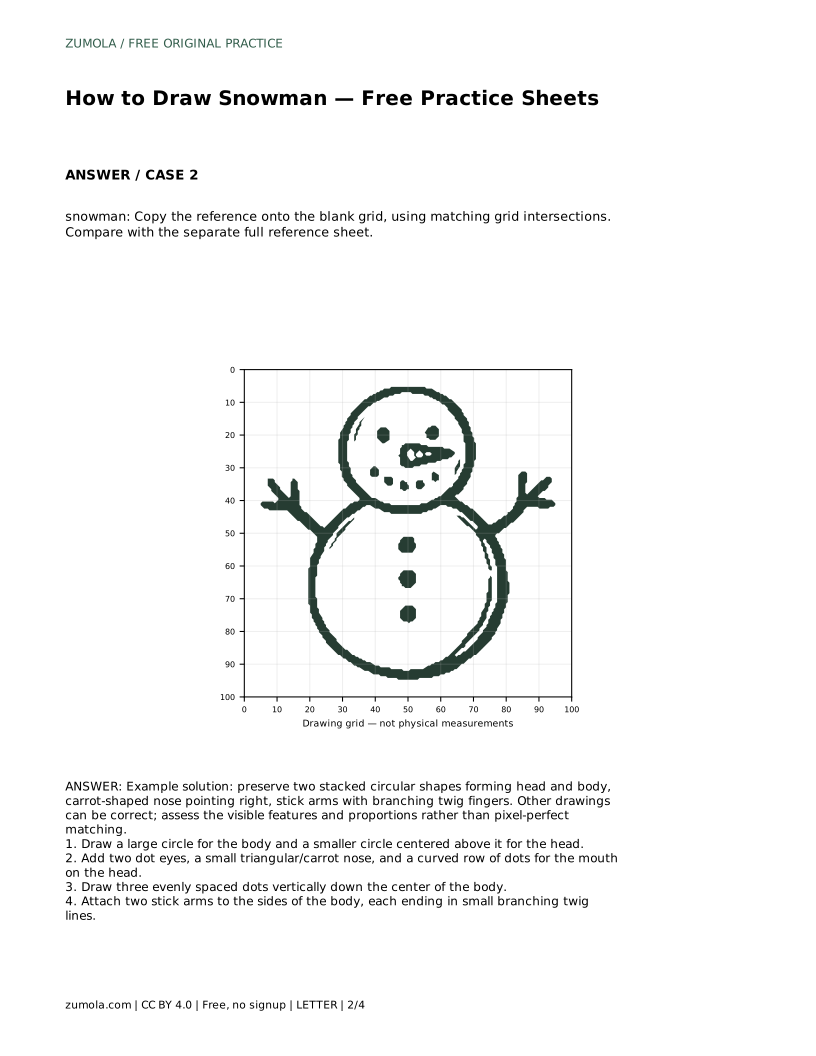
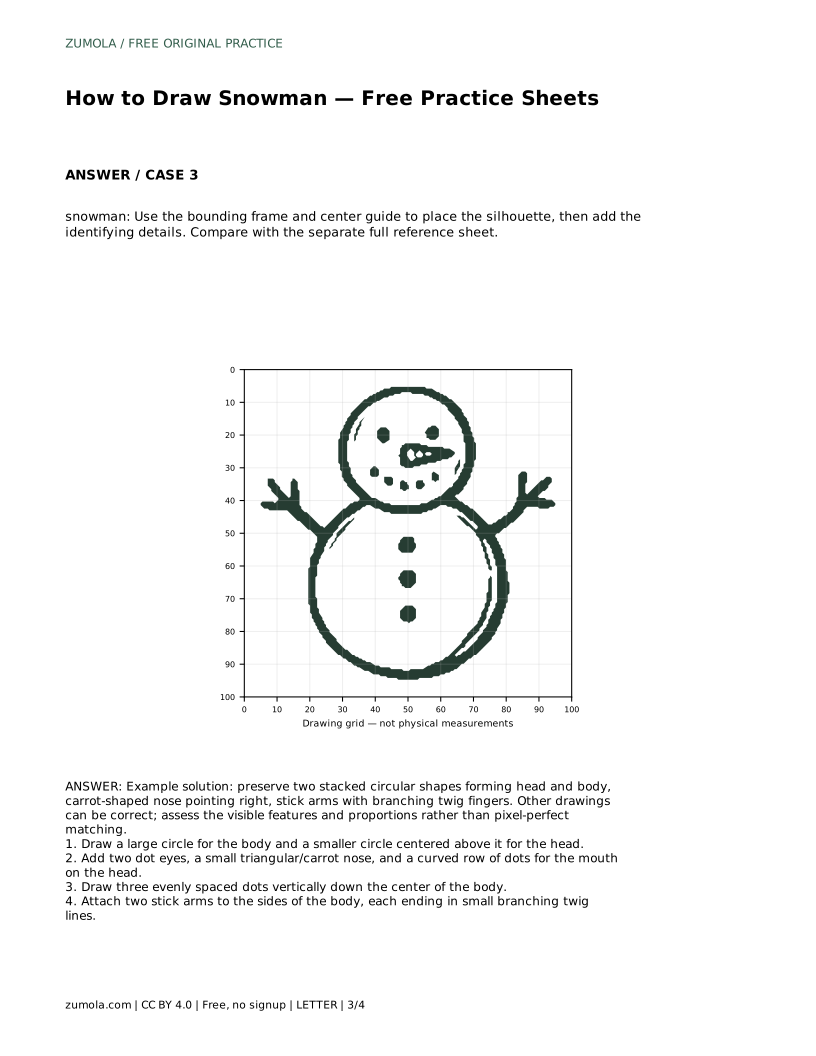
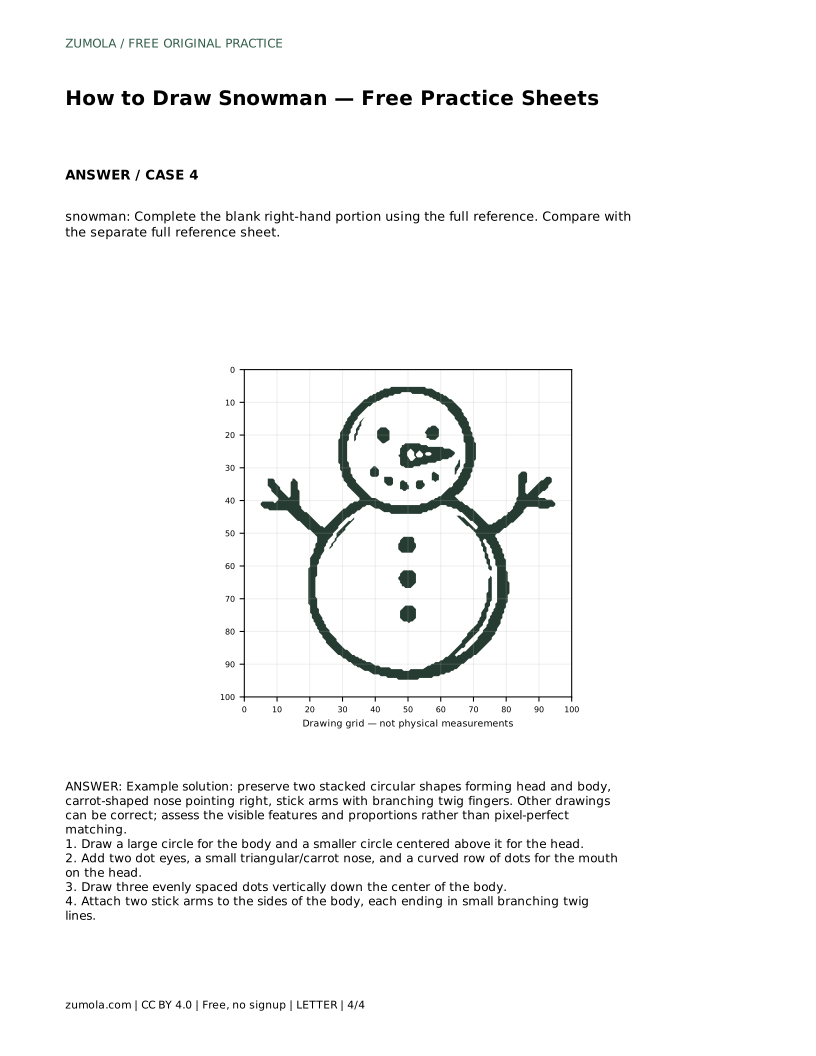
The trace sheet asks you to follow the reference outline first, then repeat the contour on your own. The grid sheet asks you to copy the reference onto a blank grid, matching where lines cross grid intersections. The center-guide sheet helps you place the silhouette before adding details. The complete-the-drawing sheet gives you the left portion and asks you to finish the right side using the full reference.
After each attempt, compare your drawing with the separate full reference sheet. Look for the two stacked circles, the nose direction, the button alignment, and the branching arms. Small differences in size and angle are acceptable; missing or misplaced features are the things to correct on your next try.
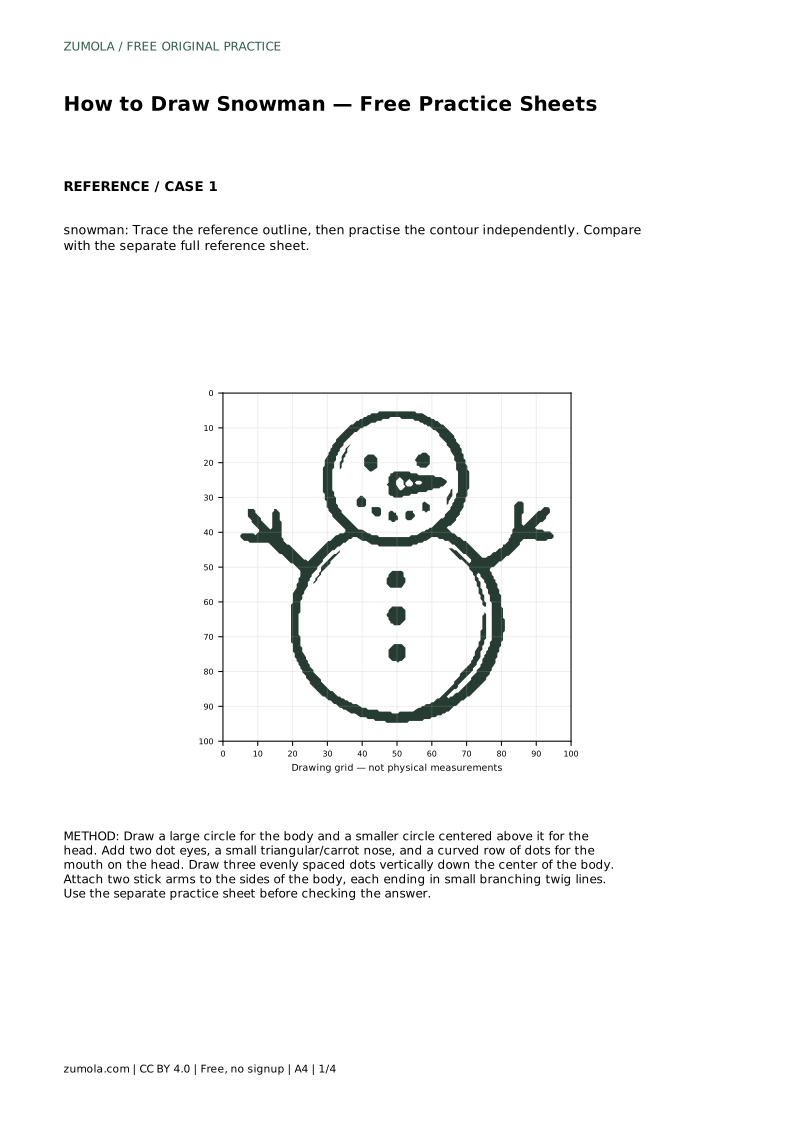
snowman: Trace the reference outline, then practise the contour independently. Compare with the separate full reference sheet.
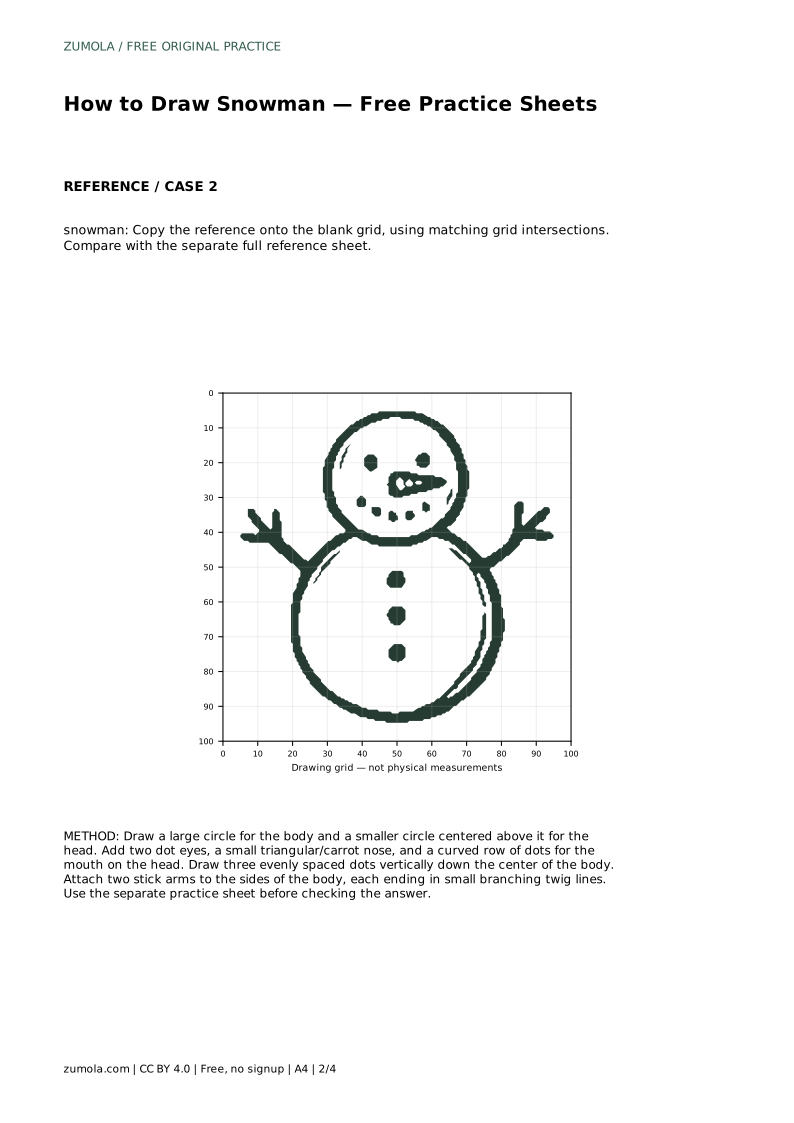
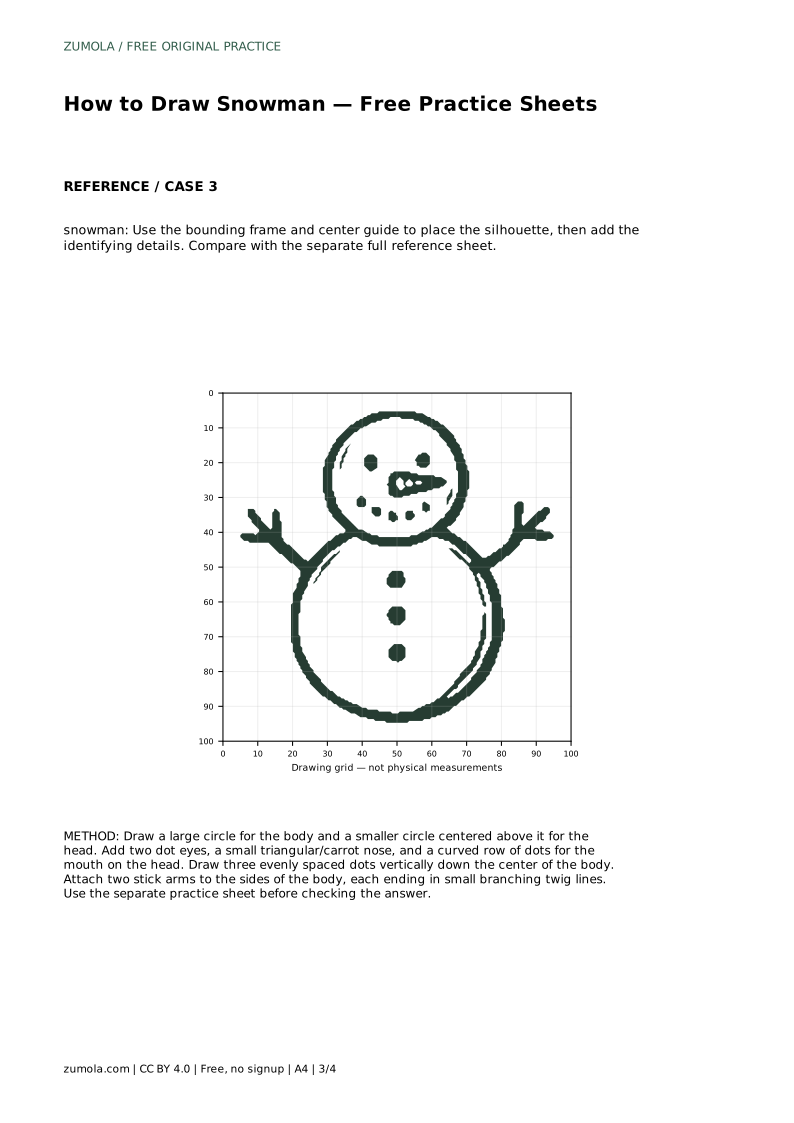
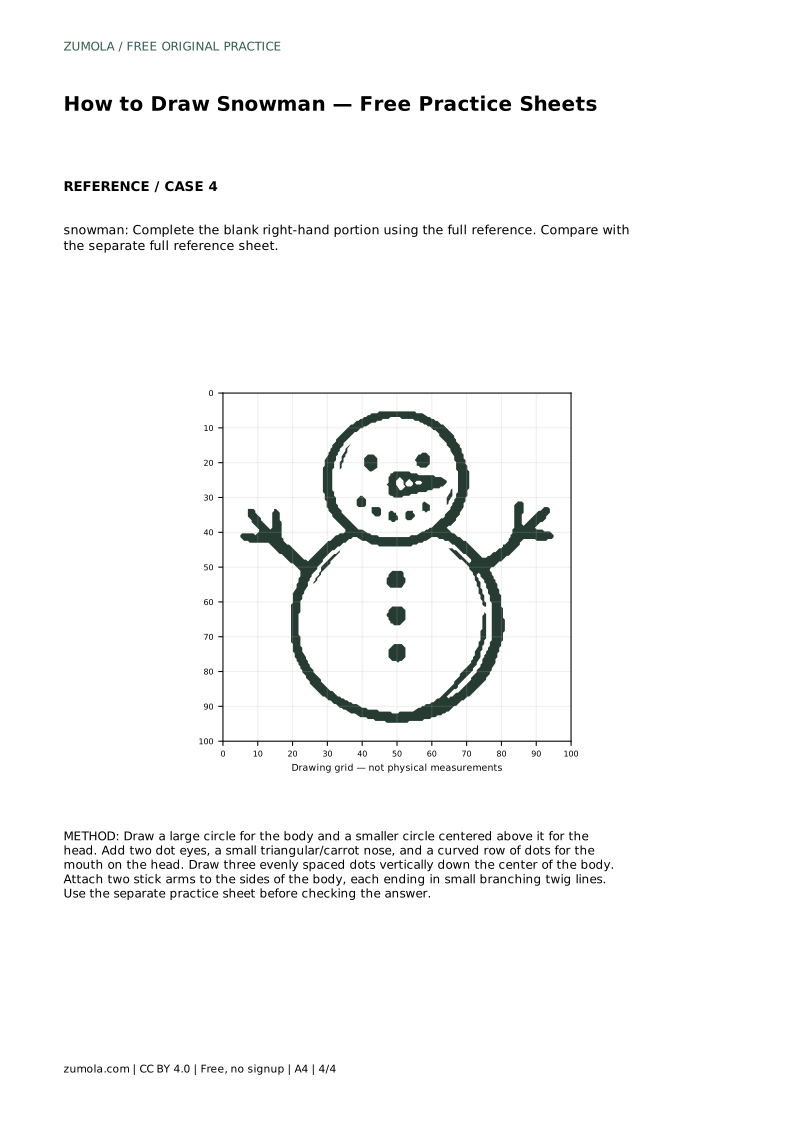
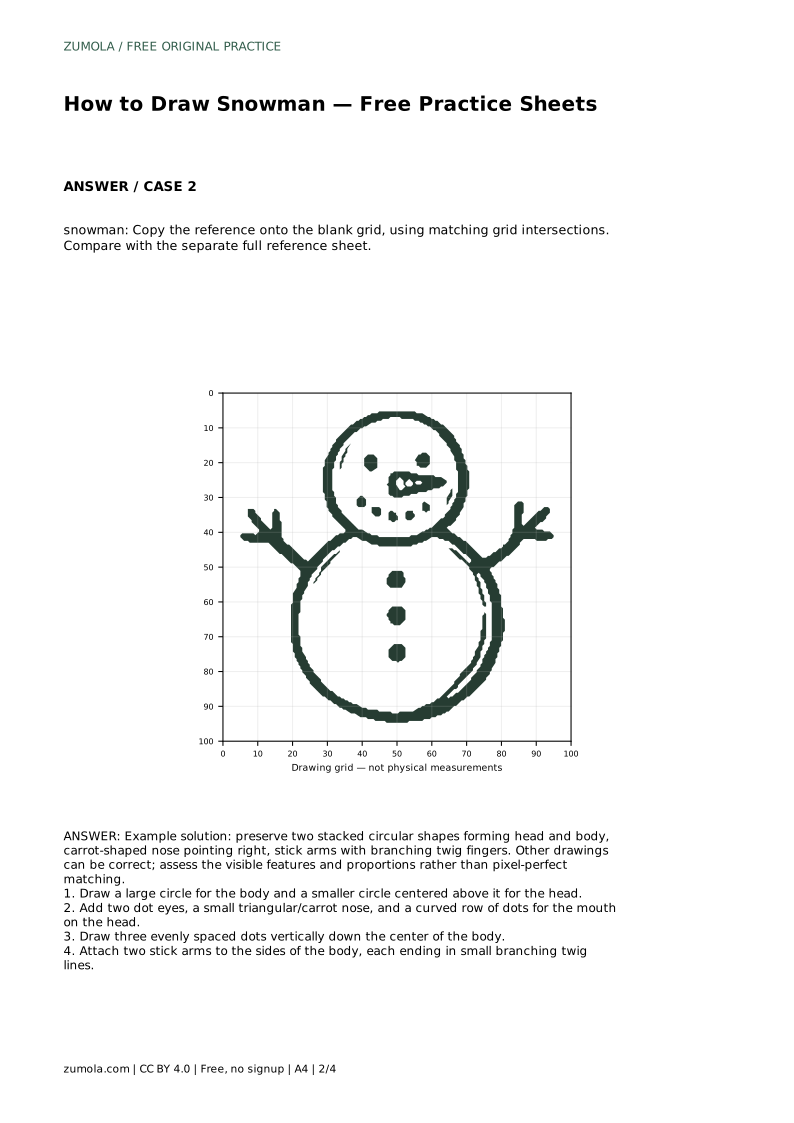
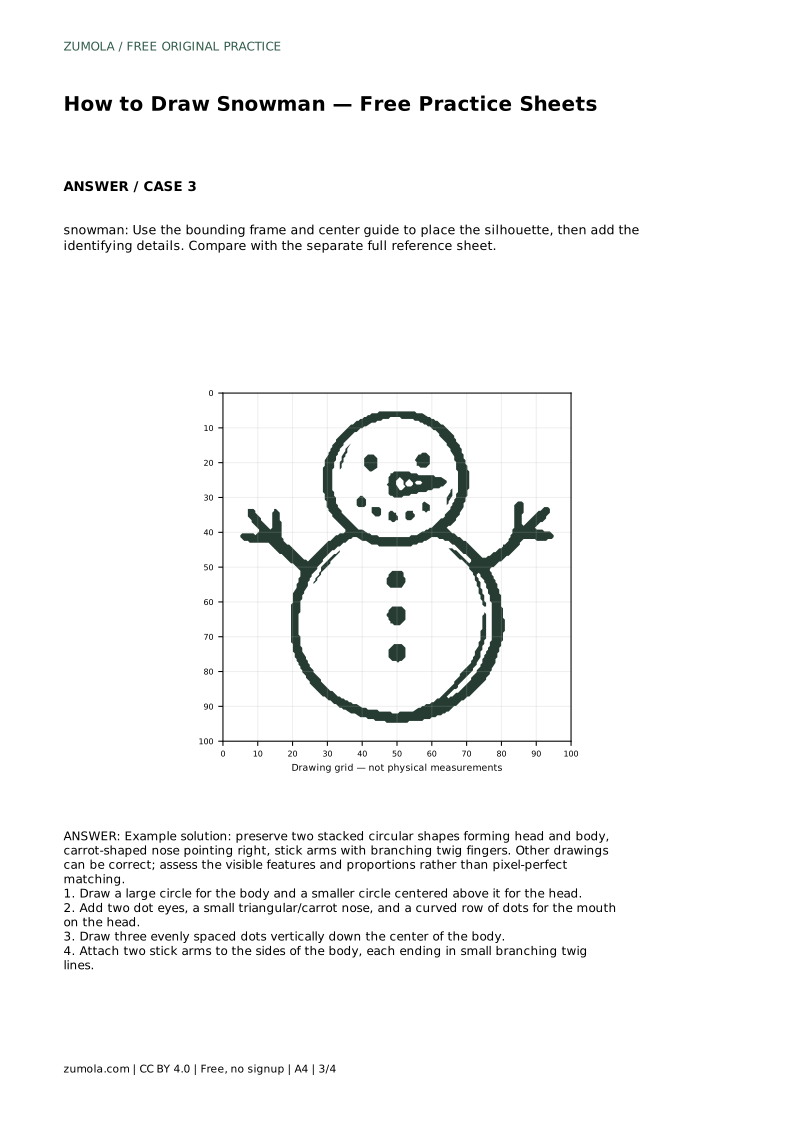
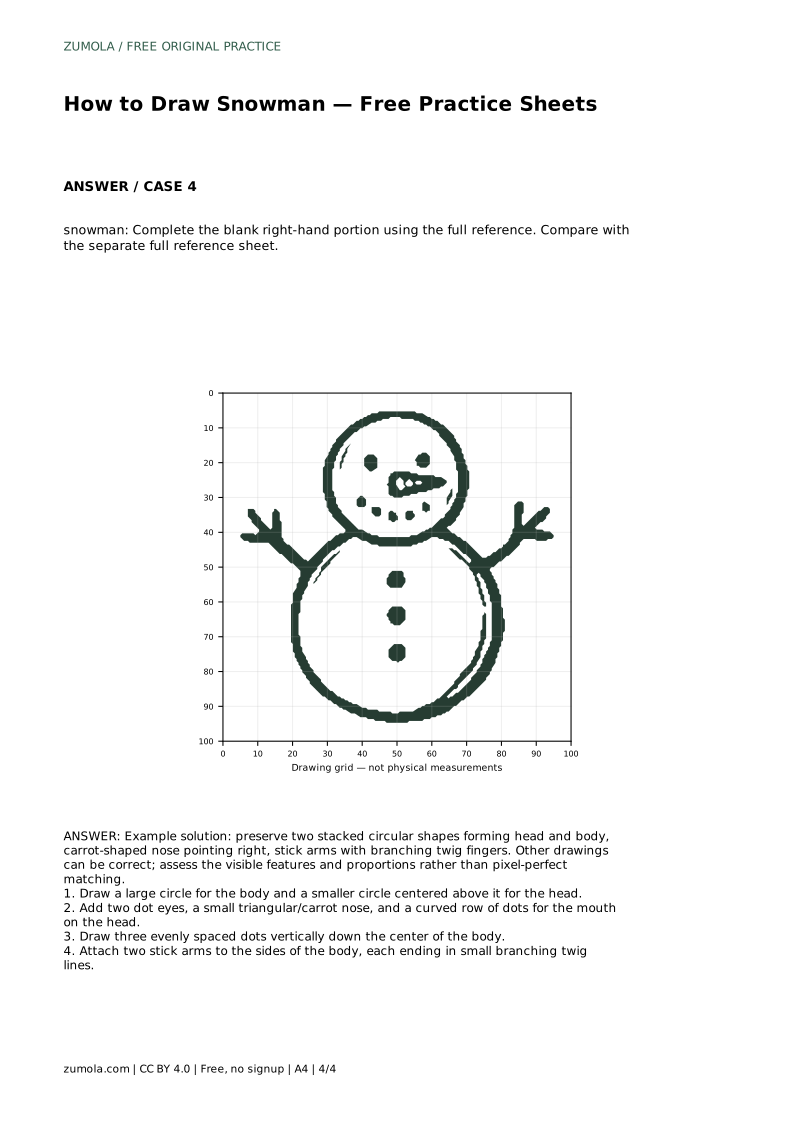
Example solution: preserve two stacked circular shapes forming head and body, carrot-shaped nose pointing right, stick arms with branching twig fingers. Other drawings can be correct; assess the visible features and proportions rather than pixel-perfect matching. Draw a large circle for the body and a smaller circle centered above it for the head. Add two dot eyes, a small triangular/carrot nose, and a curved row of dots for the mouth on the head. Draw three evenly spaced dots vertically down the center of the body. Attach two stick arms to the sides of the body, each ending in small branching twig lines.
No. Pointing right is a common choice, but pointing left is equally valid. What matters is that the nose is a small triangular or carrot shape placed on the head.
Three evenly spaced dots down the center of the body is a clear, simple choice. Fewer or more can still look correct if they are aligned and evenly spaced.
Yes. Each format works independently. The grid sheet asks you to match grid intersections, so study the full reference before starting.
All drawing practice · Free coordinate paper
Original resources · CC BY 4.0 · Free for personal and classroom use with attribution.