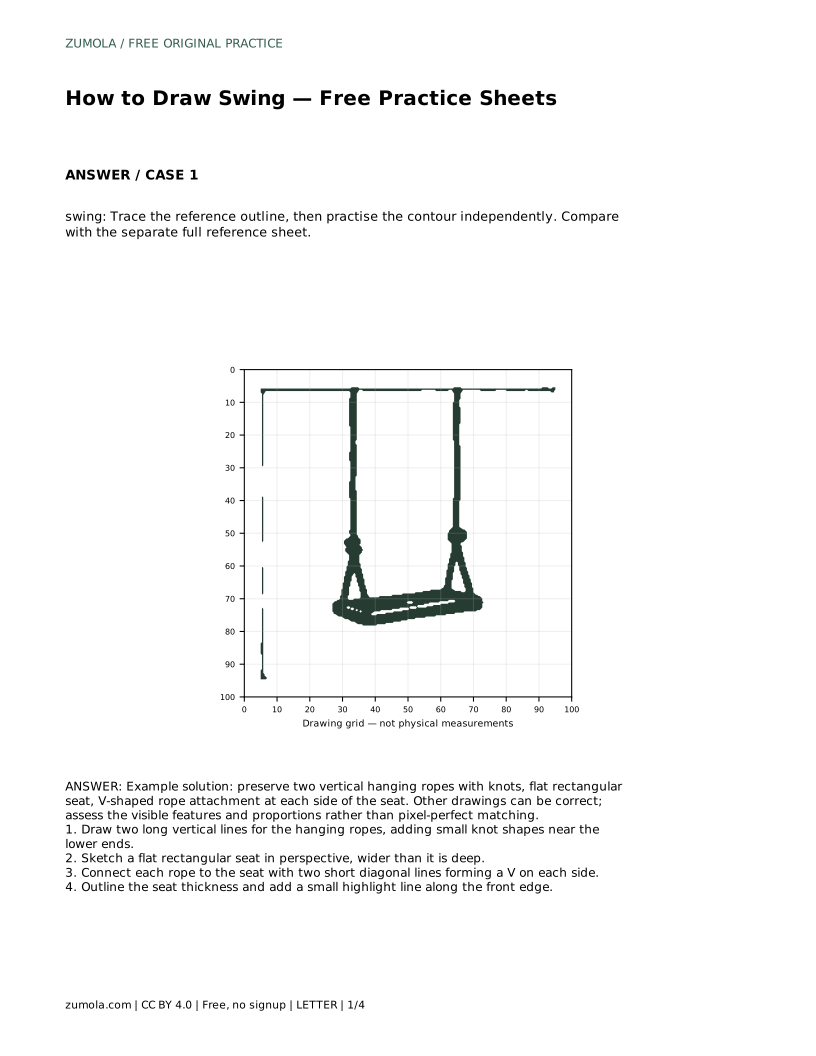
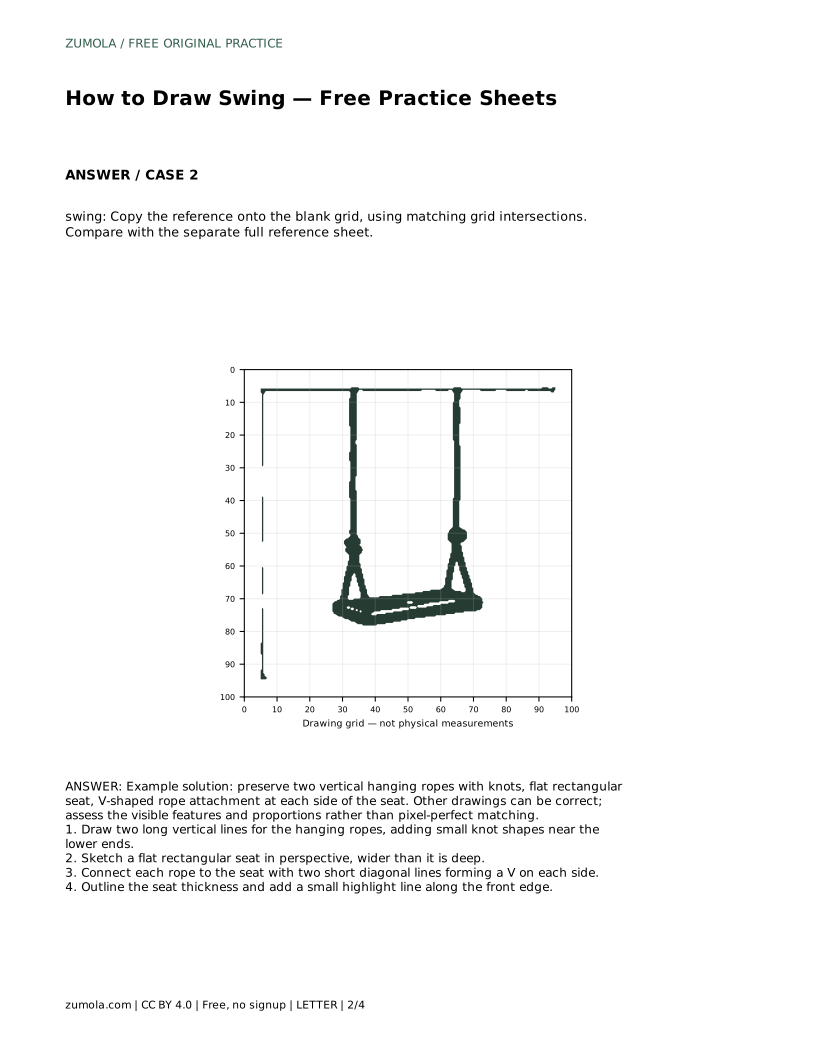
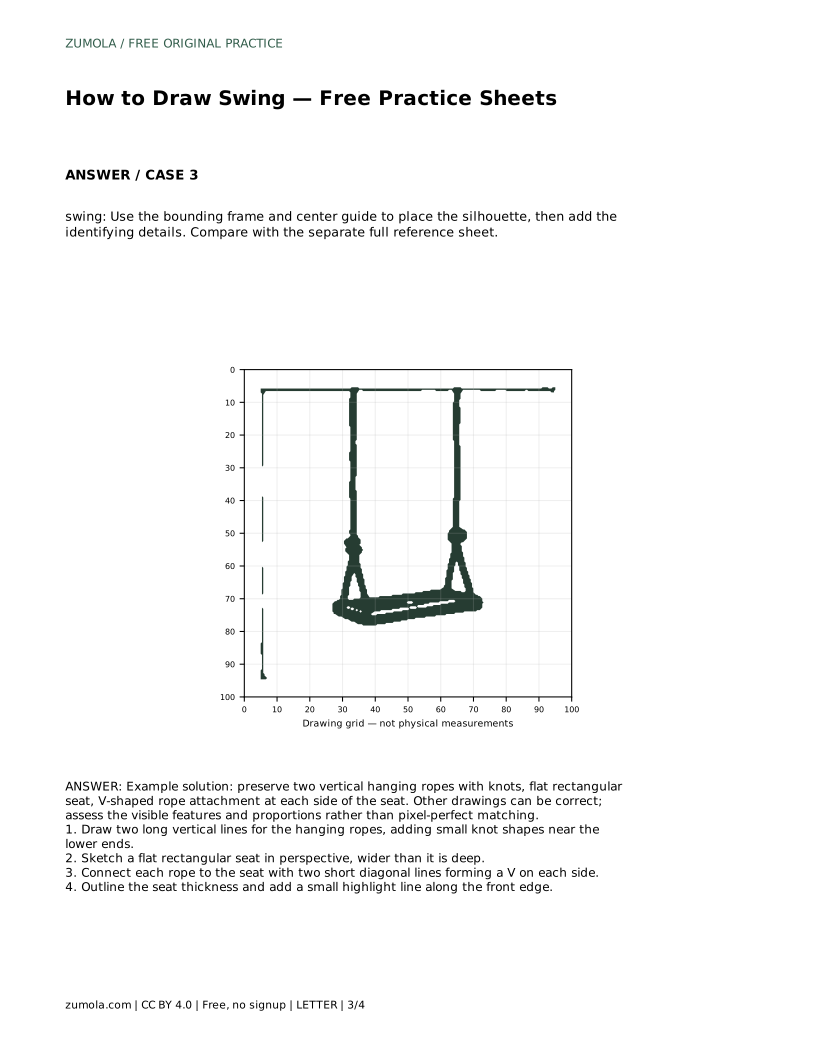
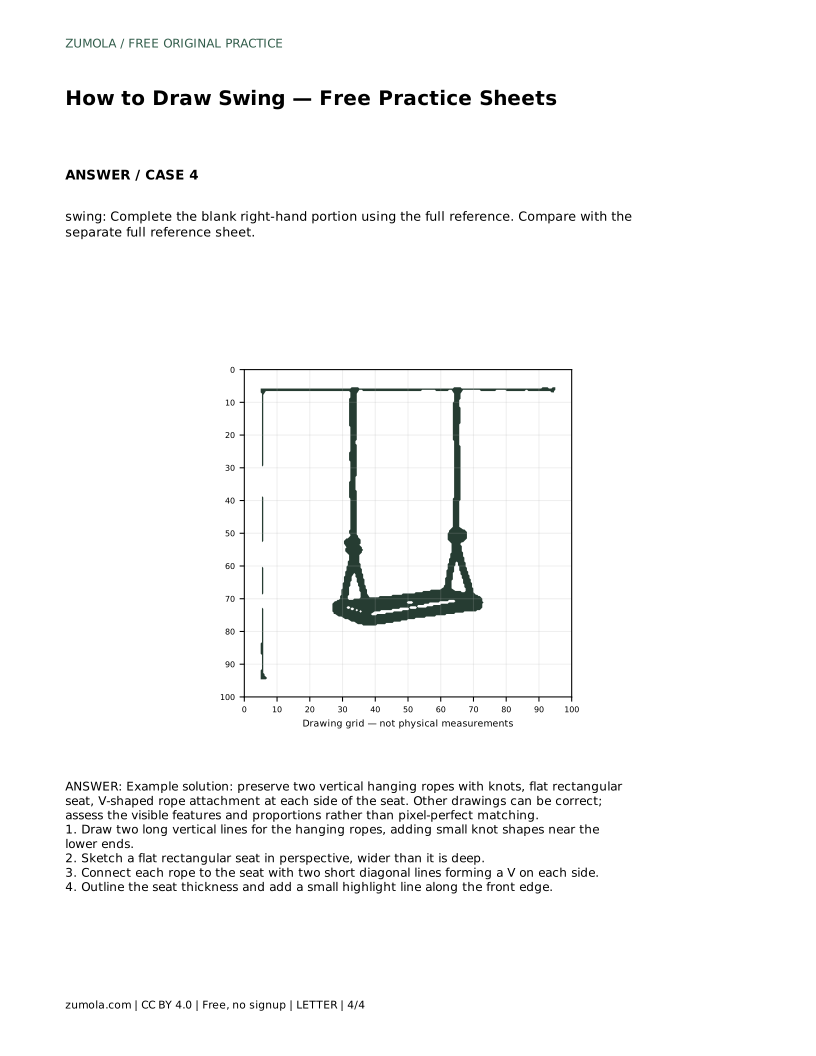
Reference diagrams
LETTER · Download PDF
A4 · Download PDF
Free original resources
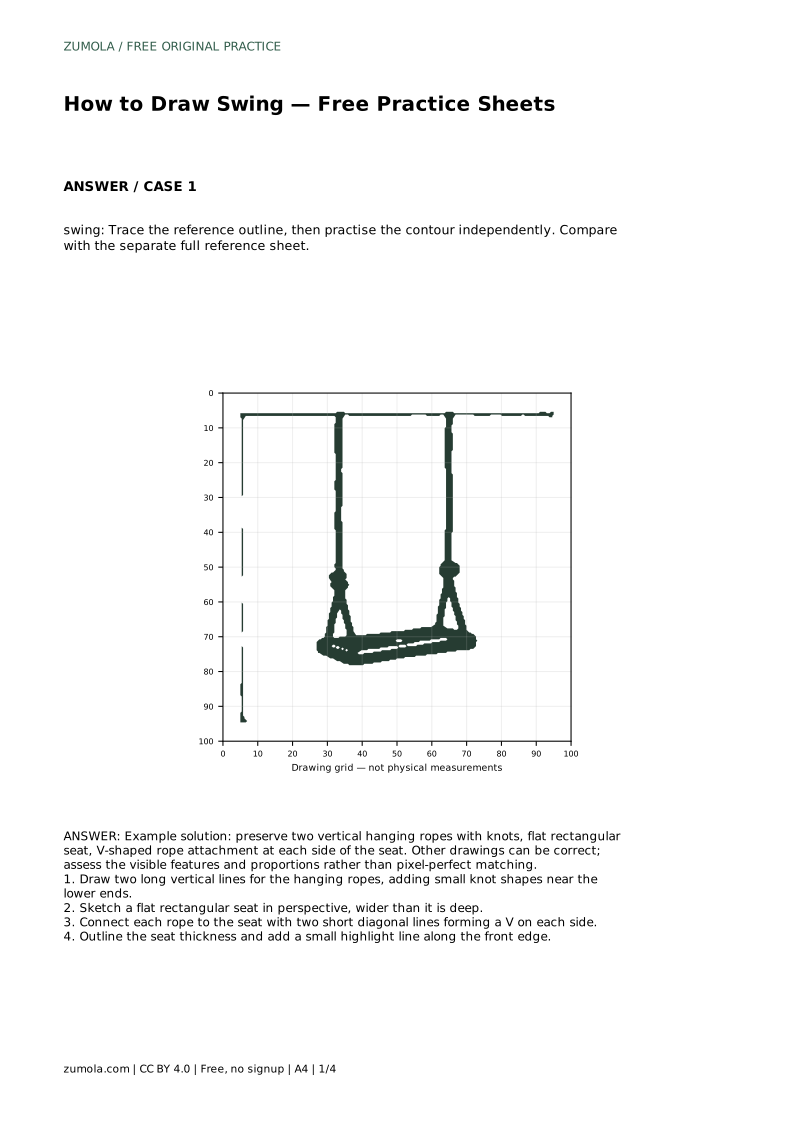
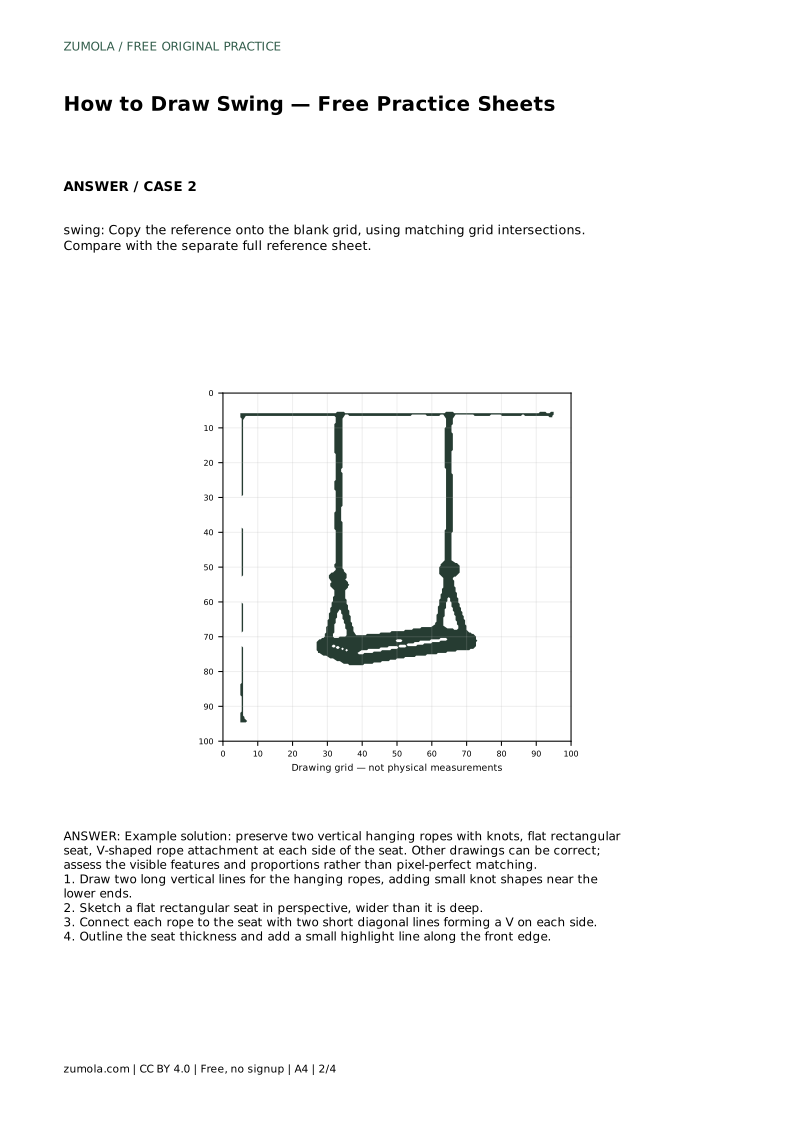
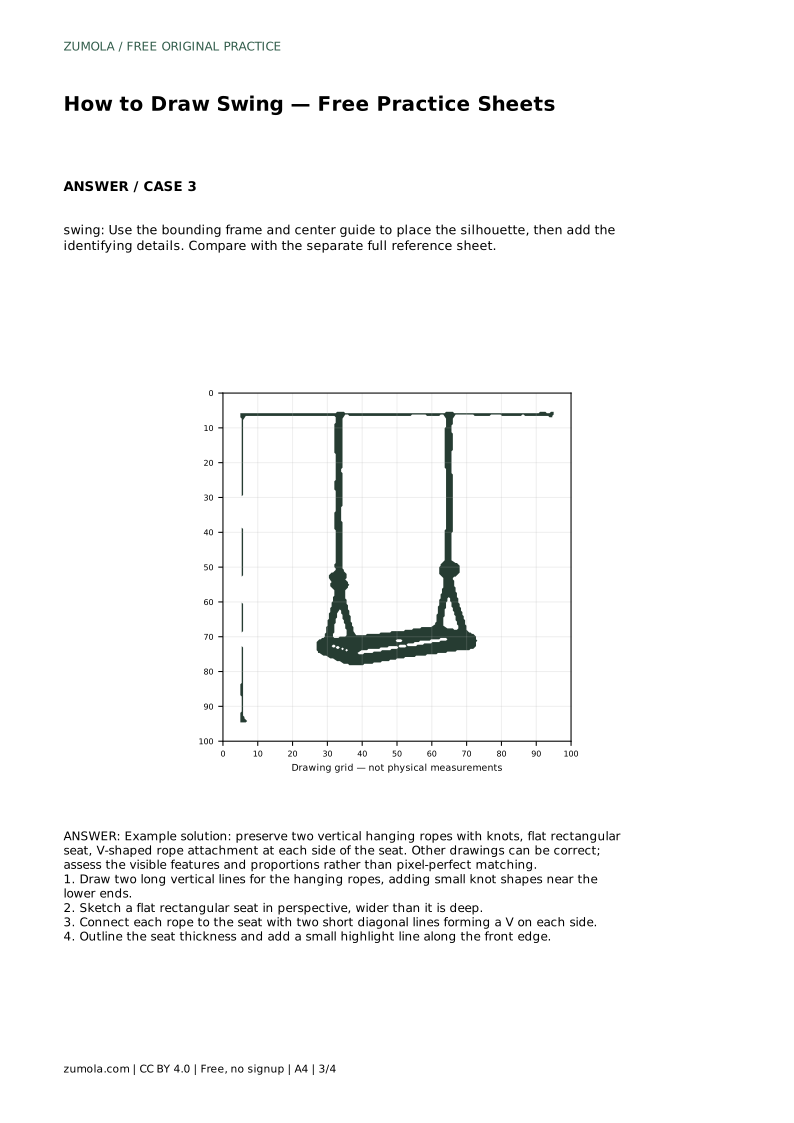
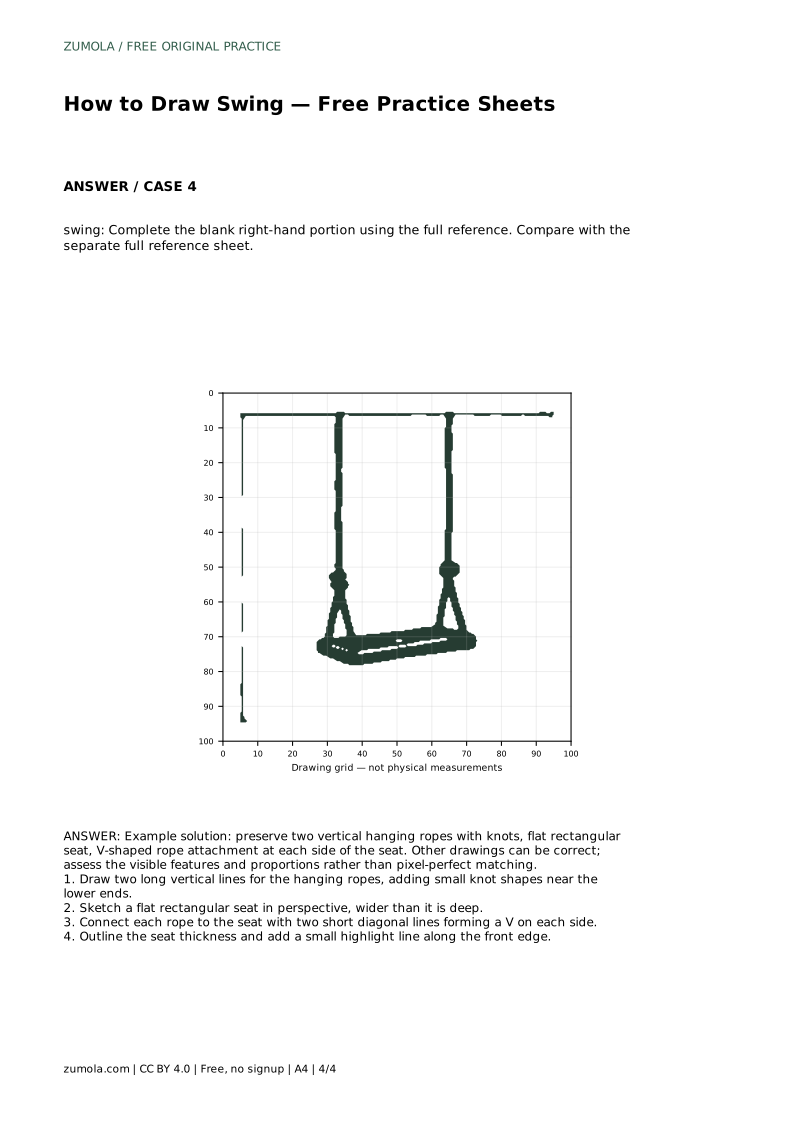
Learn to draw a swing by placing two vertical ropes, a flat rectangular seat in perspective, and V-shaped rope attachments. Includes a worked example and rubric.
Four original cases, with reference diagrams, practice sheets and worked answers. Everything is free; no signup required.
LETTER · Download PDF
A4 · Download PDF
LETTER · Download PDF
A4 · Download PDF
LETTER · Download PDF
A4 · Download PDF
Use A4 or US Letter to match your printer. Use the stated values and conditions to solve each exercise; diagrams are not physical measuring rulers.
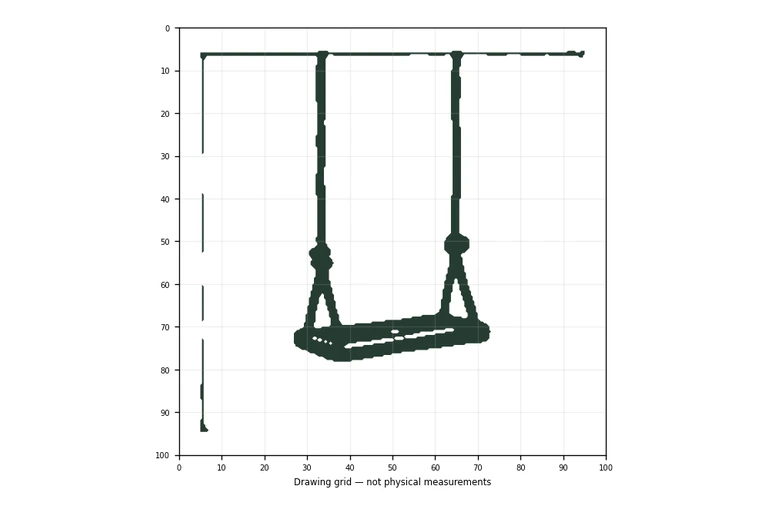
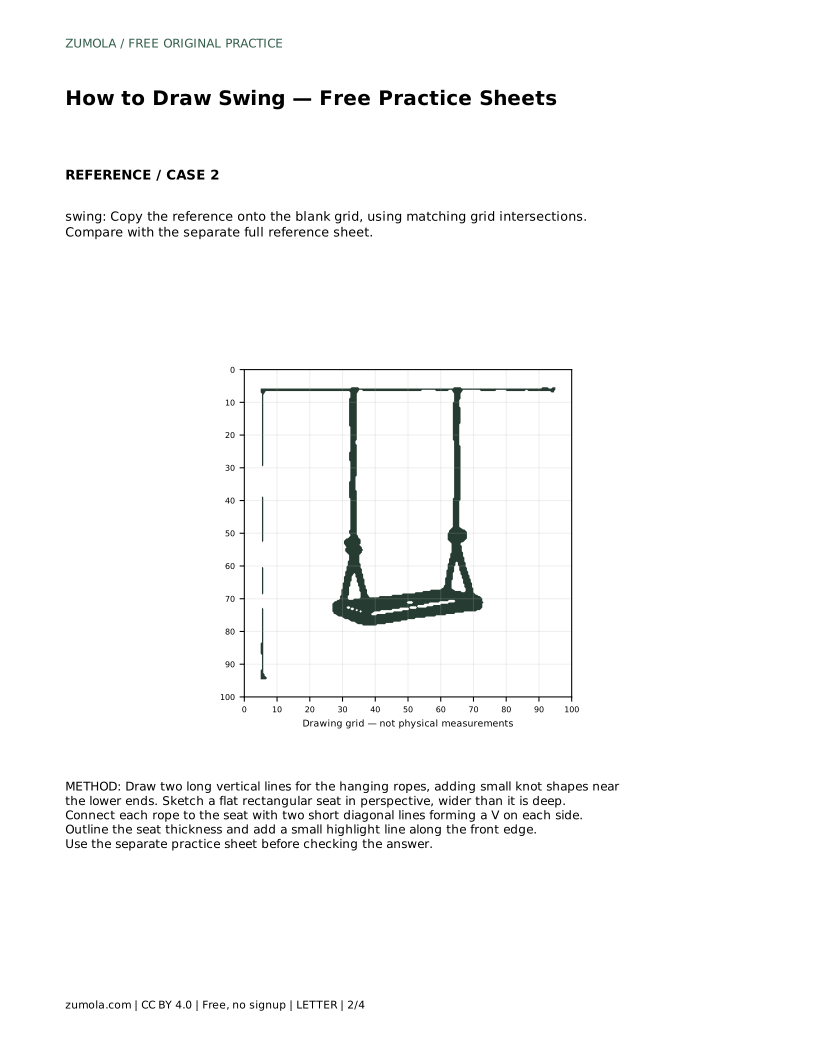
A drawing of a swing depends on a few clear parts working together: two long hanging ropes, a flat seat that reads as wider than it is deep, and a V-shaped connection where each rope meets the seat. This page explains how to build those parts in order, then how to check your drawing against a reference sheet. Because art has many valid outcomes, you will assess visible features and proportions rather than aiming for a pixel-perfect copy.
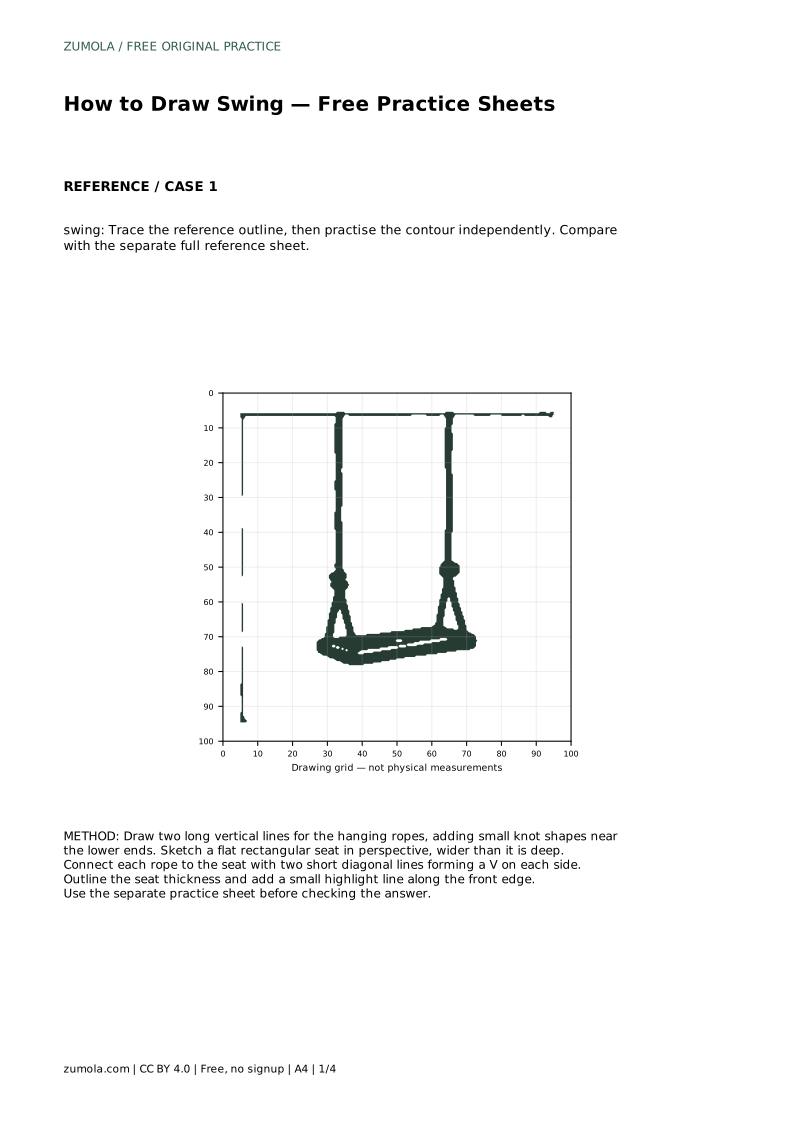
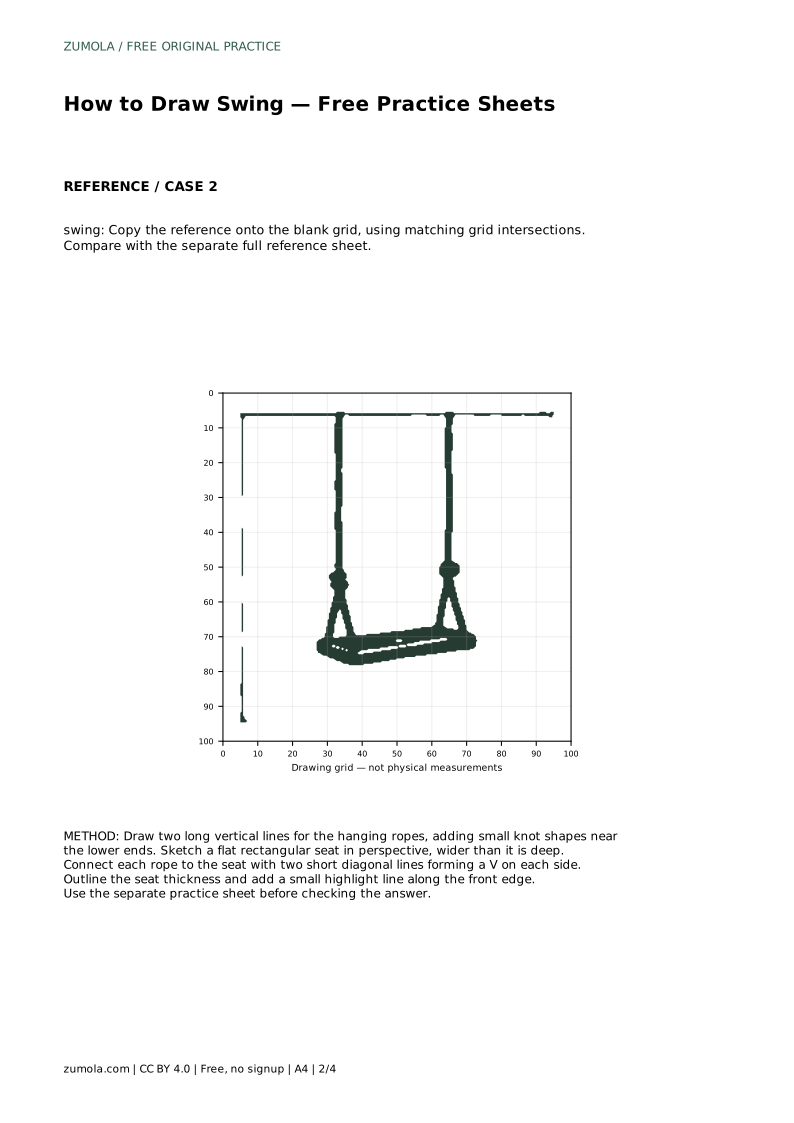
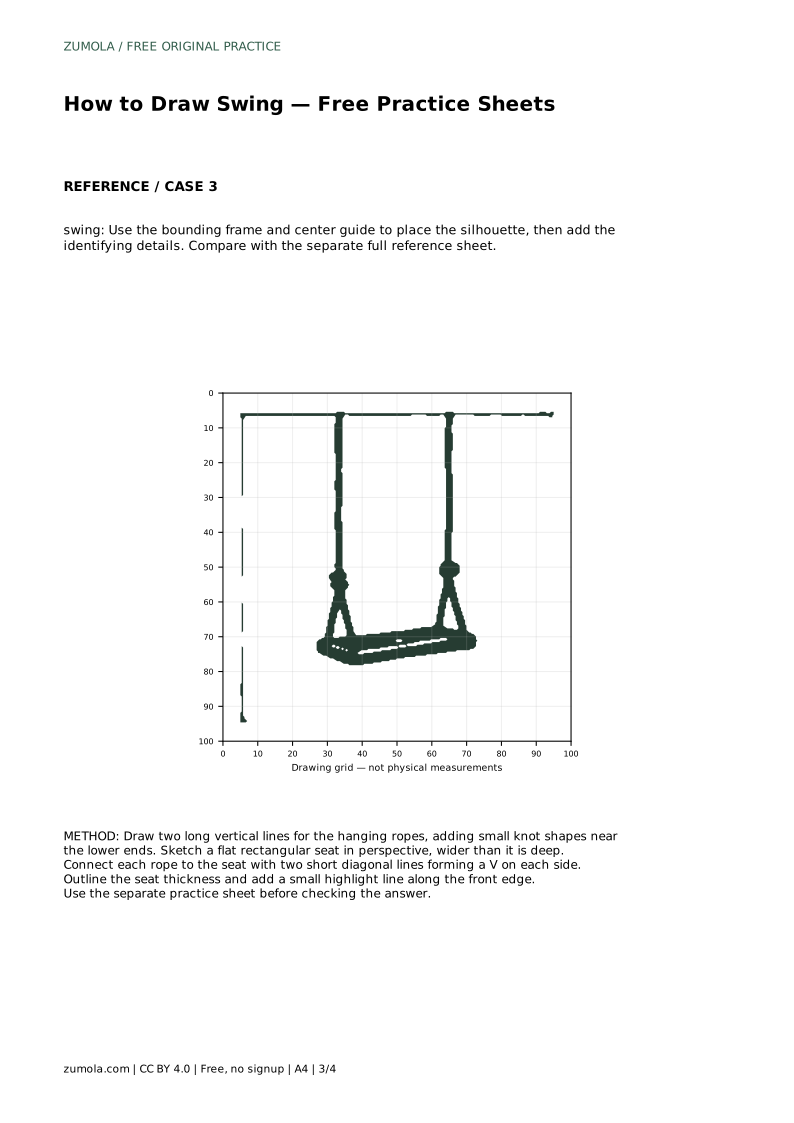
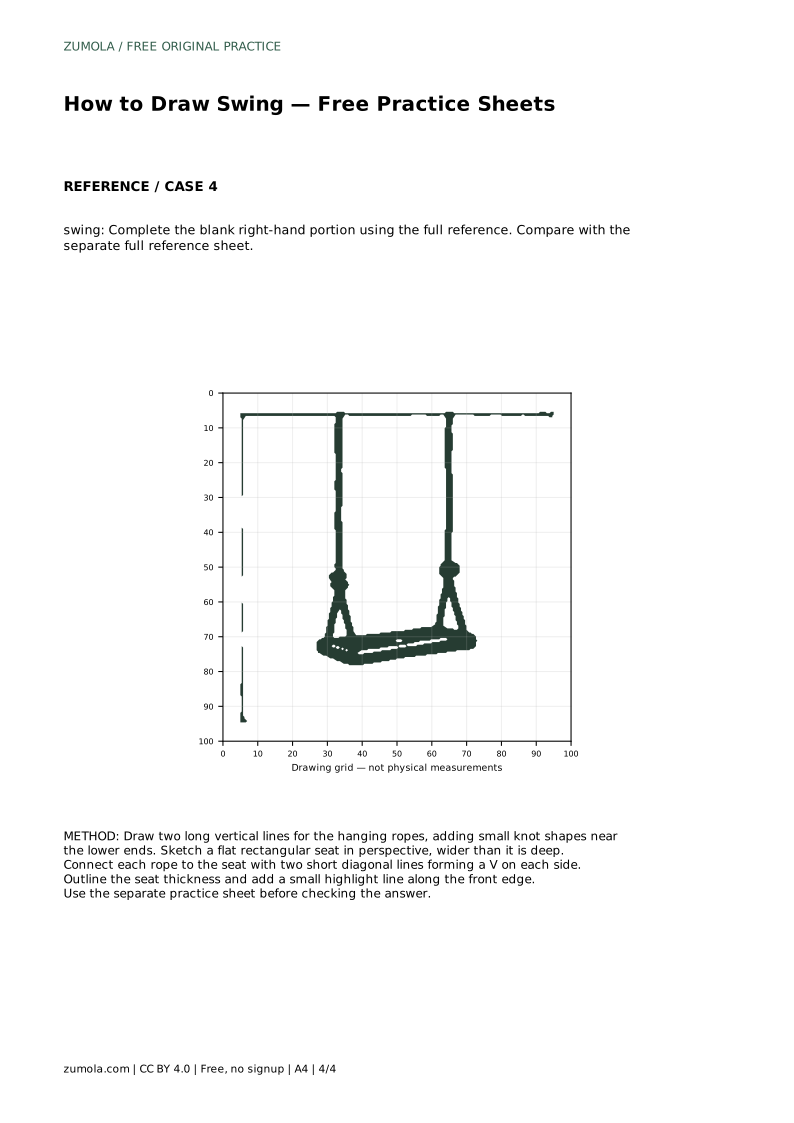
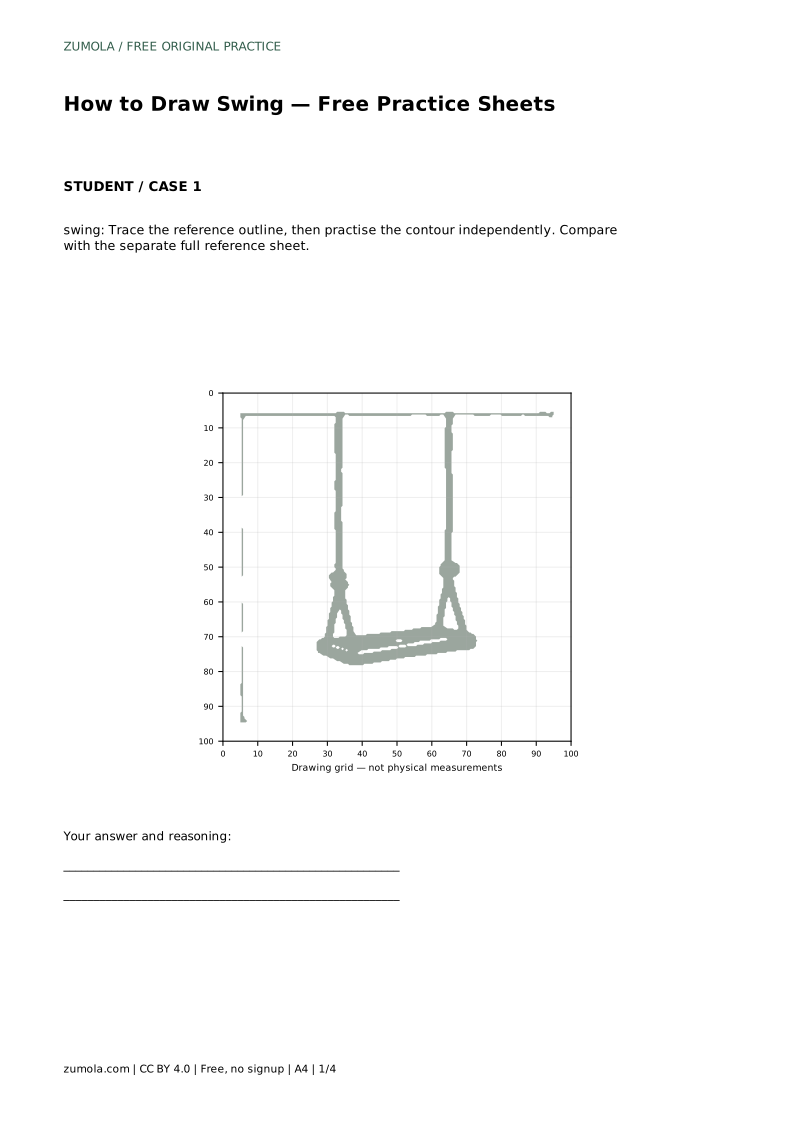
Start with the two hanging ropes, because they set the swing's height and spacing. Draw them as long vertical lines, keeping them roughly parallel so the swing looks balanced. Near the lower ends, add small knot shapes; these mark where the rope gathers before attaching to the seat.
Next, sketch the seat as a flat rectangle in perspective. Make it clearly wider than it is deep, so the seat reads as a surface someone could sit on rather than a thin strip. Then connect each rope to the seat with two short diagonal lines forming a V on each side. Finish by outlining the seat thickness and adding a small highlight line along the front edge.
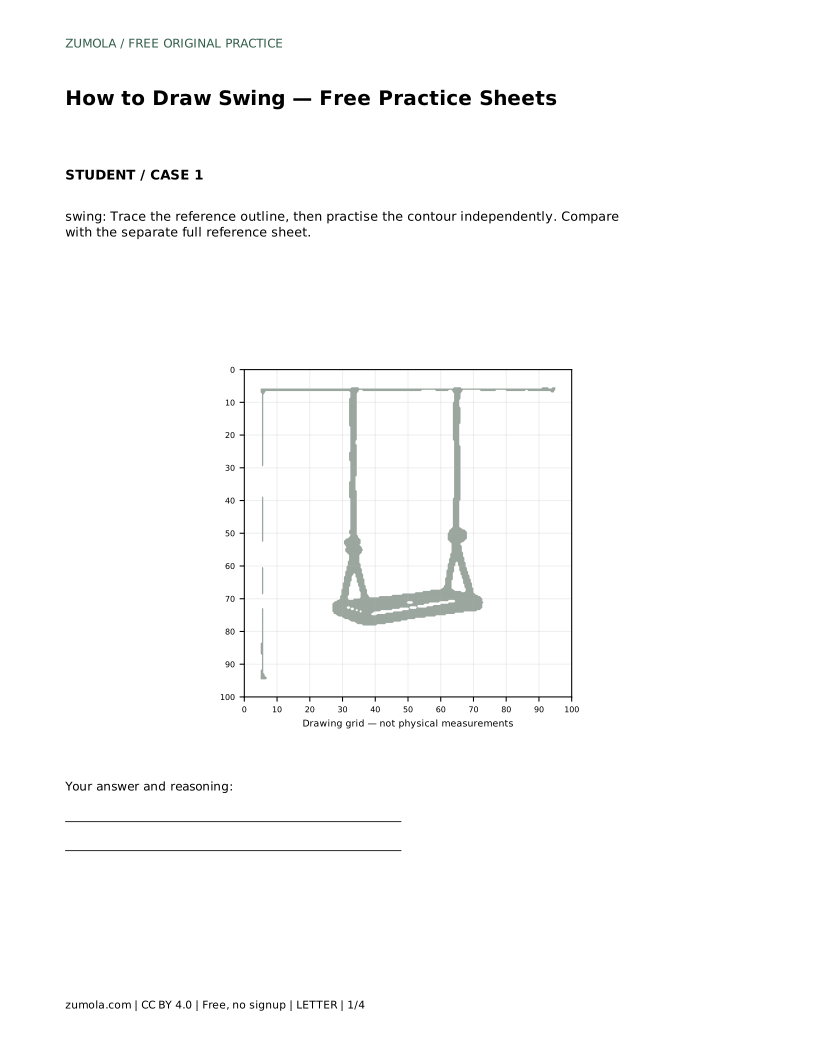
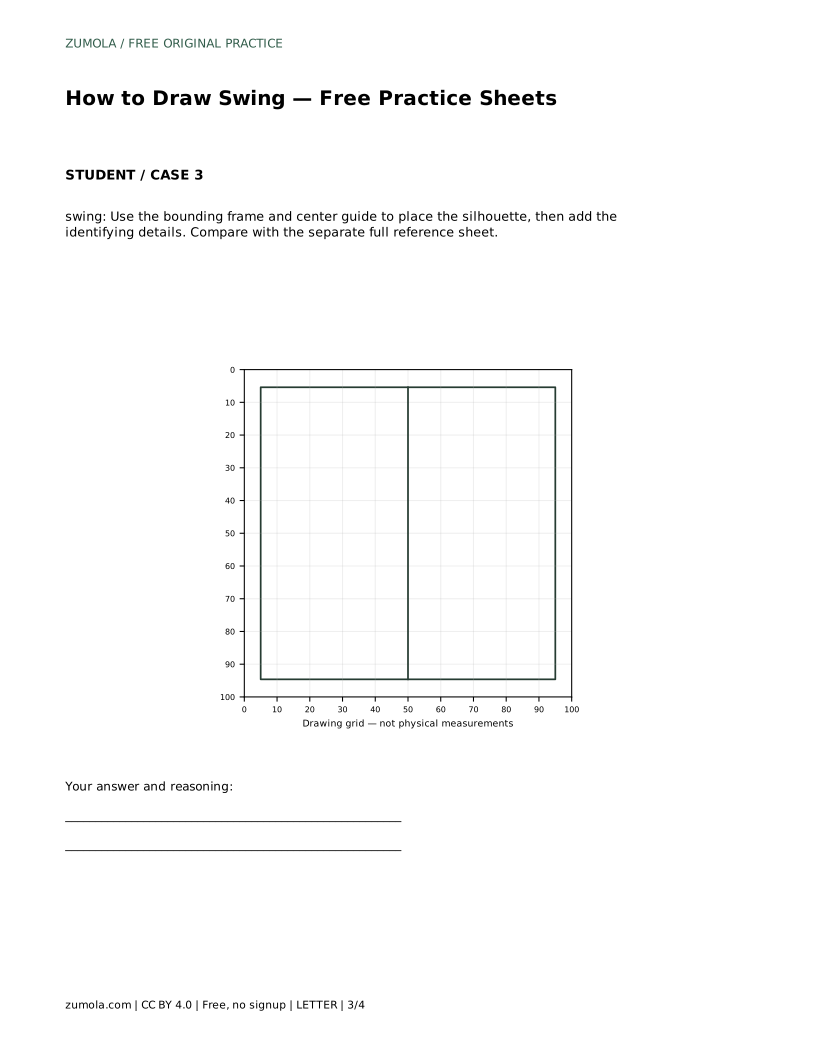
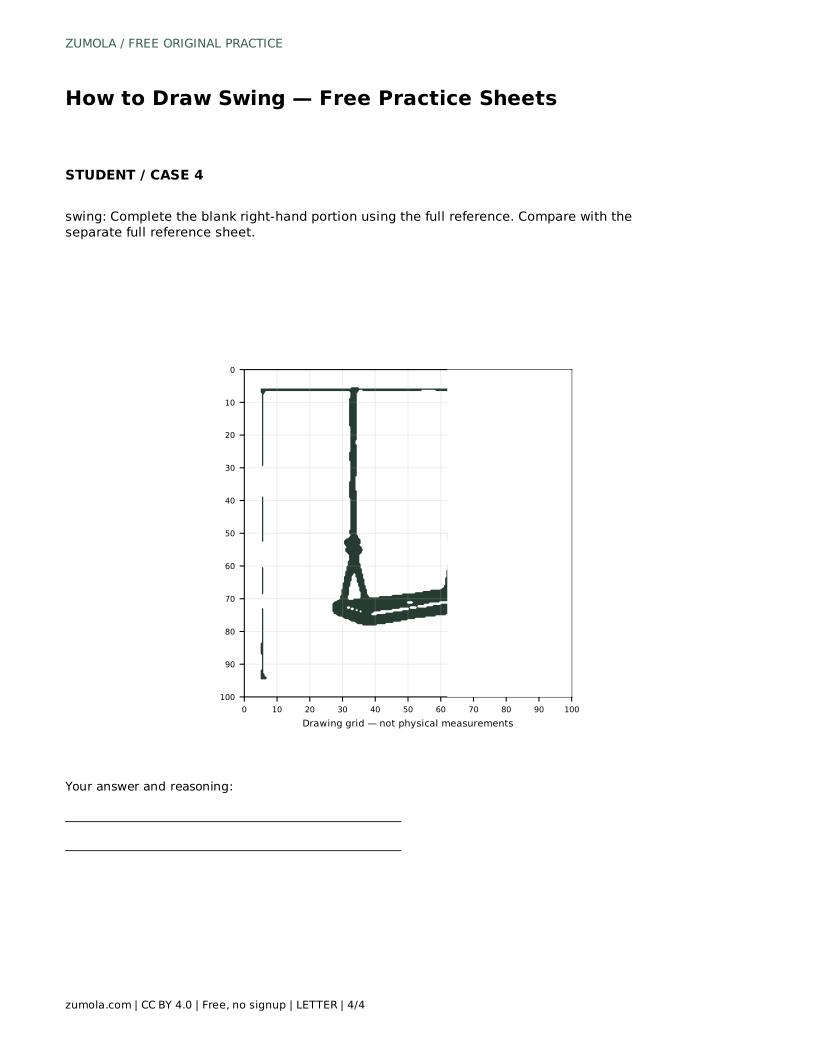
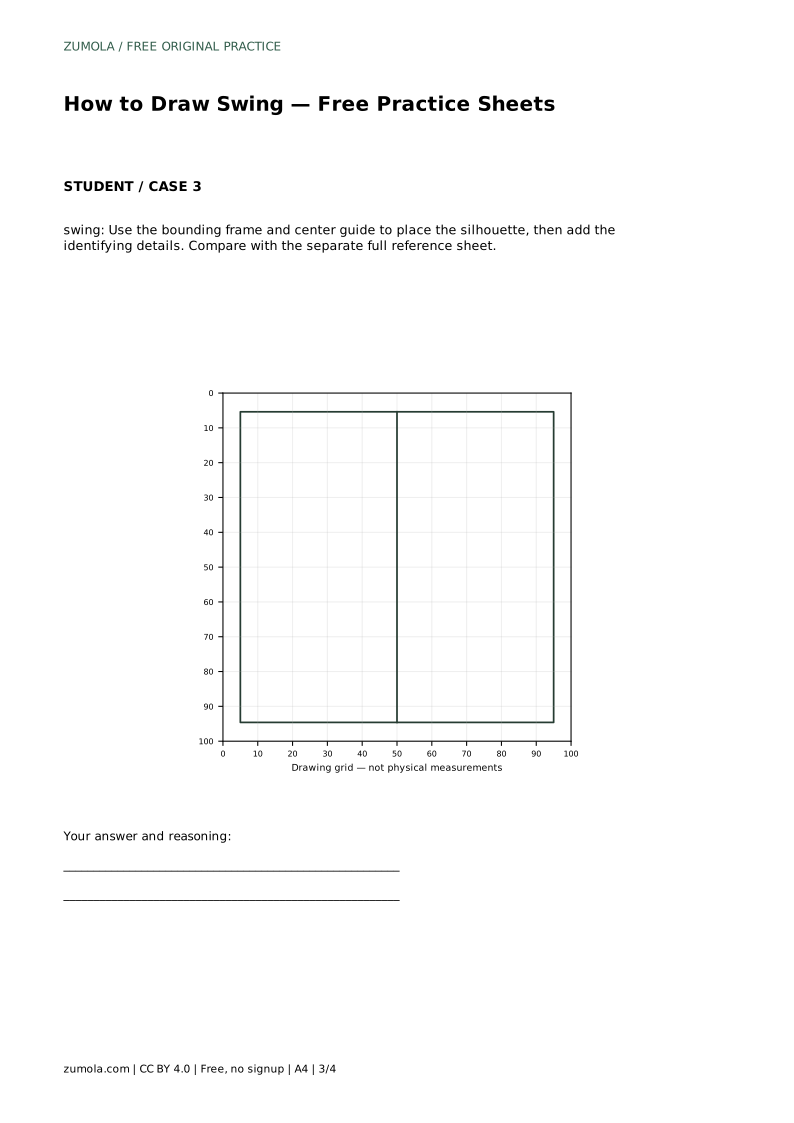
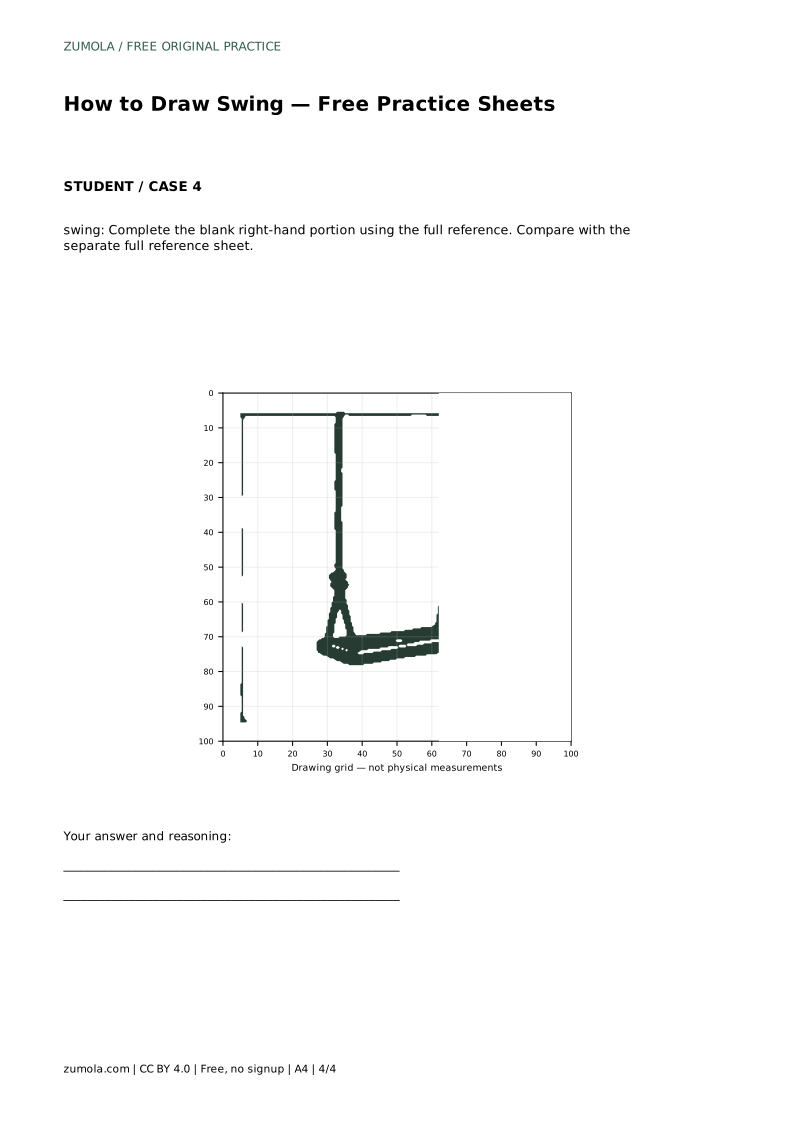
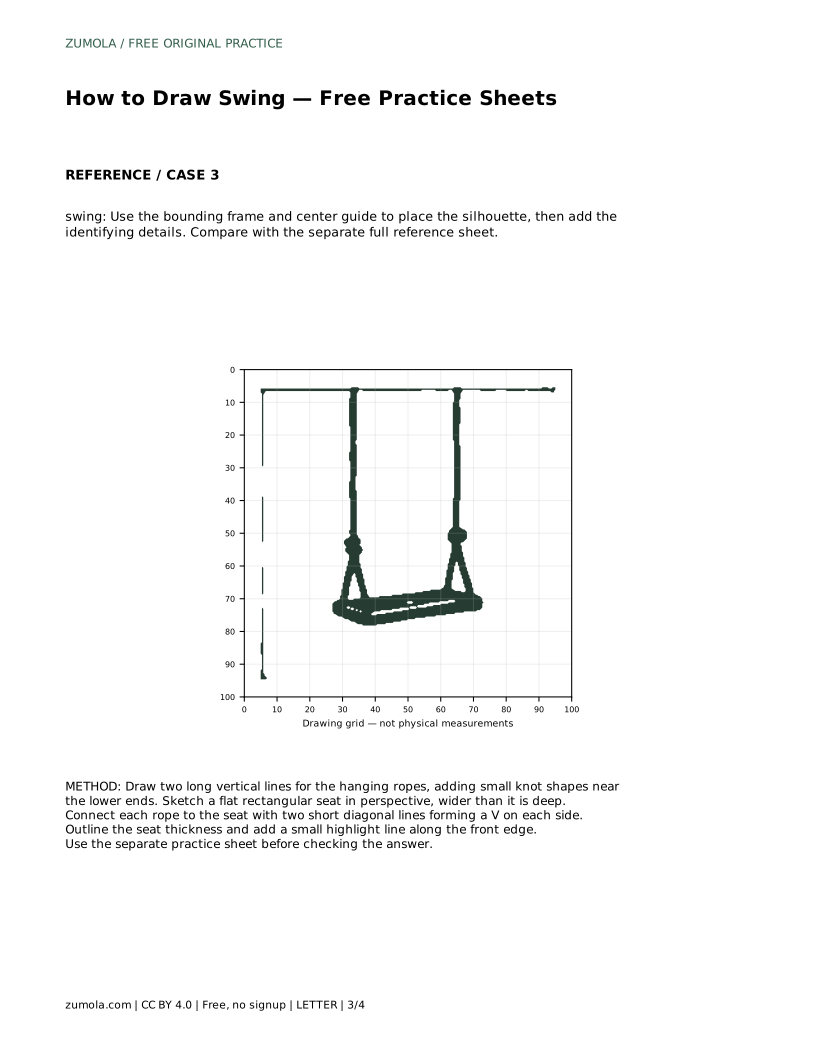
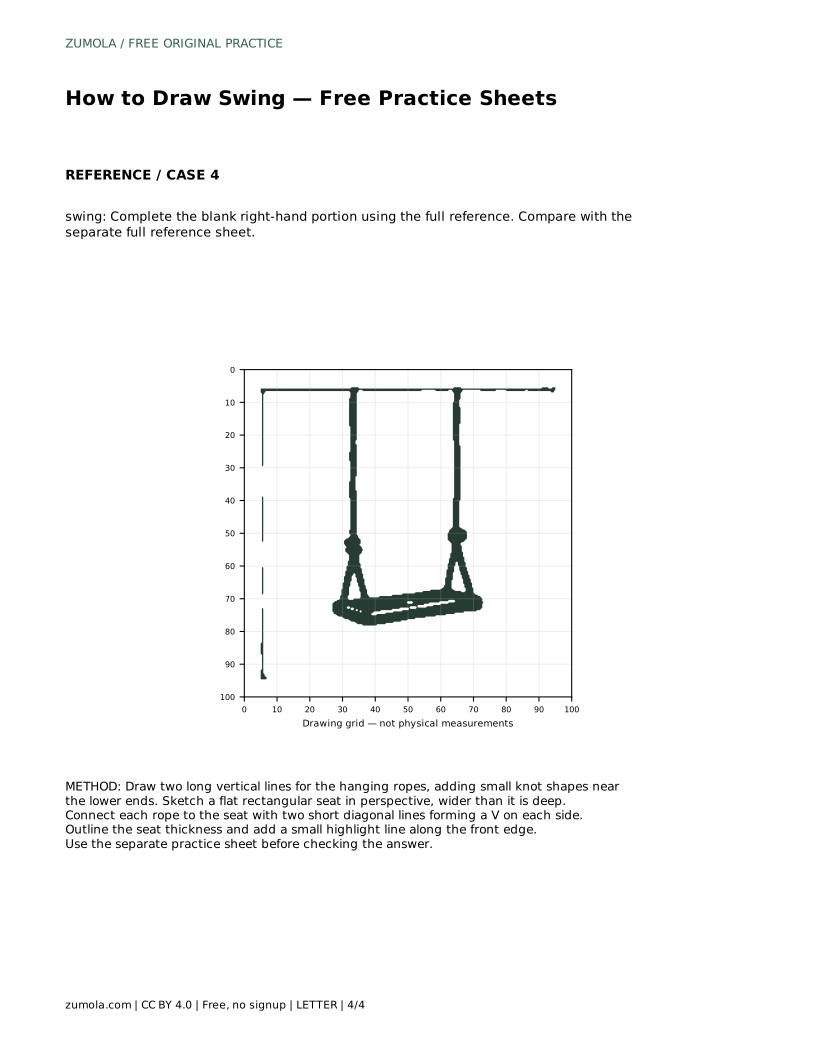
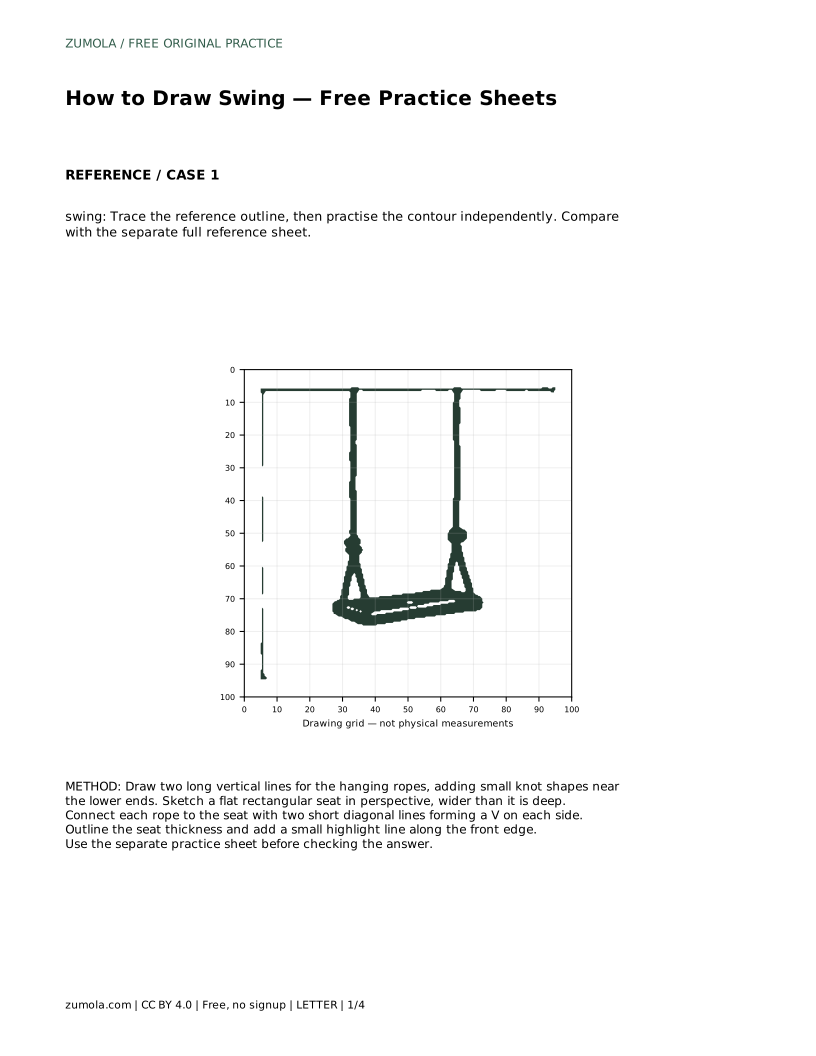
The tracing format asks you to follow the reference outline first, then practise the contour independently on blank space. The grid format asks you to copy the reference onto a blank grid, matching grid intersections so the ropes, seat, and V-attachments land in comparable positions. The bounding-frame format uses a frame and center guide to place the silhouette before you add identifying details. The partial-reference format gives you the full reference while you complete the blank right-hand portion.
In every format, compare your finished drawing with the separate full reference sheet. Check the features named above rather than chasing an exact match, since several correct drawings can show the same swing with slightly different proportions.
A useful check is to ask whether a viewer could identify the object as a swing without a label. Two vertical ropes, a flat seat, and V-shaped attachments at each side are the identifying features. Proportions matter too: ropes that are too short or a seat that looks square can weaken the reading.
Use the rubric below to review your work. It describes visible qualities you can confirm by looking at your drawing, not a single correct answer.
Most problems come from skipping the order: drawing the seat first often leads to ropes that do not line up with its corners. Drawing the ropes first, then placing the seat between them, keeps the structure consistent. If the V-attachments look uneven, redraw the two short diagonal lines on each side so they meet the seat edge at matching points.
swing: Trace the reference outline, then practise the contour independently. Compare with the separate full reference sheet.
Example solution: preserve two vertical hanging ropes with knots, flat rectangular seat, V-shaped rope attachment at each side of the seat. Other drawings can be correct; assess the visible features and proportions rather than pixel-perfect matching. Draw two long vertical lines for the hanging ropes, adding small knot shapes near the lower ends. Sketch a flat rectangular seat in perspective, wider than it is deep. Connect each rope to the seat with two short diagonal lines forming a V on each side. Outline the seat thickness and add a small highlight line along the front edge.
No. Other drawings can be correct; assess the visible features and proportions rather than pixel-perfect matching.
Two vertical hanging ropes with knots, a flat rectangular seat, and V-shaped rope attachments at each side of the seat.
Draw the two hanging ropes first, then place the seat between them, then add the V-attachments, seat thickness, and front-edge highlight.
All drawing practice · Free coordinate paper
Original resources · CC BY 4.0 · Free for personal and classroom use with attribution.