Reference diagrams
LETTER · Download PDF
A4 · Download PDF
Free original resources
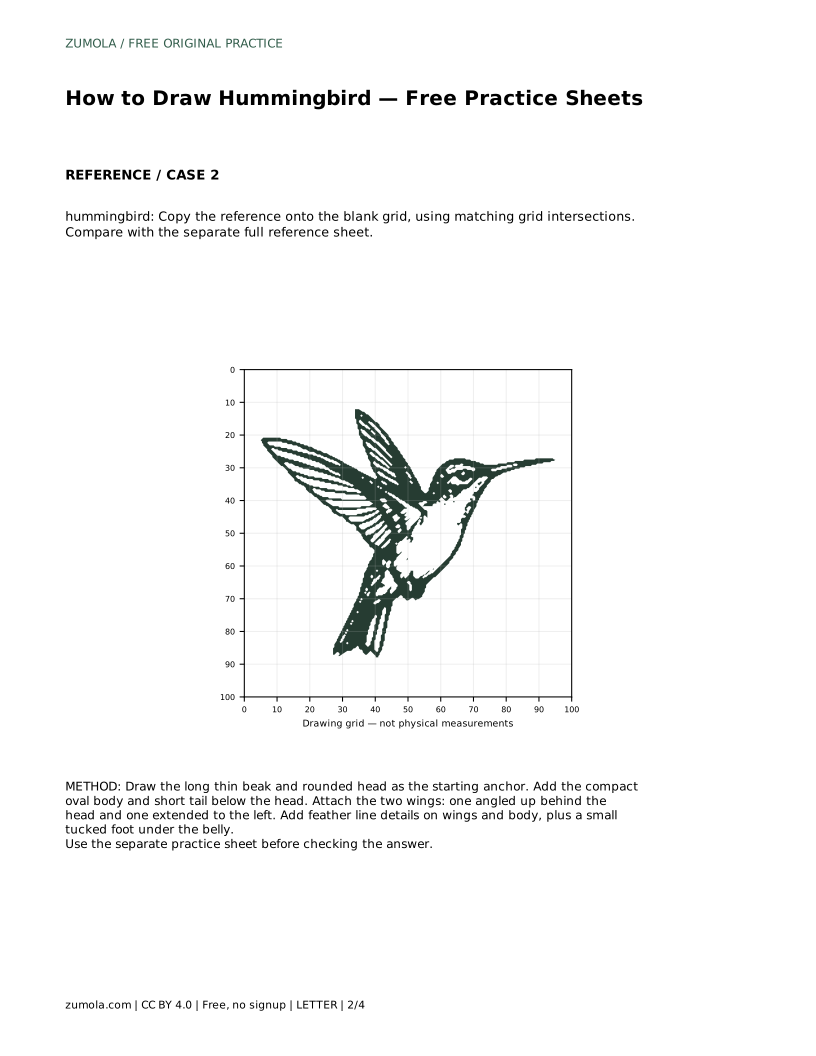
Learn to draw a hummingbird by tracing its outline, copying it on a grid, and completing a partial reference. Focus on the long beak, compact body, and two spread wings.
Four original cases, with reference diagrams, practice sheets and worked answers. Everything is free; no signup required.
LETTER · Download PDF
A4 · Download PDF
LETTER · Download PDF
A4 · Download PDF
LETTER · Download PDF
A4 · Download PDF
Use A4 or US Letter to match your printer. Use the stated values and conditions to solve each exercise; diagrams are not physical measuring rulers.
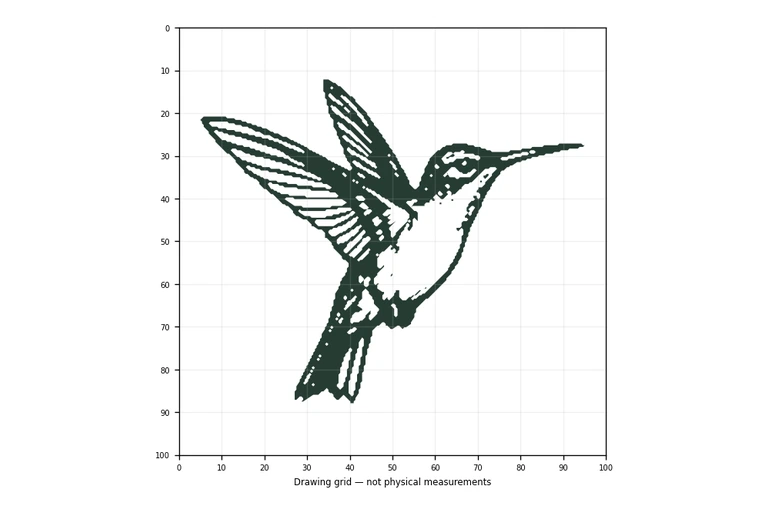
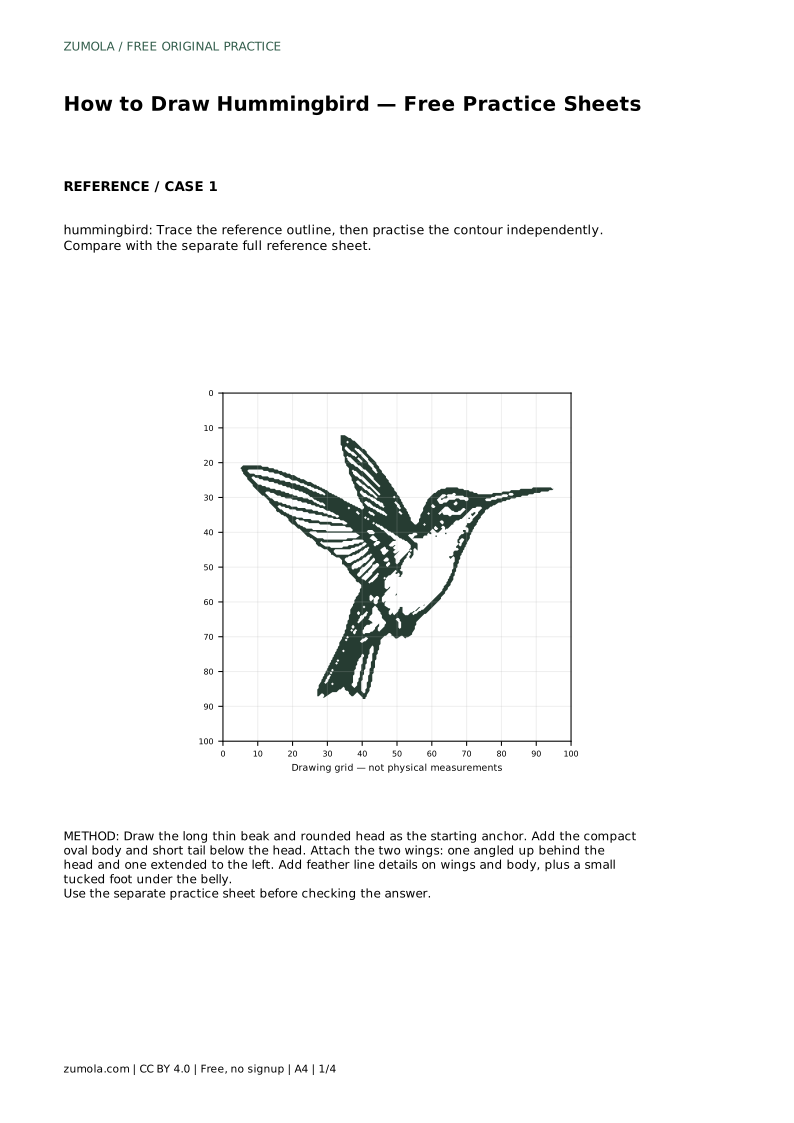
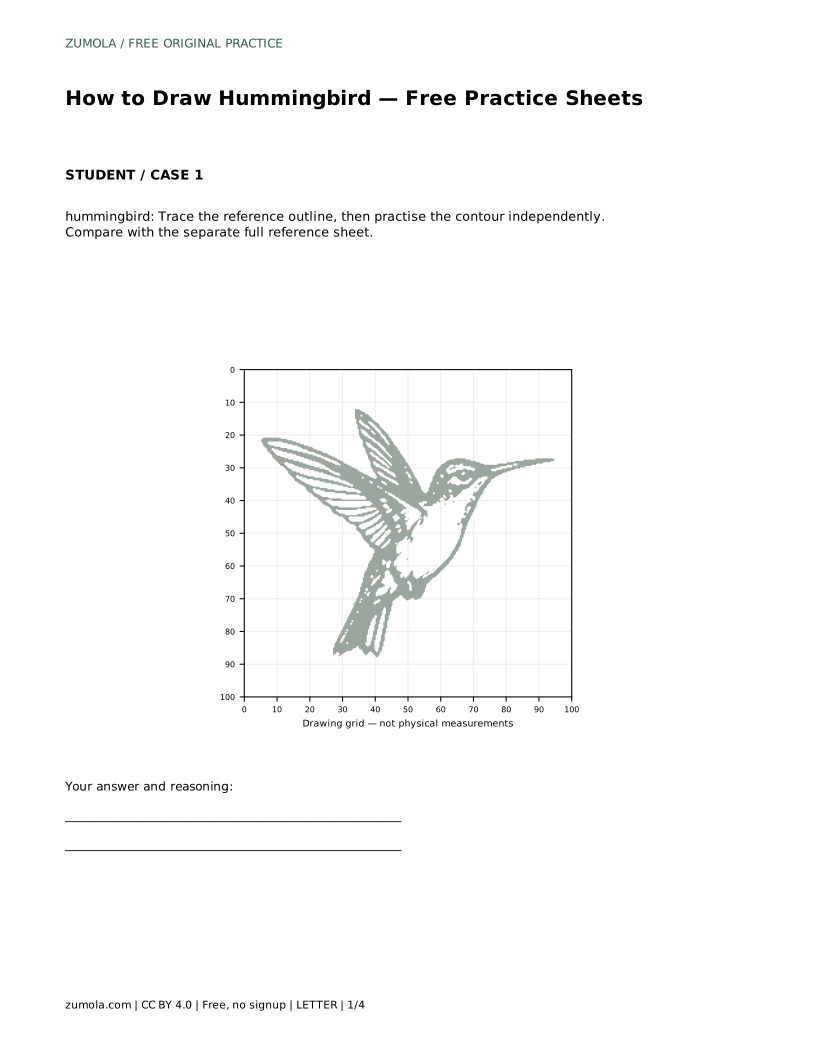
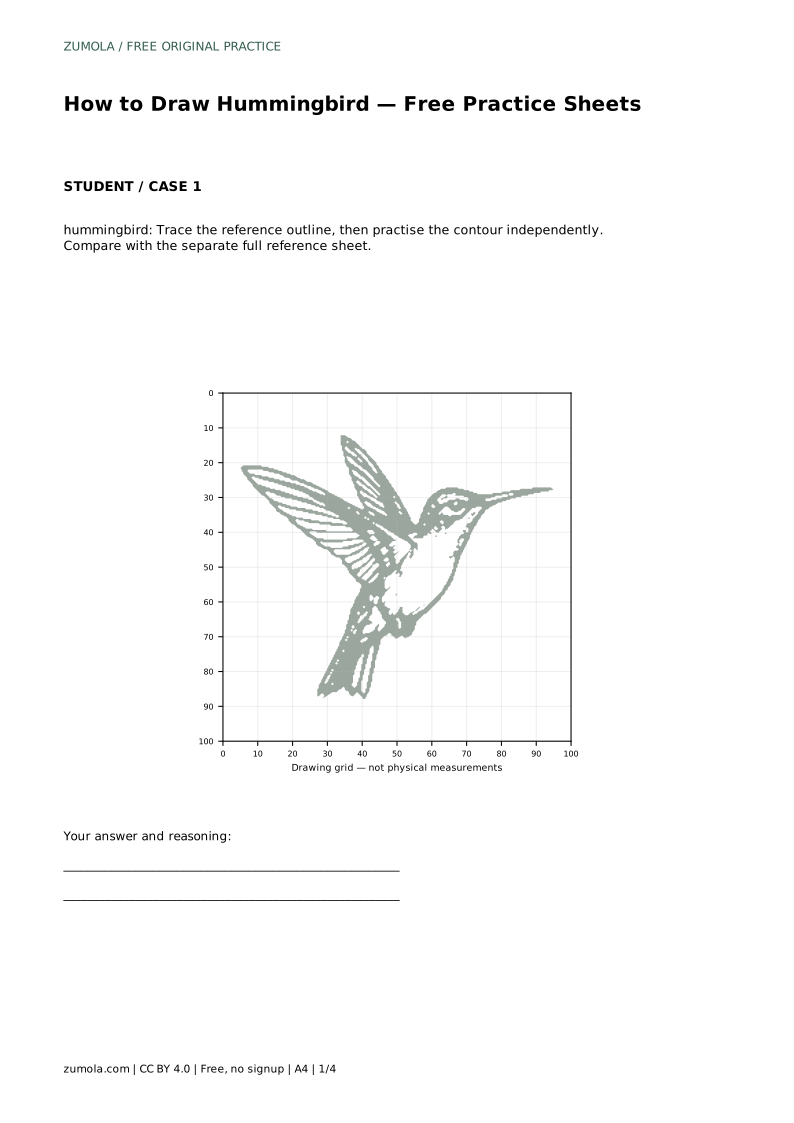
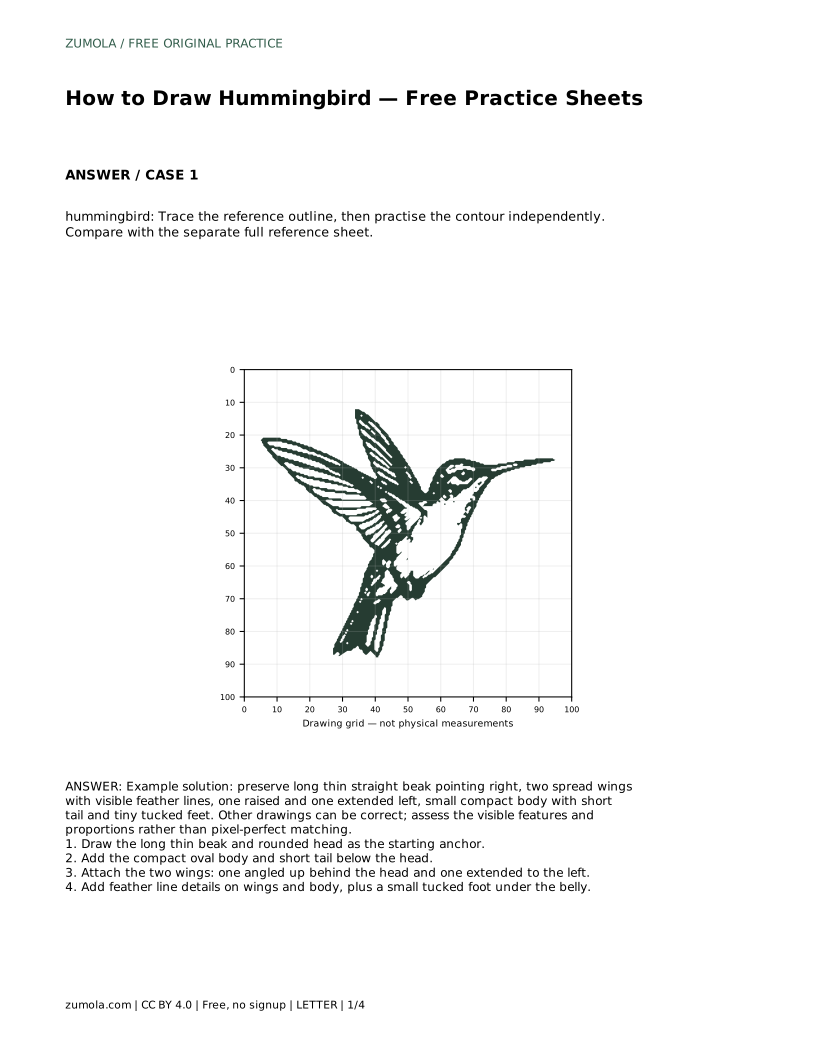
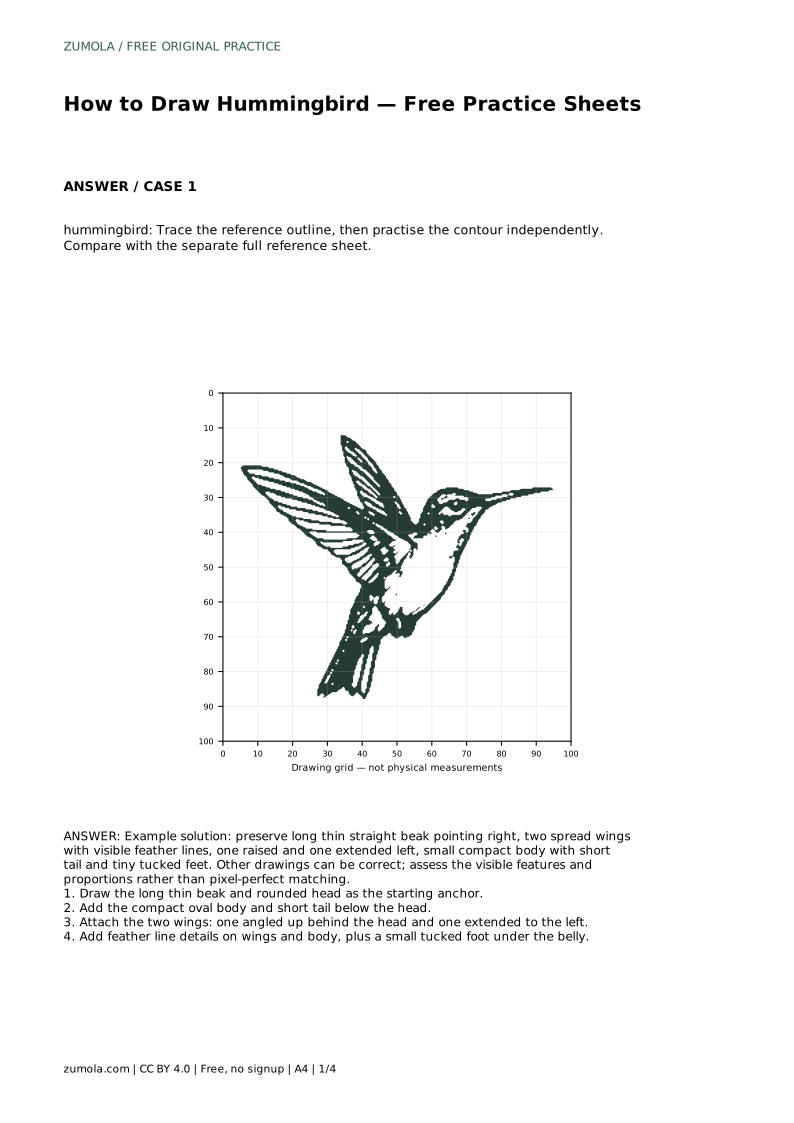
A hummingbird is mostly a few strong shapes: a long thin beak, a rounded head, a small compact body, a short tail, and two wings held in different positions. This page walks you through tracing the reference outline, then drawing the contour independently, and finally comparing your work with the separate full reference sheet. The goal is to notice the bird's proportions and identifying features, not to match every pixel.
Begin with the long thin beak pointing right, then attach the rounded head at its base. This anchor sets the bird's direction and scale before you add anything else. Keep the beak straight and narrow; a thick or curved beak changes the bird's character. The head should read as a small circle joined smoothly to the beak, not as a separate floating shape.
Once the head is placed, check that the beak length looks roughly equal to the head's width. That simple comparison keeps the proportions believable as you continue.
Add a compact oval body below and slightly behind the head, then a short tail extending from the lower rear. The body should feel small and dense, not stretched. The tail is short and simple, so avoid adding long streaming feathers unless your reference shows them.
Keep the body tilted so the bird reads as hovering or angled rather than standing upright. The head, body, and tail should form one connected silhouette with no gaps between them.
Attach two spread wings with visible feather lines: one angled up behind the head and one extended to the left. The raised wing sits behind the head, so draw it first and let the head overlap it slightly. The extended wing reaches left and should be longer than the raised wing appears from this angle.
Add a few feather lines inside each wing rather than many small ones. A handful of lines suggesting feather direction is enough to make the wings readable.
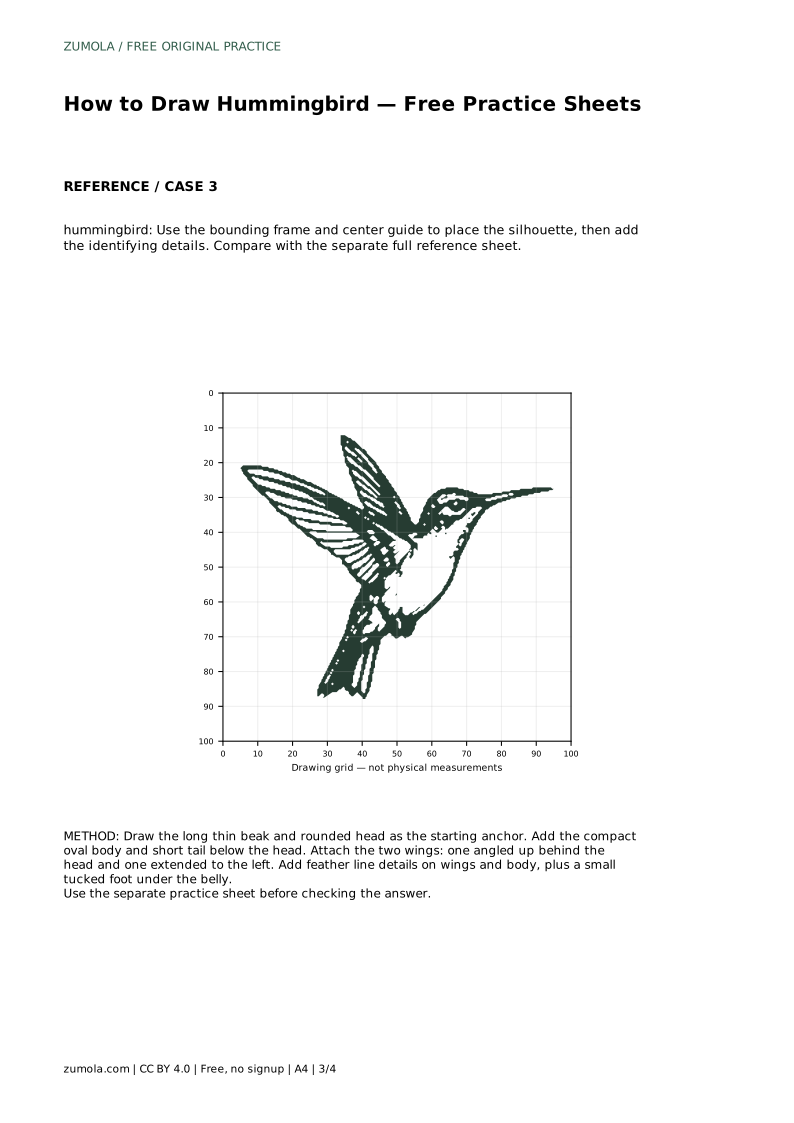
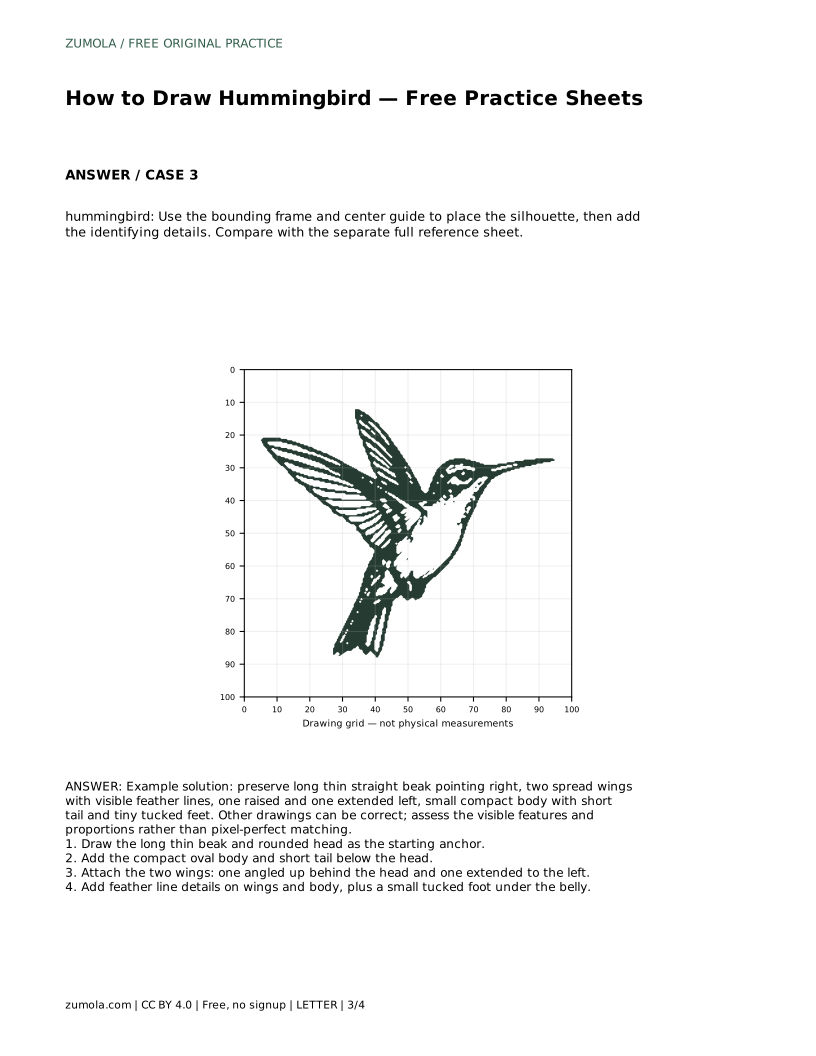
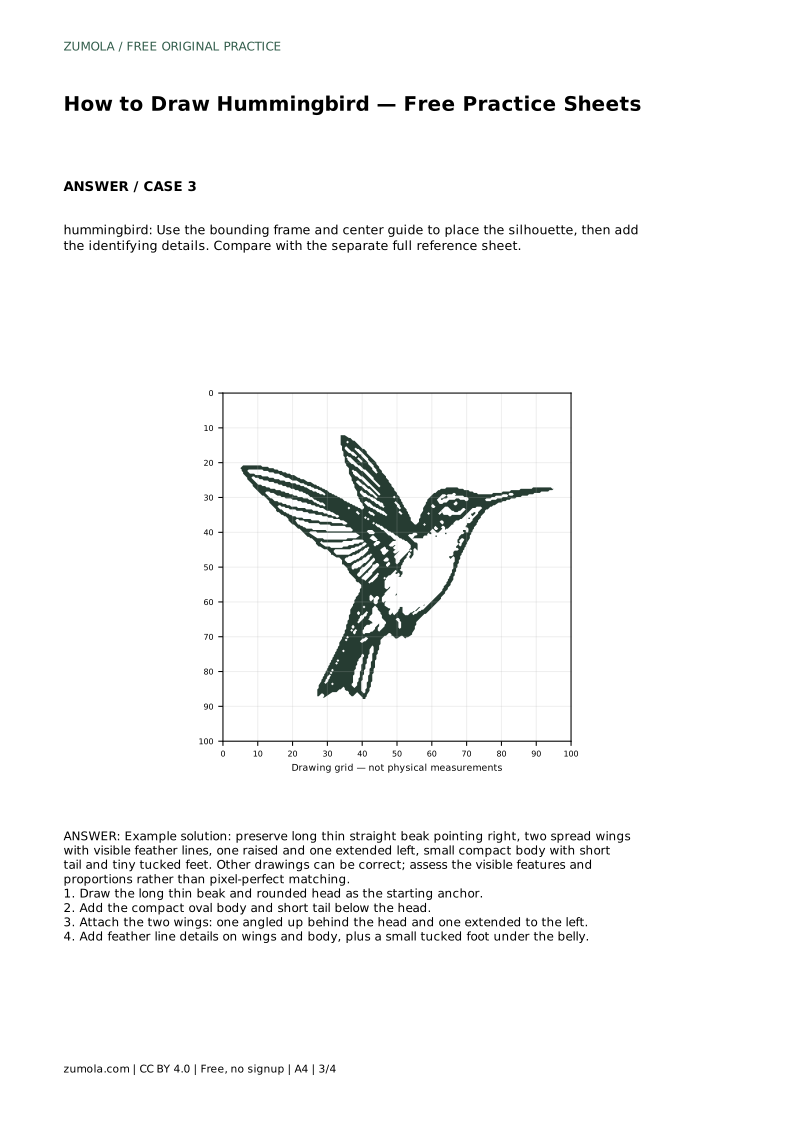
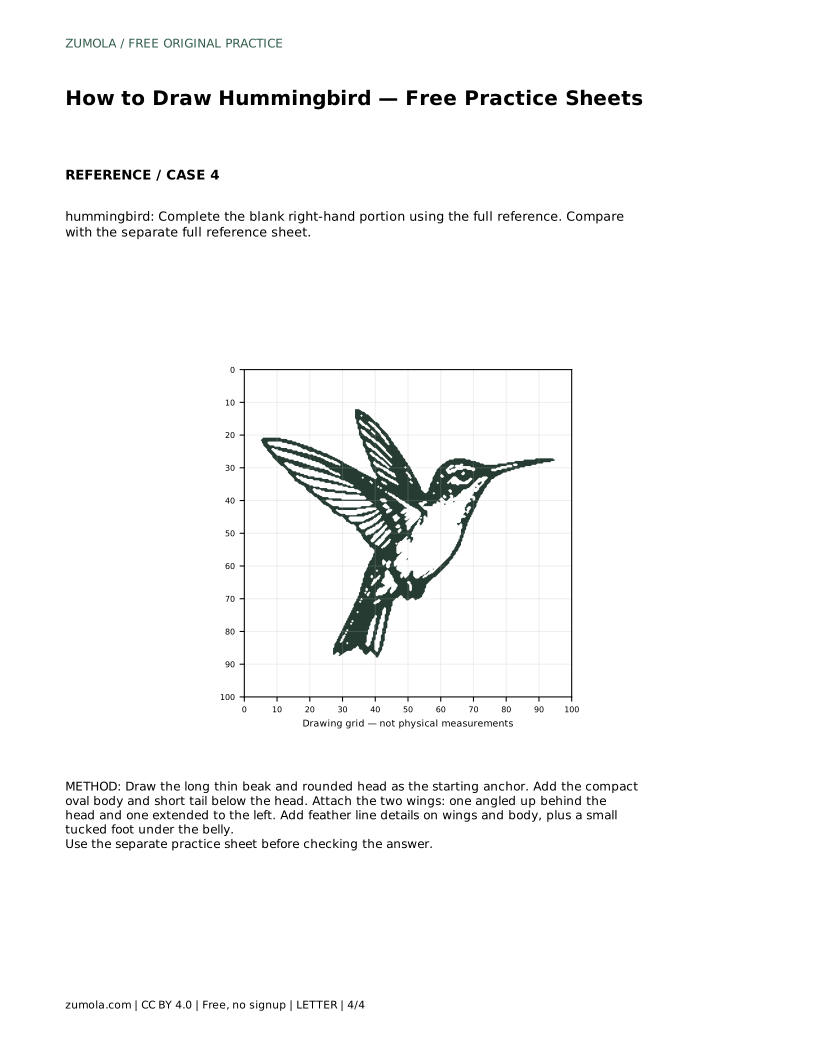
Add feather line details on the wings and body, plus a small tucked foot under the belly. Keep the foot tiny and close to the body. When you finish, compare your drawing with the separate full reference sheet and check the long thin straight beak pointing right, the two spread wings with visible feather lines, one raised and one extended left, the small compact body with short tail, and the tiny tucked feet.
Other drawings can be correct. Assess the visible features and proportions rather than pixel-perfect matching, and use the rubric below to guide your comparison.
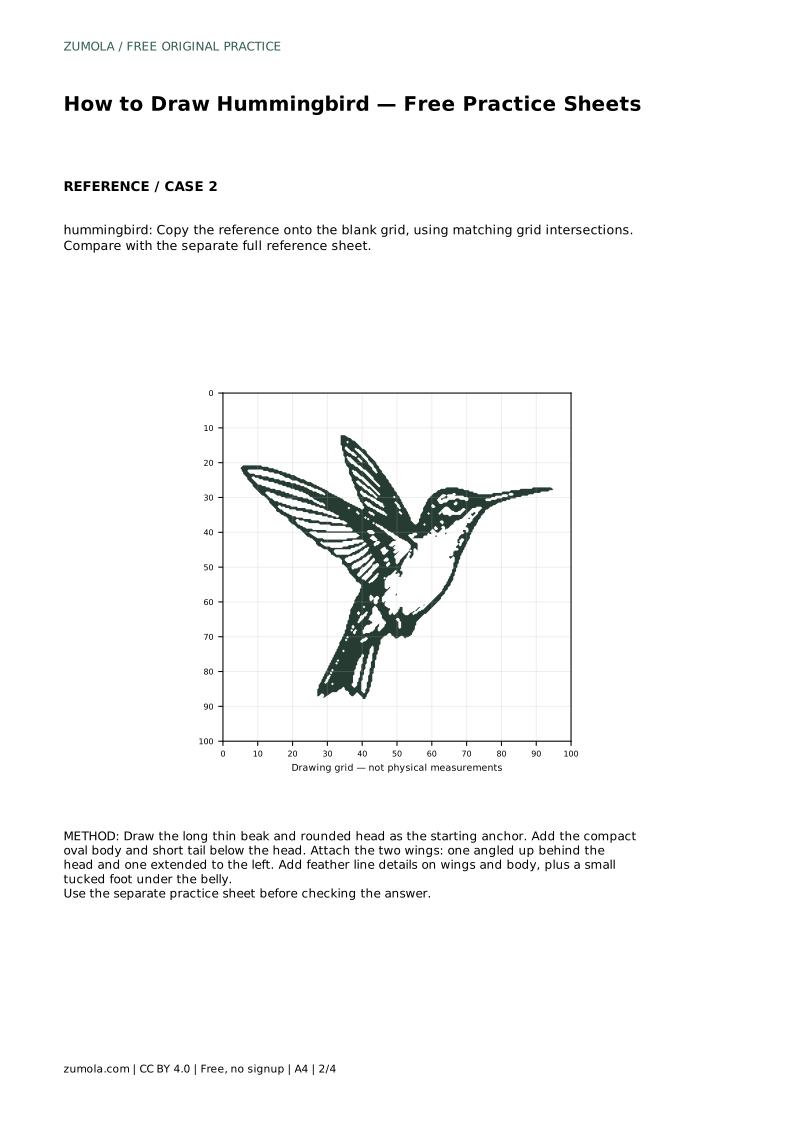
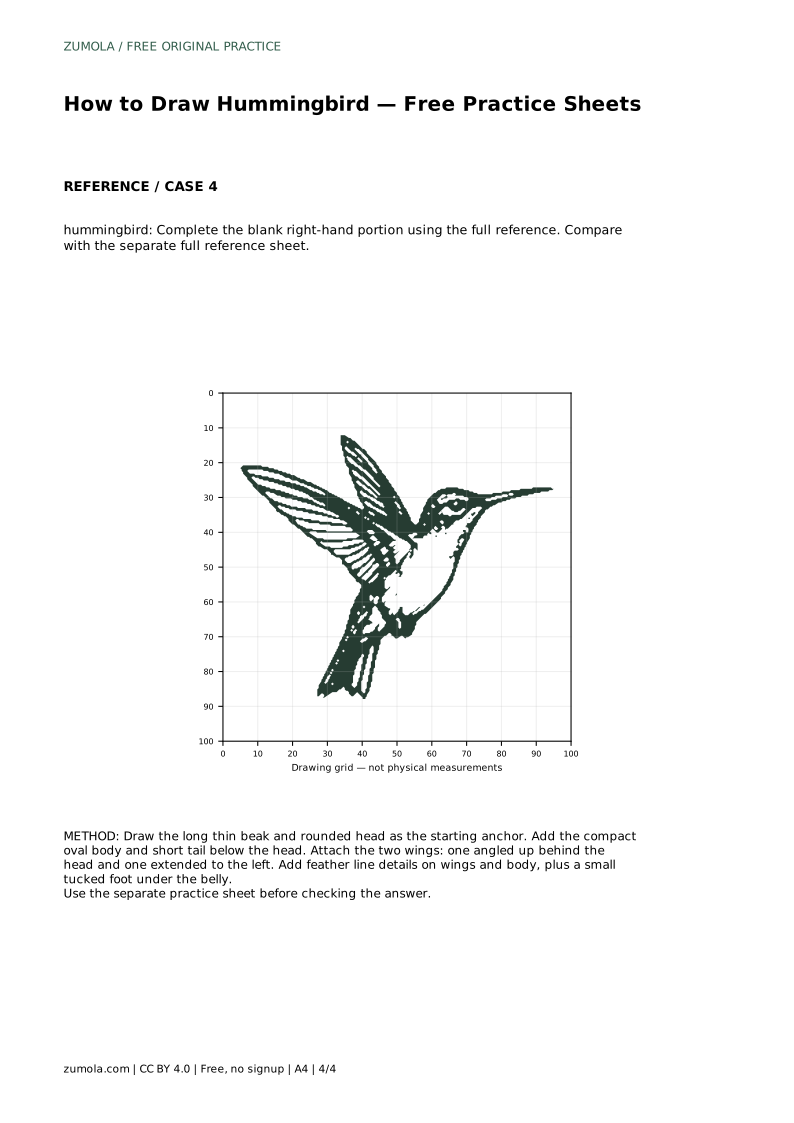
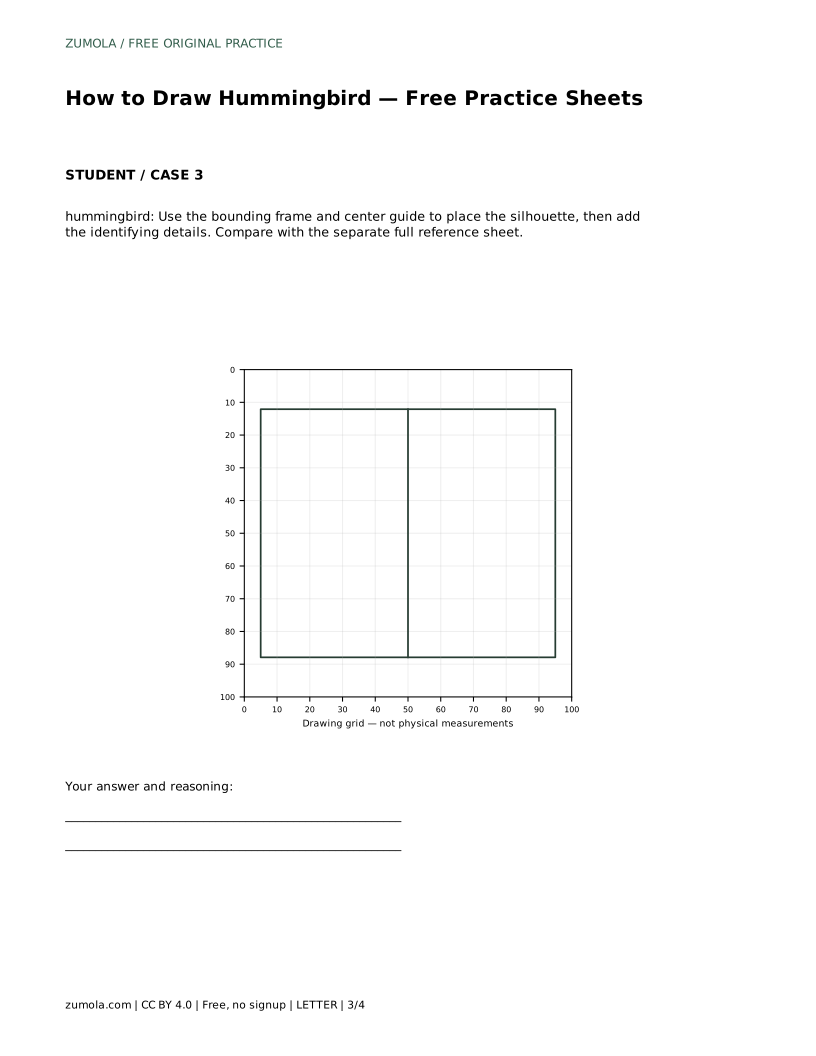
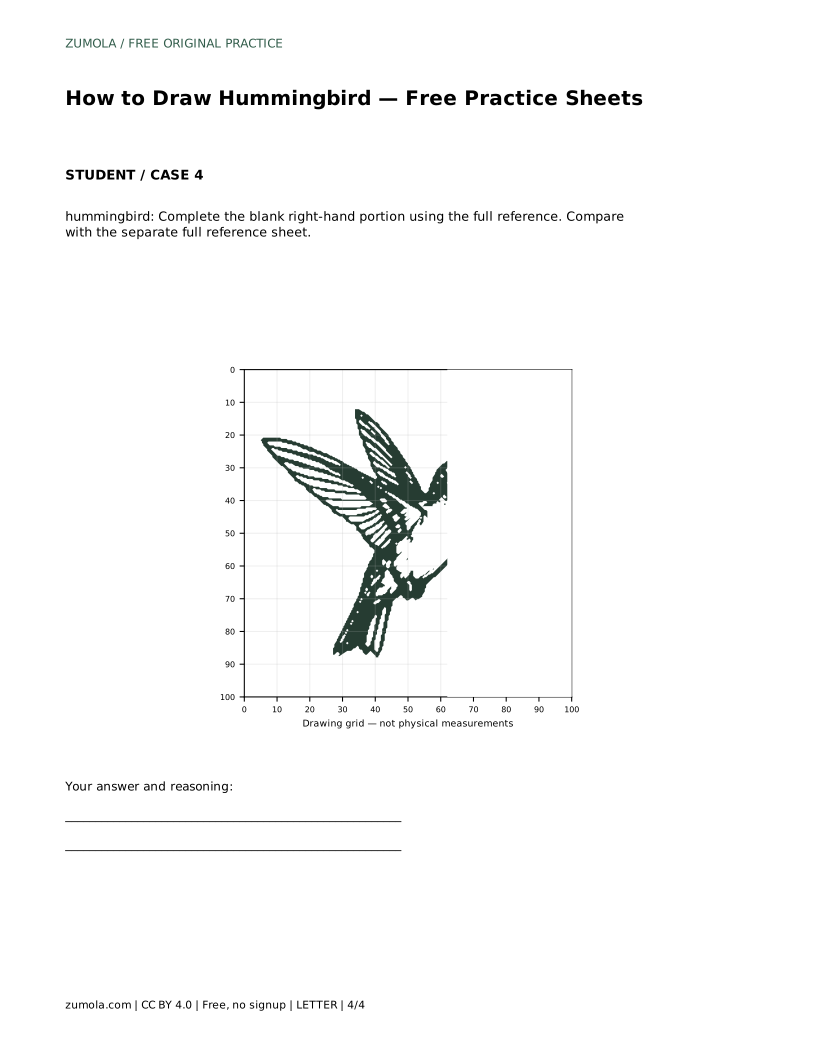
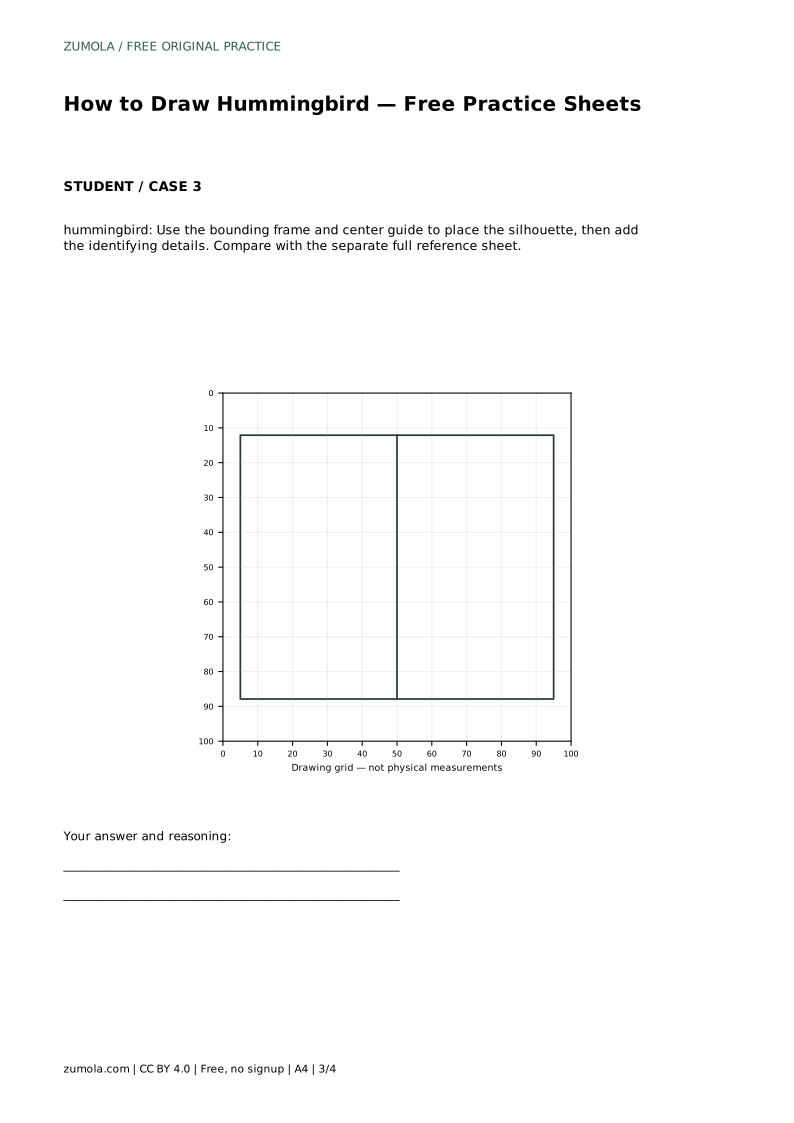
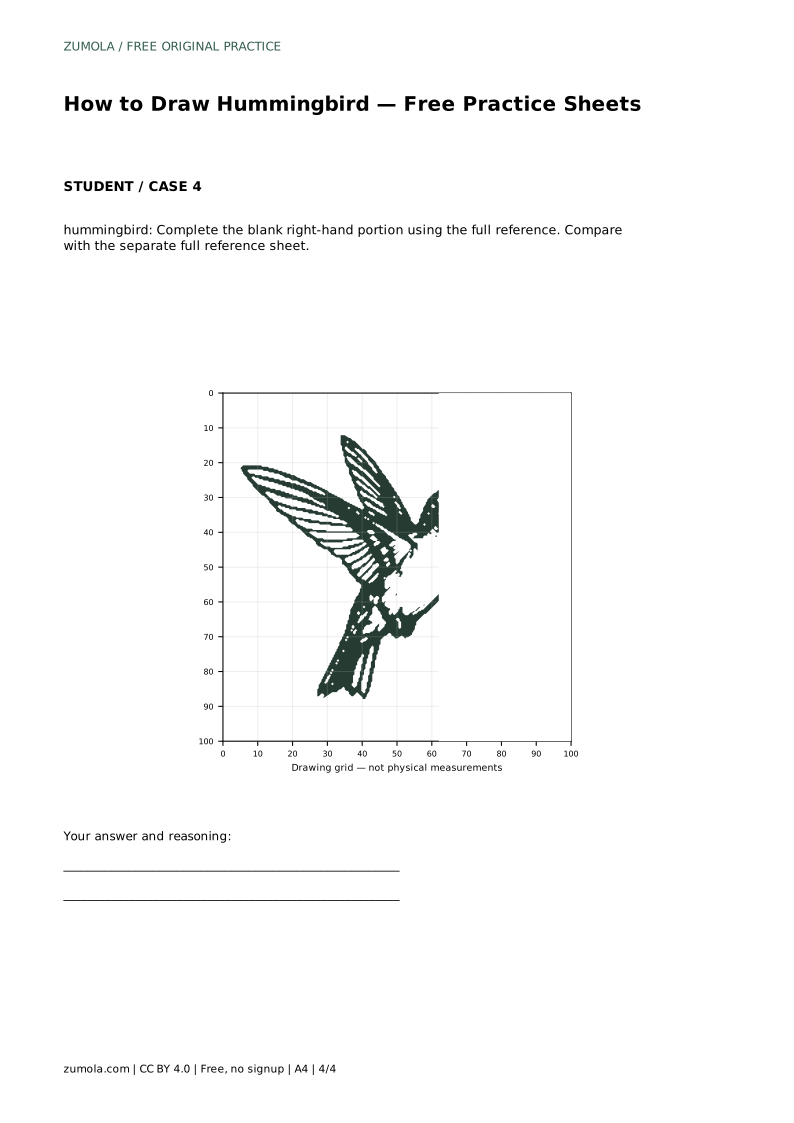
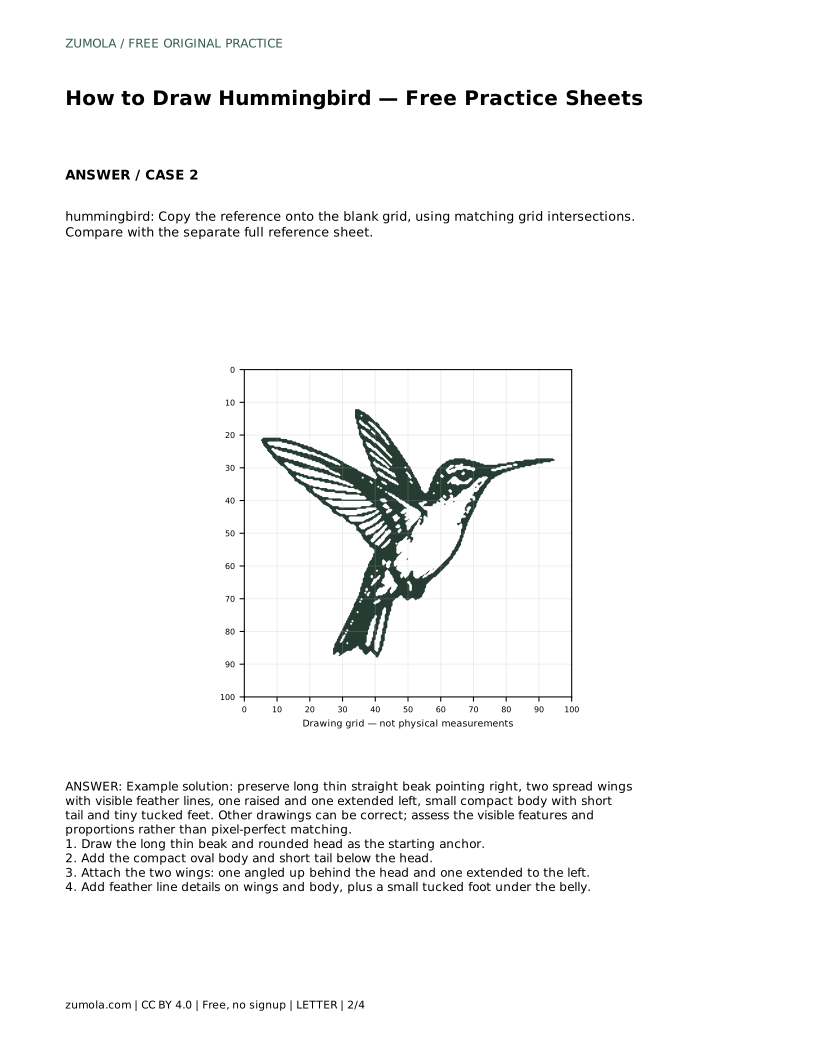
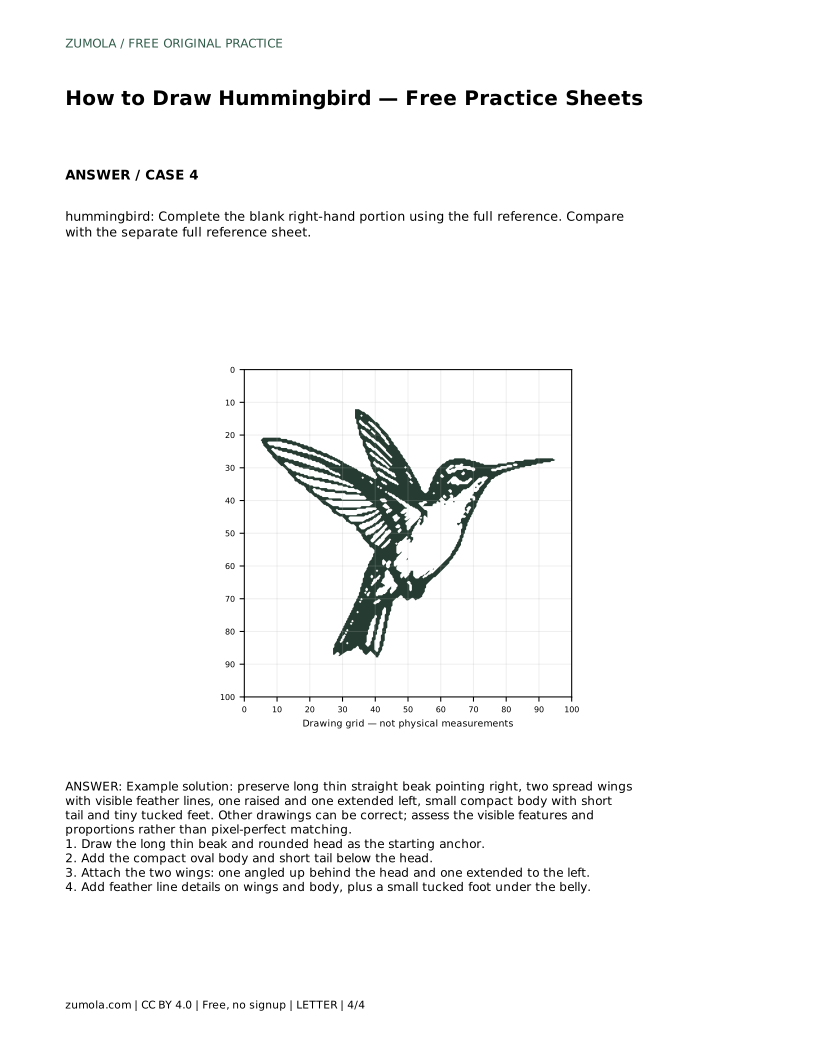
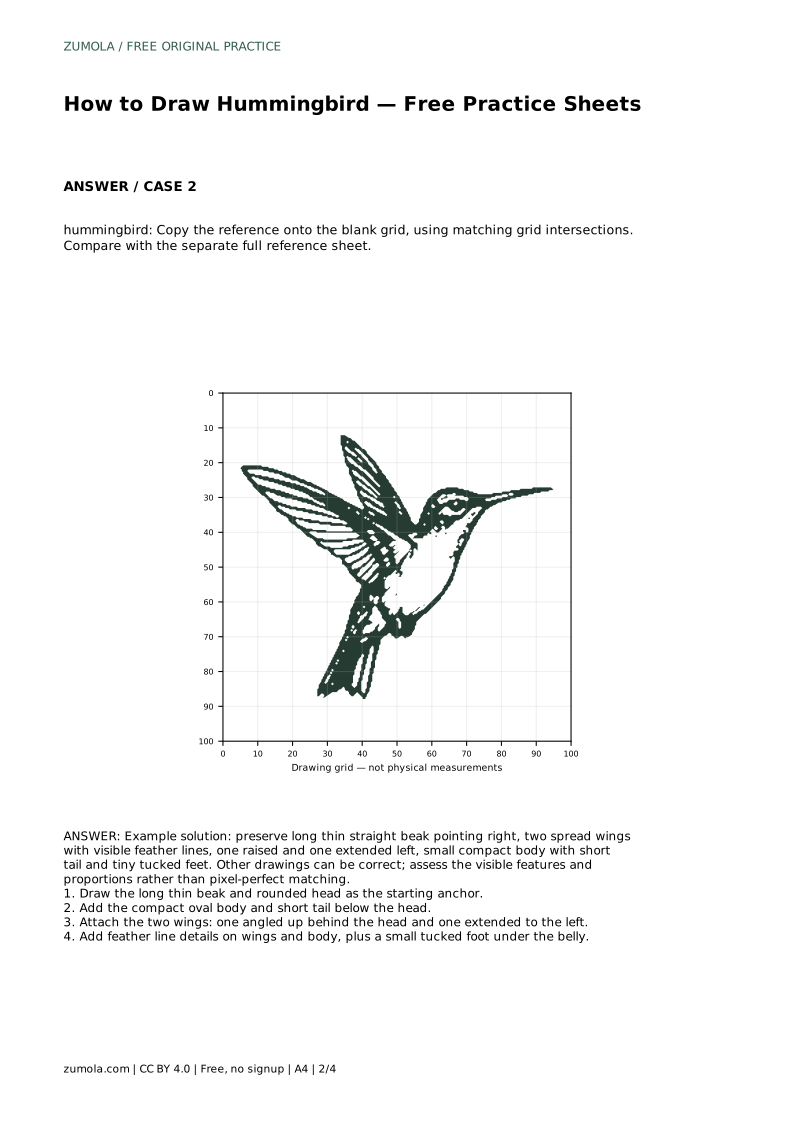
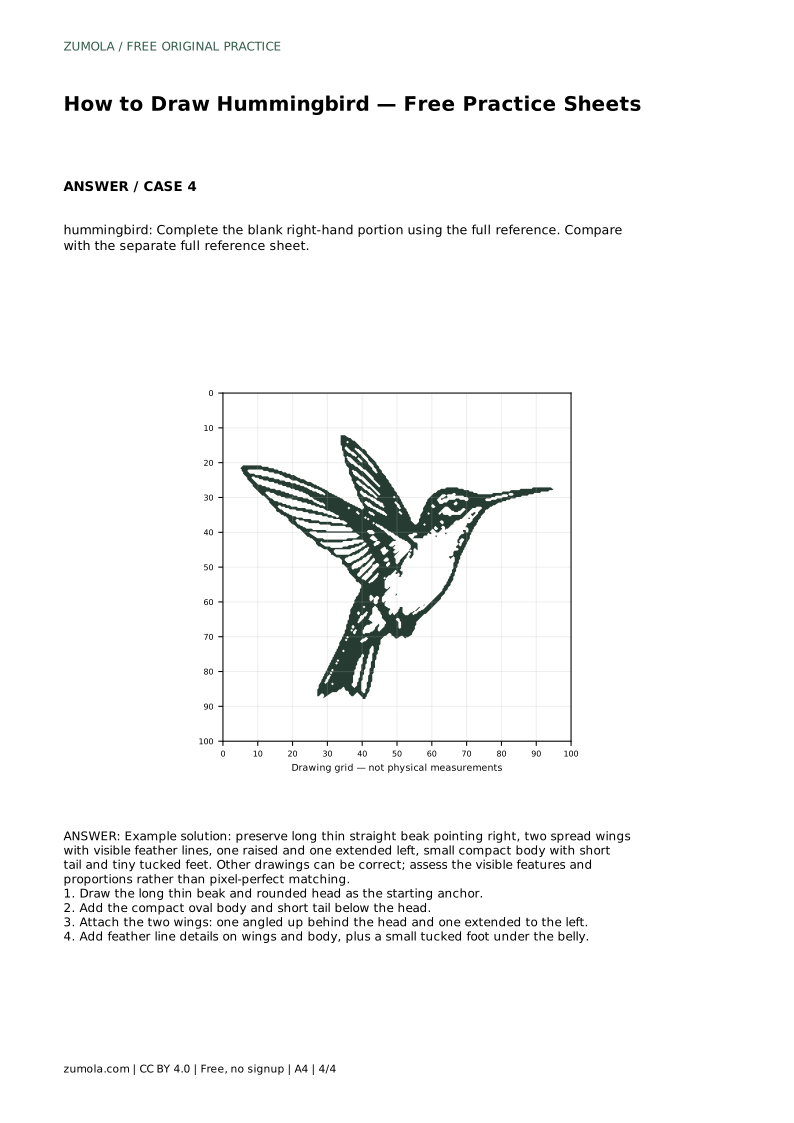
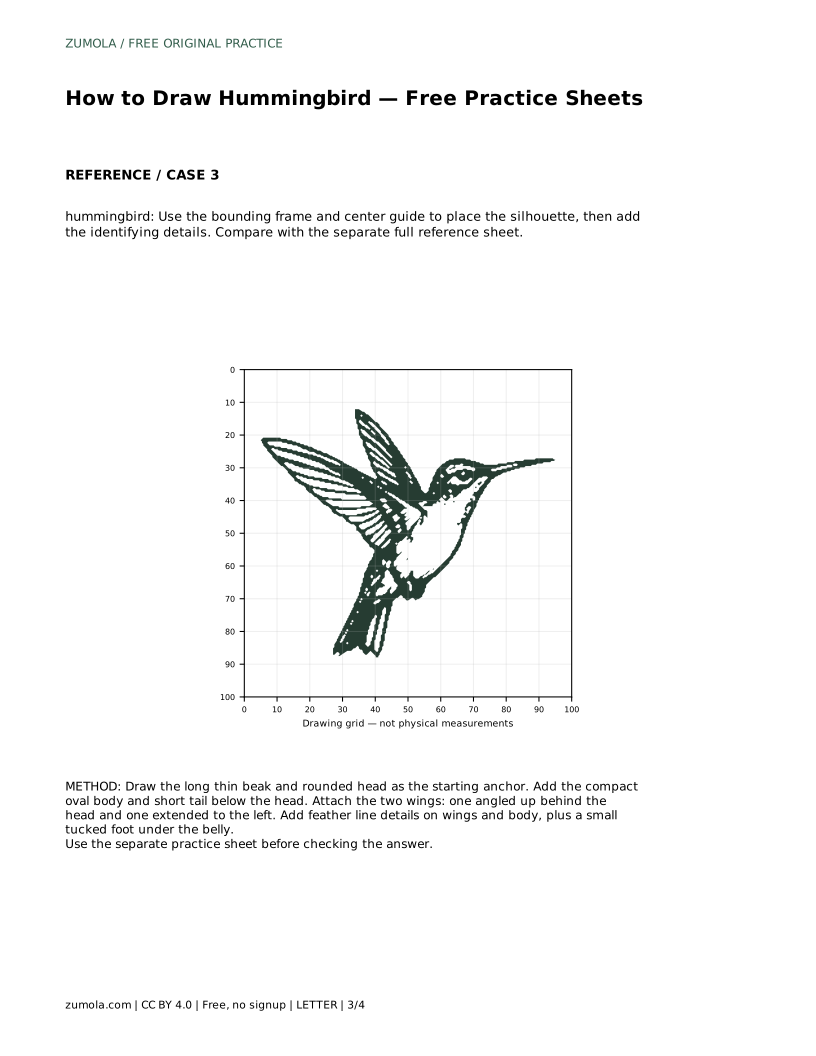
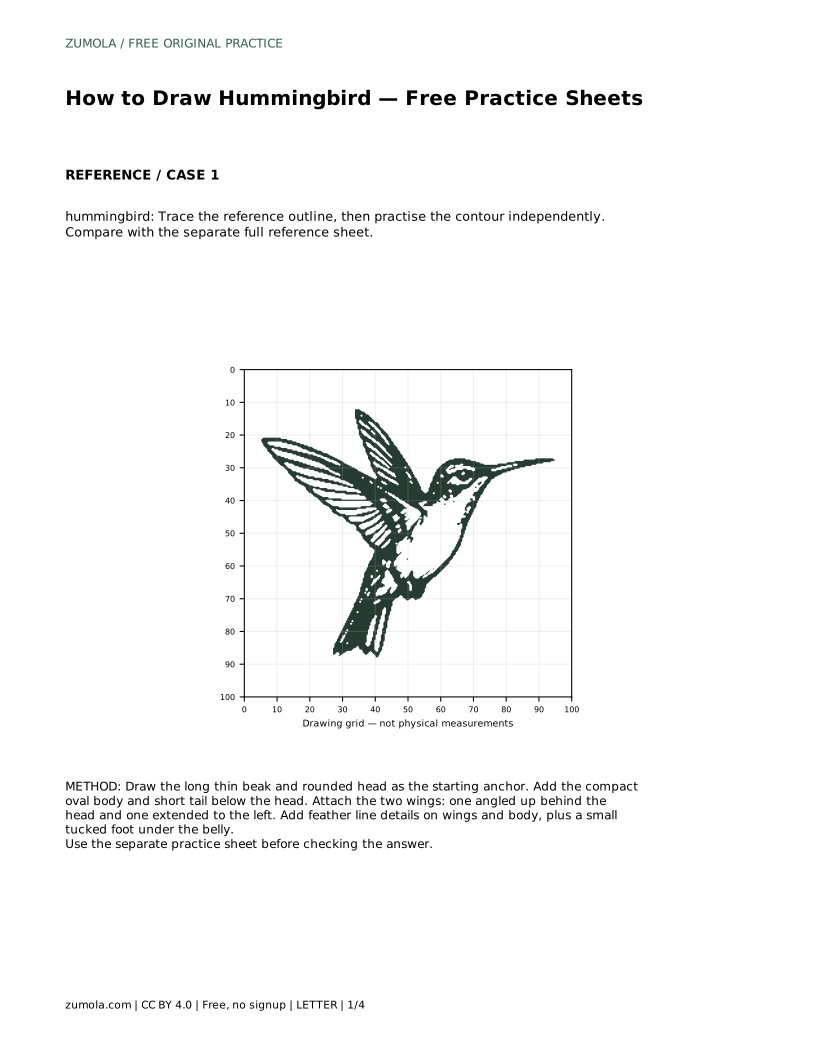
When copying onto the blank grid, use matching grid intersections to place the beak tip, head, body, and wing tips. The grid helps you judge distance and angle, but the same feature checklist still applies. For the partial reference, complete the blank right-hand portion by continuing the beak, head, and extended wing from the visible left side, keeping the proportions consistent with what is already drawn.
hummingbird: Trace the reference outline, then practise the contour independently. Compare with the separate full reference sheet.
Example solution: preserve long thin straight beak pointing right, two spread wings with visible feather lines, one raised and one extended left, small compact body with short tail and tiny tucked feet. Other drawings can be correct; assess the visible features and proportions rather than pixel-perfect matching. Draw the long thin beak and rounded head as the starting anchor. Add the compact oval body and short tail below the head. Attach the two wings: one angled up behind the head and one extended to the left. Add feather line details on wings and body, plus a small tucked foot under the belly.
No. Other drawings can be correct. Check the visible features and proportions, such as the long straight beak, compact body, short tail, and two spread wings, rather than pixel-perfect matching.
Start with the long thin beak pointing right and the rounded head. That anchor sets the direction and scale for the body, tail, and wings.
Place key points, such as the beak tip, head, body, and wing tips, at matching grid intersections. Then connect them and recheck the feature checklist.
All drawing practice · Free coordinate paper
Original resources · CC BY 4.0 · Free for personal and classroom use with attribution.