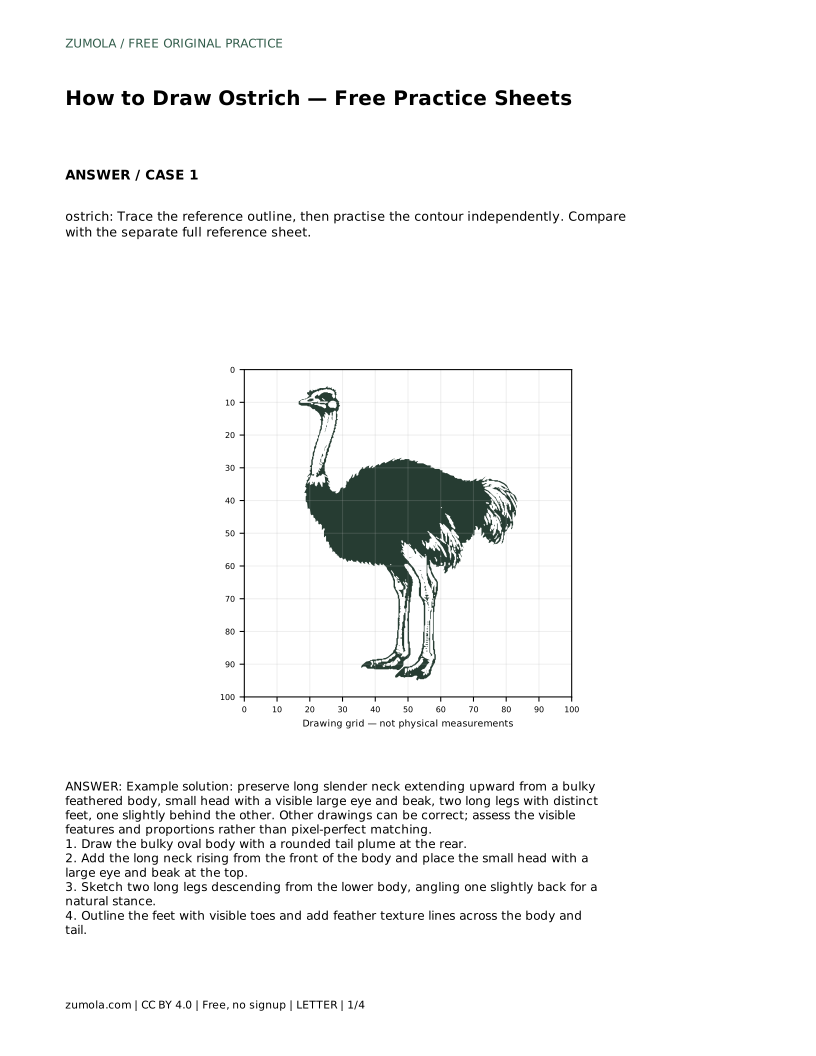
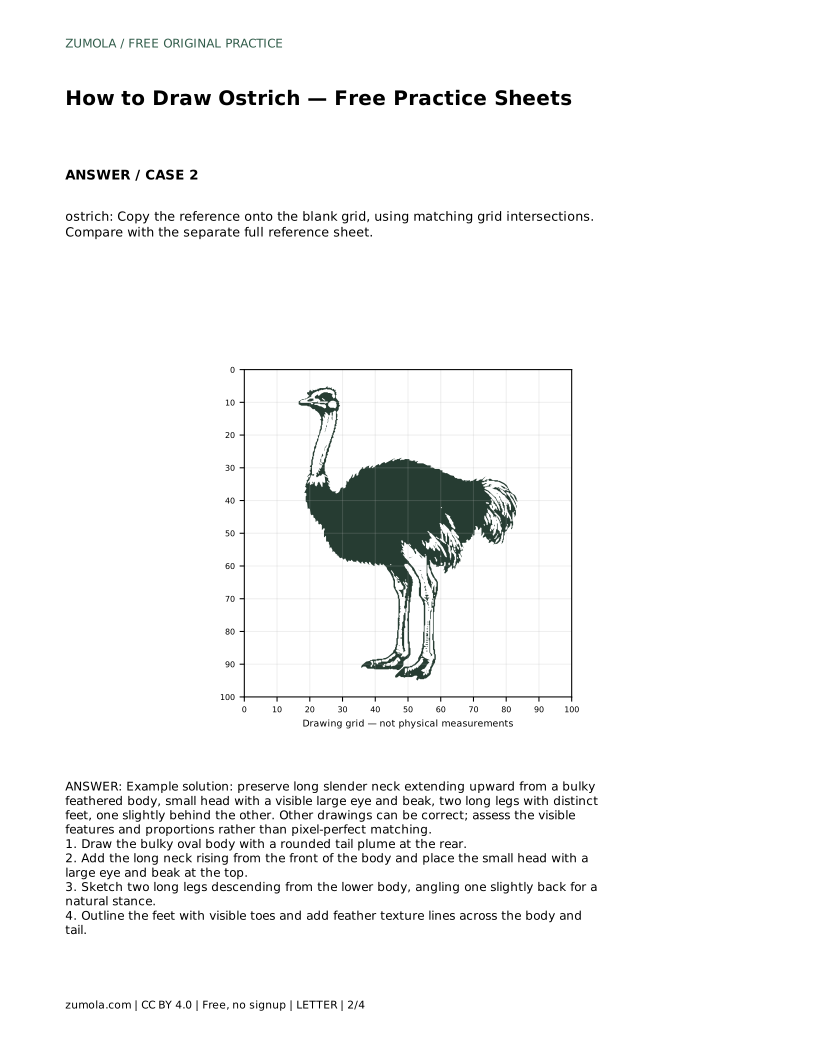
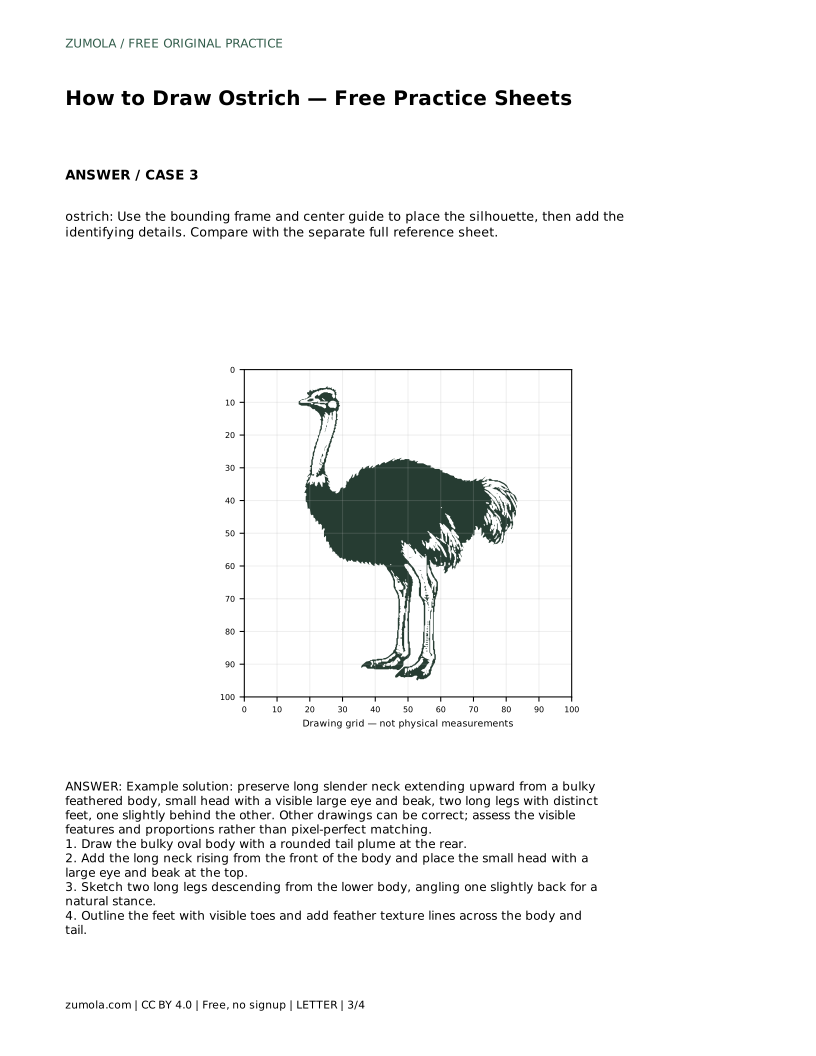
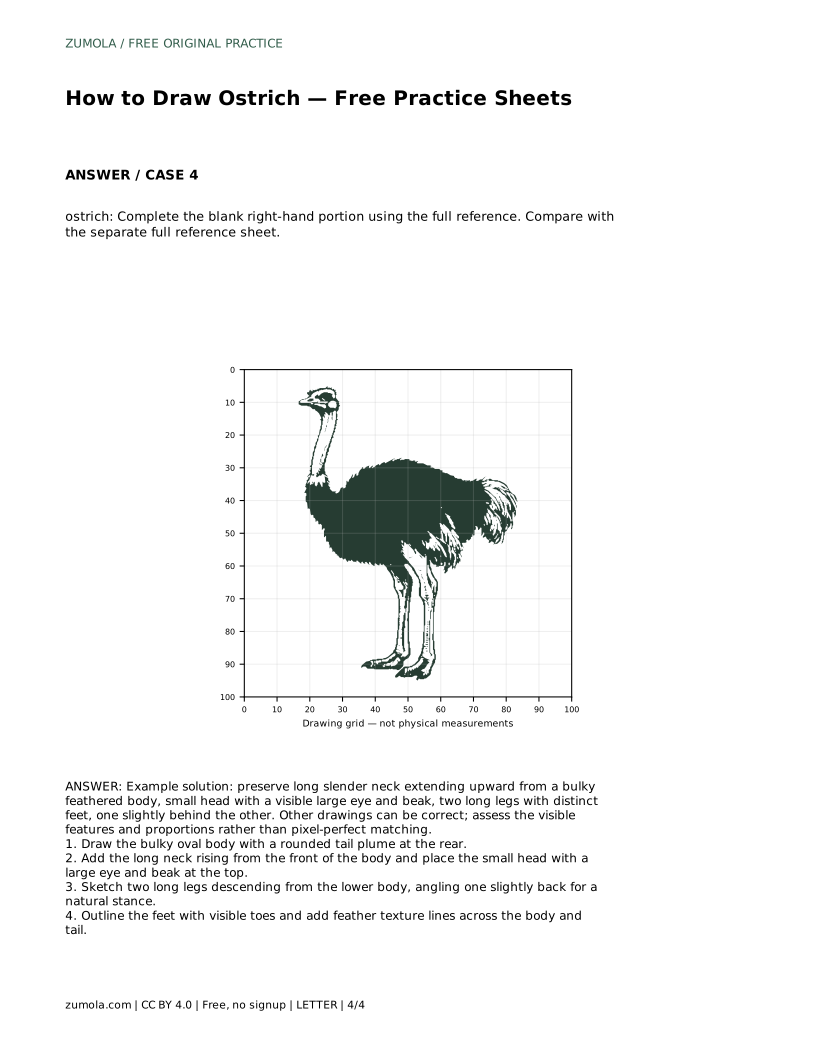
Reference diagrams
LETTER · Download PDF
A4 · Download PDF
Free original resources
Learn to draw an ostrich by building a bulky body, long neck, small head, and two long legs. Trace, grid, and frame practice sheets support each step.
Four original cases, with reference diagrams, practice sheets and worked answers. Everything is free; no signup required.
LETTER · Download PDF
A4 · Download PDF
LETTER · Download PDF
A4 · Download PDF
LETTER · Download PDF
A4 · Download PDF
Use A4 or US Letter to match your printer. Use the stated values and conditions to solve each exercise; diagrams are not physical measuring rulers.
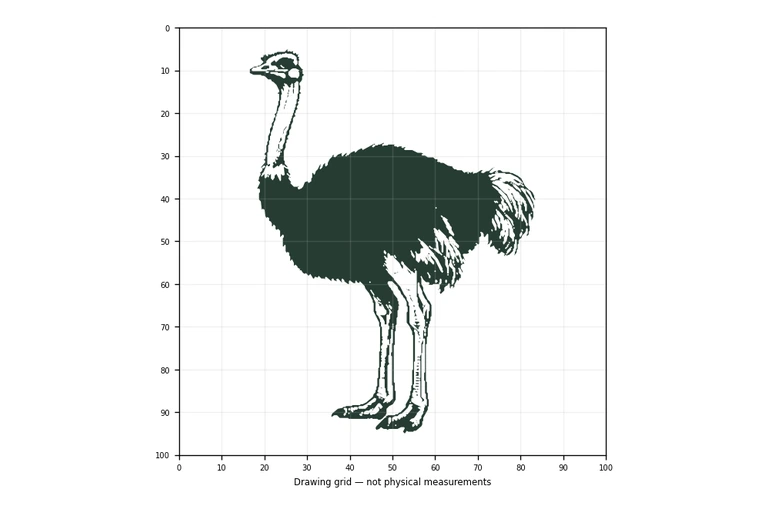
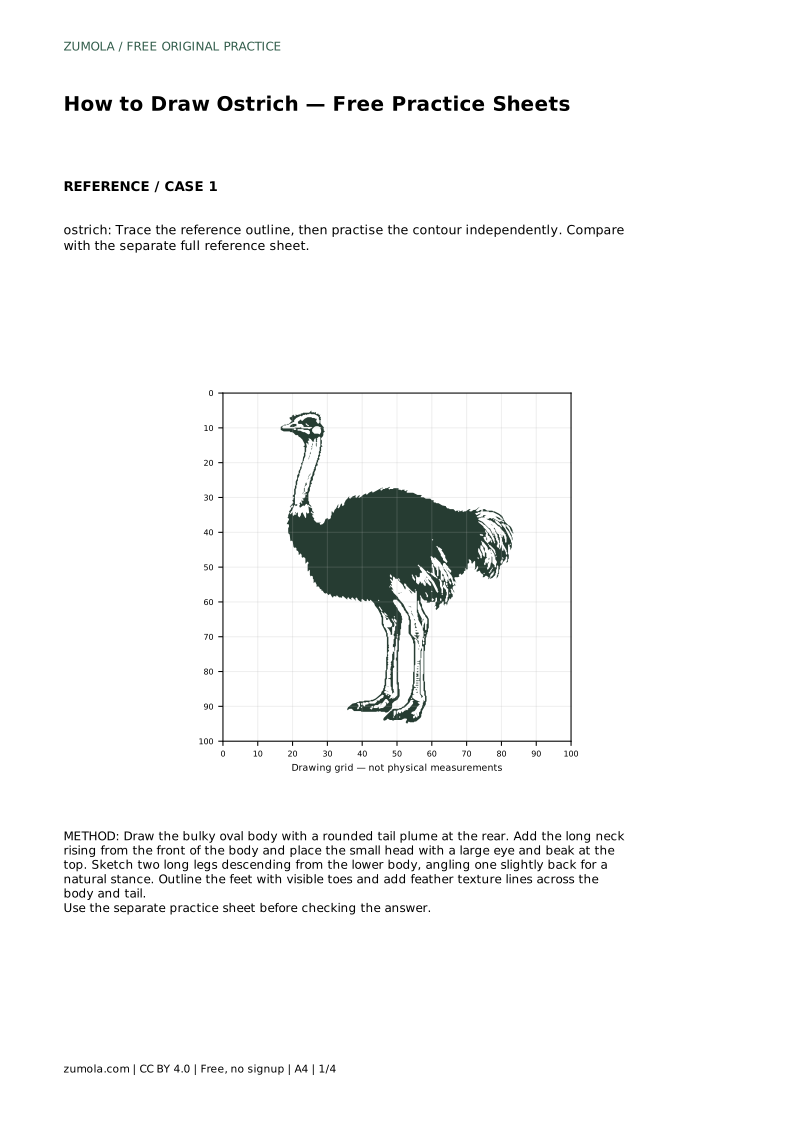
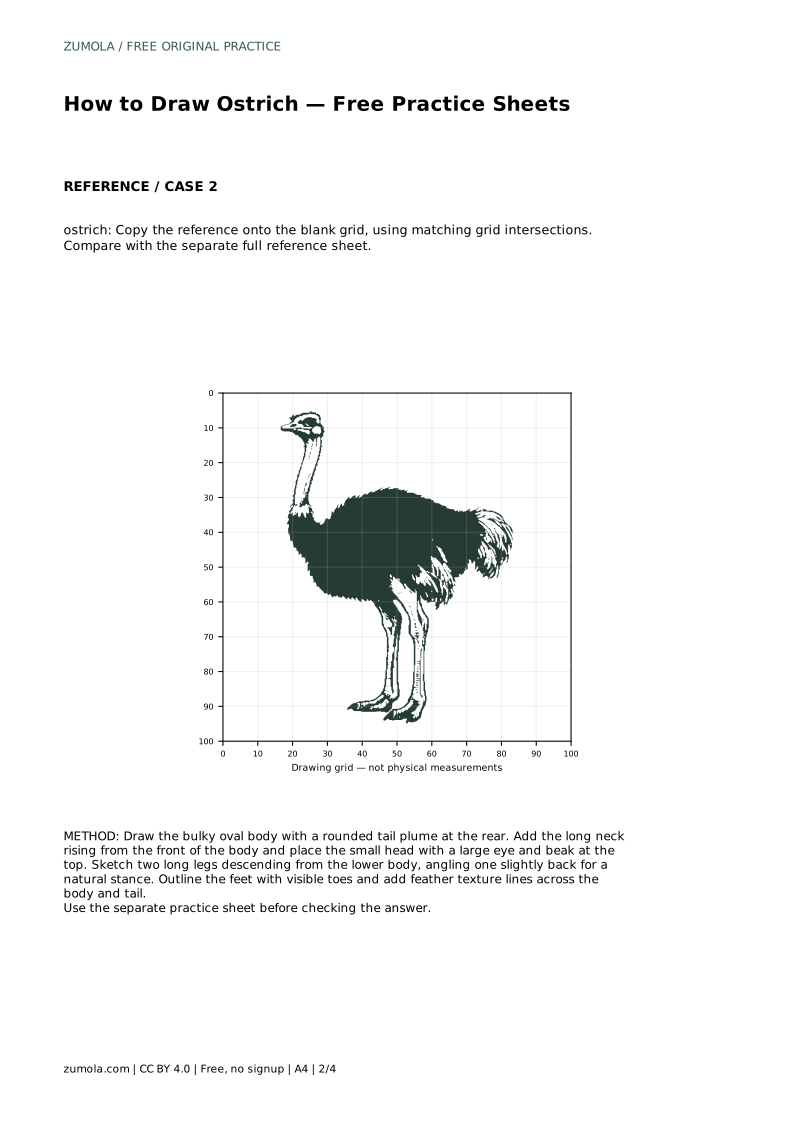
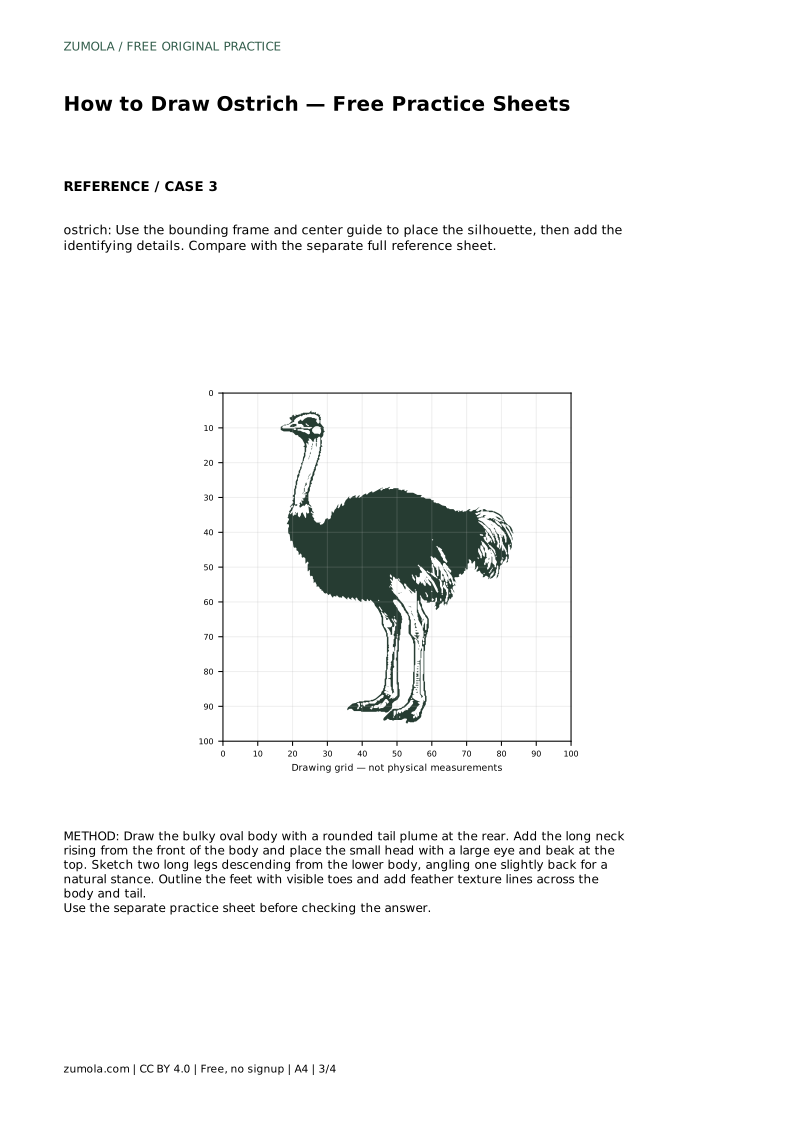
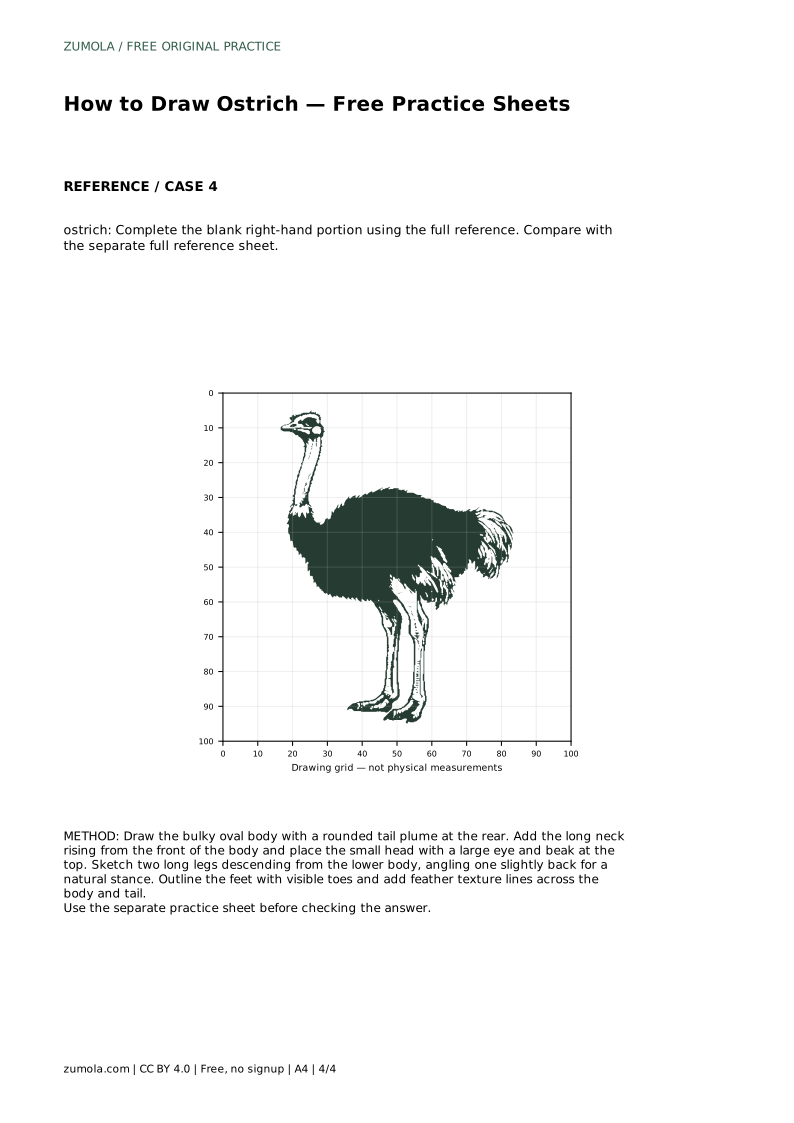
An ostrich is easy to recognize but surprisingly easy to draw out of proportion. Its body is heavy and rounded, its neck is long and slender, and its head is small. The legs are long and set apart, with one often angled slightly back. This page explains a reliable order for drawing those parts and describes how the practice sheets let you trace, copy onto a grid, place a silhouette inside a bounding frame, and complete a partly blank drawing.
Begin with the largest shape: a bulky oval for the body. Keep it wide rather than tall, and add a rounded plume at the rear where the tail feathers gather. This oval anchors everything else, so check that it sits comfortably in the middle of your page before adding details.
From the front of the body, draw the neck rising upward. The neck should be long and slender, clearly narrower than the body, and it should not lean so far that the head drifts outside your planned space. At the top, place a small head with a visible large eye and a beak. The head stays small relative to the body; that contrast is what makes the drawing read as an ostrich.
The two legs descend from the lower body and should be long enough to support the heavy shape above. Give each leg a distinct foot with visible toes. A natural stance usually has one leg slightly behind the other, which also helps the drawing look balanced rather than stiff.
Feather texture comes last. Light lines across the body and tail suggest volume without turning the drawing into a scribble. Keep the neck and legs smoother, since the contrast between feathered body and bare limbs is part of the bird's character.
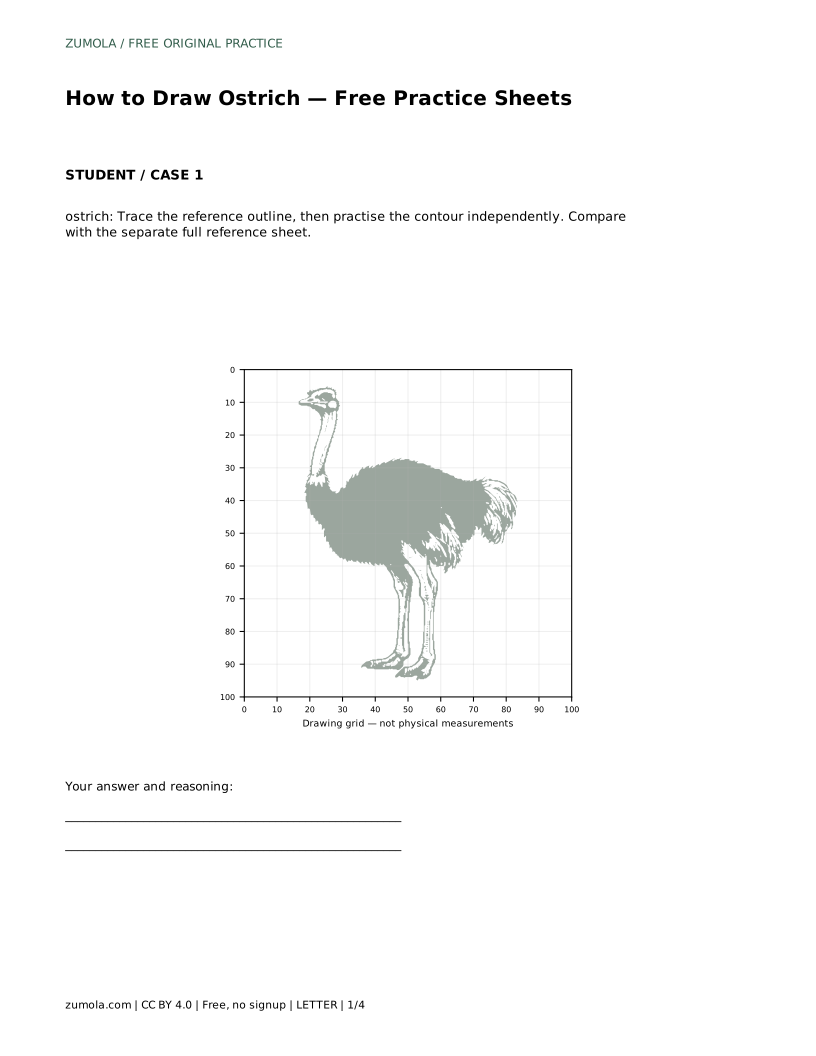
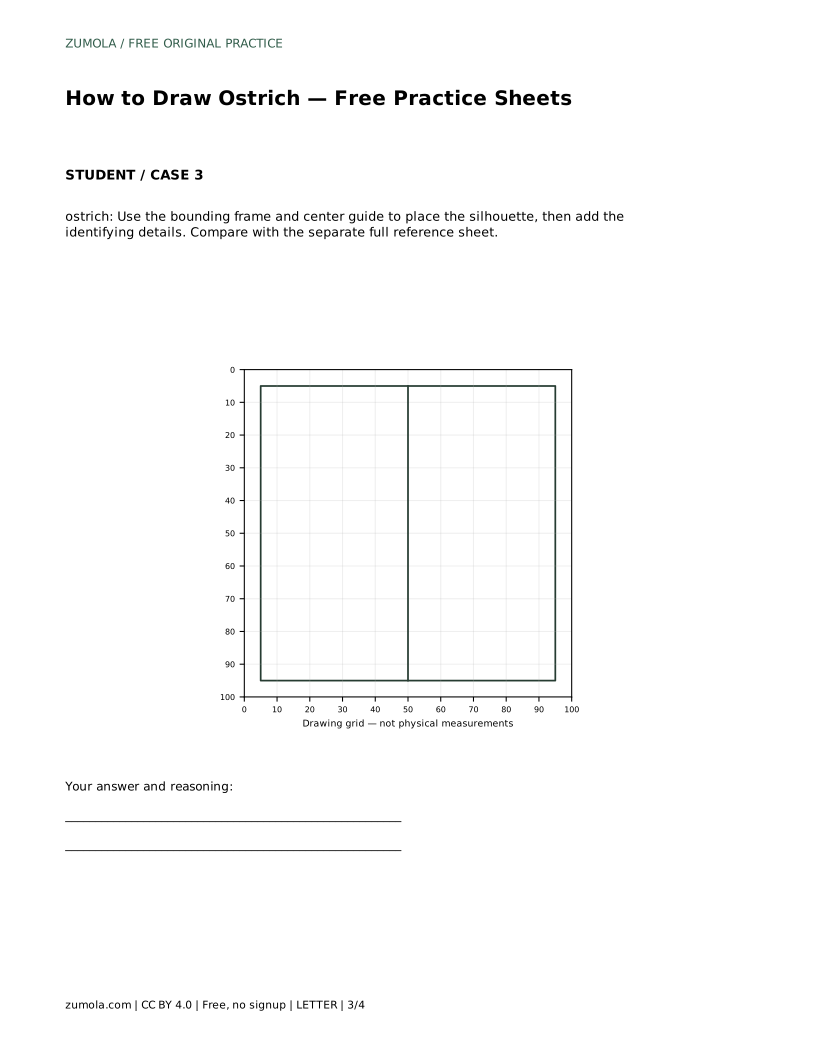
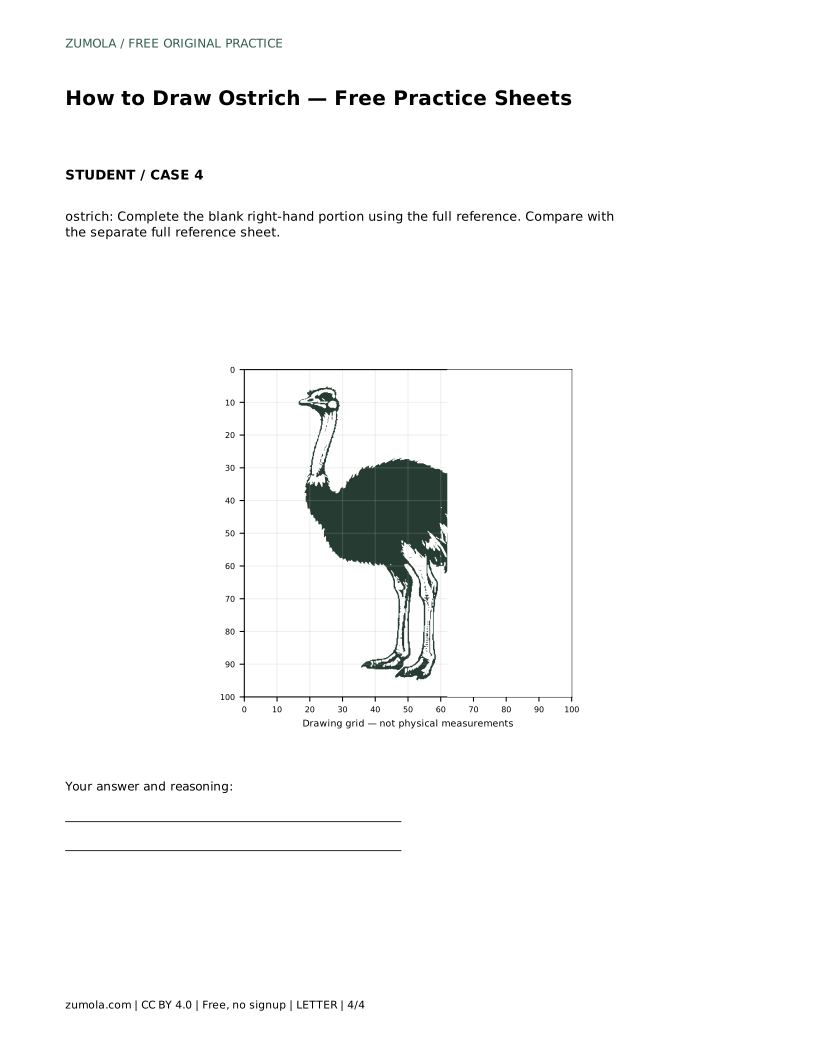
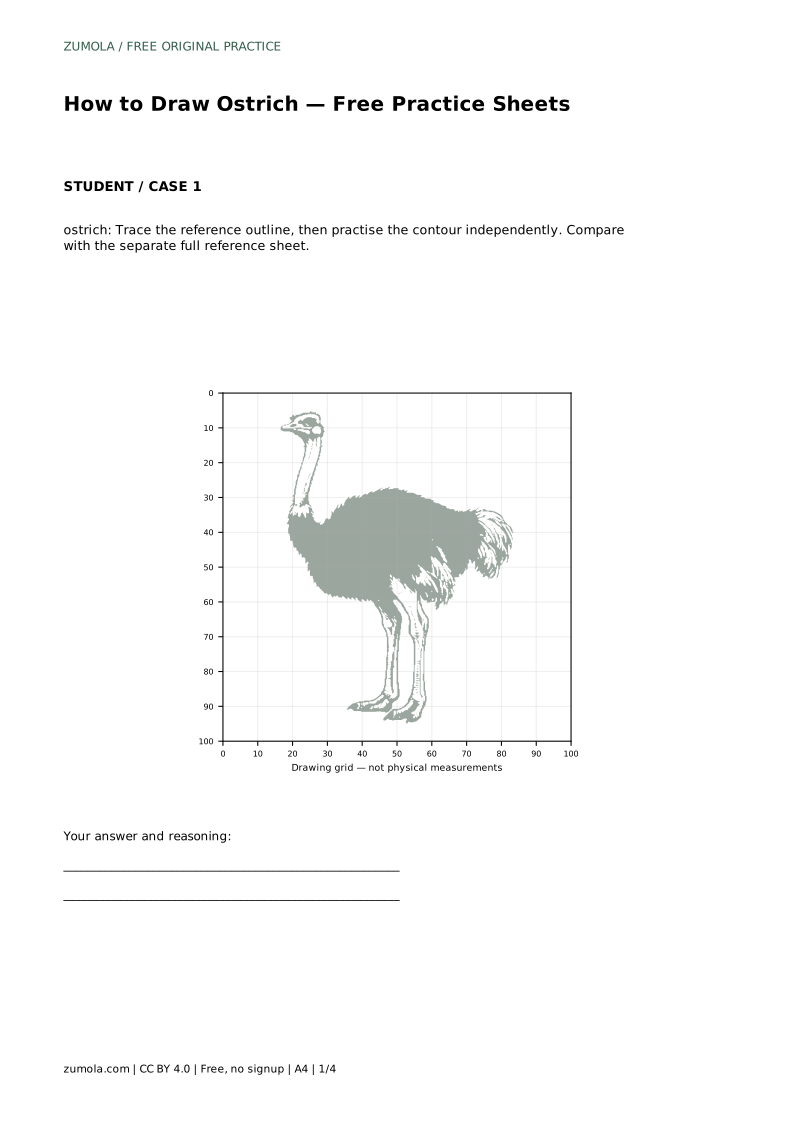
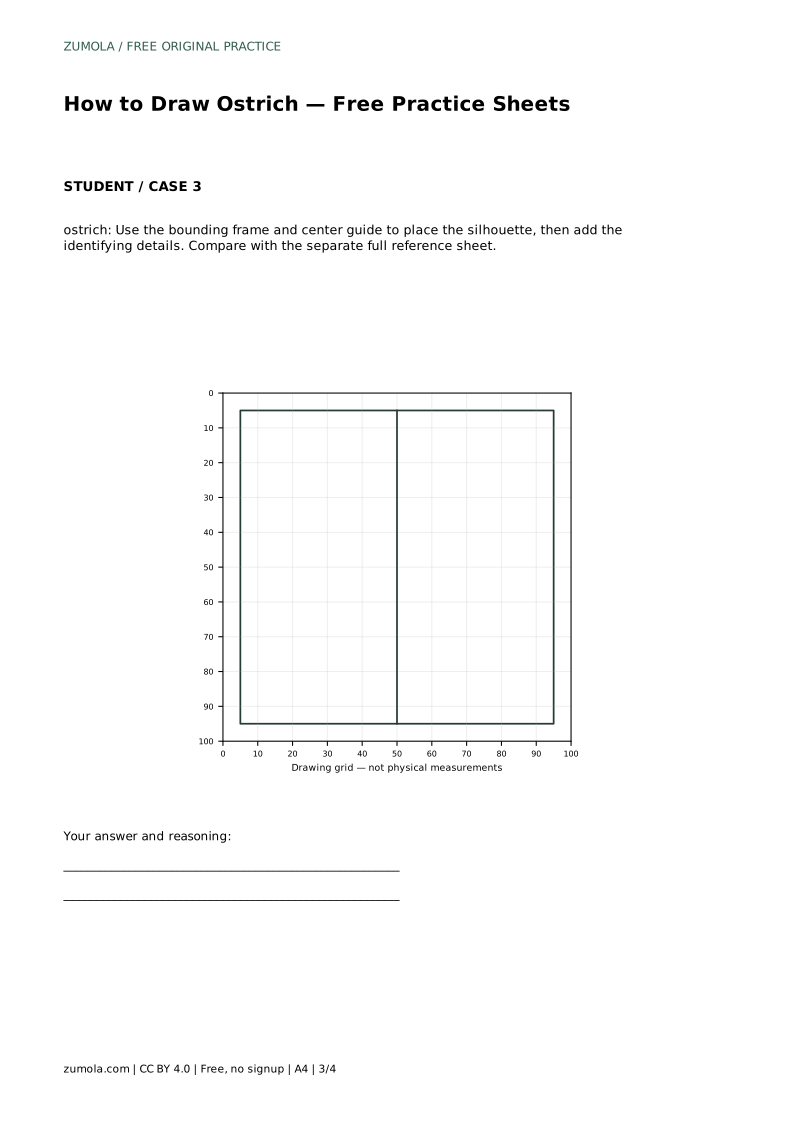
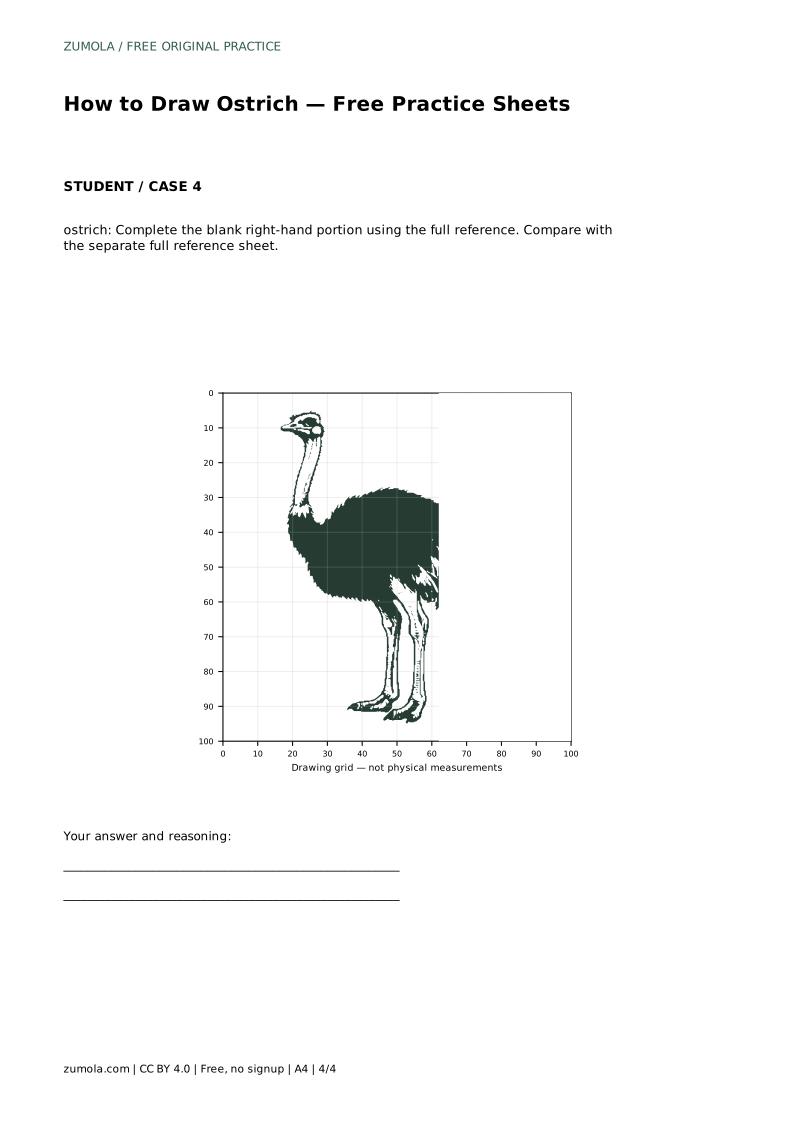
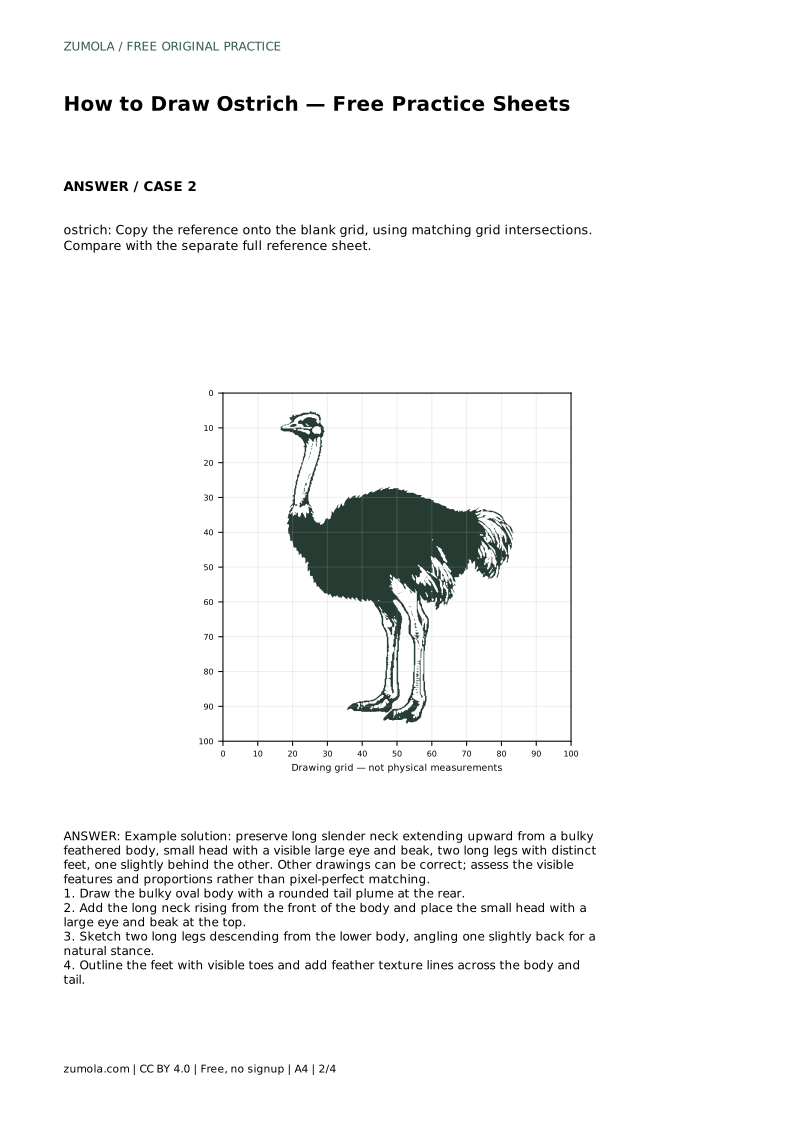
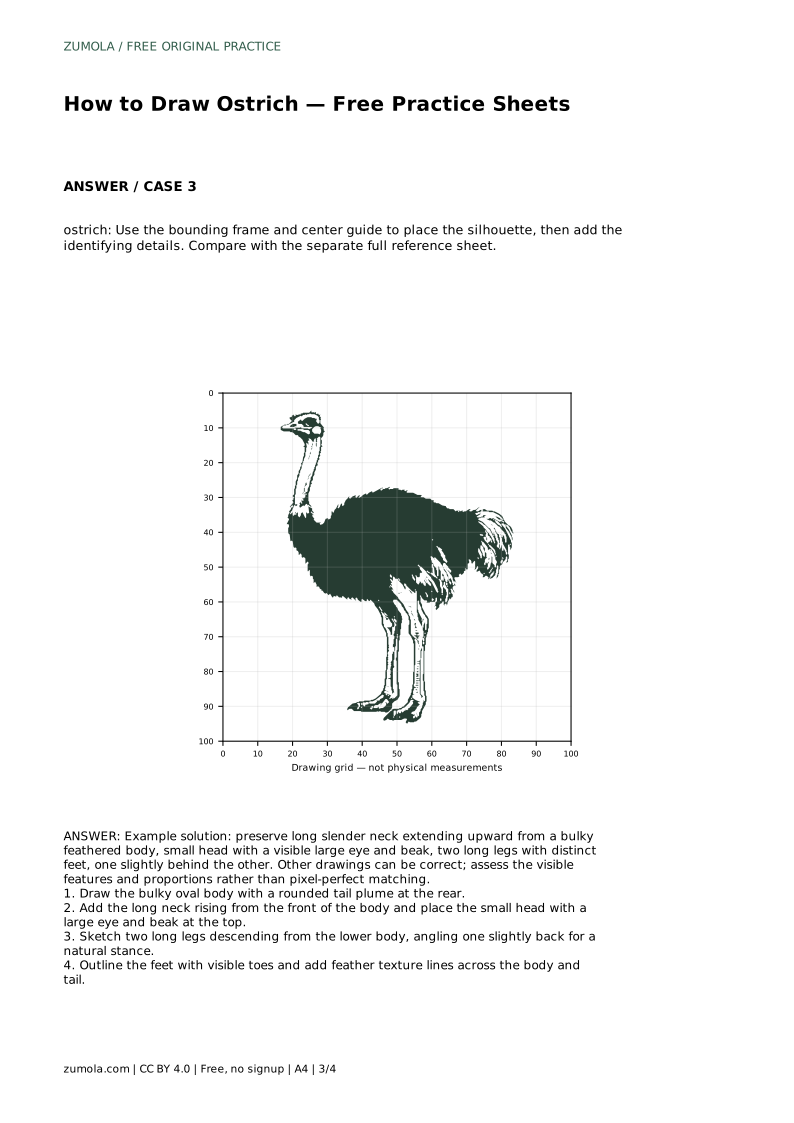
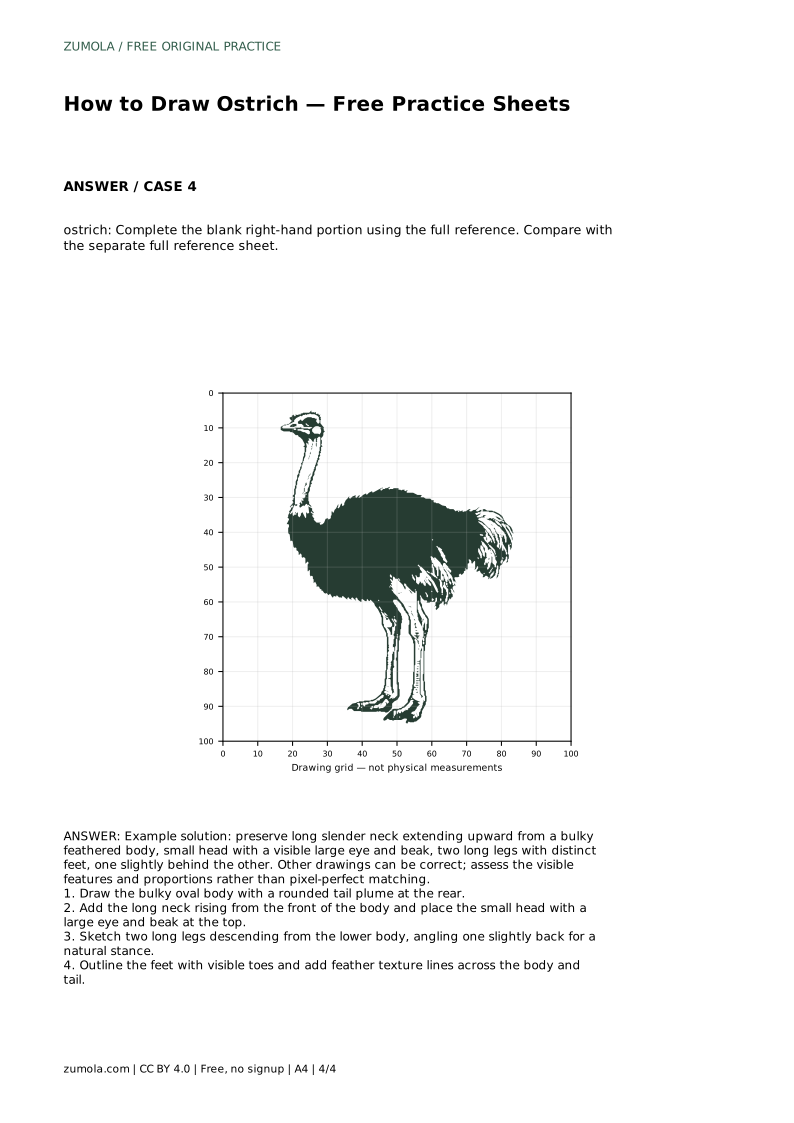
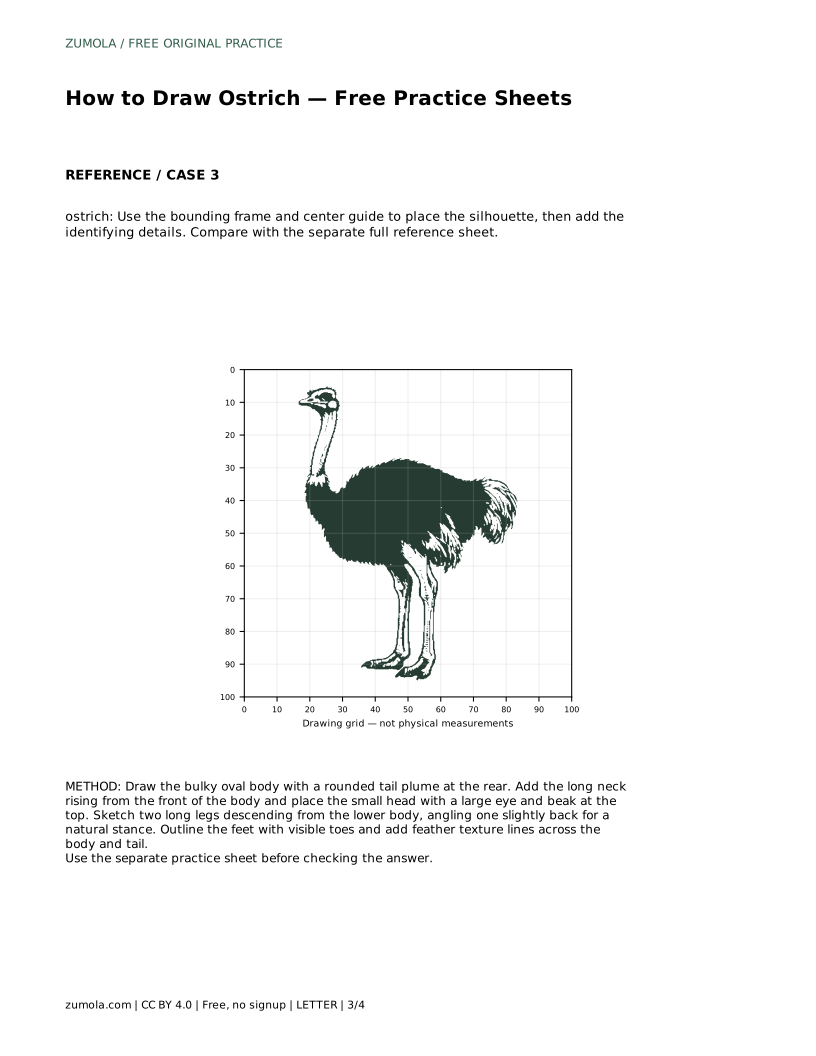
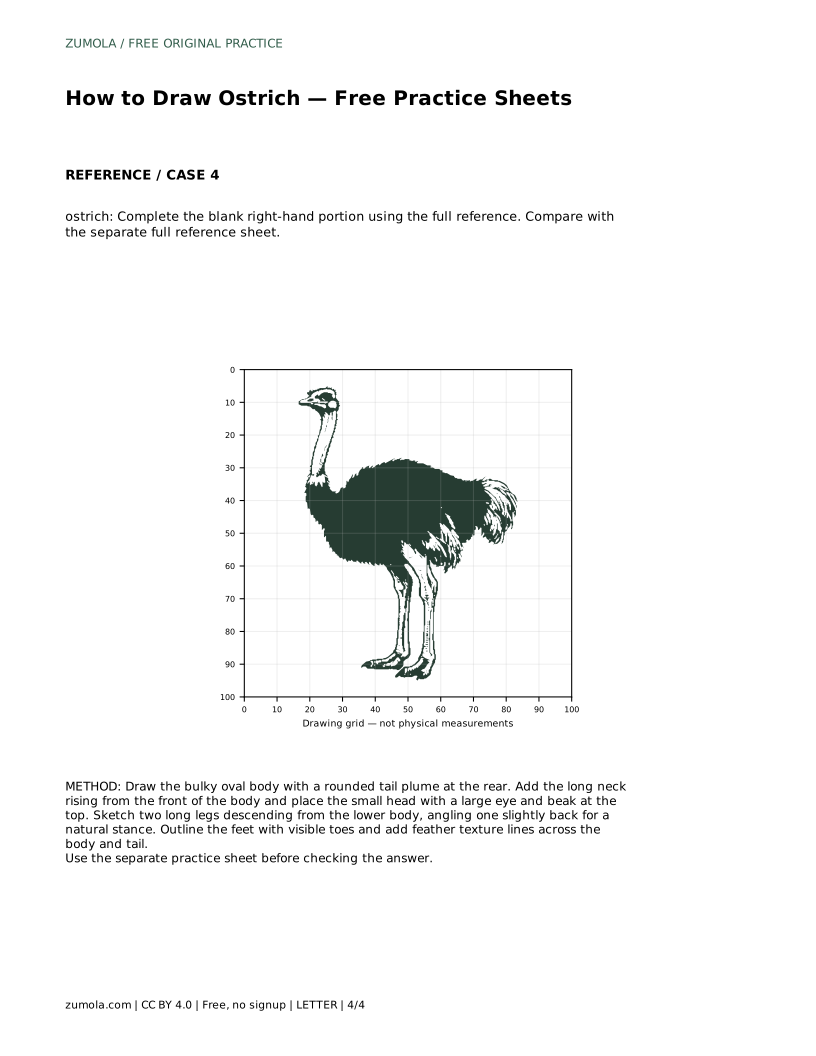
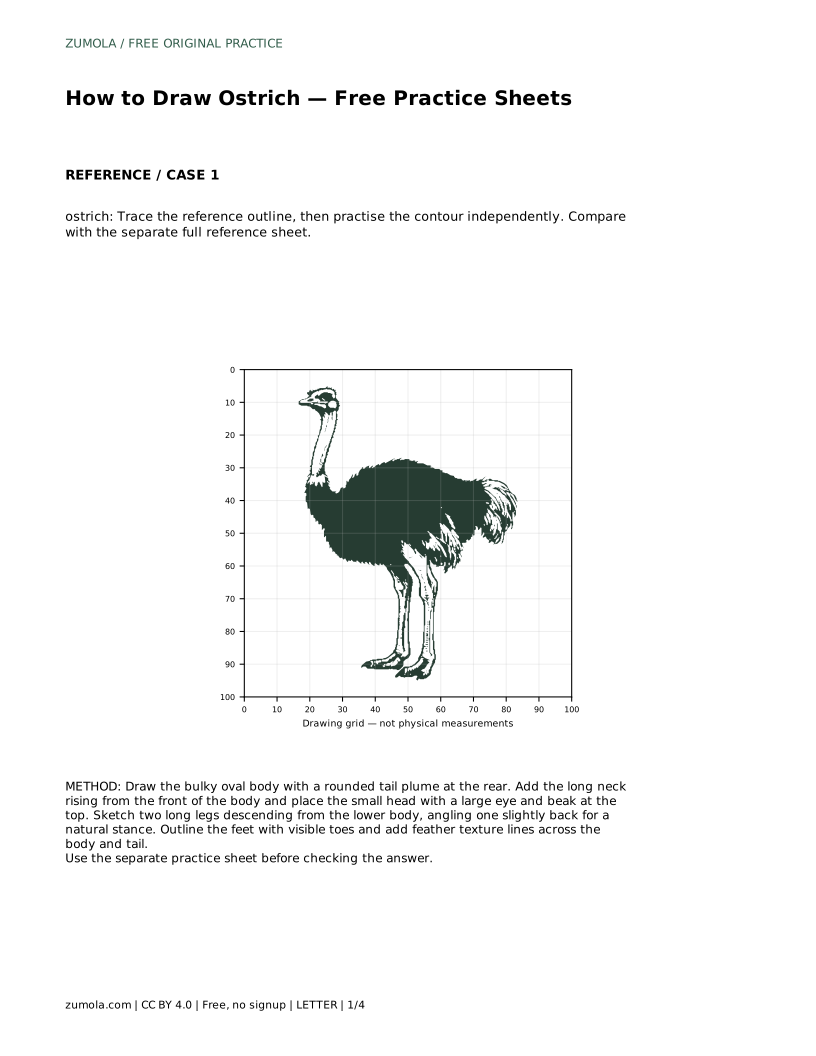
The trace sheet asks you to follow the reference outline first, then repeat the contour independently. The grid sheet asks you to copy the reference onto a blank grid using matching intersections, which trains you to judge where each part sits. The bounding frame and center guide help you place the overall silhouette before adding identifying details. The partial sheet gives you the left portion and asks you to complete the blank right-hand portion from the full reference.
Each format targets a different skill, so compare your result with the separate full reference sheet rather than expecting a pixel-perfect match. Drawings can differ and still be correct if the visible features and proportions hold together.
Compare your drawing against the reference by asking whether the long neck extends upward from a bulky feathered body, whether the head is small with a visible large eye and beak, and whether two long legs with distinct feet are present, one slightly behind the other. These are the identifying features; small differences in angle or feather pattern are acceptable.
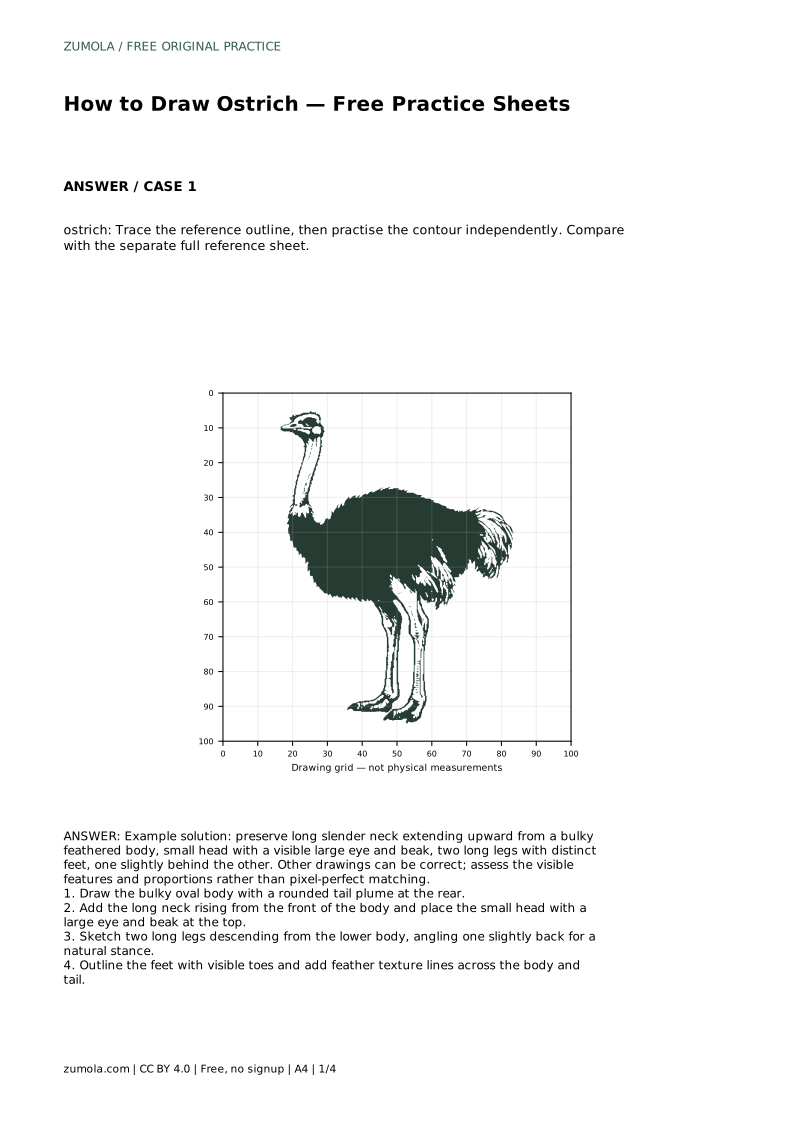
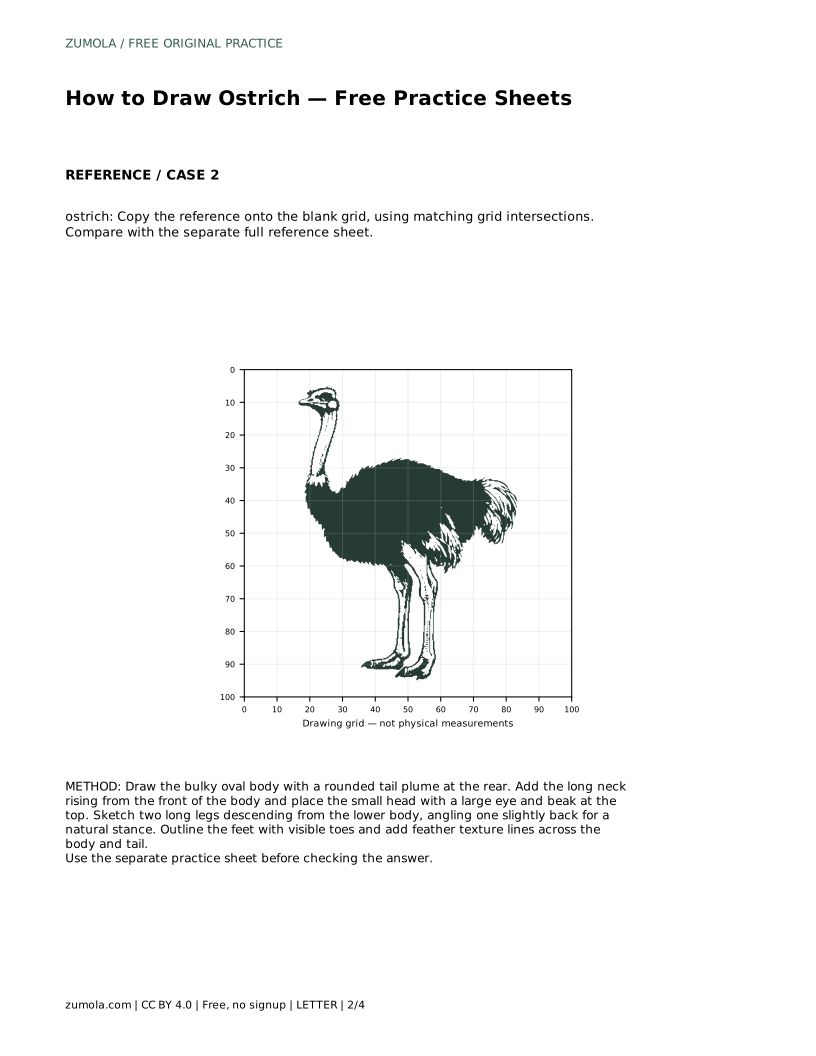
ostrich: Trace the reference outline, then practise the contour independently. Compare with the separate full reference sheet.
Example solution: preserve long slender neck extending upward from a bulky feathered body, small head with a visible large eye and beak, two long legs with distinct feet, one slightly behind the other. Other drawings can be correct; assess the visible features and proportions rather than pixel-perfect matching. Draw the bulky oval body with a rounded tail plume at the rear. Add the long neck rising from the front of the body and place the small head with a large eye and beak at the top. Sketch two long legs descending from the lower body, angling one slightly back for a natural stance. Outline the feet with visible toes and add feather texture lines across the body and tail.
No. Other drawings can be correct. Assess the visible features and proportions rather than pixel-perfect matching.
Start with the trace sheet to learn the contour, then move to the grid, frame, and partial sheets as your placement improves.
Check the body-to-neck ratio and the head size, since those two relationships most strongly identify an ostrich.
All drawing practice · Free coordinate paper
Original resources · CC BY 4.0 · Free for personal and classroom use with attribution.