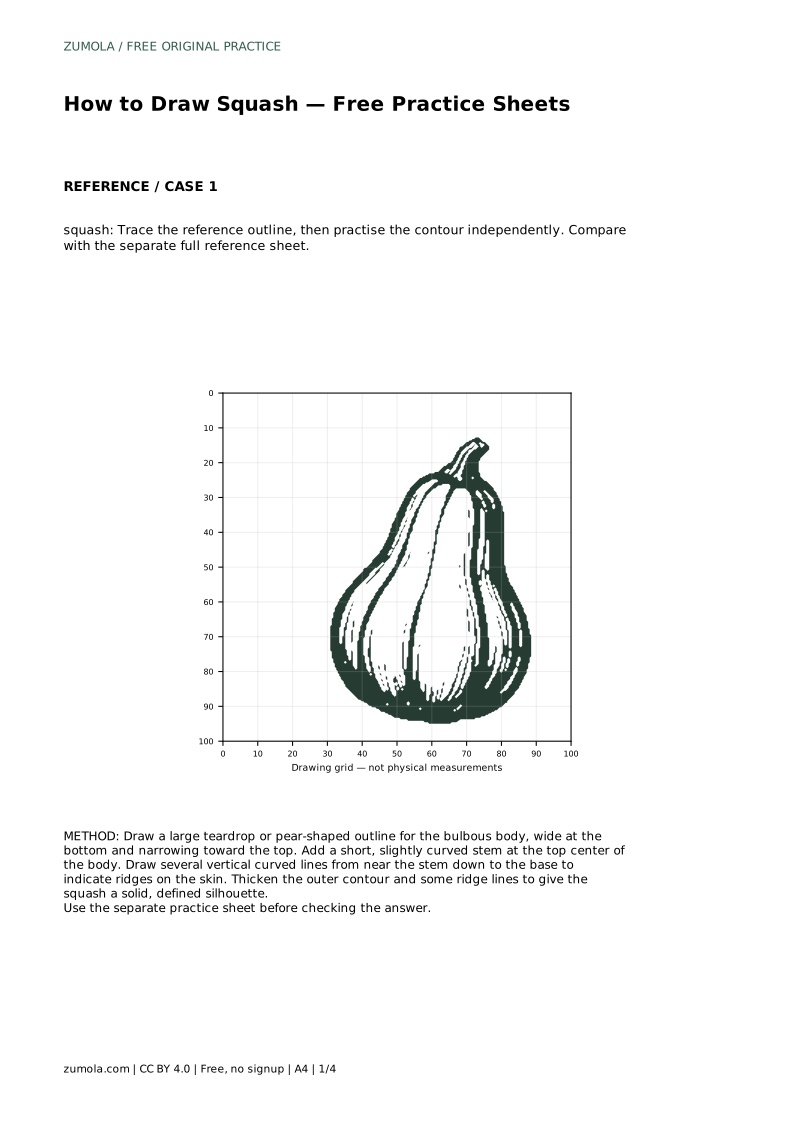
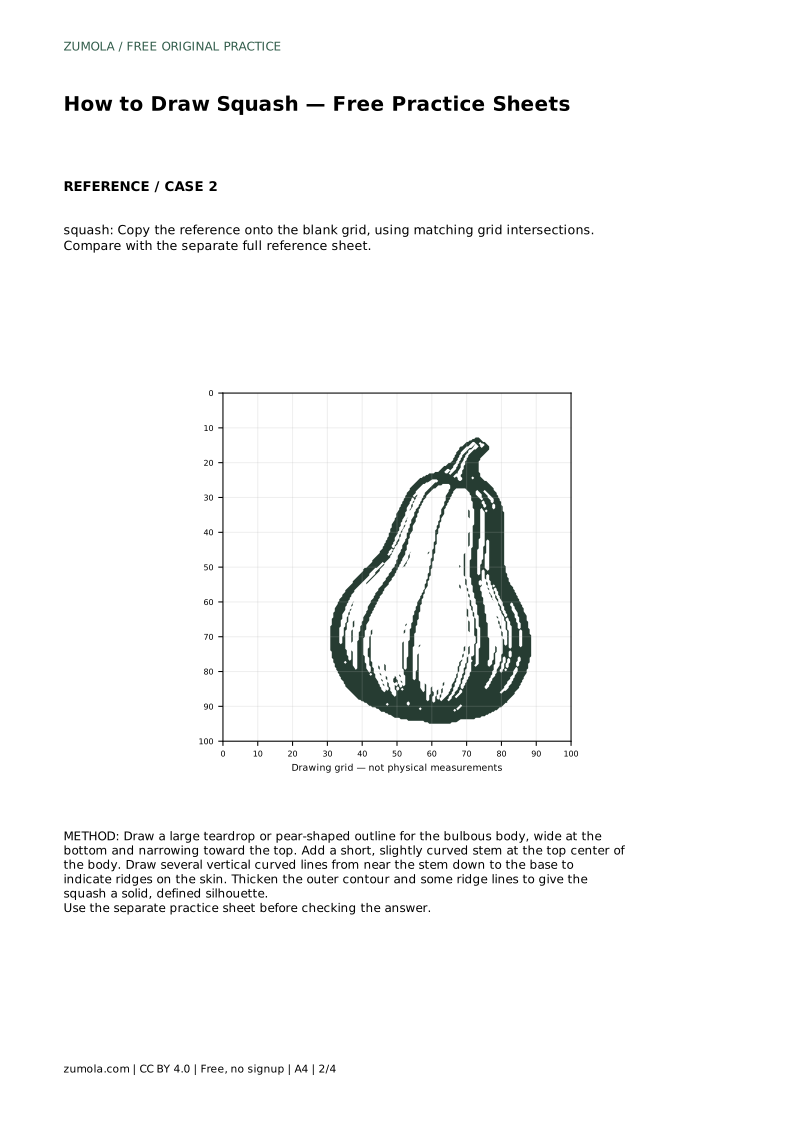
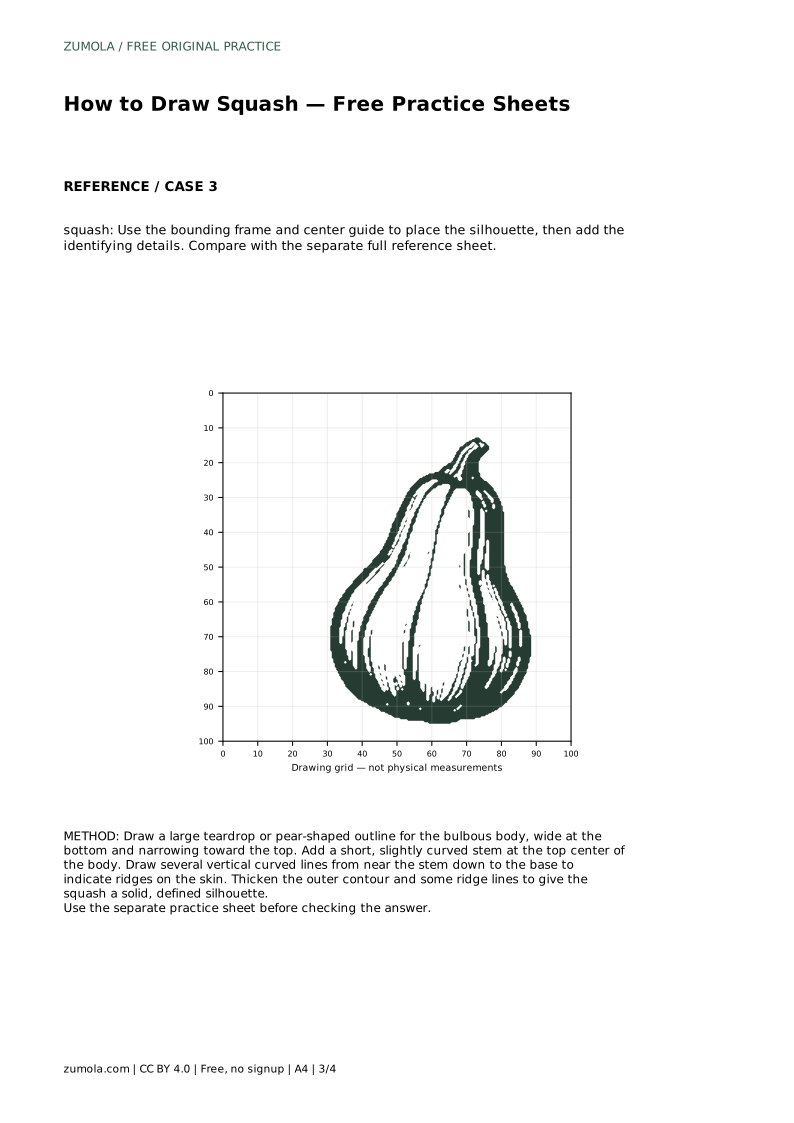
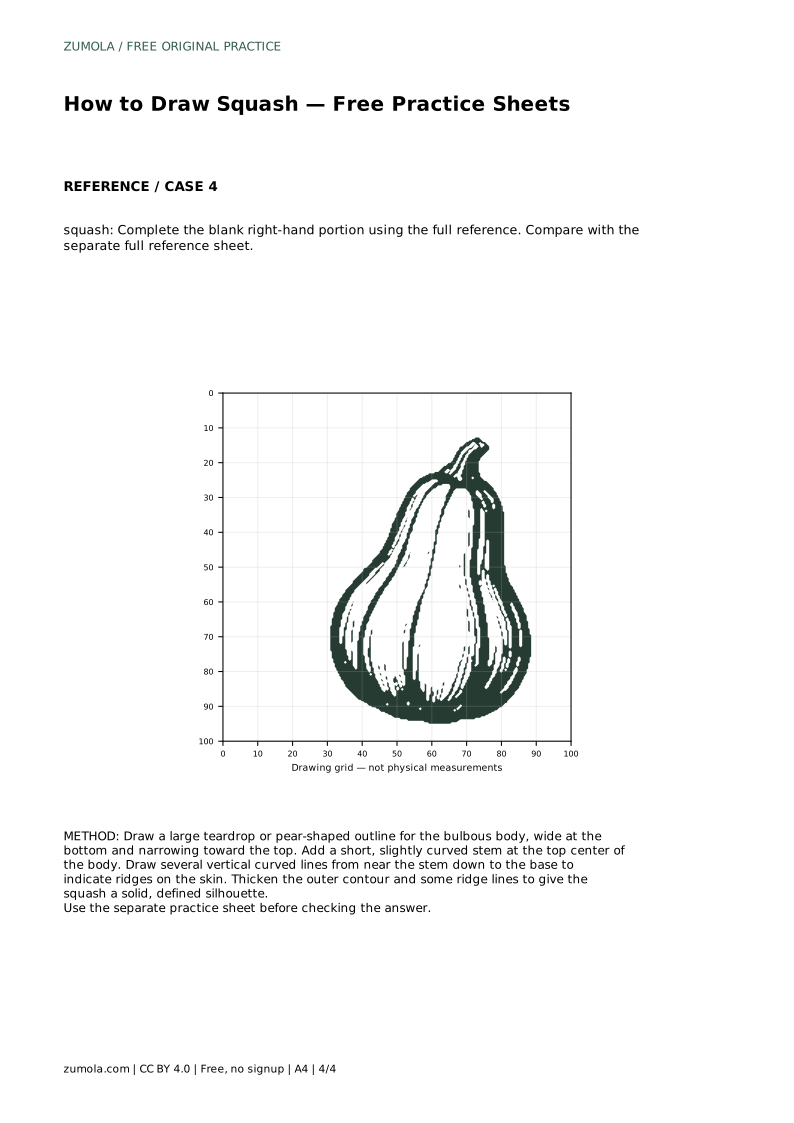
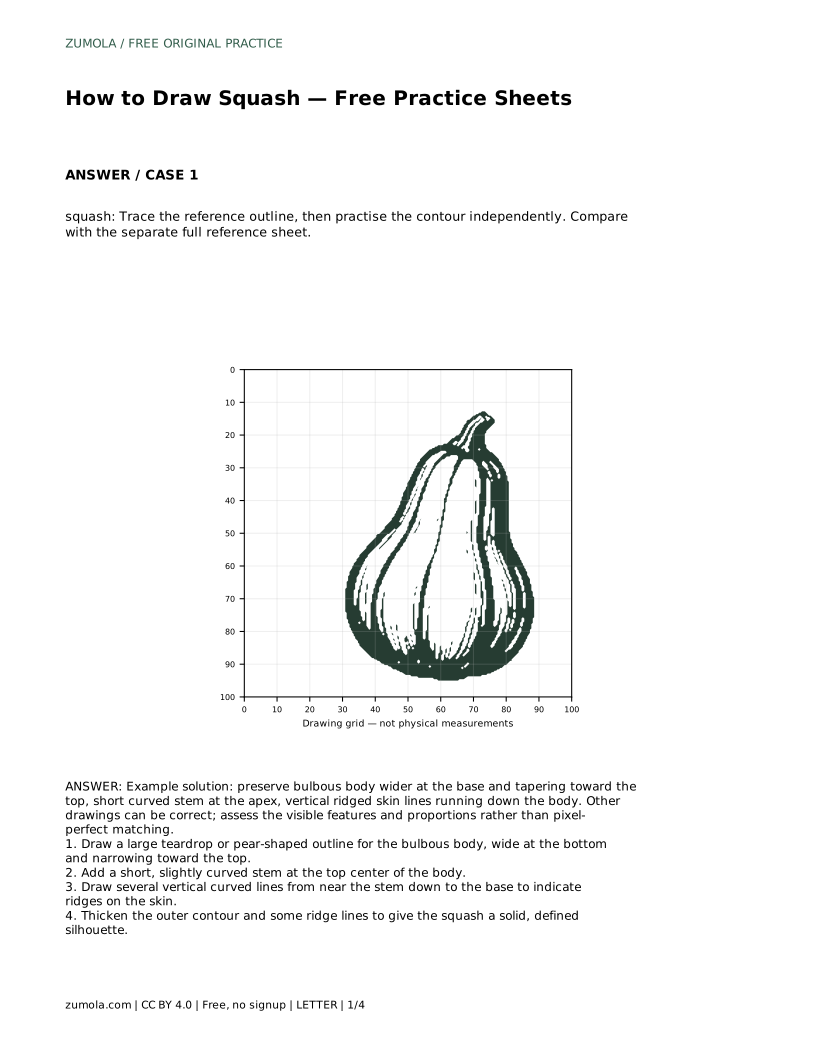
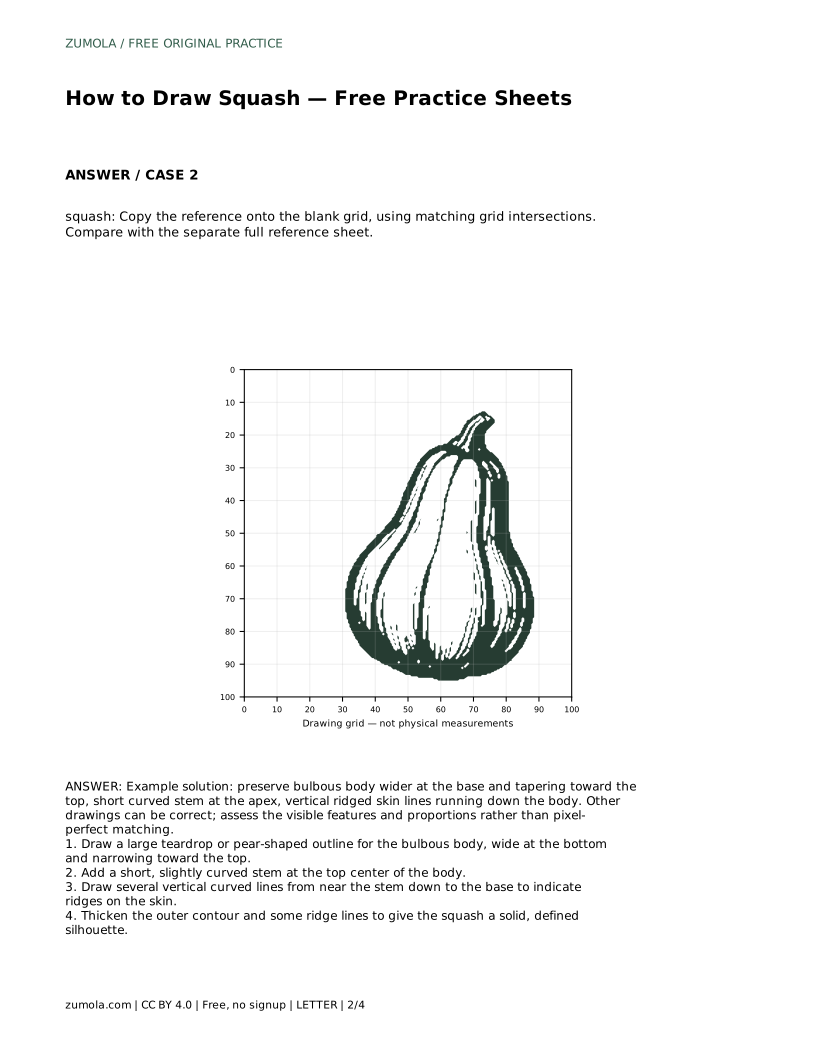
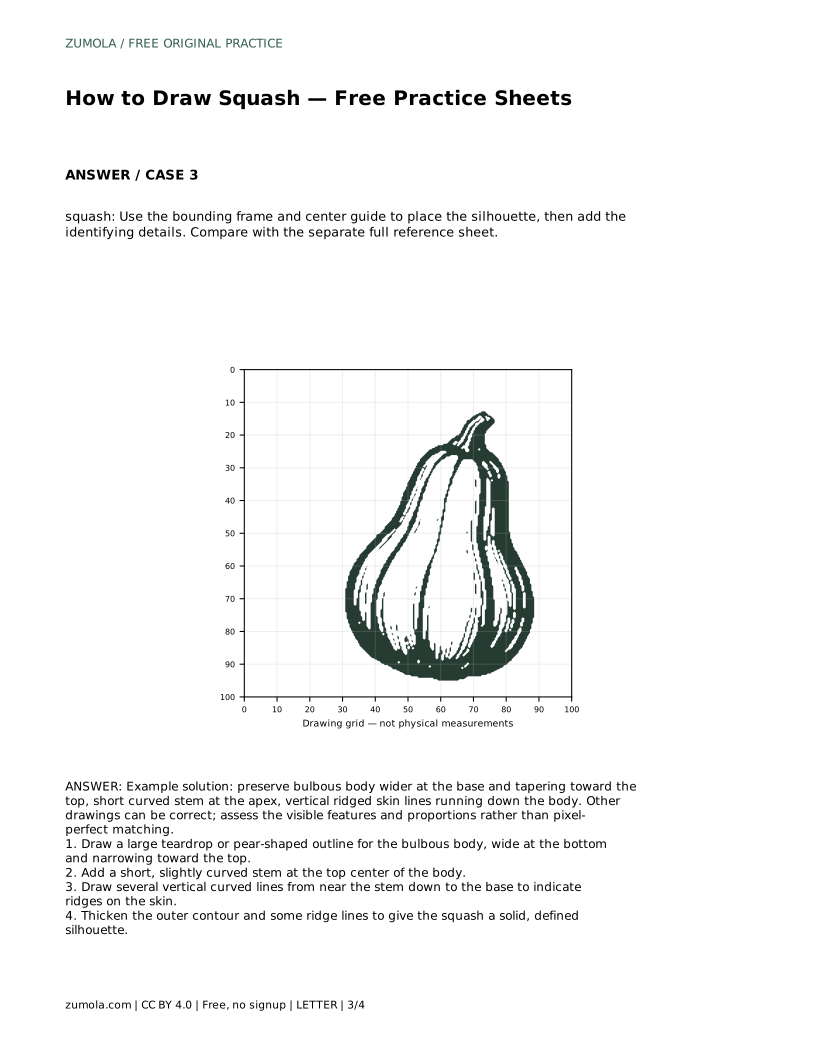
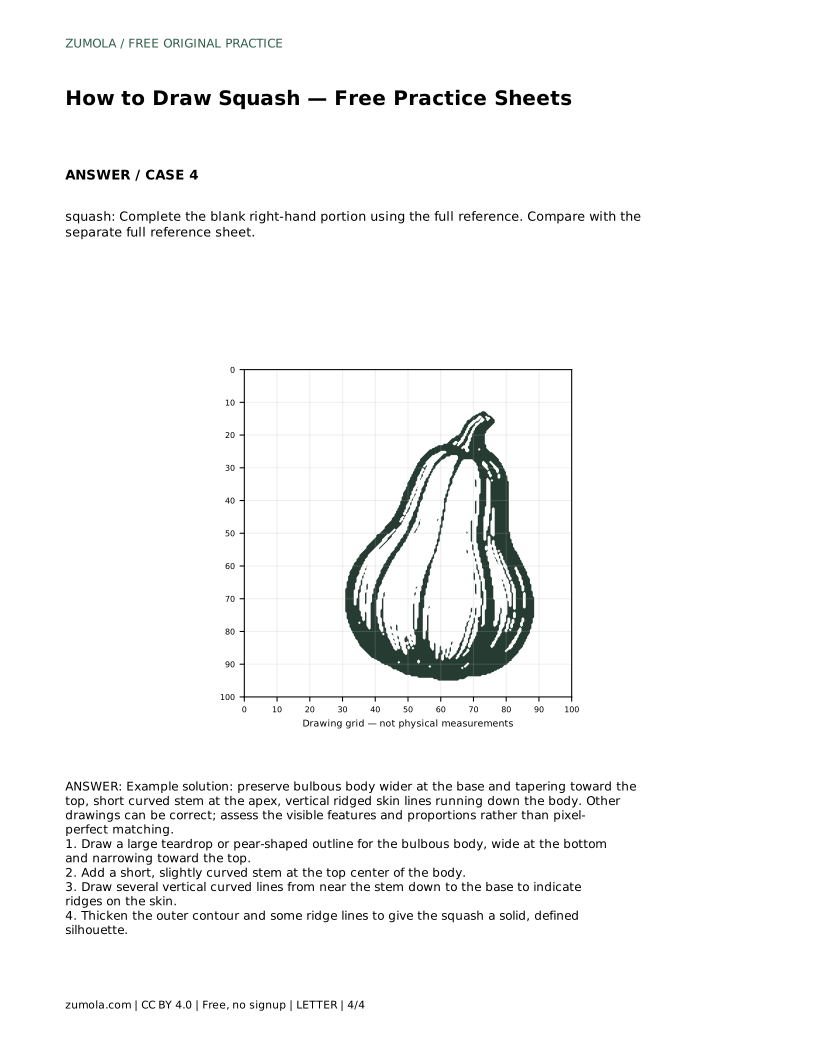
Reference diagrams
LETTER · Download PDF
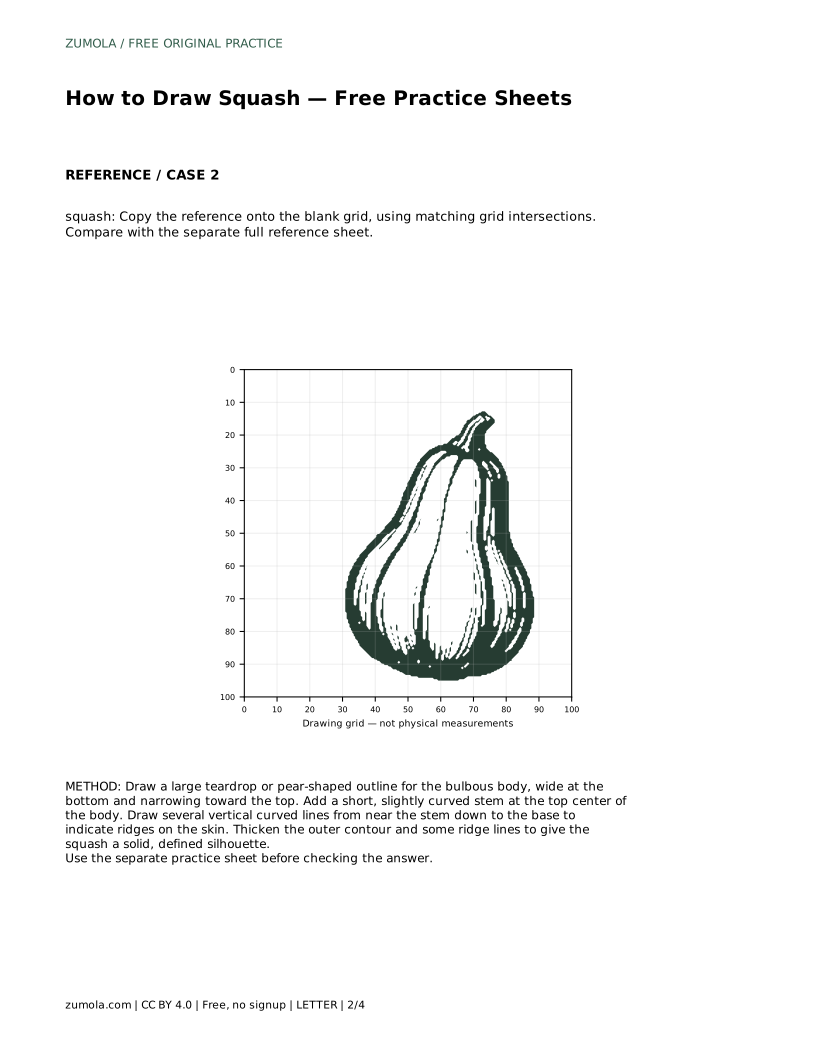
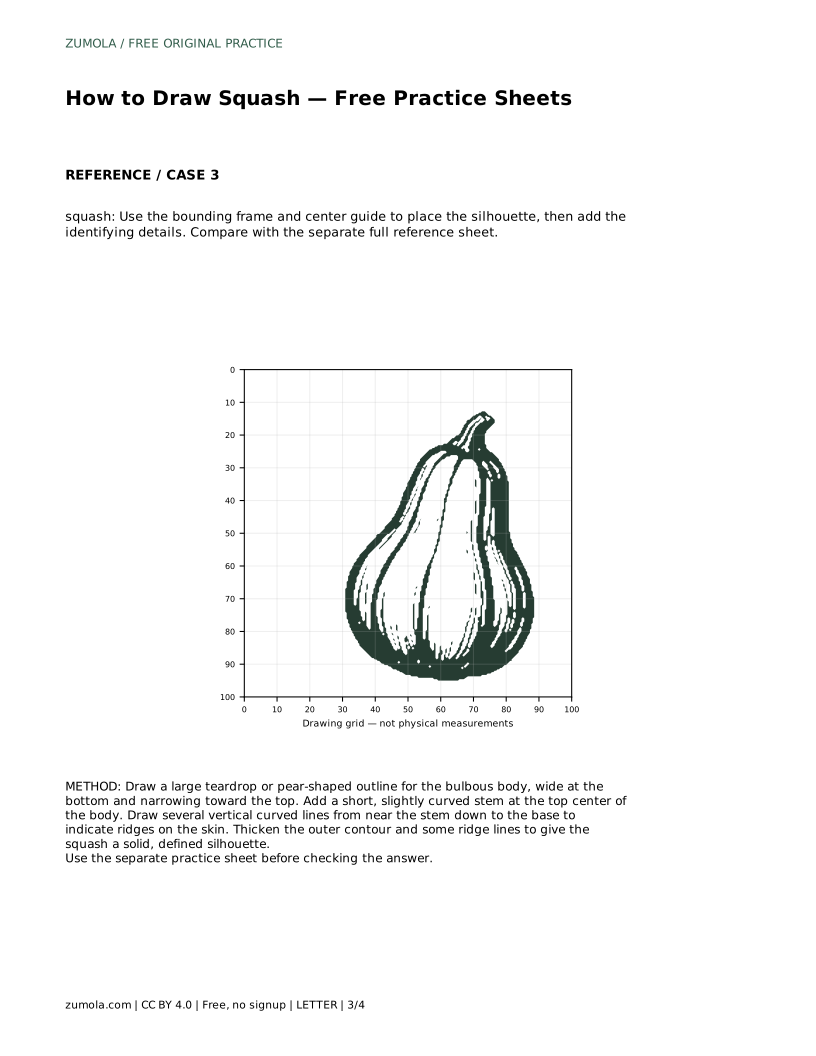
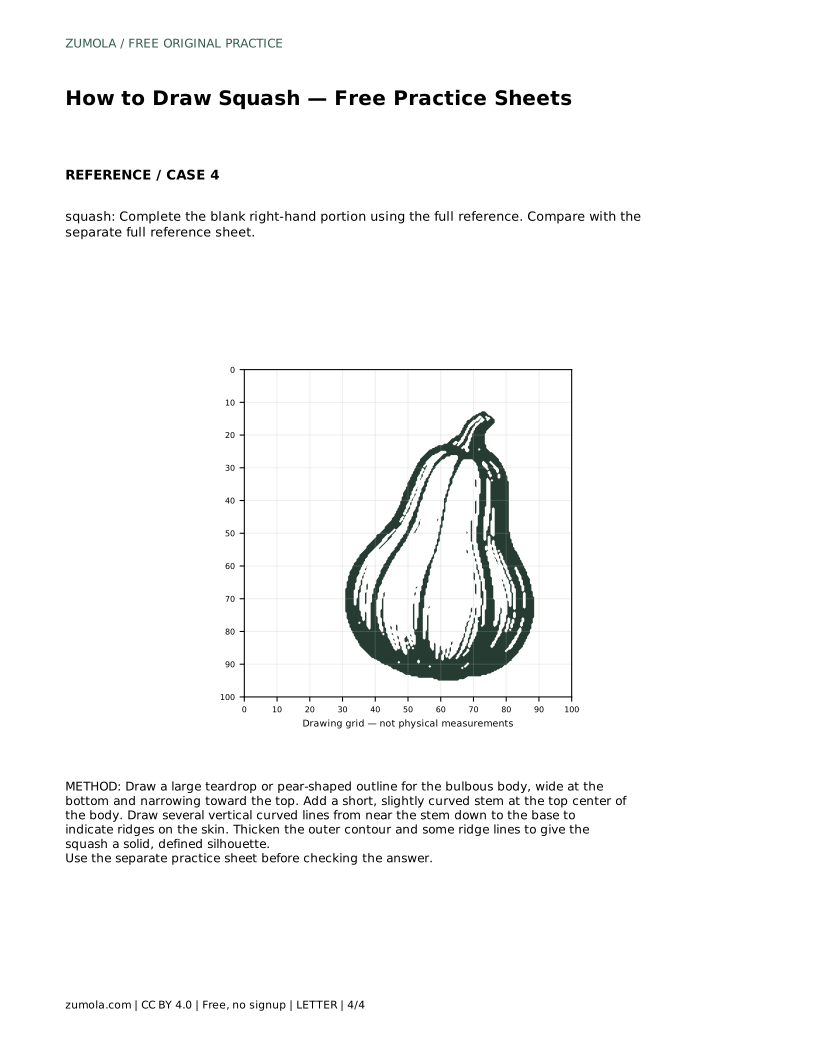
A4 · Download PDF
Free original resources
Learn to draw a squash by building a pear-shaped body, a short curved stem, and vertical ridge lines. Free printable practice sheets support tracing, grids, and frames.
Four original cases, with reference diagrams, practice sheets and worked answers. Everything is free; no signup required.
LETTER · Download PDF
A4 · Download PDF
LETTER · Download PDF
A4 · Download PDF
LETTER · Download PDF
A4 · Download PDF
Use A4 or US Letter to match your printer. Use the stated values and conditions to solve each exercise; diagrams are not physical measuring rulers.
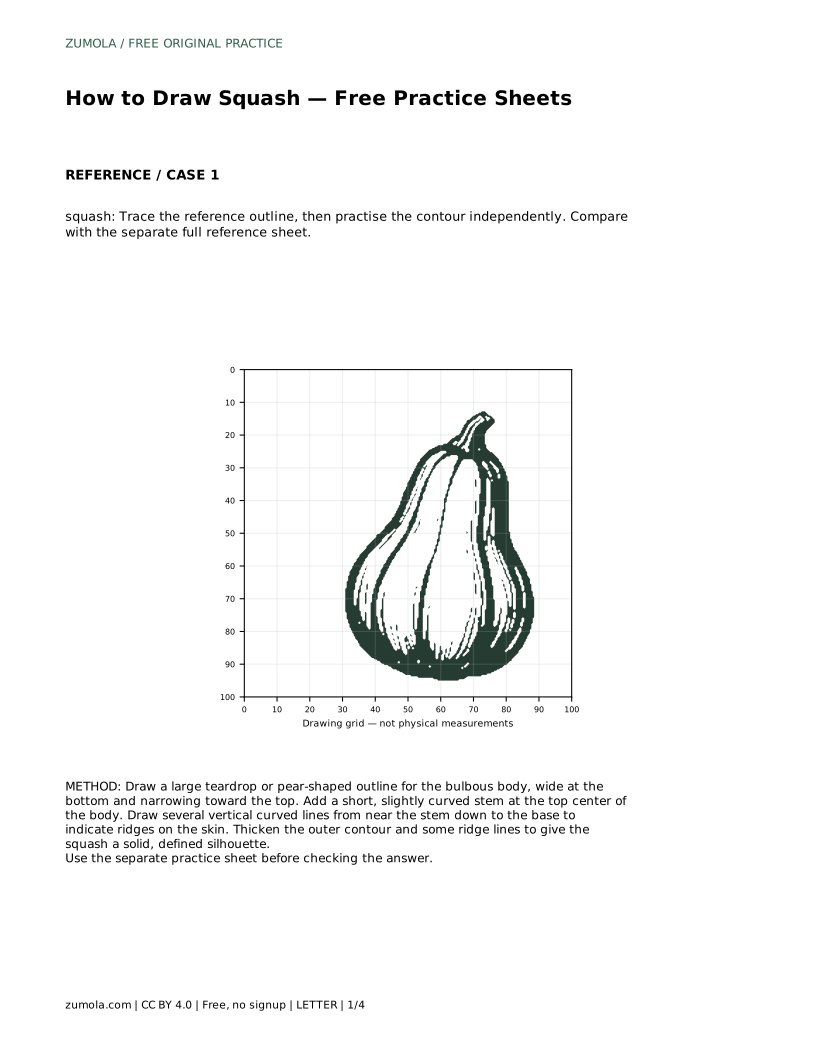
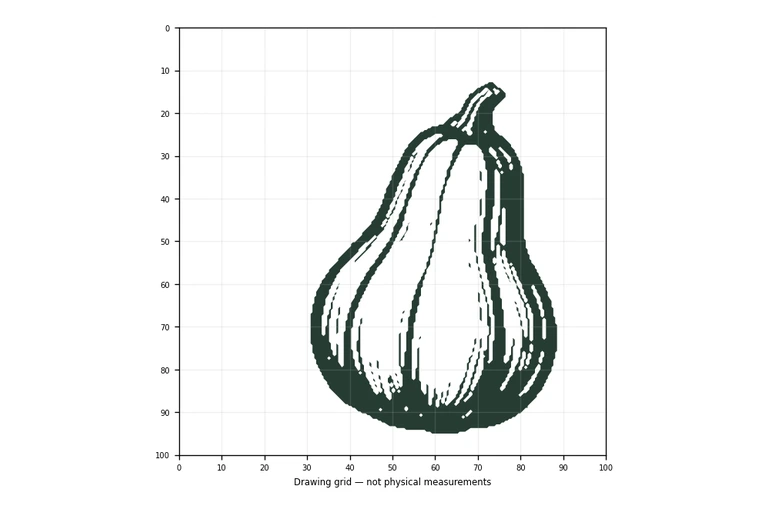
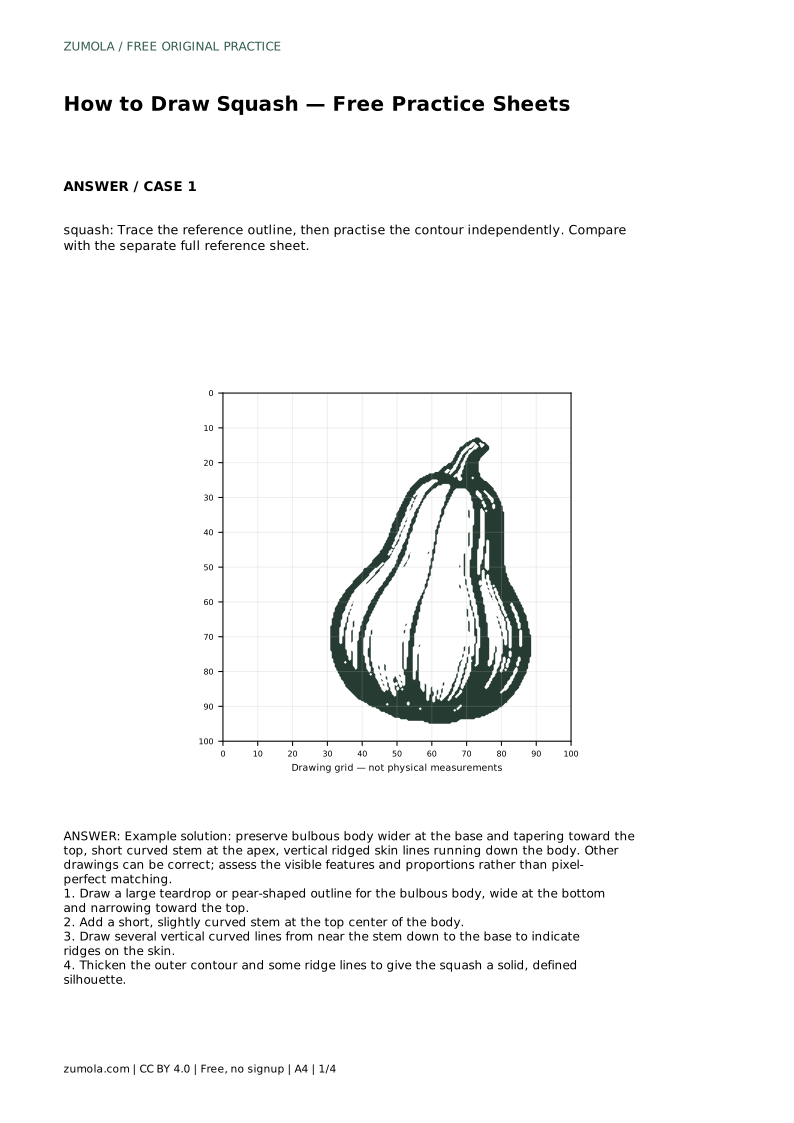
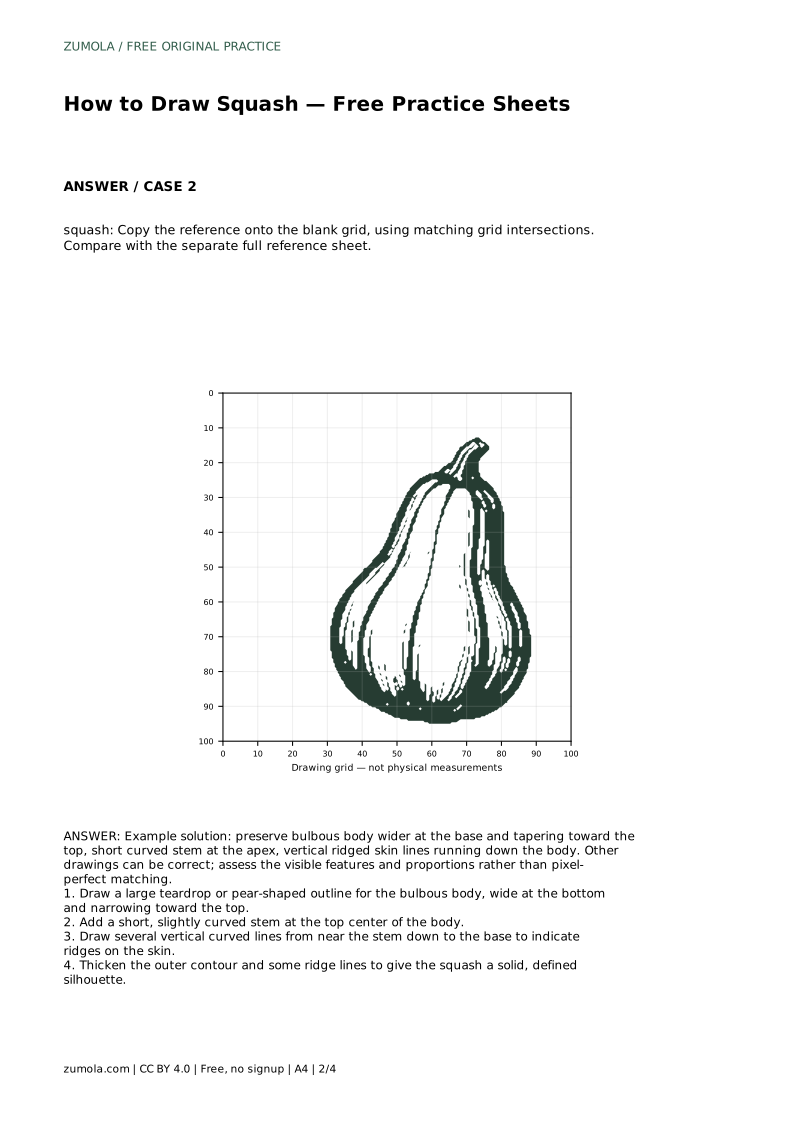
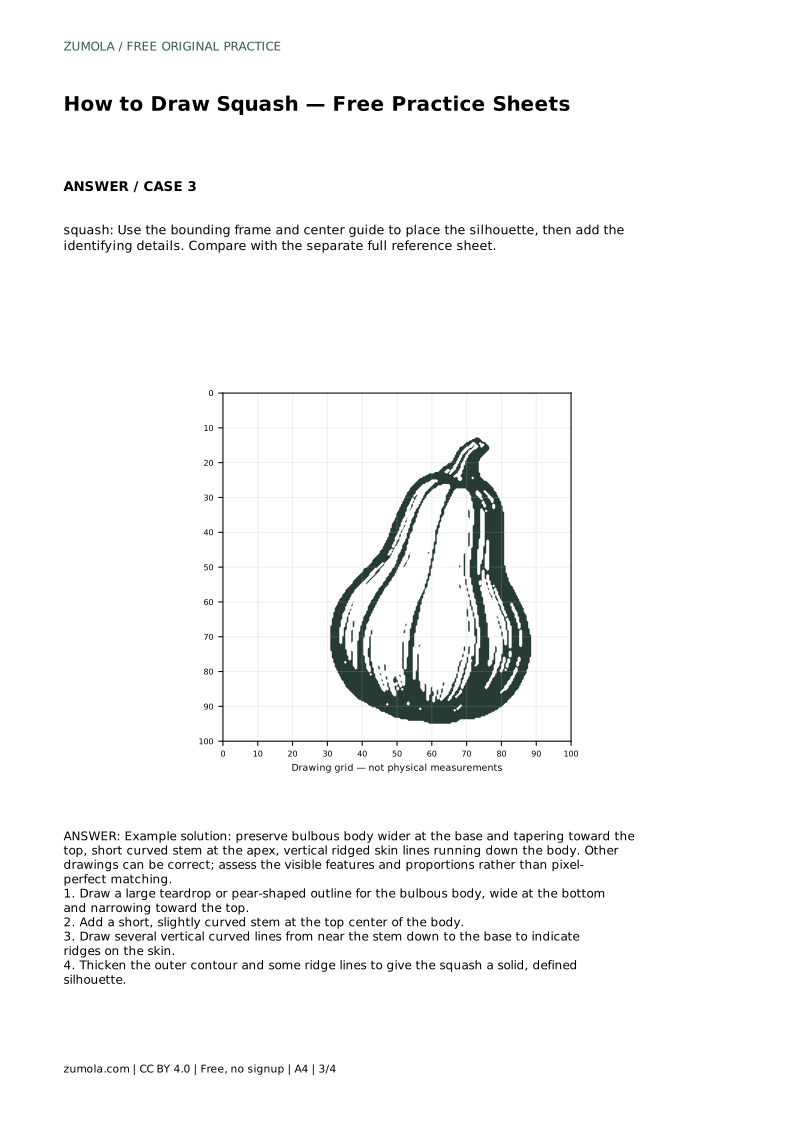
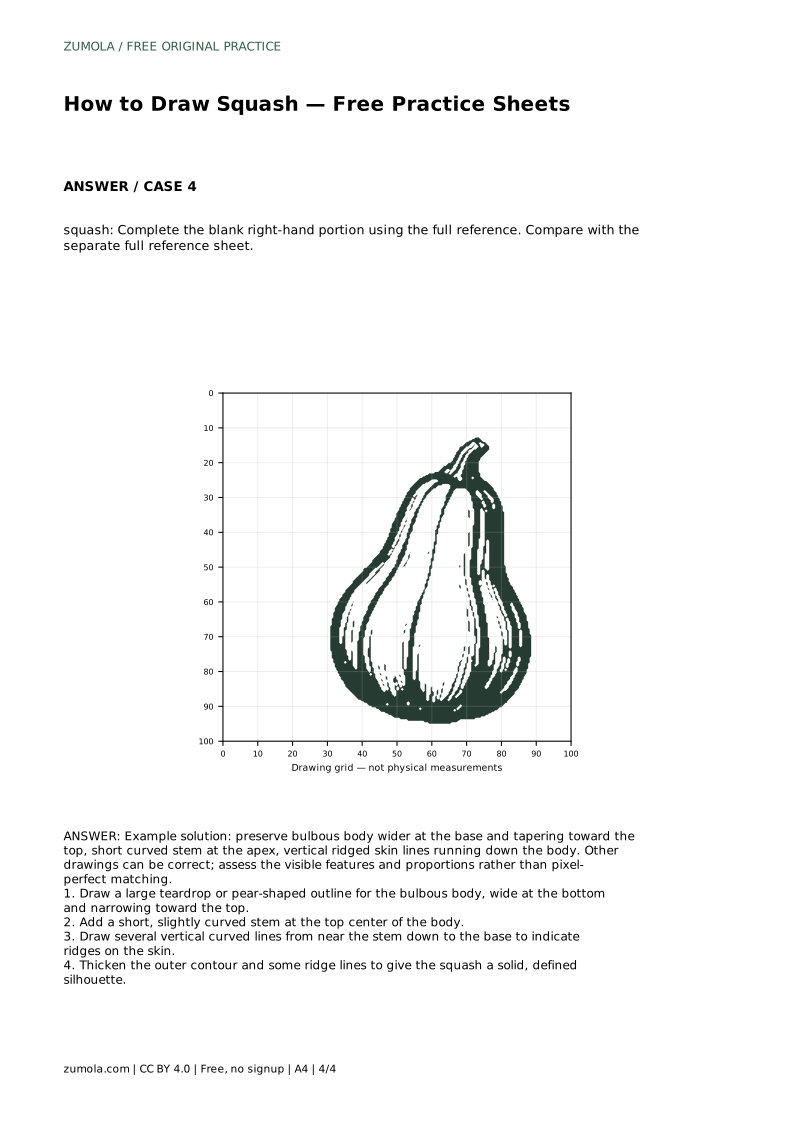
A drawing of squash depends on a few clear features: a bulbous body that is wider at the base and tapers toward the top, a short curved stem at the apex, and vertical ridged lines running down the skin. This page explains how to place those features in order, then how to check your drawing against a separate full reference sheet. The printable practice sheets offer tracing, grid copying, frame-and-center placement, and partial-completion formats, so you can practise the same contour in different ways.
Begin by deciding where the squash sits on the page. The body is a large teardrop or pear shape: broad and rounded near the bottom, narrowing gradually toward the top. Keep the widest point low rather than at the middle, because that low weight is what makes the shape read as squash rather than as a generic oval.
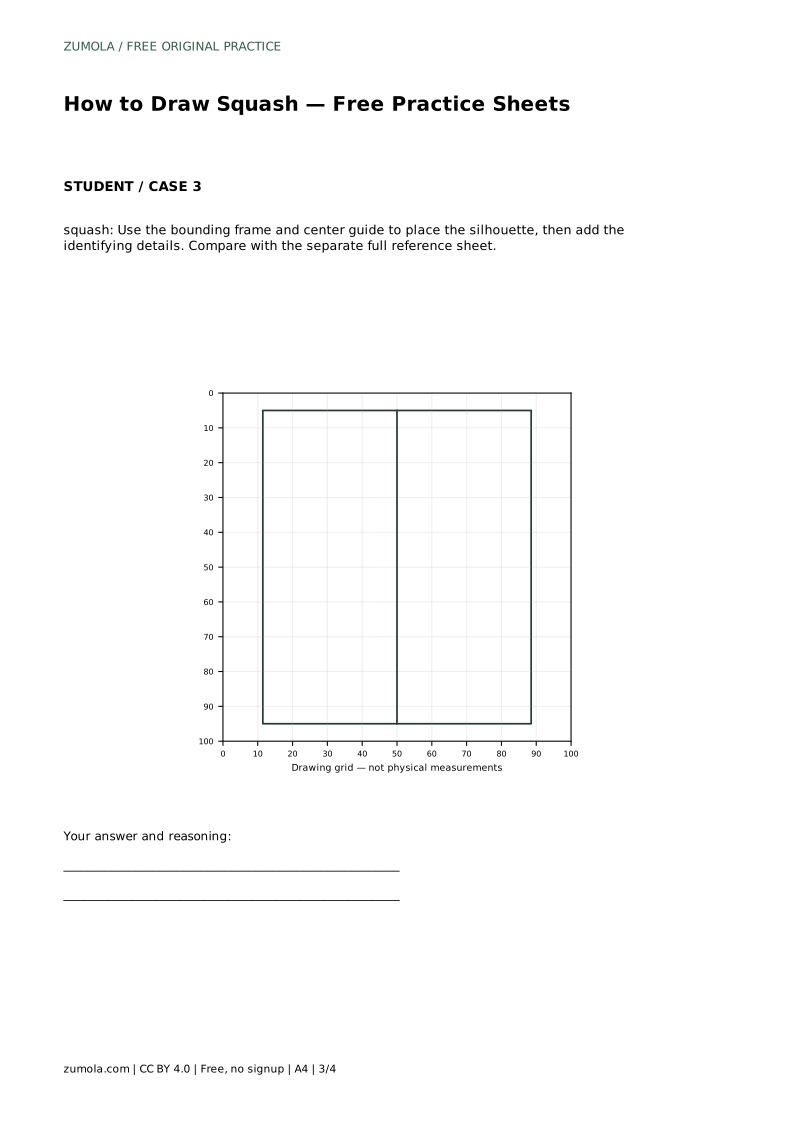
Draw the outline lightly at first. A single closed contour is enough at this stage; you are placing the overall mass, not finishing the skin. If the sheet provides a bounding frame or center guide, use it to judge how much of the page the body should occupy and whether the shape leans left or right. Leave room above the body for the stem.
Place a short, slightly curved stem at the top center of the body. The stem should look attached, so let its base meet the narrowing top of the body rather than float above it. A slight curve gives the stem direction and keeps it from looking like a straight peg.
Next, draw several vertical curved lines from near the stem down to the base. These lines indicate ridges on the skin. They should follow the body's curvature: closer together where the body narrows, spreading slightly where it widens. Keep the lines roughly parallel in spirit but not mechanically straight, since ridges bend with the surface.
Finally, thicken the outer contour and some ridge lines to give the squash a solid, defined silhouette. Thickening every line equally flattens the drawing; varying line weight helps the outline read as the edge of a form.
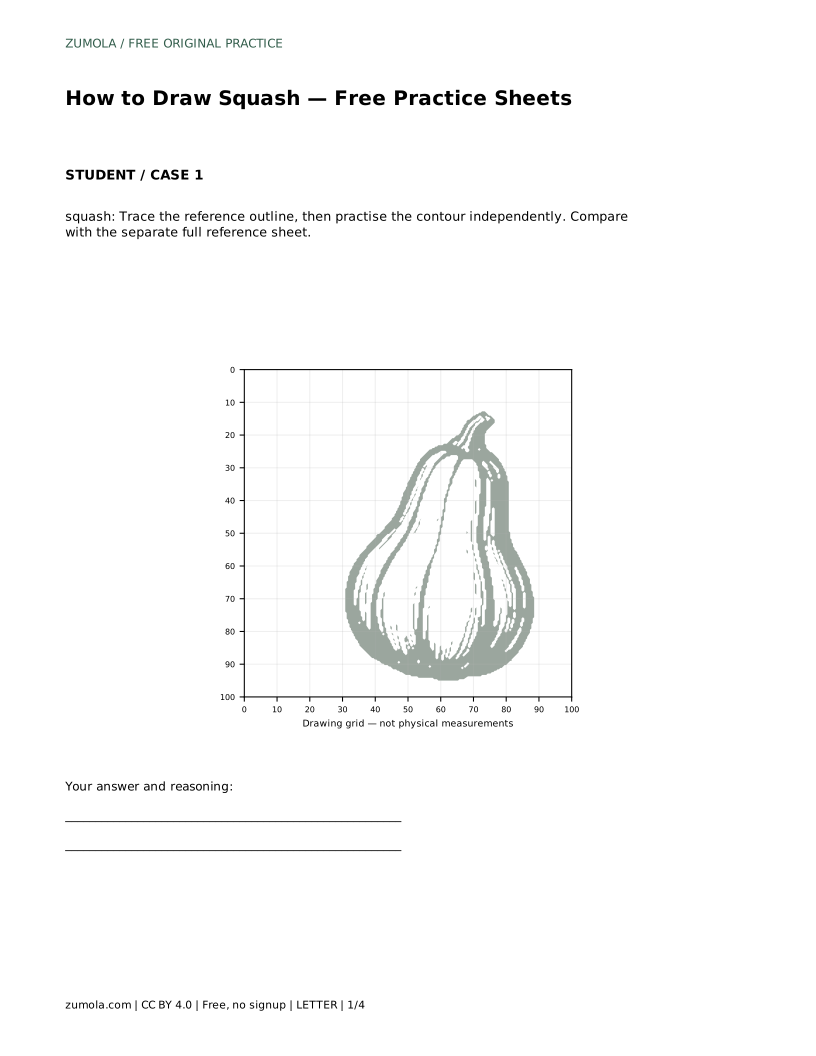
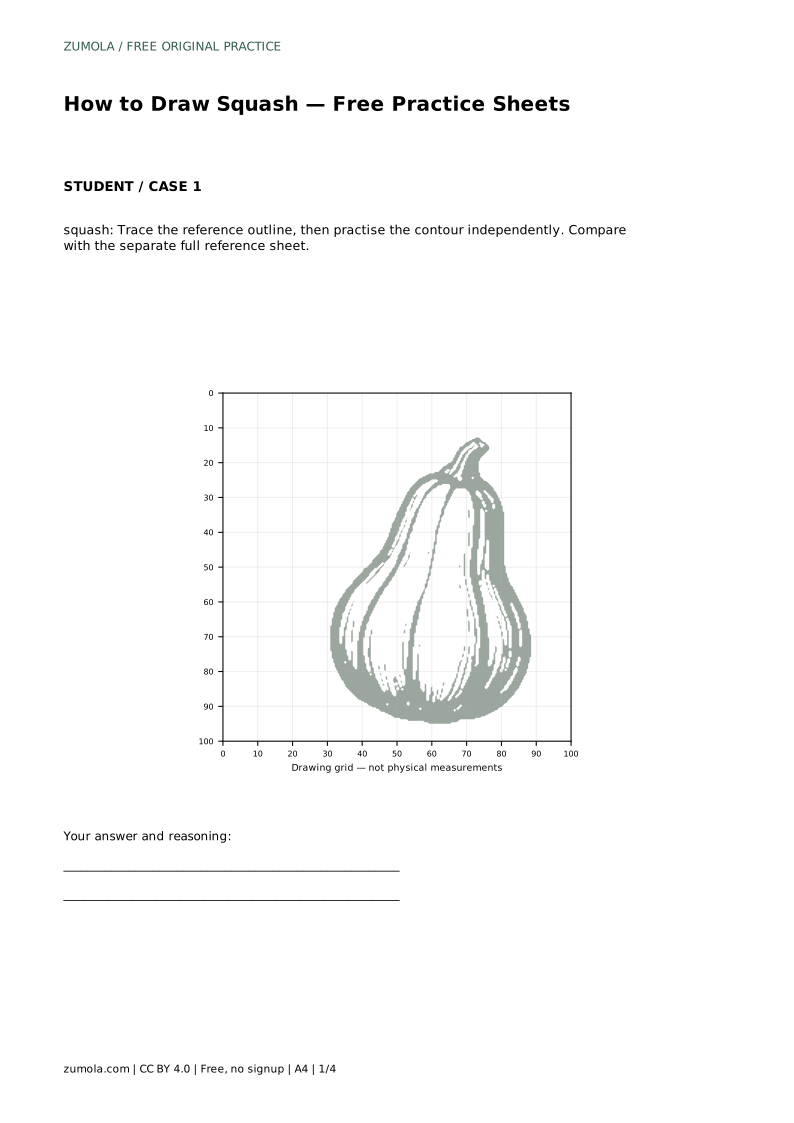
Tracing helps you feel the contour before drawing it freehand. Trace the reference outline, then practise the contour independently on blank space, and compare with the separate full reference sheet. The comparison is the useful step: look for whether the body is wider at the base, whether the stem sits at the apex, and whether the ridge lines run from near the stem to the base.
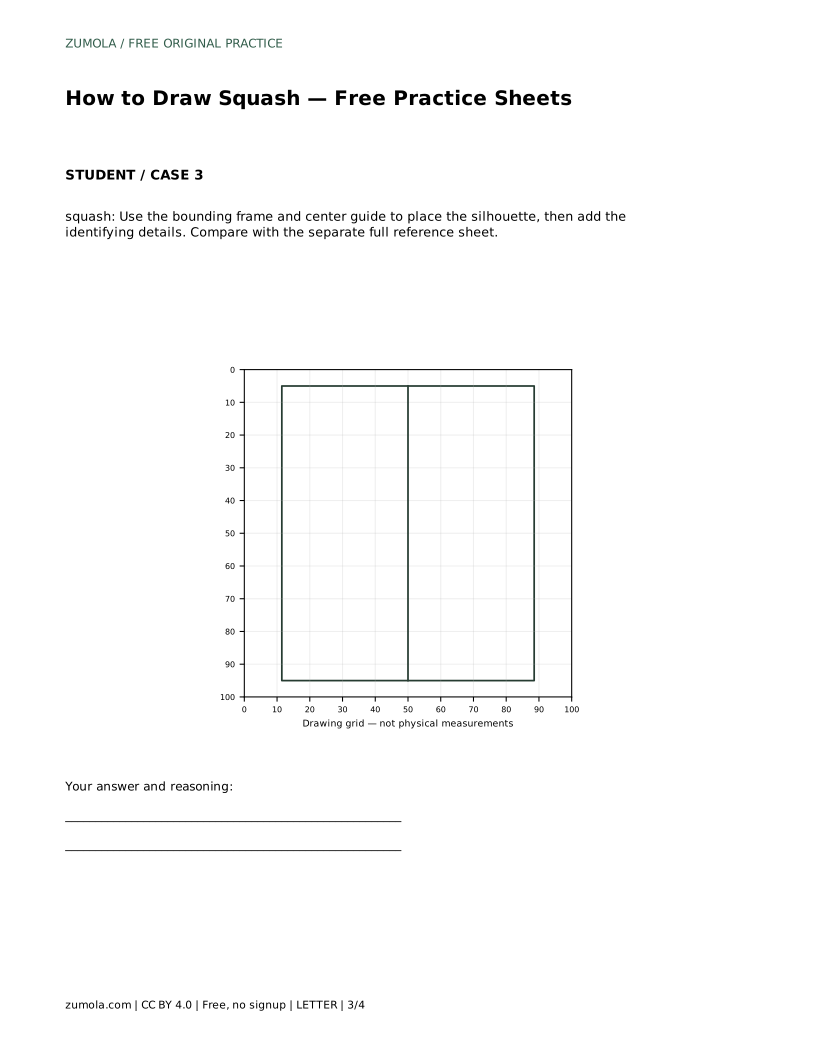
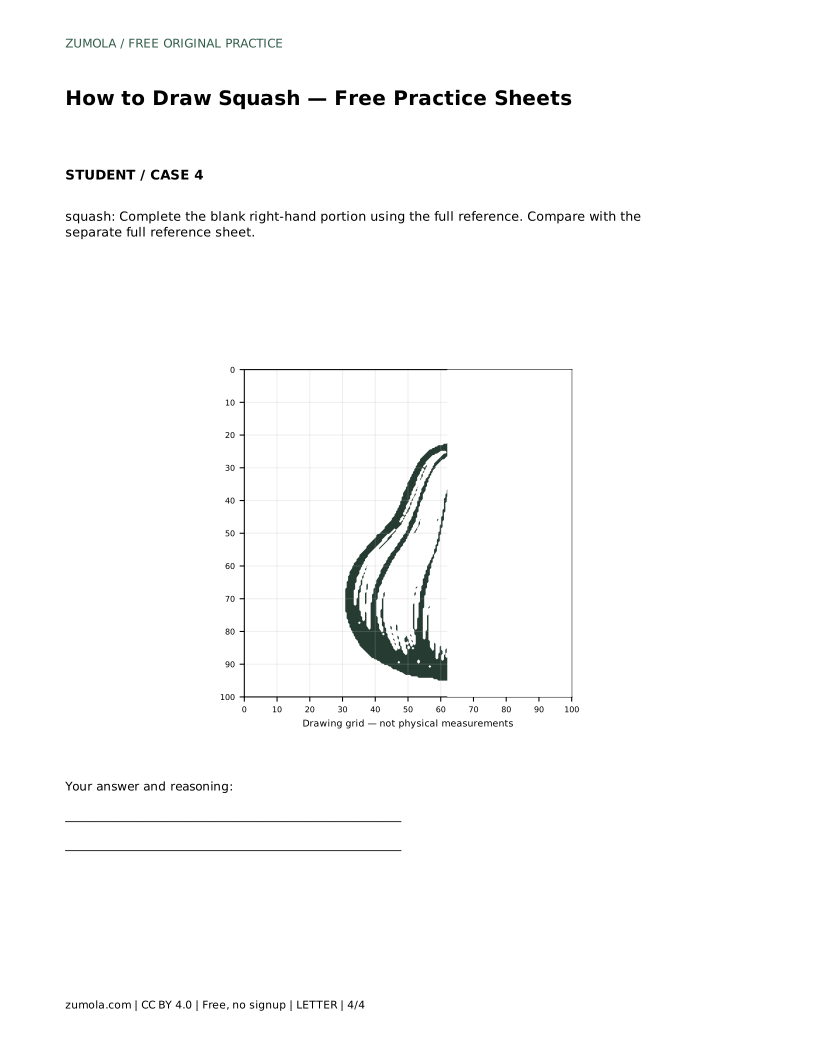
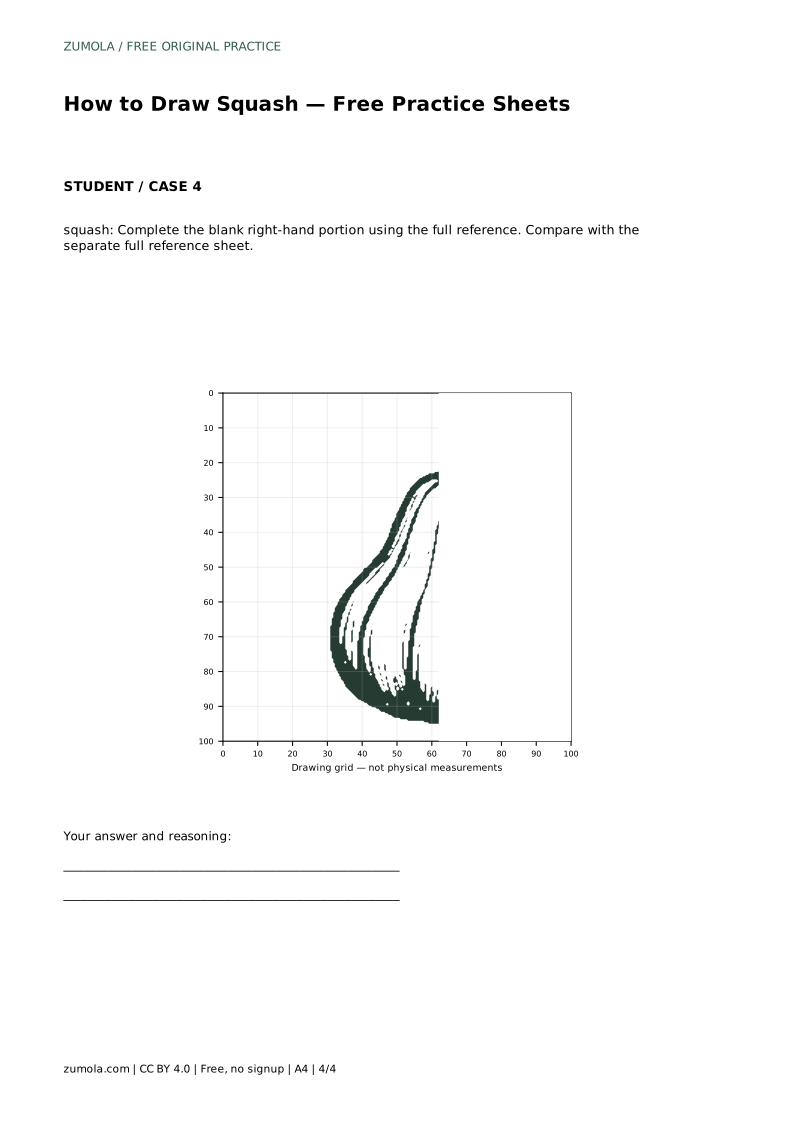
Grid copying asks you to match grid intersections rather than guess proportions. Work one square at a time, noting where the outline crosses each intersection, and resist drawing the whole shape from memory. The bounding frame and center guide format helps you place the silhouette before adding details. The partial-completion format gives you part of the drawing and asks you to finish the blank portion using the full reference, which tests whether you can continue an existing contour accurately.
A drawing of squash can be correct in more than one way. Rather than aiming for a pixel-perfect match, assess the visible features and proportions: a bulbous body wider at the base, a taper toward the top, a short curved stem at the apex, and vertical ridged lines running down the body. Small differences in curve and spacing are acceptable if those features are present and coherent.
Use the rubric below as a quick self-check after each attempt. If one criterion fails, redraw only that part rather than starting over, so you can see how the correction changes the whole shape.
squash: Trace the reference outline, then practise the contour independently. Compare with the separate full reference sheet.
Example solution: preserve bulbous body wider at the base and tapering toward the top, short curved stem at the apex, vertical ridged skin lines running down the body. Other drawings can be correct; assess the visible features and proportions rather than pixel-perfect matching. Draw a large teardrop or pear-shaped outline for the bulbous body, wide at the bottom and narrowing toward the top. Add a short, slightly curved stem at the top center of the body. Draw several vertical curved lines from near the stem down to the base to indicate ridges on the skin. Thicken the outer contour and some ridge lines to give the squash a solid, defined silhouette.
No. Other drawings can be correct; assess the visible features and proportions rather than pixel-perfect matching.
Draw the body outline first, then the stem, then the ridge lines, and thicken the contour and some ridges last.
Check that the body is wider at the base and tapers toward the top, that the stem sits at the apex, and that ridge lines run from near the stem down to the base.
All drawing practice · Free coordinate paper
Original resources · CC BY 4.0 · Free for personal and classroom use with attribution.