Reference diagrams
LETTER · Download PDF
A4 · Download PDF
Free original resources
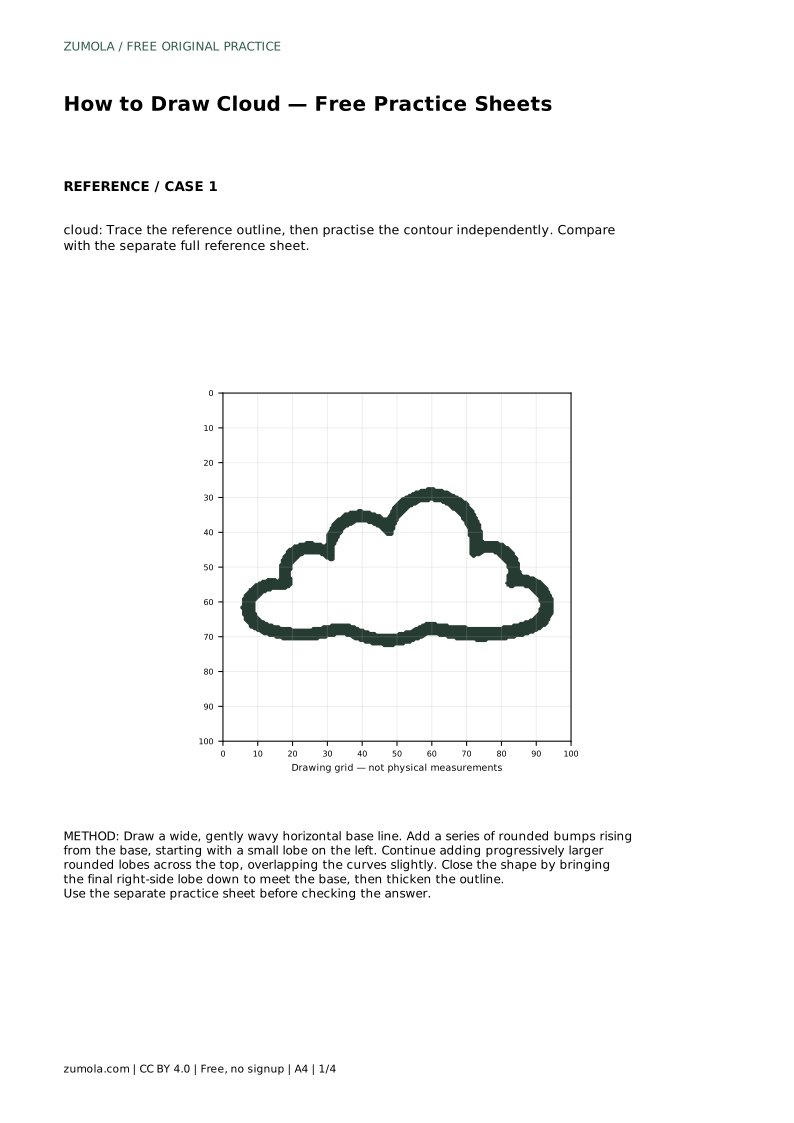
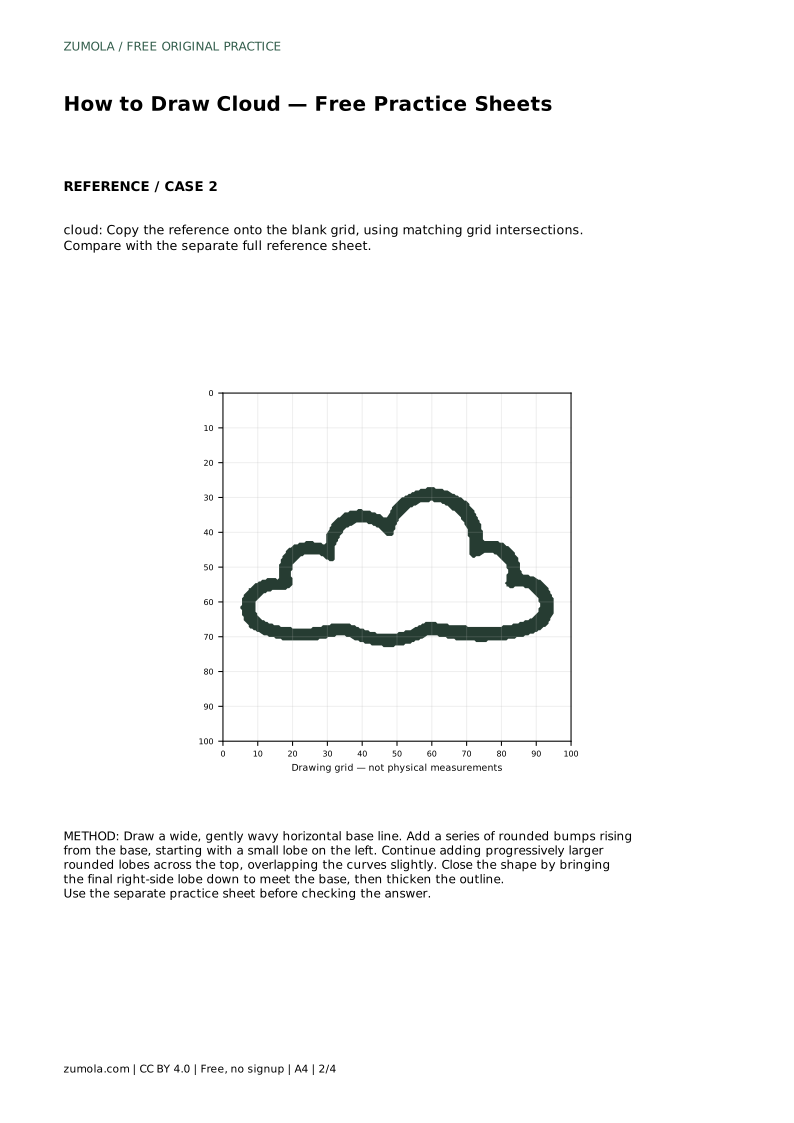
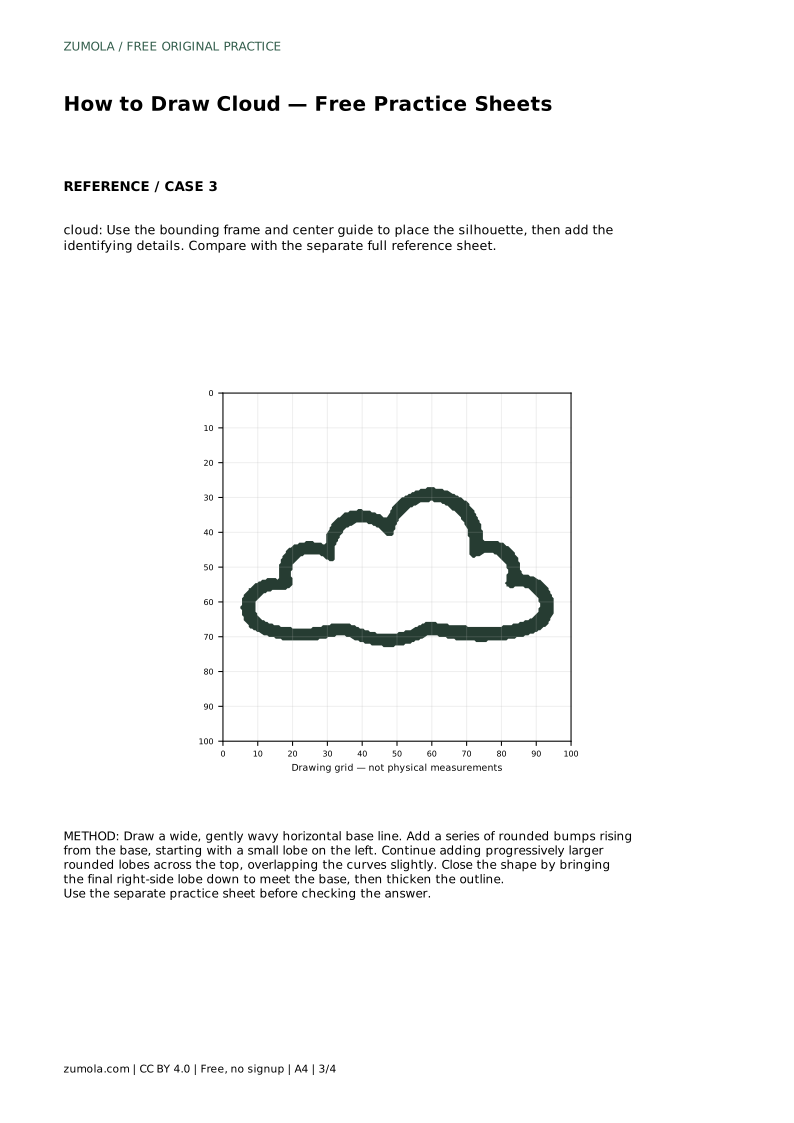
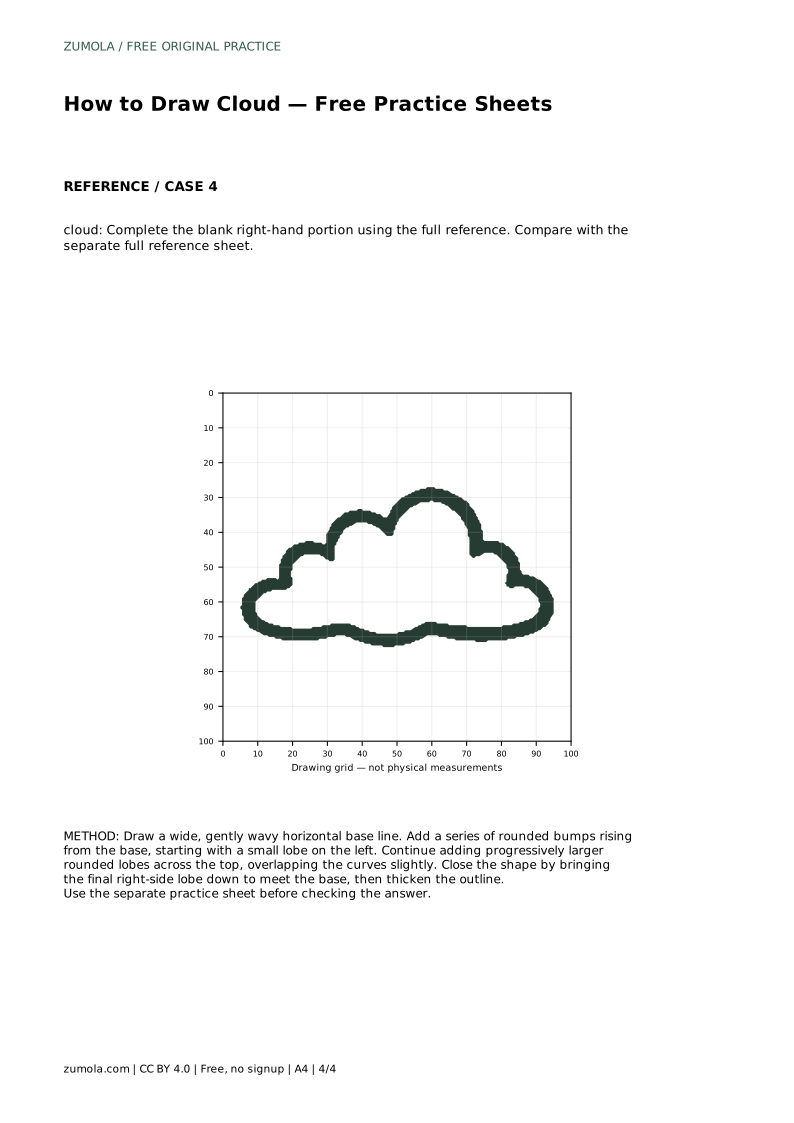
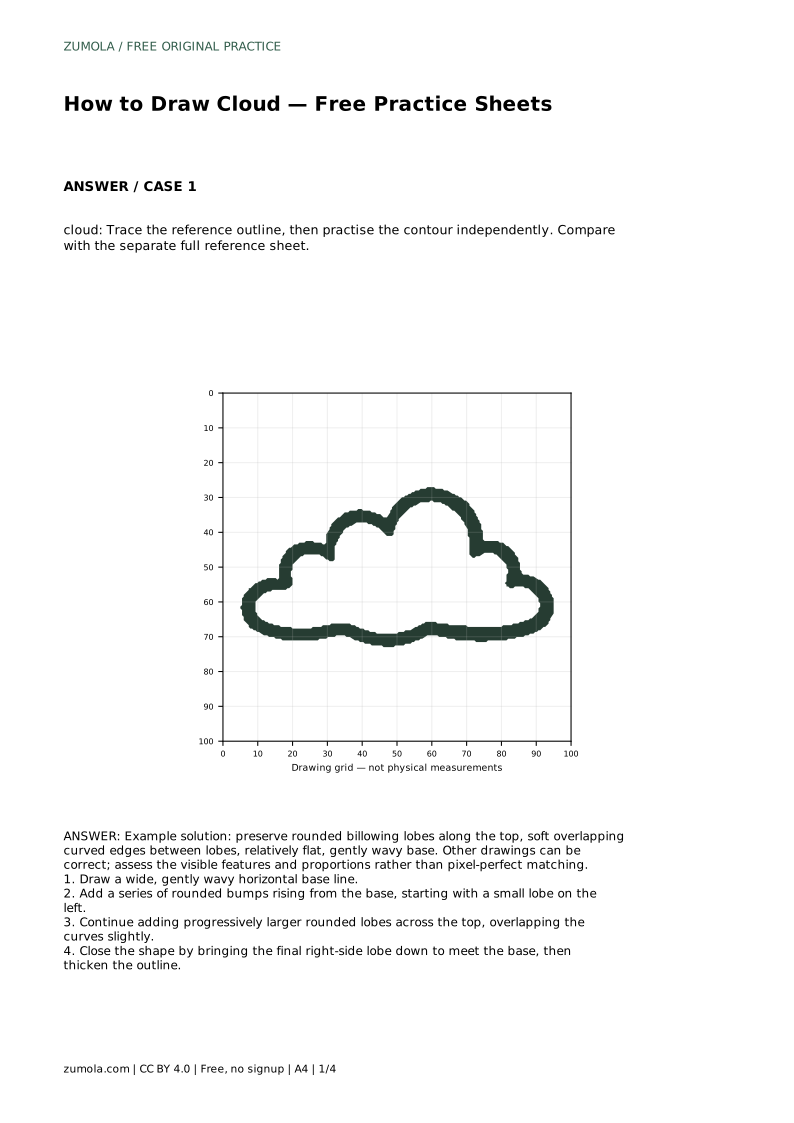
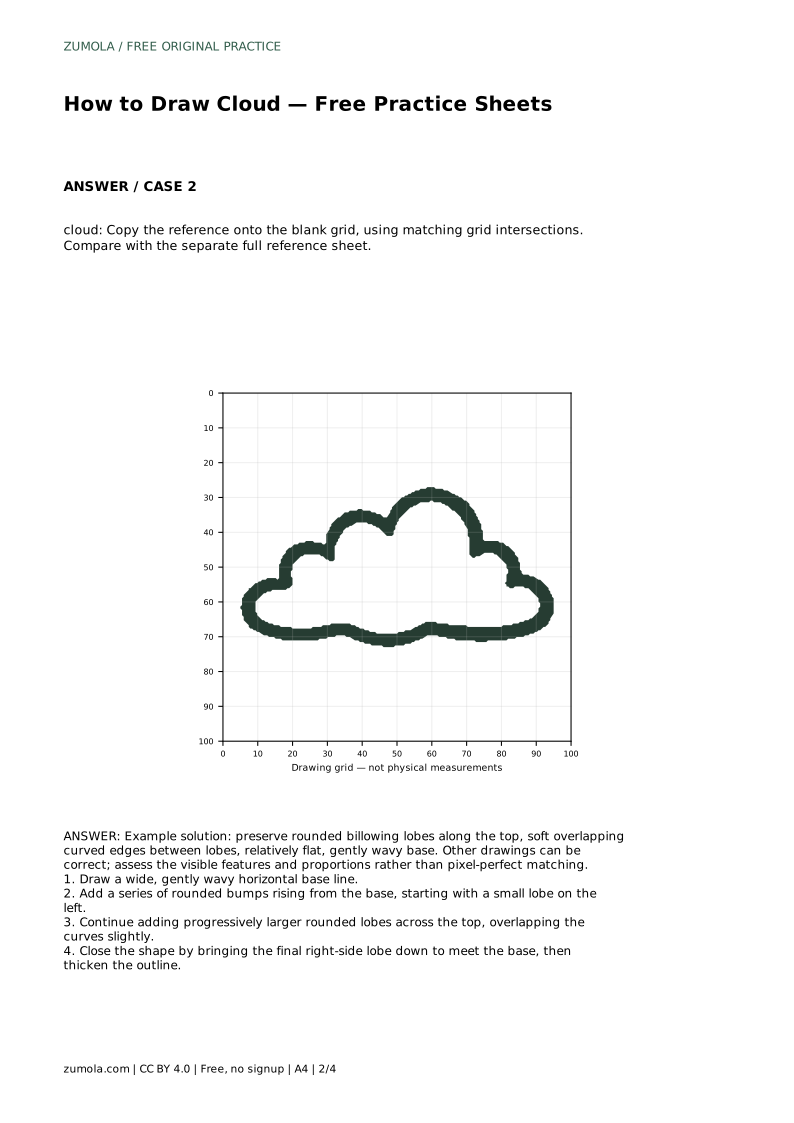
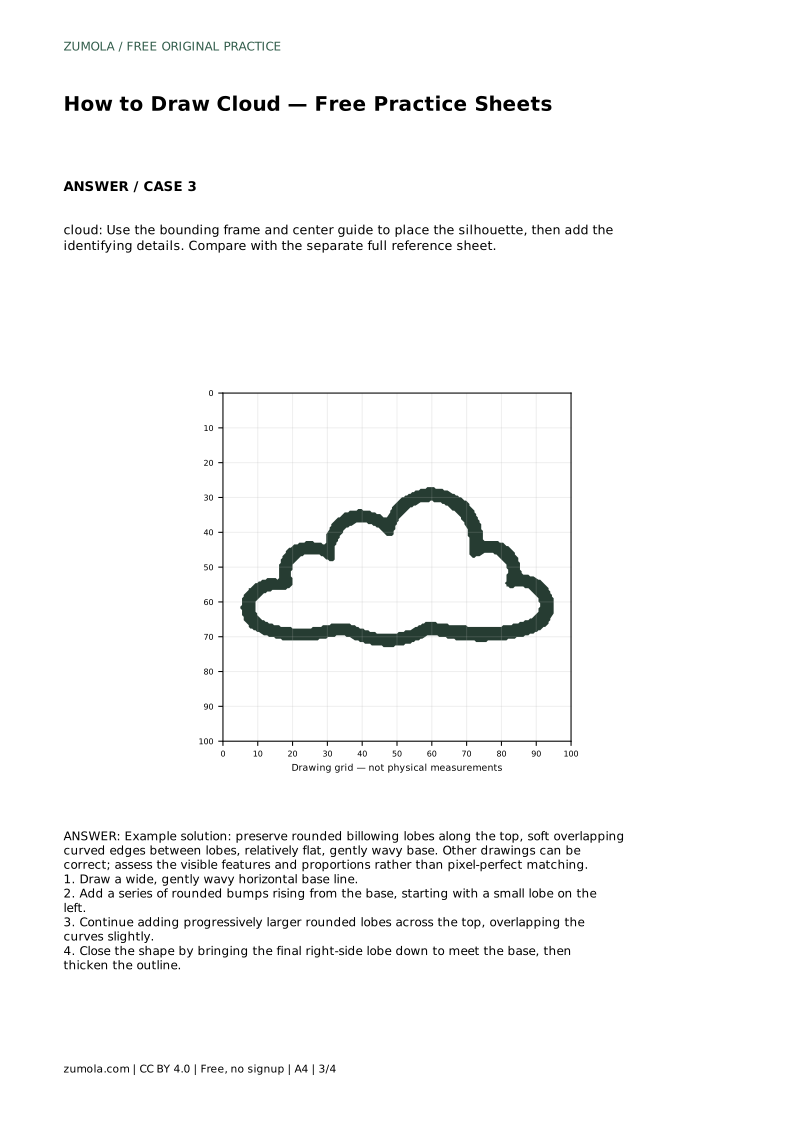
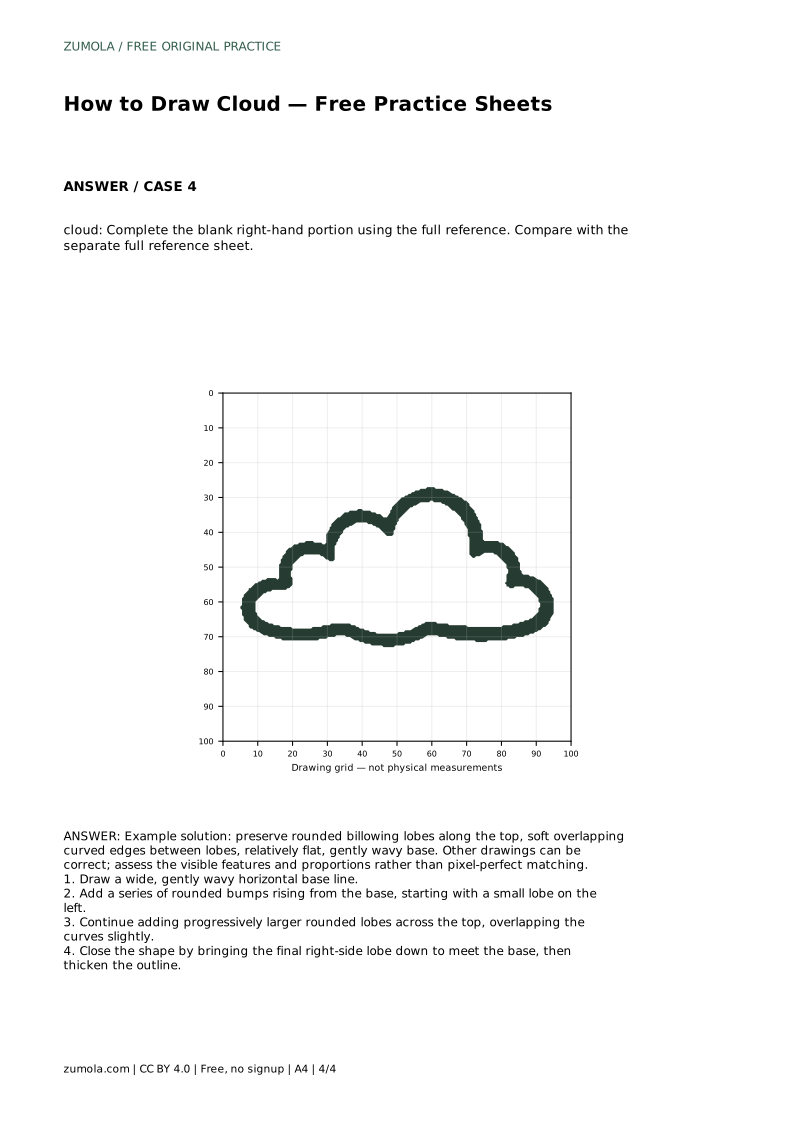
Learn to draw a cloud with rounded billowing lobes, overlapping curved edges, and a gently wavy base. Trace, grid, and complete practice sheets support the same contour skill.
Four original cases, with reference diagrams, practice sheets and worked answers. Everything is free; no signup required.
LETTER · Download PDF
A4 · Download PDF
LETTER · Download PDF
A4 · Download PDF
LETTER · Download PDF
A4 · Download PDF
Use A4 or US Letter to match your printer. Use the stated values and conditions to solve each exercise; diagrams are not physical measuring rulers.
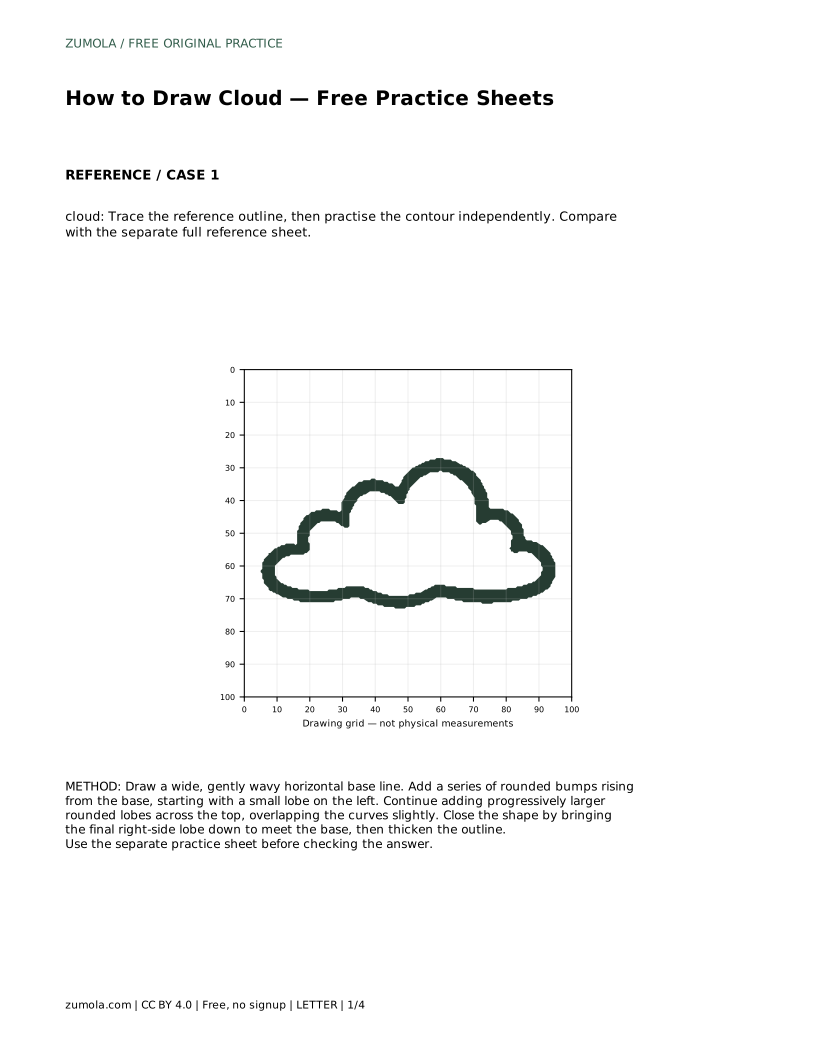
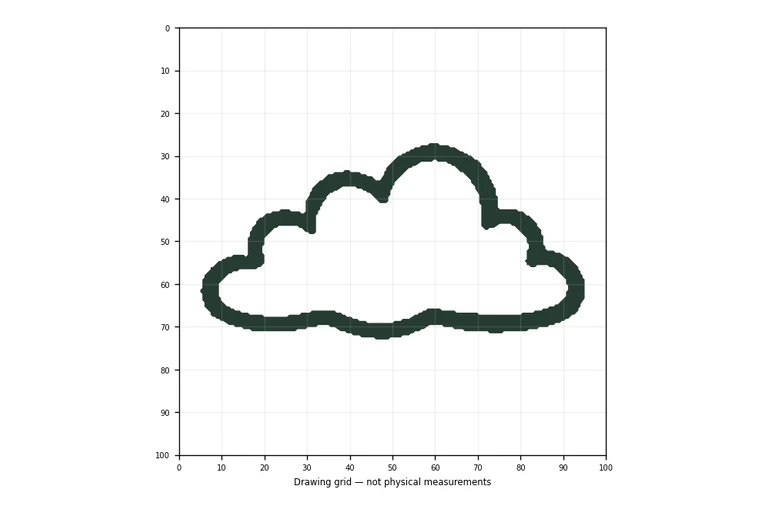
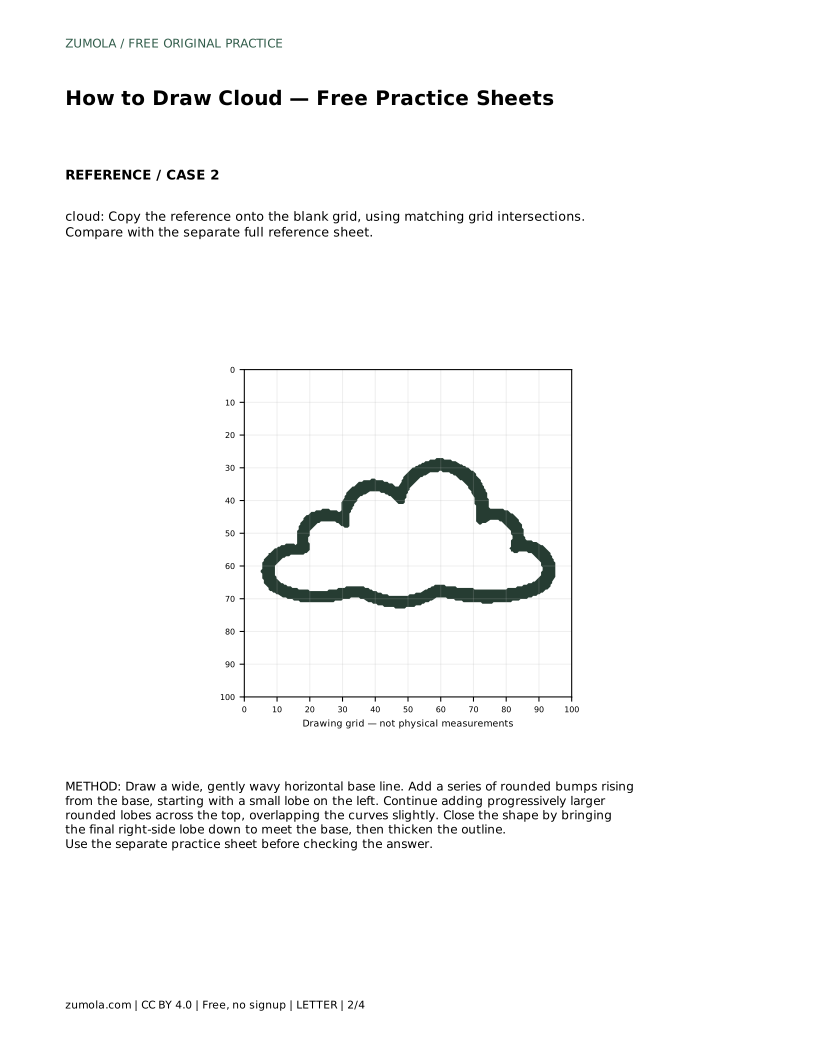
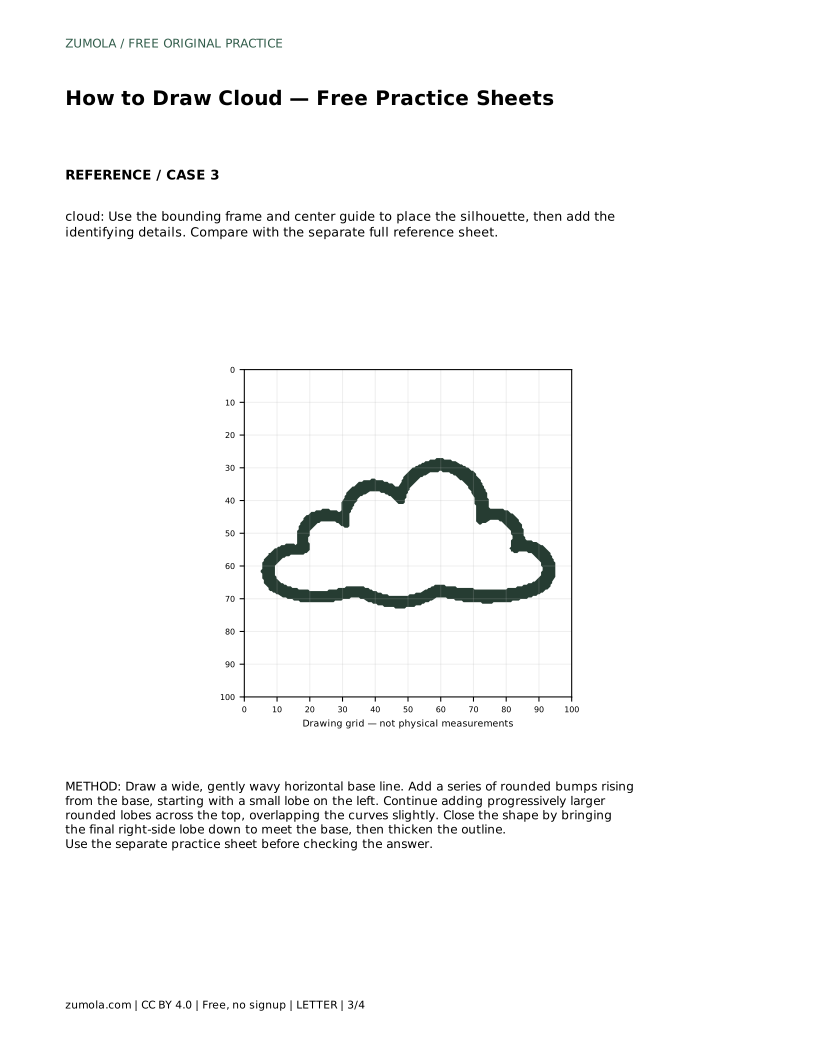
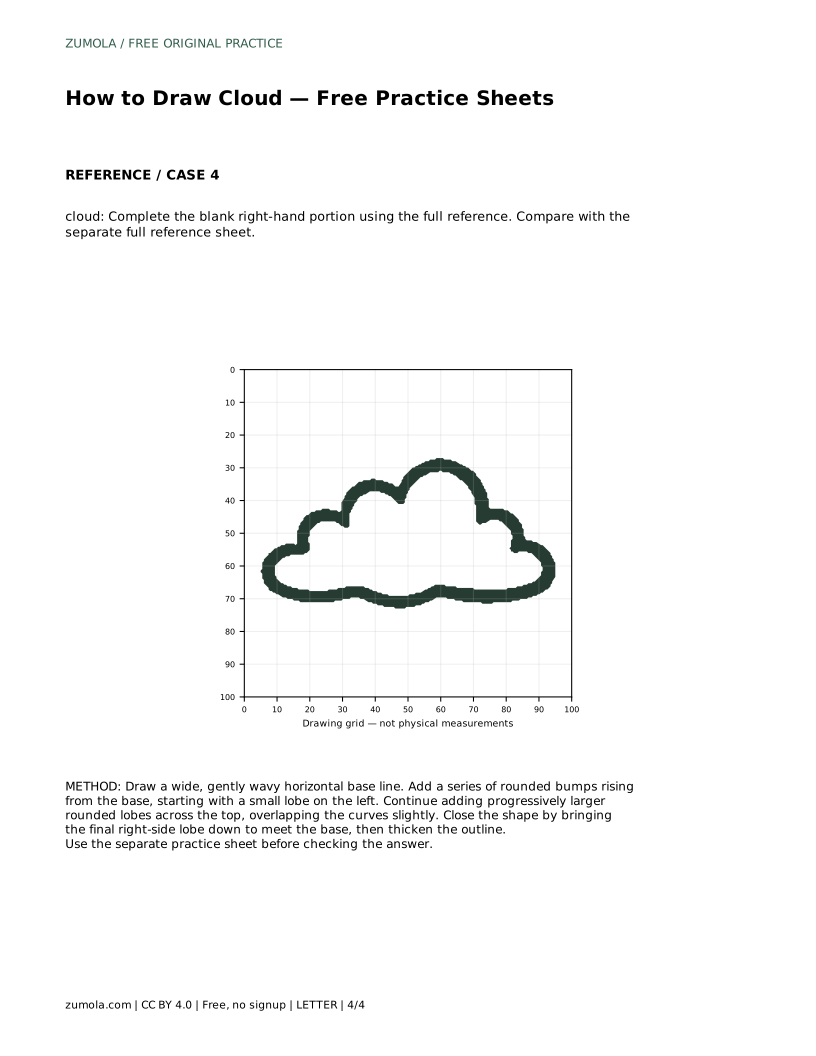
Clouds look simple until you try to draw one: the outline needs soft, rounded lobes that overlap naturally and a base that stays wide and gently wavy. This page teaches a reliable contour method you can practise on the free sheets. You will build the silhouette from a horizontal base, add lobes from left to right, close the shape, and then assess your drawing by visible features and proportions rather than exact matching.
Start with the part of a cloud that changes least: the base. Draw a wide, gently wavy horizontal line. Keep it close to horizontal rather than tilting it steeply, because the flat underside is what makes the billowing top read as a cloud. The waves should be shallow, not sharp zigzags.
From that base, add rounded bumps one at a time, beginning with a small lobe on the left. Move across the top, making each lobe a little larger and letting neighbouring curves overlap slightly. Overlap is what creates the soft, clustered look; separate circles placed side by side look like bubbles instead. Finish by bringing the last right-side lobe down to meet the base, then thicken the outline if you want a bolder result.
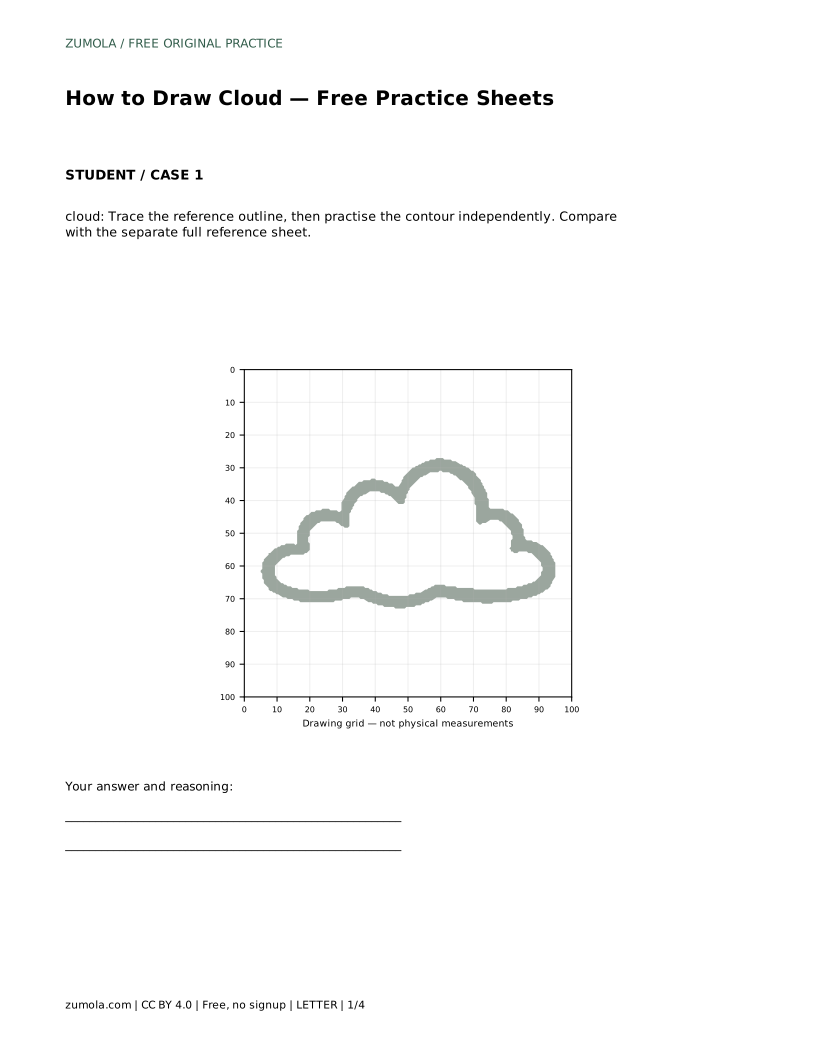
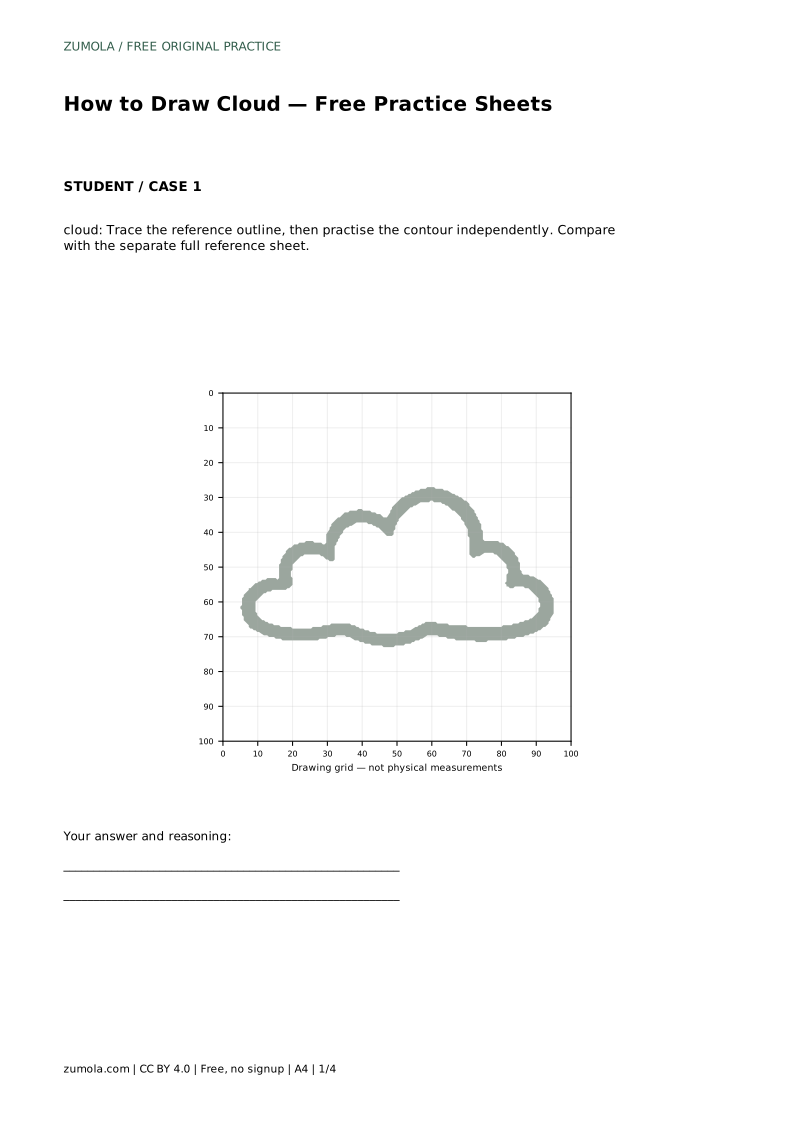
The trace sheet asks you to follow the reference outline first, then repeat the contour independently on the same page. Tracing builds the hand motion; the independent repeat is where the learning happens, so leave enough space to draw without covering the reference.
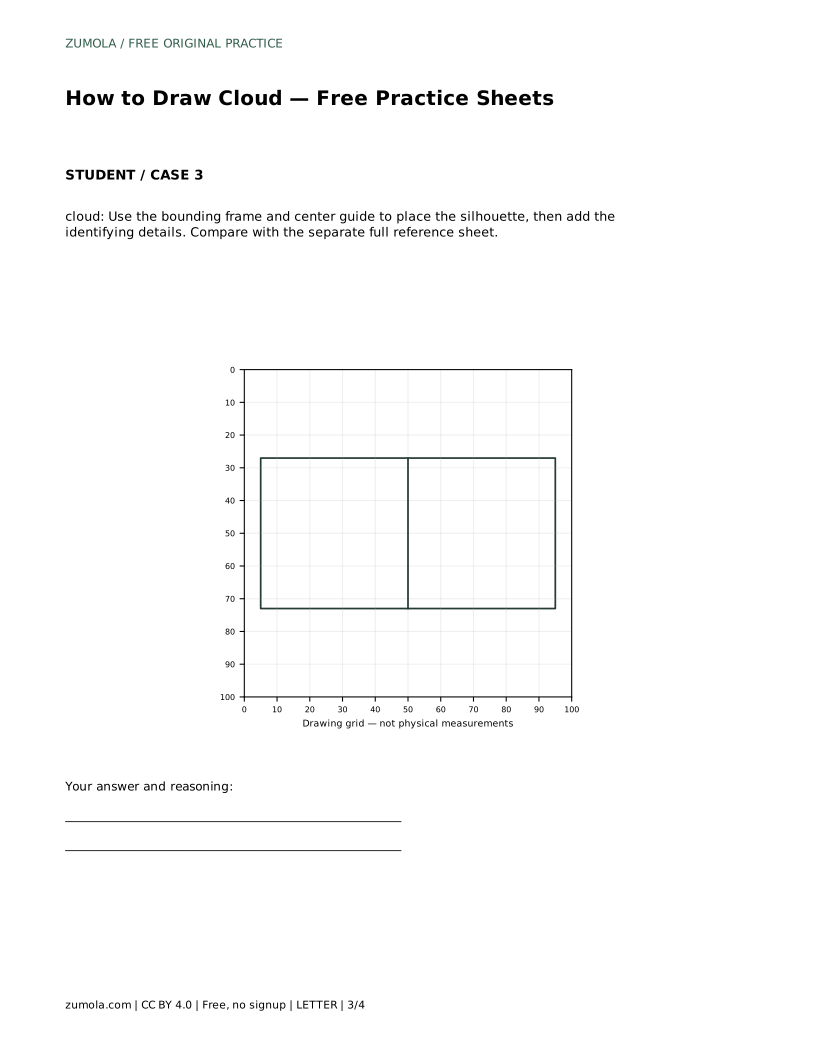
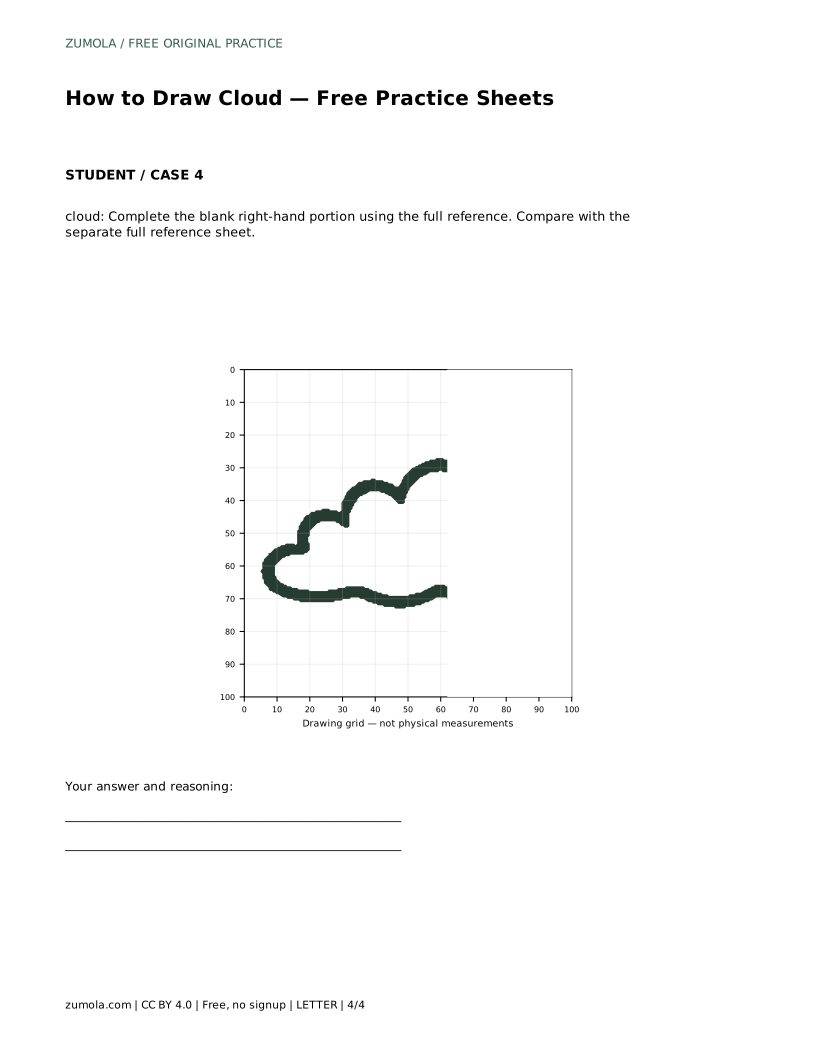
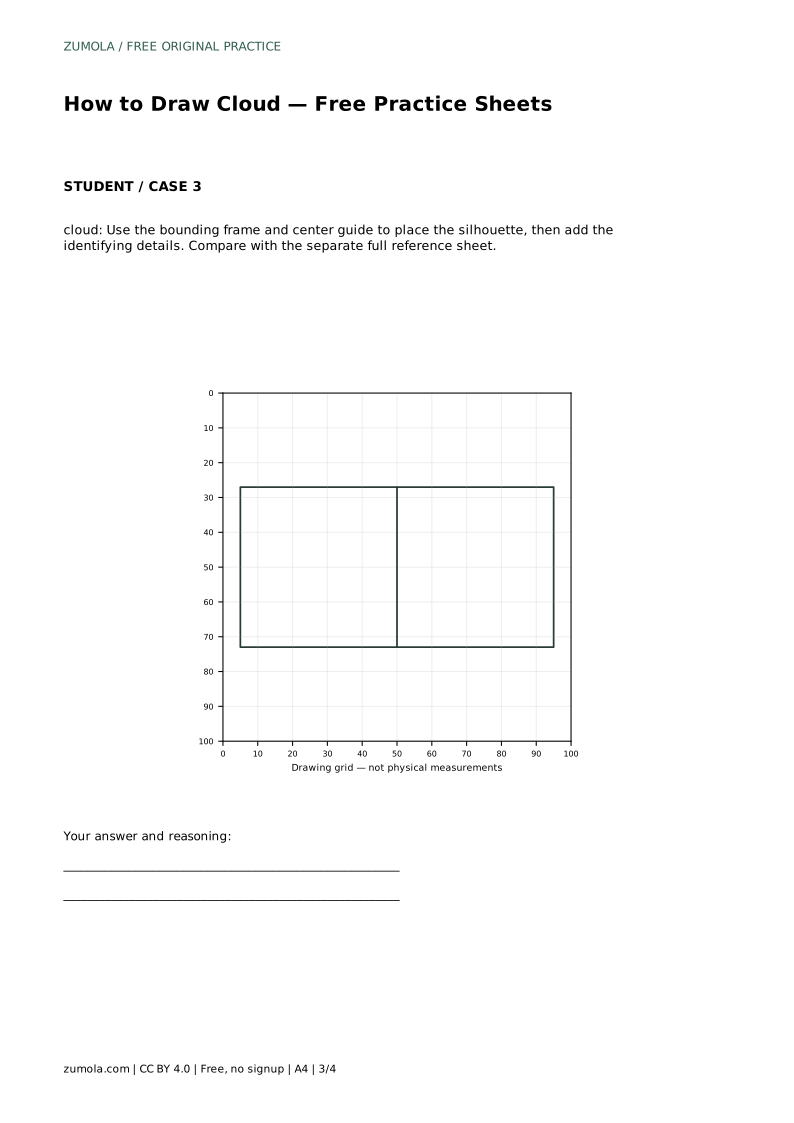
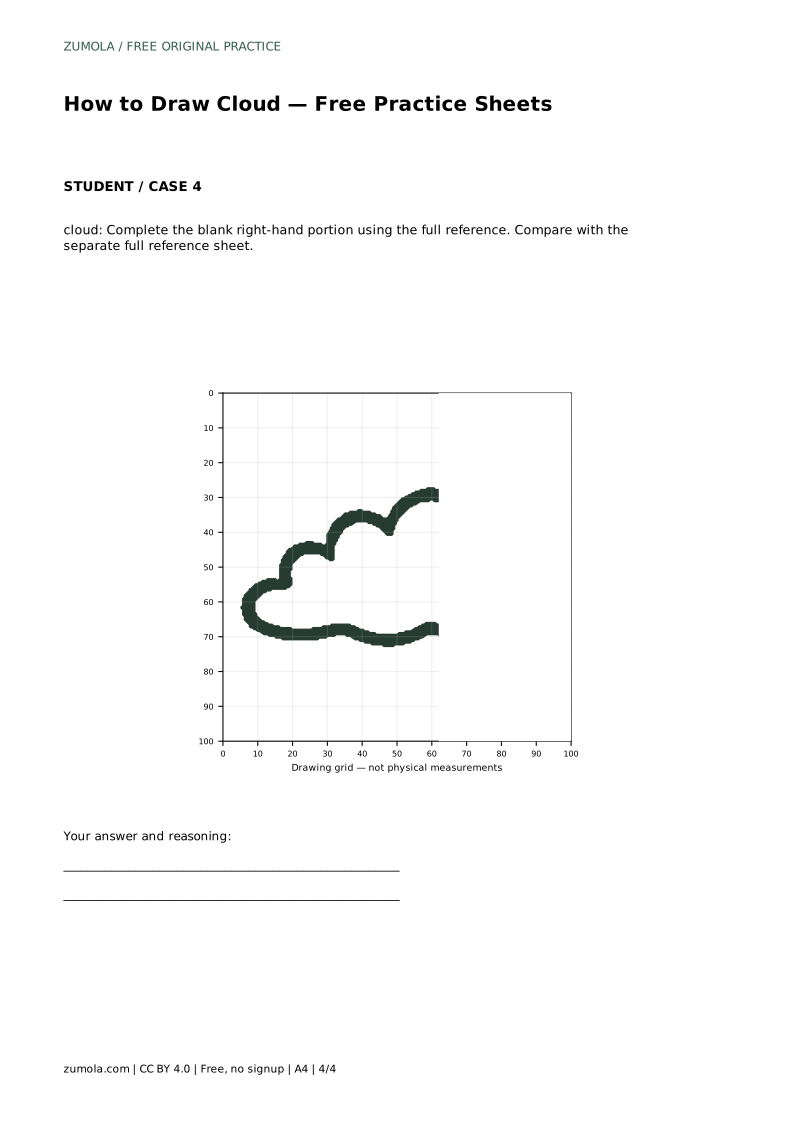
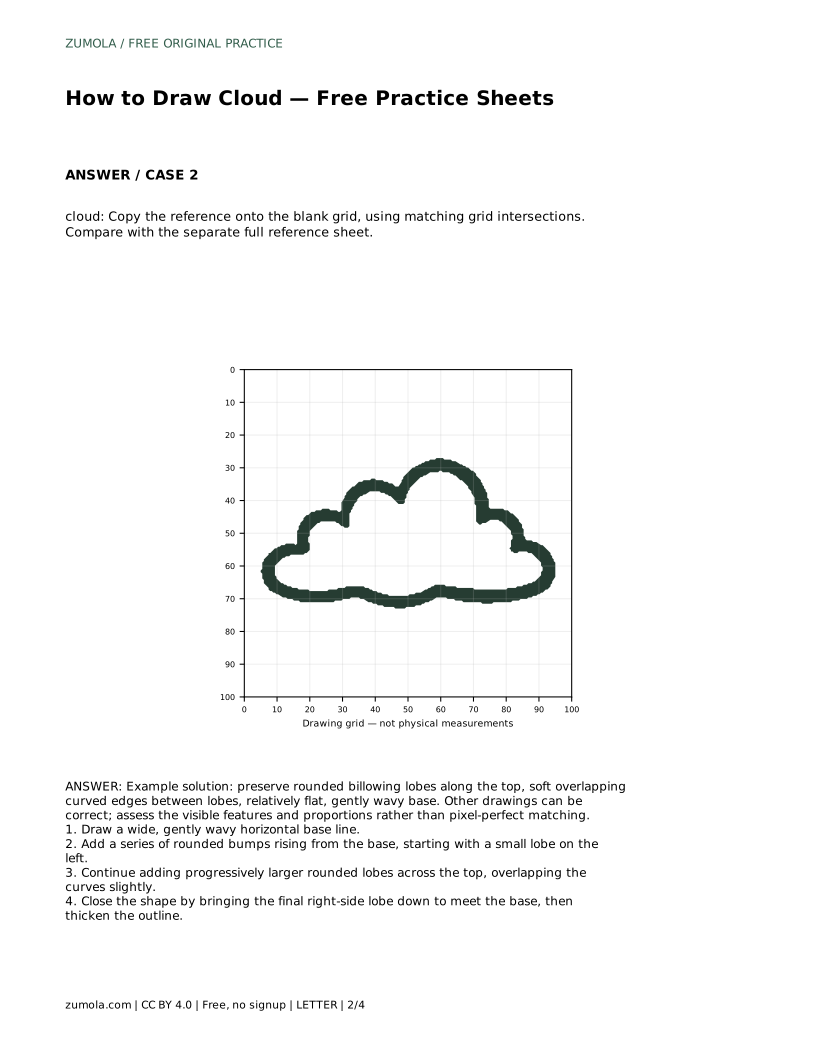
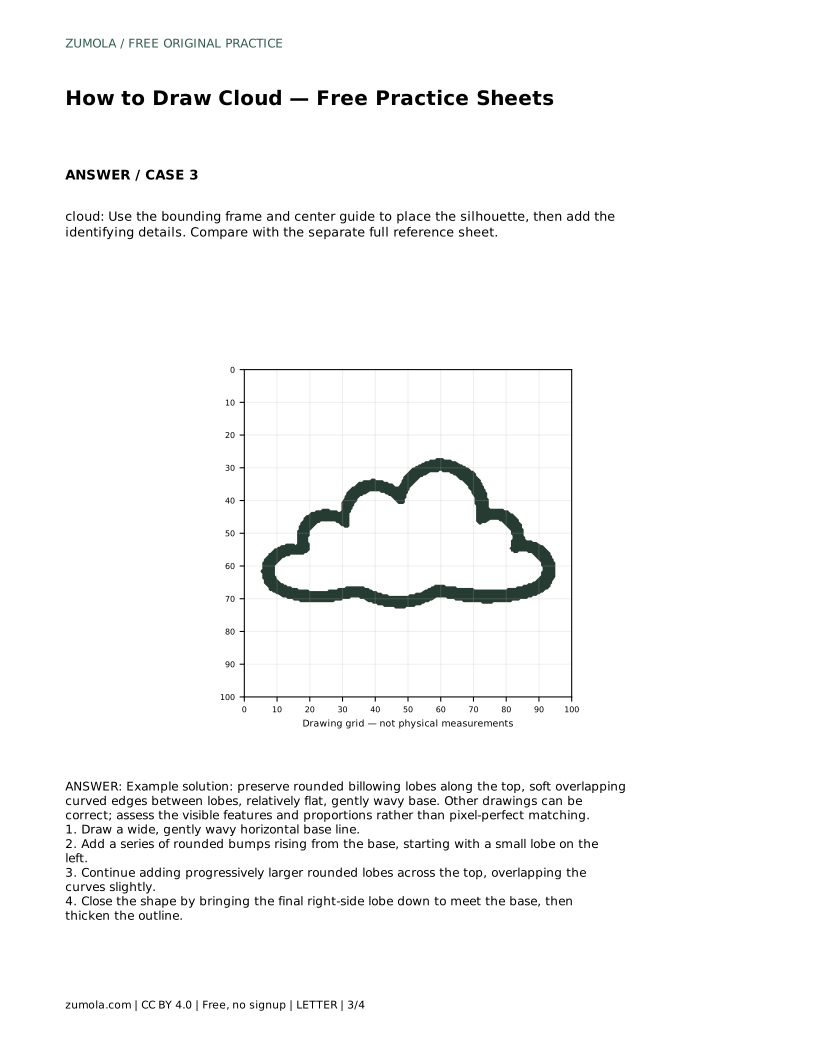
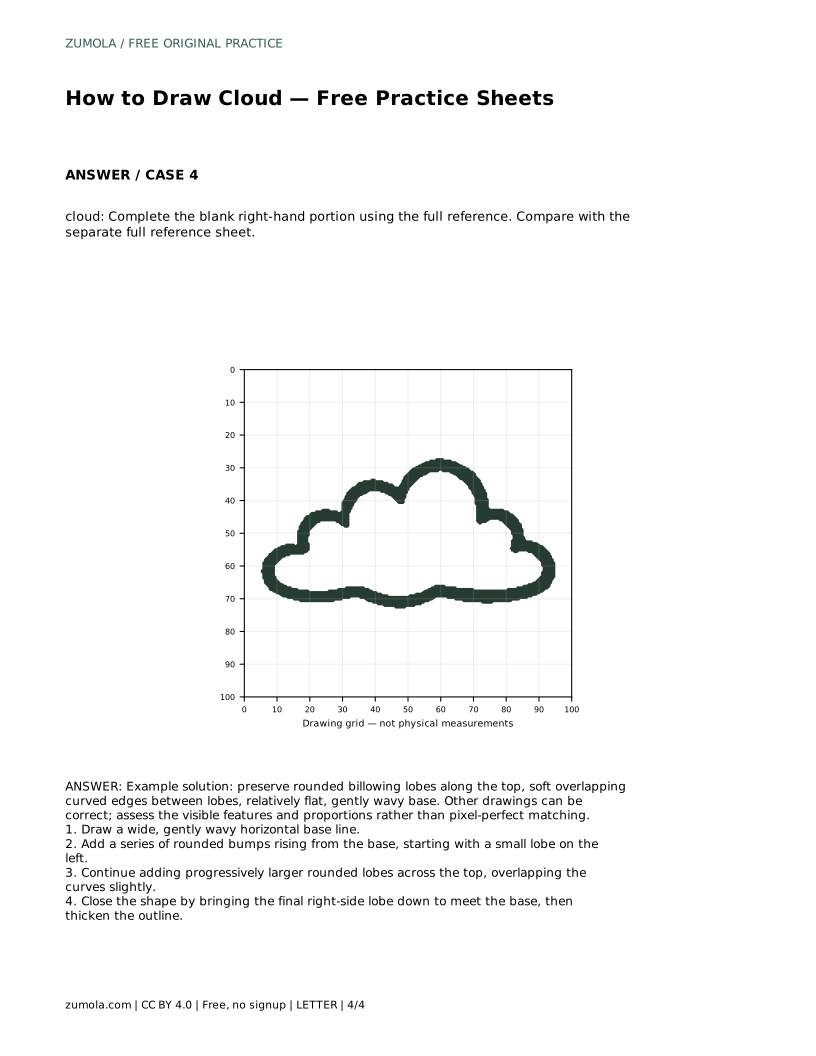
The grid sheet asks you to copy the reference onto a blank grid using matching intersections. Treat each intersection as a checkpoint for where a lobe begins, peaks, or meets the base. The bounding-frame sheet gives you an outer frame and centre guide so you can place the silhouette before adding the lobe details. The partial sheet shows the full reference beside a blank right-hand portion; complete only the missing side, matching the height and width of the visible half.
There is no single correct cloud drawing. Different lobe counts, sizes, and base waves can all produce a convincing cloud. Judge the visible features instead: rounded billowing lobes along the top, soft overlapping curved edges between lobes, and a relatively flat, gently wavy base. Check proportions too, such as whether the cloud is wider than it is tall and whether the lobes stay connected.
A useful habit is to compare your drawing with the separate full reference sheet only after finishing, not while drawing. This keeps you from copying curve by curve and helps you notice which features you preserved and which drifted.
Most cloud drawings fail in predictable ways: pointed bumps, a base that curves upward like a bowl, or lobes that drift apart into separate shapes. Each has a simple correction you can apply on your next attempt.
Keep the pencil light while building the outline so you can adjust a lobe without erasing heavily. Darken the contour only once the overall silhouette looks balanced.
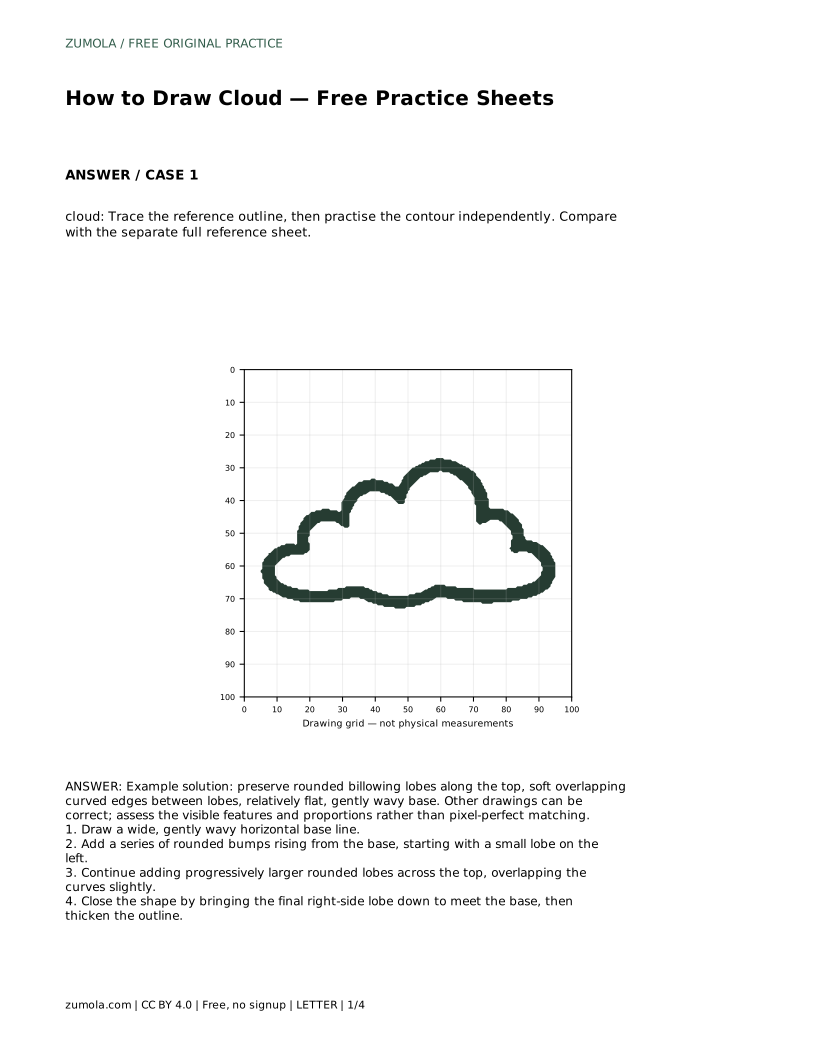
cloud: Trace the reference outline, then practise the contour independently. Compare with the separate full reference sheet.
Example solution: preserve rounded billowing lobes along the top, soft overlapping curved edges between lobes, relatively flat, gently wavy base. Other drawings can be correct; assess the visible features and proportions rather than pixel-perfect matching. Draw a wide, gently wavy horizontal base line. Add a series of rounded bumps rising from the base, starting with a small lobe on the left. Continue adding progressively larger rounded lobes across the top, overlapping the curves slightly. Close the shape by bringing the final right-side lobe down to meet the base, then thicken the outline.
No. Other drawings can be correct. Assess the visible features and proportions rather than pixel-perfect matching.
Trace once to learn the motion, then repeat the contour independently; the independent attempt is the main practice.
There is no fixed number. Use enough rounded lobes to fill the width above the base, varying their sizes for a natural look.
All drawing practice · Free coordinate paper
Original resources · CC BY 4.0 · Free for personal and classroom use with attribution.