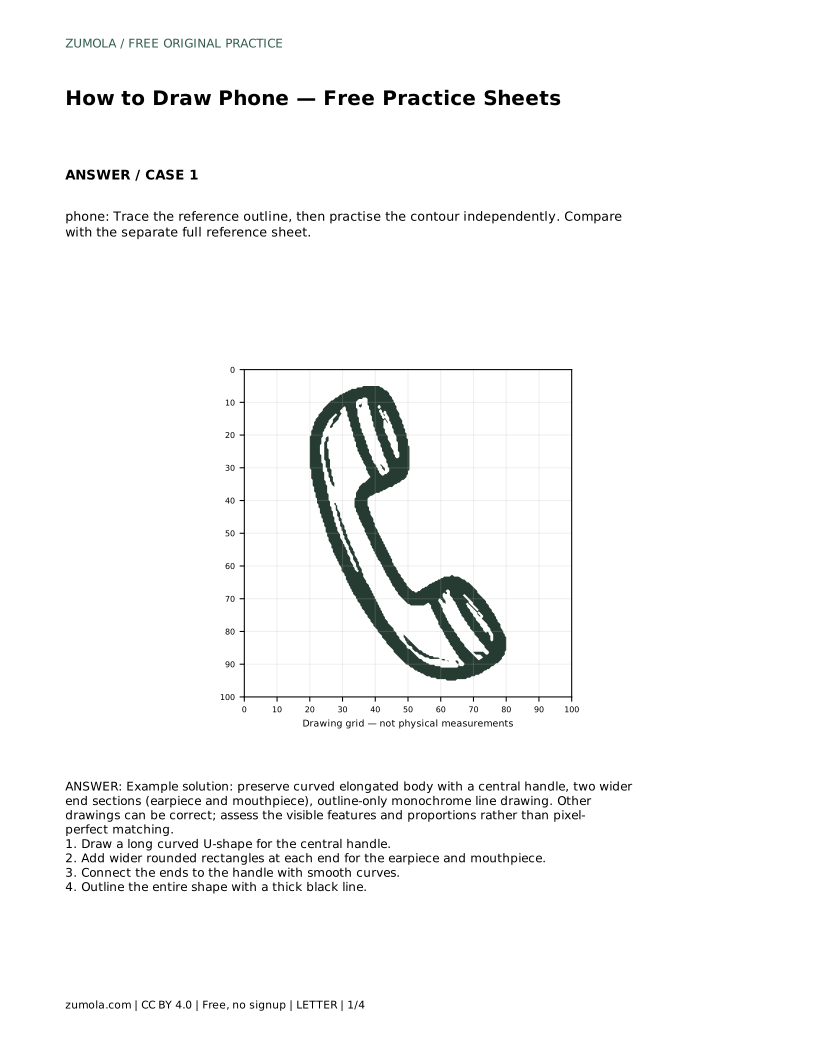
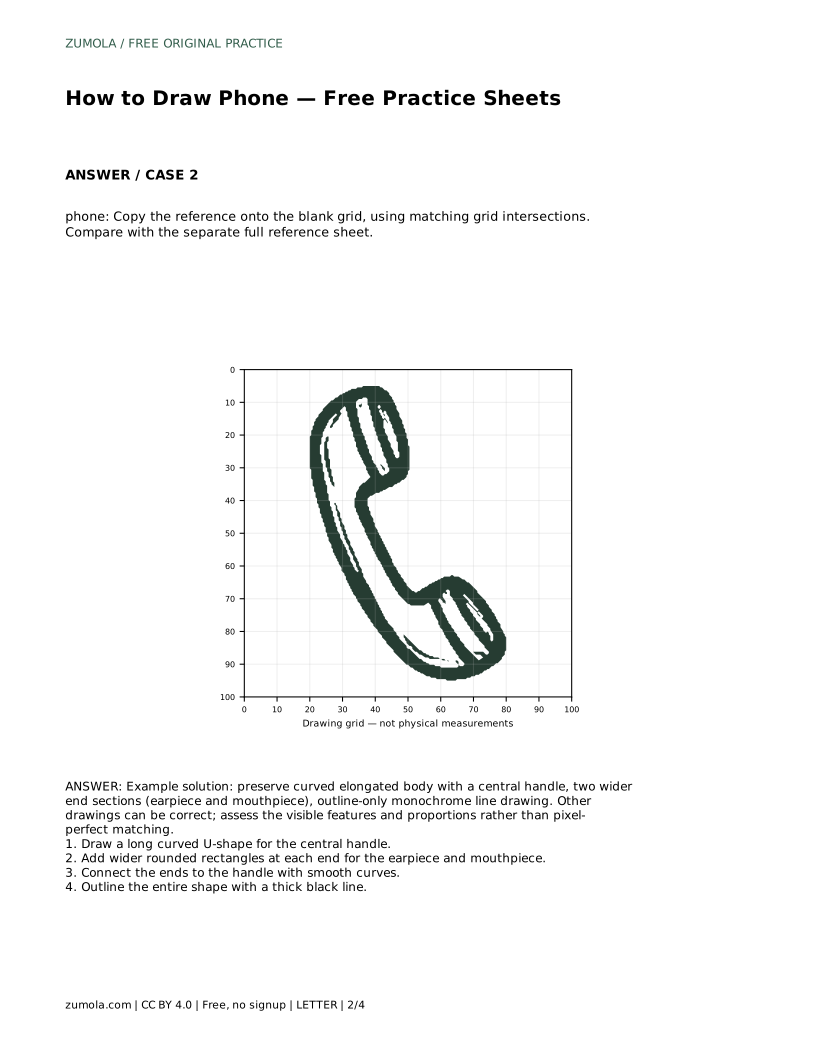
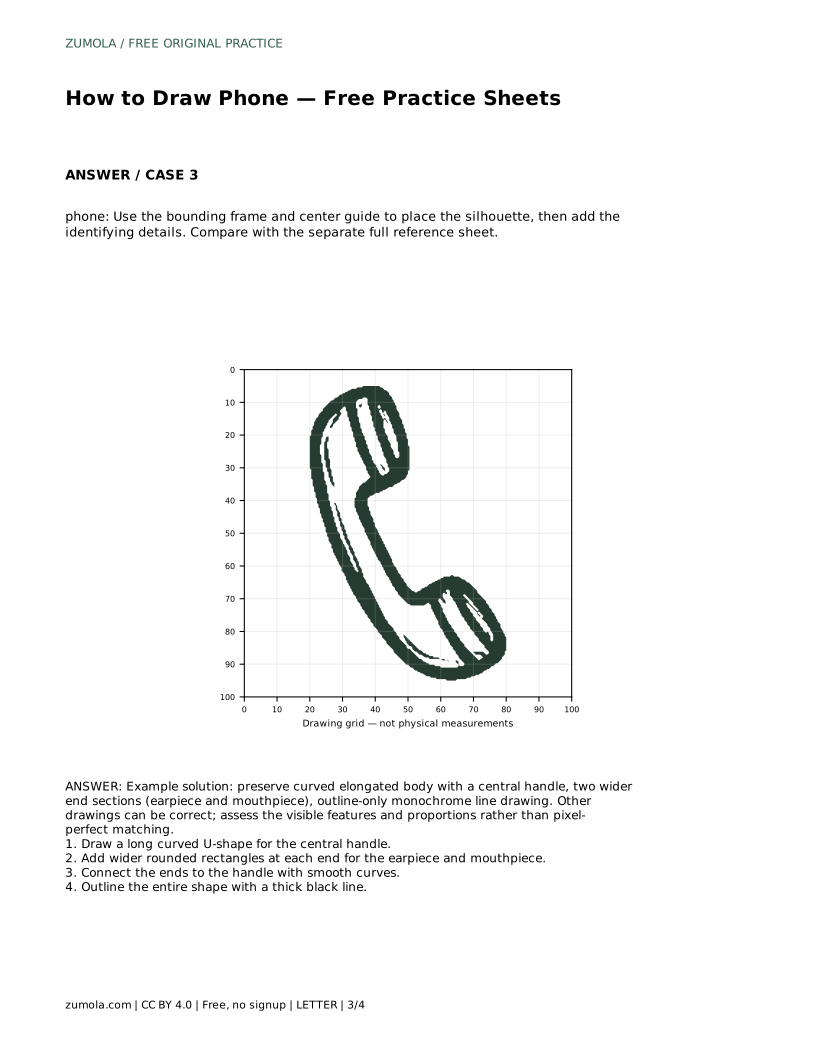
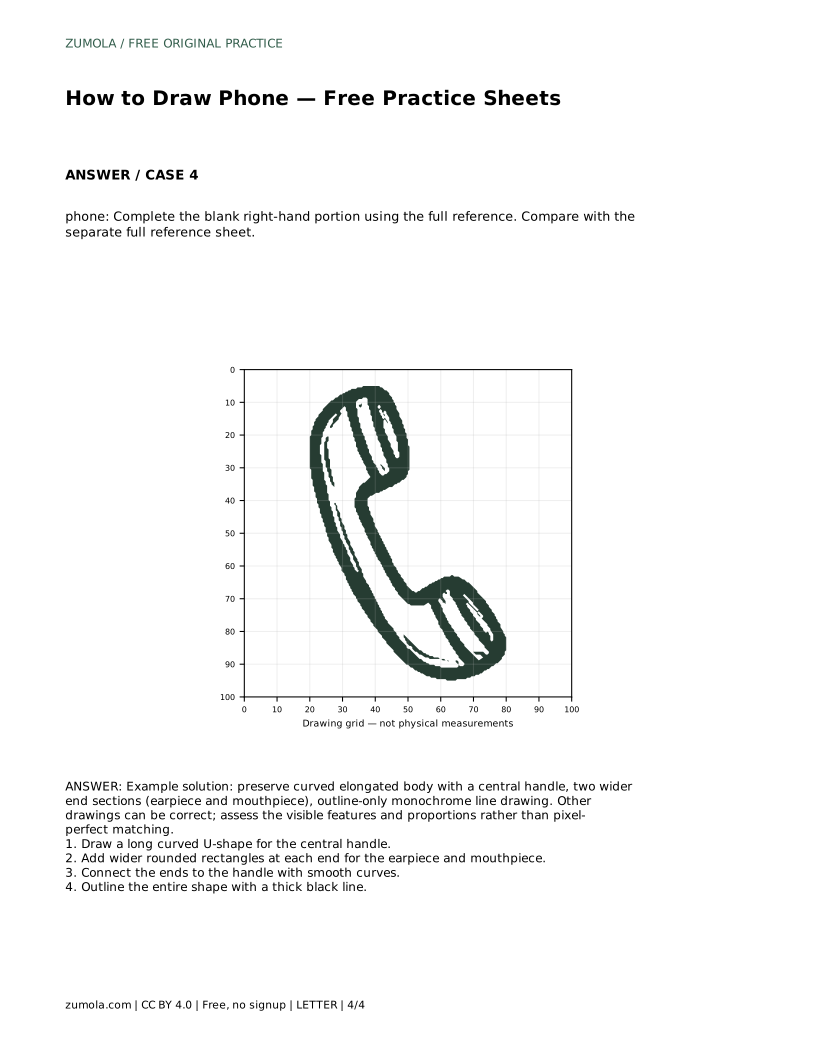
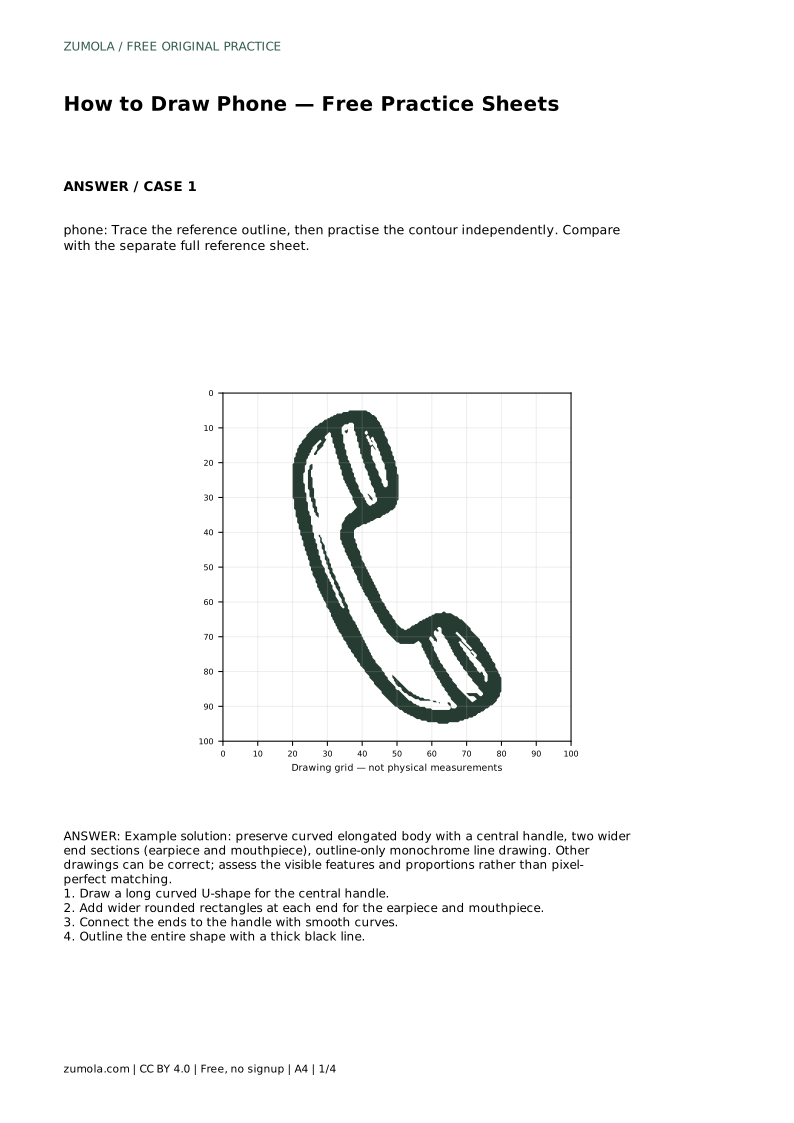
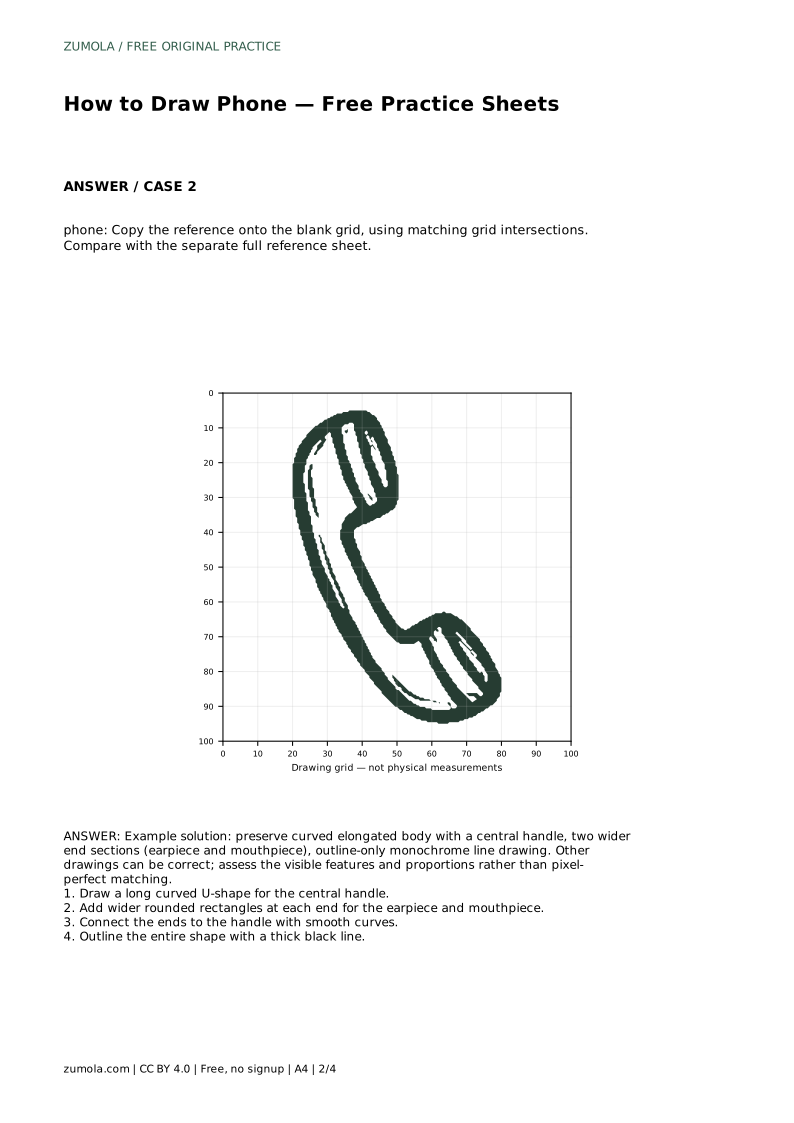
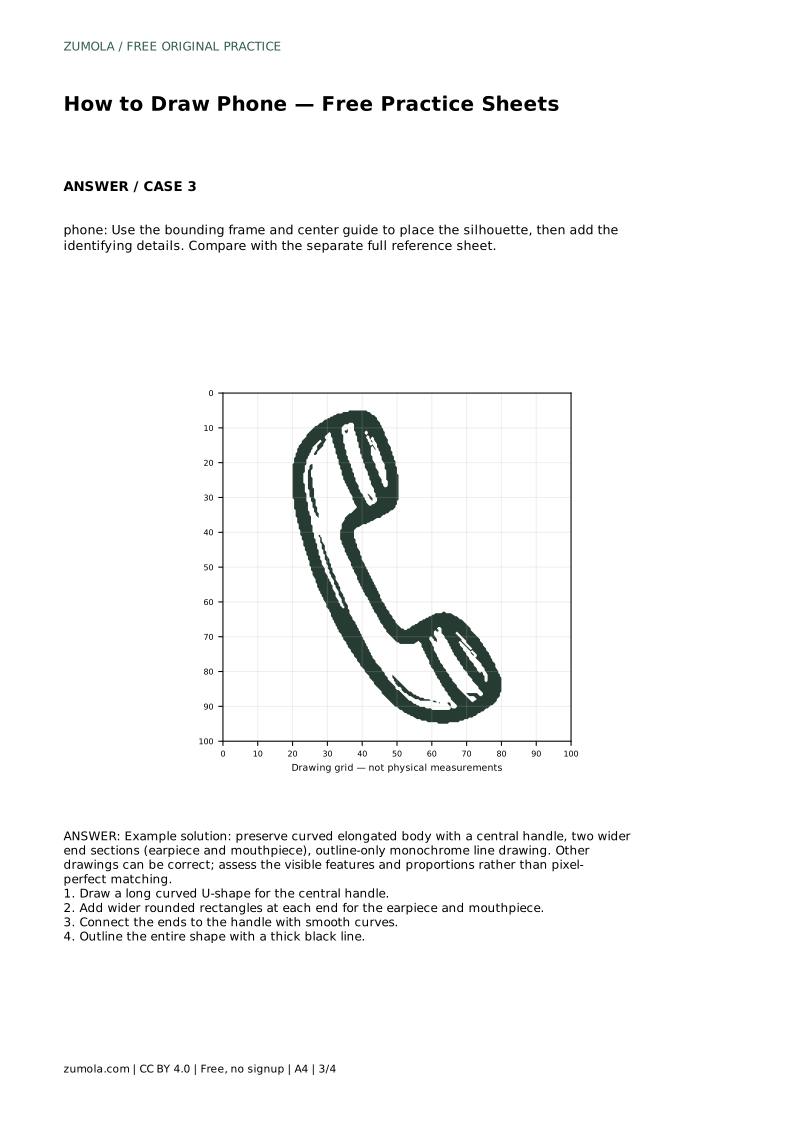
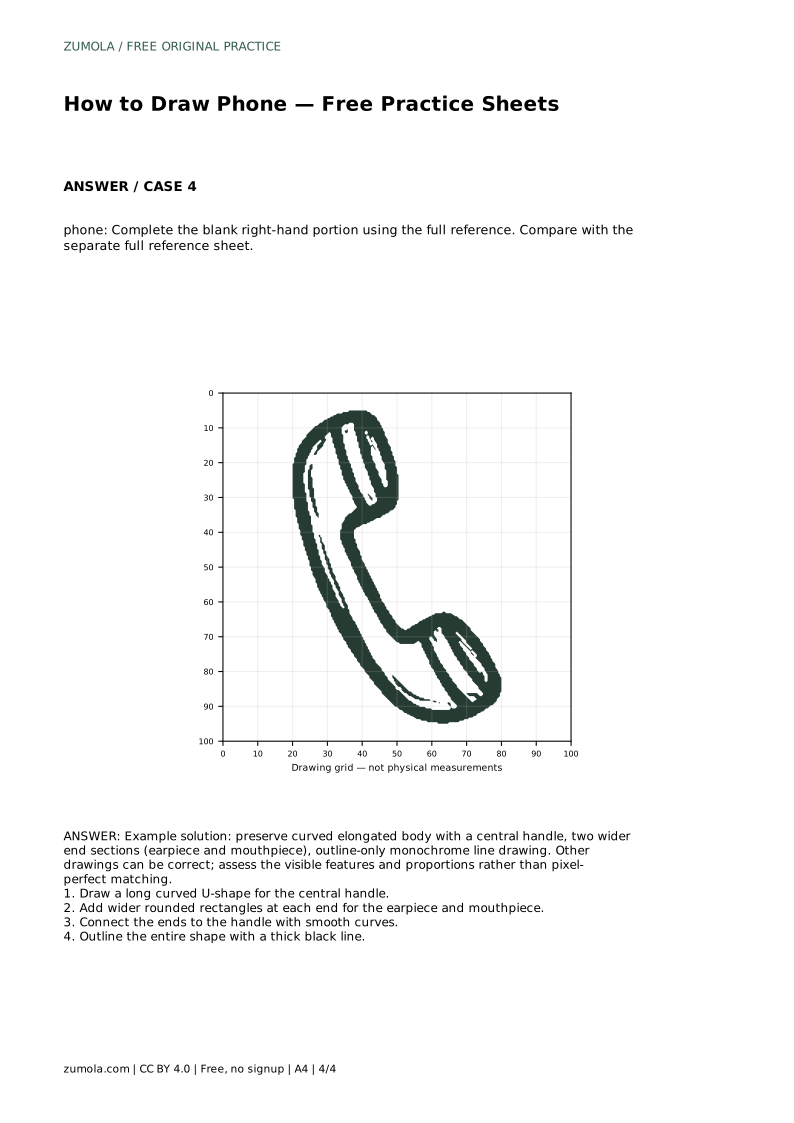
Reference diagrams
LETTER · Download PDF
A4 · Download PDF
Free original resources
Learn to draw a classic phone by tracing its outline, copying it on a grid, and completing a partial drawing. Free printable practice sheets support each step.
Four original cases, with reference diagrams, practice sheets and worked answers. Everything is free; no signup required.
LETTER · Download PDF
A4 · Download PDF
LETTER · Download PDF
A4 · Download PDF
LETTER · Download PDF
A4 · Download PDF
Use A4 or US Letter to match your printer. Use the stated values and conditions to solve each exercise; diagrams are not physical measuring rulers.
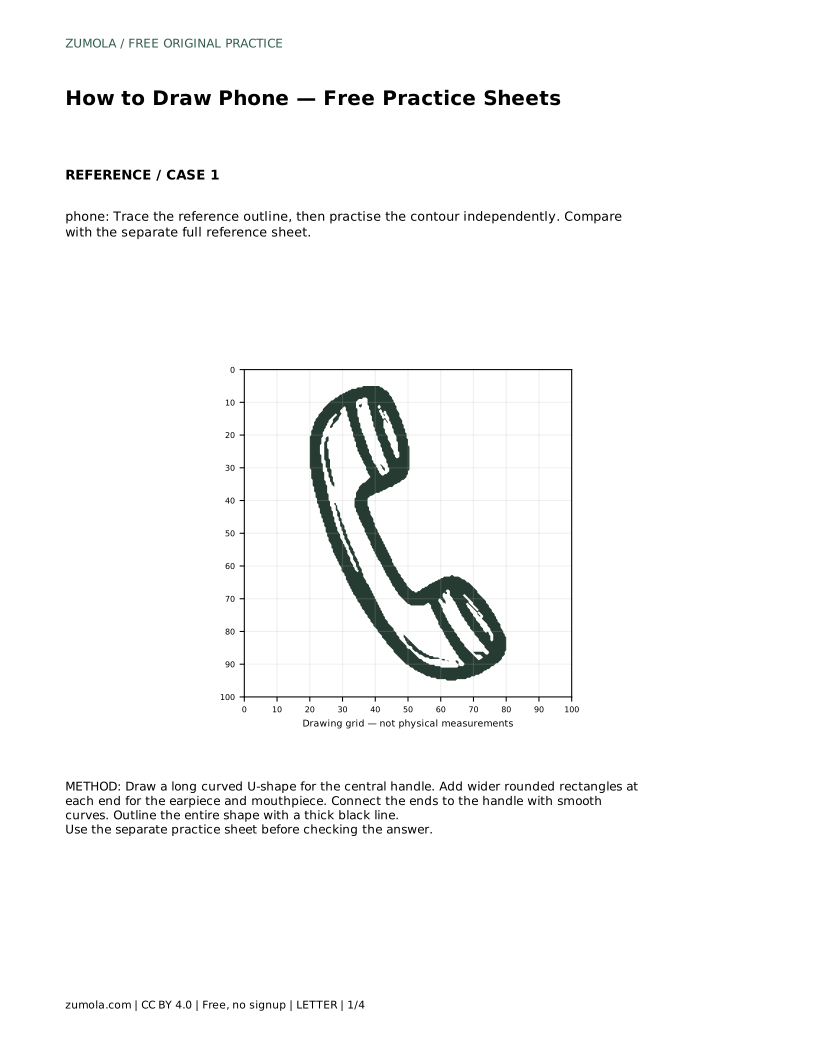
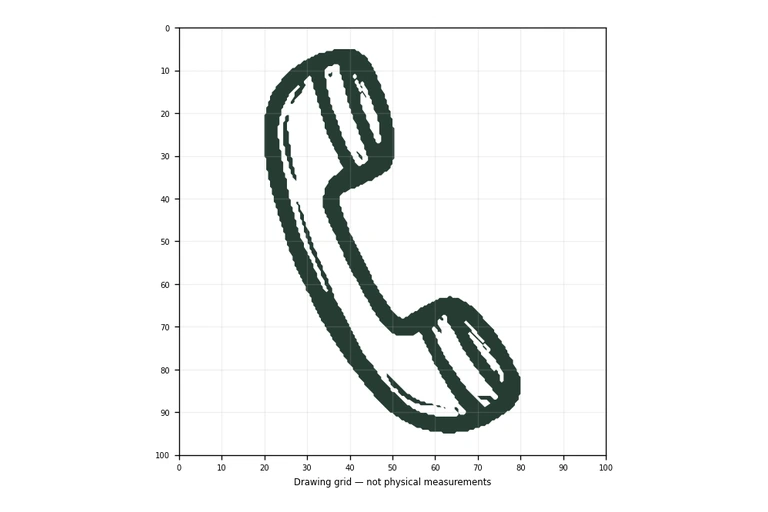
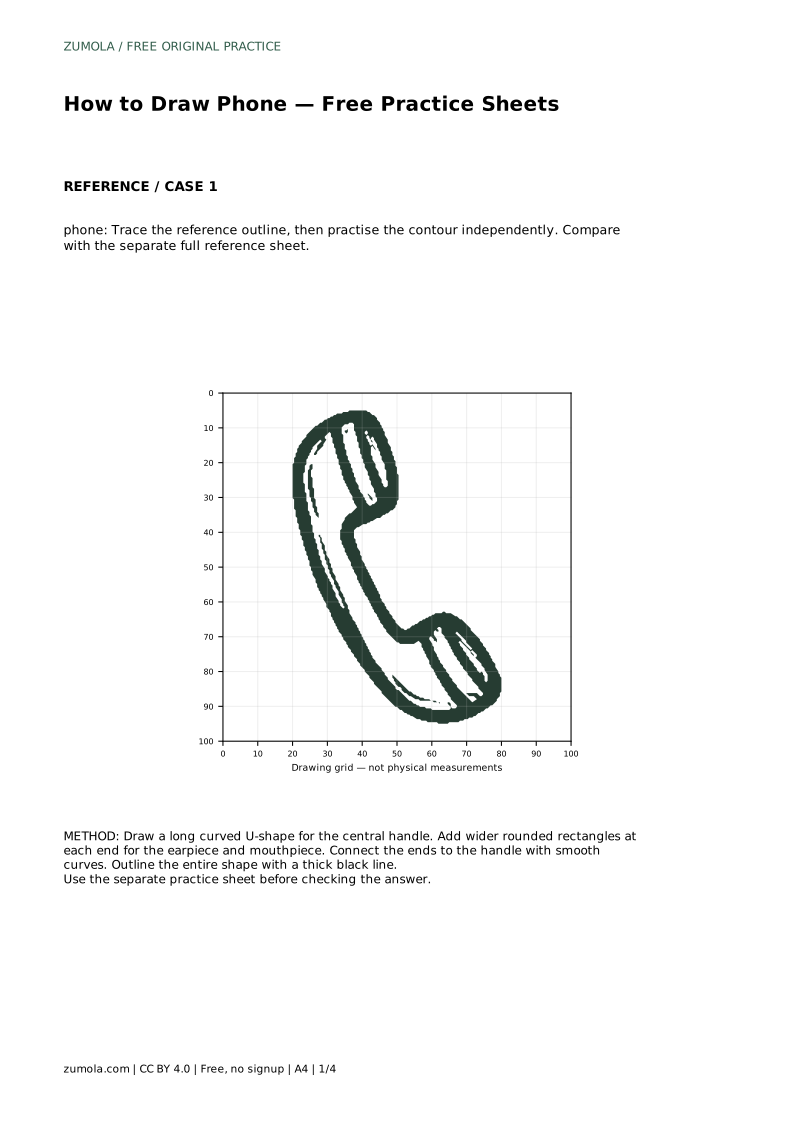
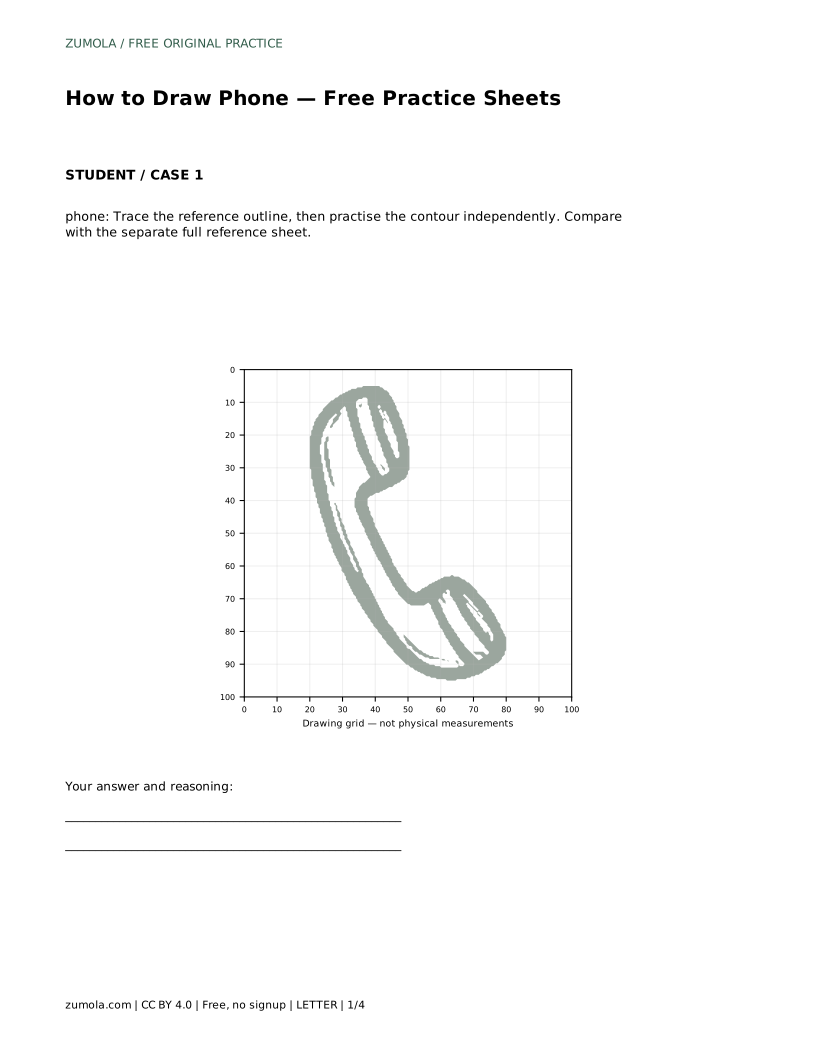
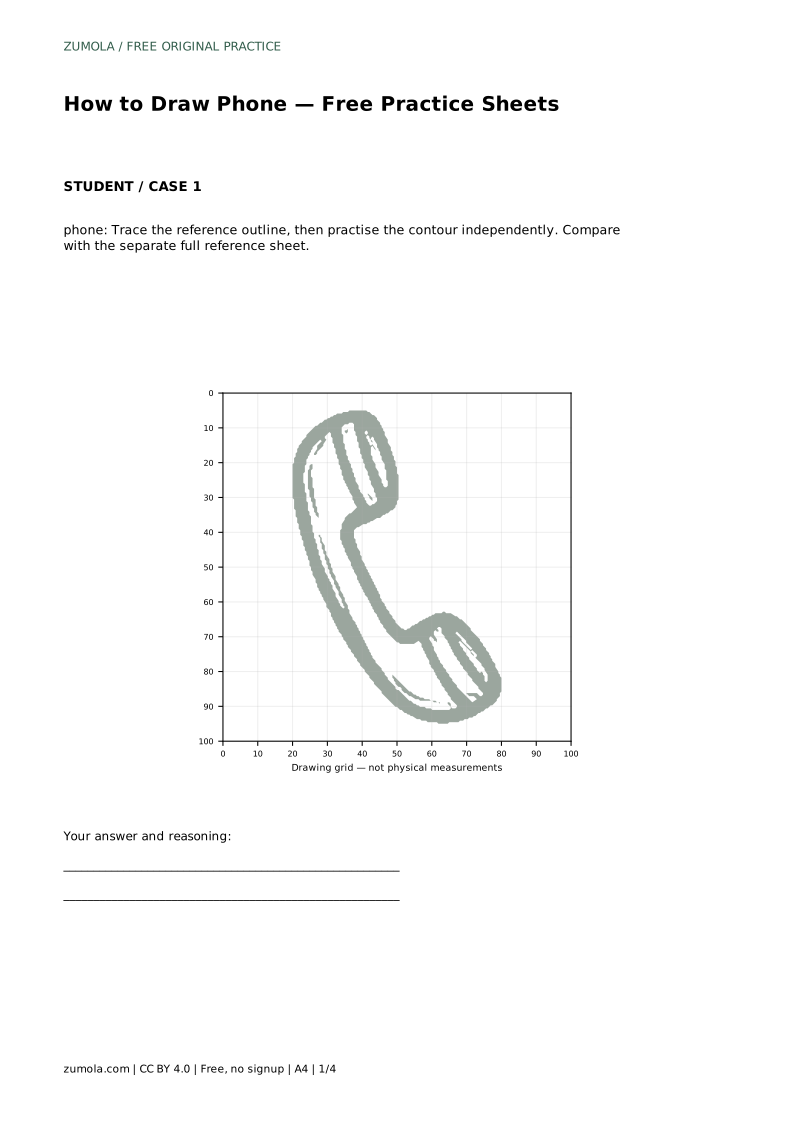
Drawing a phone is a good exercise in reading a silhouette before adding details. The shape has three clear parts: a long curved handle in the middle and two wider rounded ends for the earpiece and mouthpiece. This page explains how to trace that outline, then practise it independently, copy it onto a grid, and finish a partly drawn version. Each method trains the same skill: keeping the curved body and the wider ends in proportion.
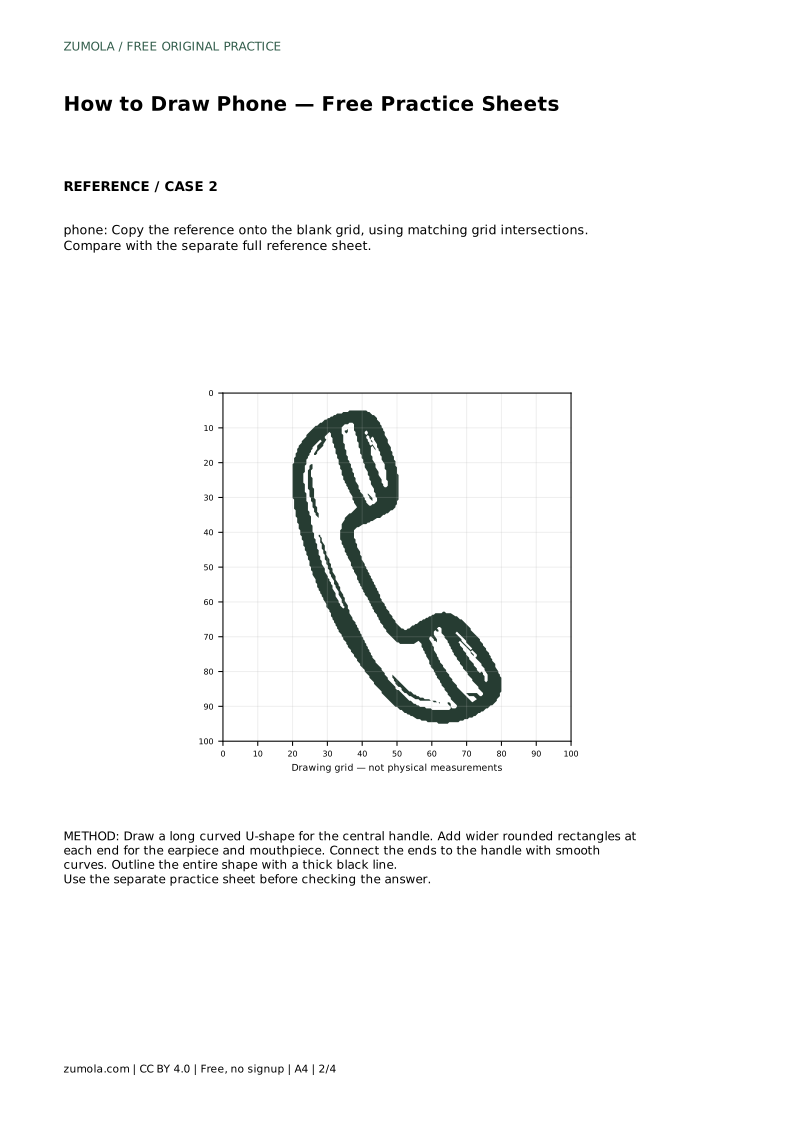
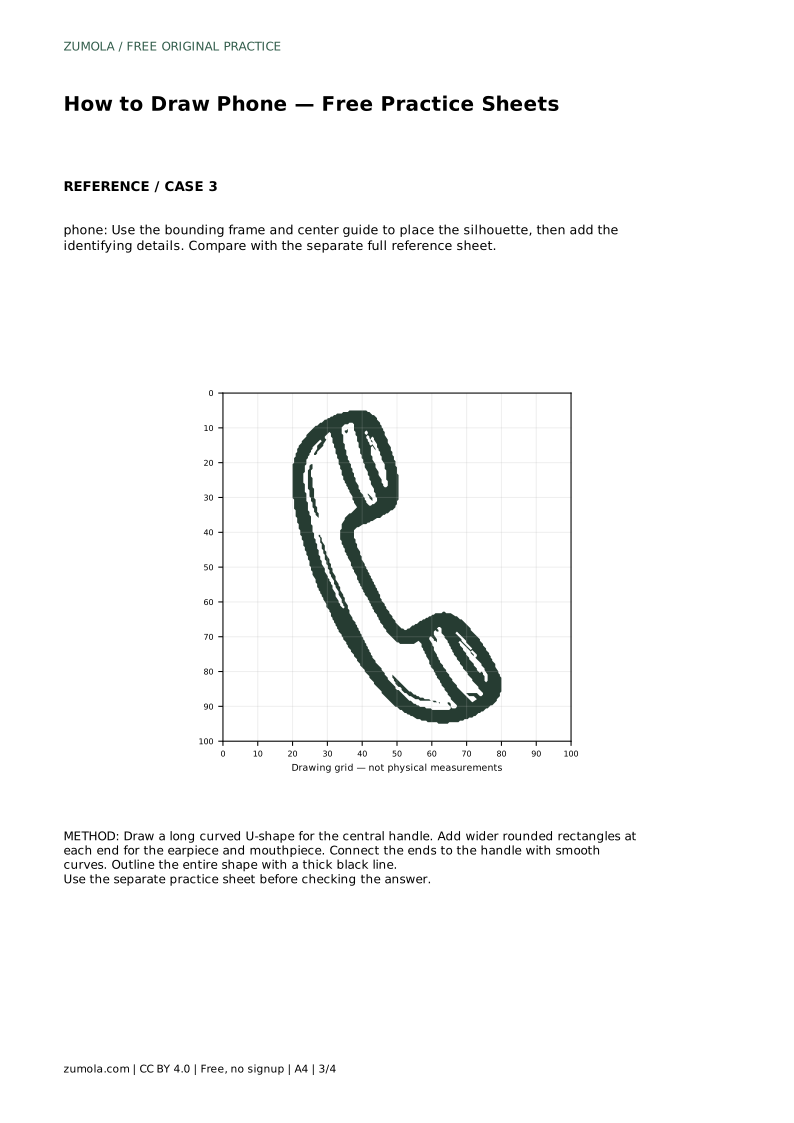
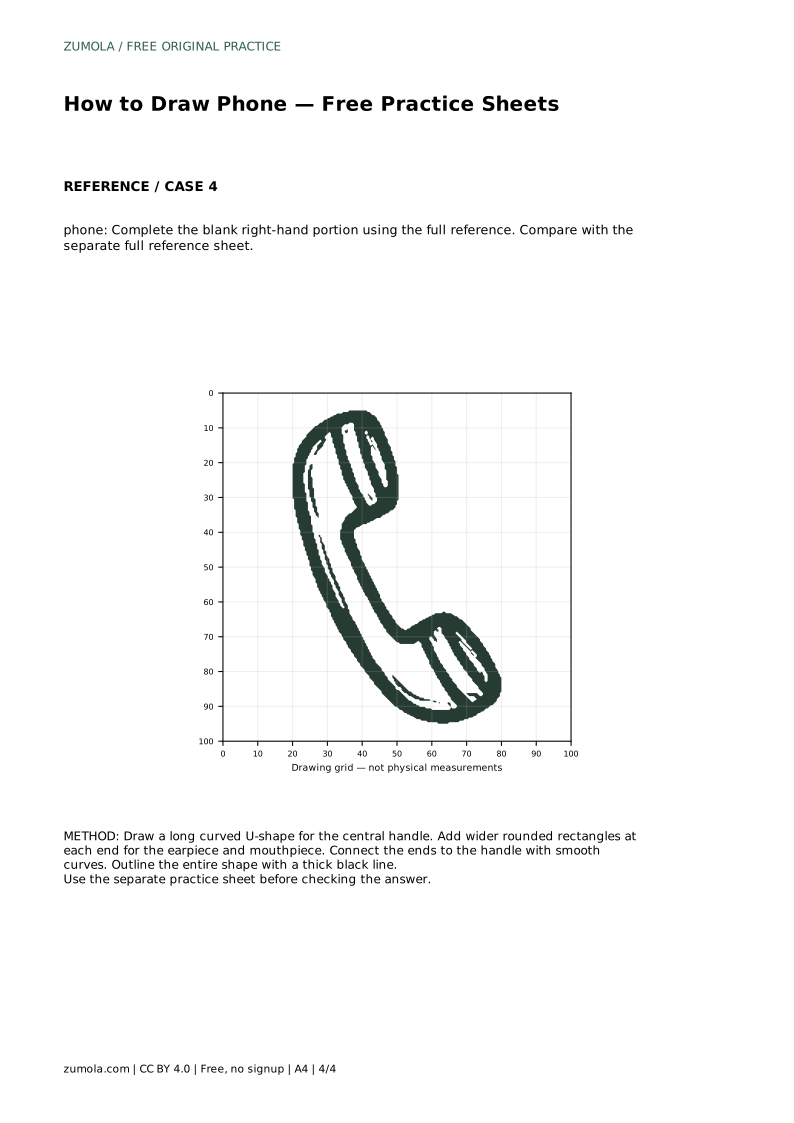
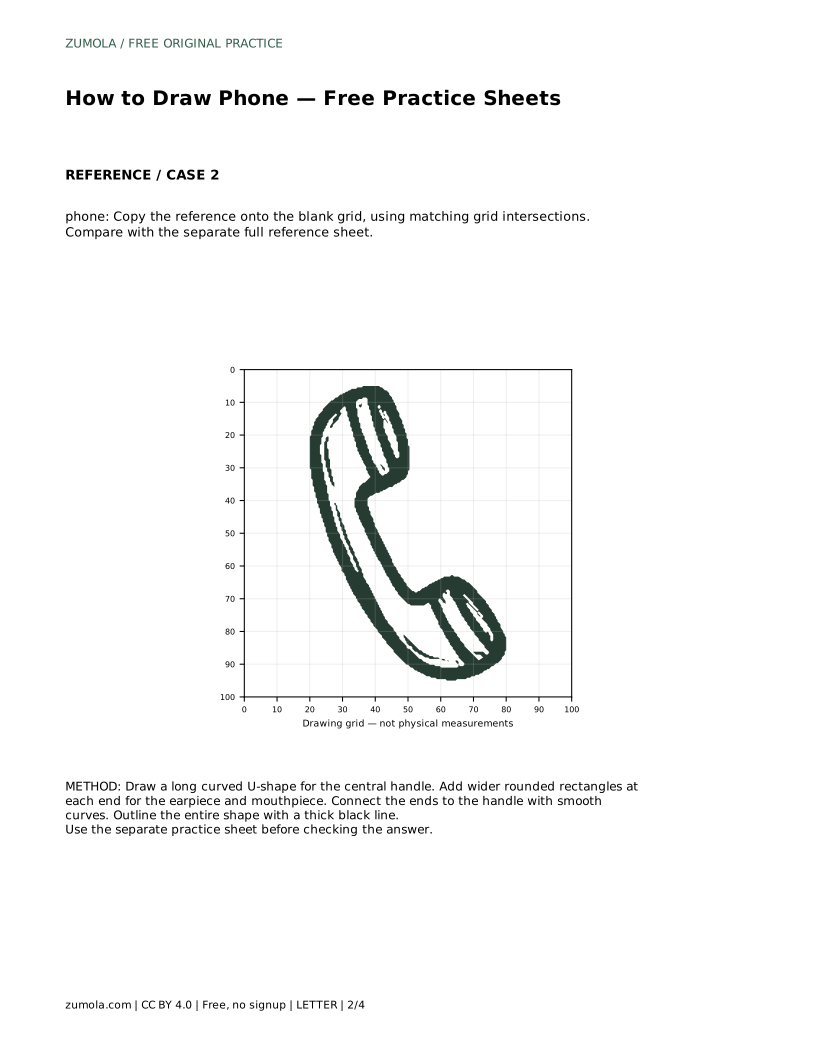
Before drawing, look at the reference and name its parts out loud. The central handle is a long curved U-shape. The earpiece and mouthpiece are wider rounded rectangles at each end. Smooth curves join the ends to the handle. The finished drawing is an outline-only monochrome line drawing, so the shape itself carries the information.
Notice the proportions. The handle is longer than either end section is wide, and the two ends are similar in size to each other. The body curves rather than sitting straight. These relationships matter more than matching every pixel, because several drawings can be correct if the visible features and proportions hold.
Tracing builds familiarity with the contour. Place your pencil on the reference outline and follow it slowly, keeping the line continuous through the curves. When you reach a wider end, slow down so the rounded corners stay rounded rather than becoming sharp.
Then set the traced sheet aside and draw the same shape on blank paper. Compare your independent drawing with the separate full reference sheet, not with your traced copy. Ask whether the handle is long enough, whether both ends are wide enough, and whether the joins curve smoothly. Adjust one feature at a time.
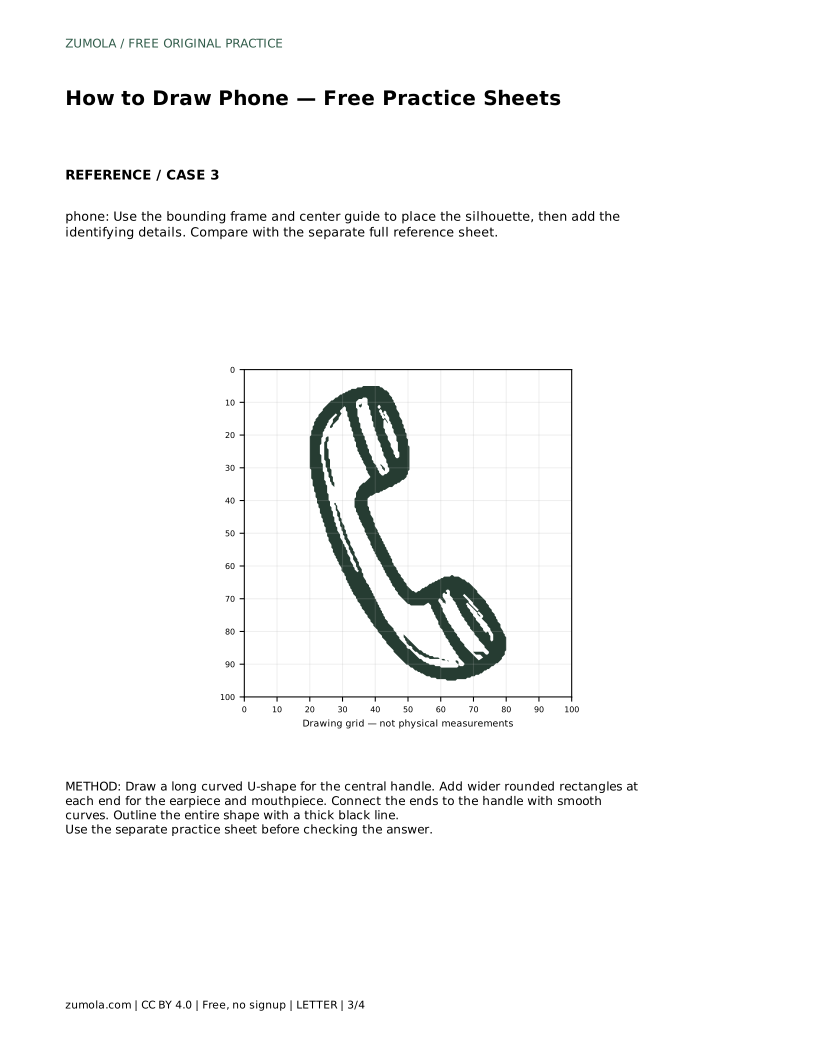
A grid helps you place the silhouette accurately. Copy the reference onto the blank grid by matching grid intersections: where the handle crosses a line, where each end begins, and where the outer curves turn. Work square by square rather than drawing the whole outline at once.
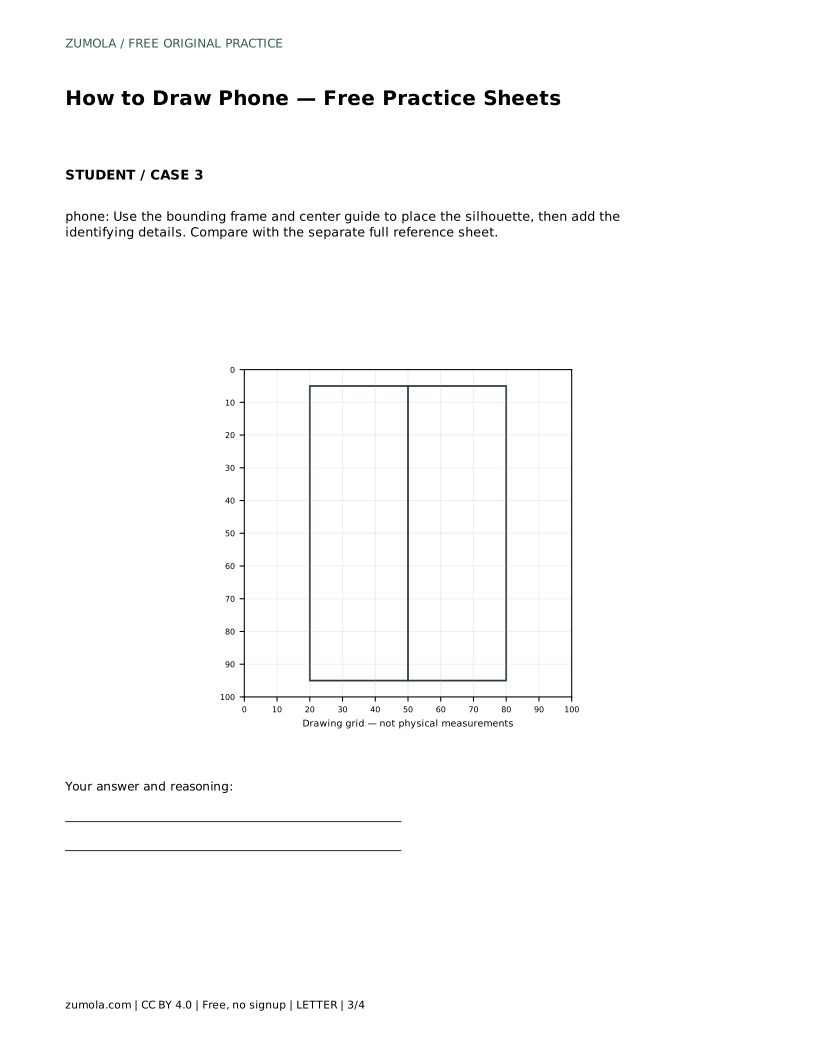
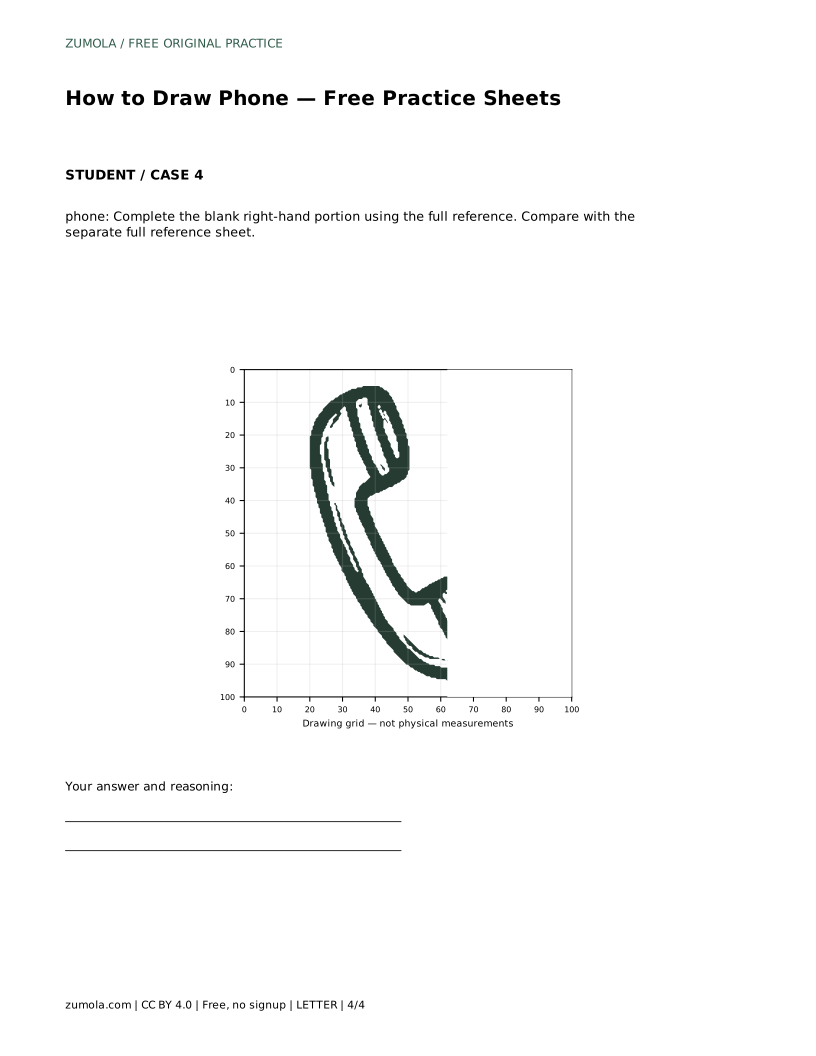
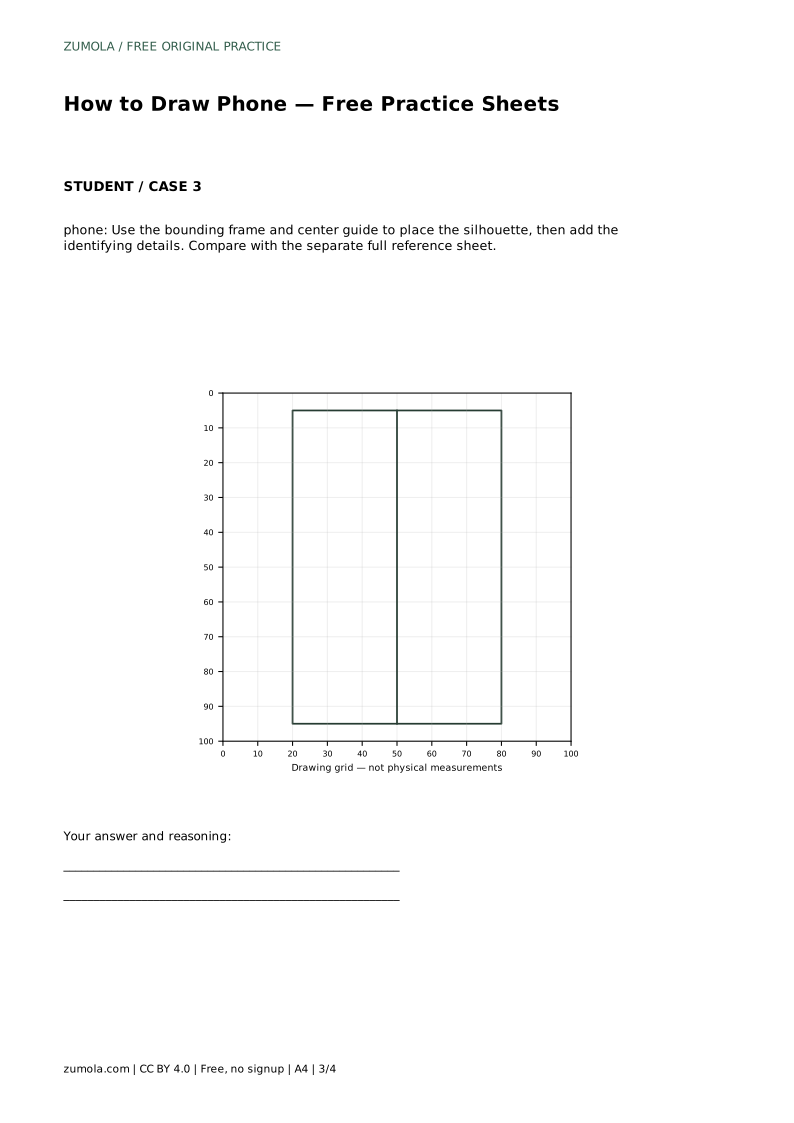
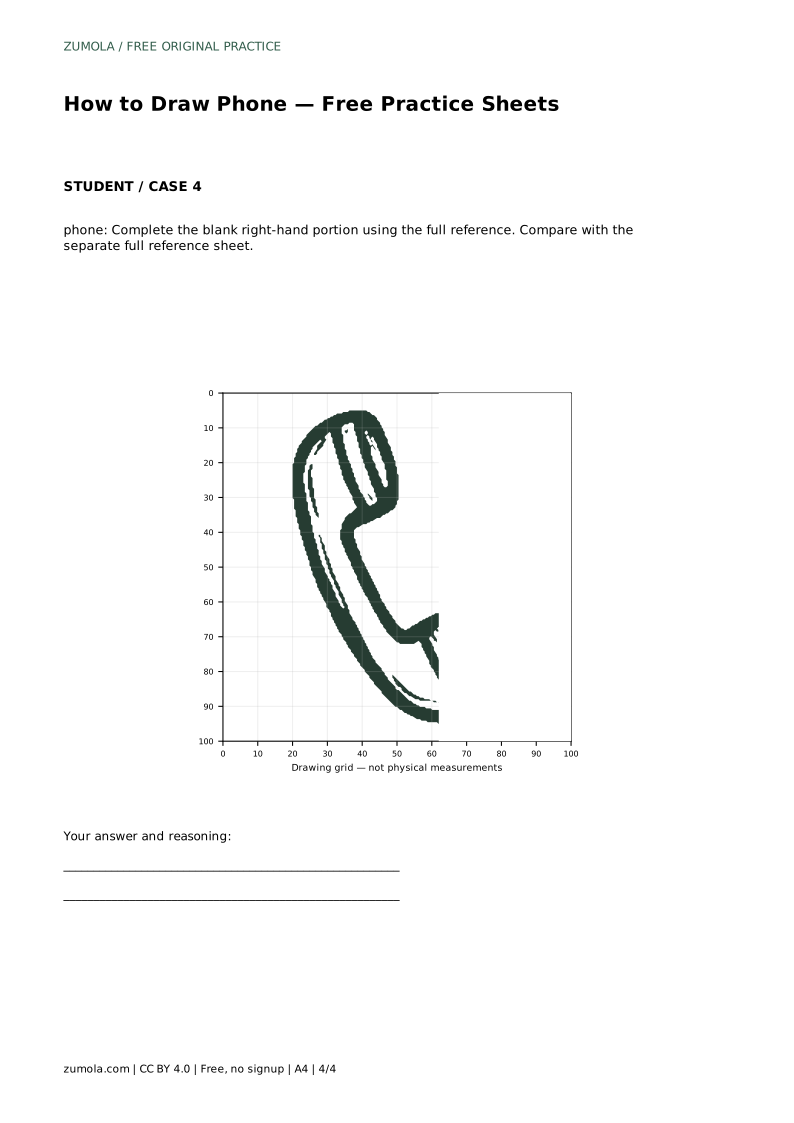
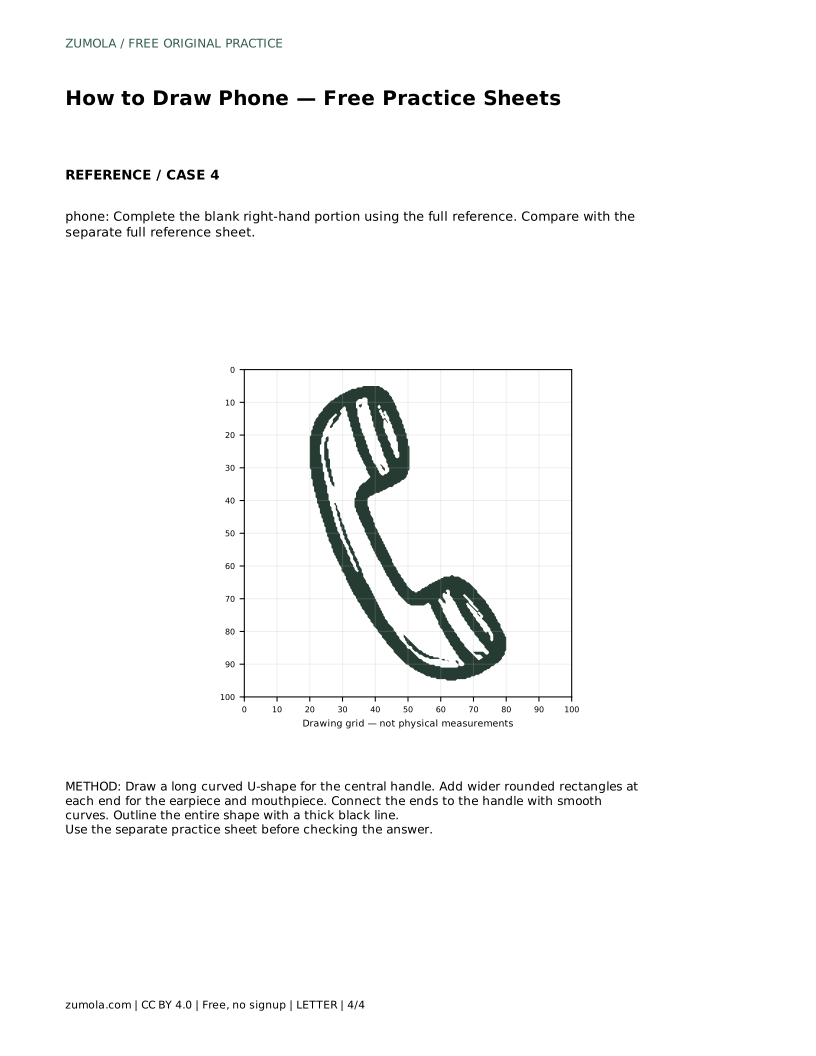
A bounding frame with a center guide works differently. Use the frame to set the outer limits of the phone and the center guide to keep the handle balanced between the two ends. Place the silhouette first, then add the identifying details. The partial-drawing sheet asks you to complete the blank right-hand portion using the full reference, so check the left side for scale before continuing.
Because art has multiple valid outcomes, judge the drawing by visible features rather than an exact match. A strong attempt keeps the elongated curved body, a central handle, and two wider end sections joined by smooth curves. Line quality matters too: a thick, even outline reads more clearly than a shaky one.
Use the rubric below to review your work, then redraw once with one specific correction in mind. Repeated short attempts teach proportion faster than one long session.
phone: Trace the reference outline, then practise the contour independently. Compare with the separate full reference sheet.
Example solution: preserve curved elongated body with a central handle, two wider end sections (earpiece and mouthpiece), outline-only monochrome line drawing. Other drawings can be correct; assess the visible features and proportions rather than pixel-perfect matching. Draw a long curved U-shape for the central handle. Add wider rounded rectangles at each end for the earpiece and mouthpiece. Connect the ends to the handle with smooth curves. Outline the entire shape with a thick black line.
No. Other drawings can be correct. Assess the visible features and proportions rather than pixel-perfect matching.
Draw the long curved U-shape for the handle first, add the wider rounded ends, connect them with smooth curves, then outline the whole shape with a thick black line.
Complete the blank right-hand portion using the full reference, checking the finished left side for scale before you continue.
All drawing practice · Free coordinate paper
Original resources · CC BY 4.0 · Free for personal and classroom use with attribution.