Reference diagrams
LETTER · Download PDF
A4 · Download PDF
Free original resources
Learn to draw a rubber duck by tracing, gridding, and completing a reference. Focus on the round head, oval eye, beak, body, tail, and wing line.
Four original cases, with reference diagrams, practice sheets and worked answers. Everything is free; no signup required.
LETTER · Download PDF
A4 · Download PDF
LETTER · Download PDF
A4 · Download PDF
LETTER · Download PDF
A4 · Download PDF
Use A4 or US Letter to match your printer. Use the stated values and conditions to solve each exercise; diagrams are not physical measuring rulers.
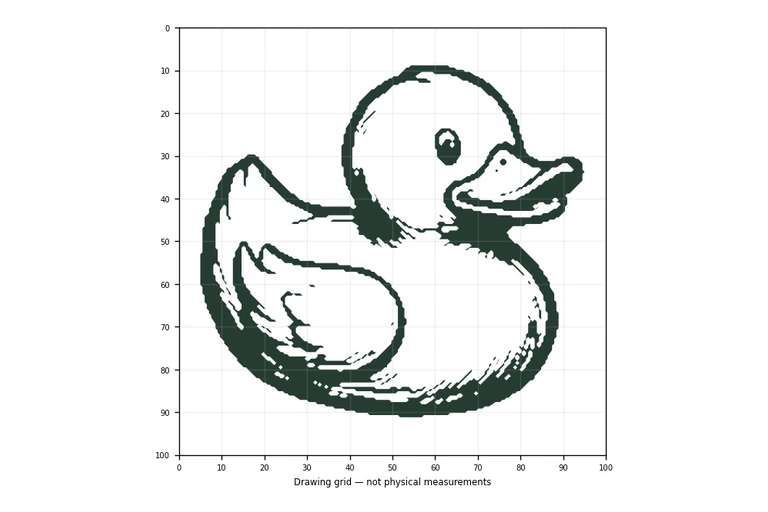
Drawing a rubber duck is a friendly way to practice seeing and reproducing simple shapes. This page explains how to use free practice sheets that ask you to trace a reference outline, copy it onto a grid, place it with a bounding frame and center guide, or complete a partially drawn duck. Each method trains a different skill: contour following, proportional placement, and finishing details. The goal is not a pixel-perfect copy but a drawing that preserves the duck’s key features and proportions.
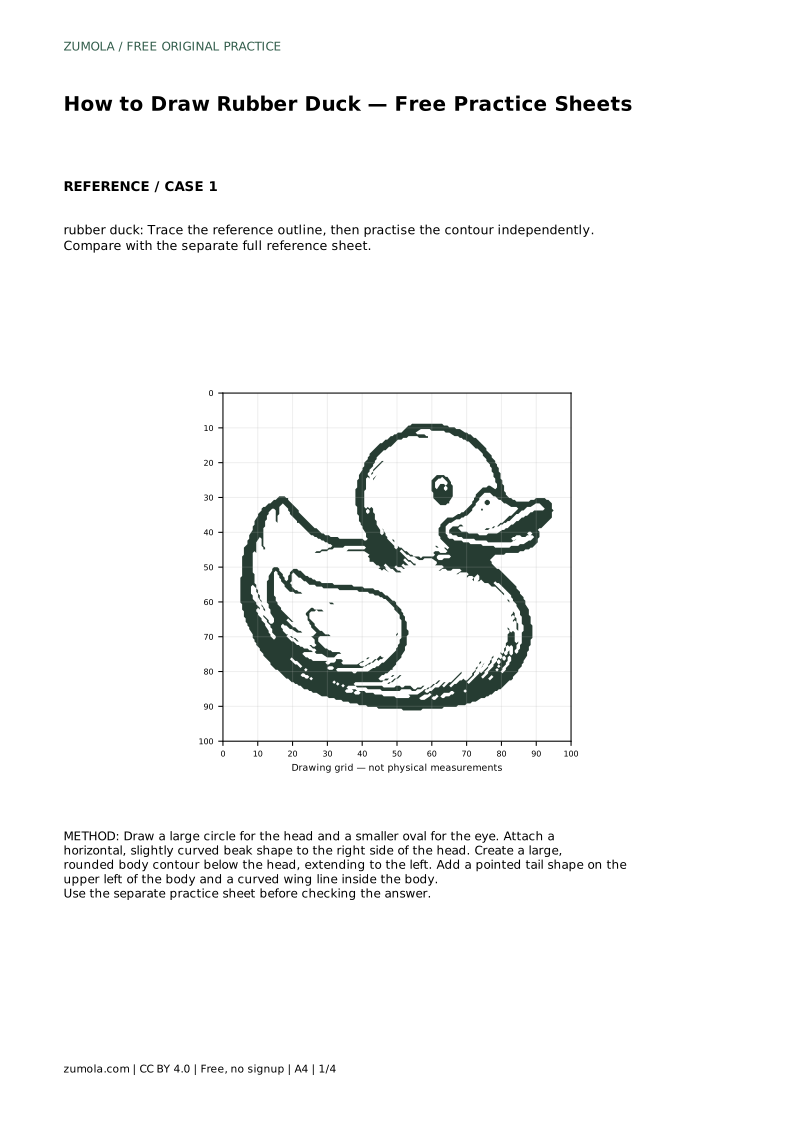
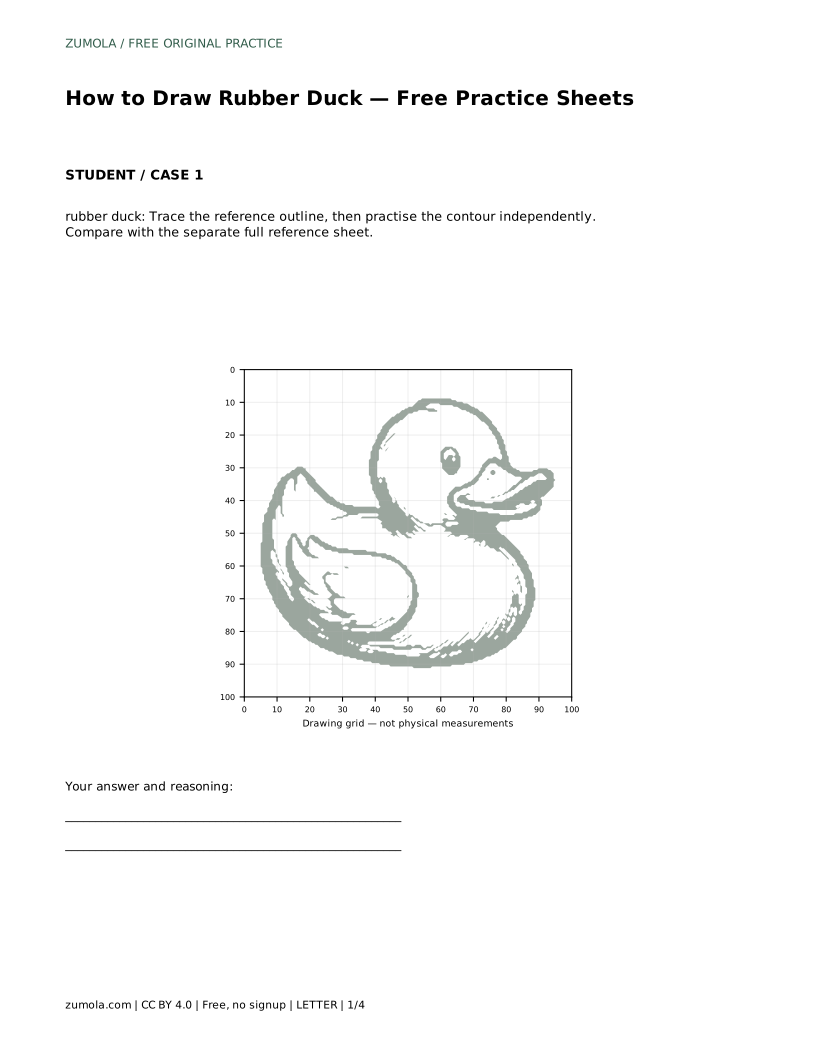
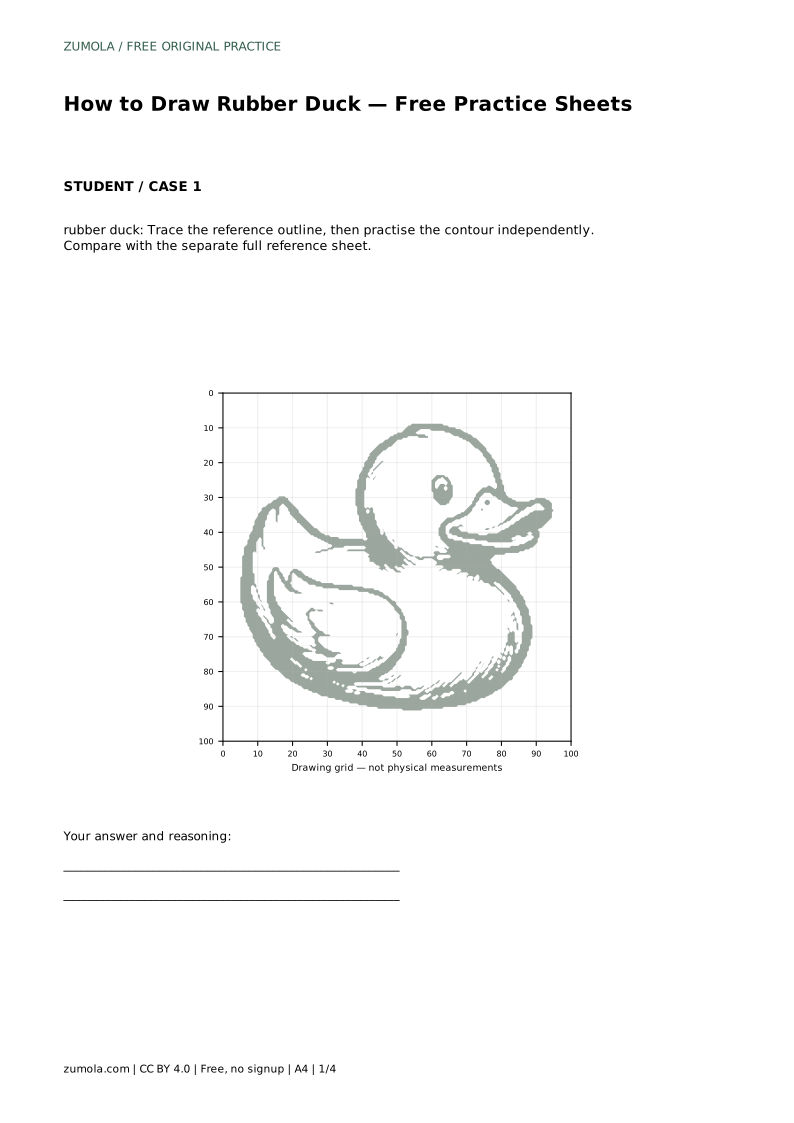
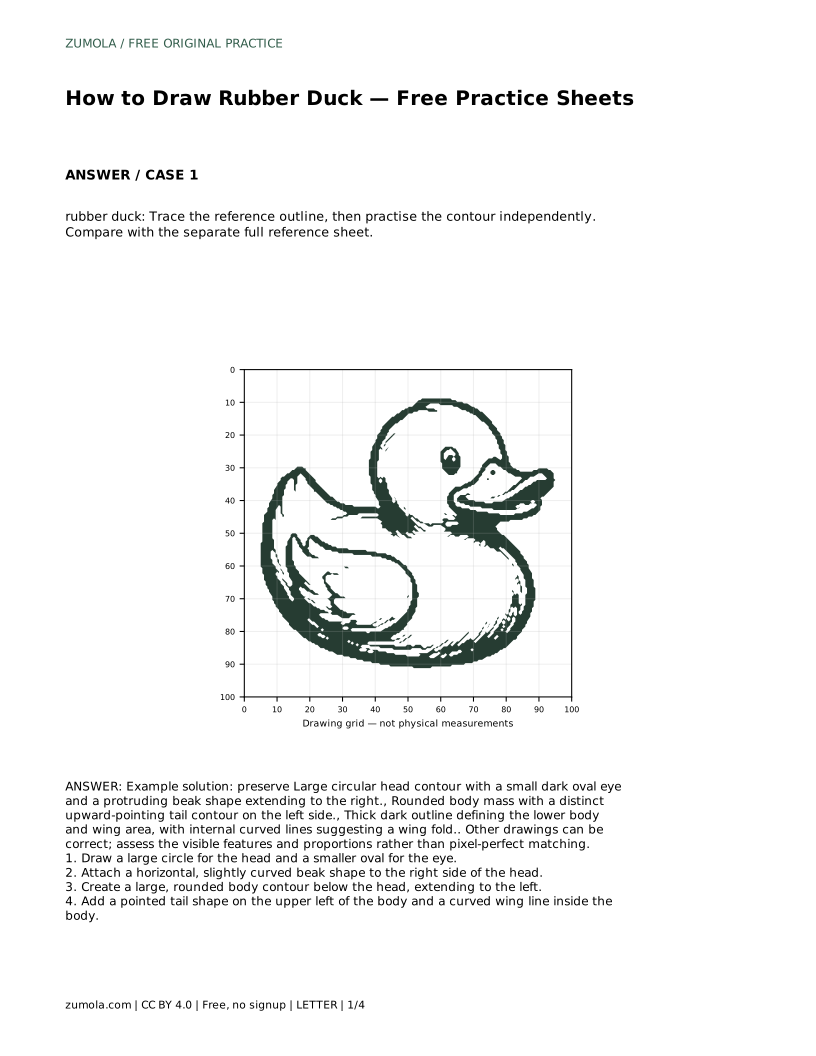
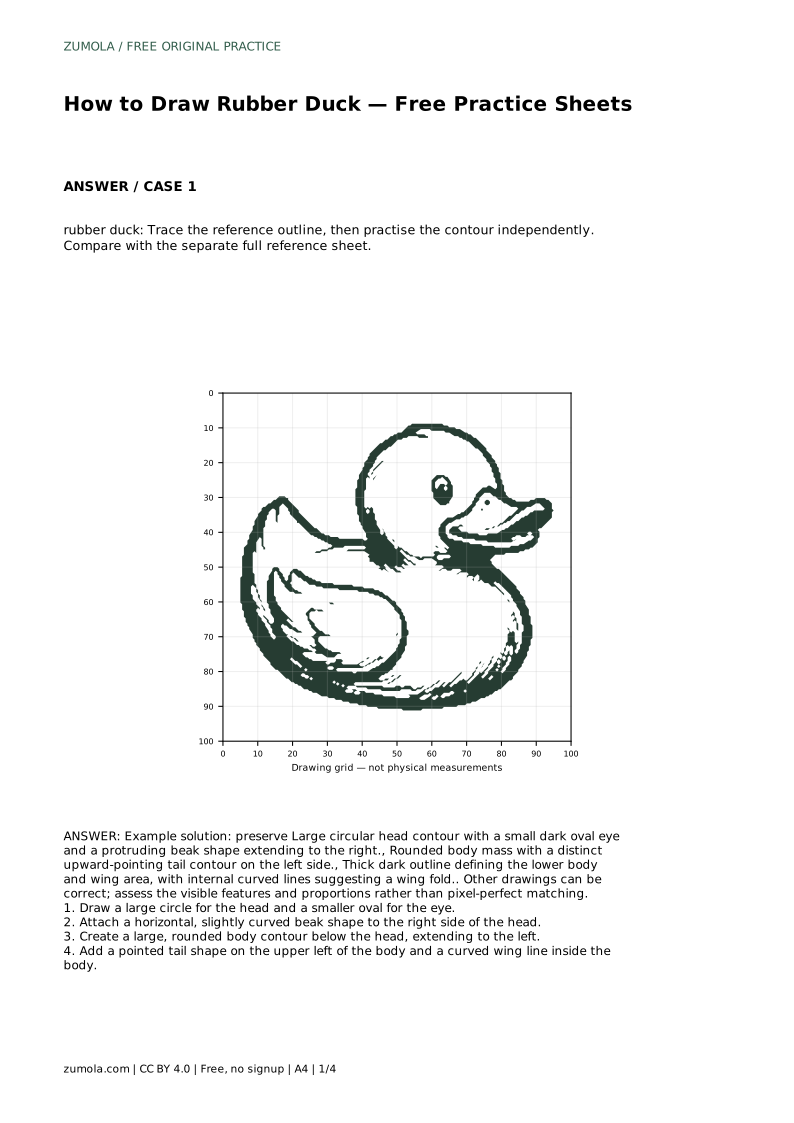
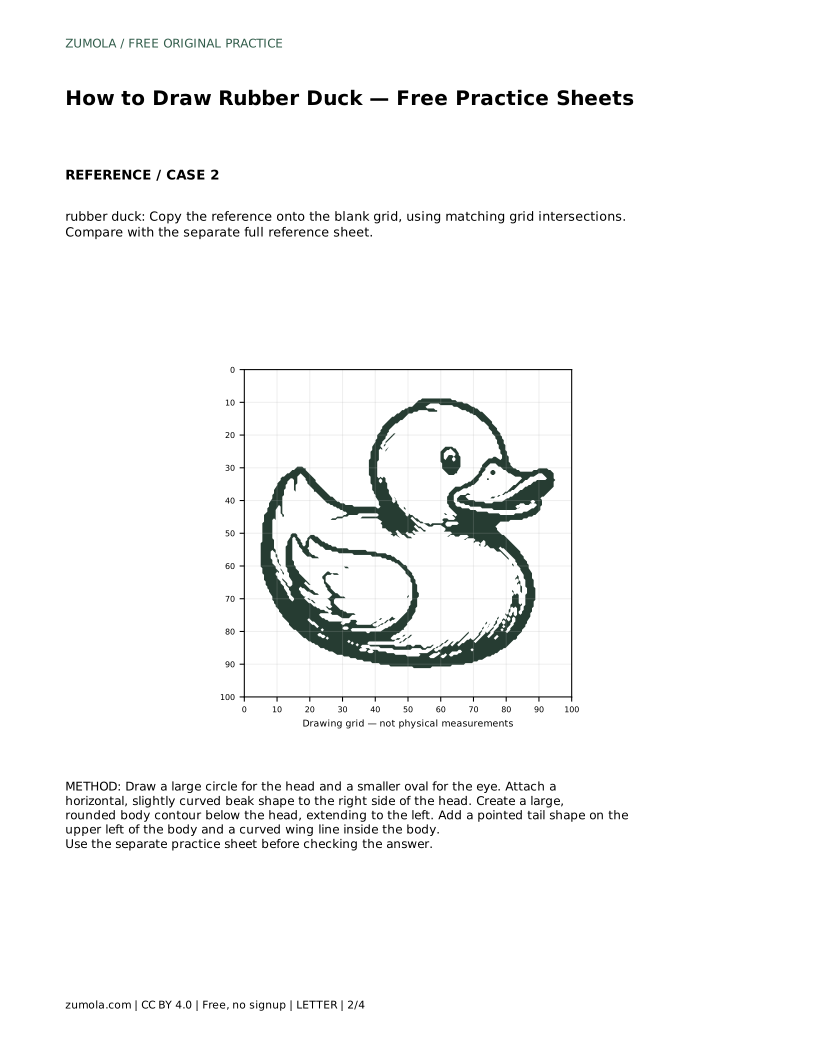
Start with the tracing sheet. Place a thin sheet over the reference outline and follow the contour slowly, keeping your pencil on the line. This builds muscle memory for the duck’s large circular head, the small dark oval eye, and the protruding beak that extends to the right. After tracing once, remove the overlay and draw the same contour on blank paper without looking at the reference. Then compare your independent drawing with the separate full reference sheet. Notice which features you preserved and which drifted. The reference is a guide, not a strict answer key; other drawings can be correct if the visible features and proportions are present.
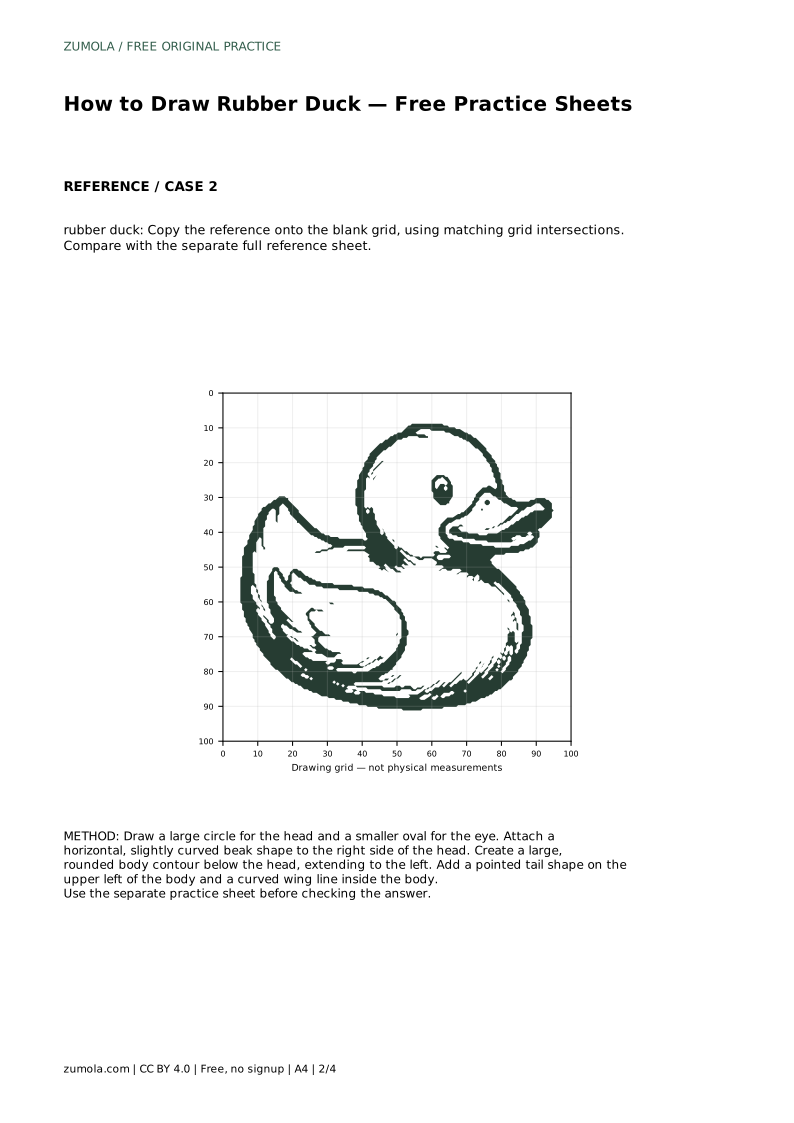
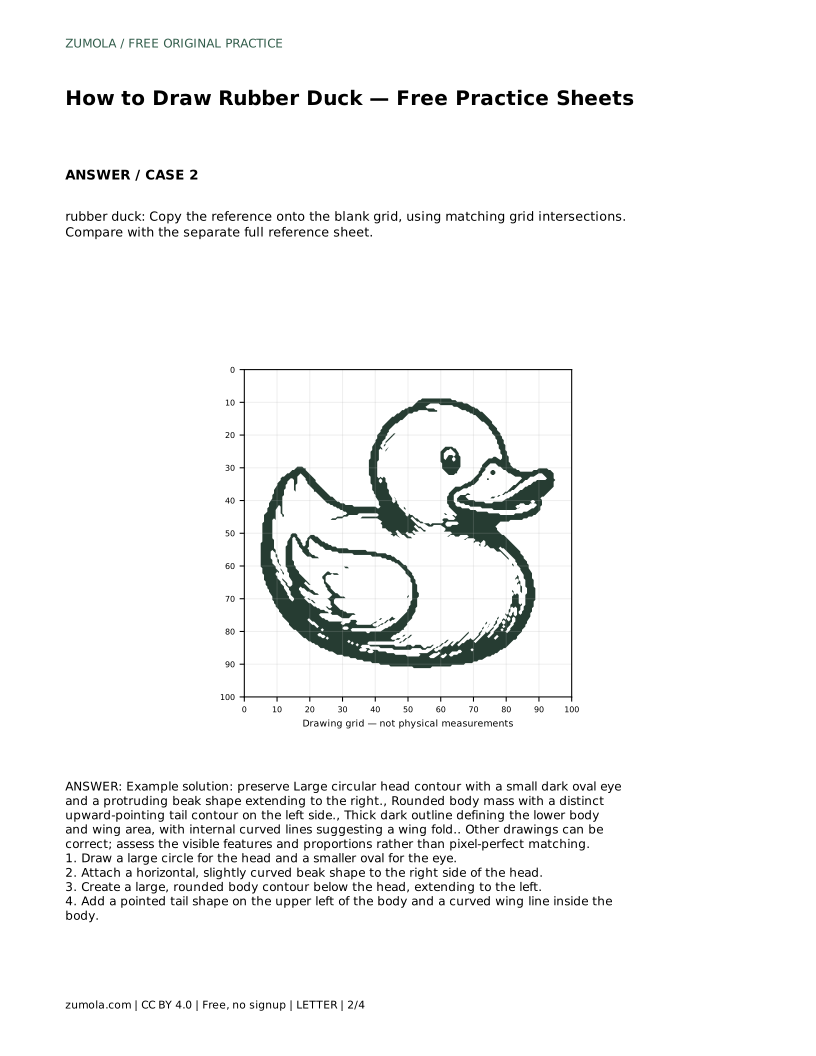
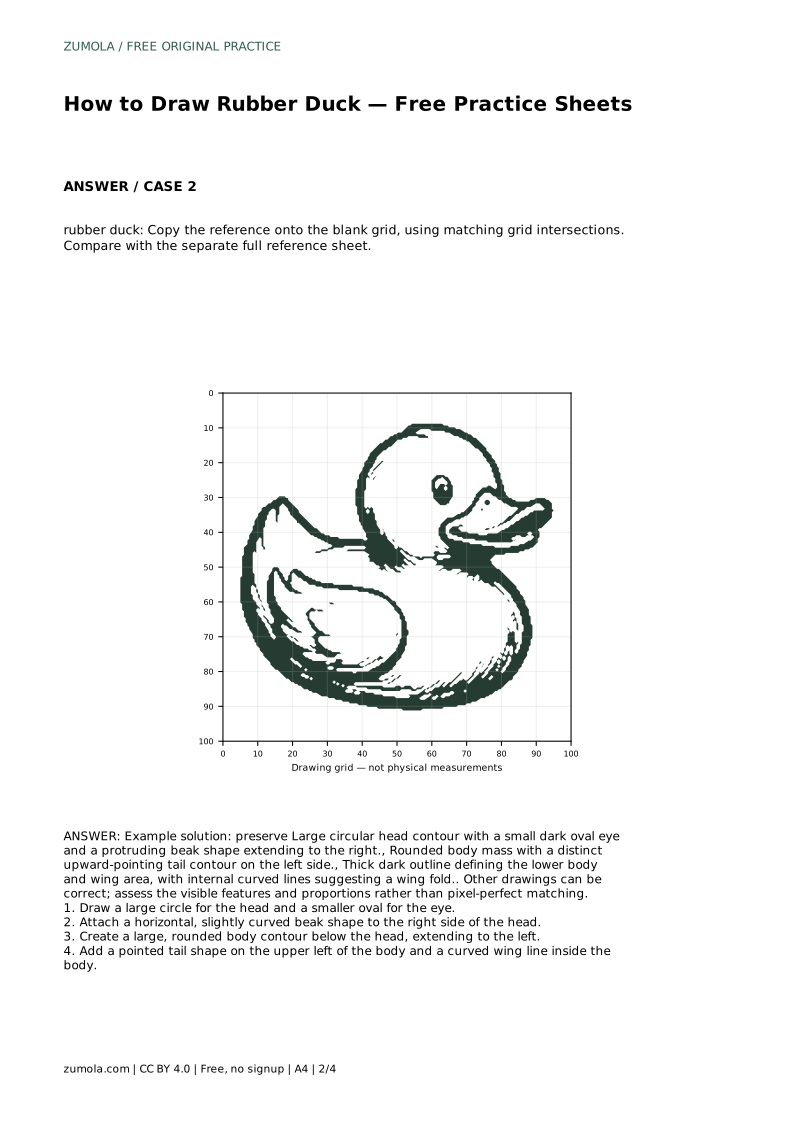
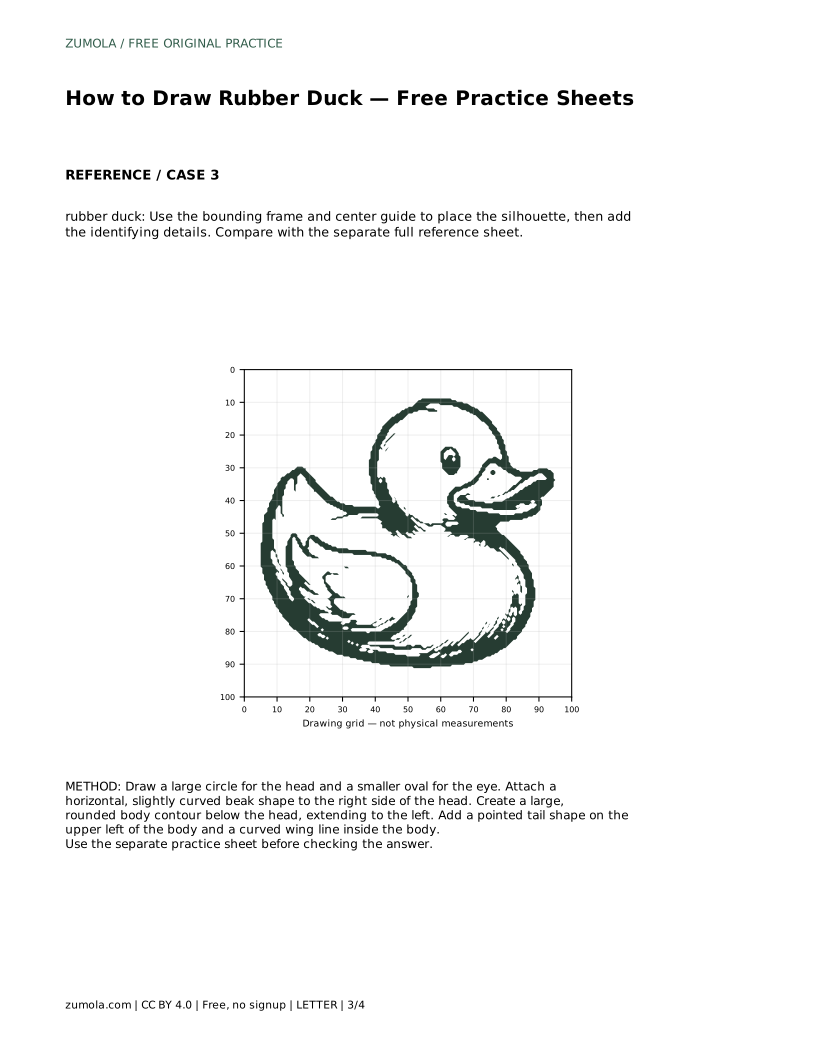
The grid sheet helps you place shapes by matching intersections rather than guessing distances. Look at where the head circle crosses grid lines, where the eye sits relative to the head, and where the beak begins and ends. Copy one square at a time, checking that curves pass through the same intersections as the reference. Keep the head large and circular, the eye small and dark, and the beak protruding to the right. The body should be a rounded mass below the head, extending left, with a distinct upward-pointing tail on the upper left. A thick dark outline defines the lower body and wing area, and internal curved lines suggest a wing fold. Compare your finished grid copy with the full reference sheet to check proportions.
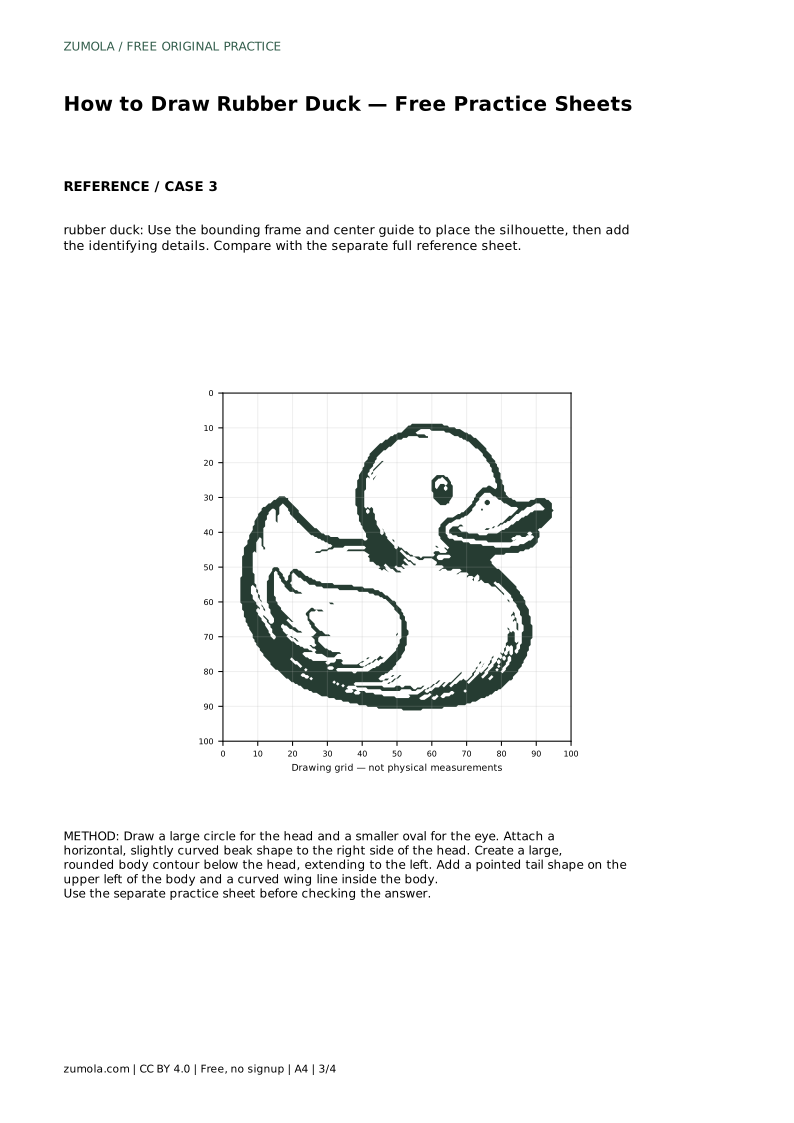
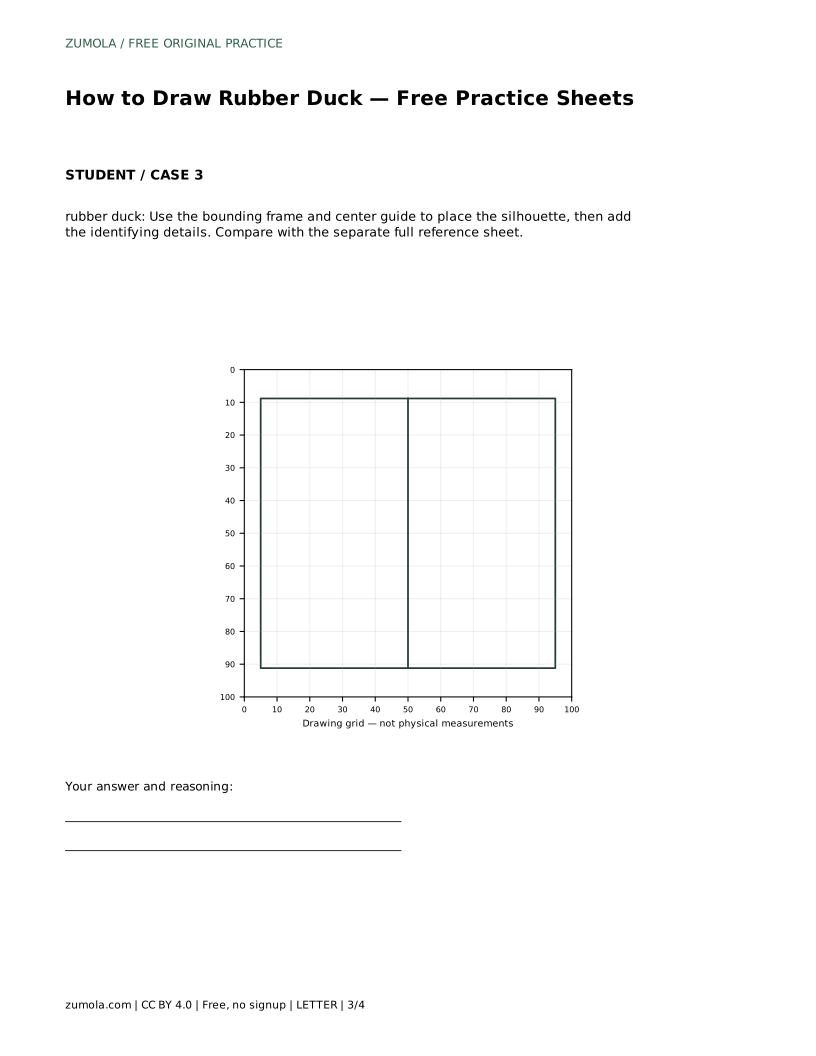
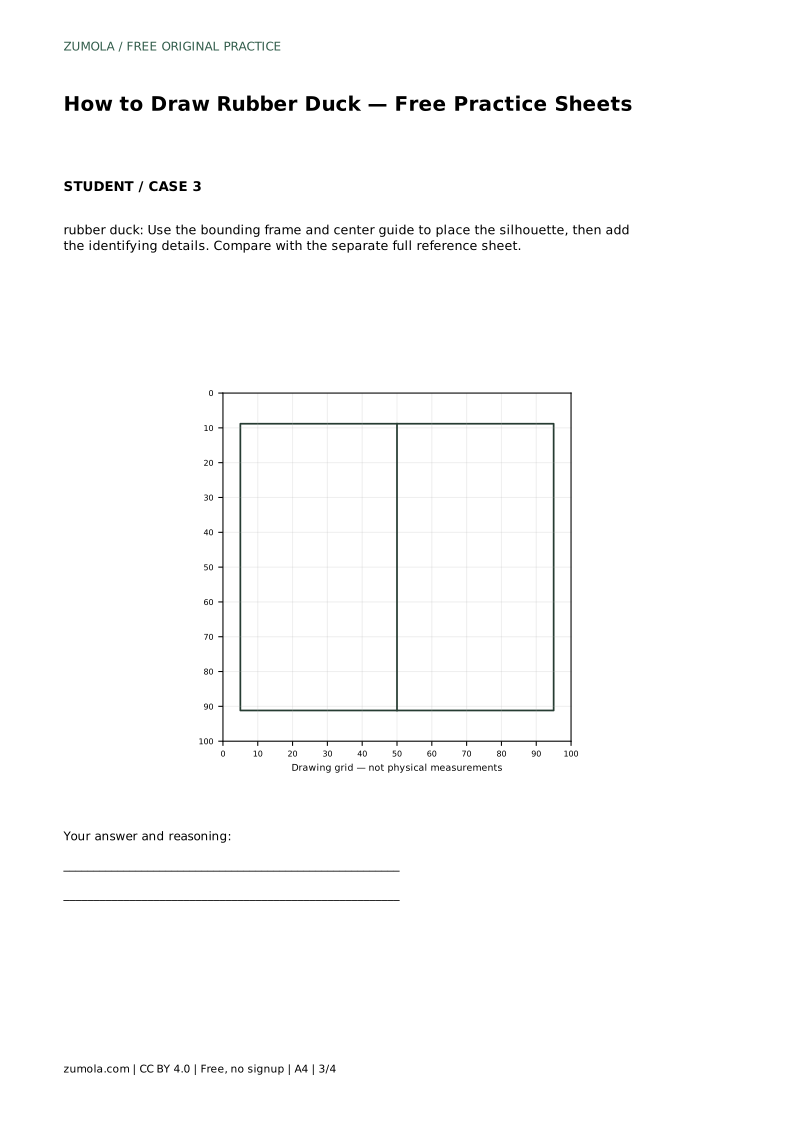
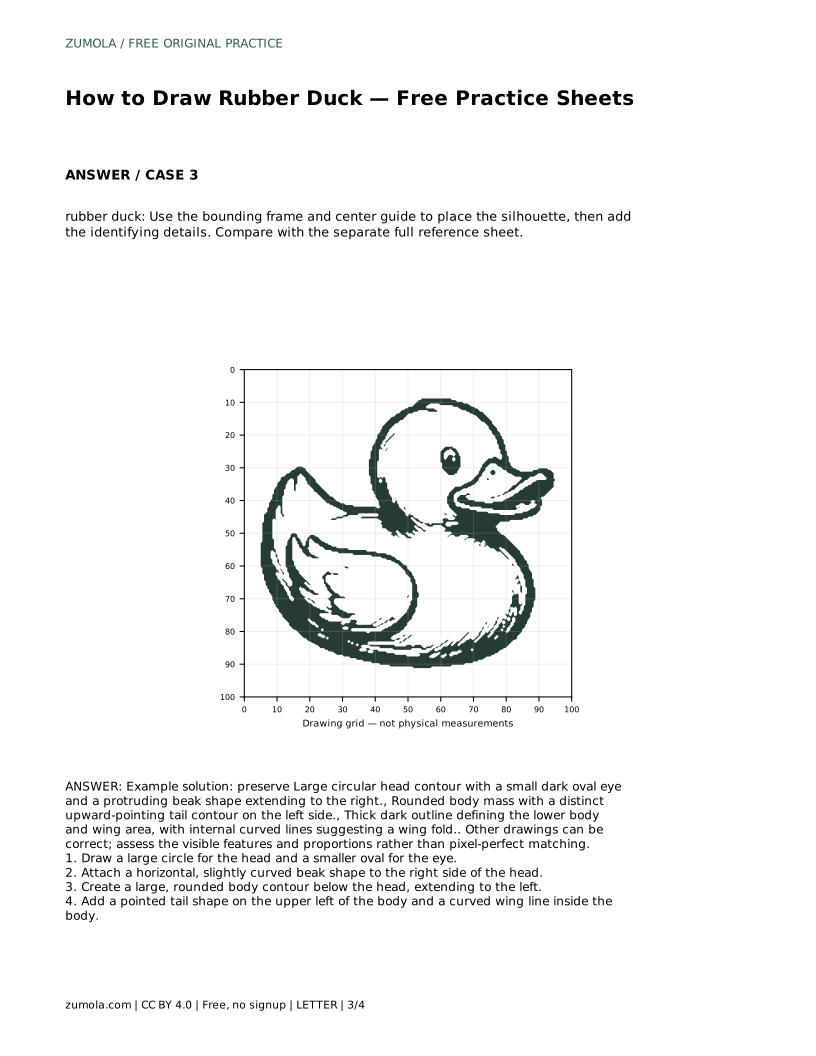
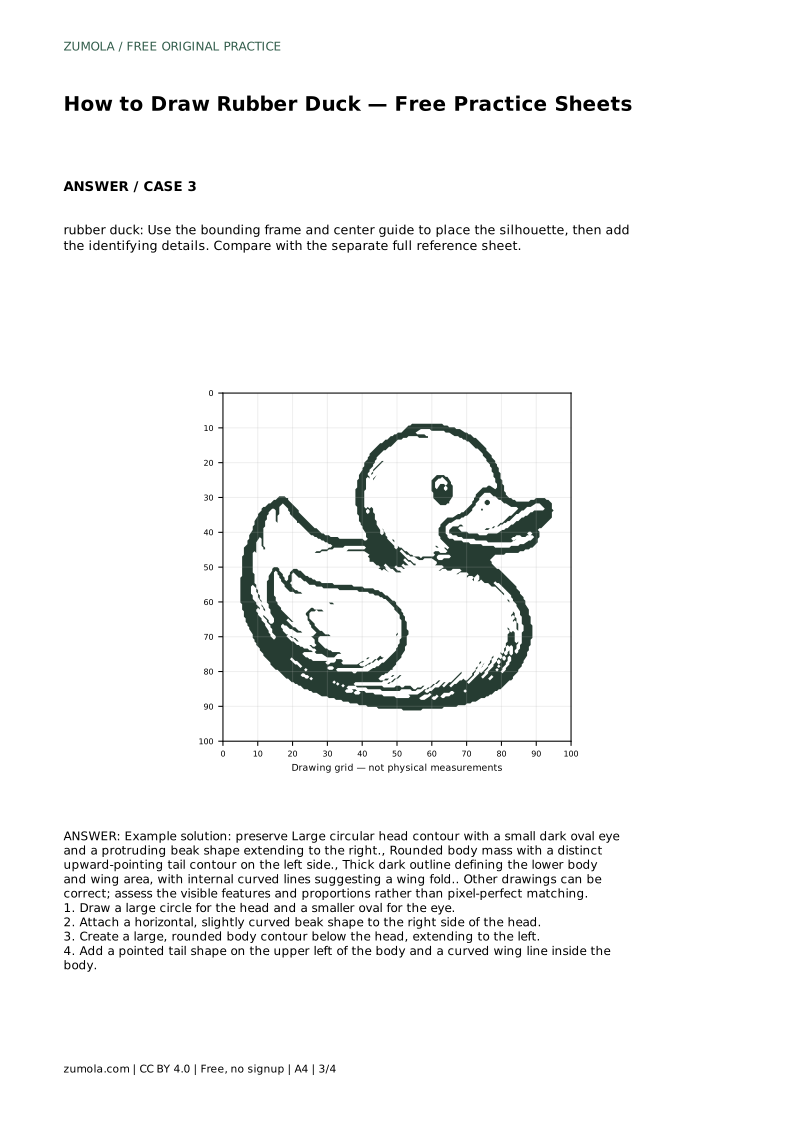
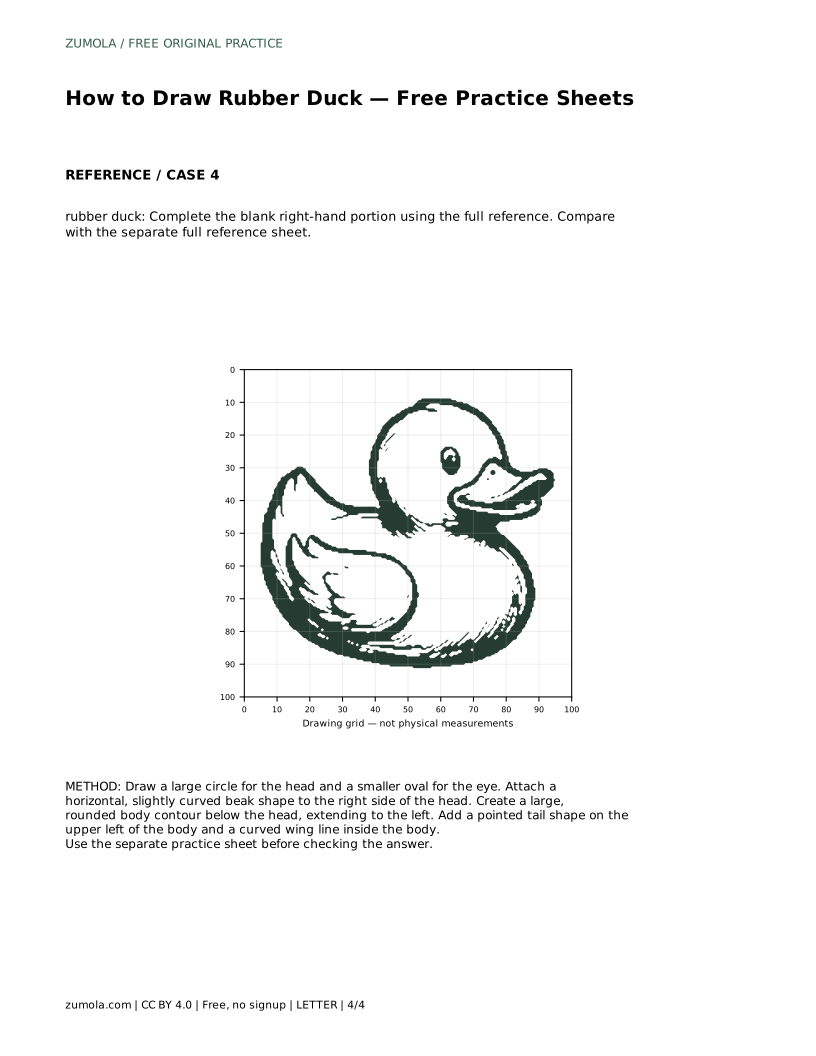
The bounding frame and center guide give you a structure for placing the whole silhouette before adding details. First, sketch the overall duck inside the frame, using the center guide to balance the head and body. The head should sit near the top, the body below it, and the tail should point upward on the left. Once the silhouette feels right, add the eye, beak, and wing line. The eye is a small dark oval; the beak is a horizontal, slightly curved shape extending to the right. The wing line is a curved internal line inside the body. Compare with the separate full reference sheet to see whether your placement matches the key features.
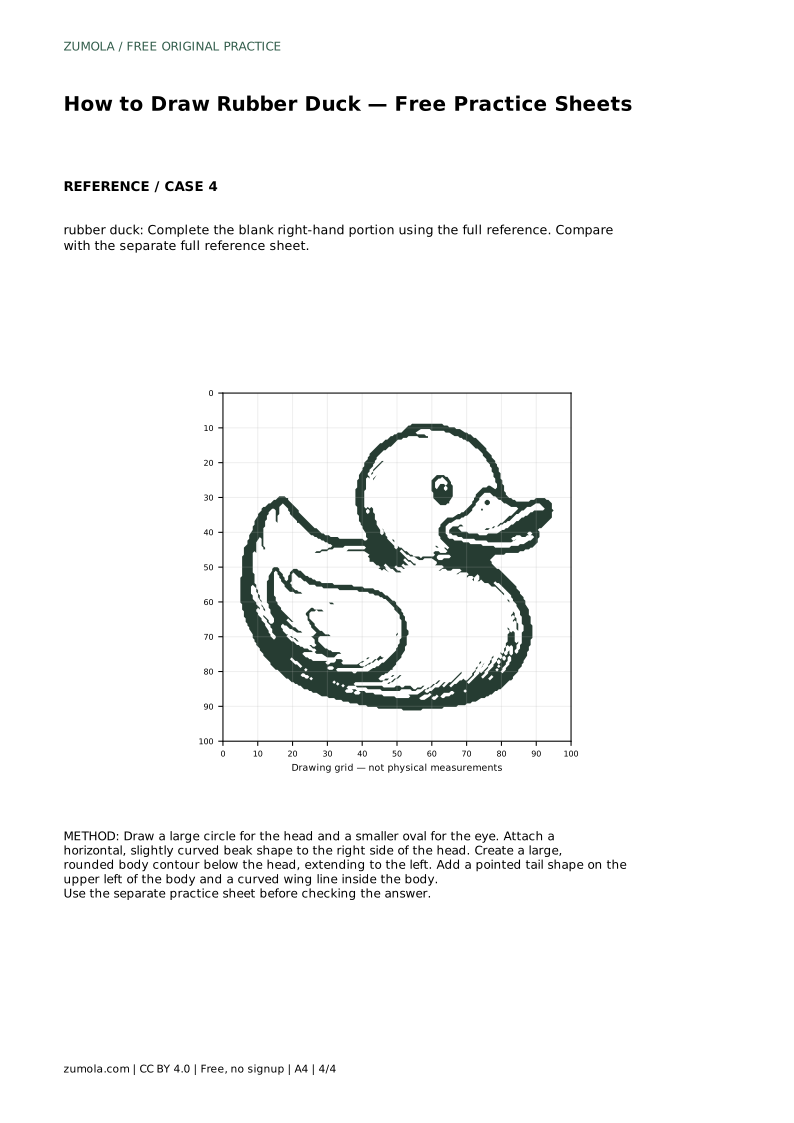
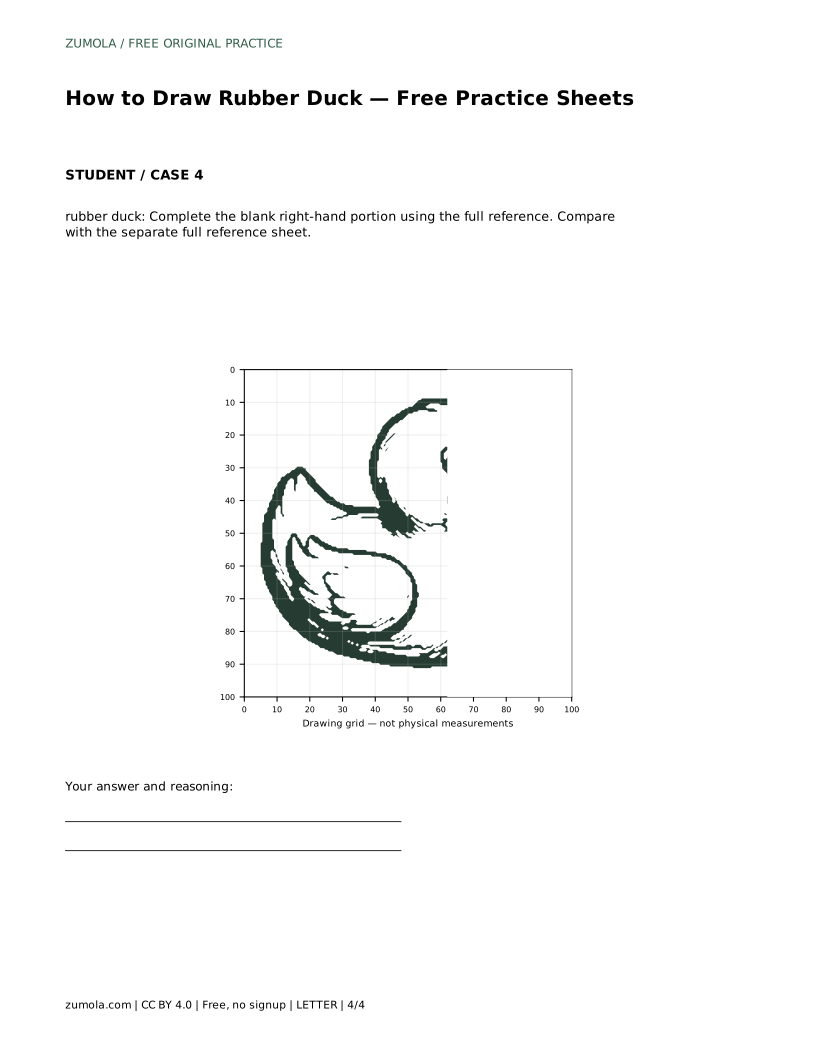
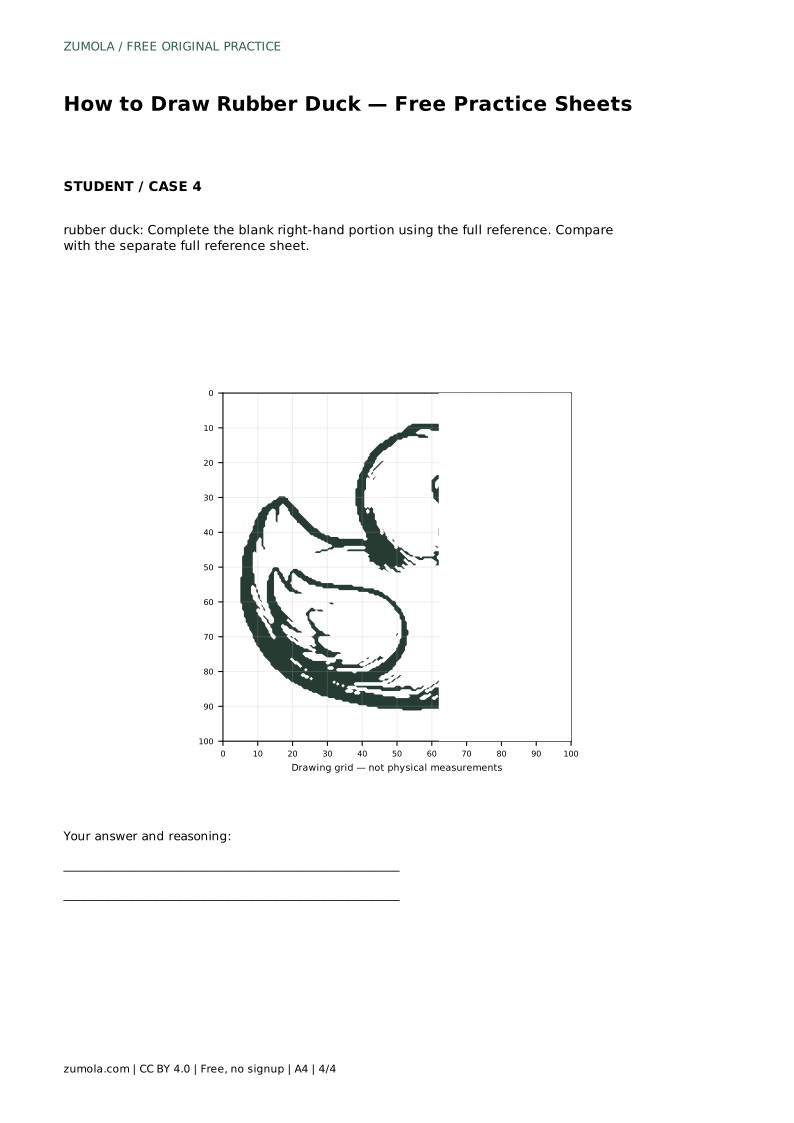
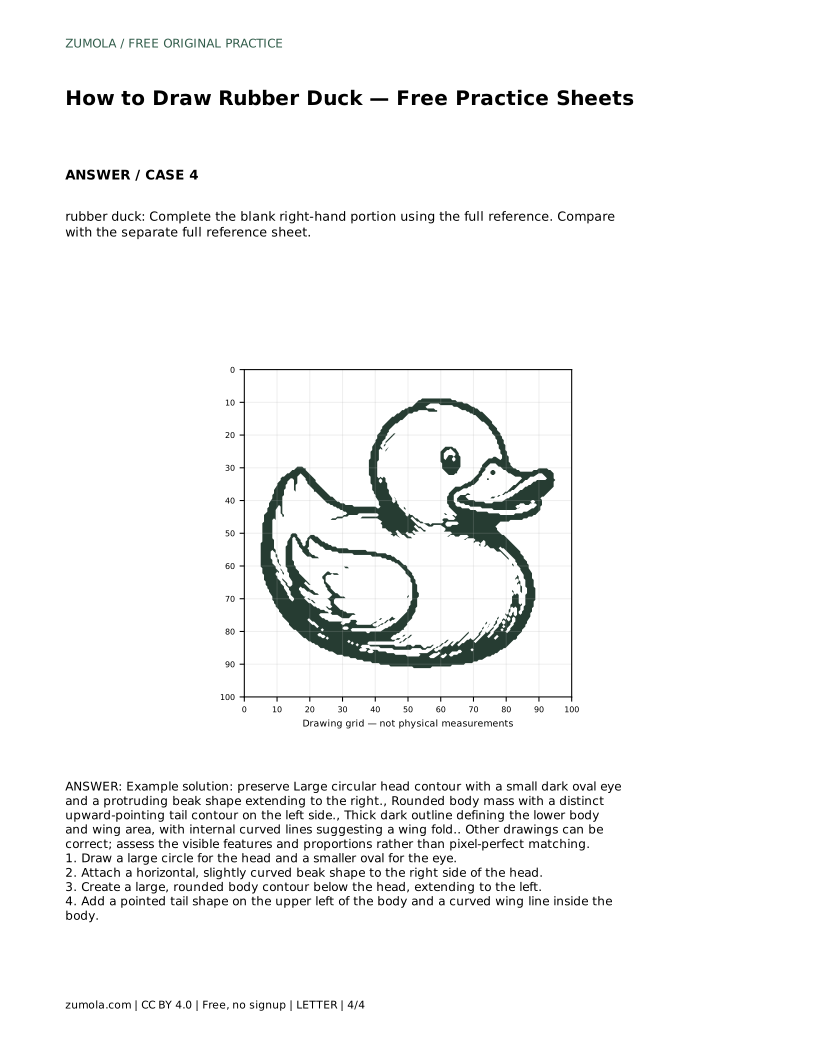
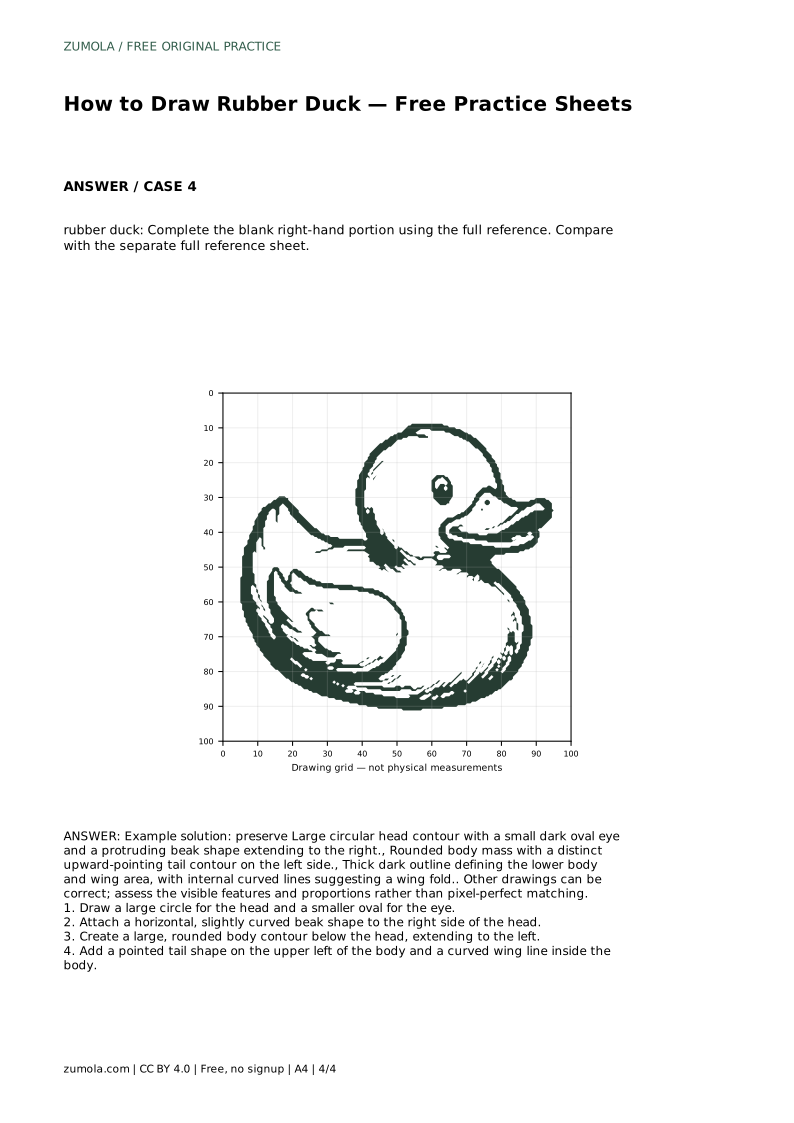
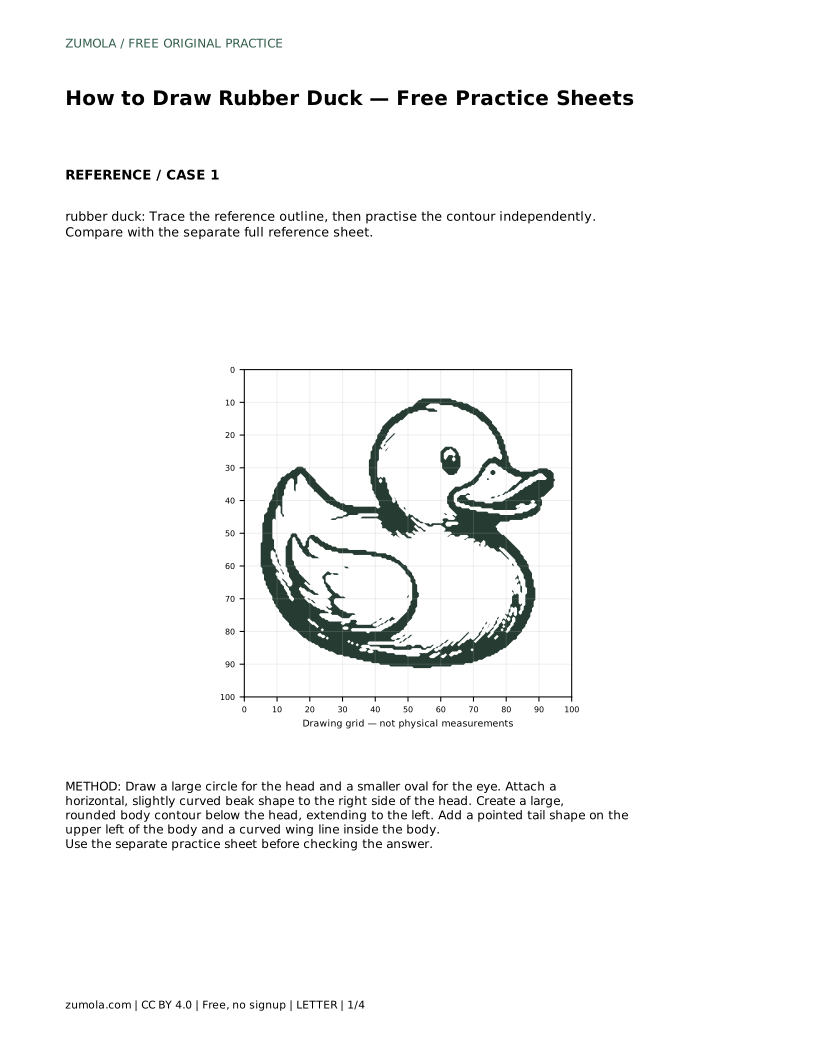
The completion sheet shows the left part of the duck and leaves the right side blank. Use the full reference to finish the missing portion. Pay attention to how the beak extends to the right, how the head circle closes, and how the body contour continues. The tail is on the upper left, so the right side mainly involves the beak, the right edge of the head, and the lower body outline. Keep the thick dark outline around the lower body and wing area, and add the internal curved wing line. After finishing, compare your completed drawing with the full reference sheet. Remember that multiple valid outcomes exist; assess whether the large circular head, small dark oval eye, protruding beak, rounded body, upward-pointing tail, and wing line are all present and proportionally placed.
rubber duck: Trace the reference outline, then practise the contour independently. Compare with the separate full reference sheet.
Example solution: preserve Large circular head contour with a small dark oval eye and a protruding beak shape extending to the right., Rounded body mass with a distinct upward-pointing tail contour on the left side., Thick dark outline defining the lower body and wing area, with internal curved lines suggesting a wing fold.. Other drawings can be correct; assess the visible features and proportions rather than pixel-perfect matching. Draw a large circle for the head and a smaller oval for the eye. Attach a horizontal, slightly curved beak shape to the right side of the head. Create a large, rounded body contour below the head, extending to the left. Add a pointed tail shape on the upper left of the body and a curved wing line inside the body.
No. Other drawings can be correct. Assess whether the visible features and proportions are present, such as the large circular head, small dark oval eye, protruding beak, rounded body, upward-pointing tail, and wing line.
Compare the placement of key features at grid intersections. Adjust the head size, beak position, or tail direction to better match the reference’s proportions, but accept minor differences.
Yes. You can view the reference on a screen and draw on blank paper, using the grid or bounding frame as a guide by sketching light lines first.
All drawing practice · Free coordinate paper
Original resources · CC BY 4.0 · Free for personal and classroom use with attribution.