Reference diagrams
LETTER · Download PDF
A4 · Download PDF
Free original resources
Learn to draw an angel statue by blocking the tall figure, placing the pedestal, shaping folded wings and robe folds, then checking proportions against a reference sheet.
Four original cases, with reference diagrams, practice sheets and worked answers. Everything is free; no signup required.
LETTER · Download PDF
A4 · Download PDF
LETTER · Download PDF
A4 · Download PDF
LETTER · Download PDF
A4 · Download PDF
Use A4 or US Letter to match your printer. Use the stated values and conditions to solve each exercise; diagrams are not physical measuring rulers.
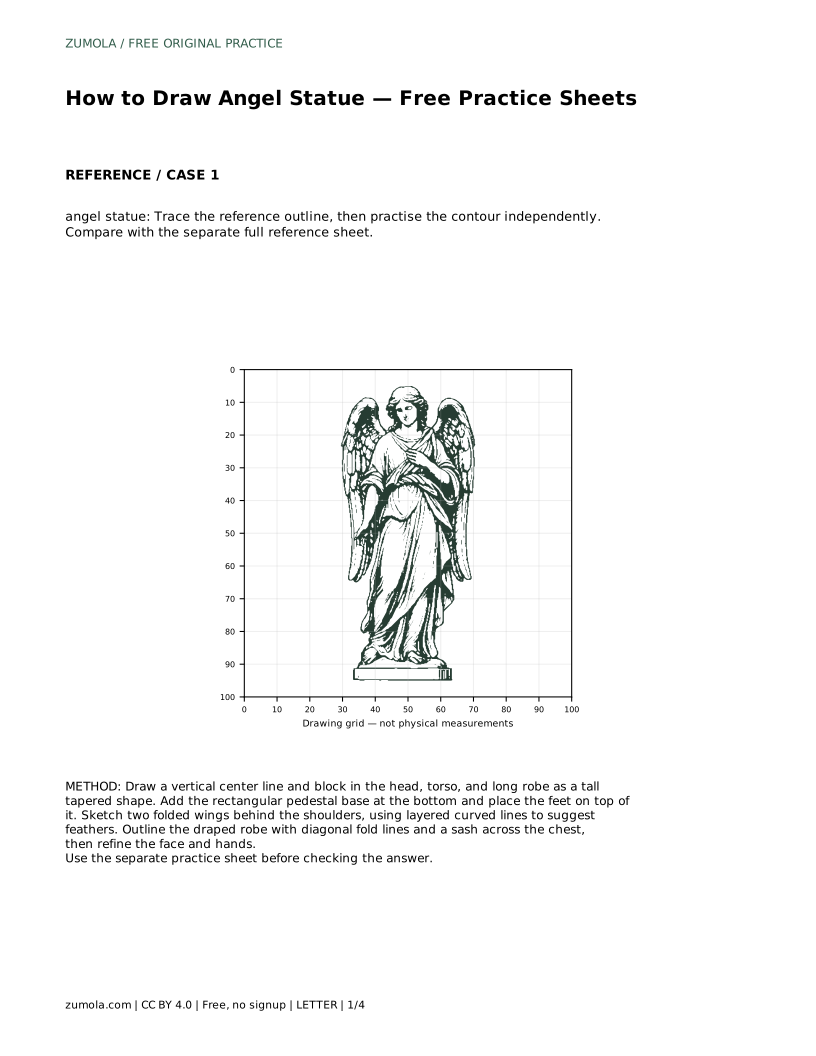
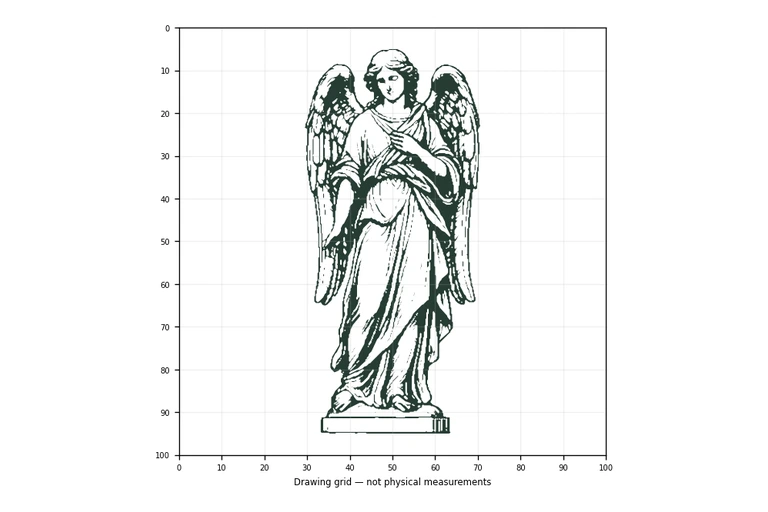
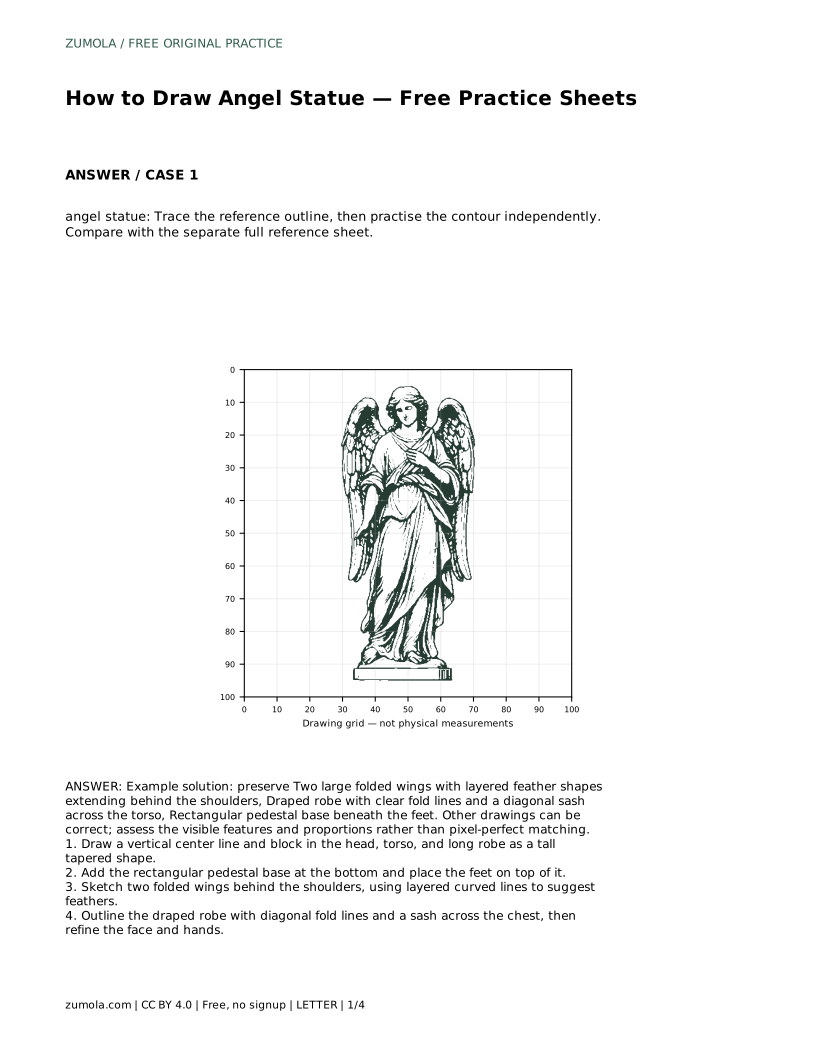
An angel statue drawing is mostly a problem of structure: a tall figure, two folded wings behind the shoulders, a draped robe and a rectangular base. This page walks through a reliable order for building that structure, then shows how to use trace, grid, frame and partial-reference practice sheets to test what you can draw without copying. The goal is not a pixel-perfect copy. It is a believable statue whose parts sit in sensible proportion to one another.
Begin with a vertical center line. This line is a planning aid, not a feature of the finished statue, and it keeps the head, torso and robe stacked rather than drifting sideways. Block the head as a small oval, the torso as a narrower shape below it, and the robe as a tall tapered form that widens toward the hem. Keep the whole figure noticeably taller than it is wide; a statue reads as monumental when the vertical proportion dominates.
Place the rectangular pedestal base at the bottom before adding detail. The feet rest on top of the pedestal, so the base sets the ground line for everything above. Draw the pedestal as a simple box shape with a visible top edge and front face. If the pedestal is too narrow, the figure looks unstable; if it is too wide, the statue looks like a monument to a box.
The wings attach behind the shoulders, not in front of the chest. Sketch two large folded wing shapes that rise slightly above shoulder height and extend behind the body. Folded wings are compact: they angle downward and inward rather than spreading wide. Use layered curved lines inside each wing to suggest rows of feathers, working from the larger outer shapes toward smaller inner ones.
Keep the two wings roughly balanced in size. A common problem is drawing one wing much larger than the other, which pulls the whole silhouette off center. Compare the height of each wing tip against the head and the width of each wing against the torso. Feather lines should follow the direction the wing folds, so they curve with the shape rather than cutting across it.
The robe carries most of the statue's weight and texture. Outline the drape with fold lines that run diagonally and vertically, gathering where the fabric is pulled and spreading where it hangs. A diagonal sash across the torso gives the figure a clear directional line and separates the upper body from the skirt of the robe. Refine the face and hands last, once the large shapes are settled.
This is a drawing of a statue, so treat the anatomy as sculpted form rather than clinical anatomy. Hands can be simplified, and the face can stay calm and general. What matters is that the head sits on the torso, the arms emerge from the shoulders, and the robe falls to the feet on the pedestal.
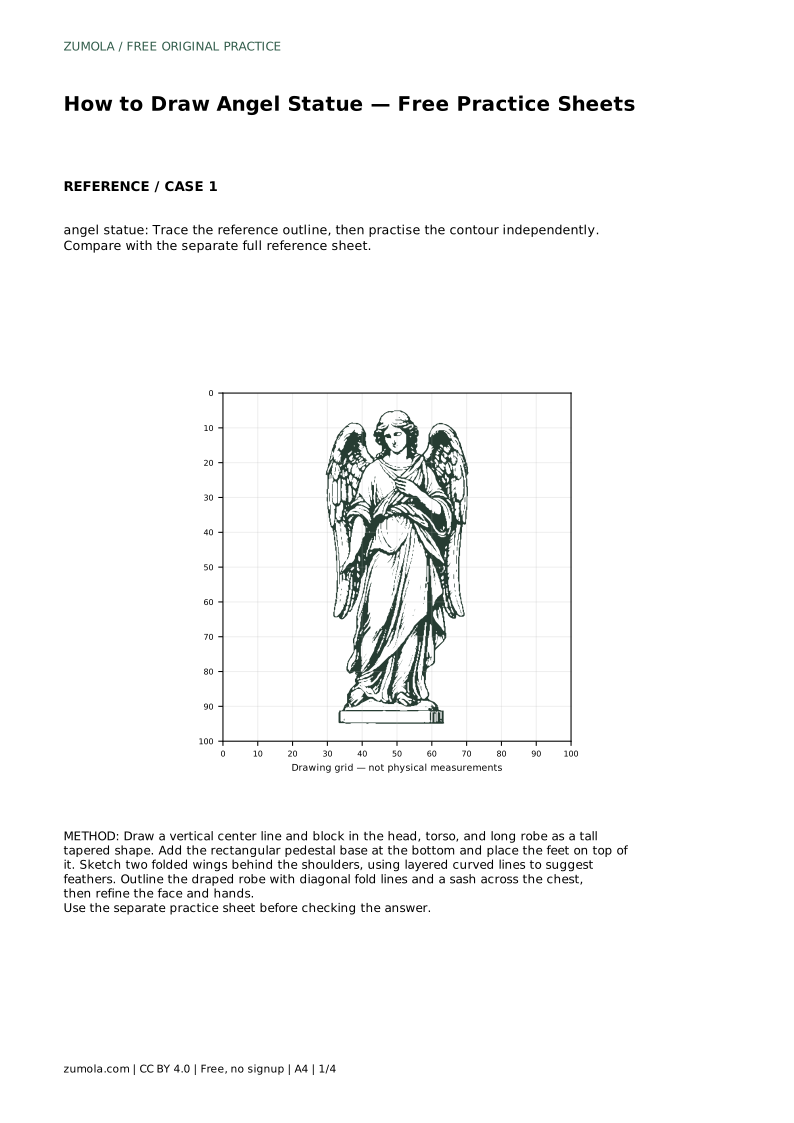
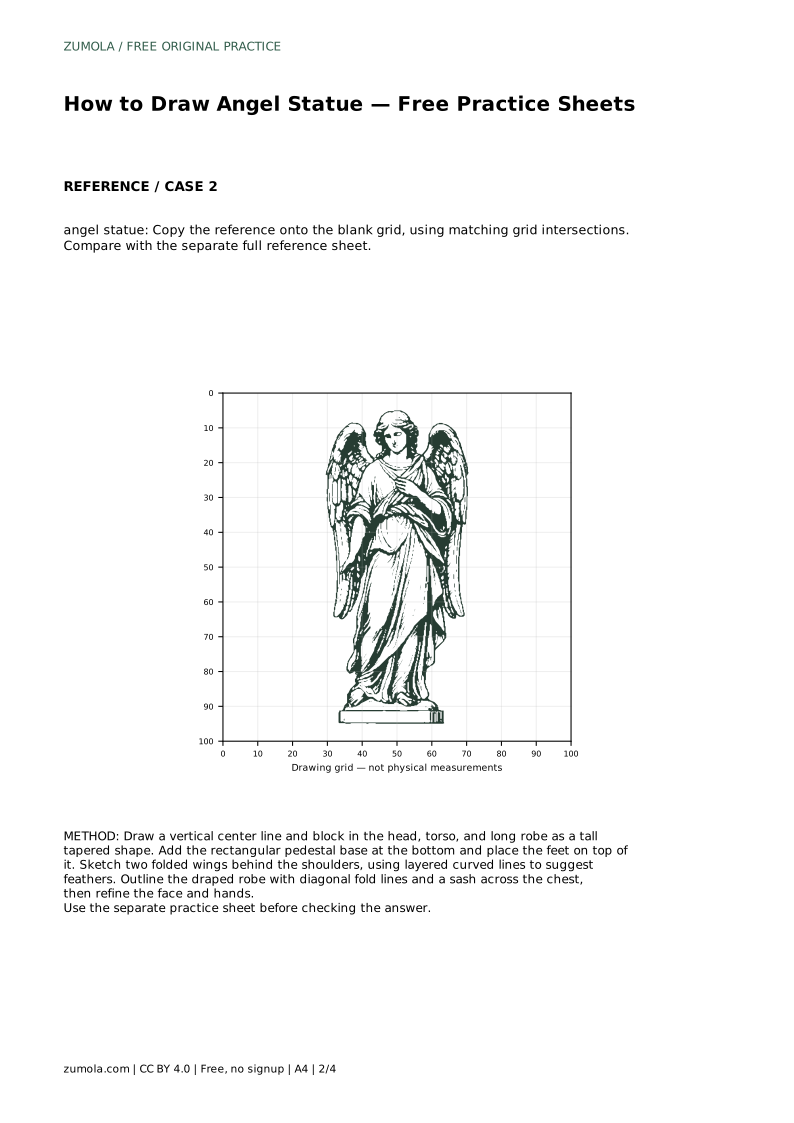
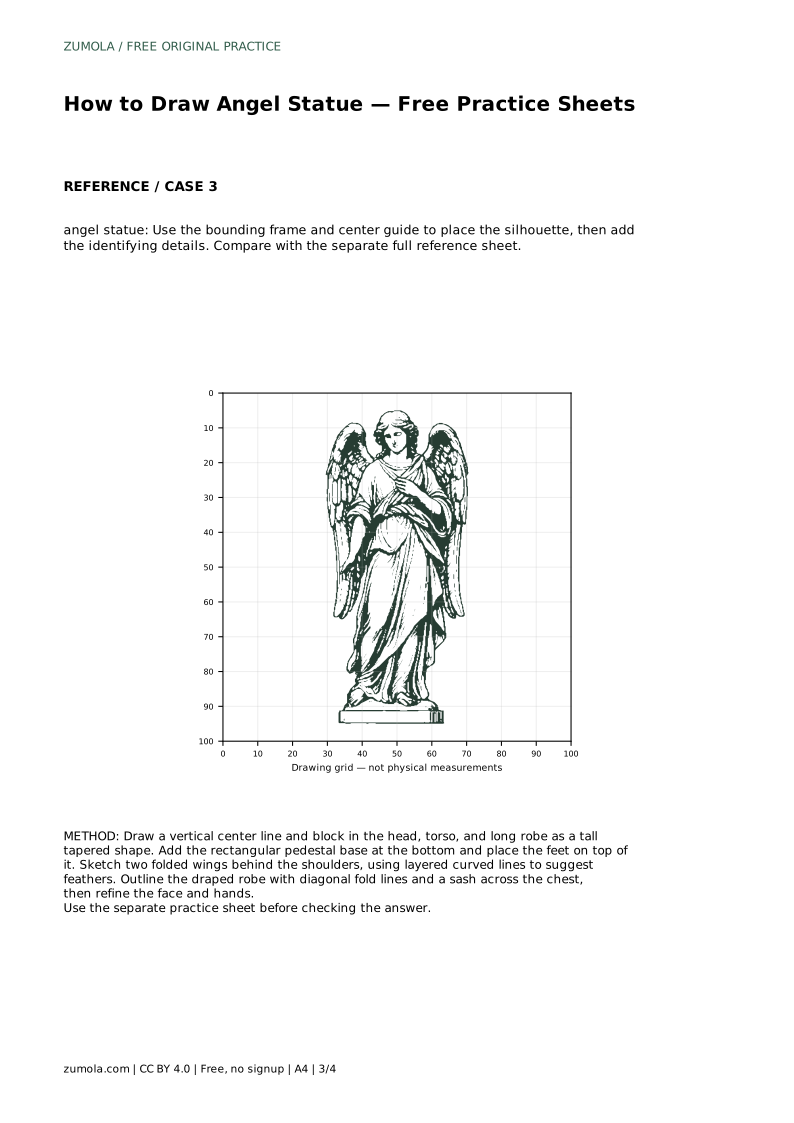
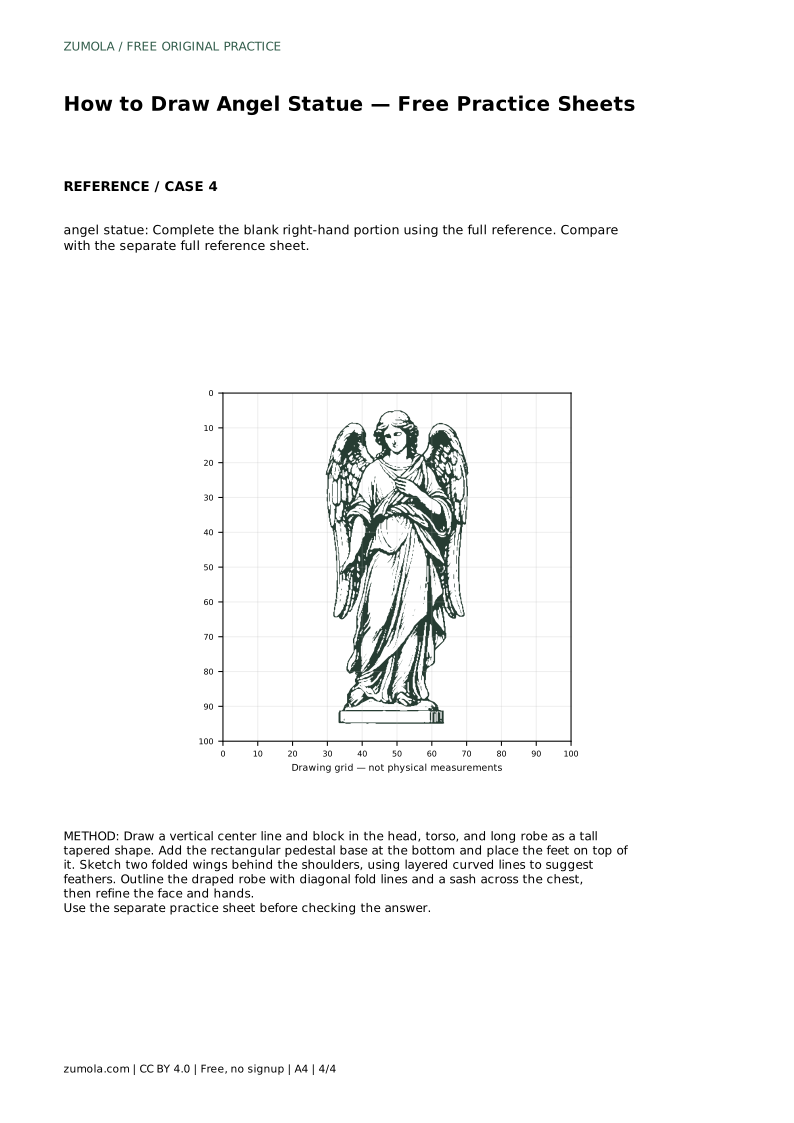
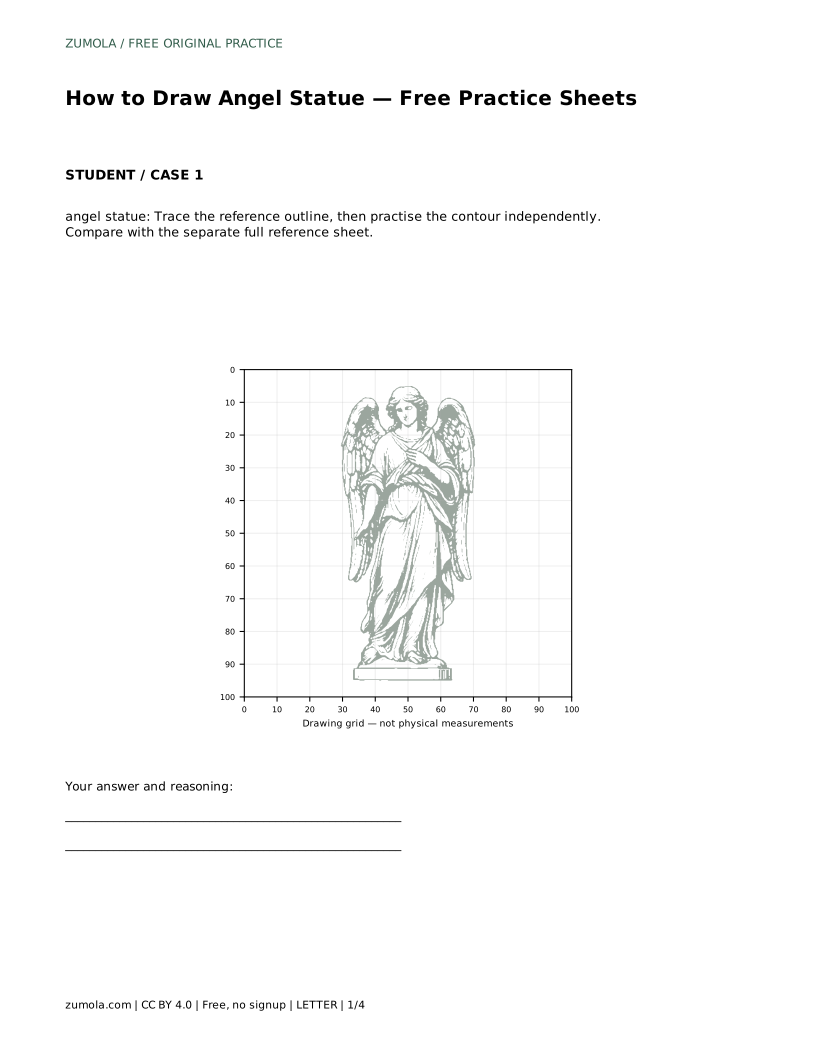
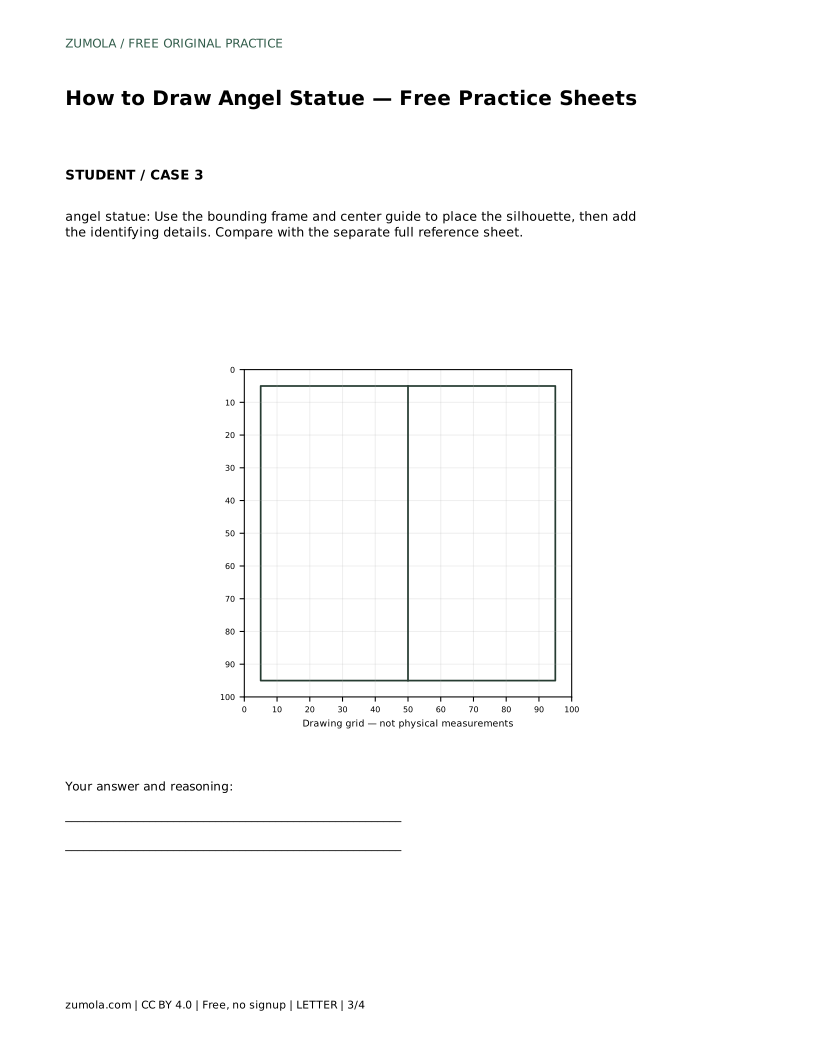
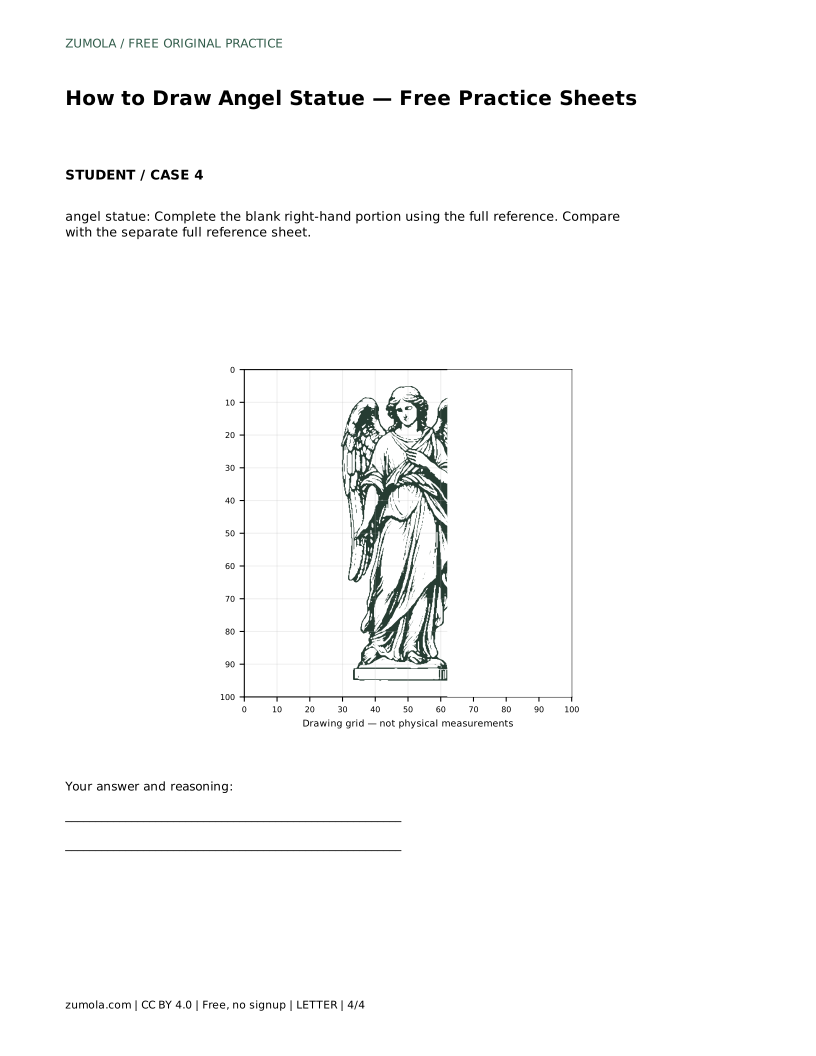
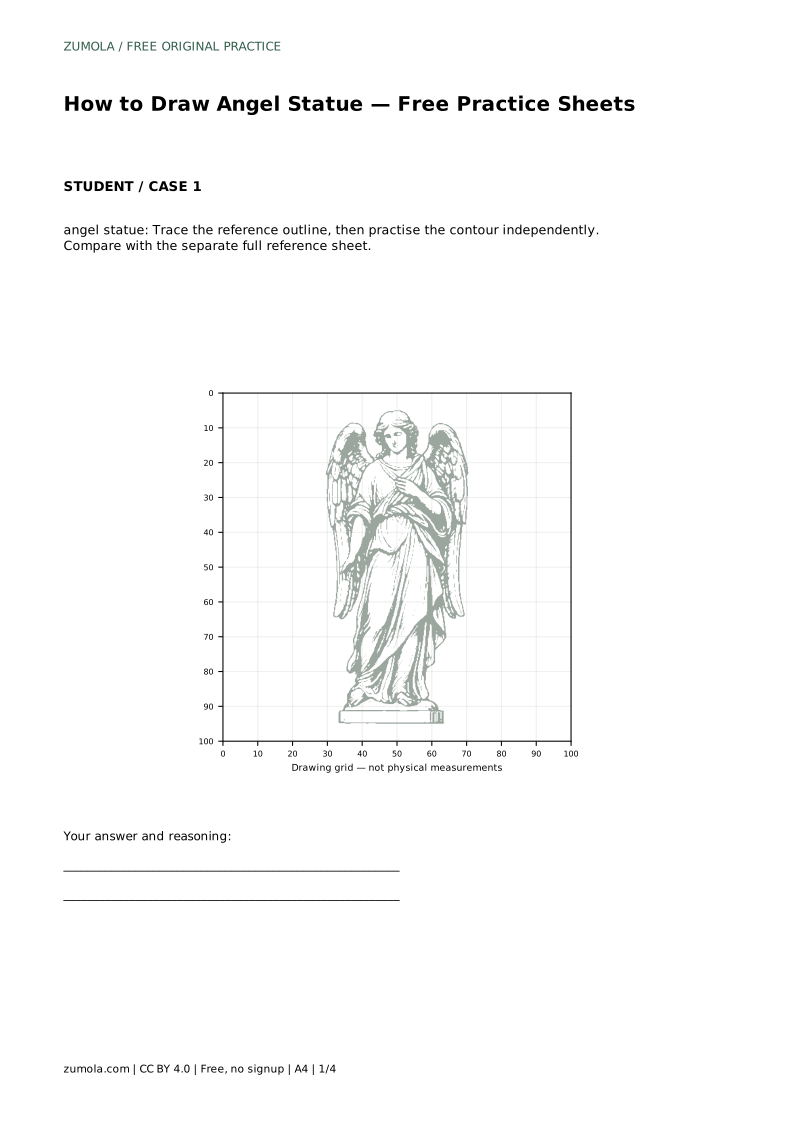
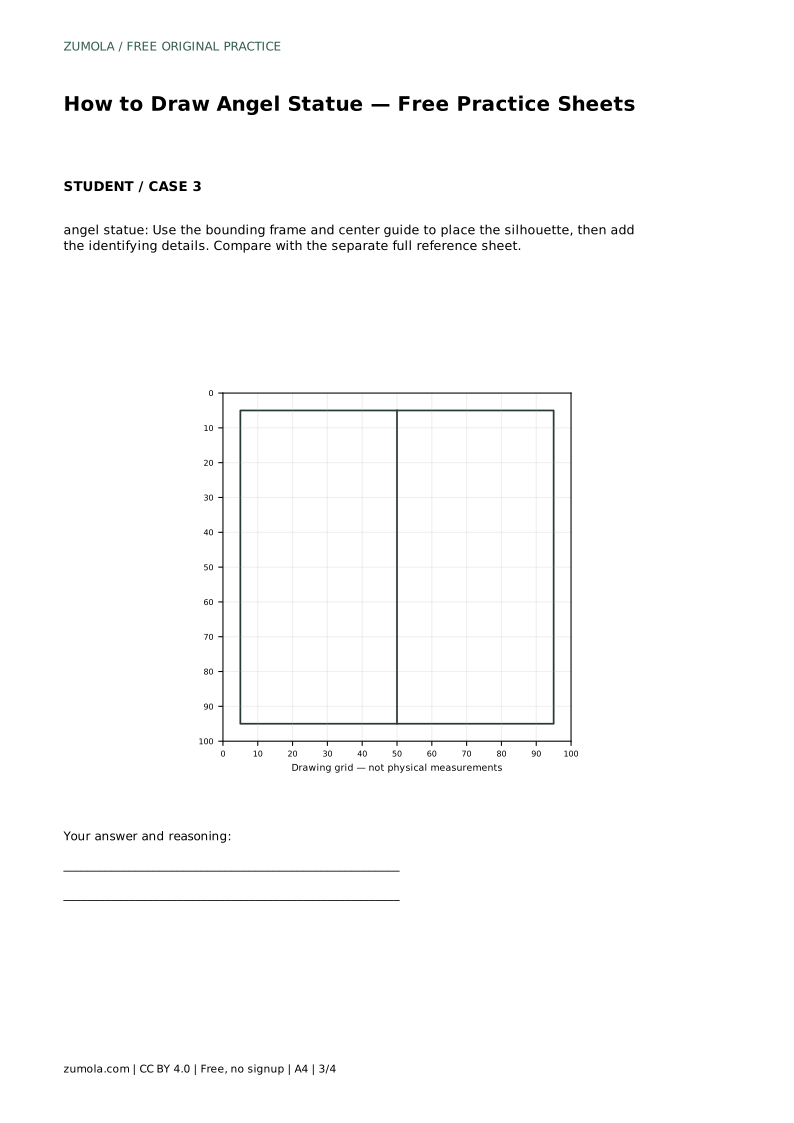
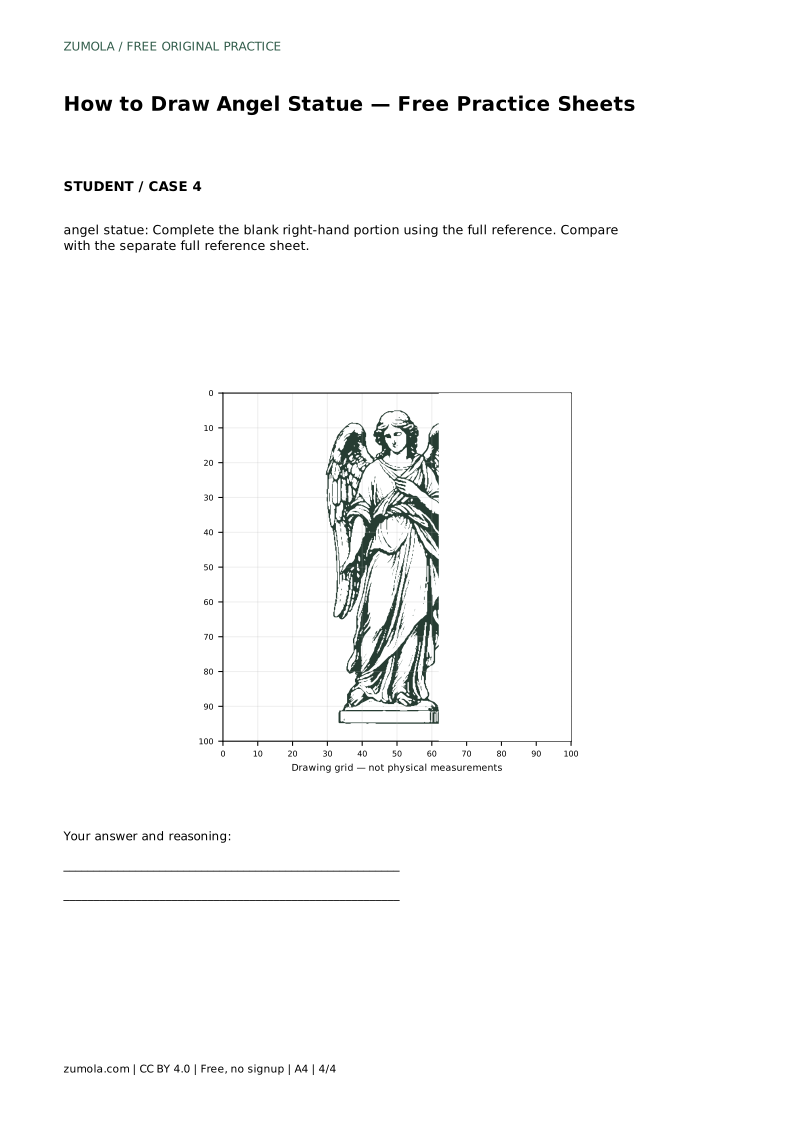
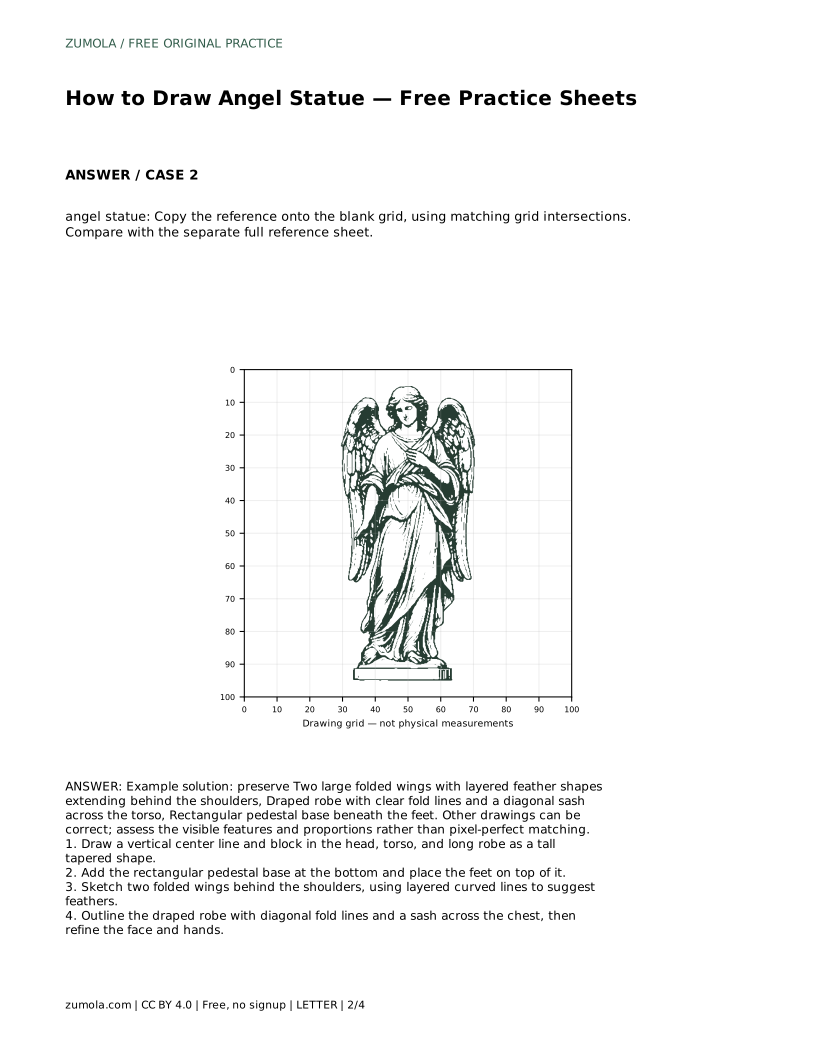
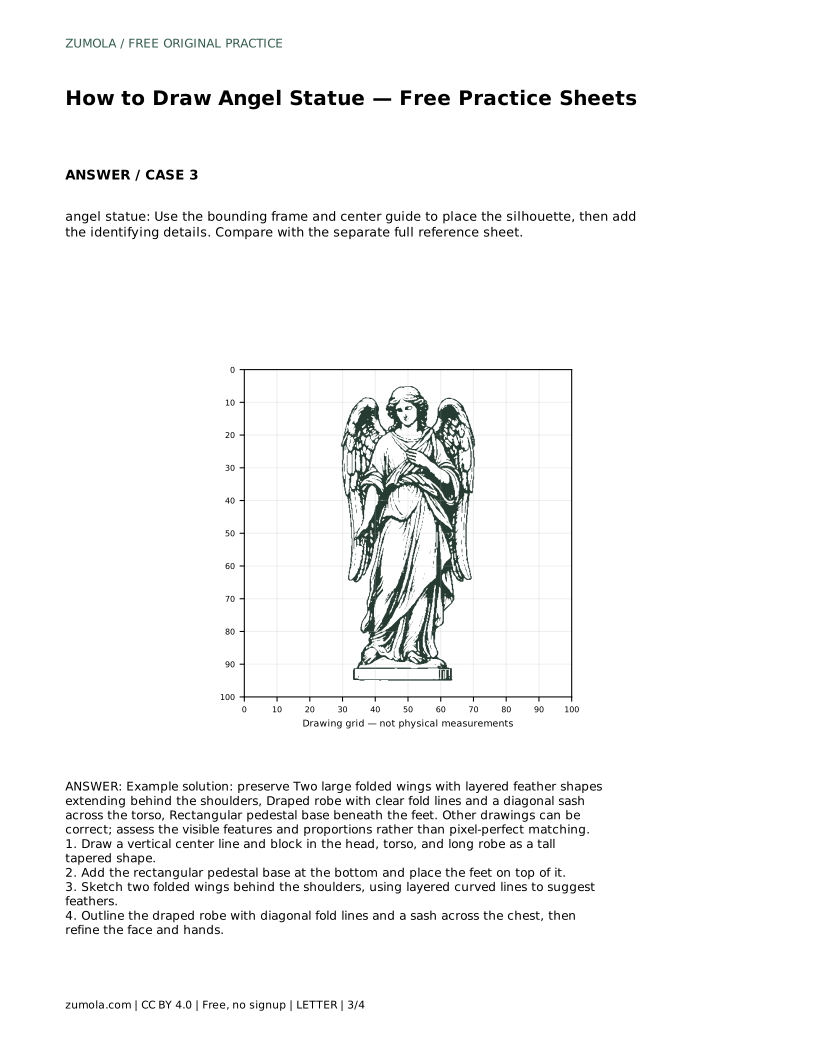
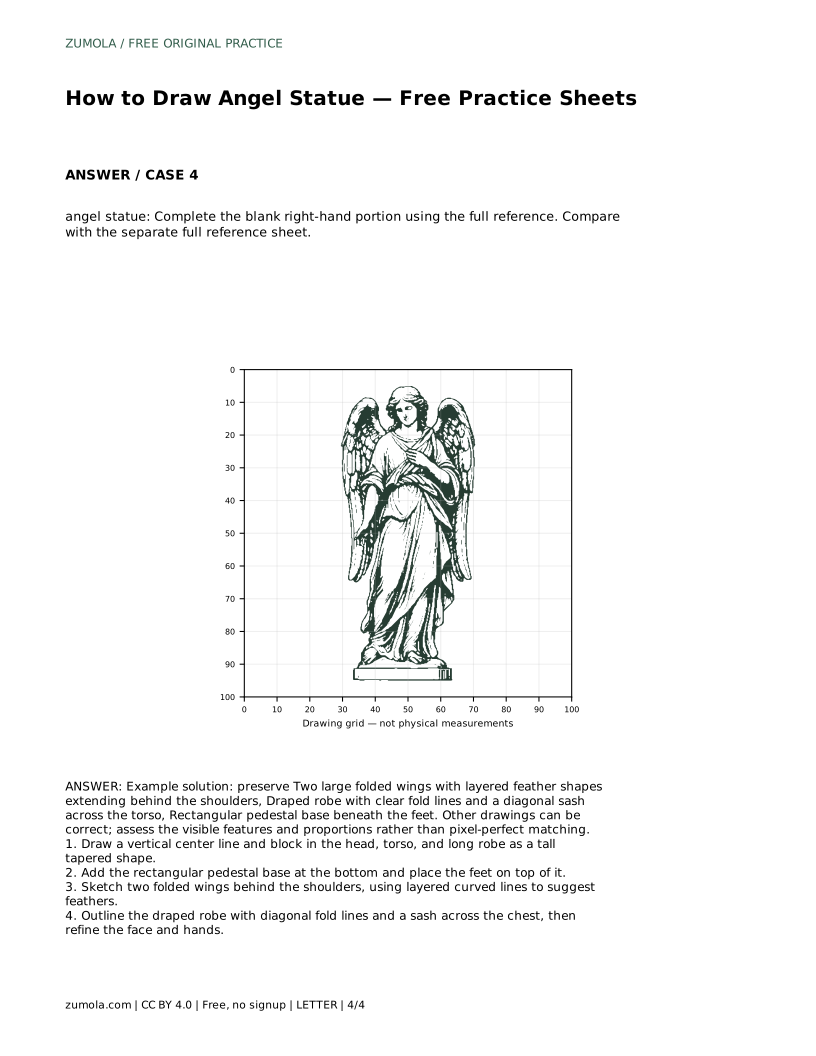
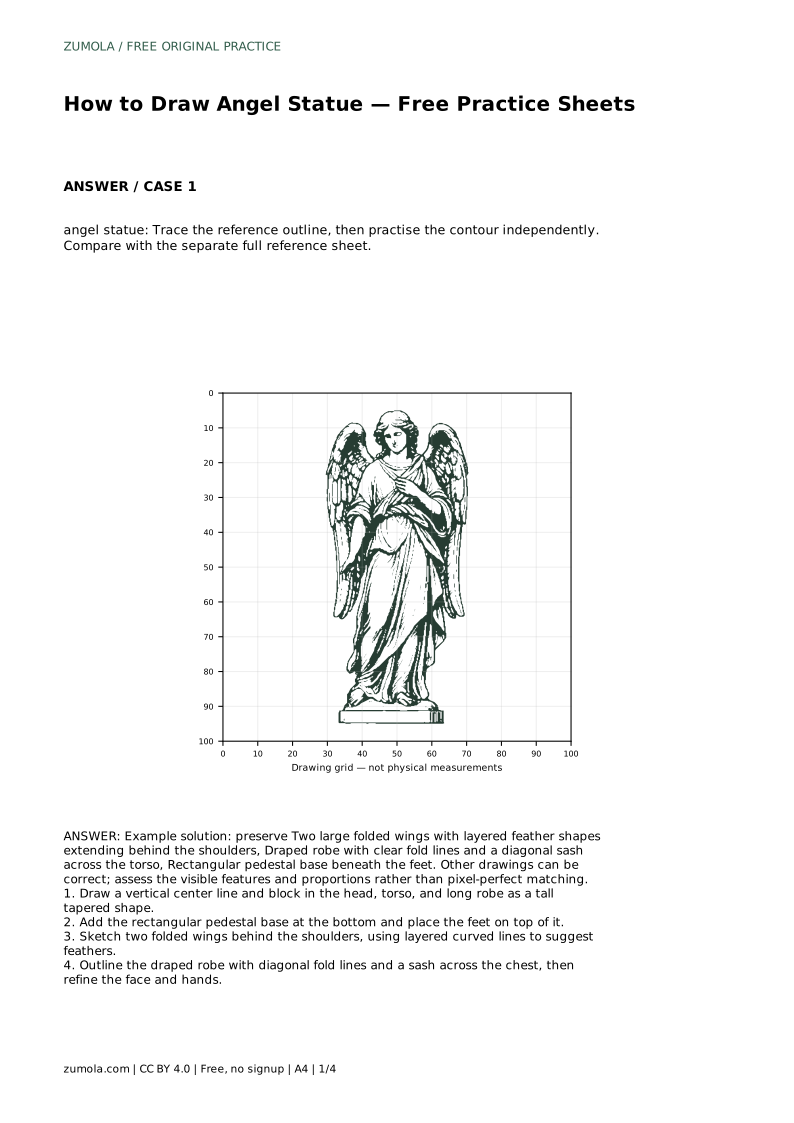
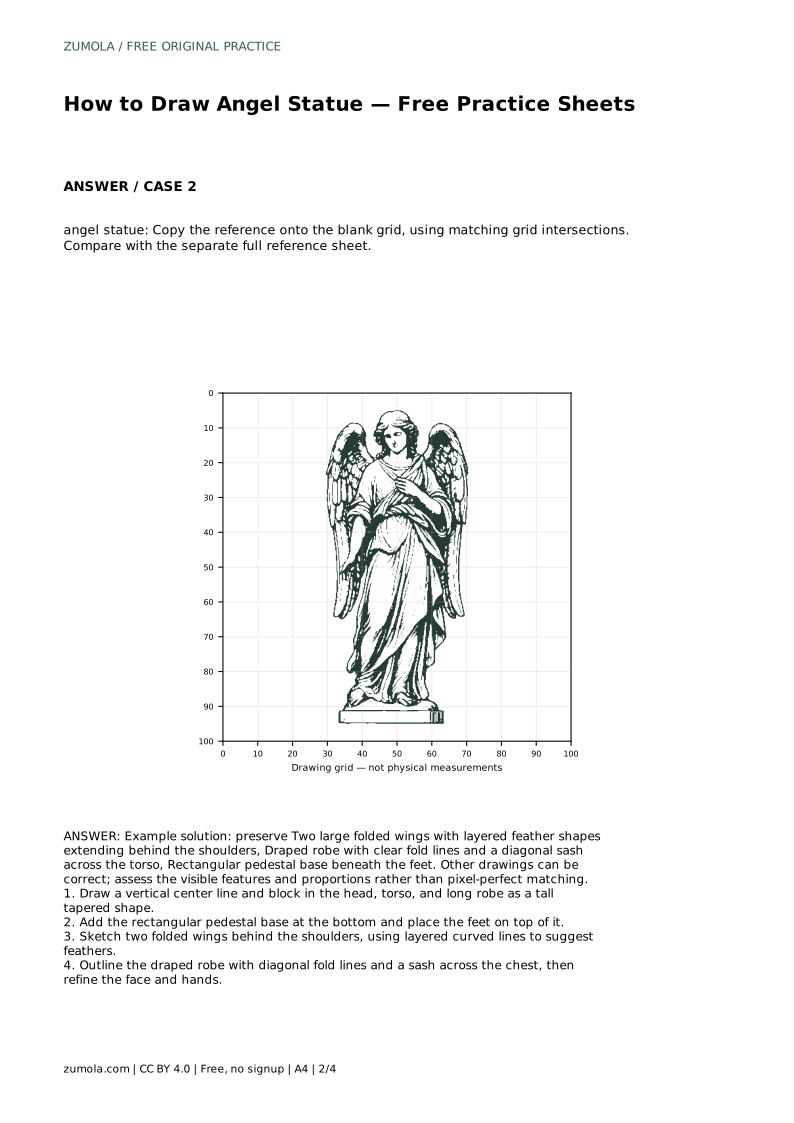
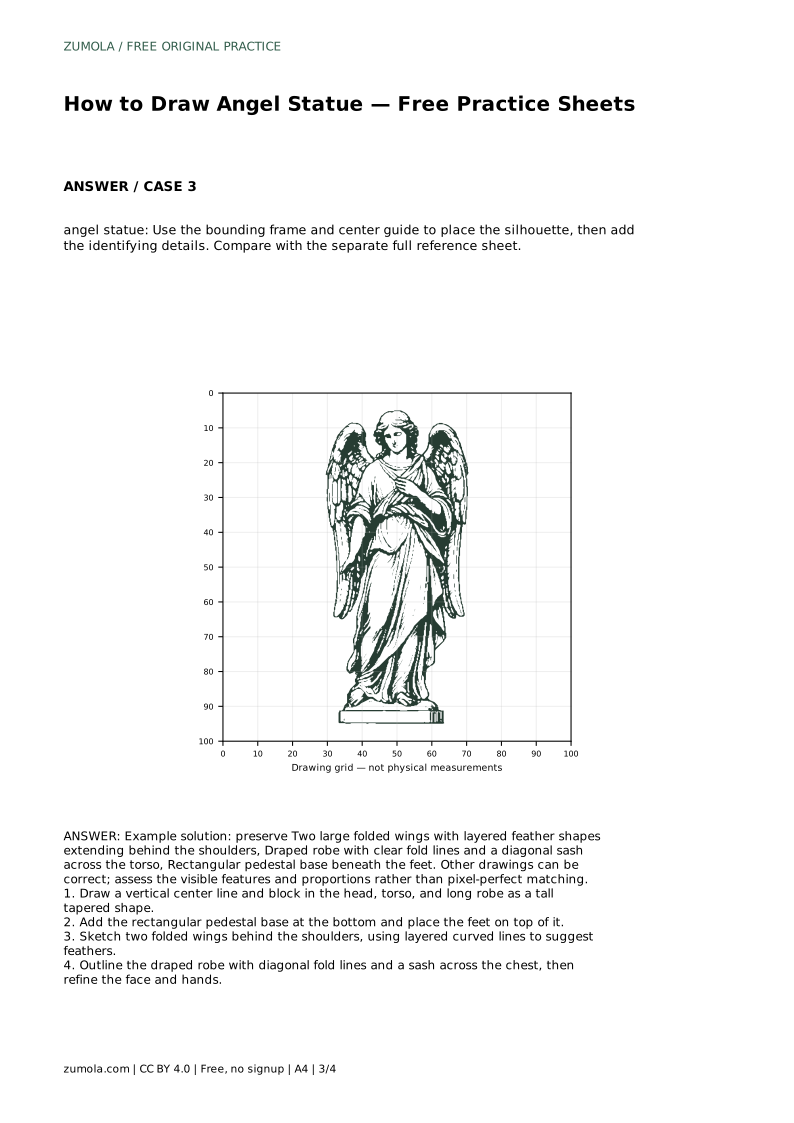
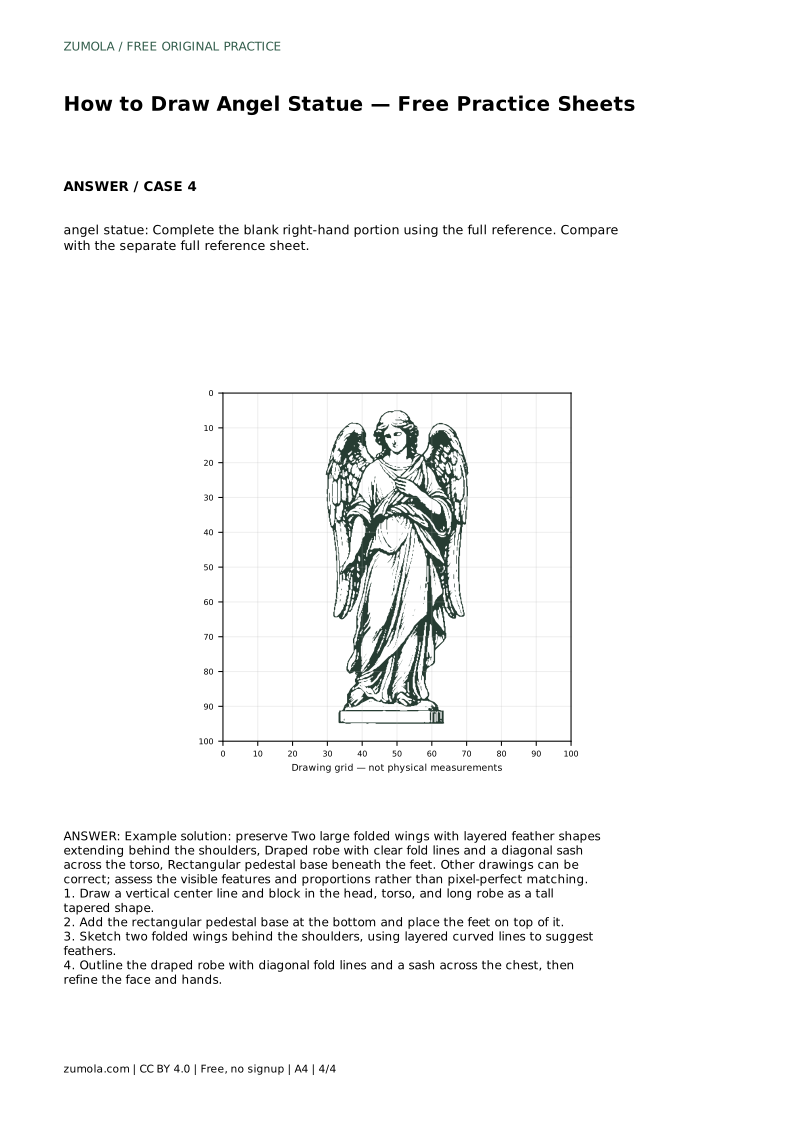
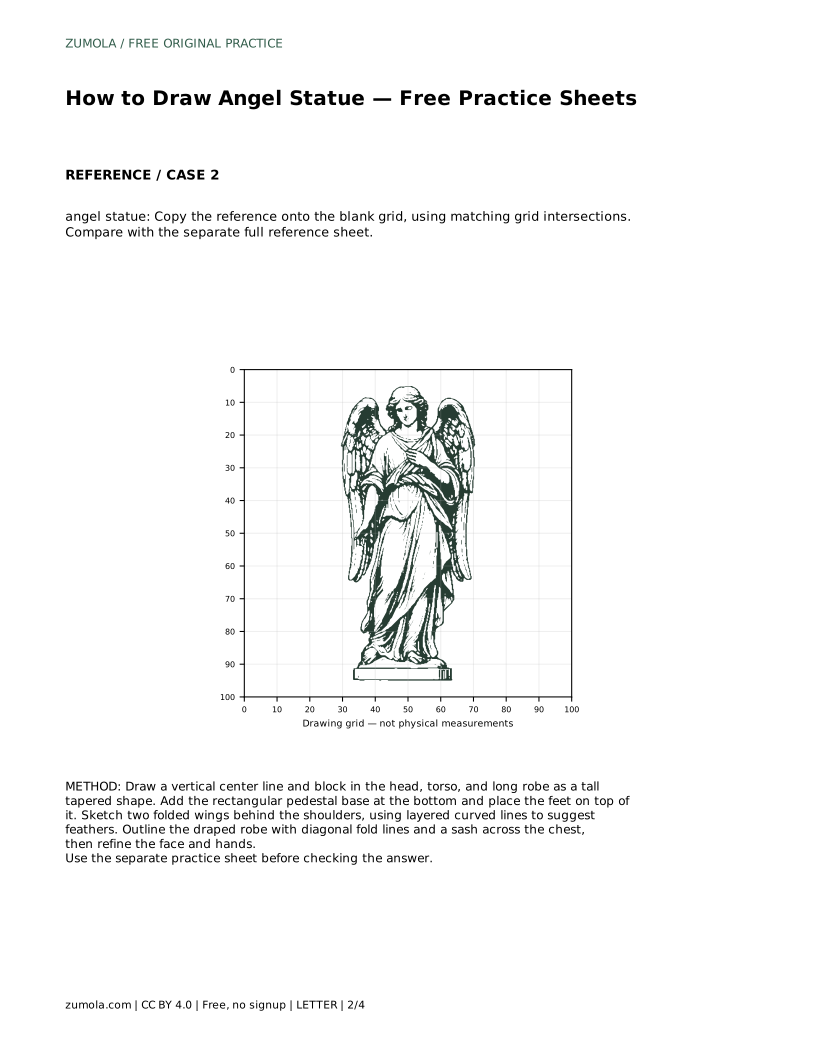
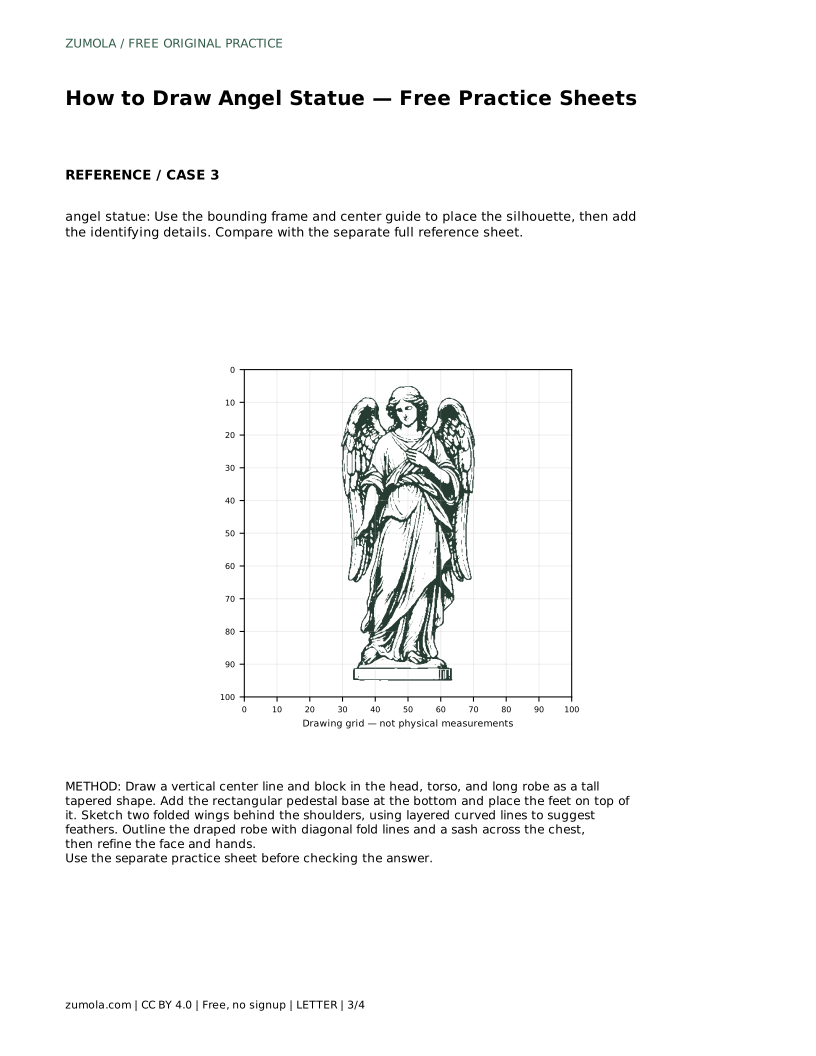
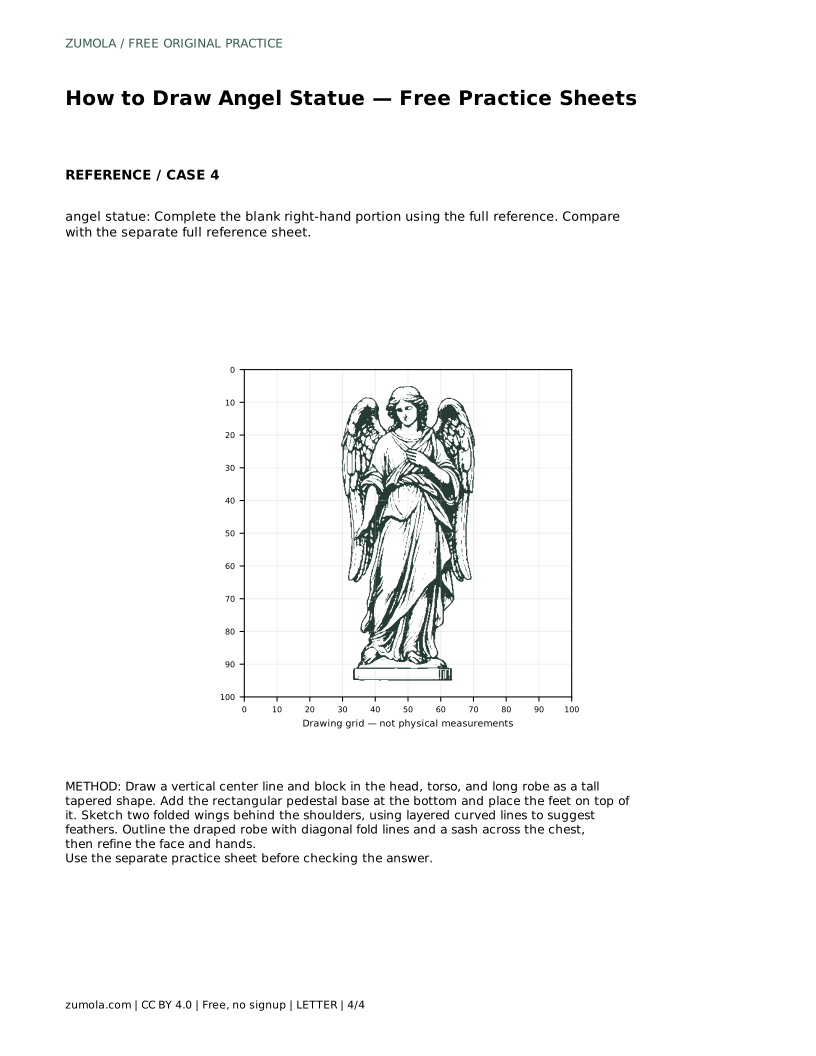
The trace sheet asks you to follow the reference outline first, then draw the contour independently and compare with the separate full reference sheet. The grid sheet asks you to copy the reference onto a blank grid using matching intersections. The frame sheet gives a bounding frame and center guide so you place the silhouette before adding details. The partial sheet leaves the right-hand portion blank for you to complete from the full reference.
Each sheet tests a different skill, so do not treat them as the same exercise. Tracing builds familiarity with the contour. Grid copying trains proportion and placement. Frame work tests silhouette planning. Partial completion tests recall and inference. After each attempt, compare your drawing with the reference and note which feature drifted: wing size, pedestal width, robe taper or sash angle.
angel statue: Trace the reference outline, then practise the contour independently. Compare with the separate full reference sheet.
Example solution: preserve Two large folded wings with layered feather shapes extending behind the shoulders, Draped robe with clear fold lines and a diagonal sash across the torso, Rectangular pedestal base beneath the feet. Other drawings can be correct; assess the visible features and proportions rather than pixel-perfect matching. Draw a vertical center line and block in the head, torso, and long robe as a tall tapered shape. Add the rectangular pedestal base at the bottom and place the feet on top of it. Sketch two folded wings behind the shoulders, using layered curved lines to suggest feathers. Outline the draped robe with diagonal fold lines and a sash across the chest, then refine the face and hands.
No. Several drawings can be correct. Assess the visible features and proportions, such as two folded wings, a draped robe with a diagonal sash and a rectangular pedestal, rather than matching every line.
Block the head, torso and tapered robe on a vertical center line, add the pedestal and feet, sketch the folded wings behind the shoulders, then outline the robe folds and sash before refining the face and hands.
Compare parts against each other: wing tip height against the head, wing width against the torso, pedestal width against the feet, and total figure height against total width.
All drawing practice · Free coordinate paper
Original resources · CC BY 4.0 · Free for personal and classroom use with attribution.