Reference diagrams
LETTER · Download PDF
A4 · Download PDF
Free original resources
Learn to draw an open door with a skewed panel, inner molding, three hinges, and a frame. Trace, grid-copy, and complete partial sheets, then self-check with a rubric.
Four original cases, with reference diagrams, practice sheets and worked answers. Everything is free; no signup required.
LETTER · Download PDF
A4 · Download PDF
LETTER · Download PDF
A4 · Download PDF
LETTER · Download PDF
A4 · Download PDF
Use A4 or US Letter to match your printer. Use the stated values and conditions to solve each exercise; diagrams are not physical measuring rulers.
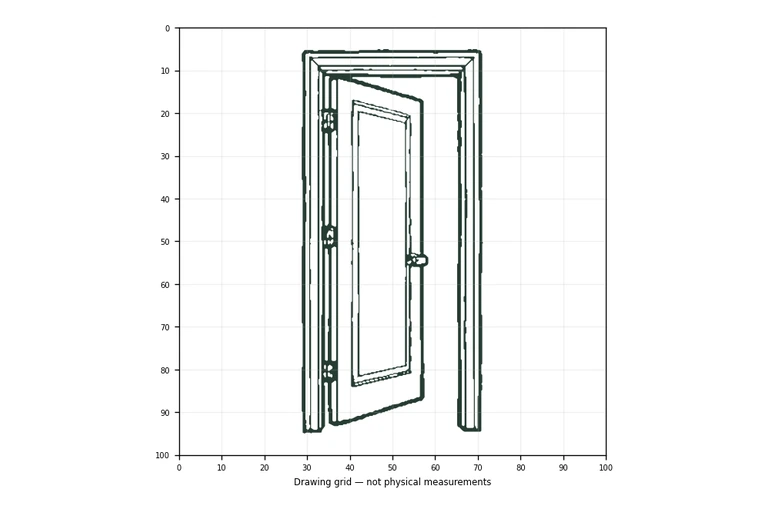
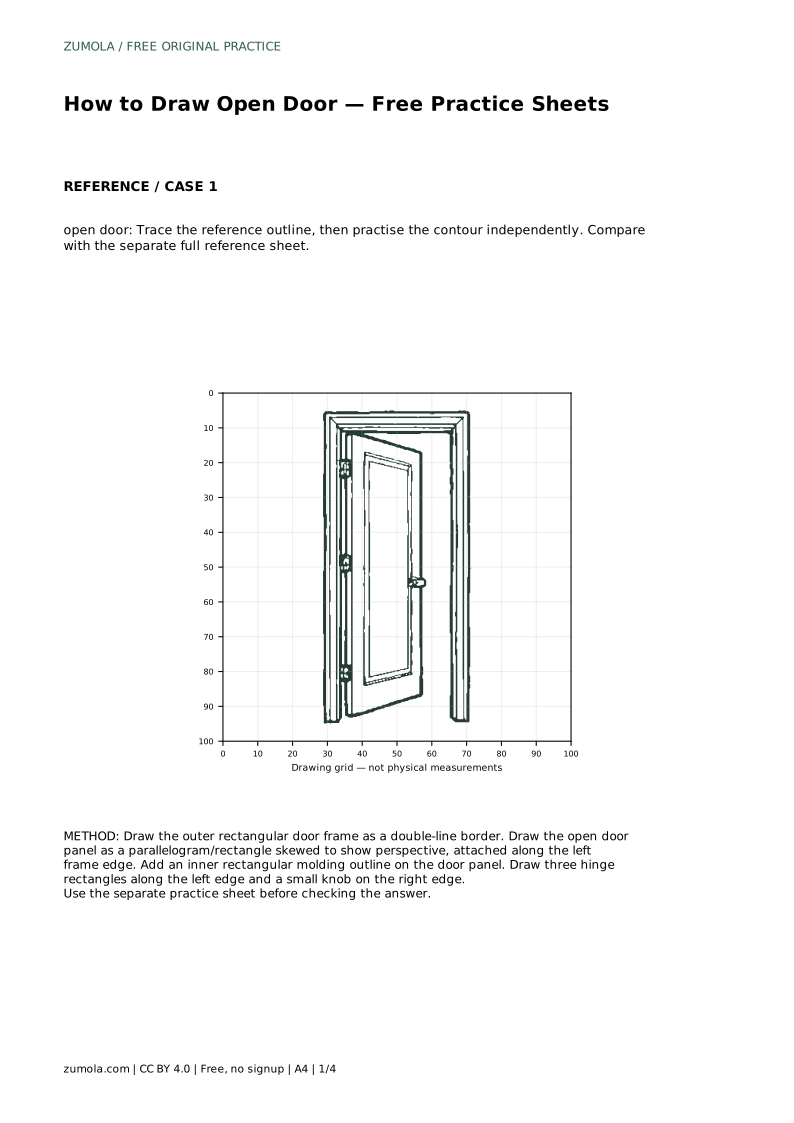
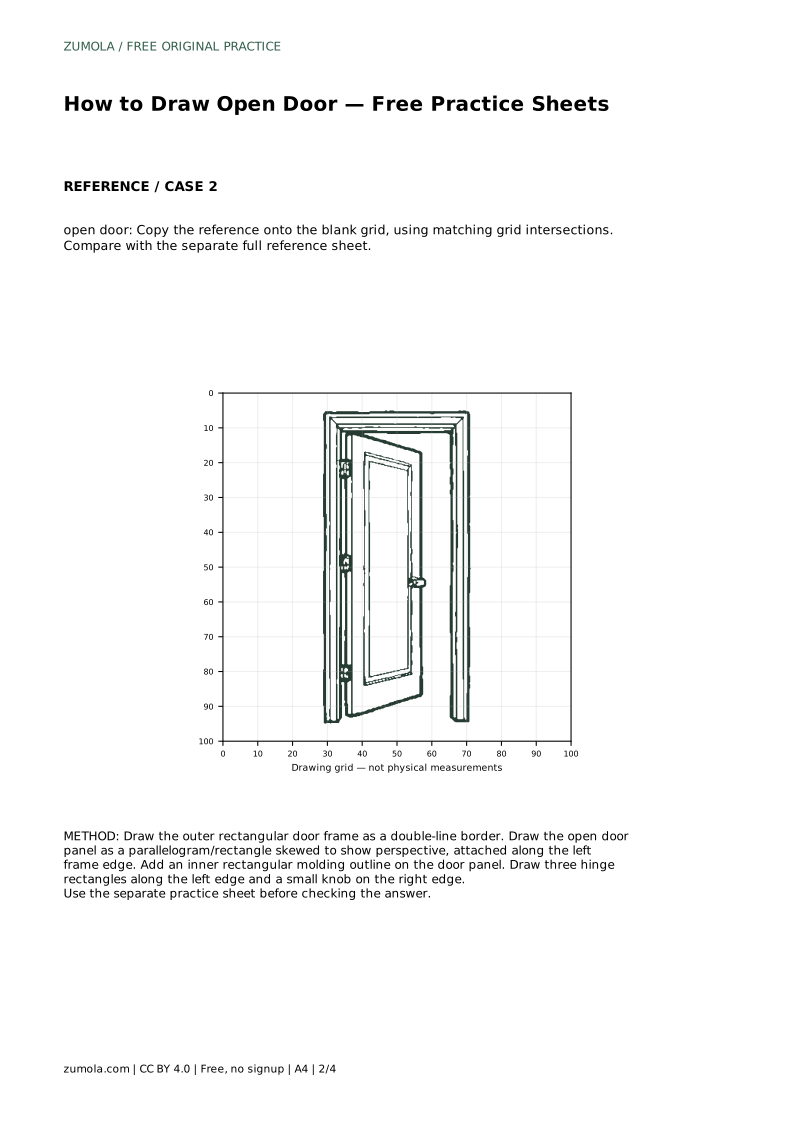
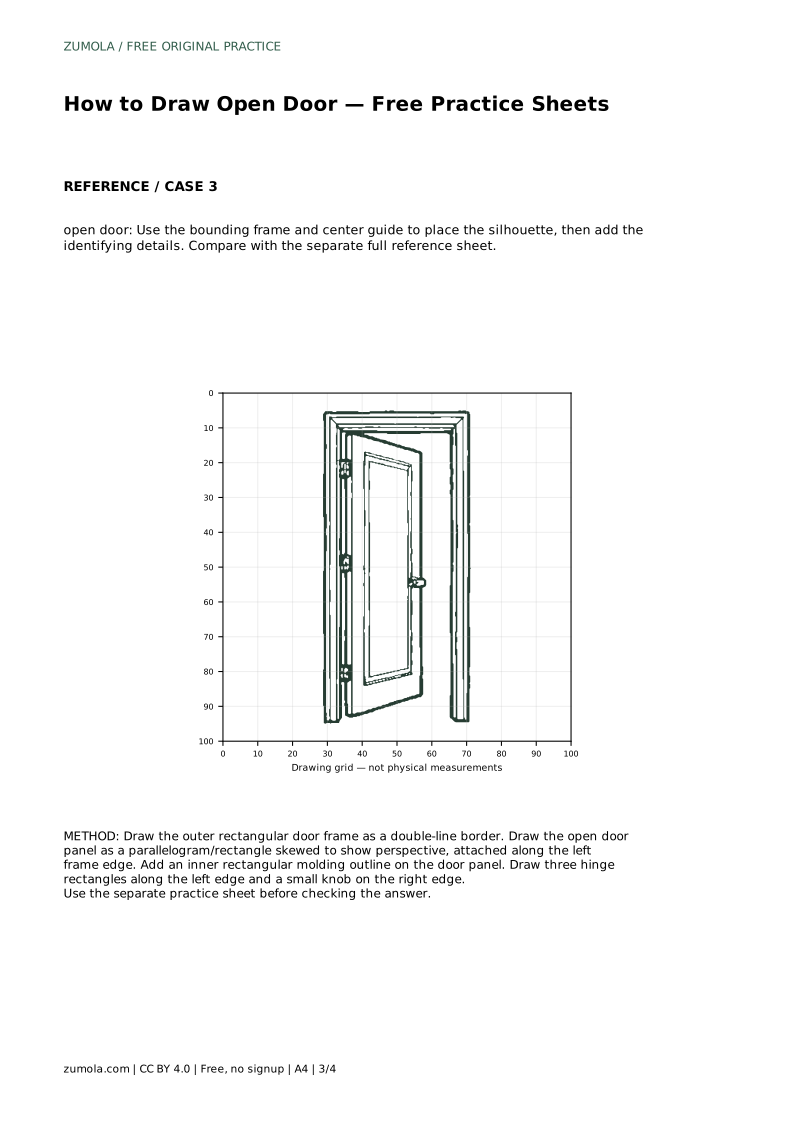
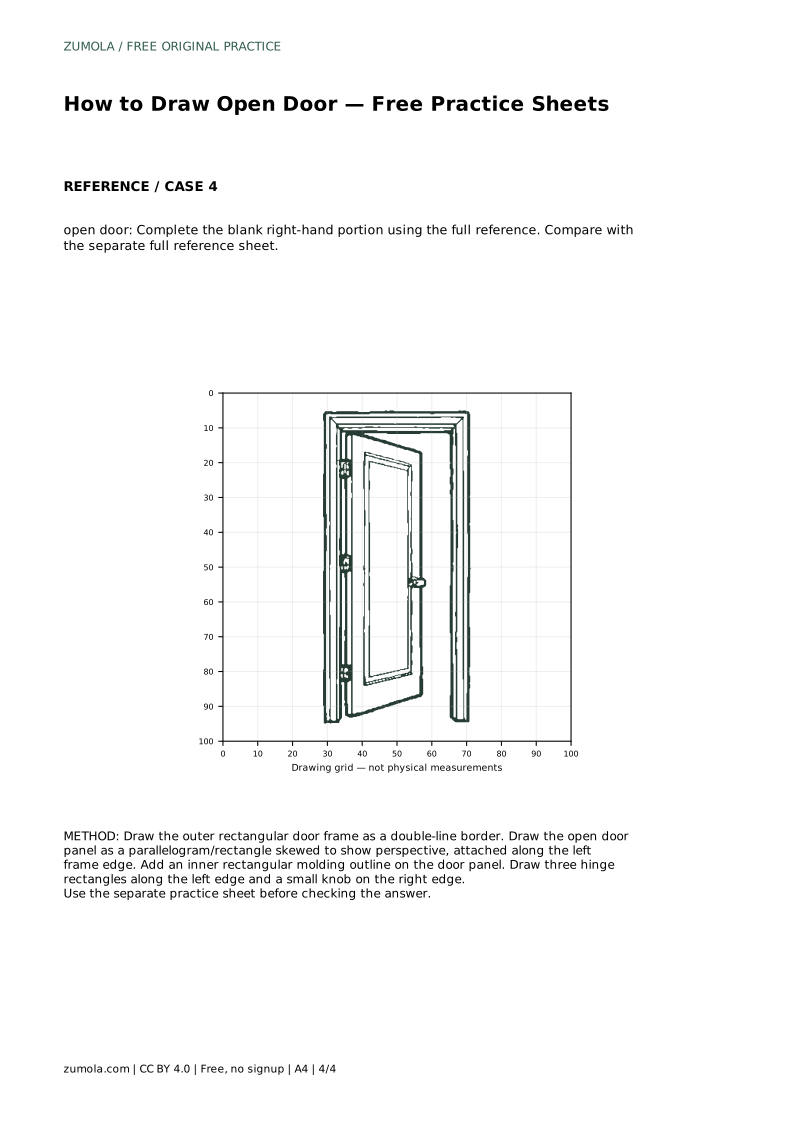
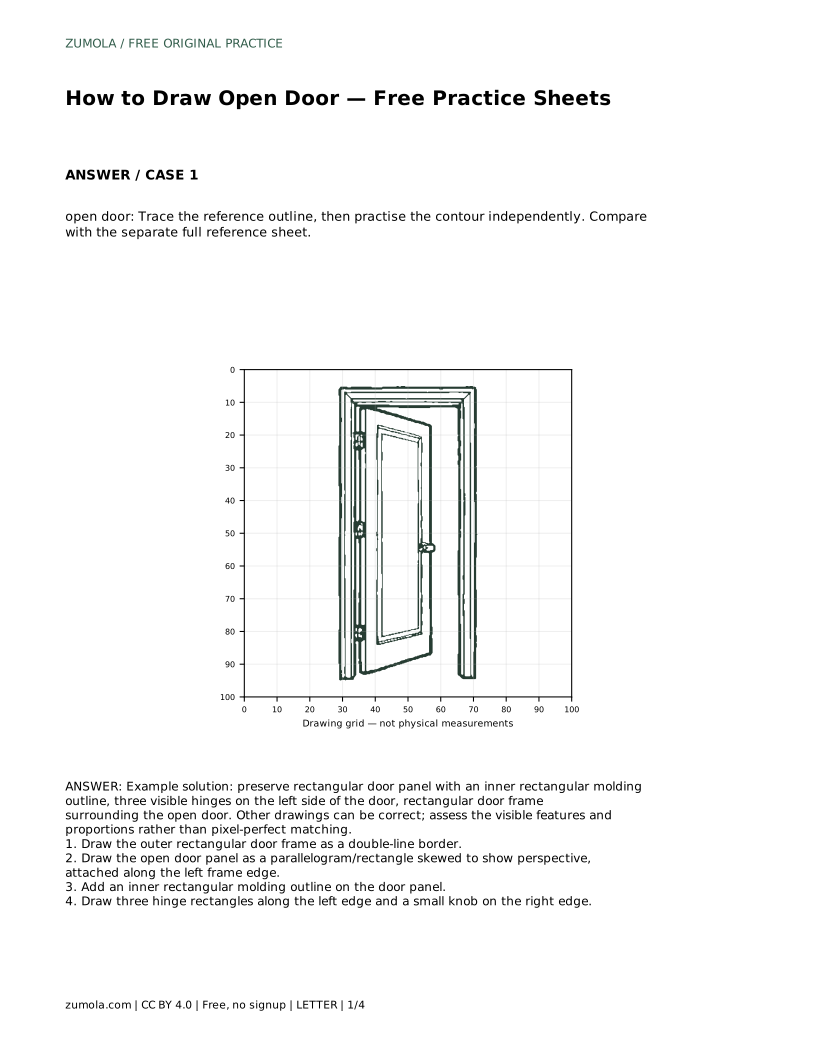
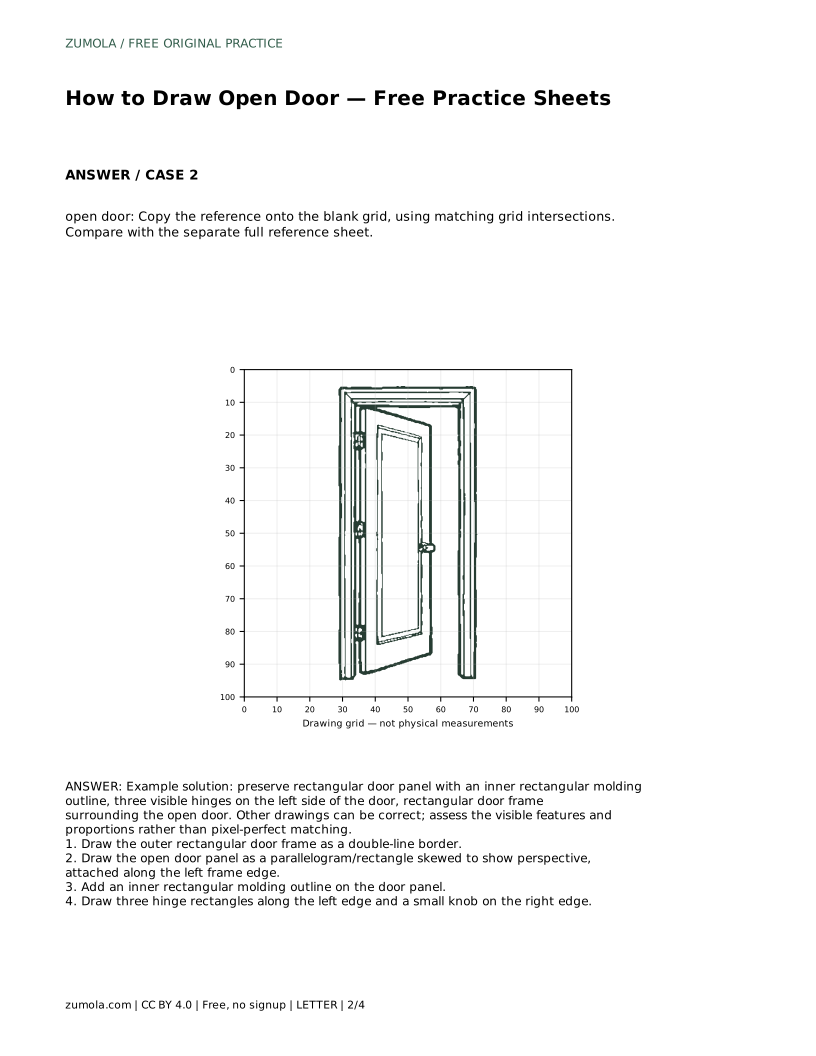
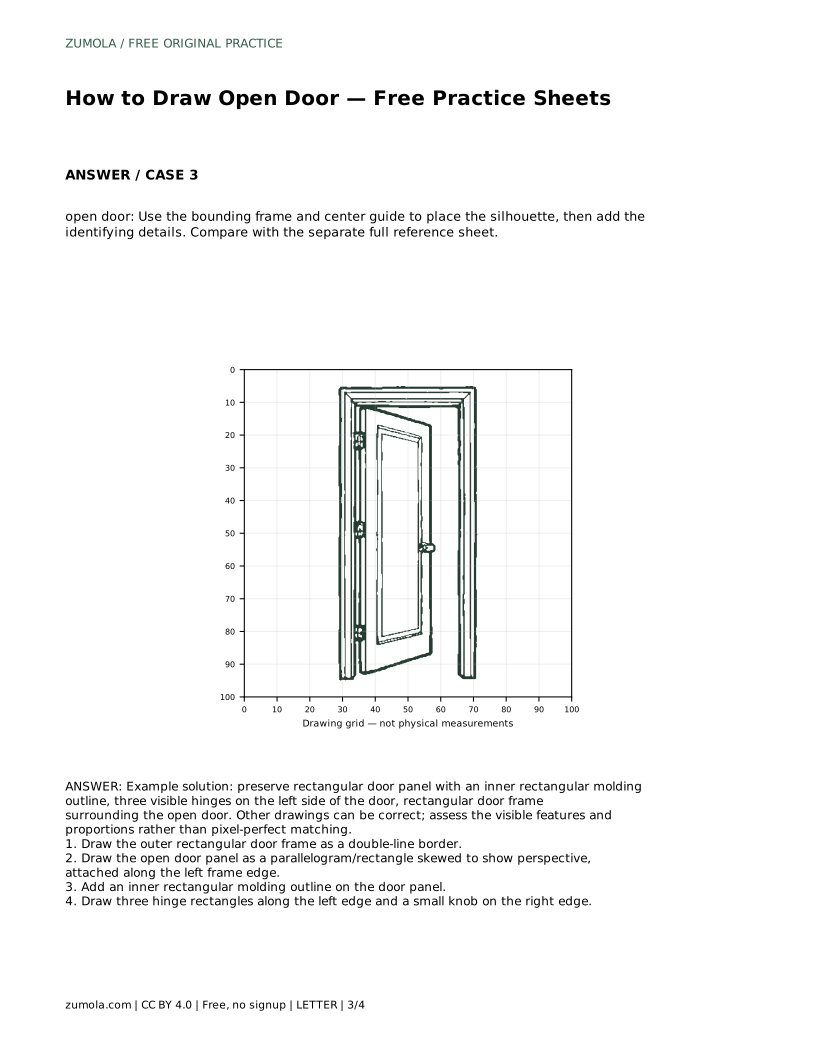
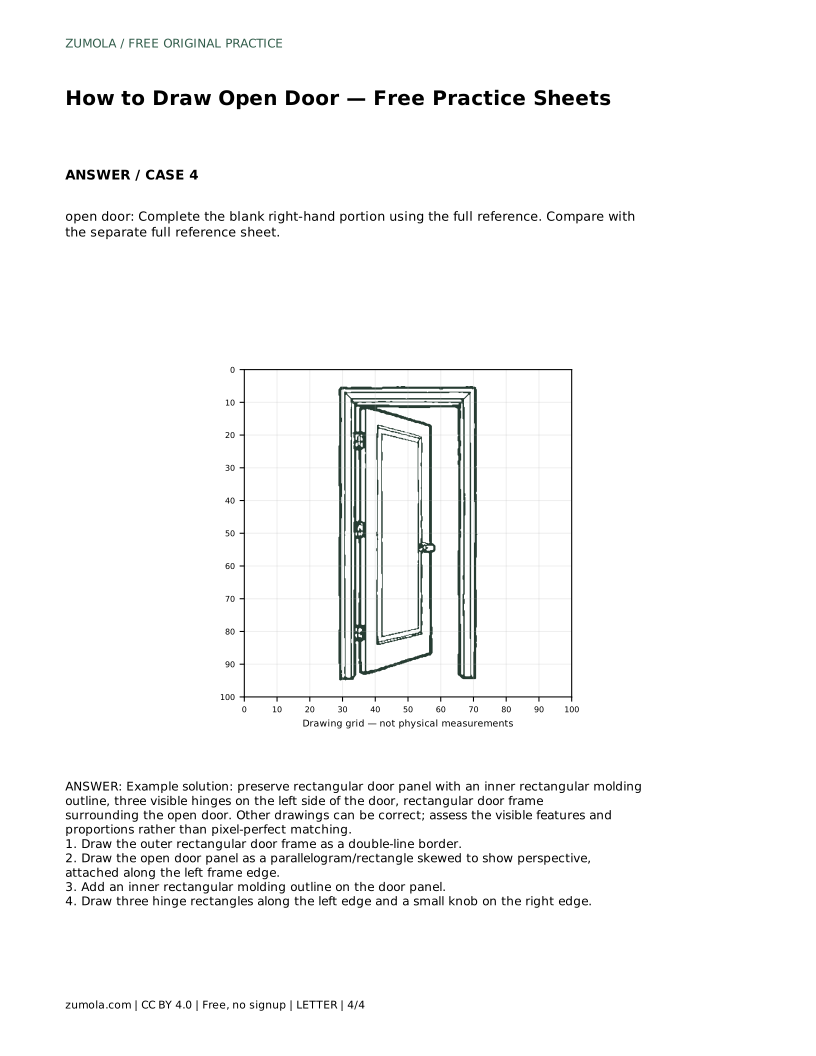
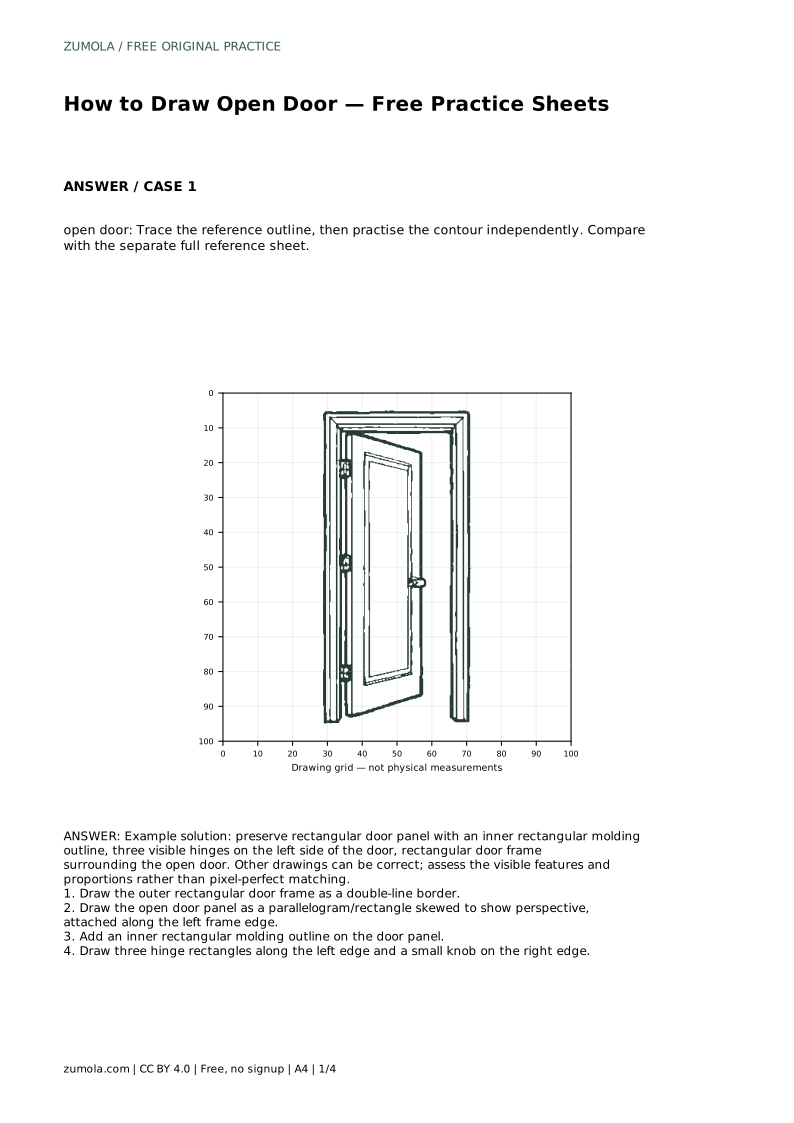
An open door drawing is mostly a lesson in perspective: the frame stays square to the page while the door panel swings away and becomes a skewed rectangle. This page shows you how to build that shape step by step, place the hinges and knob correctly, and use the practice sheets to trace, copy, and finish the drawing yourself. Because drawings can differ and still be correct, you will check visible features and proportions rather than chase a pixel-perfect match.
Start with the doorway itself. Draw an outer rectangle for the opening, then a second line just inside it to suggest the frame's thickness. Keep these lines parallel and the corners square; the frame is your fixed reference, so it should not tilt.
Next, draw the door panel attached along the left edge of the frame. Because the door is open, the panel appears as a rectangle skewed into a parallelogram: its left edge runs along the frame, its top and bottom edges angle back into the scene, and its right edge is shorter or offset to show depth. Keep the top and bottom edges roughly parallel to each other, and keep the left and right edges roughly parallel to each other. That consistency is what makes the panel read as a flat door seen at an angle rather than a twisted shape.
Inside the panel, draw a smaller rectangle as the molding outline. Follow the same skew as the panel's outer edges so the molding sits flat on the door rather than floating in front of it. Leave an even margin between the molding and the panel edge on all four sides.
Place three small rectangles along the left edge for the hinges, spaced evenly from top to bottom. Each hinge should touch the frame side, since that is where the door pivots. Put a small circle or short oval on the right edge for the knob, roughly at handle height. These details confirm which side the door opens from and which way it swings.
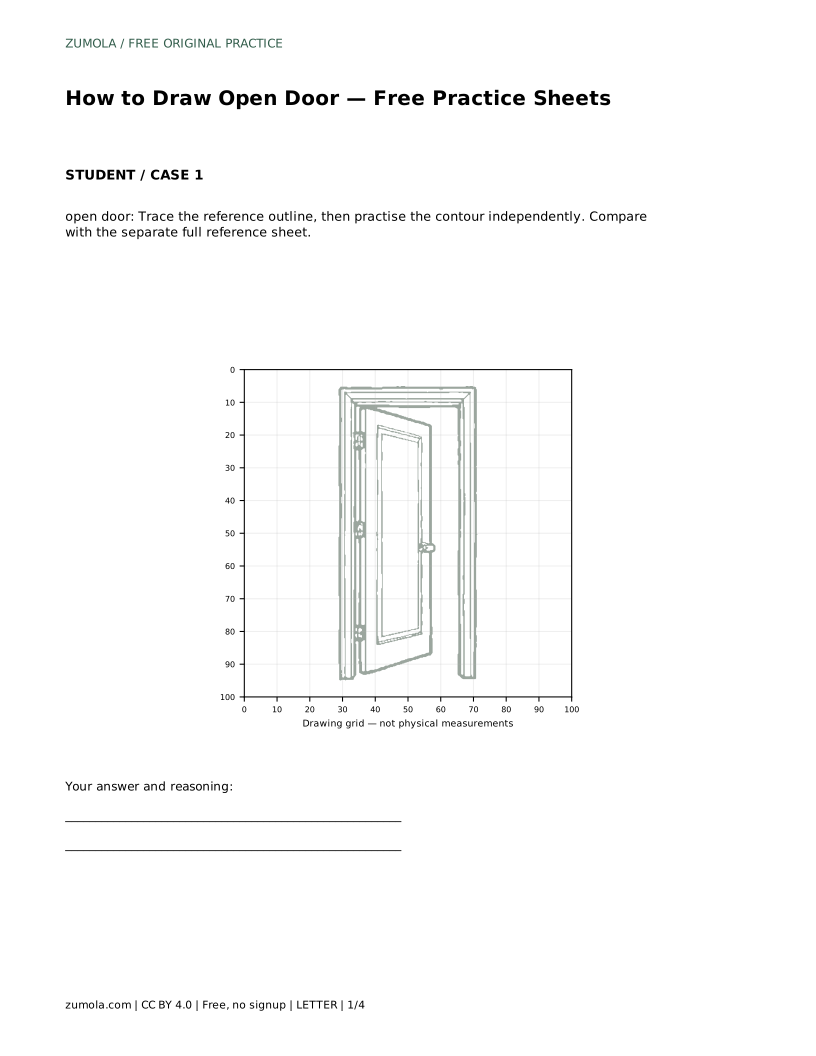
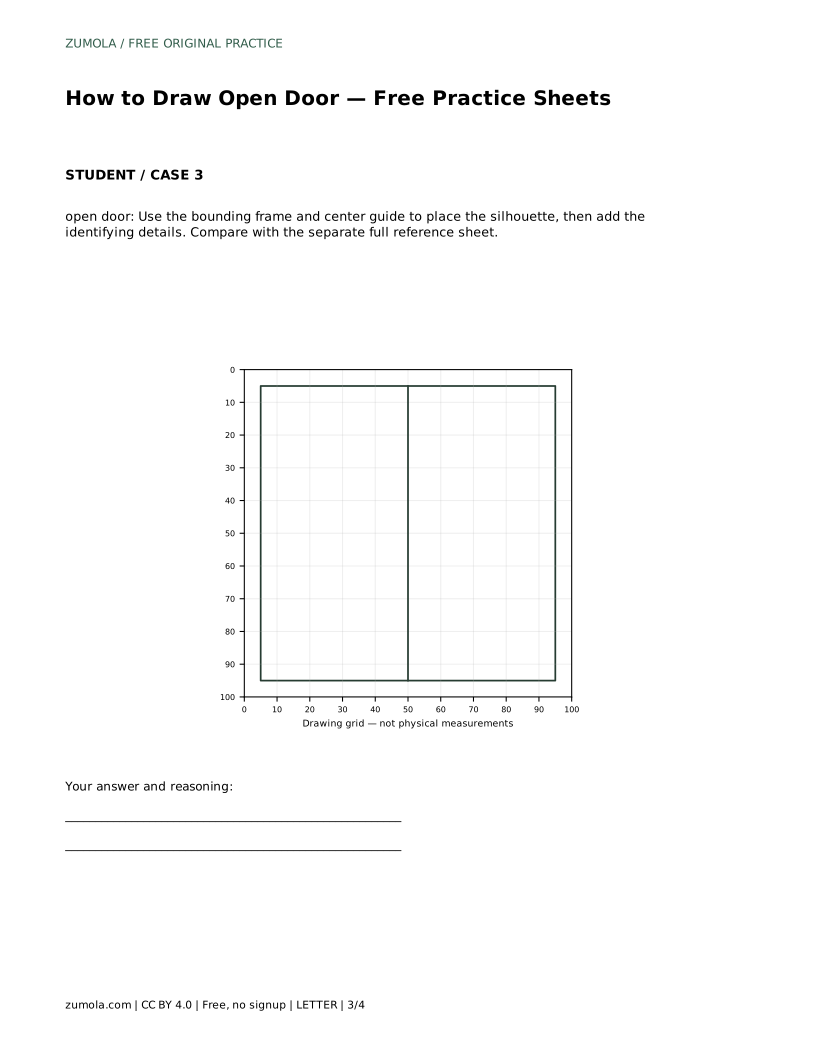
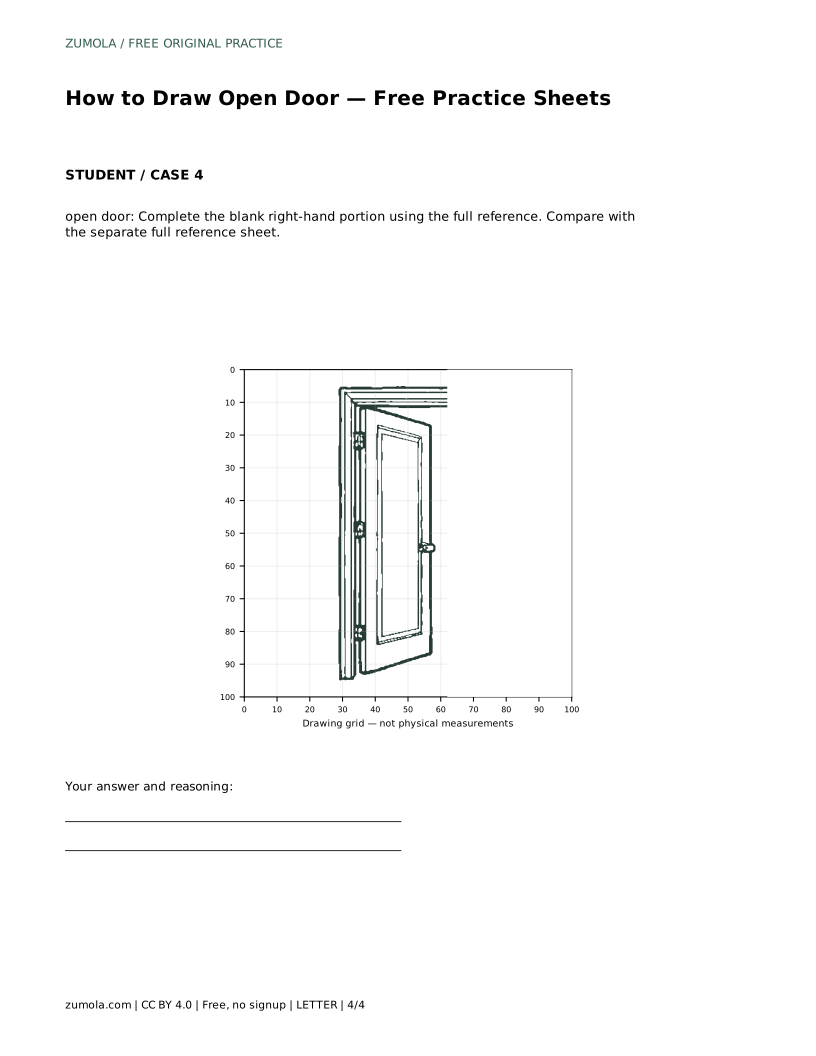
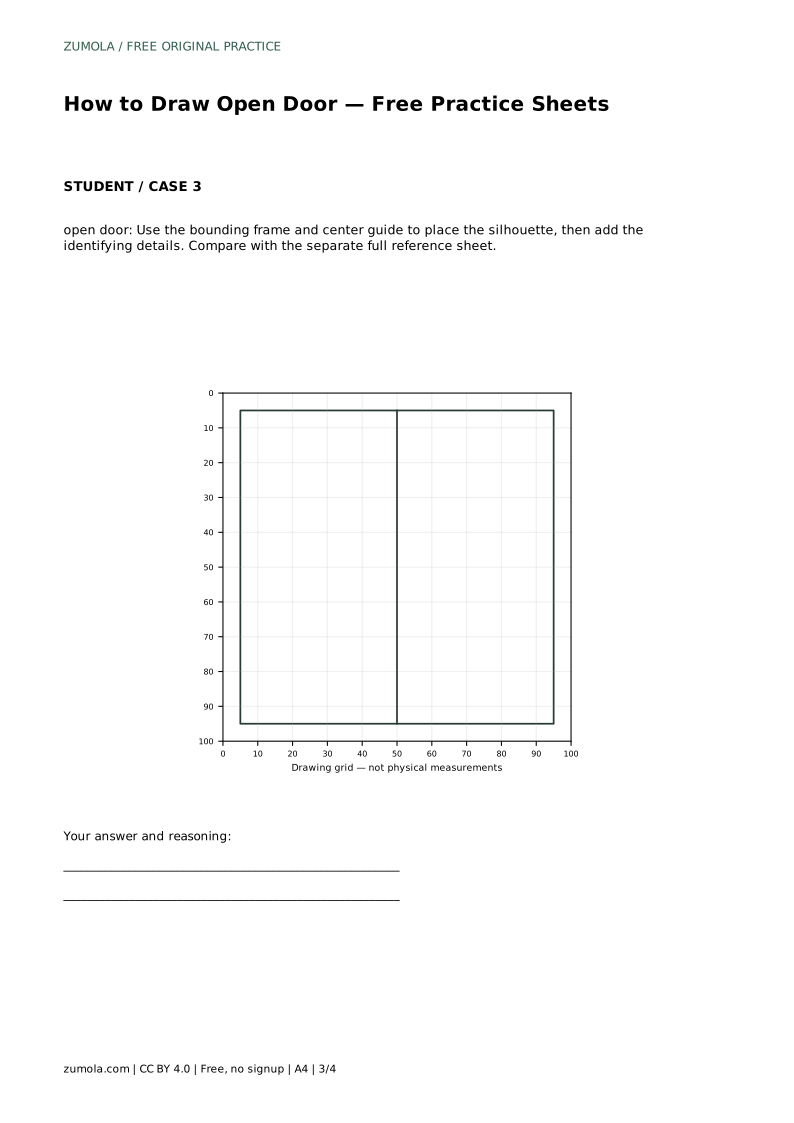
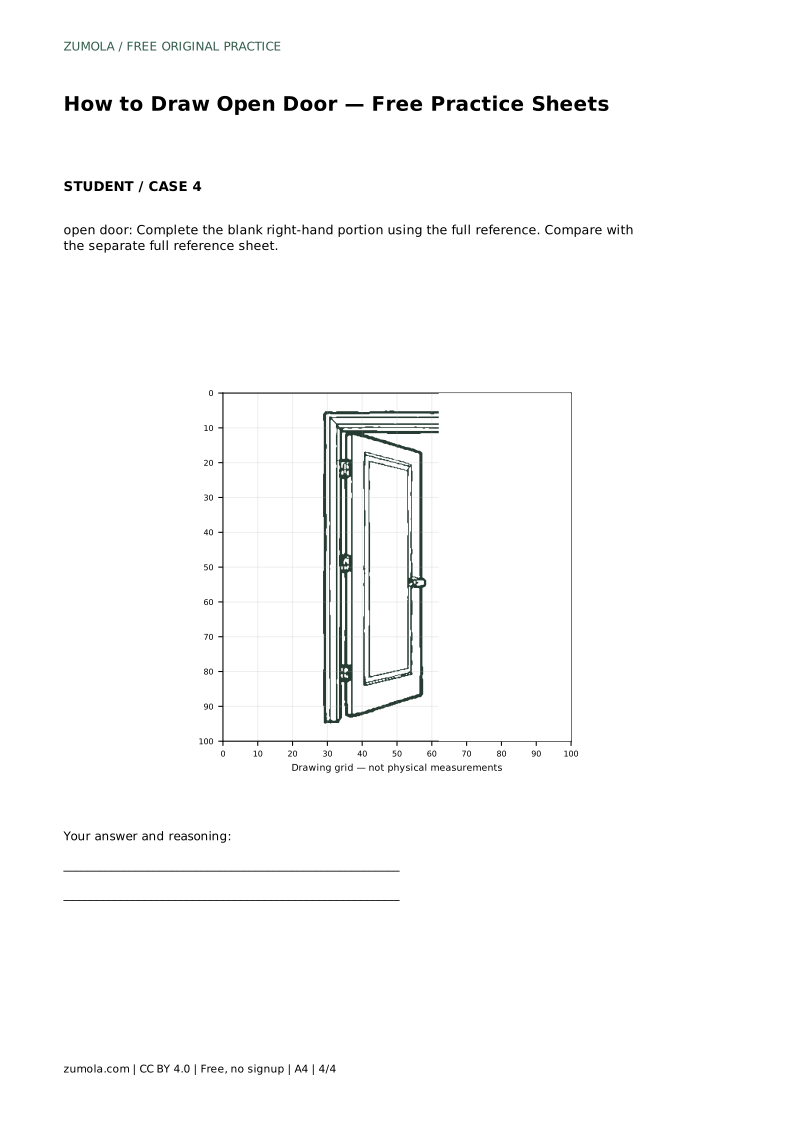
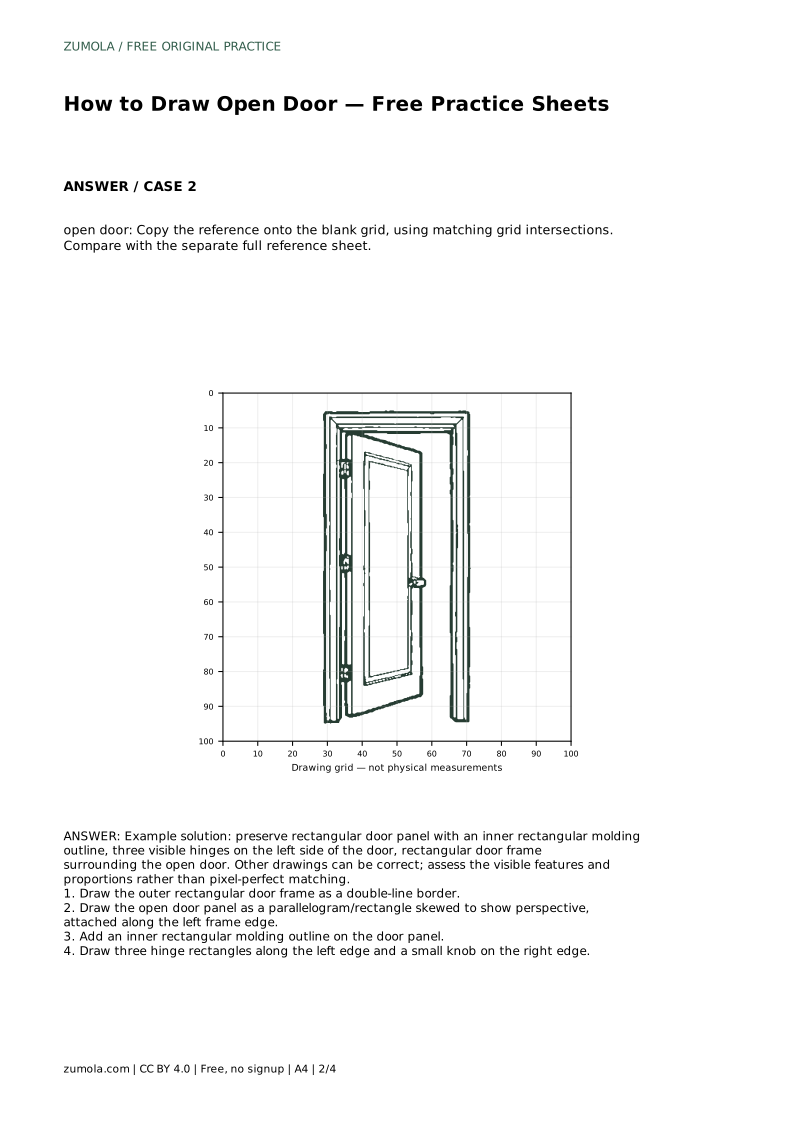
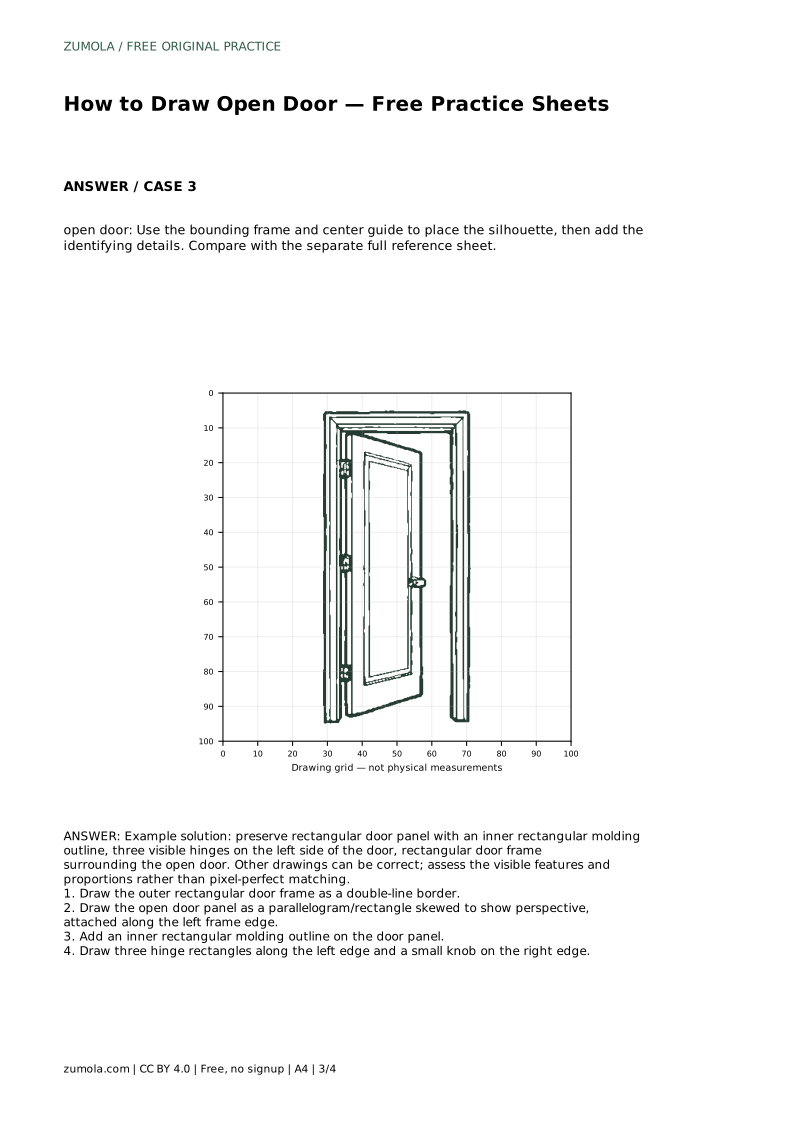
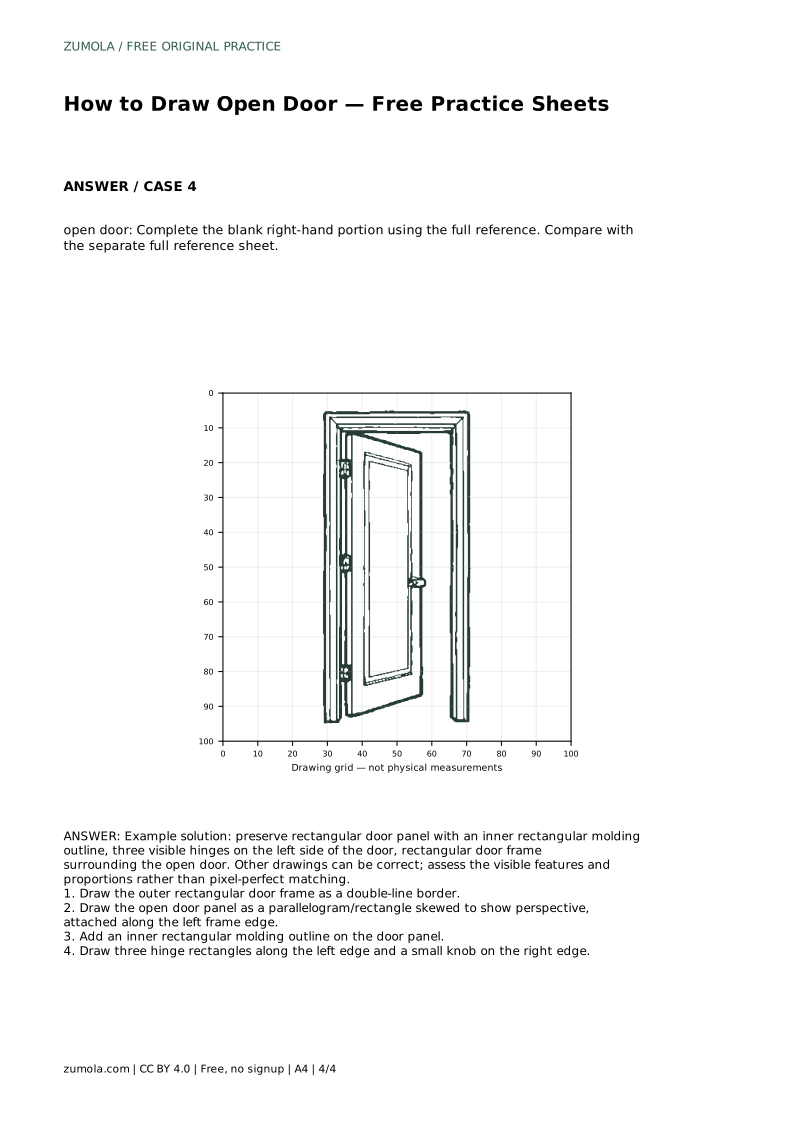
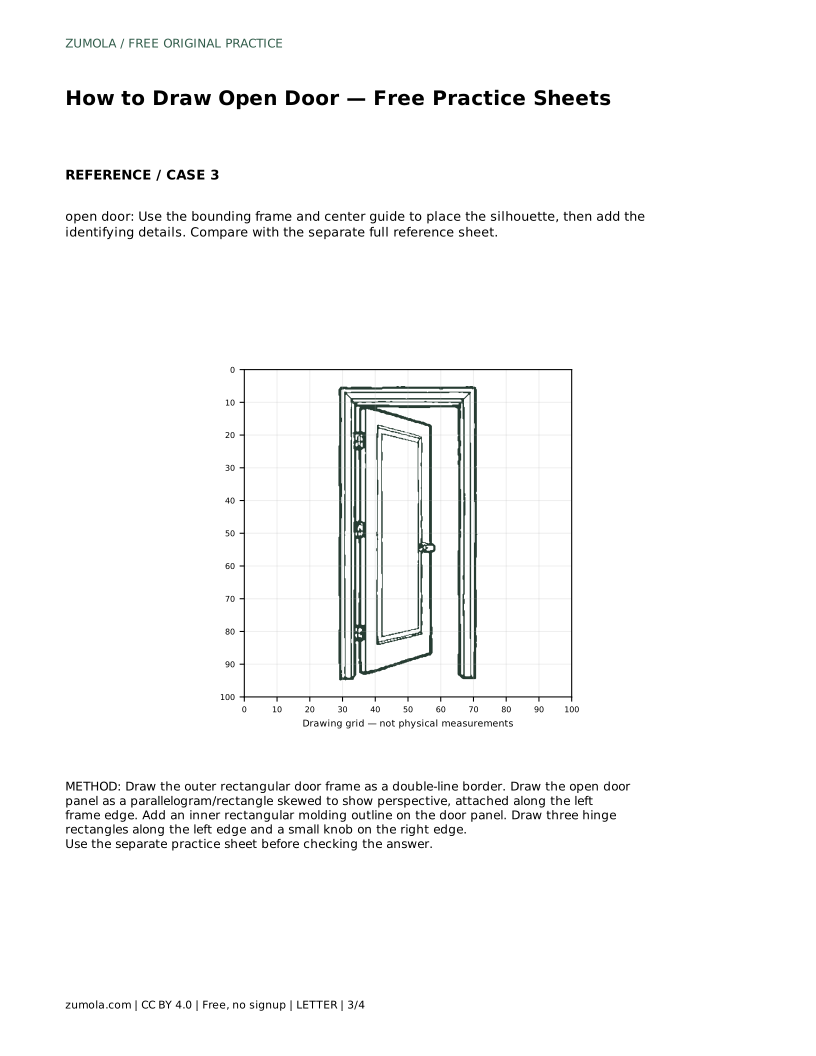
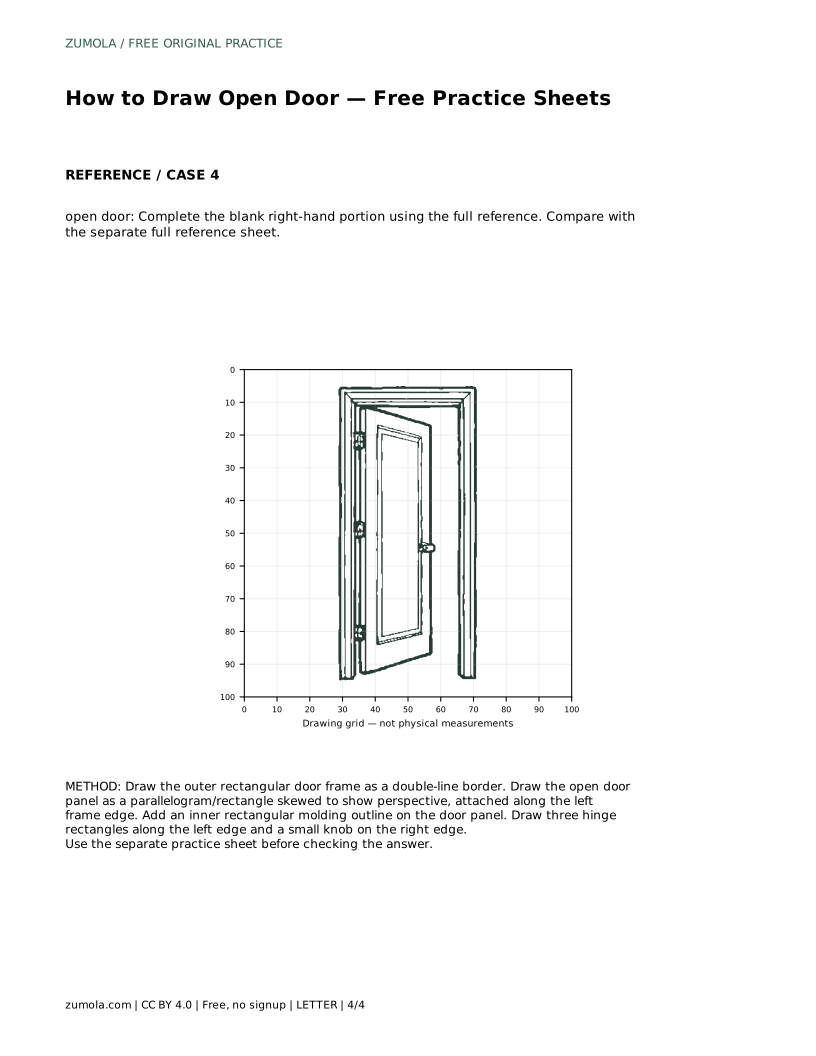
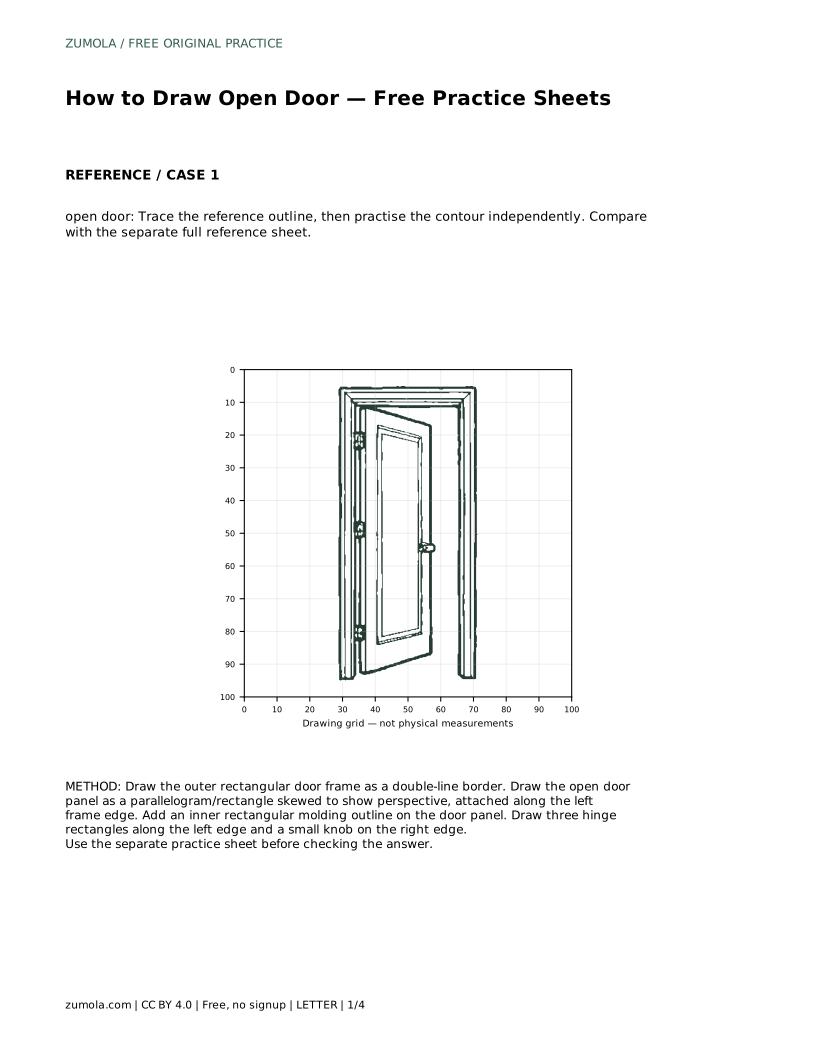
The sheets offer different levels of support. On the trace sheet, follow the reference outline first, then draw the contour again on your own and compare with the separate full reference. On the grid sheet, copy the drawing onto the blank grid by matching where lines cross grid intersections; this trains you to judge position and proportion. On the guide sheet, use the bounding frame and center guide to place the silhouette before adding details. On the partial sheet, complete the blank right-hand portion using the full reference.
Work lightly at first so you can adjust the panel's skew before committing to the molding and hinges. Compare your finished drawing with the reference by checking features, not by measuring every line.
A correct open door drawing keeps the frame rectangular, the panel skewed consistently, the molding parallel to the panel edges, three hinges on the left, and a knob on the right. Proportions can vary between drawings and still be valid. Use the rubric below to review your work honestly.
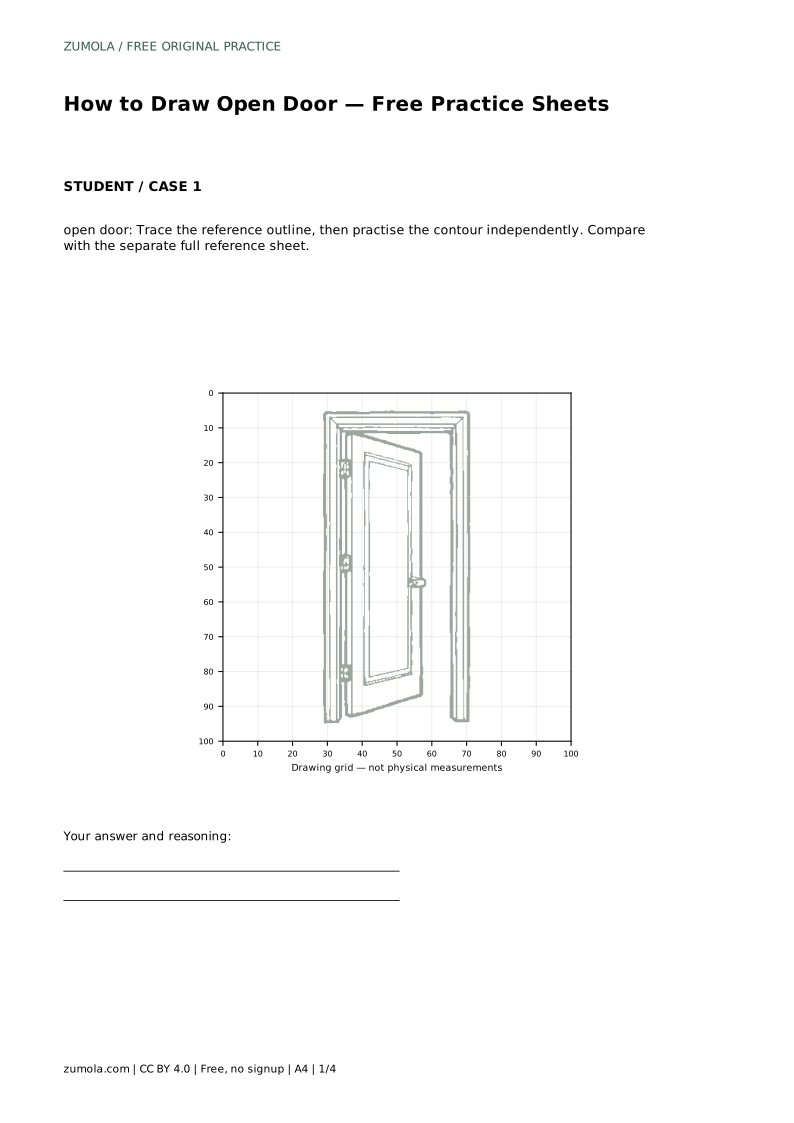
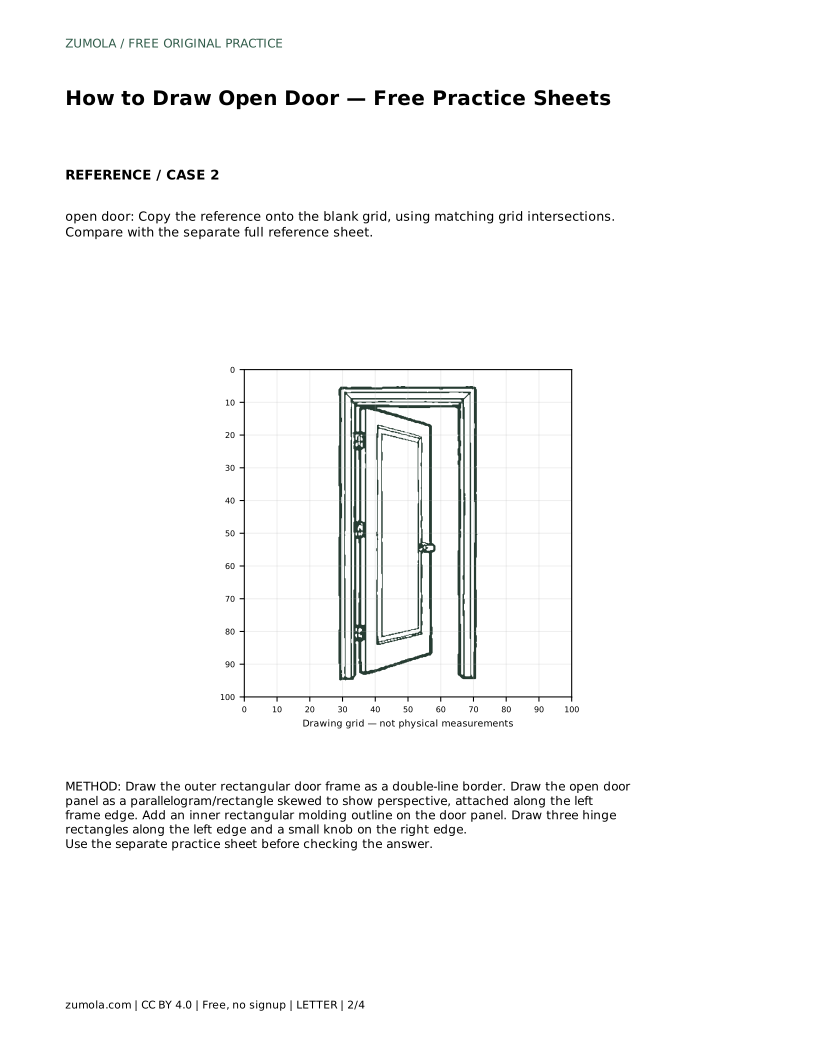
open door: Trace the reference outline, then practise the contour independently. Compare with the separate full reference sheet.
Example solution: preserve rectangular door panel with an inner rectangular molding outline, three visible hinges on the left side of the door, rectangular door frame surrounding the open door. Other drawings can be correct; assess the visible features and proportions rather than pixel-perfect matching. Draw the outer rectangular door frame as a double-line border. Draw the open door panel as a parallelogram/rectangle skewed to show perspective, attached along the left frame edge. Add an inner rectangular molding outline on the door panel. Draw three hinge rectangles along the left edge and a small knob on the right edge.
No. Several drawings can be correct. Check that the frame is rectangular, the panel is skewed consistently, the molding follows the panel, three hinges sit on the left, and the knob is on the right.
Start with the trace sheet to learn the contour, then move to the grid or guide sheet to practise placing the shape independently. Use the partial sheet once you can build the panel without tracing.
An open door is a flat rectangle seen at an angle, so its edges appear skewed. Keeping opposite edges parallel preserves that flat, hinged look.
All drawing practice · Free coordinate paper
Original resources · CC BY 4.0 · Free for personal and classroom use with attribution.