Reference diagrams
LETTER · Download PDF
A4 · Download PDF
Free original resources
Learn to draw an oar with a long diagonal shaft, flat blade and T-shaped grip. Trace, grid-copy and complete-the-drawing practice sheets support careful looking.
Four original cases, with reference diagrams, practice sheets and worked answers. Everything is free; no signup required.
LETTER · Download PDF
A4 · Download PDF
LETTER · Download PDF
A4 · Download PDF
LETTER · Download PDF
A4 · Download PDF
Use A4 or US Letter to match your printer. Use the stated values and conditions to solve each exercise; diagrams are not physical measuring rulers.
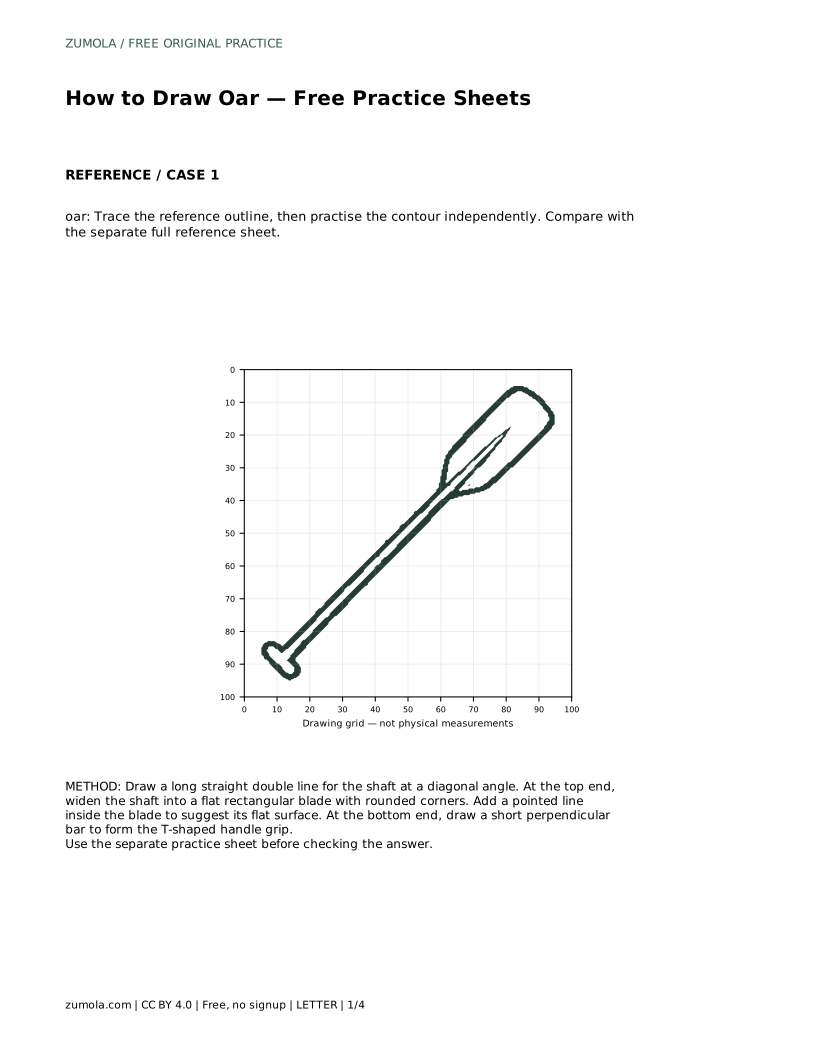
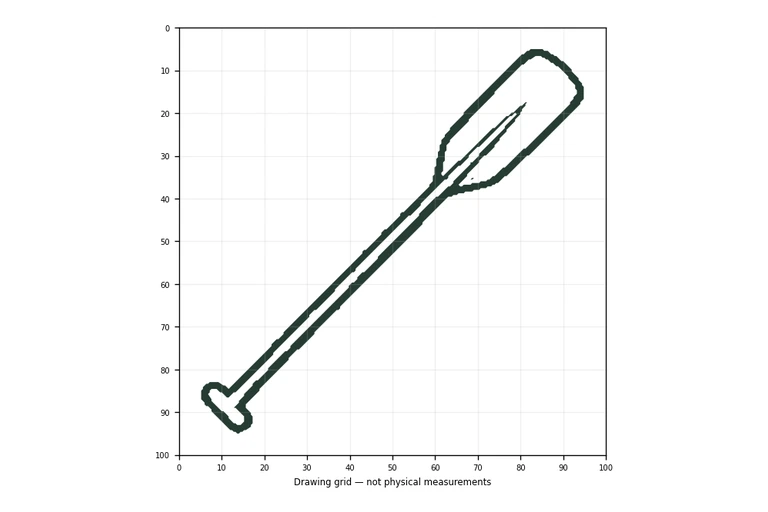
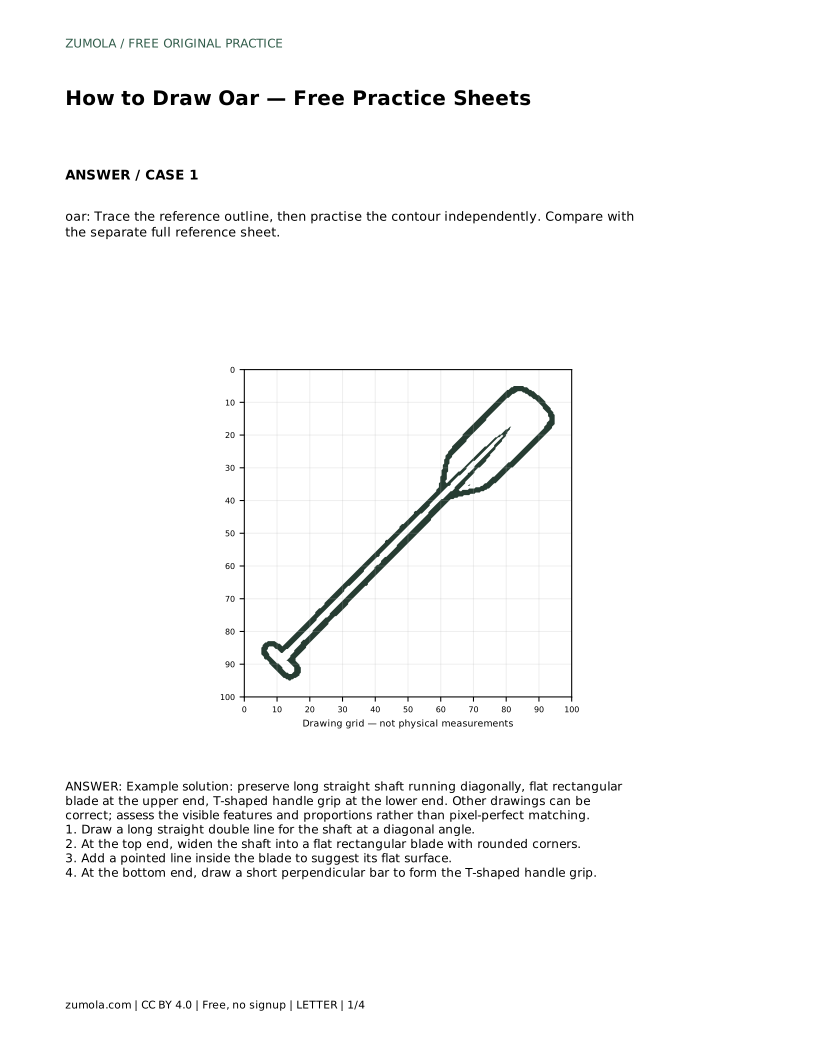
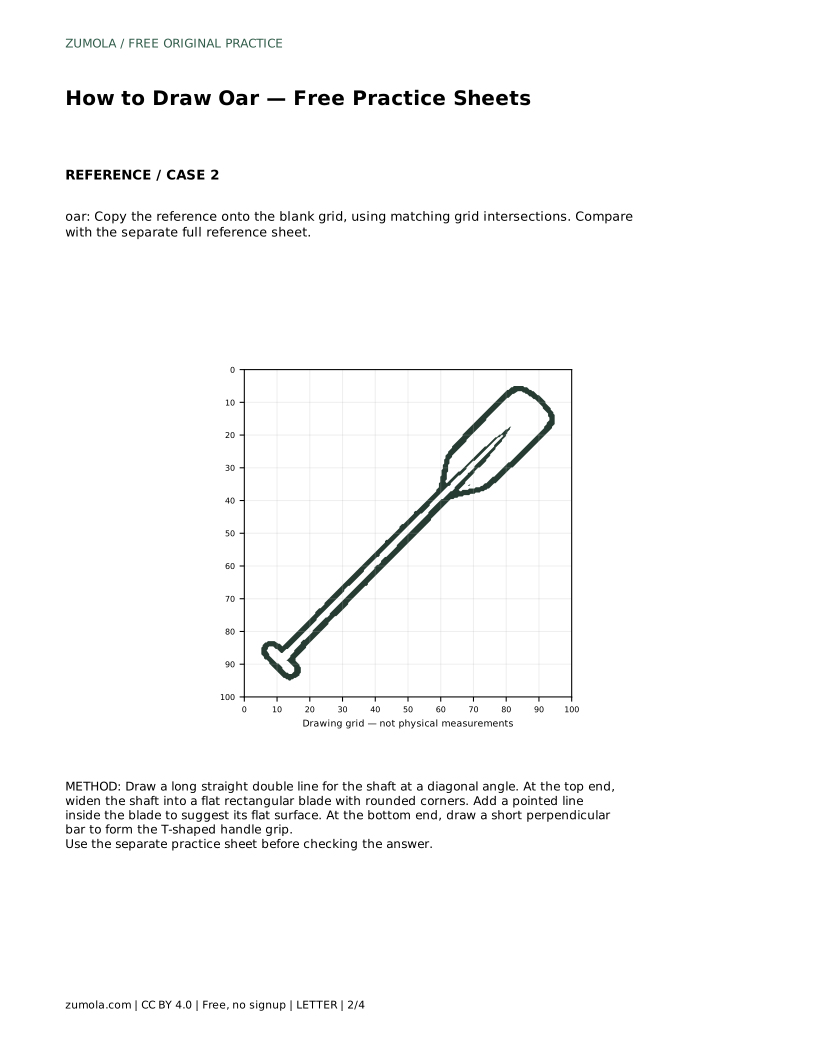
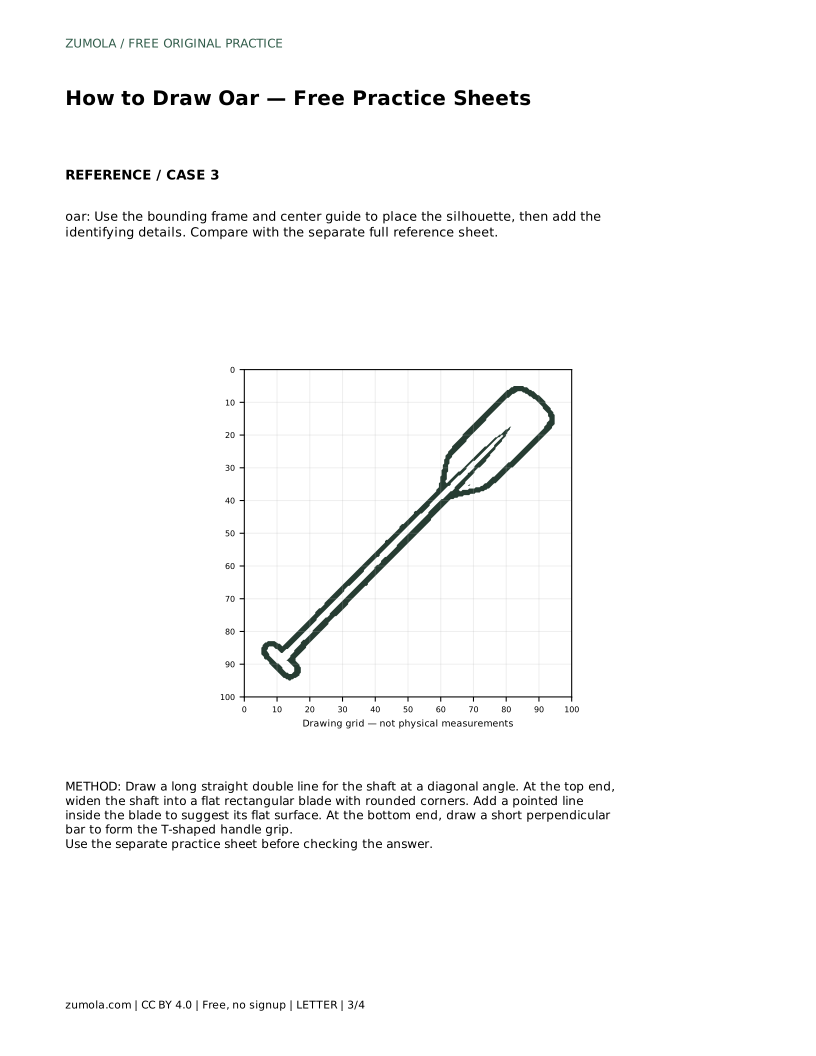
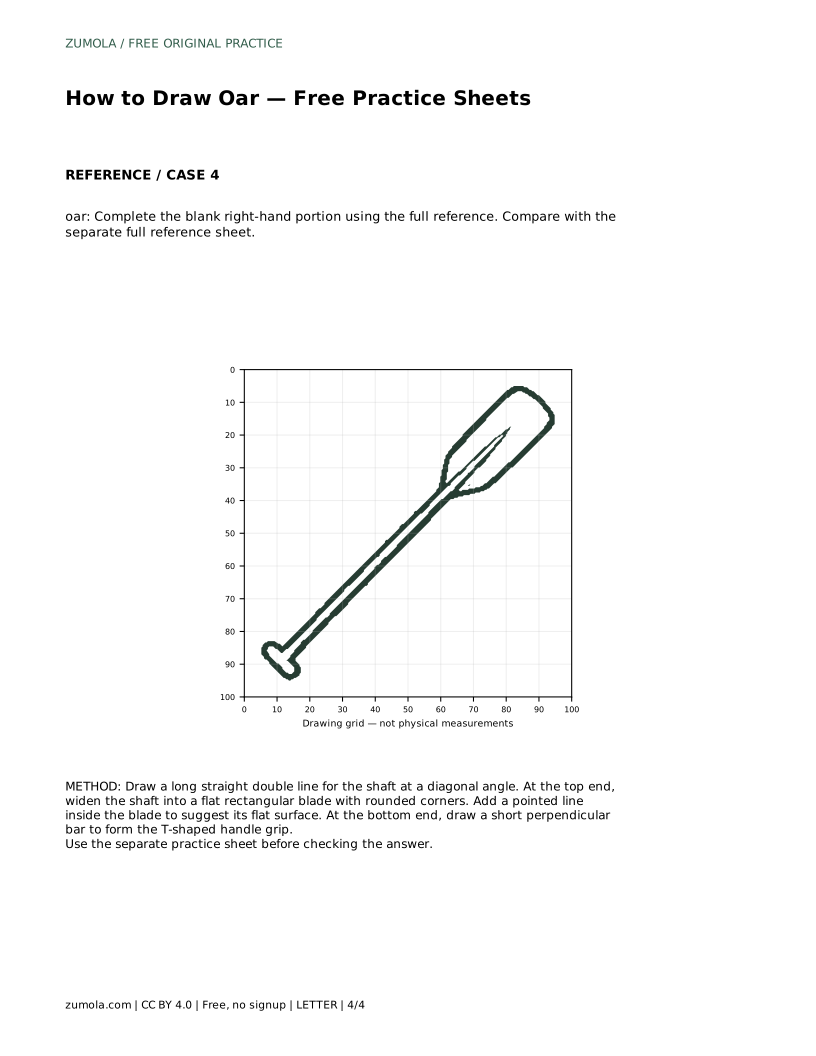
An oar is a simple object with a few strong identifying features: a long straight shaft, a flat blade at one end and a short crossbar grip at the other. Because those parts are easy to describe, an oar makes a useful drawing exercise for practising straight lines, proportion and placement. The practice sheets ask you to trace, copy or complete the same basic form in different ways, so you can compare how well your drawing keeps the shaft, blade and grip in the right relationship to one another.
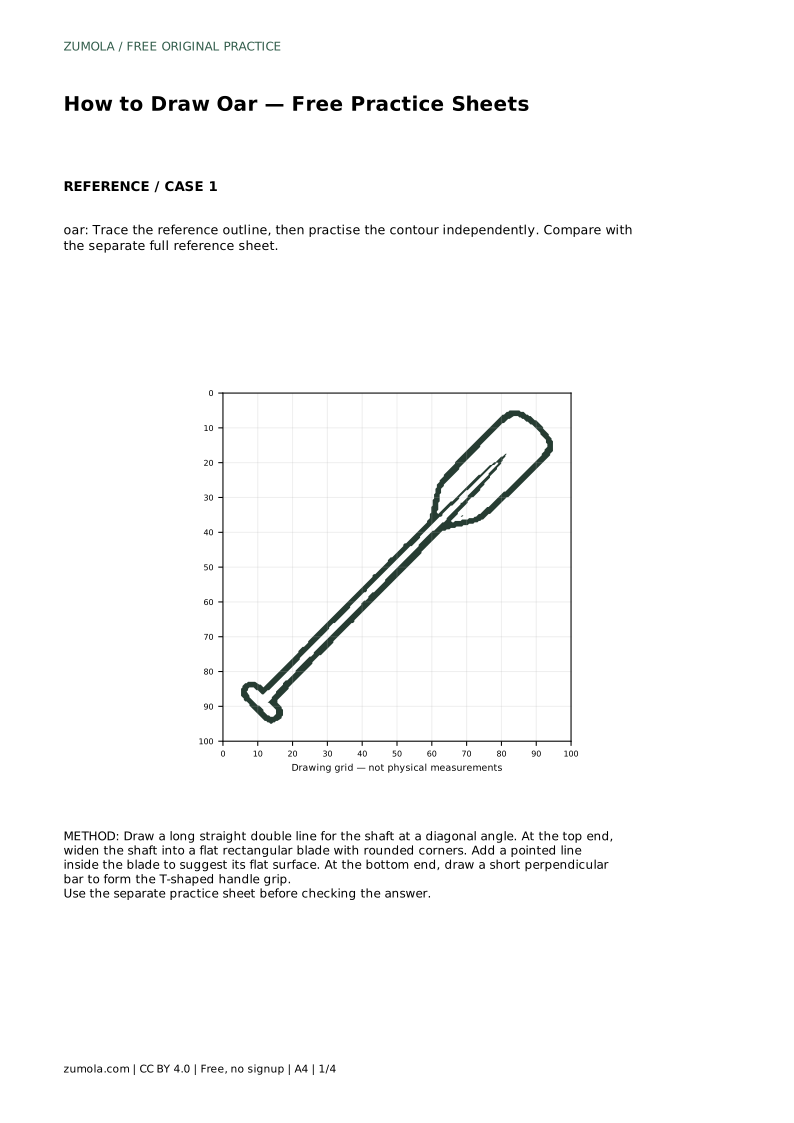
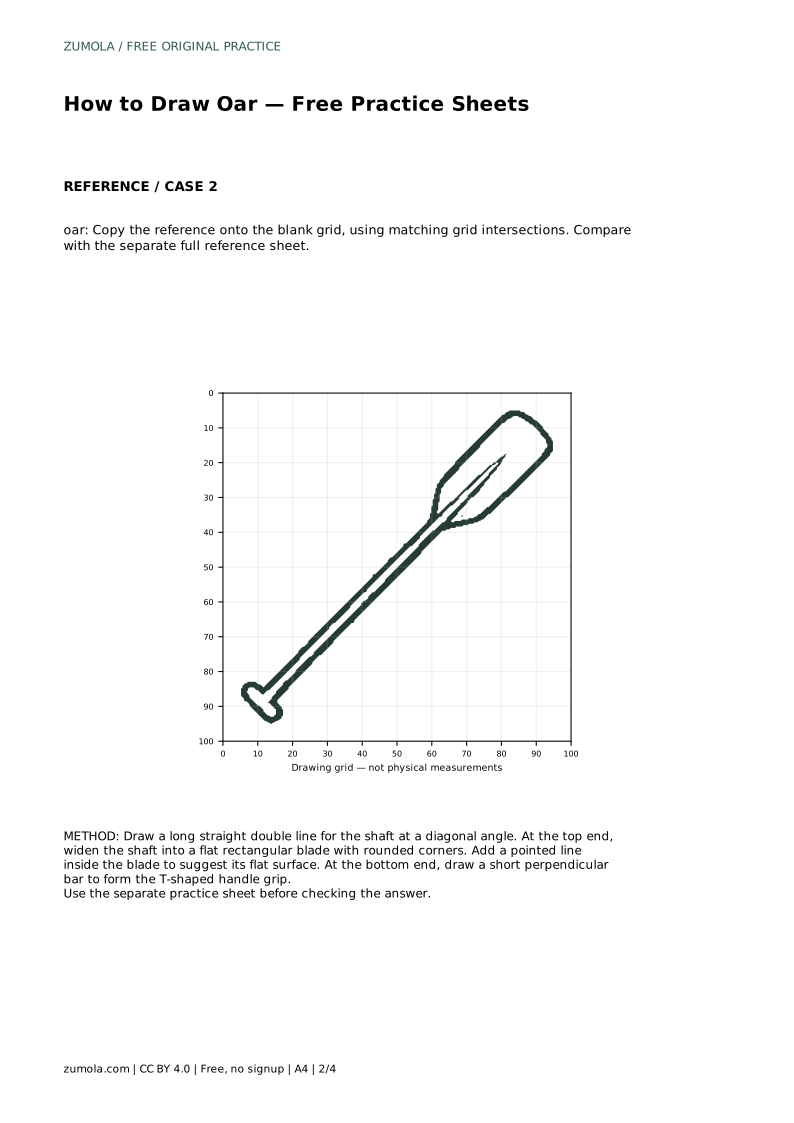
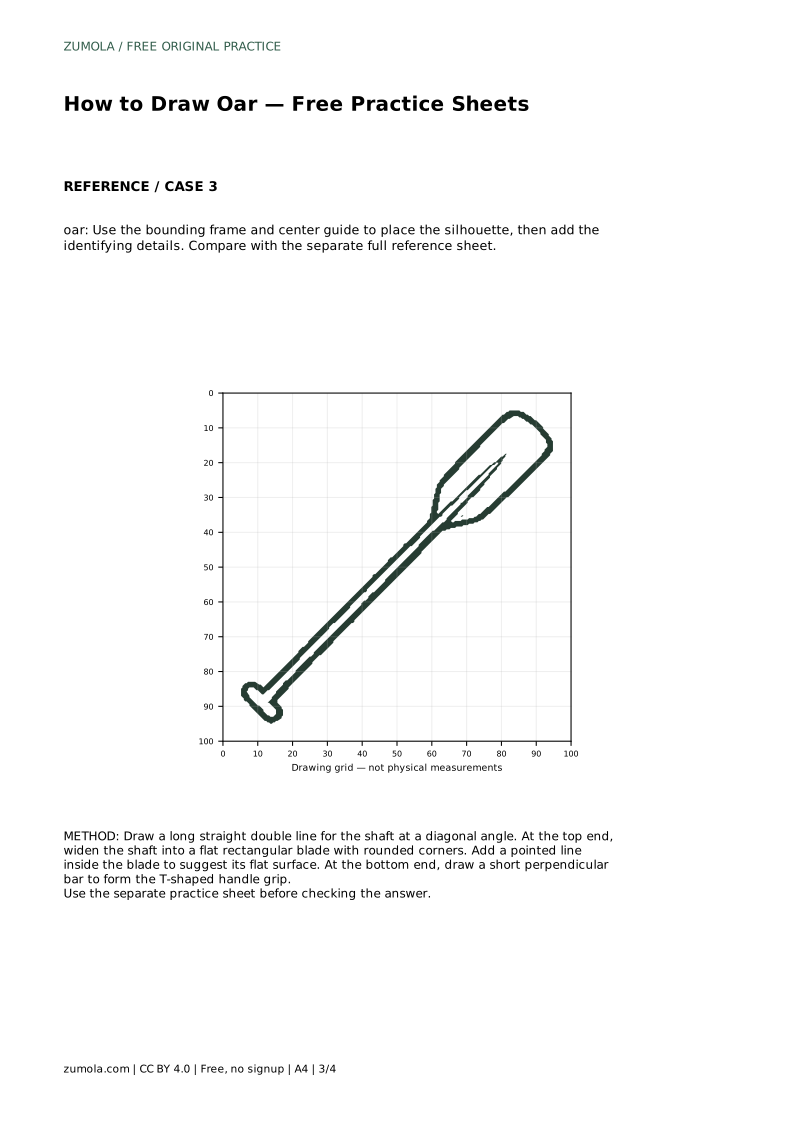
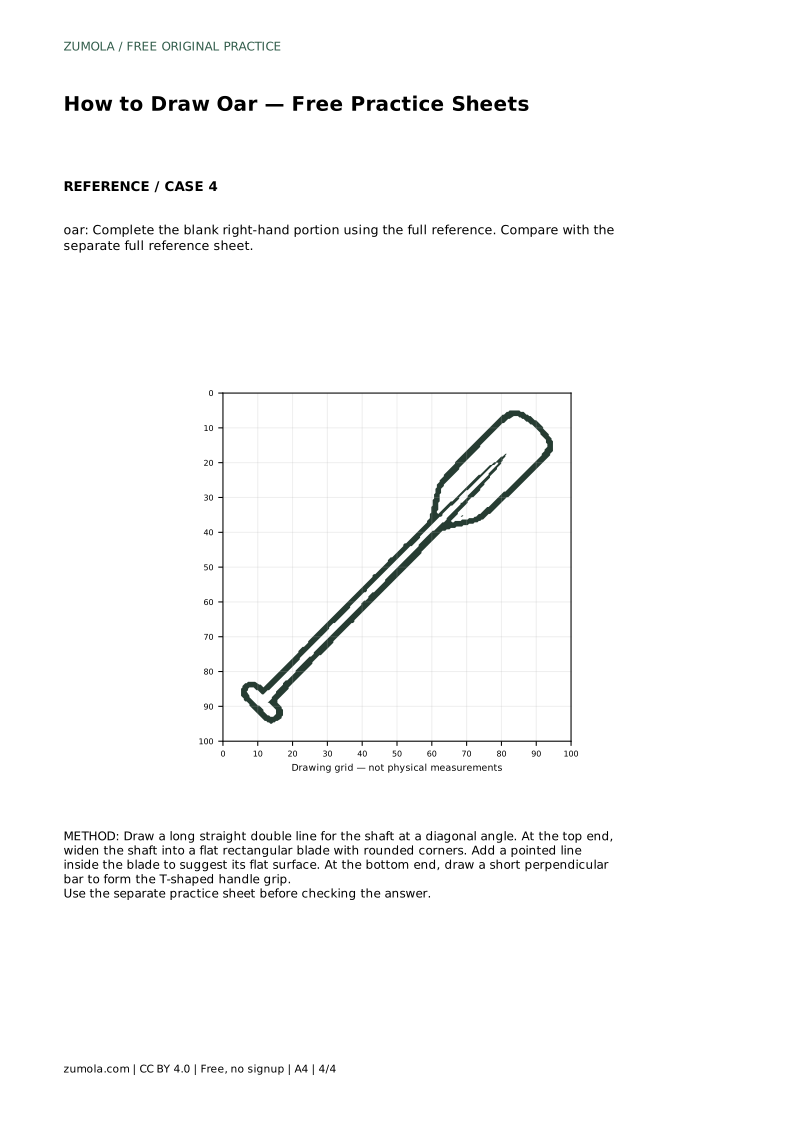
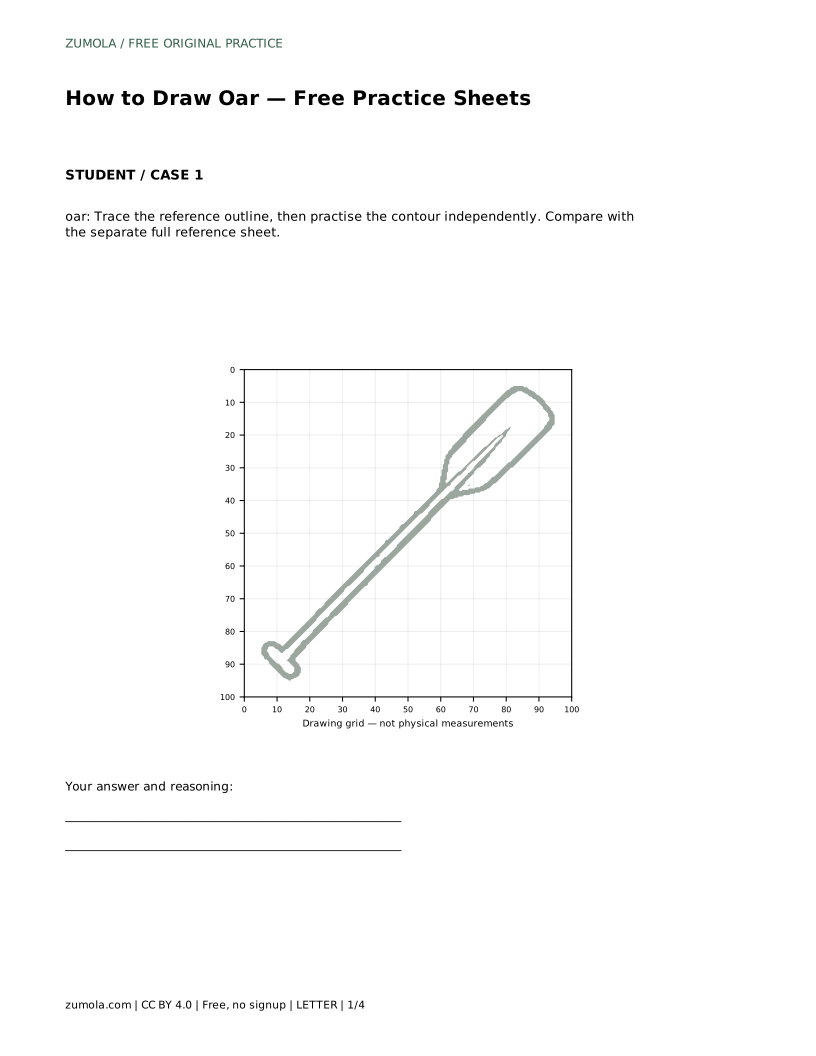
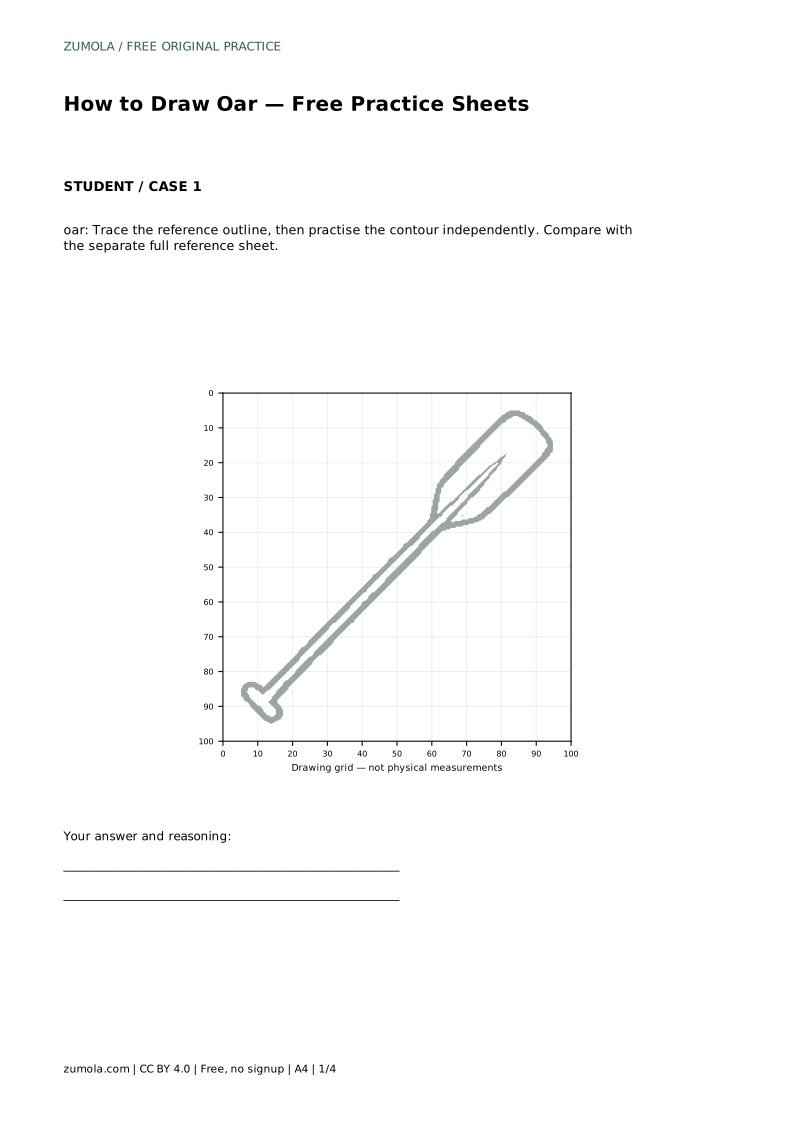
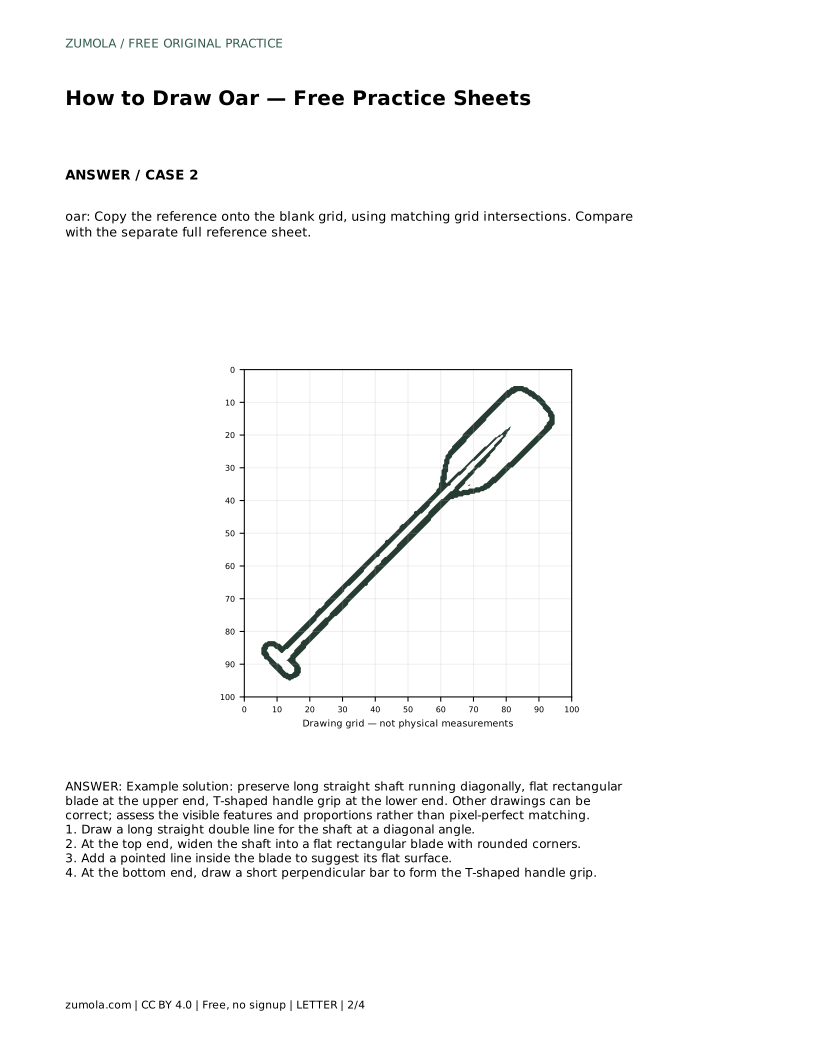
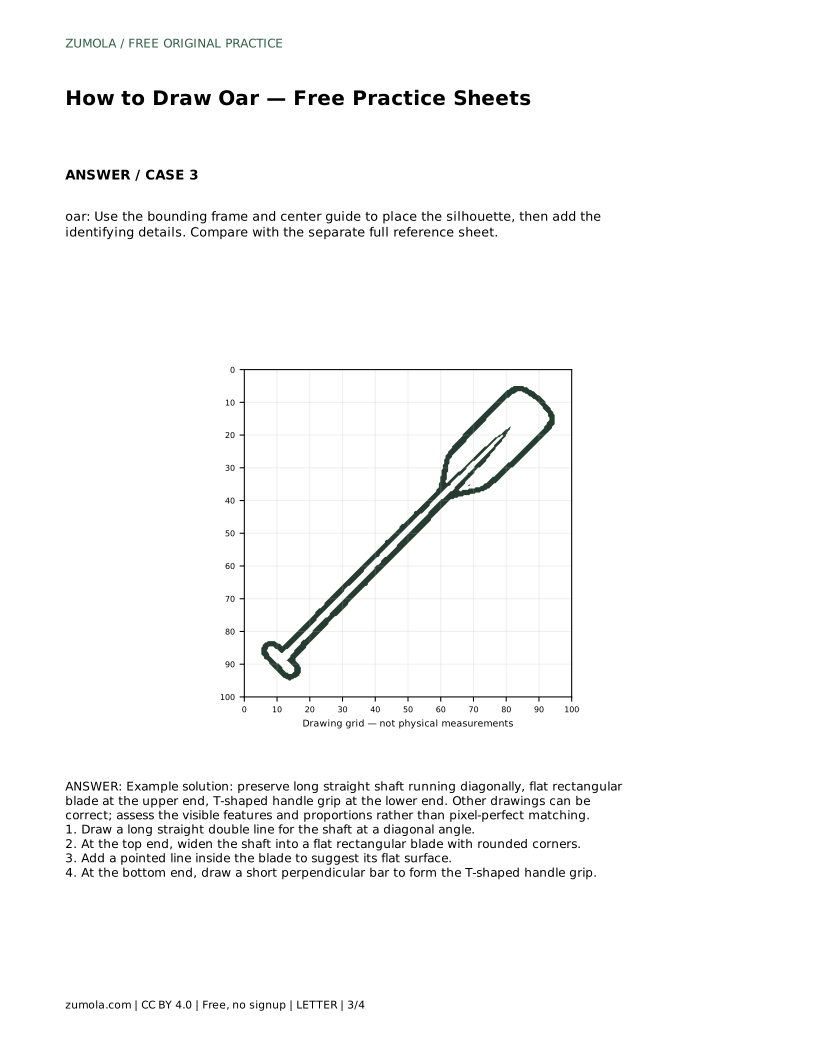
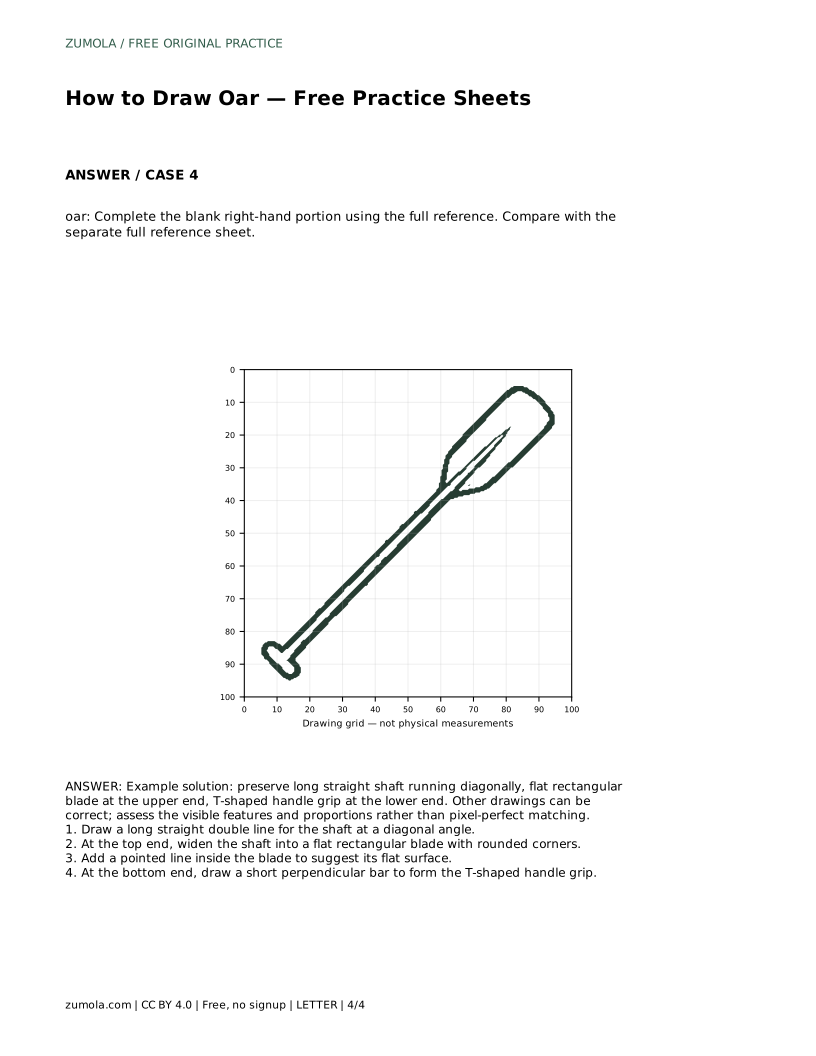
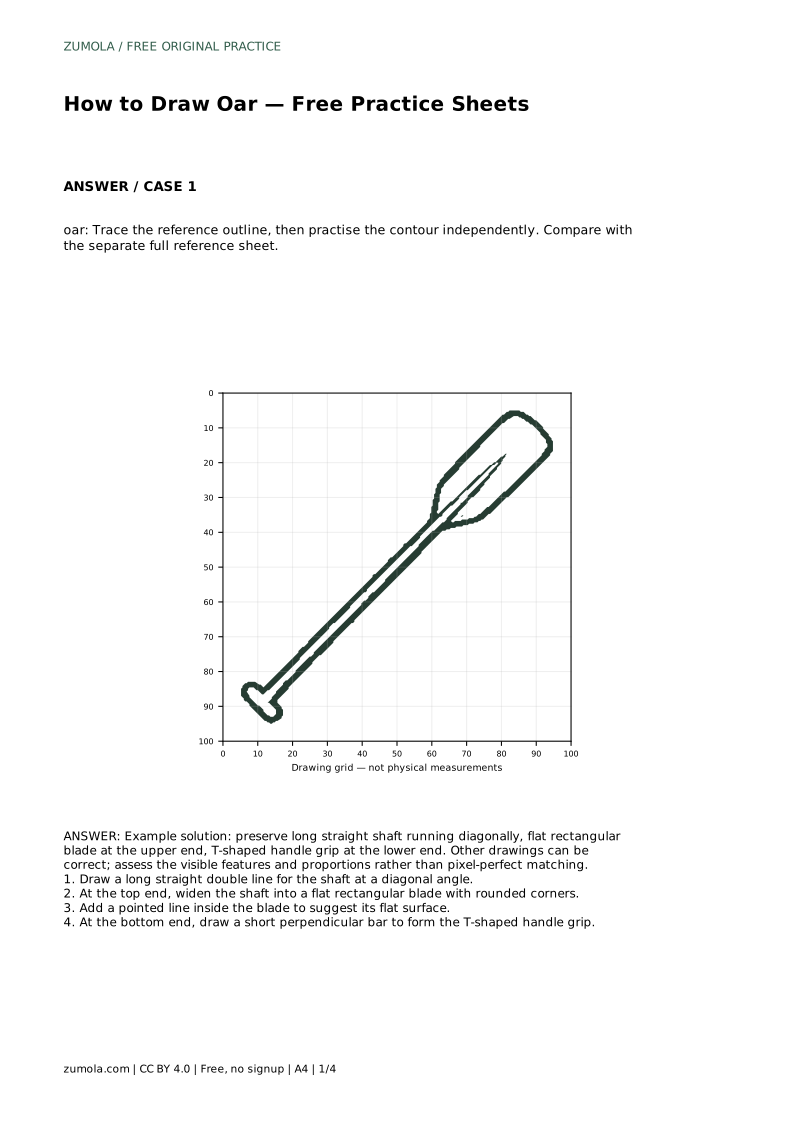
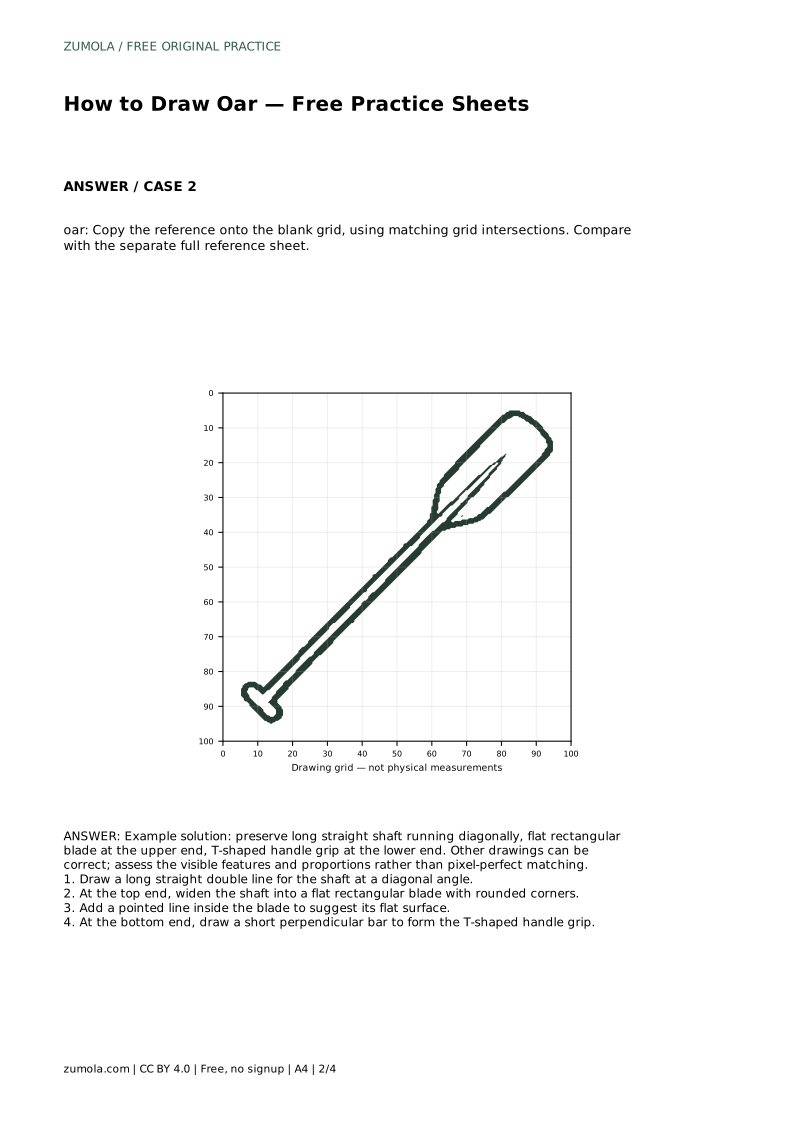
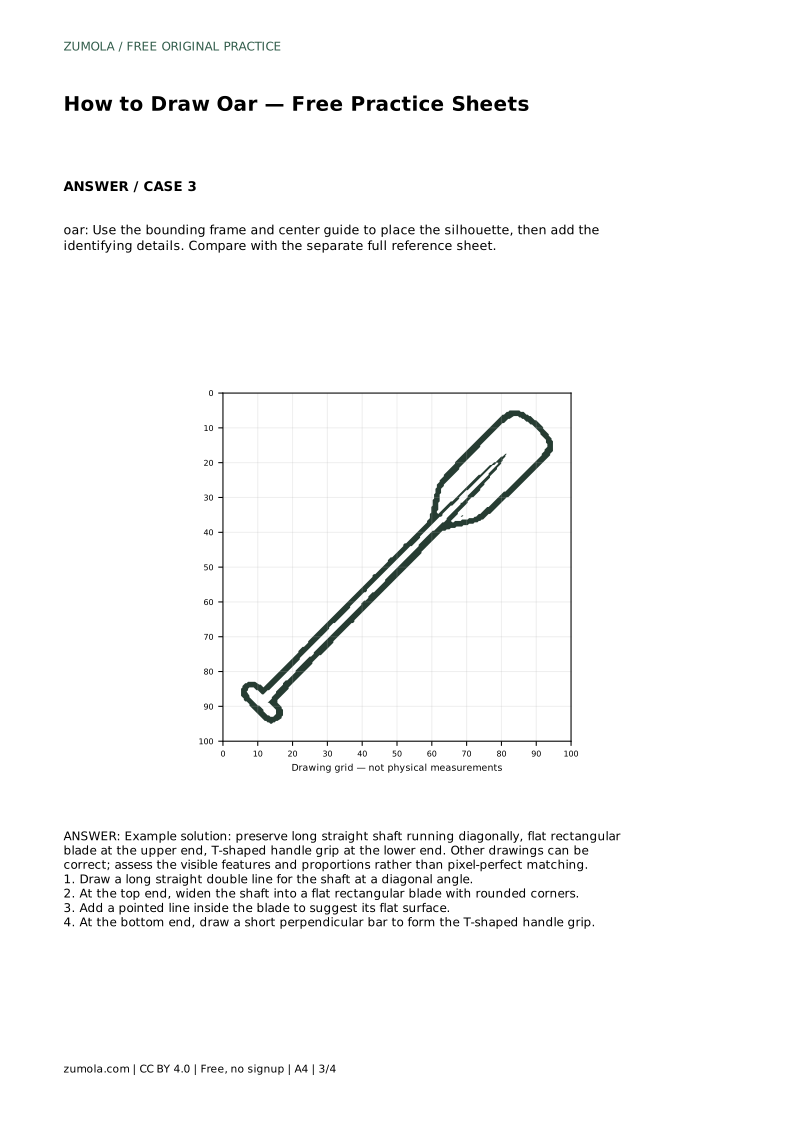
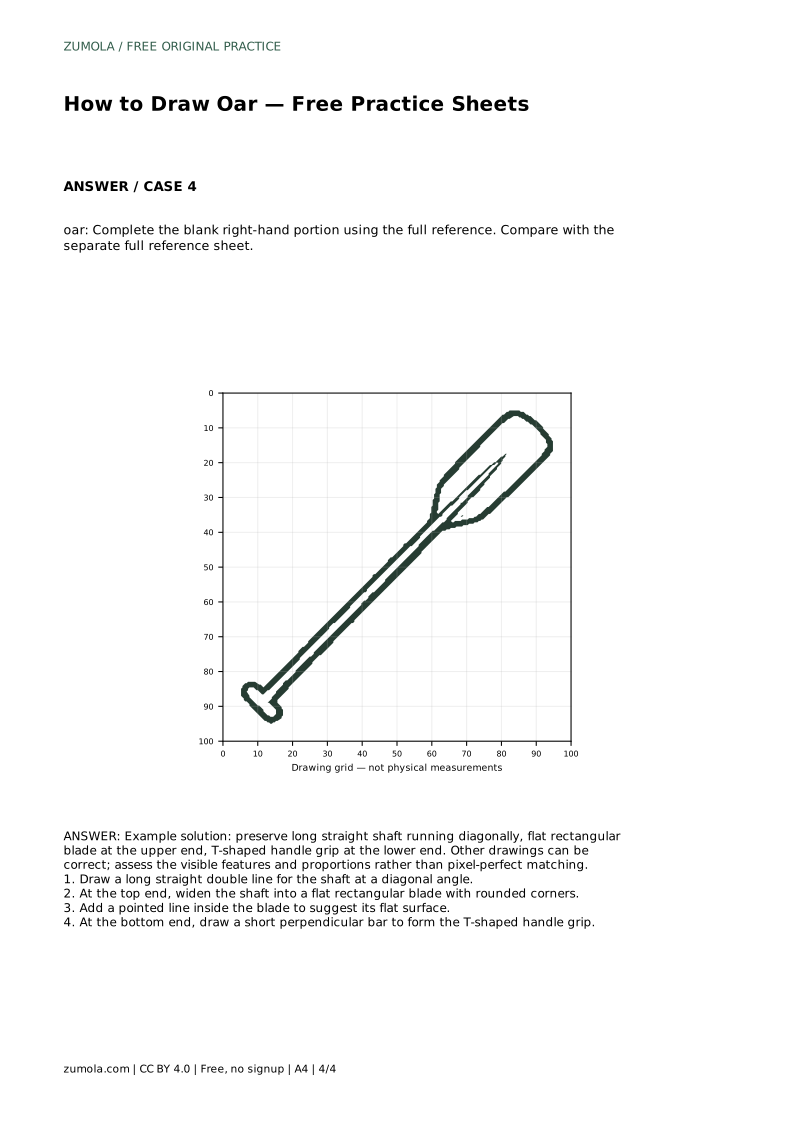
Before putting pencil to paper, look at the reference and name the four visible parts. The shaft is the long straight section, drawn as a double line so it has width rather than appearing as a single stroke. The blade sits at the upper end: a flat rectangular shape with rounded corners that is noticeably wider than the shaft. A pointed line inside the blade suggests its flat surface. At the lower end, a short perpendicular bar forms the T-shaped handle grip.
Naming these parts first helps you decide what to check when the drawing is finished. A recognisable oar keeps all four features visible and in proportion, even if the exact angle or length differs from the reference.
Start with the shaft, because it sets the overall direction of the drawing. Draw a long straight double line at a diagonal angle, keeping the two lines evenly spaced so the shaft looks like a solid piece rather than a tapering stick. A diagonal placement gives the oar a natural, active look and makes the blade and grip easier to position at opposite ends.
At the top end, widen the shaft into a flat rectangular blade with rounded corners. The blade should read as clearly wider than the shaft, but not so wide that it looks like a paddle or a sign. Add a pointed line inside the blade to suggest its flat surface. At the bottom end, draw a short perpendicular bar to form the T-shaped handle grip, keeping it centred on the shaft.
The sheets offer different kinds of support, and each one trains a slightly different skill. Tracing the reference outline builds familiarity with the shape and helps your hand learn the long straight shaft. Practising the contour independently afterwards tests whether you can reproduce that shape without guidance. Copying onto a blank grid asks you to match grid intersections, which strengthens placement and proportion.
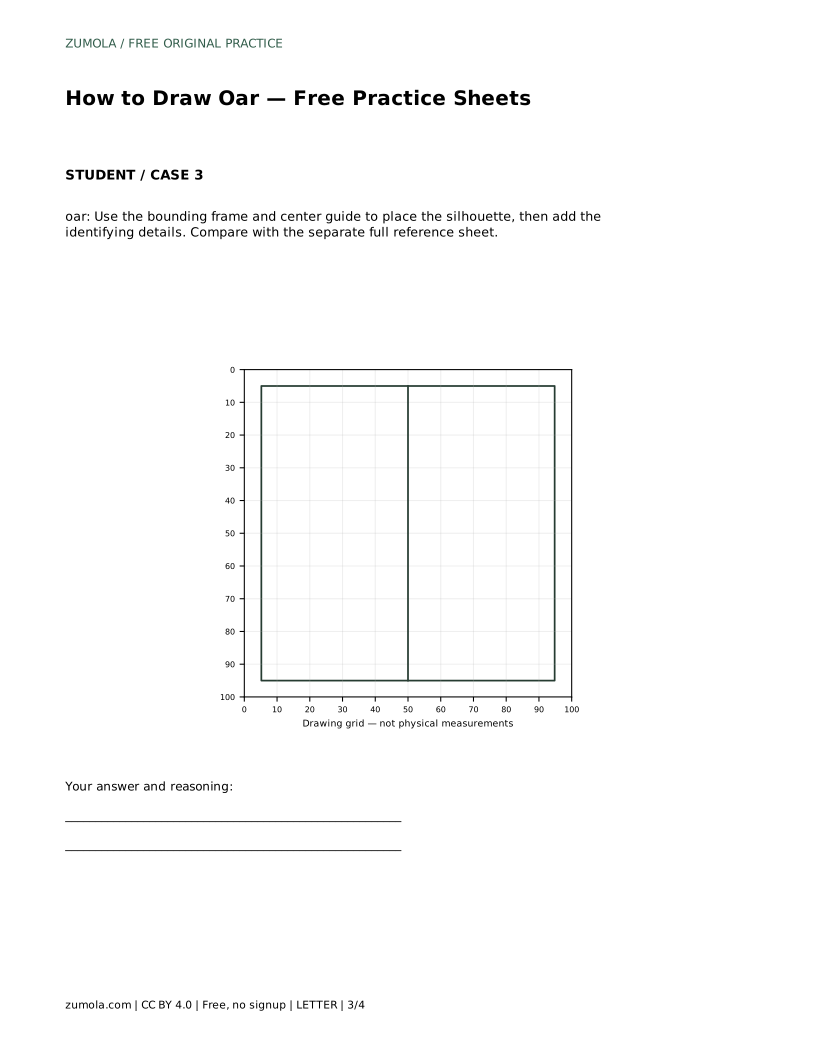
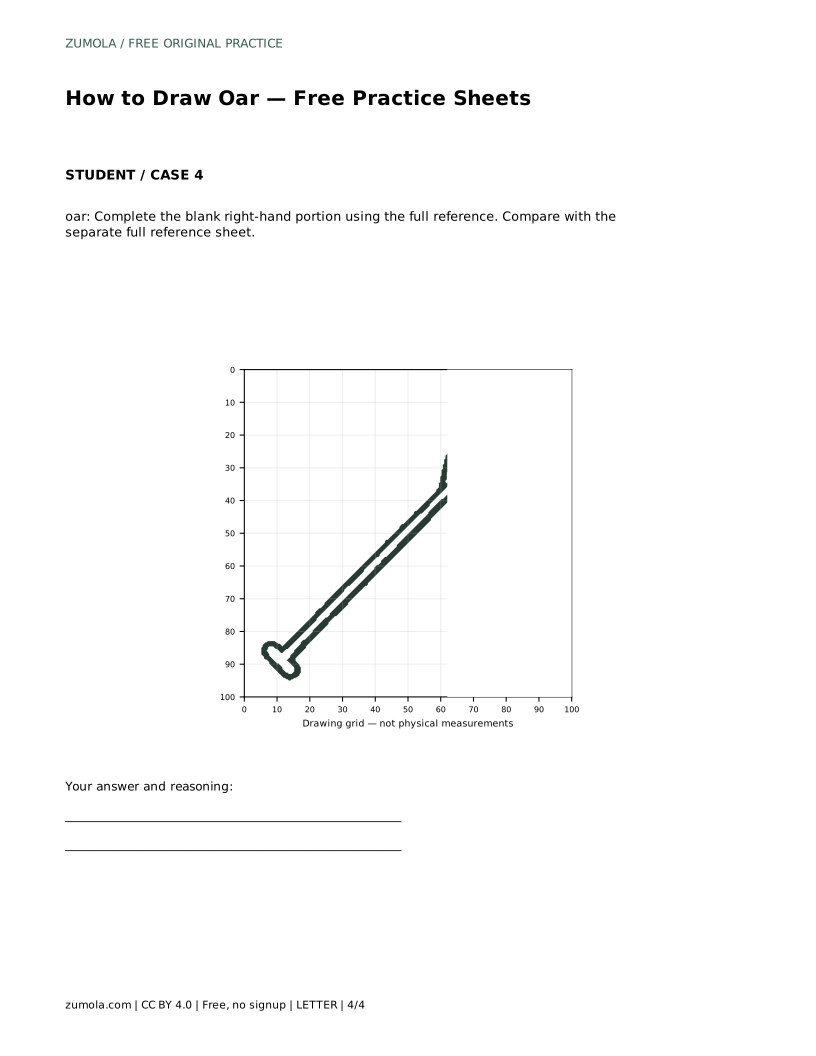
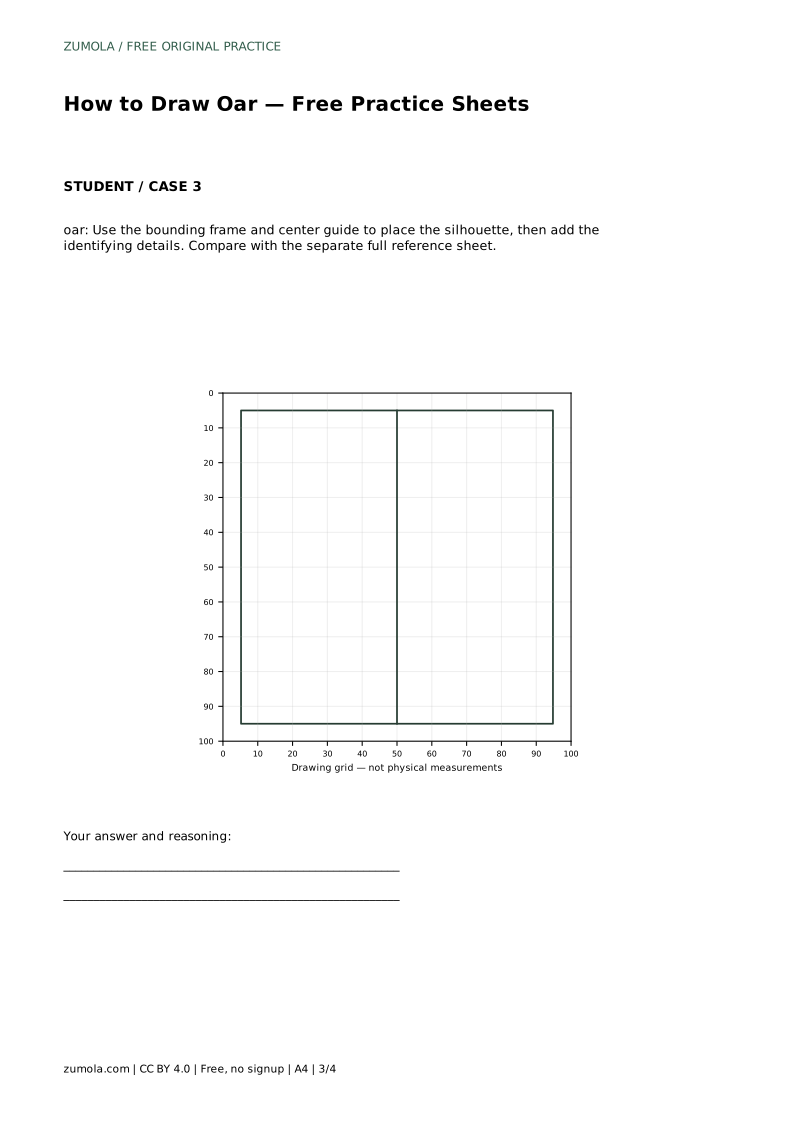
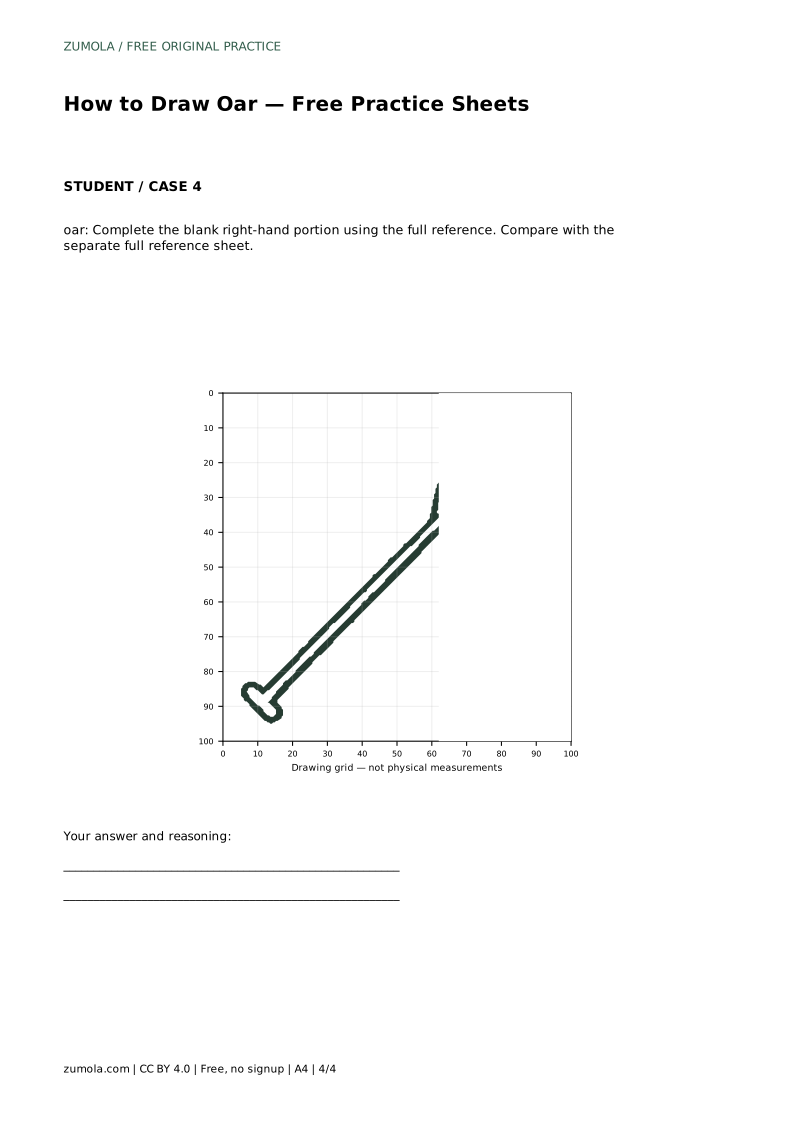
The bounding frame and centre guide help you position the silhouette before adding details, so the blade and grip land in sensible places. The complete-the-drawing sheet gives you part of the reference and asks you to finish the blank portion, which practises continuing an existing line and judging where the missing parts belong. In every format, compare your finished drawing with the separate full reference sheet rather than relying on memory.
A finished oar drawing can be checked feature by feature. Confirm that the shaft is straight and double-lined, that the blade is flat and rectangular with rounded corners, that the inner blade line is present, and that the grip forms a short perpendicular bar. Then check relationships: the blade and grip should sit at opposite ends, and the shaft should connect them without bending.
Art has multiple valid outcomes, so a drawing does not need to match the reference pixel for pixel. A steeper diagonal, a slightly longer shaft or a wider blade can all be correct if the identifying features remain clear and the proportions stay believable. Use the rubric to assess visible features and relationships rather than exact copying.
Prompt: Trace the reference outline, then practise the contour independently. Compare with the separate full reference sheet.
Example solution: preserve long straight shaft running diagonally, flat rectangular blade at the upper end, T-shaped handle grip at the lower end. Other drawings can be correct; assess the visible features and proportions rather than pixel-perfect matching.
oar: Trace the reference outline, then practise the contour independently. Compare with the separate full reference sheet.
Example solution: preserve long straight shaft running diagonally, flat rectangular blade at the upper end, T-shaped handle grip at the lower end. Other drawings can be correct; assess the visible features and proportions rather than pixel-perfect matching. Draw a long straight double line for the shaft at a diagonal angle. At the top end, widen the shaft into a flat rectangular blade with rounded corners. Add a pointed line inside the blade to suggest its flat surface. At the bottom end, draw a short perpendicular bar to form the T-shaped handle grip.
No. Multiple drawings can be correct. Assess whether the shaft, blade, inner blade line and T-shaped grip are visible and in believable proportion.
In the reference, the flat rectangular blade sits at the upper end and the T-shaped handle grip sits at the lower end.
Check that the shaft is long, straight and double-lined, then confirm the blade and grip sit at opposite ends.
All drawing practice · Free coordinate paper
Original resources · CC BY 4.0 · Free for personal and classroom use with attribution.