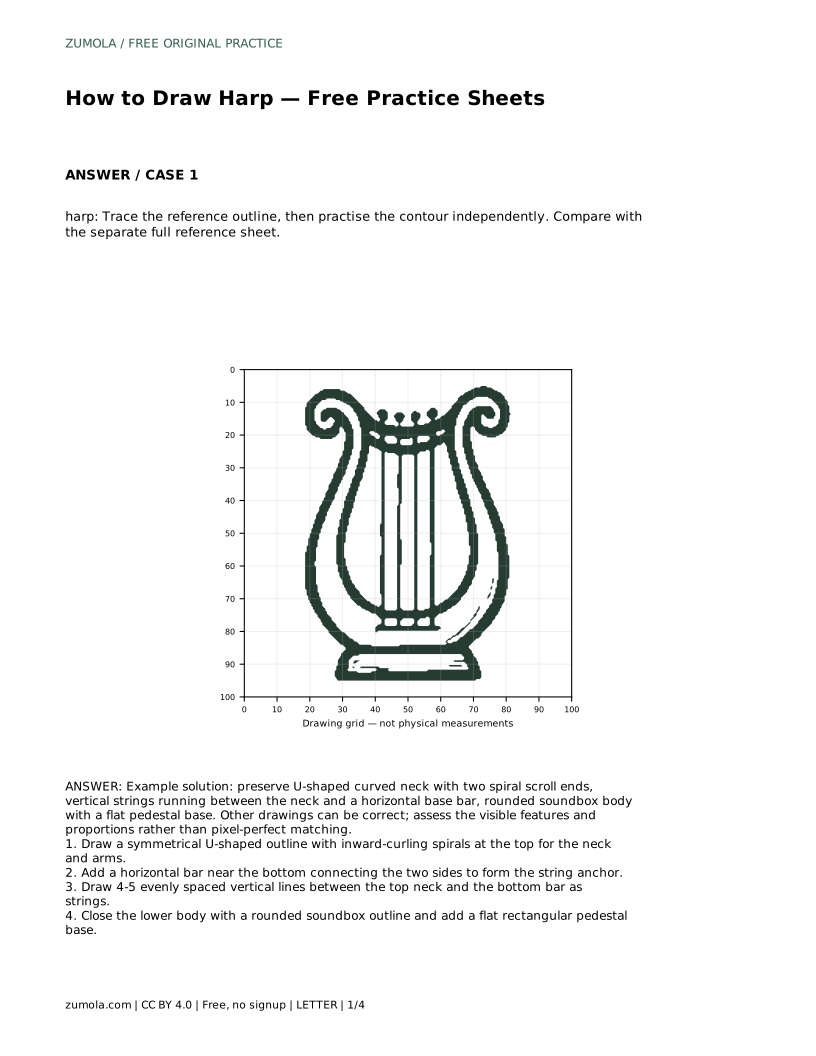
Reference diagrams
LETTER · Download PDF
A4 · Download PDF
Free original resources
Learn to draw a harp with a U-shaped neck, spiral scrolls, vertical strings, a soundbox, and a pedestal base. Trace, grid, and frame practice sheets included.
Four original cases, with reference diagrams, practice sheets and worked answers. Everything is free; no signup required.
LETTER · Download PDF
A4 · Download PDF
LETTER · Download PDF
A4 · Download PDF
LETTER · Download PDF
A4 · Download PDF
Use A4 or US Letter to match your printer. Use the stated values and conditions to solve each exercise; diagrams are not physical measuring rulers.
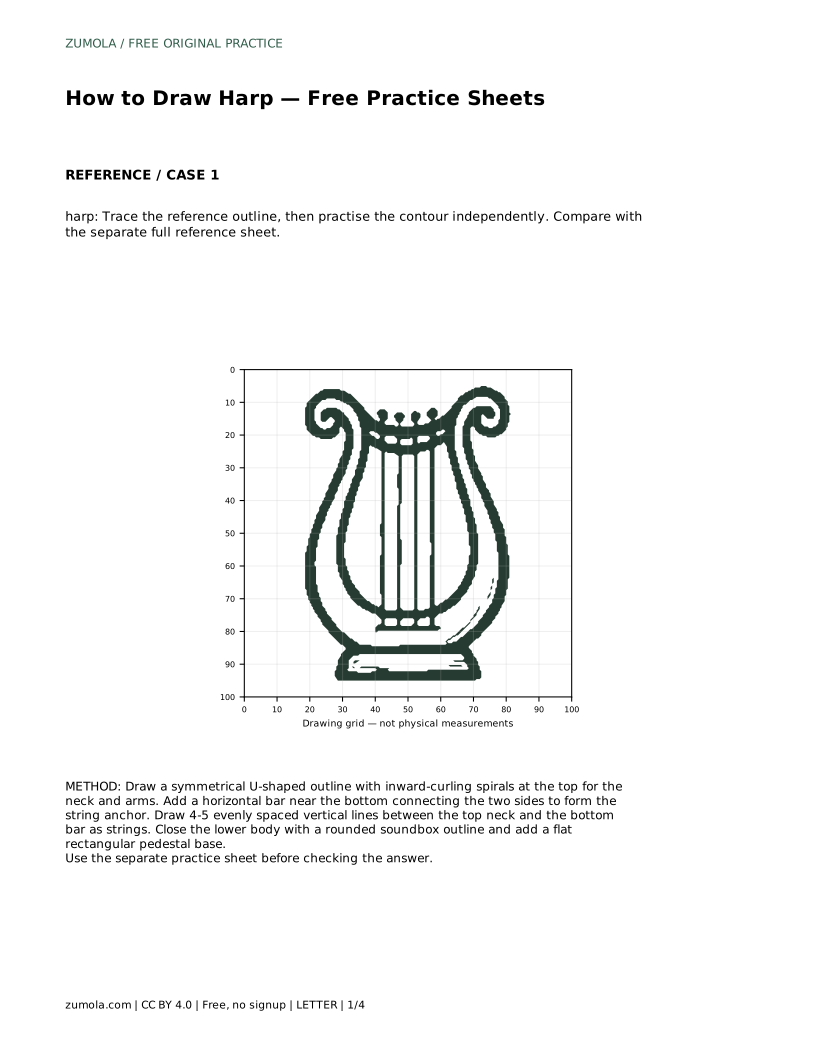
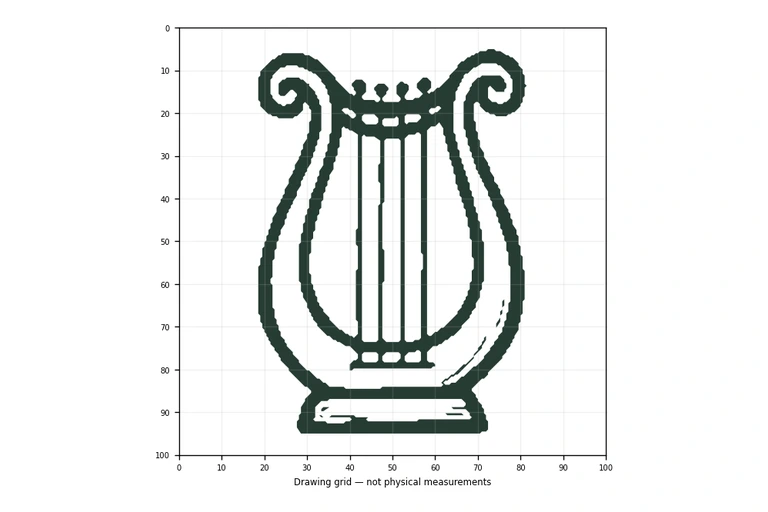
Drawing a harp is mostly about getting a few clear shapes in the right order. The neck and arms form a U with inward-curling scrolls, the strings run vertically to a horizontal anchor bar, and the lower body closes into a rounded soundbox on a flat pedestal base. This guide walks through that sequence step by step, then explains how to use trace, grid, frame, and partial-reference practice sheets to build the same skill independently.
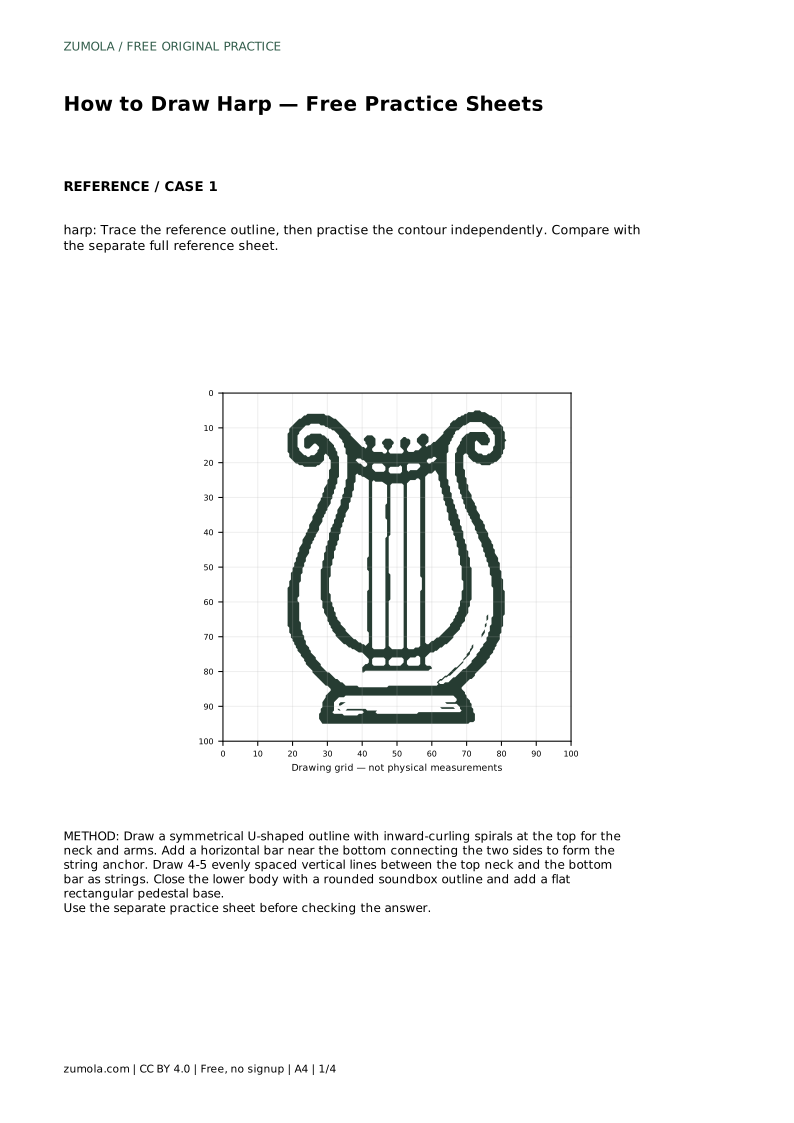
Begin with the most recognizable part: a symmetrical U-shaped outline that opens downward. Keep the two sides roughly equal in height and curve so the harp does not look lopsided. At the top of each side, draw an inward-curling spiral to suggest the scroll ends. These spirals should curl toward the center of the U, not outward.
Work lightly at first. A harp's neck is a continuous curve, so avoid sharp corners where the arms meet the top. If one side drifts, compare the distance from the center guide rather than redrawing the whole shape.
Near the bottom of the U, draw a horizontal bar connecting the two sides. This is the string anchor. The strings run vertically between the upper neck and this bar, so the bar should sit below the curve of the neck and above the soundbox.
Draw four or five evenly spaced vertical lines as strings. Even spacing matters more than an exact count; uneven gaps make the harp look unstable. Keep the strings parallel to the center guide so the instrument reads as upright.
Below the anchor bar, close the lower body with a rounded soundbox outline. The soundbox is the wide, curved part that gives the harp its weight at the bottom. Finish with a flat rectangular pedestal base so the harp appears to stand on a surface.
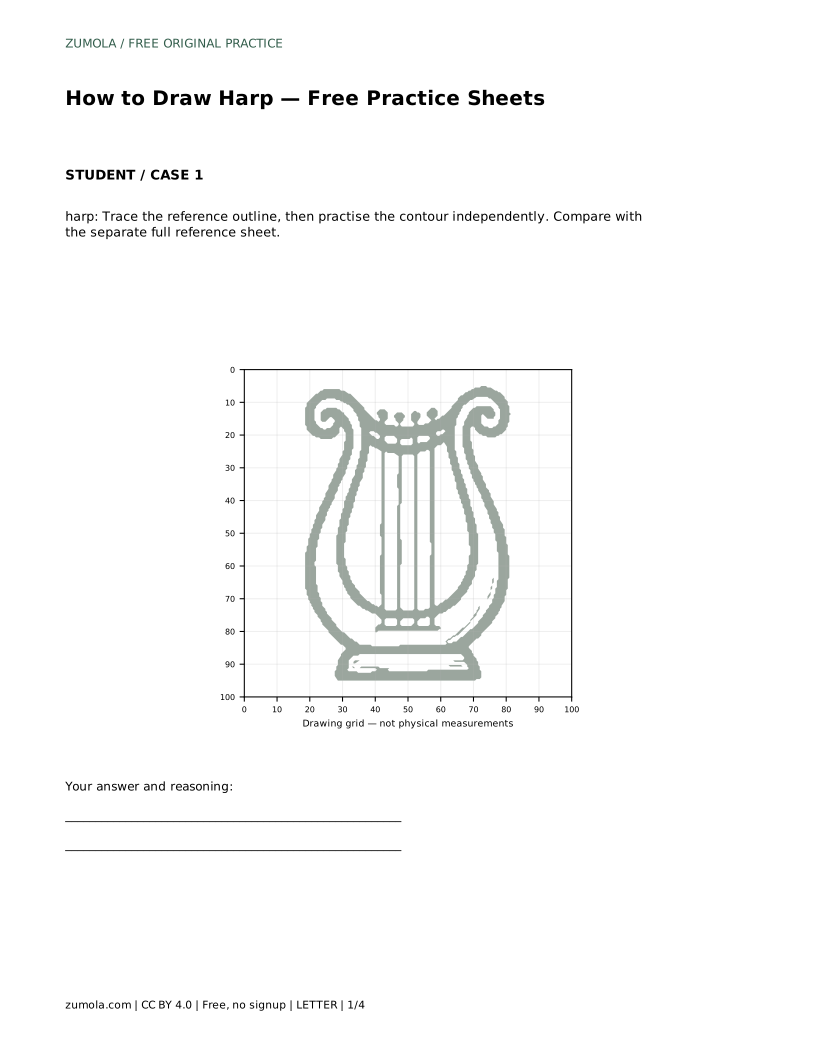
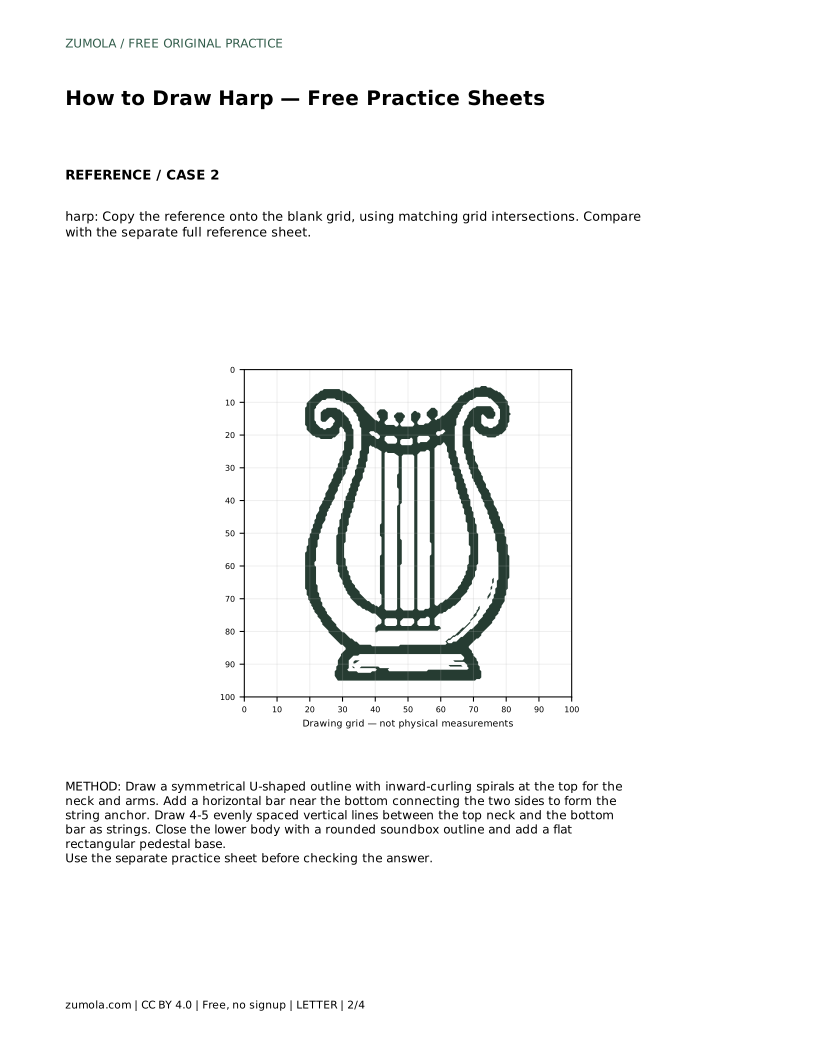
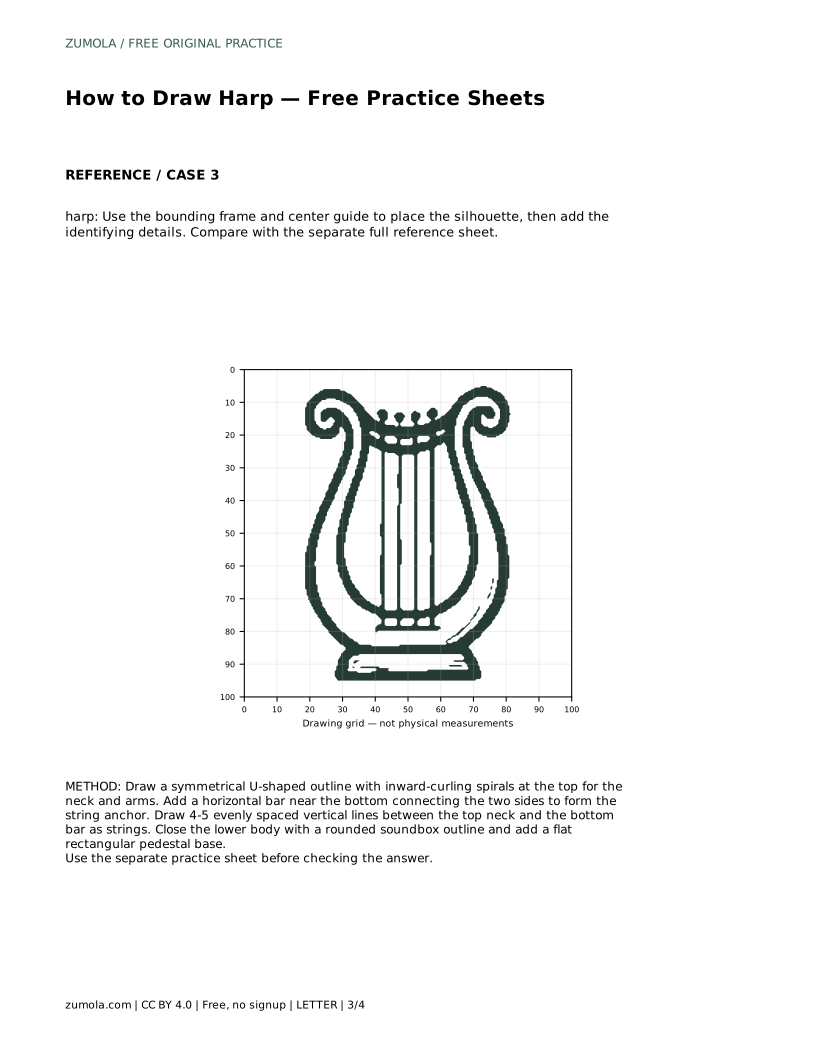
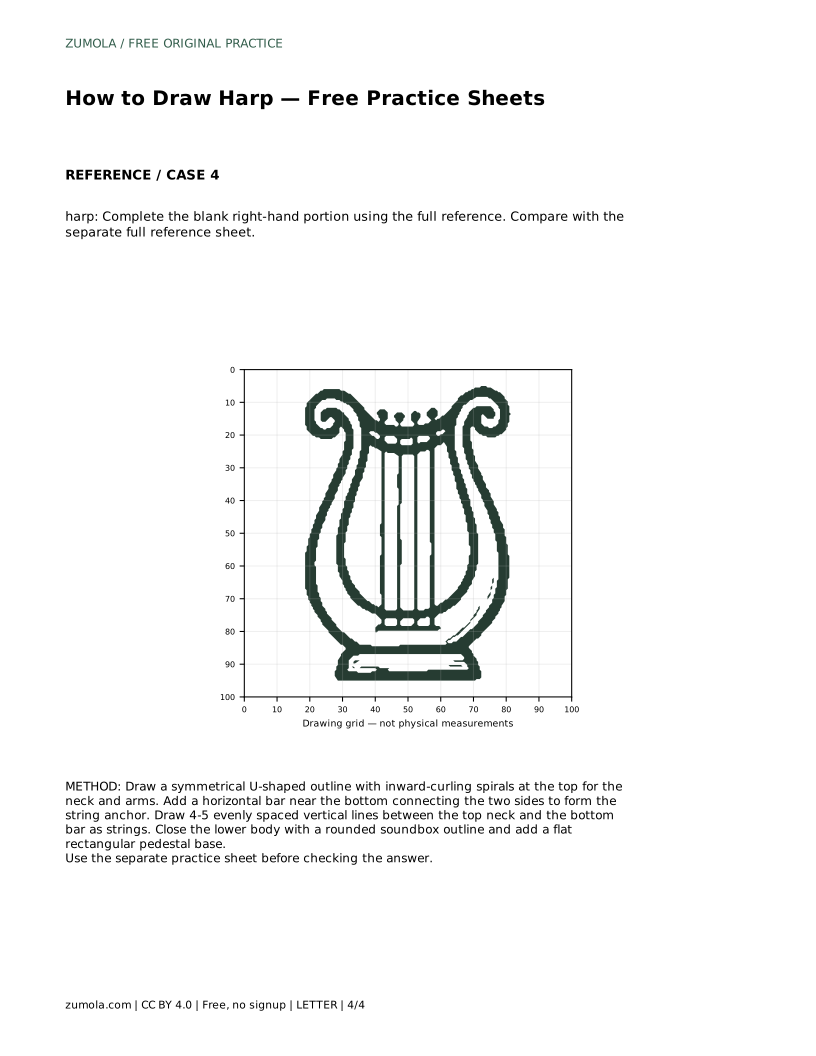
Check the overall silhouette: U-shaped neck with two spirals, vertical strings, horizontal bar, rounded body, flat base. Those visible features are what make the drawing read as a harp, even when proportions vary.
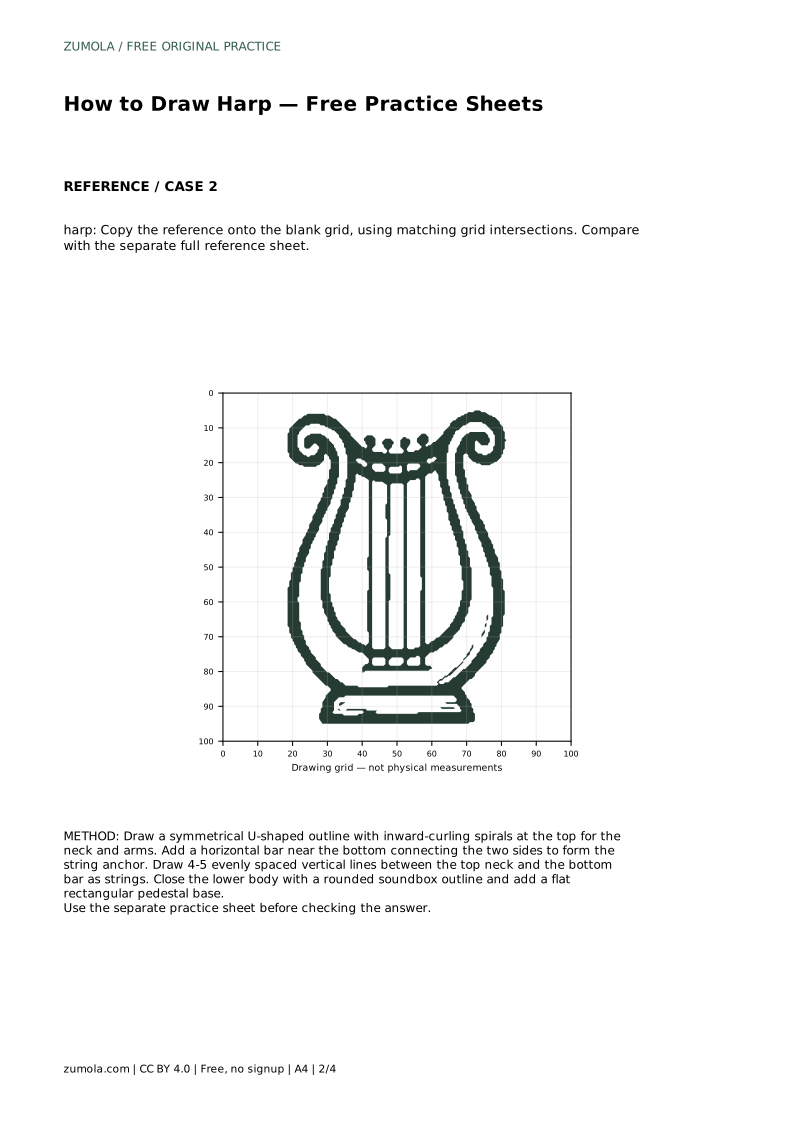
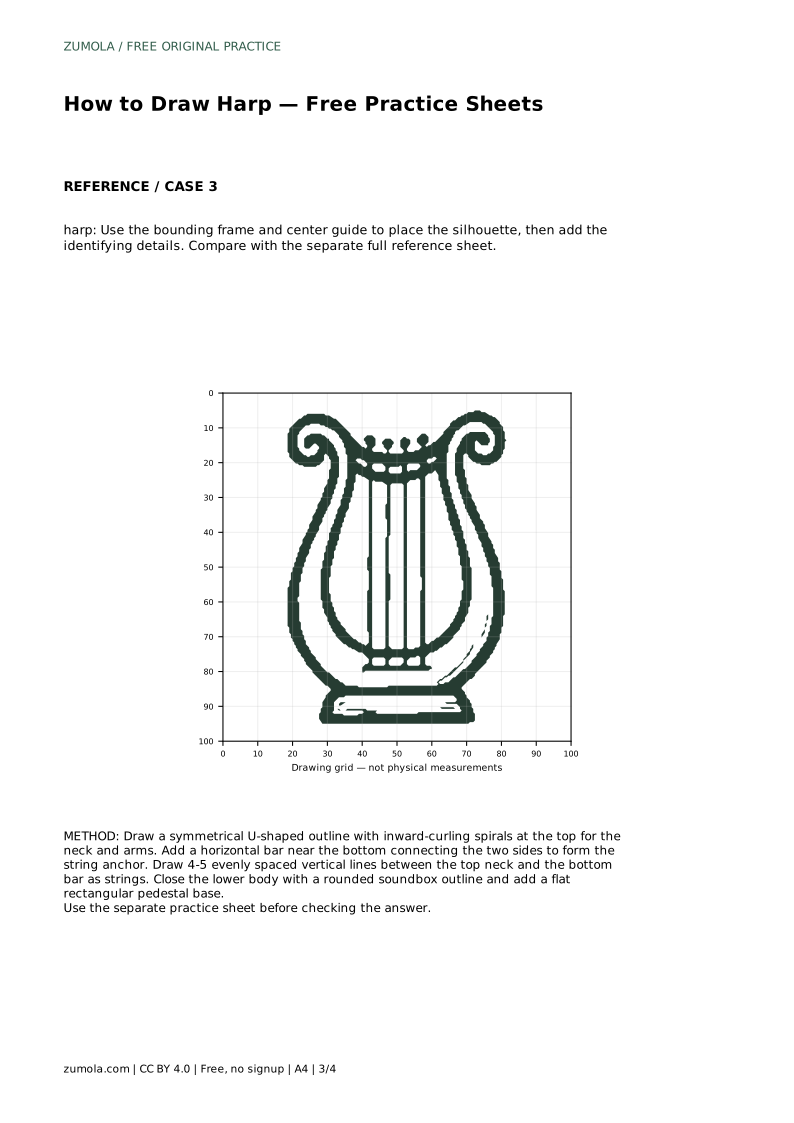
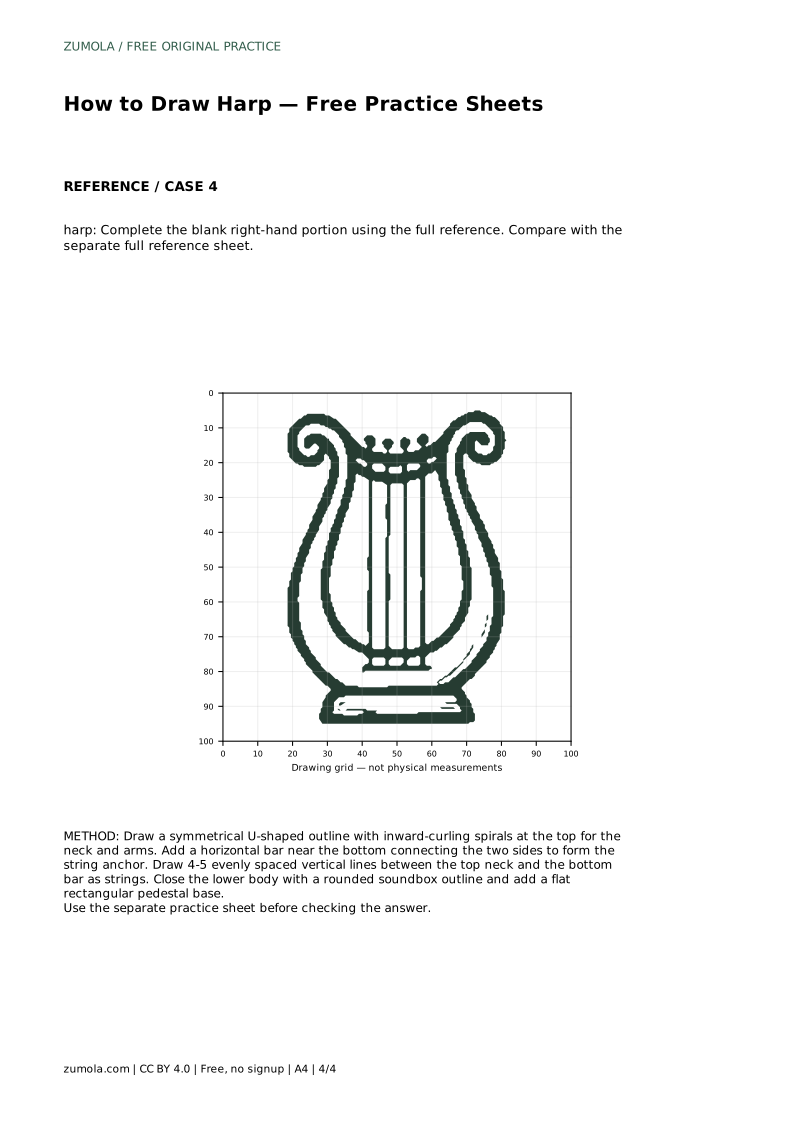
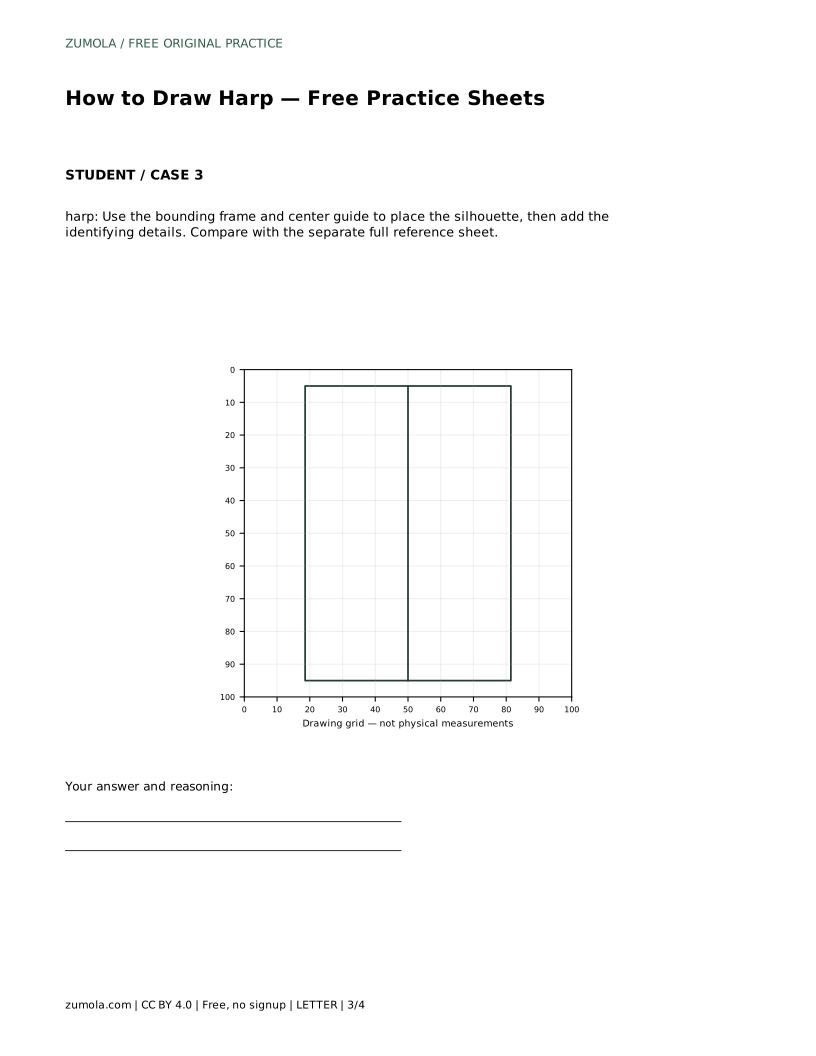
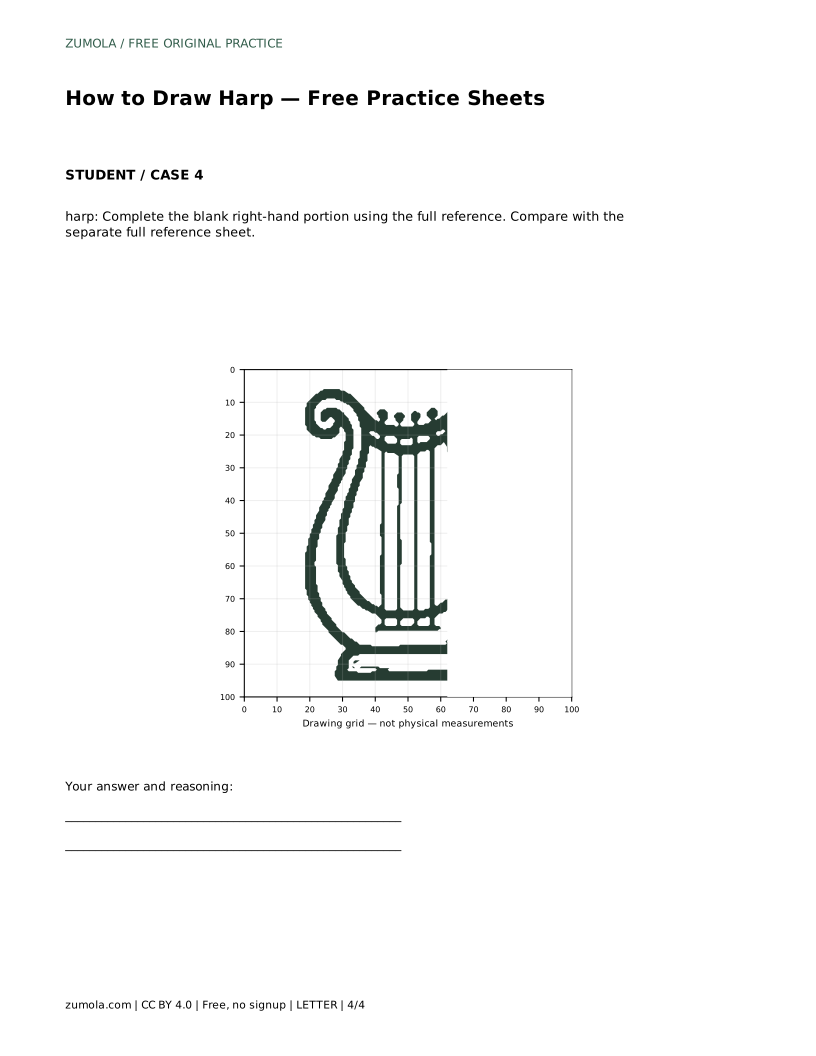
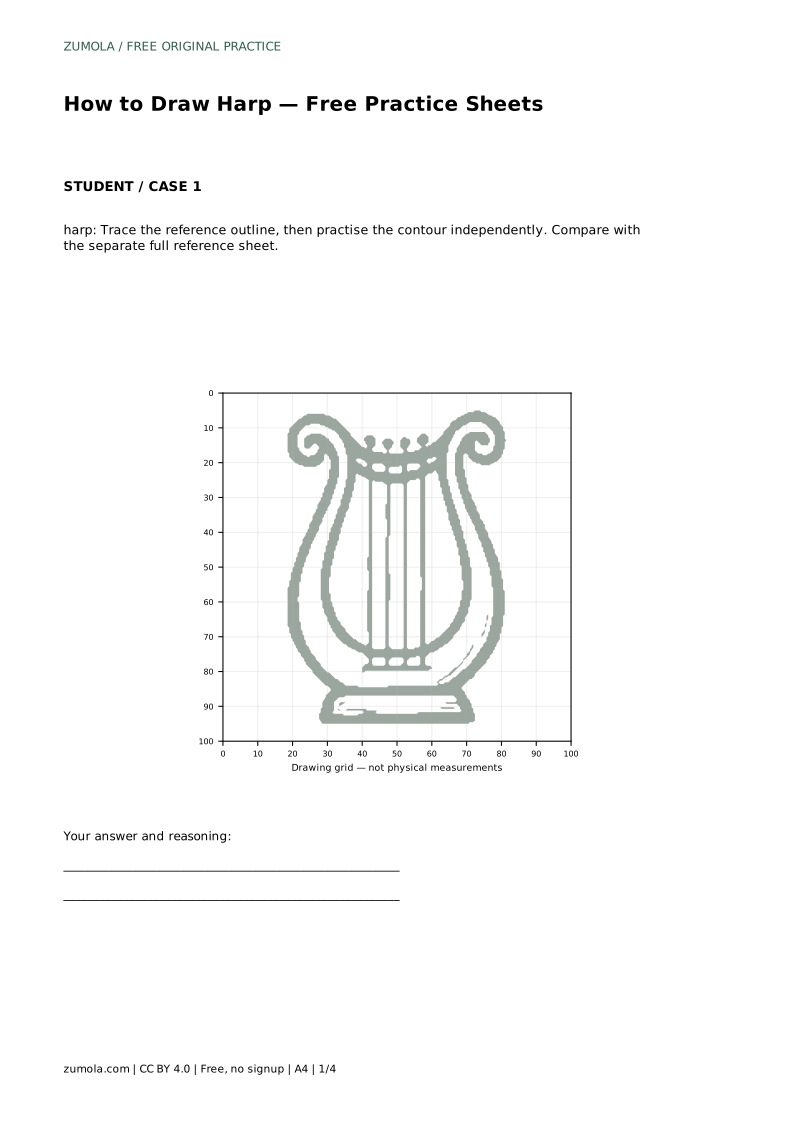
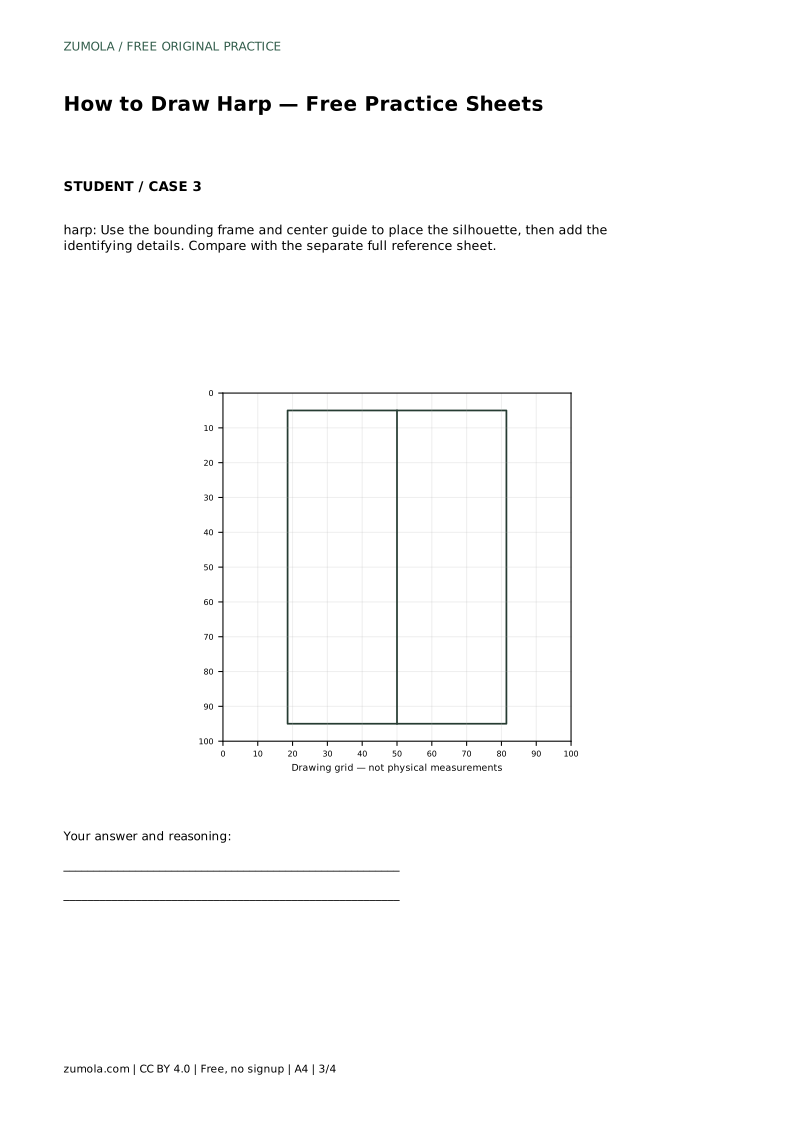
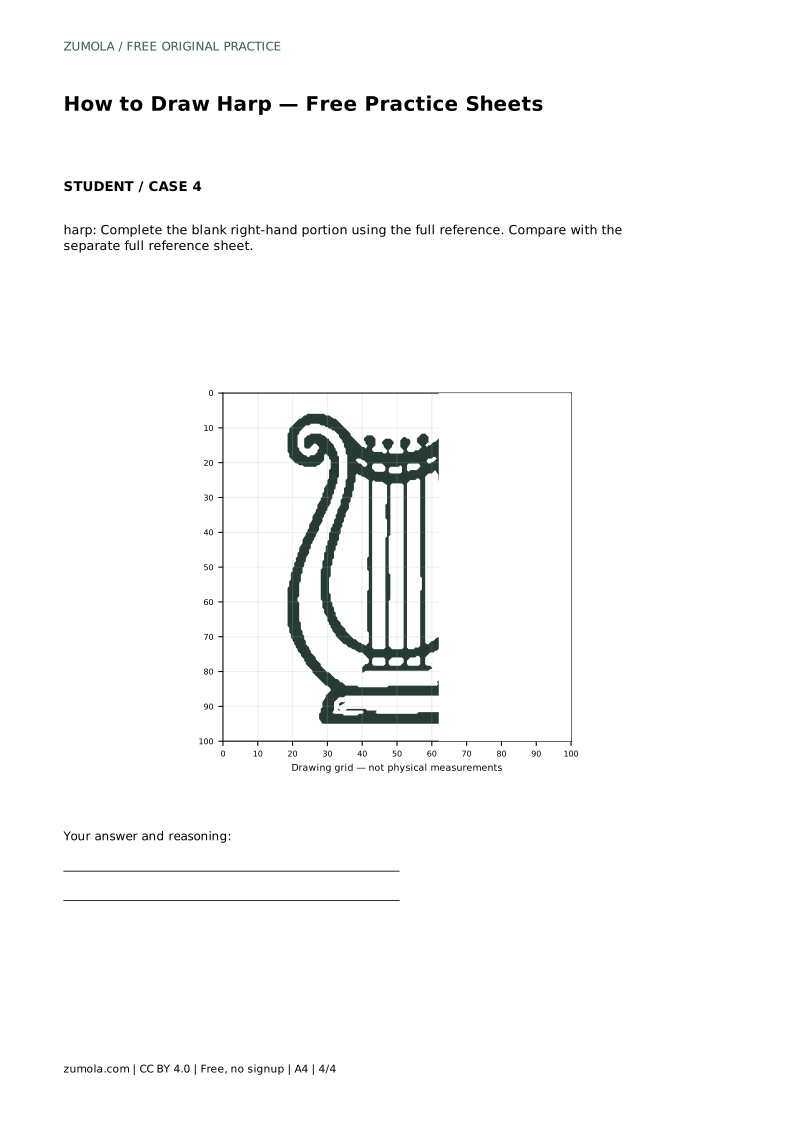
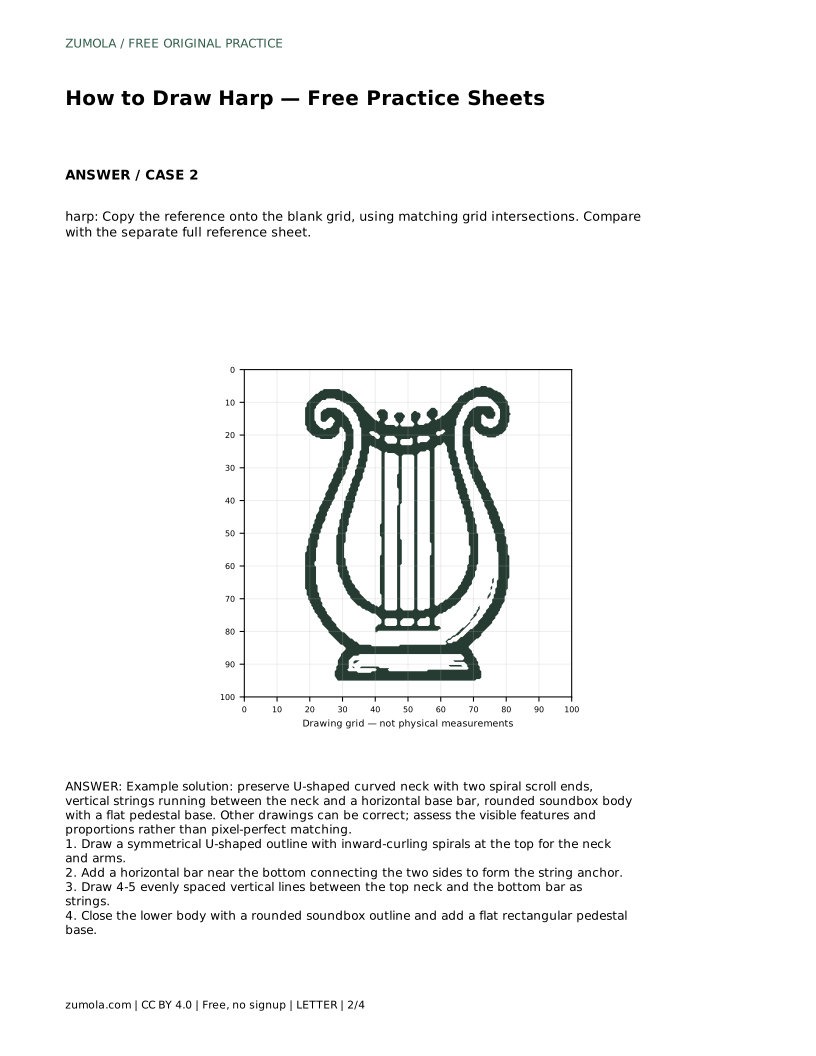
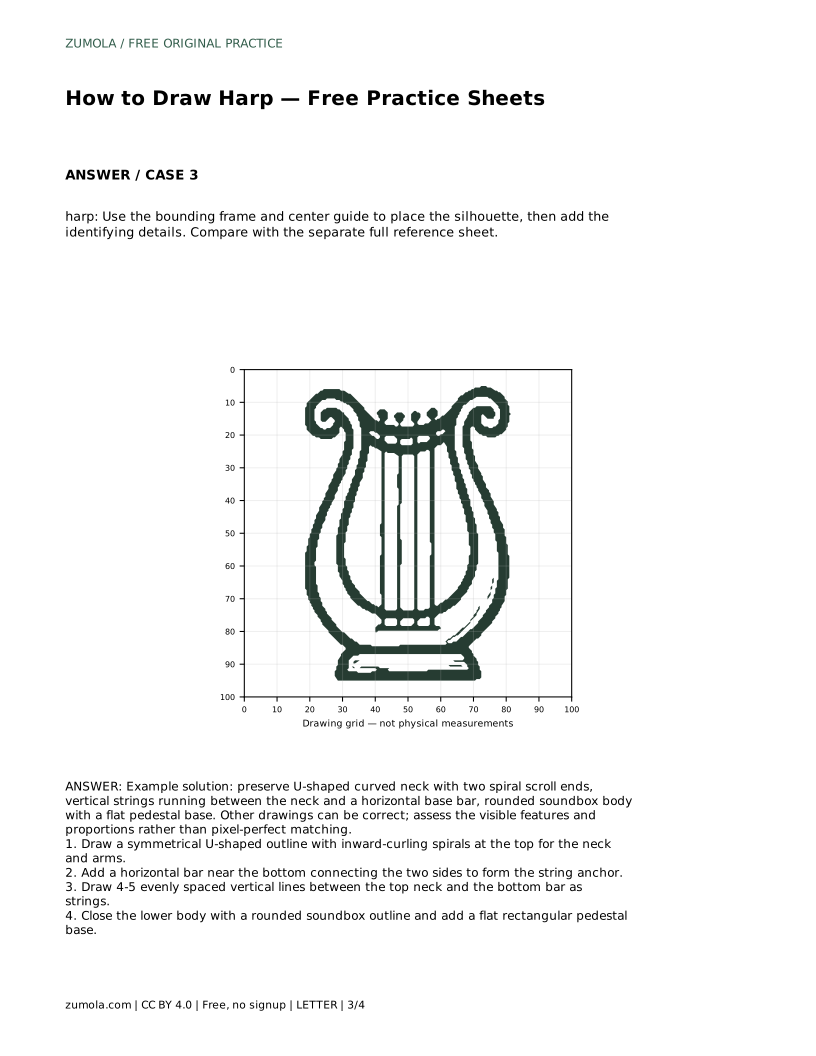
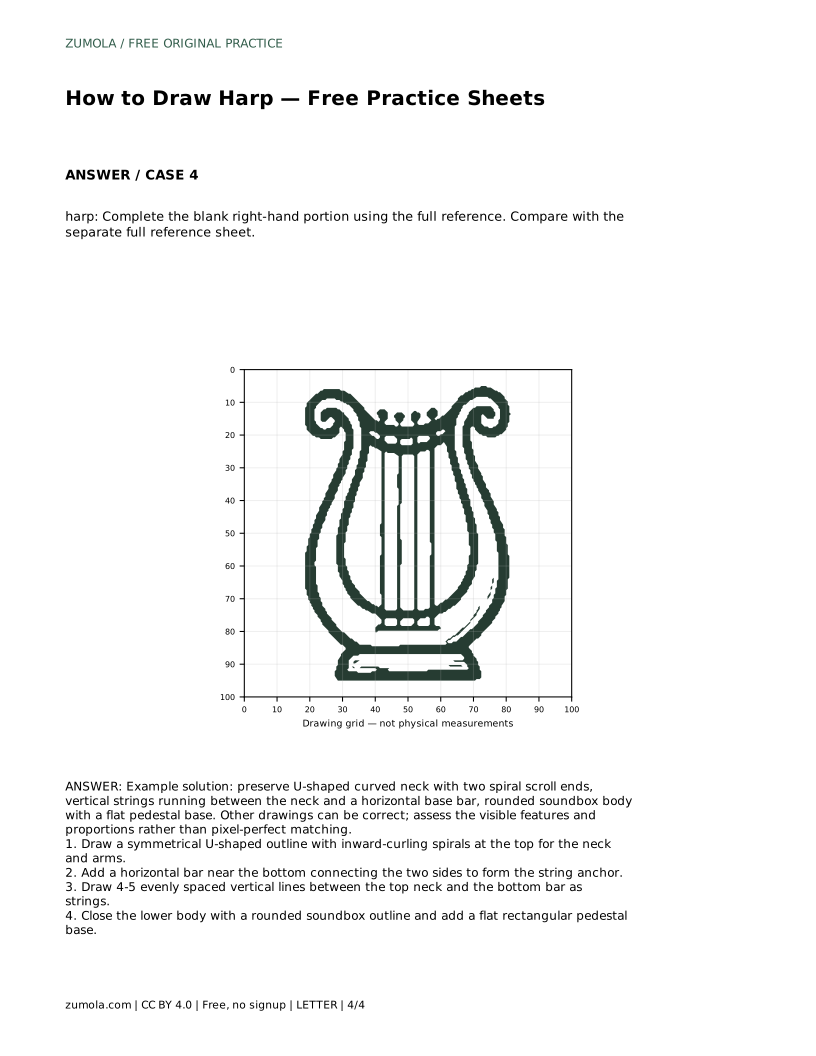
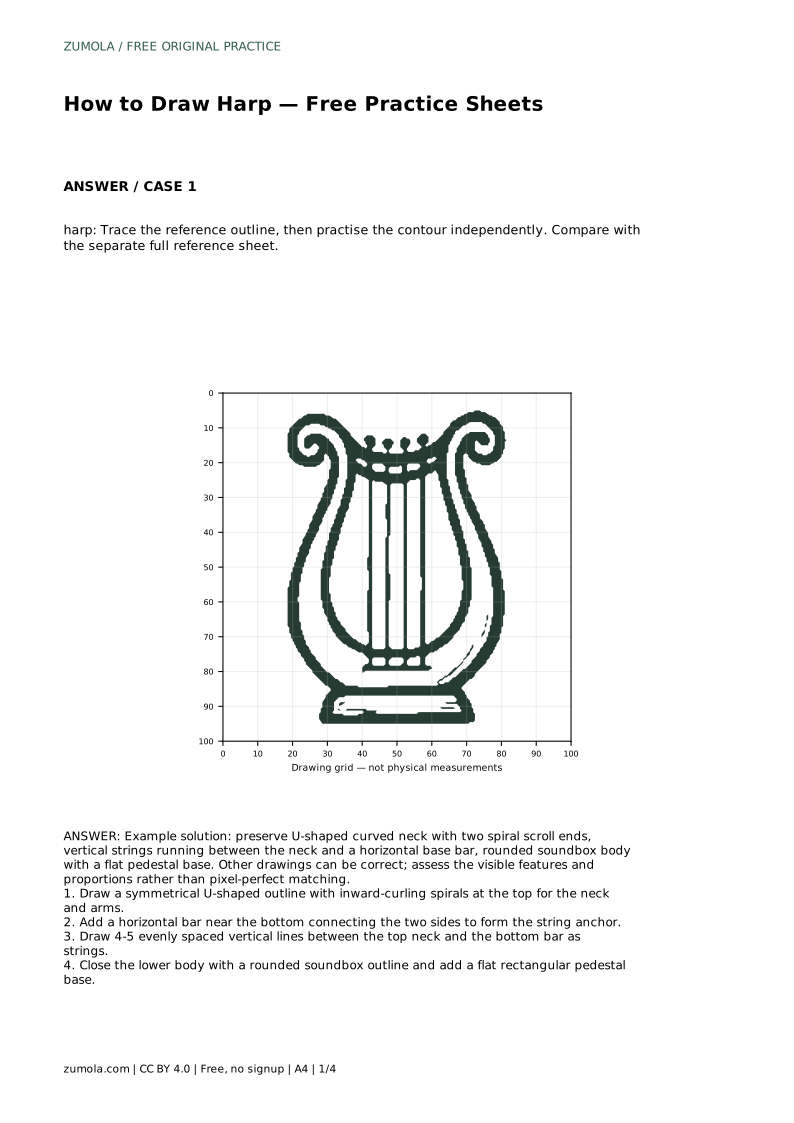
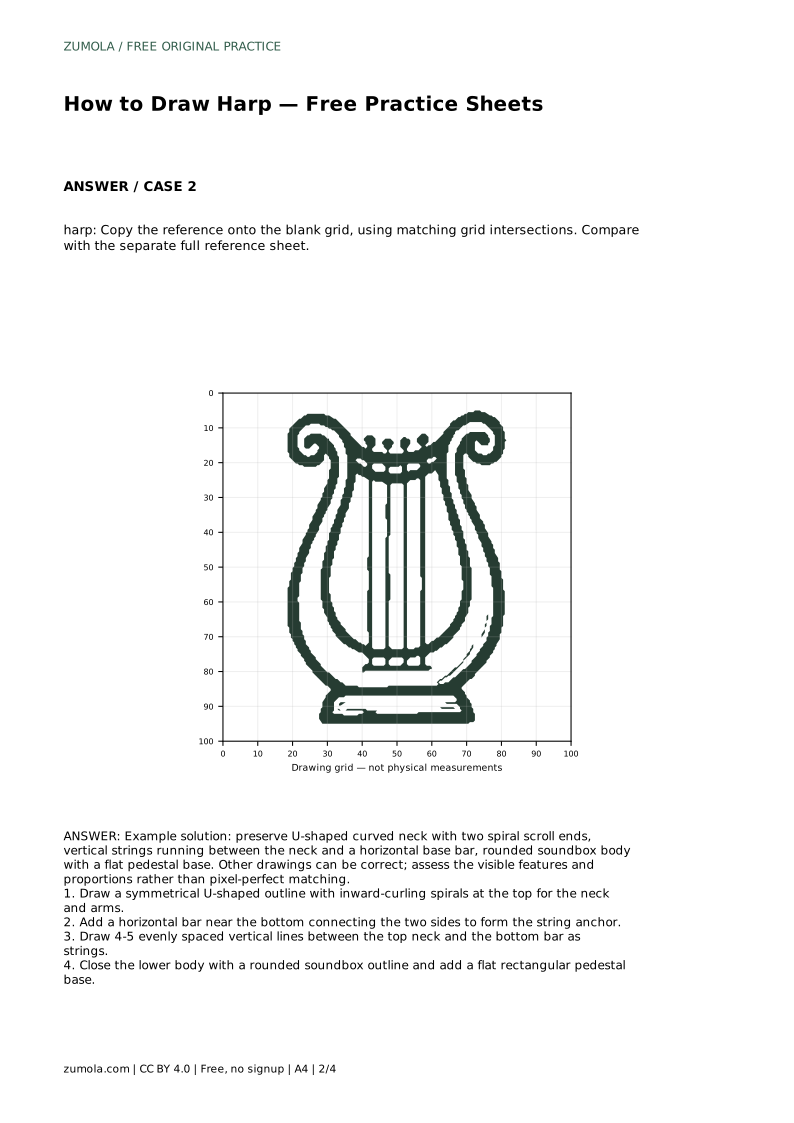
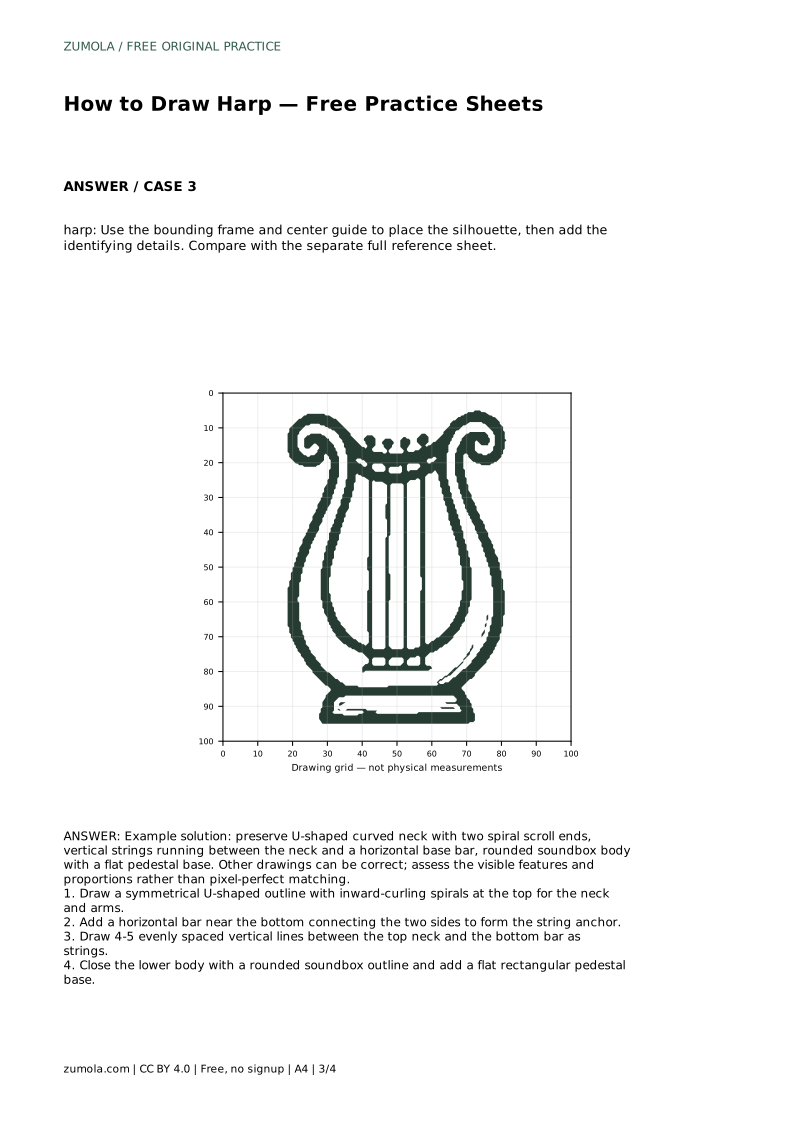
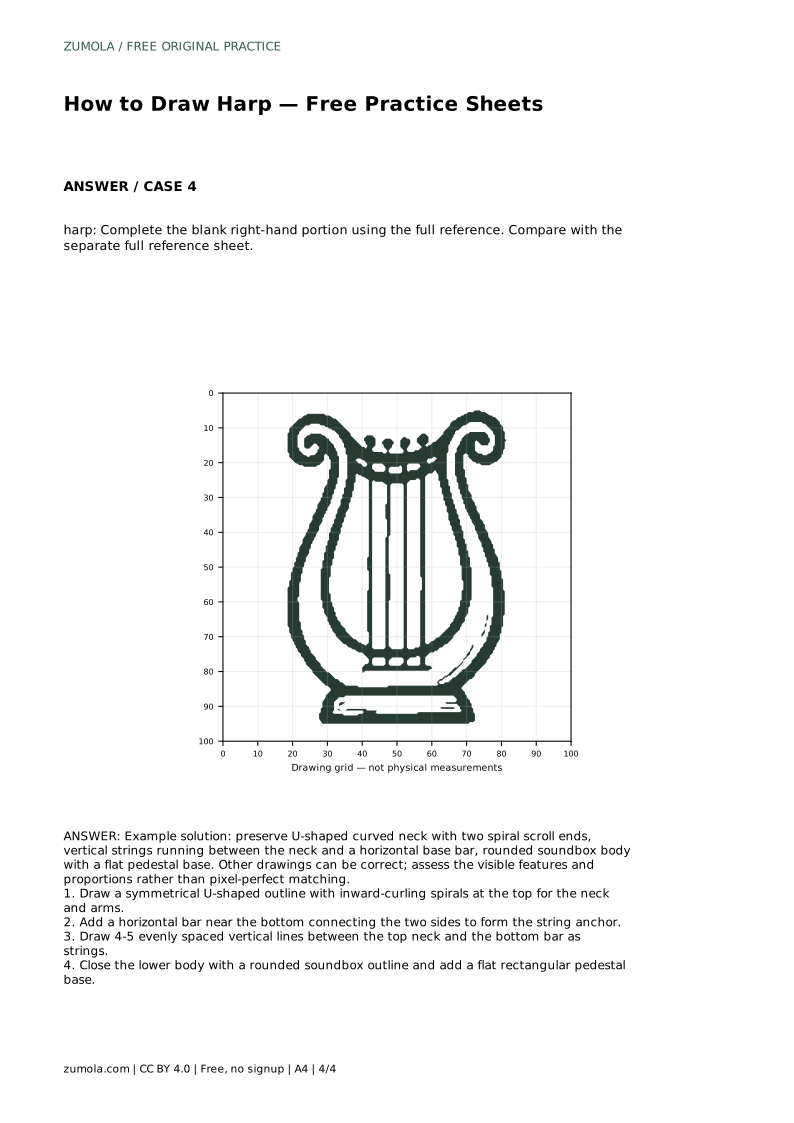
The trace sheet asks you to follow the reference outline first, then practise the contour independently and compare with the separate full reference sheet. The grid sheet asks you to copy the reference onto the blank grid using matching grid intersections. The frame sheet gives a bounding frame and center guide so you can place the silhouette before adding details. The partial sheet leaves the right-hand portion blank for you to complete from the full reference.
Each format targets a different skill: tracing builds the contour, gridding builds proportion, framing builds placement, and partial completion builds recall. Use the format that matches what you find hardest, and compare your result with the full reference rather than expecting a pixel-perfect match.
Because drawings can be correct in many ways, judge visible features and proportions rather than exact matching. A harp with slightly different curves can still be accurate if the identifying parts are present and balanced.
harp: Trace the reference outline, then practise the contour independently. Compare with the separate full reference sheet.
Example solution: preserve U-shaped curved neck with two spiral scroll ends, vertical strings running between the neck and a horizontal base bar, rounded soundbox body with a flat pedestal base. Other drawings can be correct; assess the visible features and proportions rather than pixel-perfect matching. Draw a symmetrical U-shaped outline with inward-curling spirals at the top for the neck and arms. Add a horizontal bar near the bottom connecting the two sides to form the string anchor. Draw 4-5 evenly spaced vertical lines between the top neck and the bottom bar as strings. Close the lower body with a rounded soundbox outline and add a flat rectangular pedestal base.
Four or five evenly spaced vertical lines are enough to make the harp read clearly. Even spacing matters more than the exact number.
No. Compare visible features and proportions instead. Different curves and string counts can still be correct if the U-shaped neck, spirals, strings, anchor bar, soundbox, and base are present.
Start with the trace sheet to learn the contour, then move to the grid or frame sheet to practise proportion and placement without tracing.
All drawing practice · Free coordinate paper
Original resources · CC BY 4.0 · Free for personal and classroom use with attribution.