Reference diagrams
LETTER · Download PDF
A4 · Download PDF
Free original resources
Learn to draw a pop it toy by building a circular body, a rounded rim, and evenly spaced bubble rows. Free practice sheets support tracing, grids, and partial outlines.
Four original cases, with reference diagrams, practice sheets and worked answers. Everything is free; no signup required.
LETTER · Download PDF
A4 · Download PDF
LETTER · Download PDF
A4 · Download PDF
LETTER · Download PDF
A4 · Download PDF
Use A4 or US Letter to match your printer. Use the stated values and conditions to solve each exercise; diagrams are not physical measuring rulers.
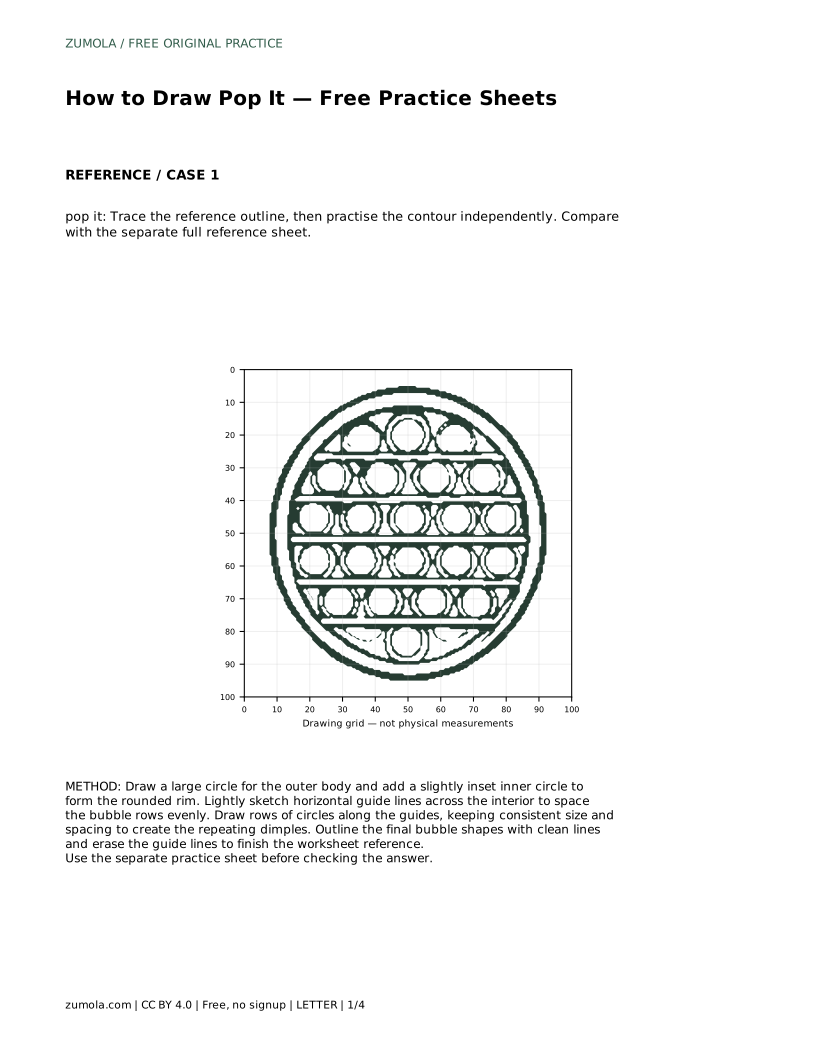
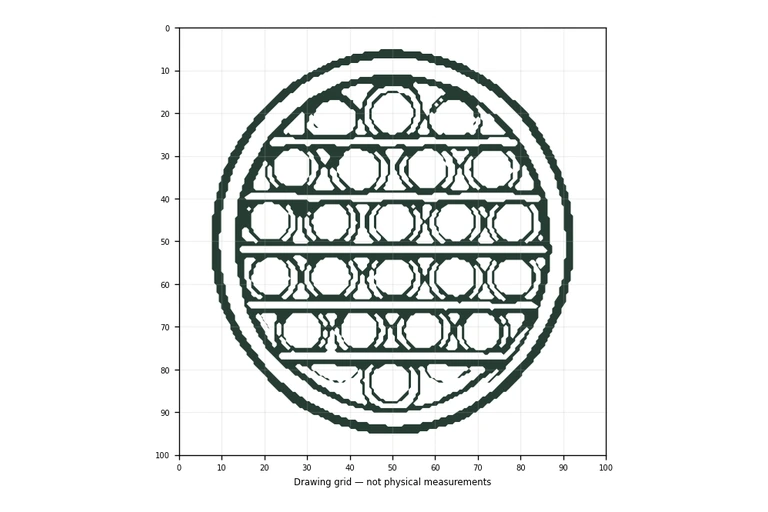
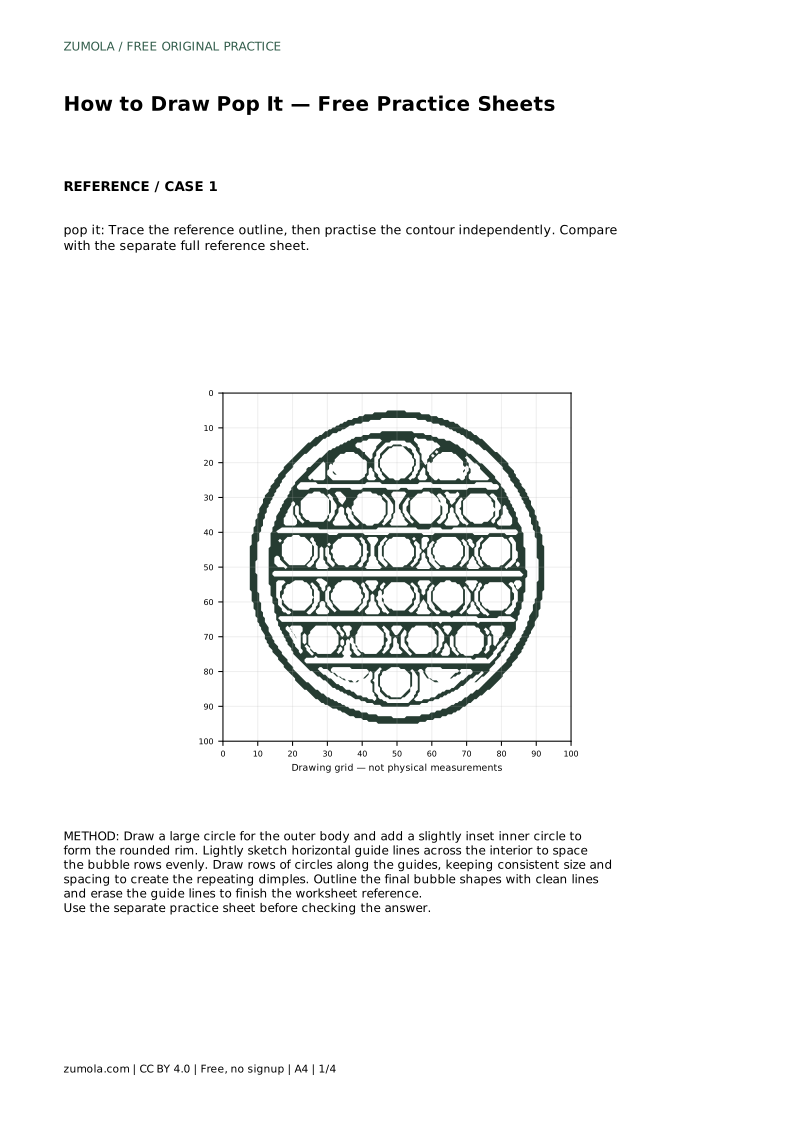
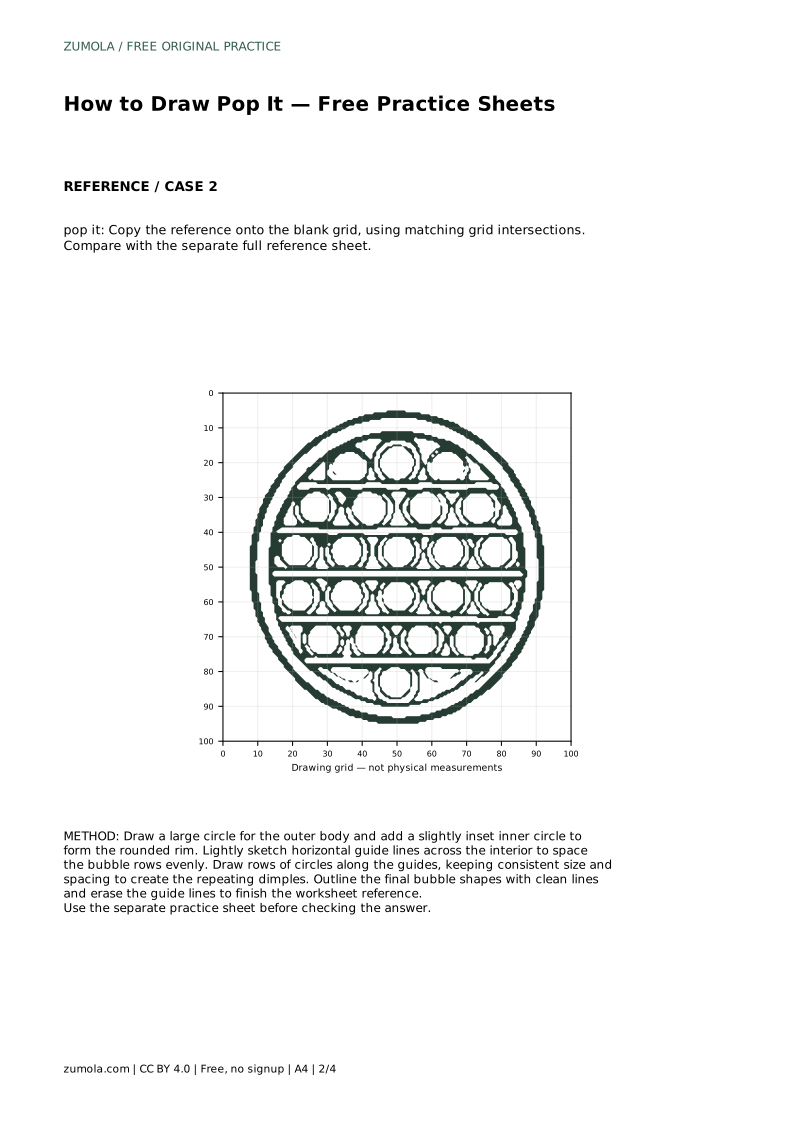
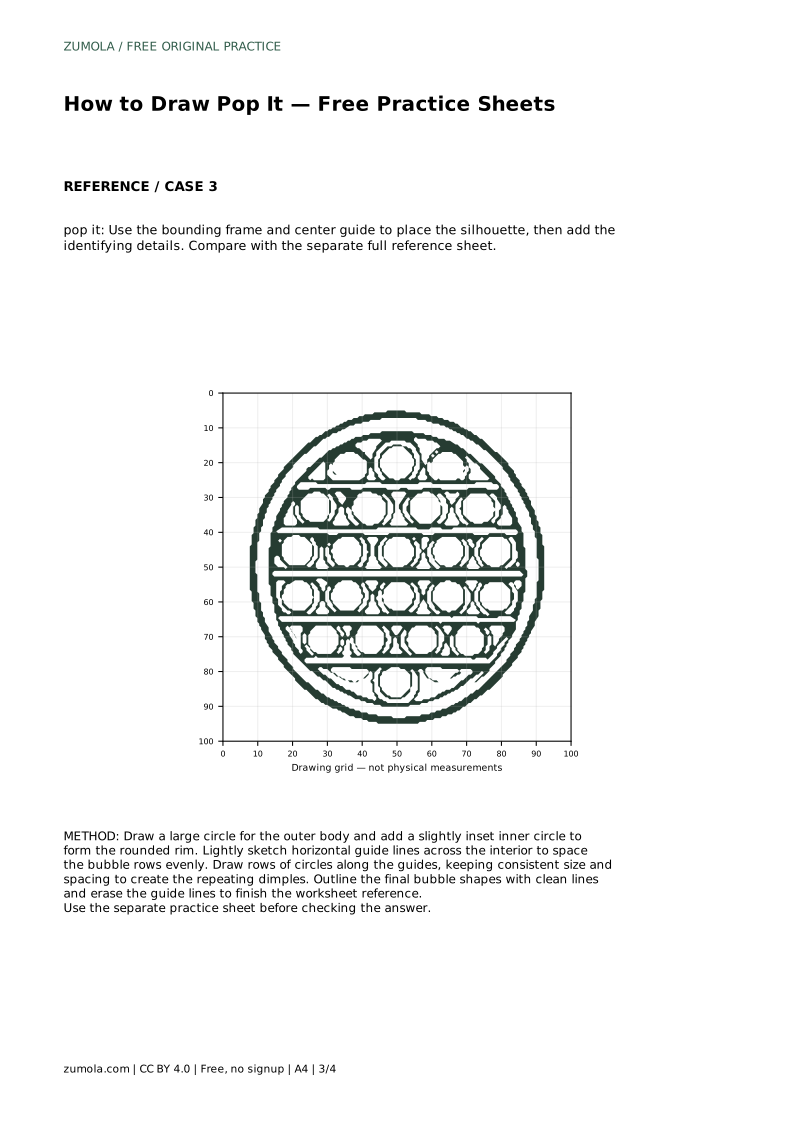
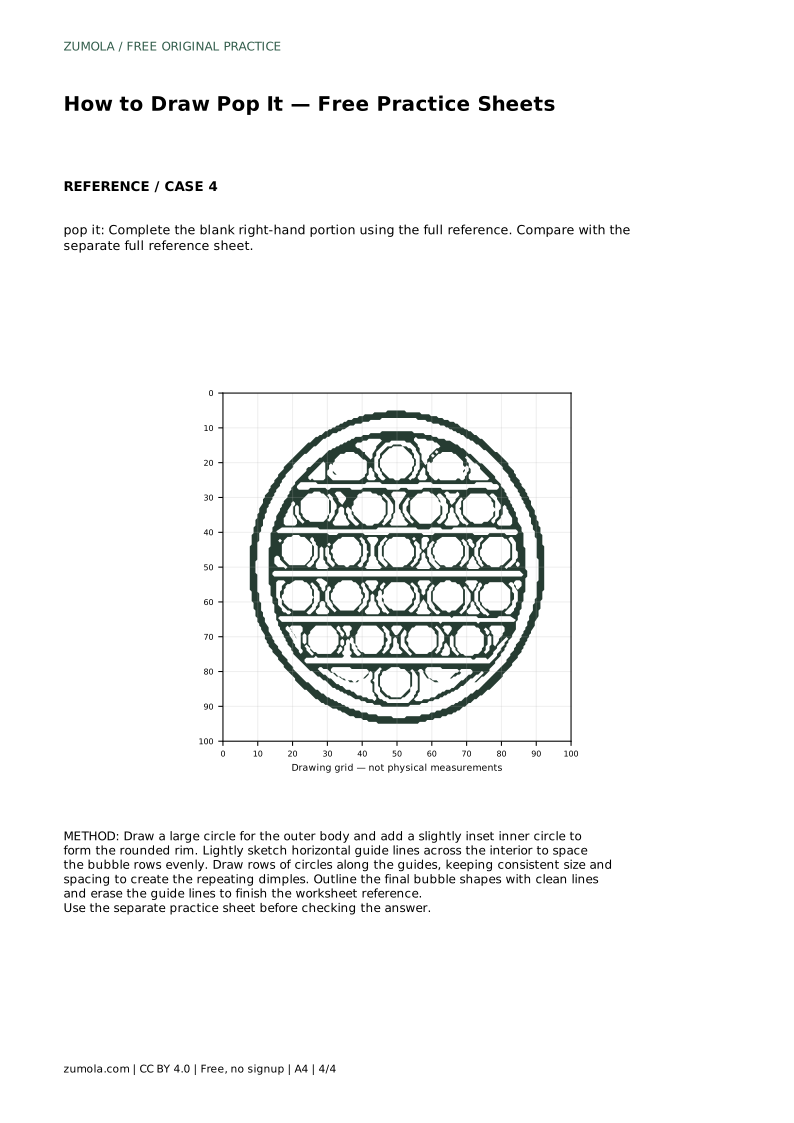
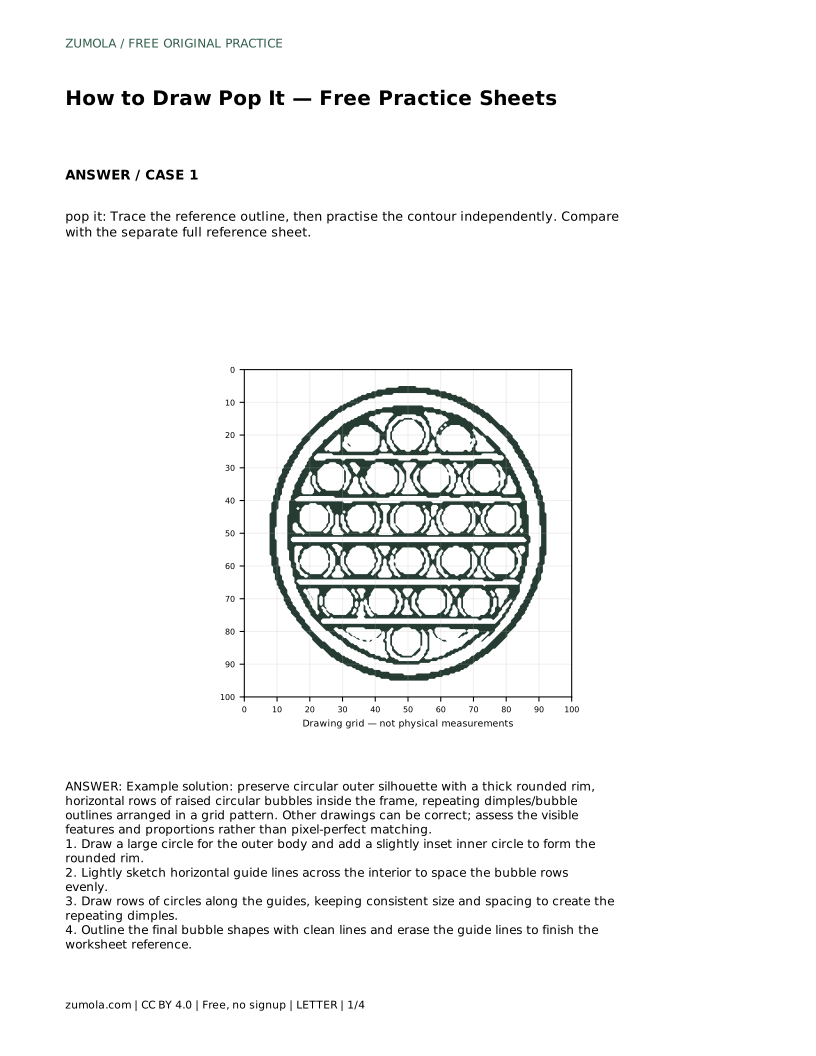
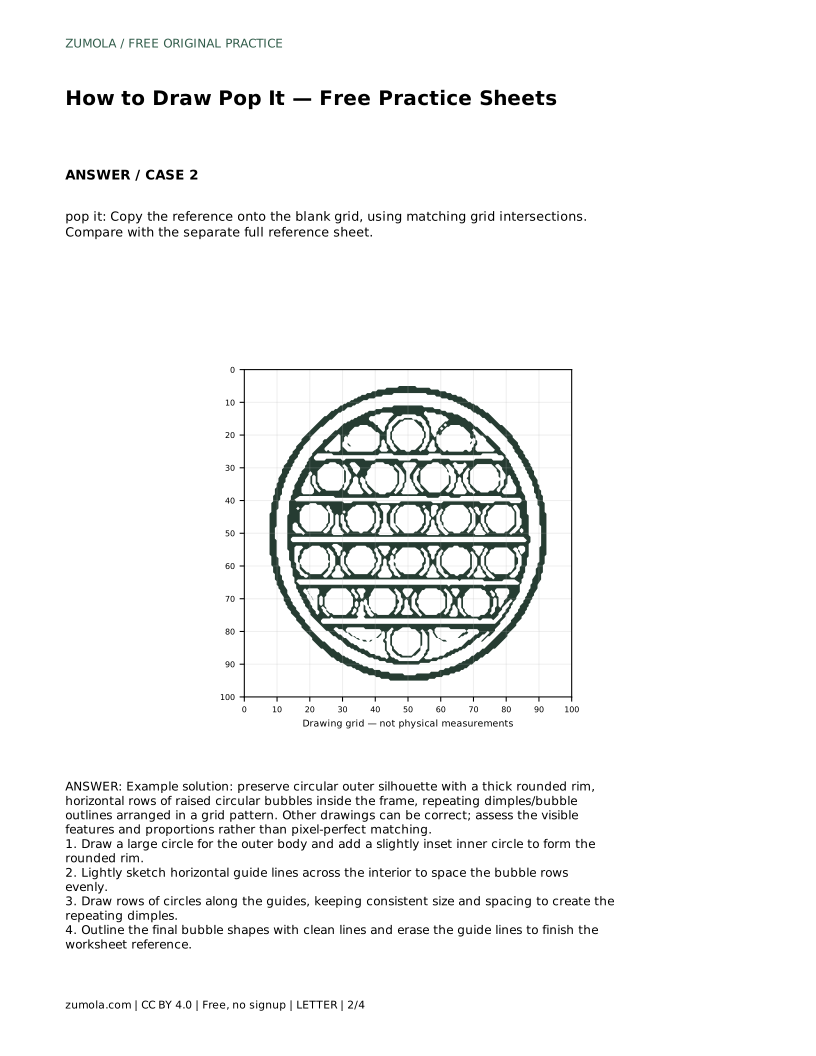
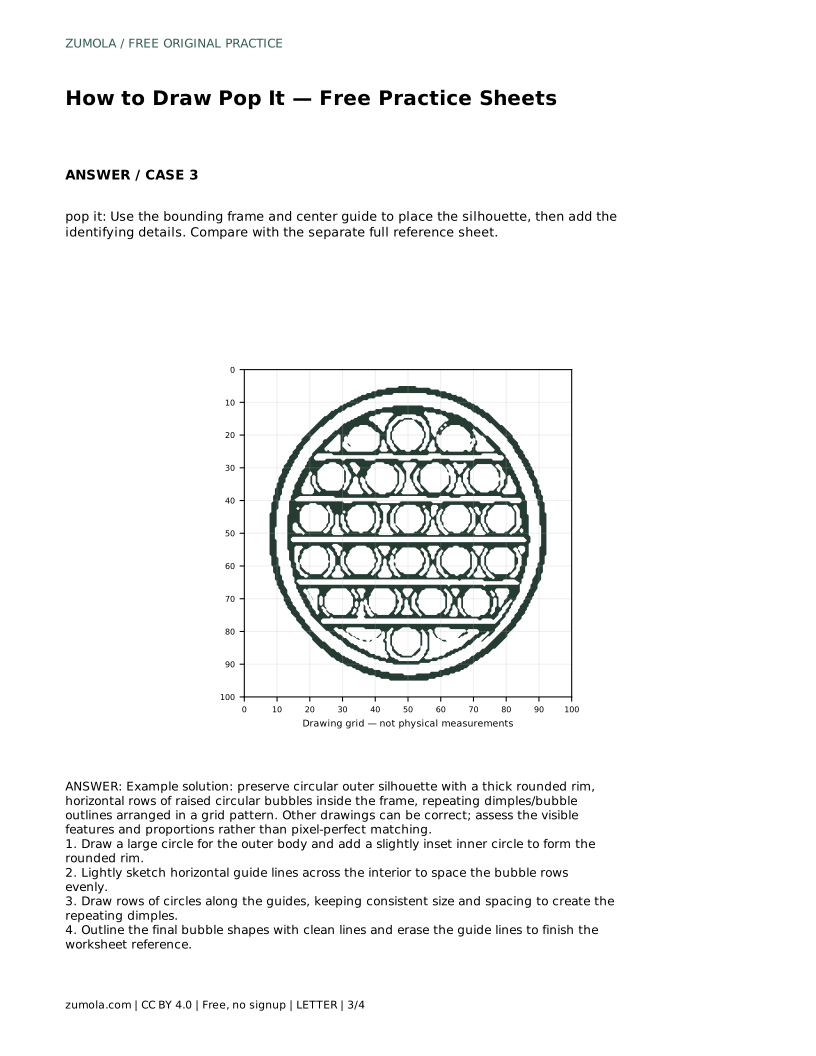
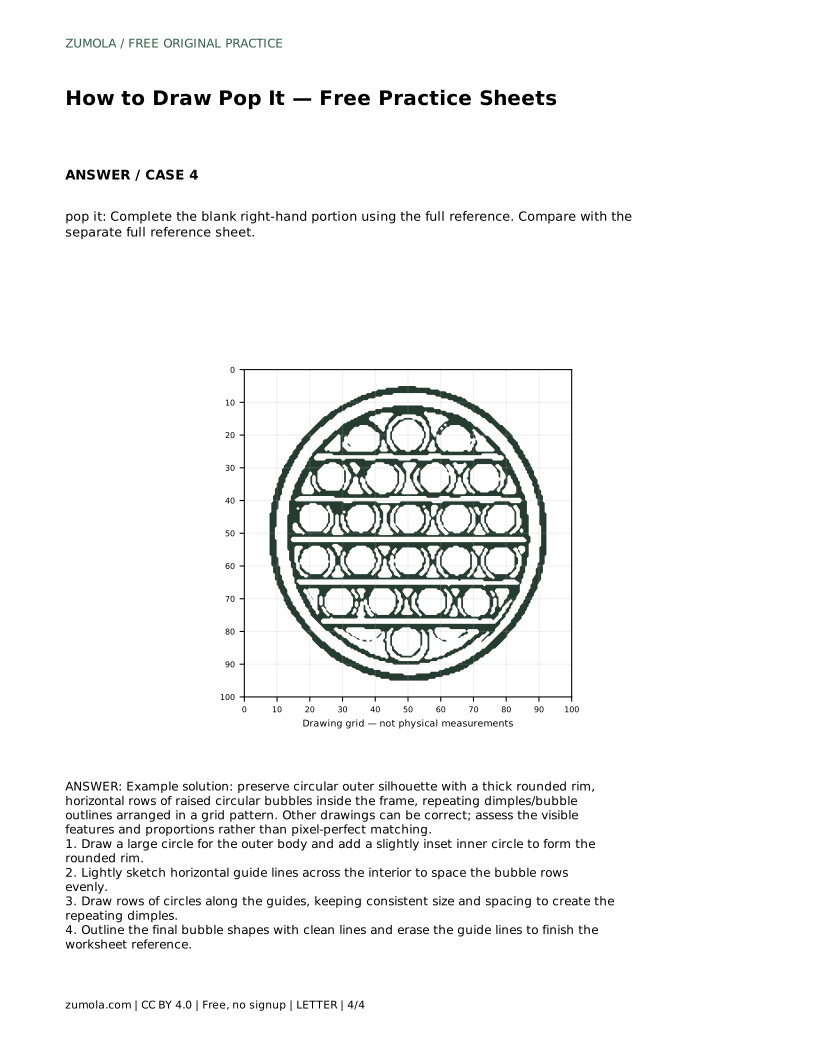
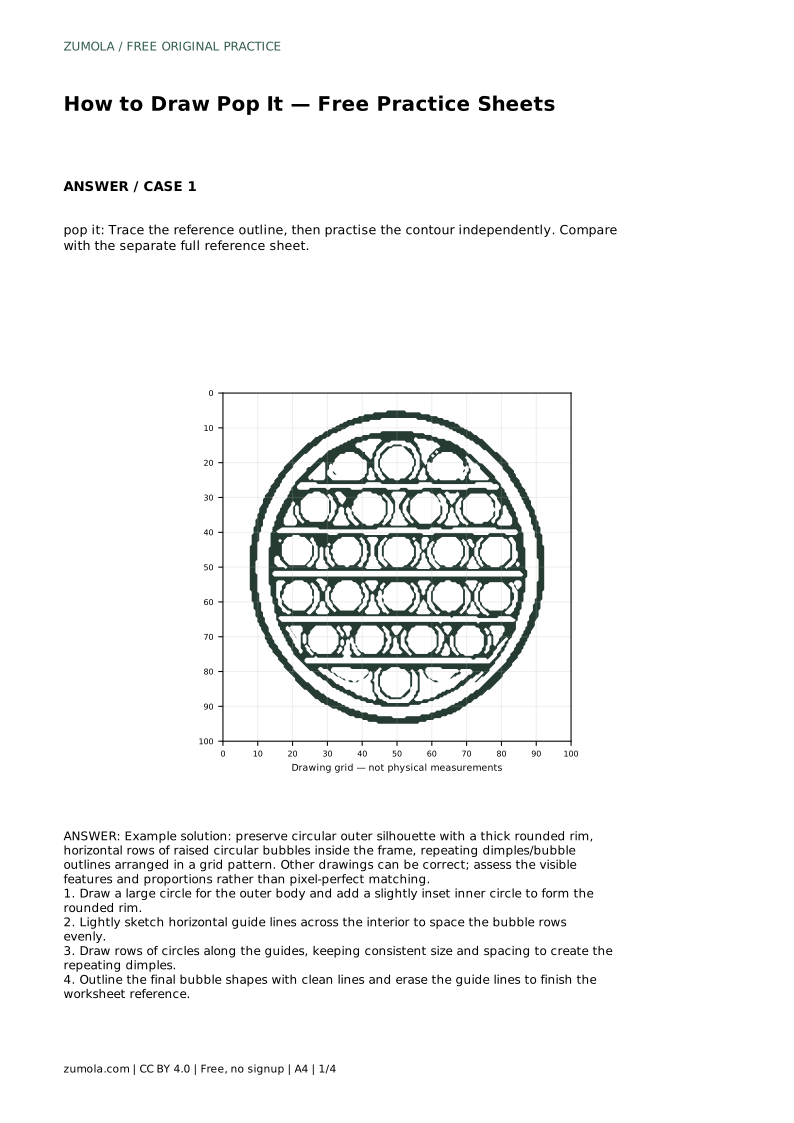
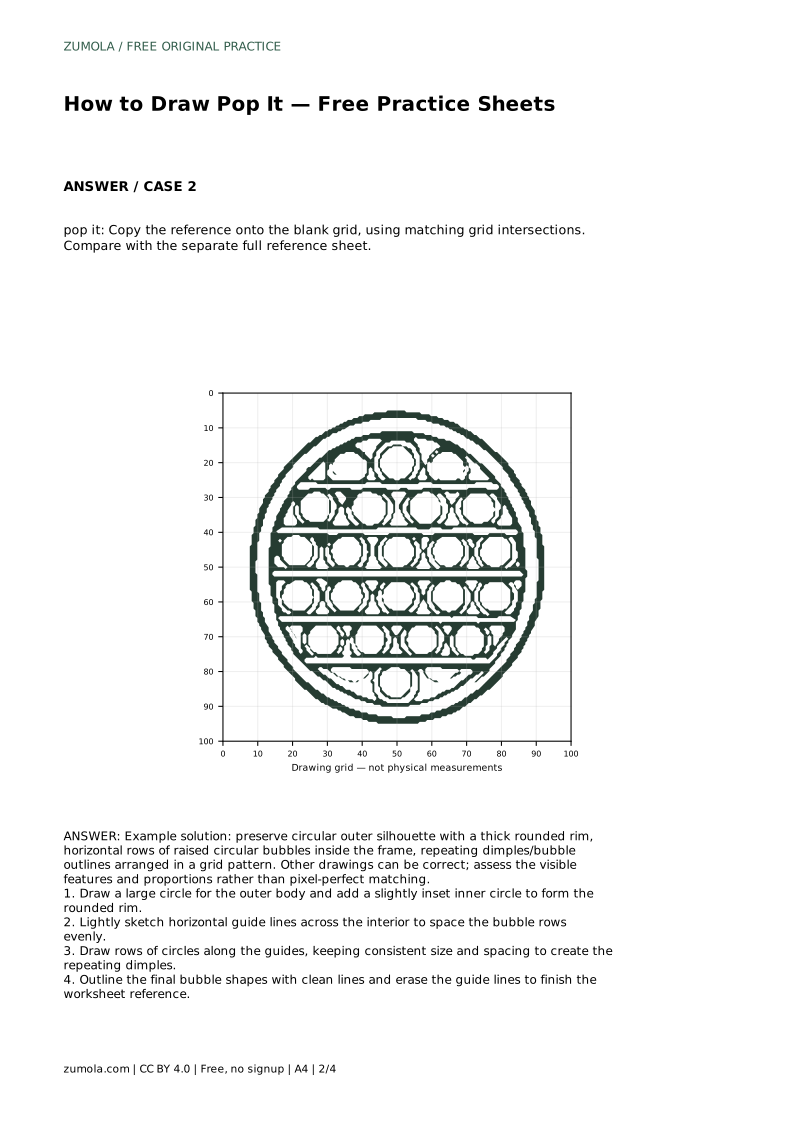
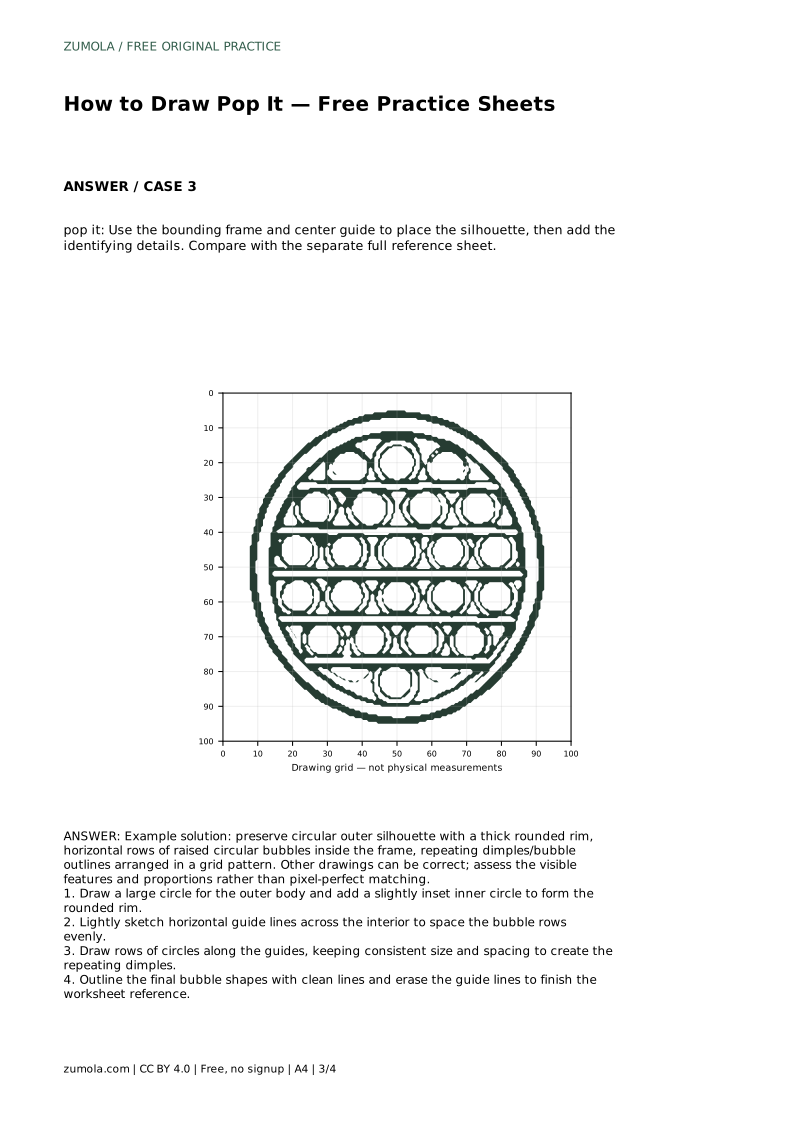
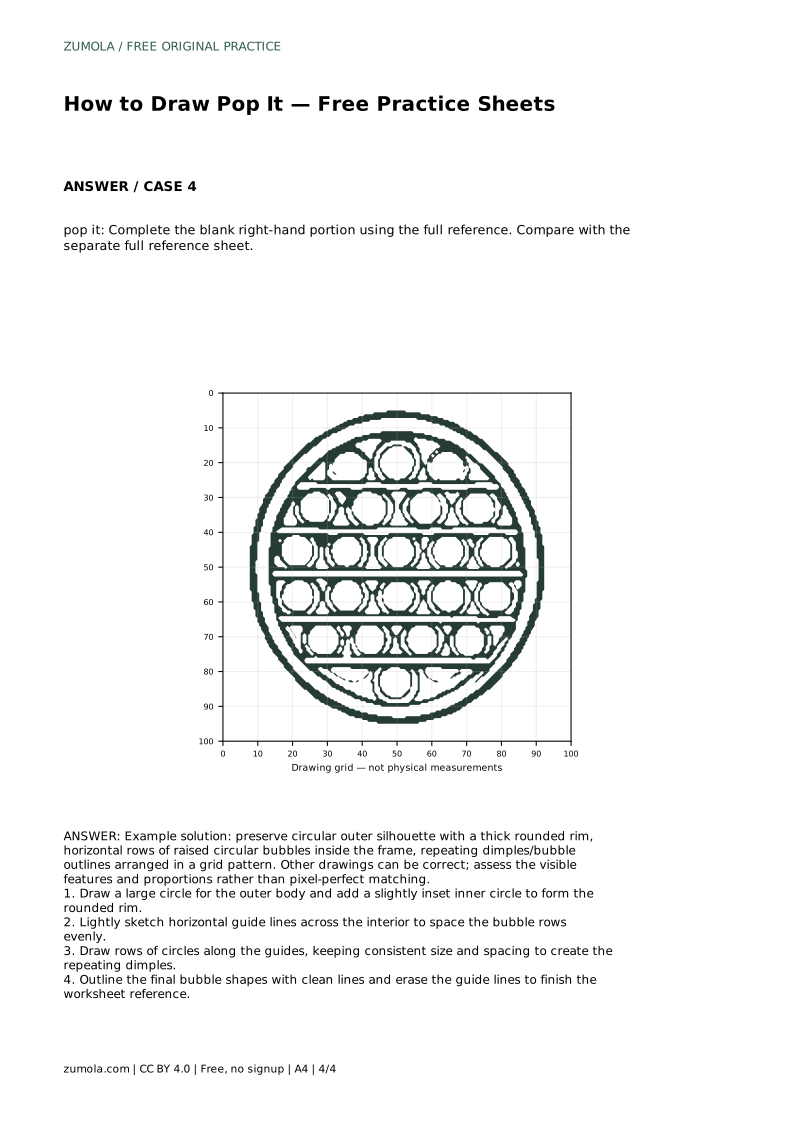
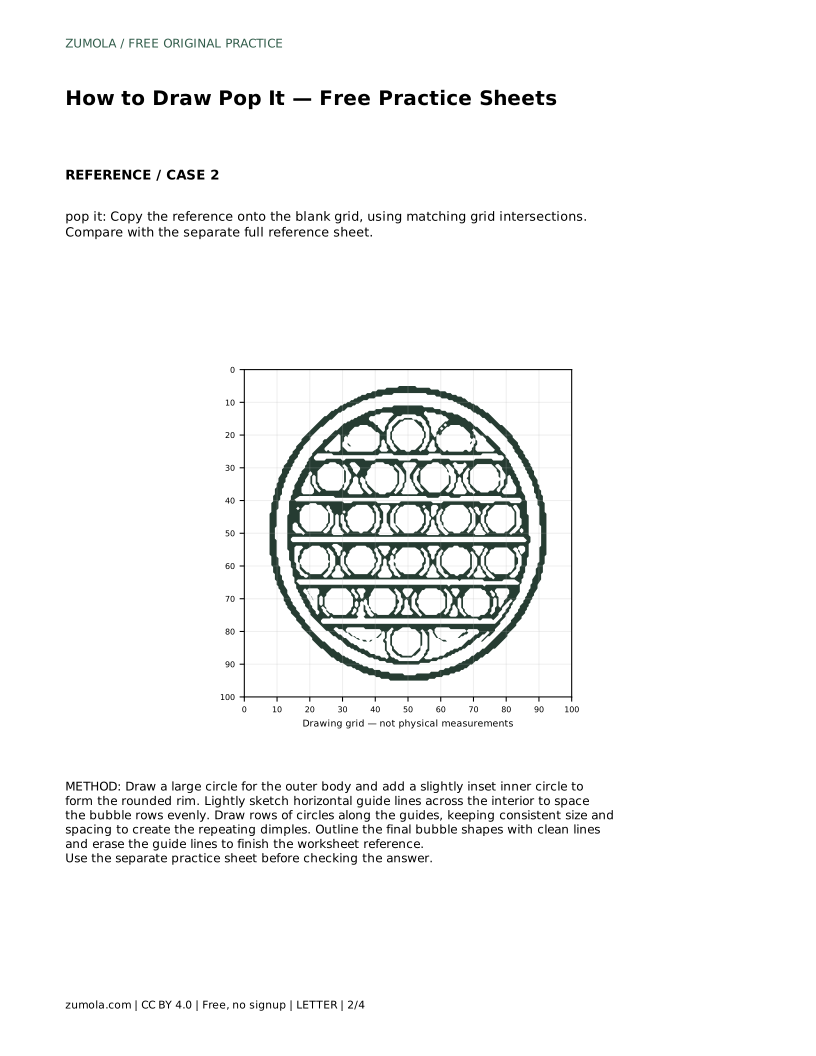
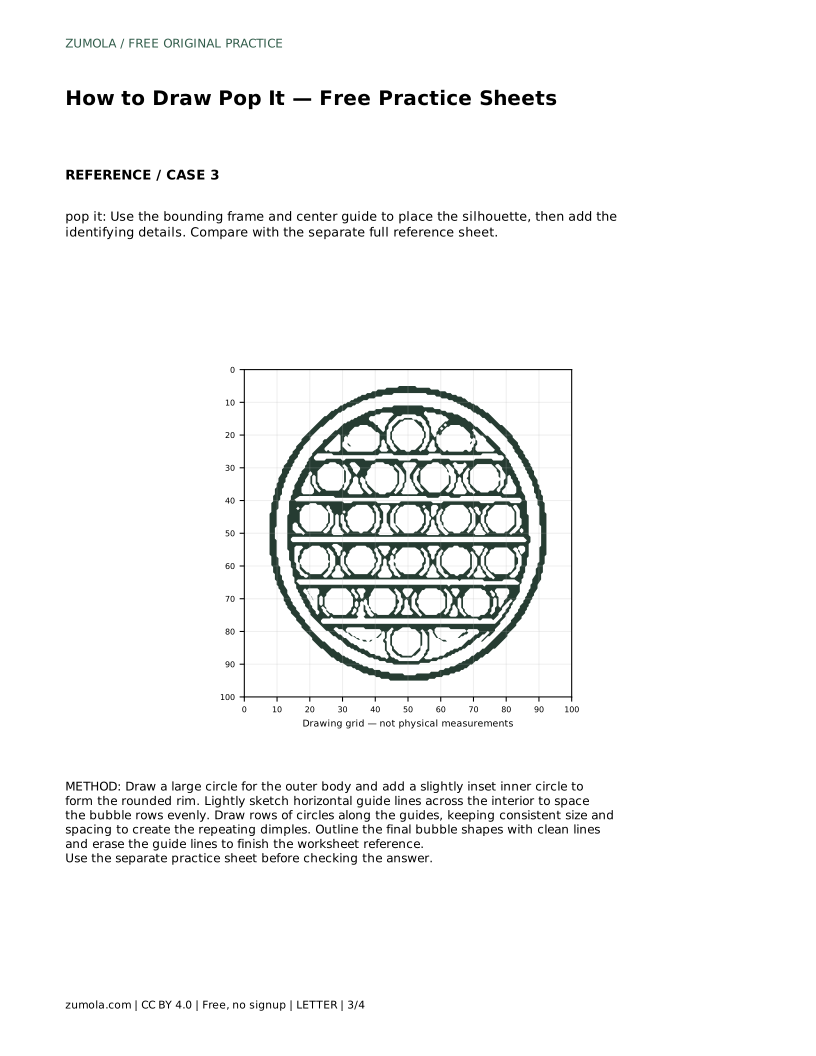
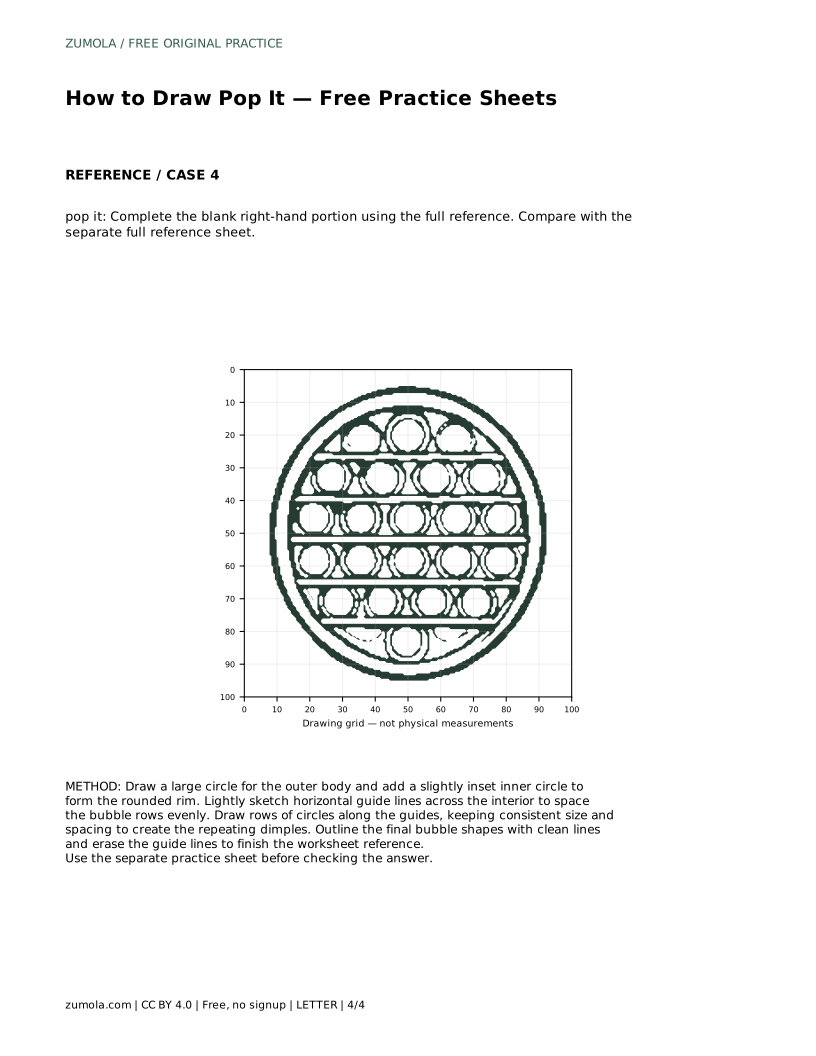
A pop it drawing depends on two things: a clear outer shape and a repeating pattern inside it. This page shows how to build a circular pop it with a thick rounded rim and rows of raised bubbles. You will plan the silhouette first, space the rows with light guides, then draw the bubbles at a consistent size. The practice sheets let you trace, copy onto a grid, or complete a partial outline, so you can work on the same features in different ways.
Begin with the largest shape, because everything inside depends on it. Draw a large circle for the outer body. Keep the line light at this stage so you can adjust it. Then add a slightly inset inner circle. The gap between the two circles becomes the thick rounded rim, which is one of the most recognizable parts of a pop it.
Check the rim before moving on. The inner circle should sit inside the outer one with a fairly even gap all the way around. If the gap pinches at one side, redraw that part of the inner circle rather than thickening the rim unevenly. A steady, even rim makes the rest of the drawing read clearly.
The bubbles inside a pop it are arranged in rows, so plan the rows before drawing individual circles. Sketch horizontal guide lines across the interior. Space them so the rows sit evenly between the top and bottom of the inner area, leaving room for the rim. Keep these guides faint, since they will be erased later.
Horizontal rows are the simplest arrangement to control. If you want a different pattern, decide that before drawing bubbles, because changing the row direction after the circles are in place is harder to correct. The goal is a repeating grid pattern of dimples or bubble outlines that looks deliberate rather than crowded.
Draw circles along each guide line, keeping the size and spacing consistent from row to row. Consistent spacing matters more than perfect circles. If one bubble is much larger, the pattern looks uneven even when the outer shape is correct. Work row by row and compare each new circle with the one beside it.
When the bubbles are placed, outline the final shapes with clean lines and erase the guide lines. The finished drawing should show the circular outer silhouette, the thick rounded rim, the horizontal rows of raised circular bubbles, and the repeating dimples arranged in a grid pattern. Other drawings can be correct, so judge the visible features and proportions rather than a pixel-perfect match.
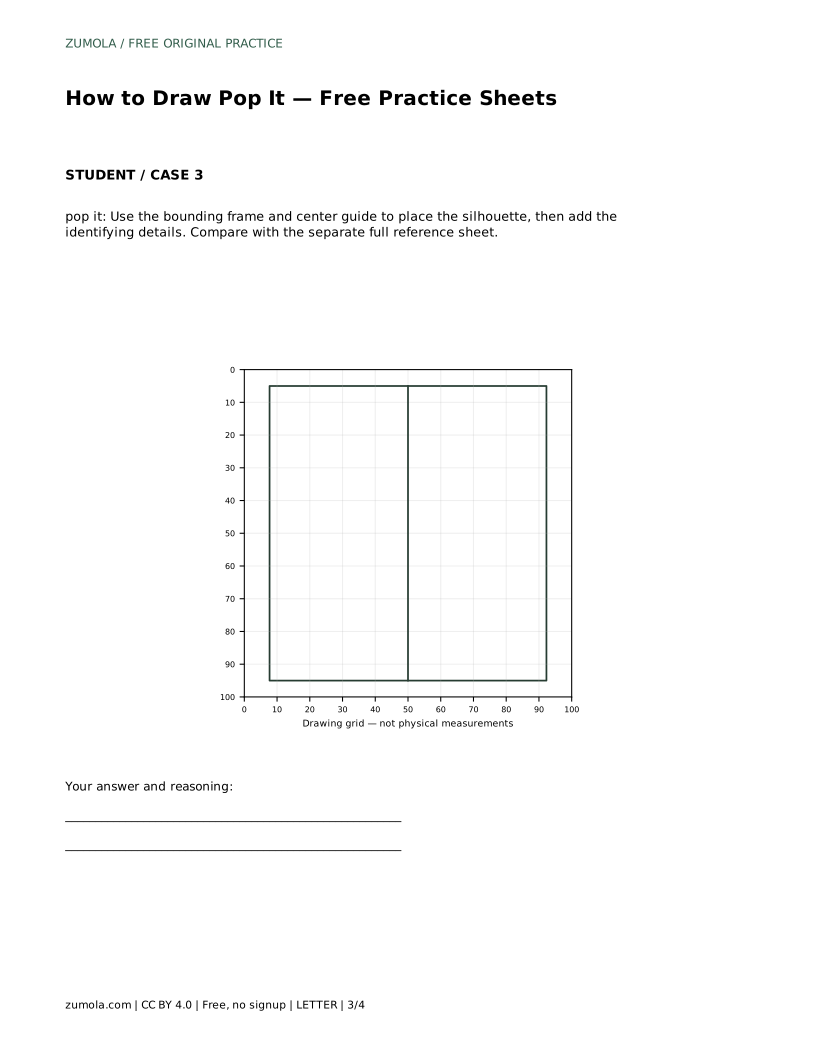
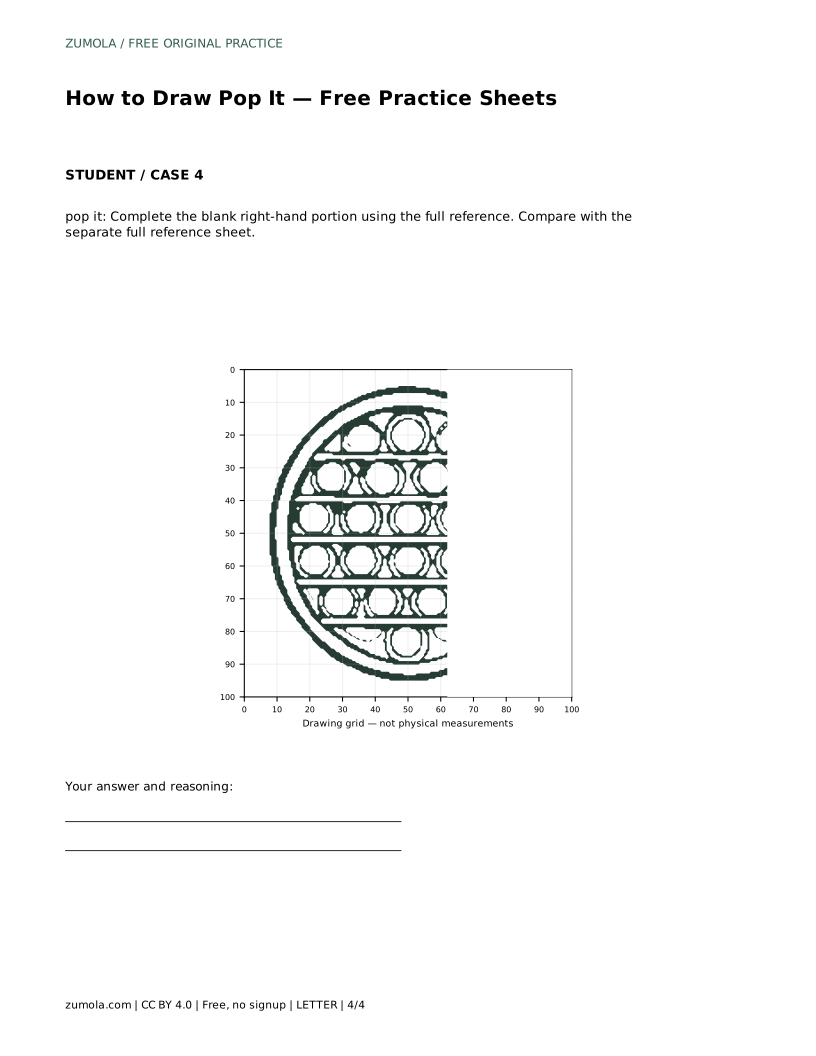
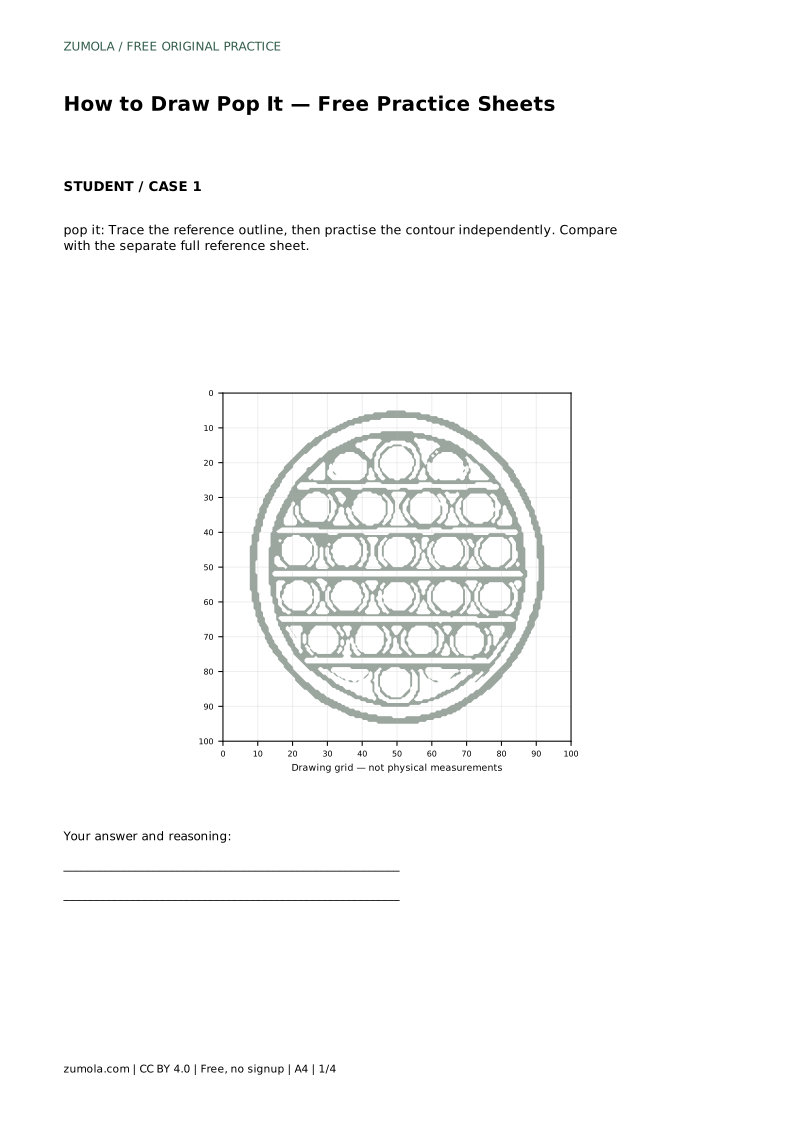
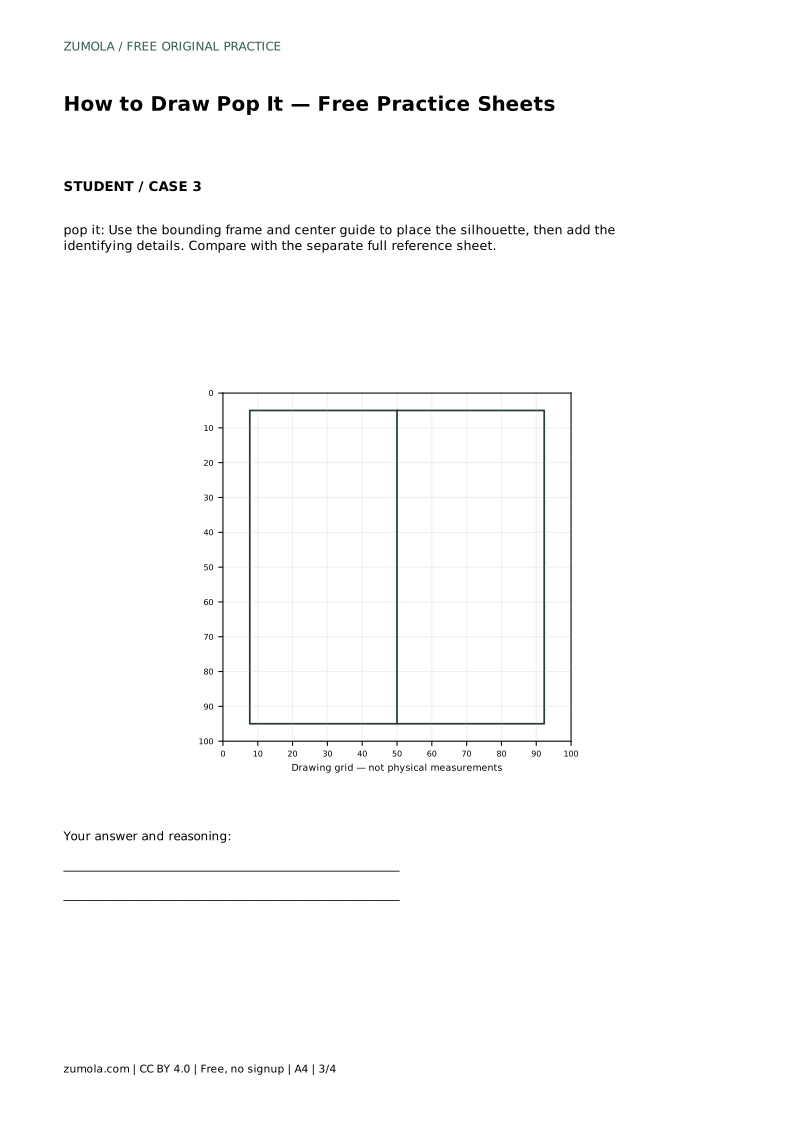
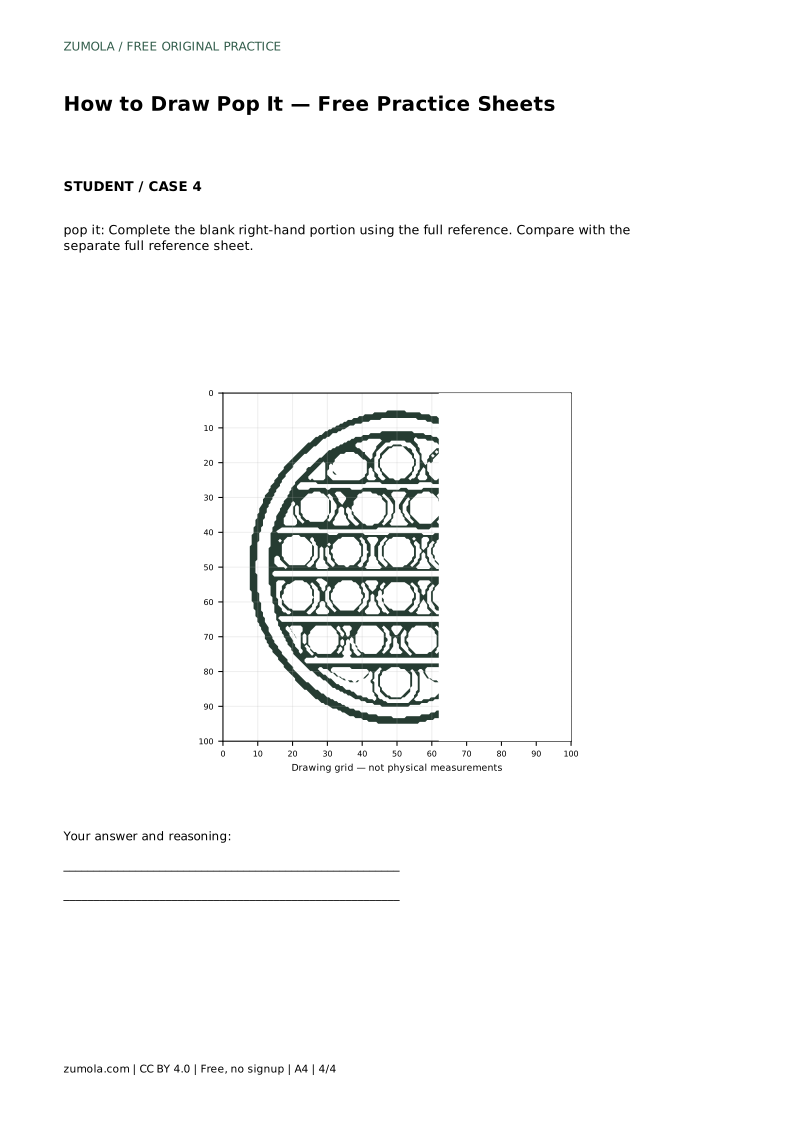
The sheets offer different ways to practise the same features. One asks you to trace the reference outline, then practise the contour independently. Another asks you to copy the reference onto a blank grid using matching grid intersections. A third uses a bounding frame and center guide to place the silhouette before adding details. A fourth gives a full reference and asks you to complete the blank right-hand portion.
Each sheet is compared with the separate full reference sheet, so keep that reference visible while you work. The comparison is about features and proportions, not exact copying. Notice whether your rim stays even, your rows stay level, and your bubbles keep a consistent size.
Review the drawing in a fixed order: outer silhouette, rim, row spacing, bubble size, then clean outlines. This order catches large shape problems before small ones. If the outer circle is off, fixing individual bubbles will not correct the overall look.
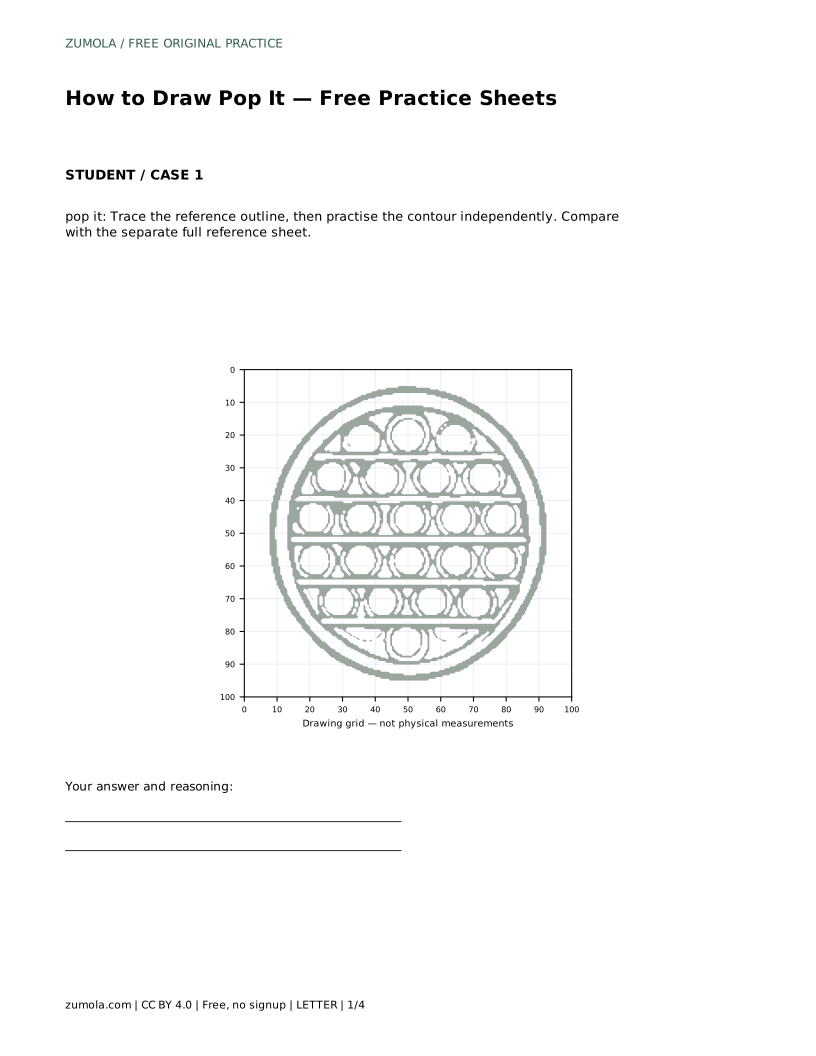
pop it: Trace the reference outline, then practise the contour independently. Compare with the separate full reference sheet.
Example solution: preserve circular outer silhouette with a thick rounded rim, horizontal rows of raised circular bubbles inside the frame, repeating dimples/bubble outlines arranged in a grid pattern. Other drawings can be correct; assess the visible features and proportions rather than pixel-perfect matching. Draw a large circle for the outer body and add a slightly inset inner circle to form the rounded rim. Lightly sketch horizontal guide lines across the interior to space the bubble rows evenly. Draw rows of circles along the guides, keeping consistent size and spacing to create the repeating dimples. Outline the final bubble shapes with clean lines and erase the guide lines to finish the worksheet reference.
No. A clear circular silhouette matters more than perfect roundness. Keep the outer shape smooth and the rim even.
There is no fixed number. Choose a row count that fits the interior without crowding the rim, and keep the spacing consistent.
The reference shows the intended features and proportions. Use it to check the rim, rows, and bubble size rather than to copy every line exactly.
All drawing practice · Free coordinate paper
Original resources · CC BY 4.0 · Free for personal and classroom use with attribution.