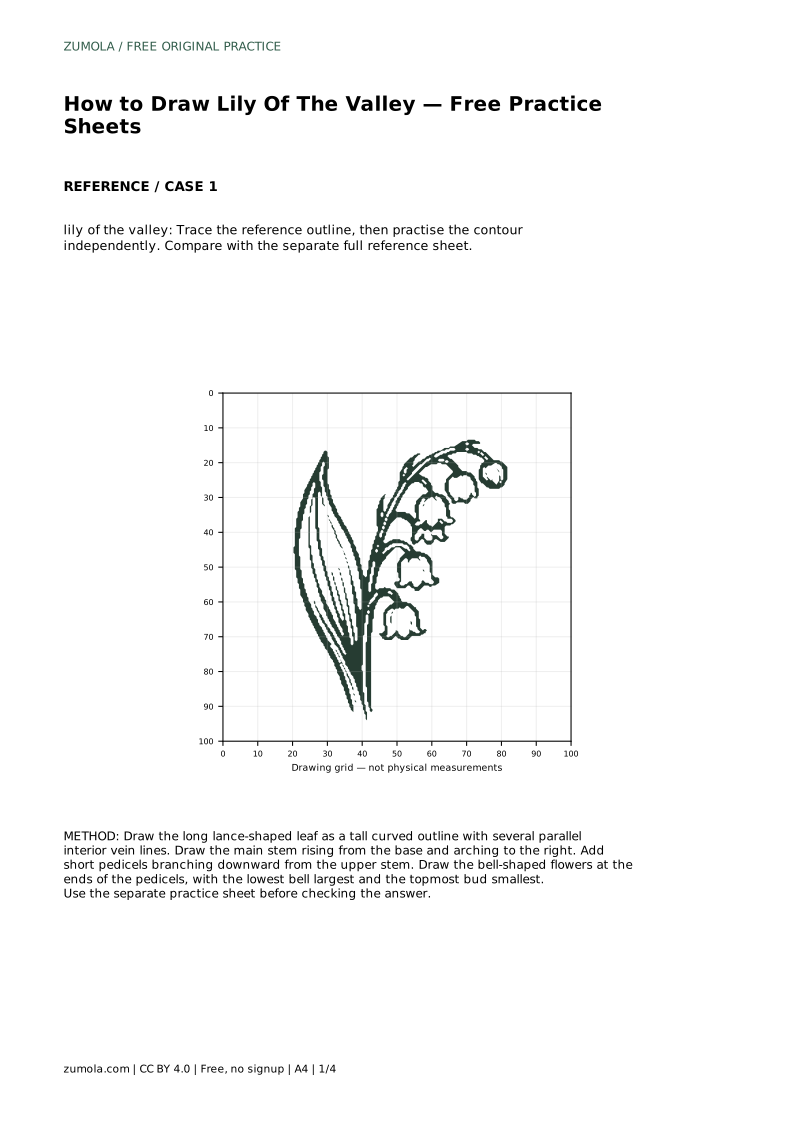
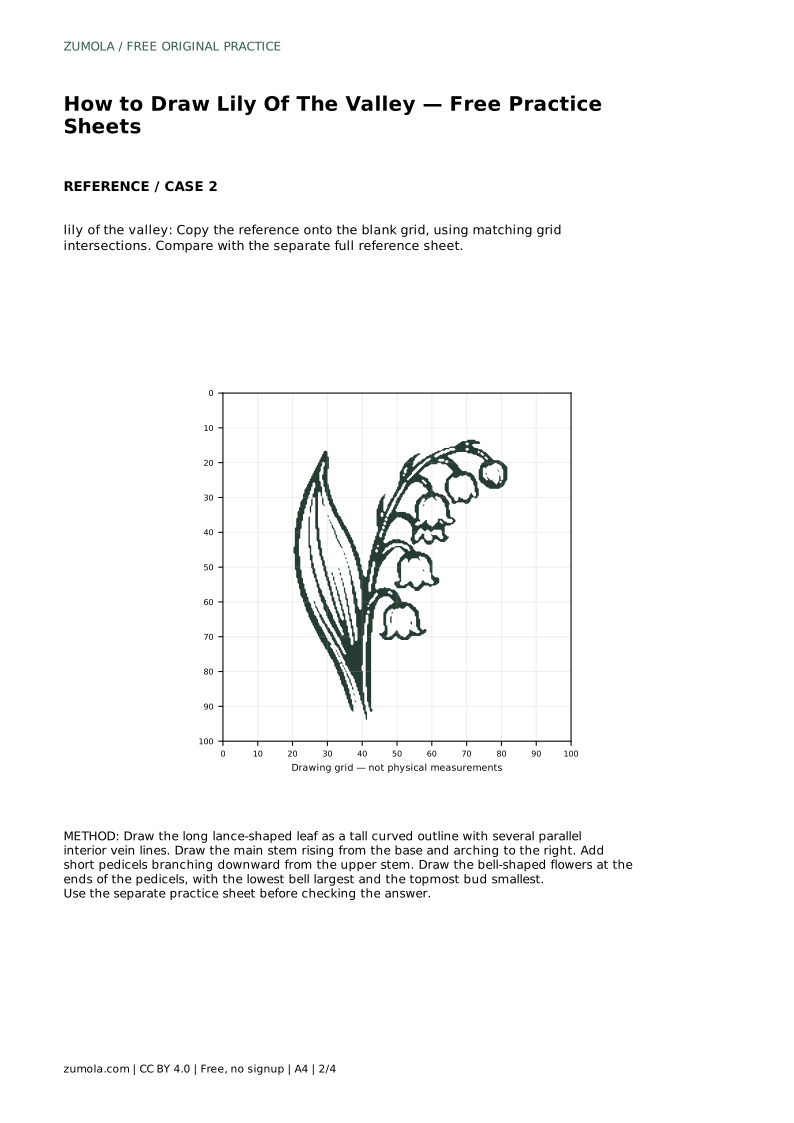
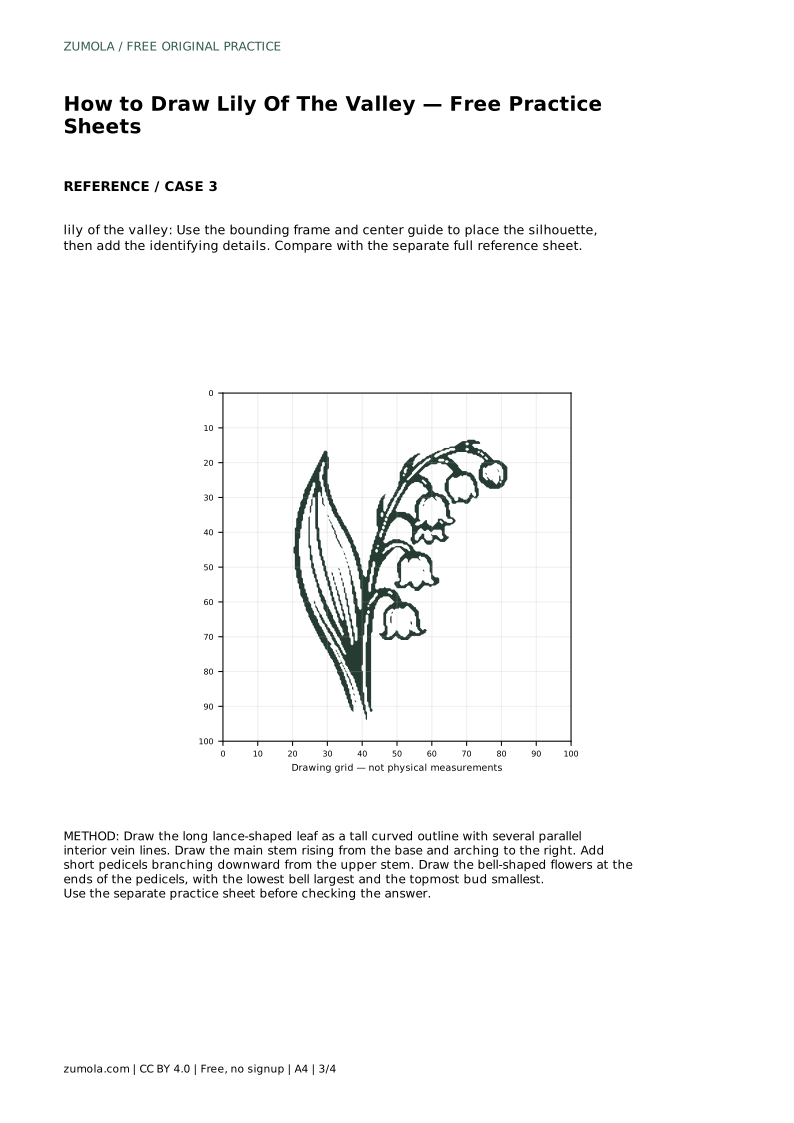
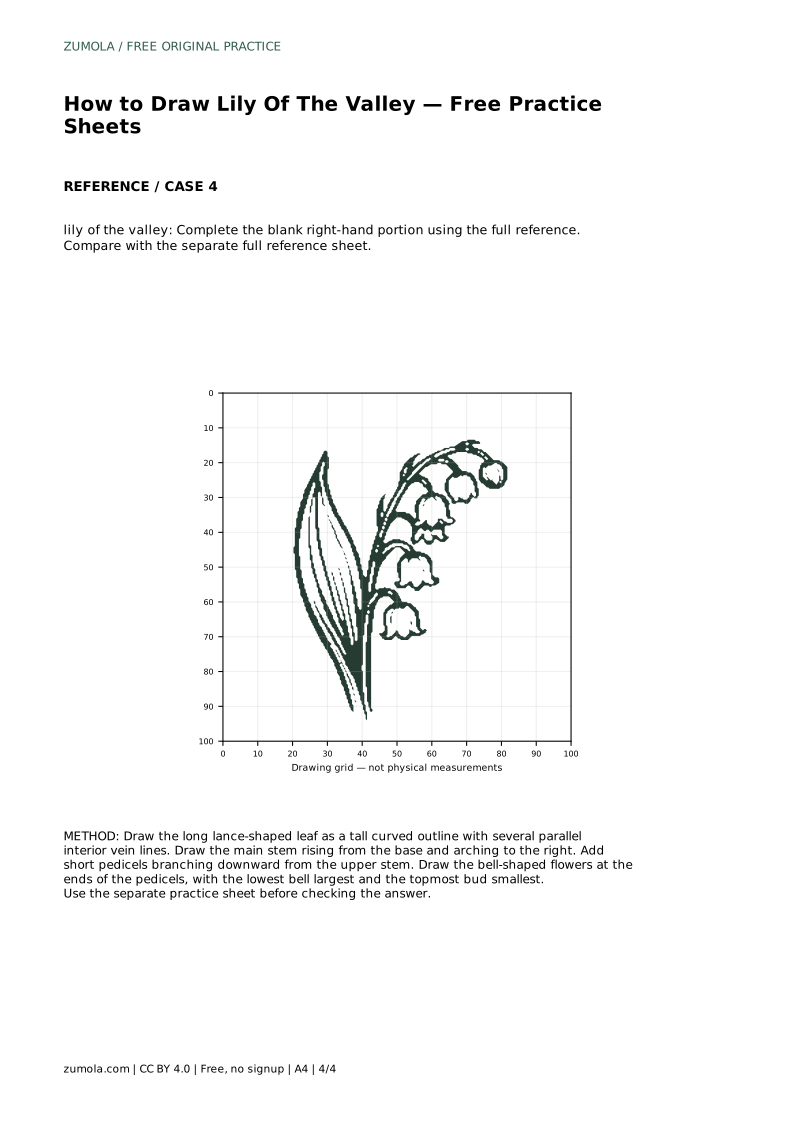
Reference diagrams
LETTER · Download PDF
A4 · Download PDF
Free original resources
Learn to draw lily of the valley by building the lance-shaped leaf, arching stem, short pedicels, and hanging bell flowers in a clear, checkable order.
Four original cases, with reference diagrams, practice sheets and worked answers. Everything is free; no signup required.
LETTER · Download PDF
A4 · Download PDF
LETTER · Download PDF
A4 · Download PDF
LETTER · Download PDF
A4 · Download PDF
Use A4 or US Letter to match your printer. Use the stated values and conditions to solve each exercise; diagrams are not physical measuring rulers.
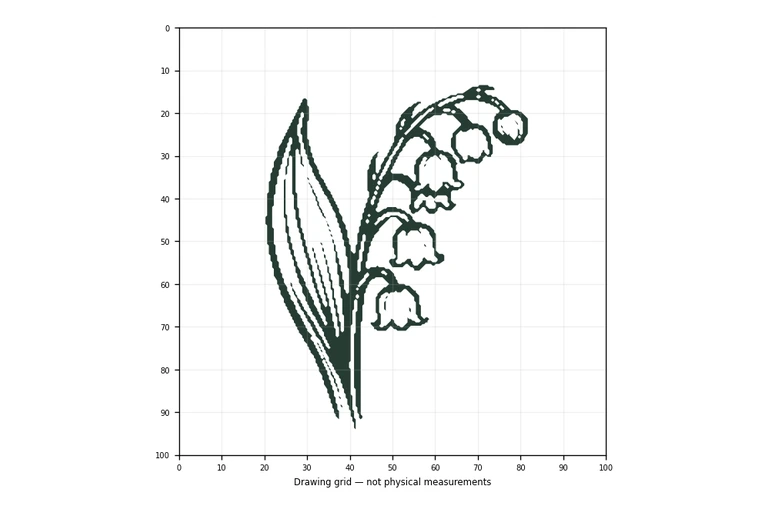
Lily of the valley is easy to recognize but easy to draw vaguely: the flowers hang, the stem arches, and one long leaf carries the whole composition. This page teaches a reliable order for the drawing, starting with the leaf outline and main stem, then adding pedicels and bells from largest to smallest. The practice sheets let you trace, grid-copy, place the silhouette with guides, or complete a partial drawing, and each version is assessed by visible features rather than an exact match.
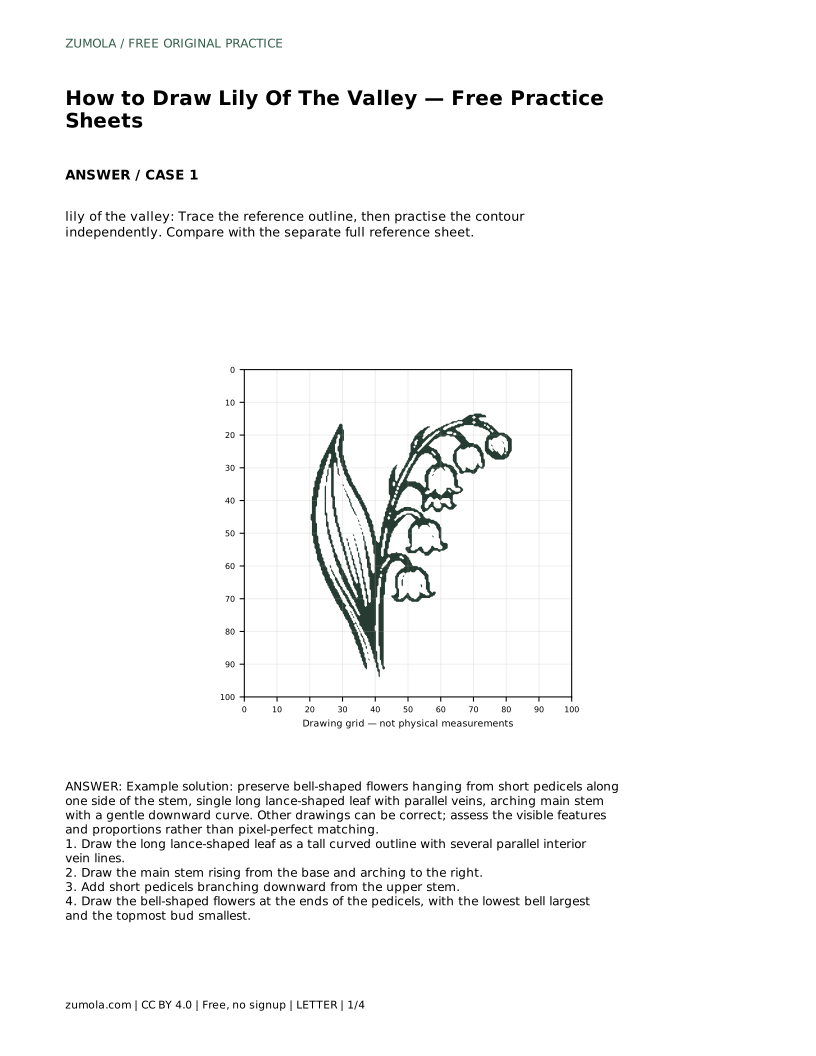
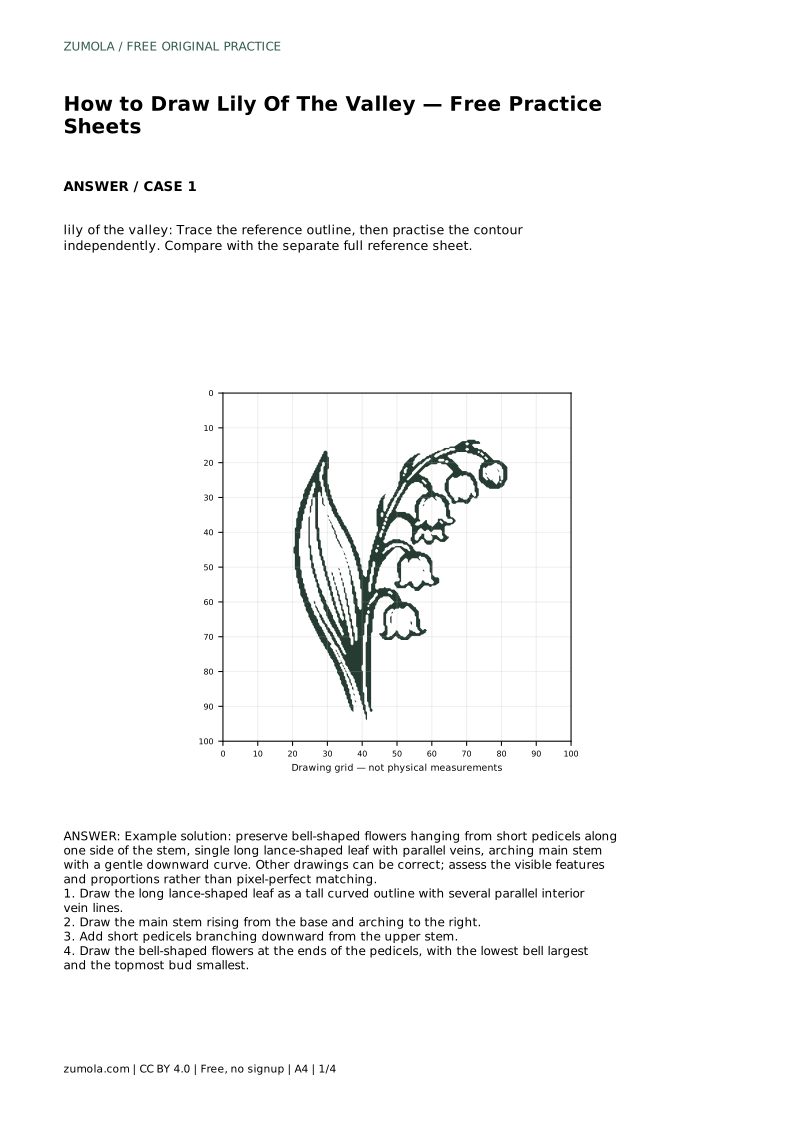
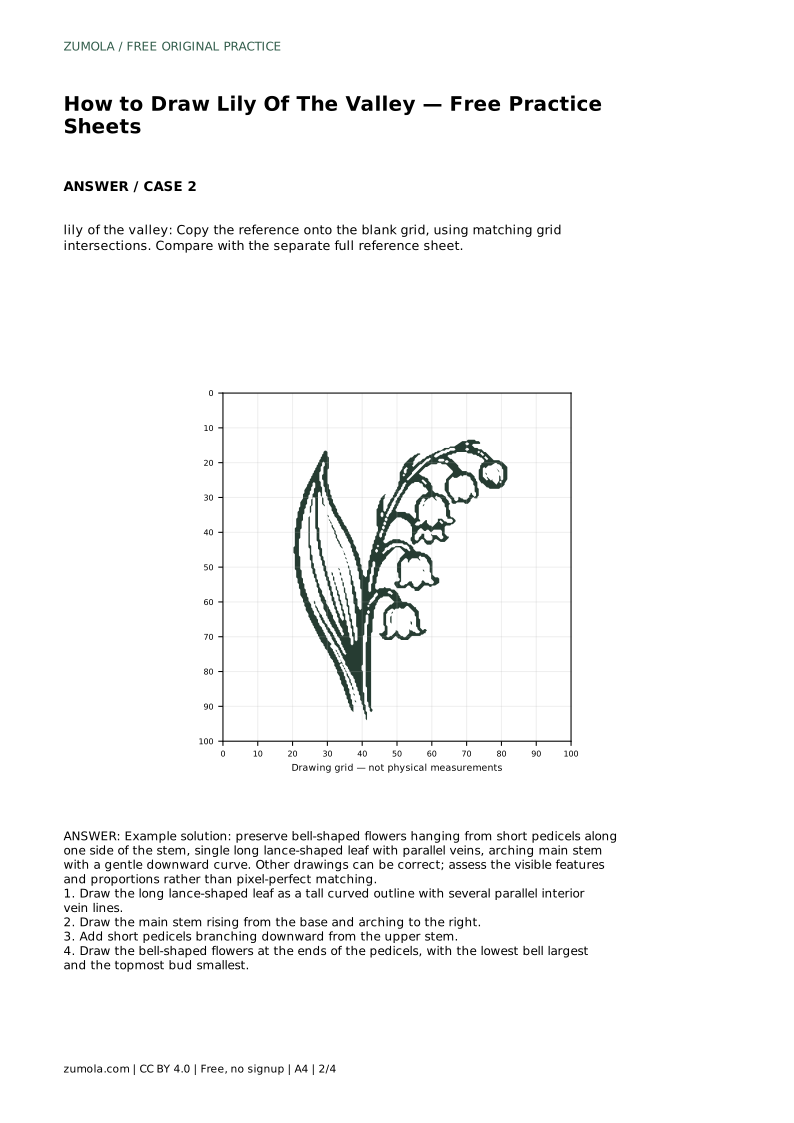
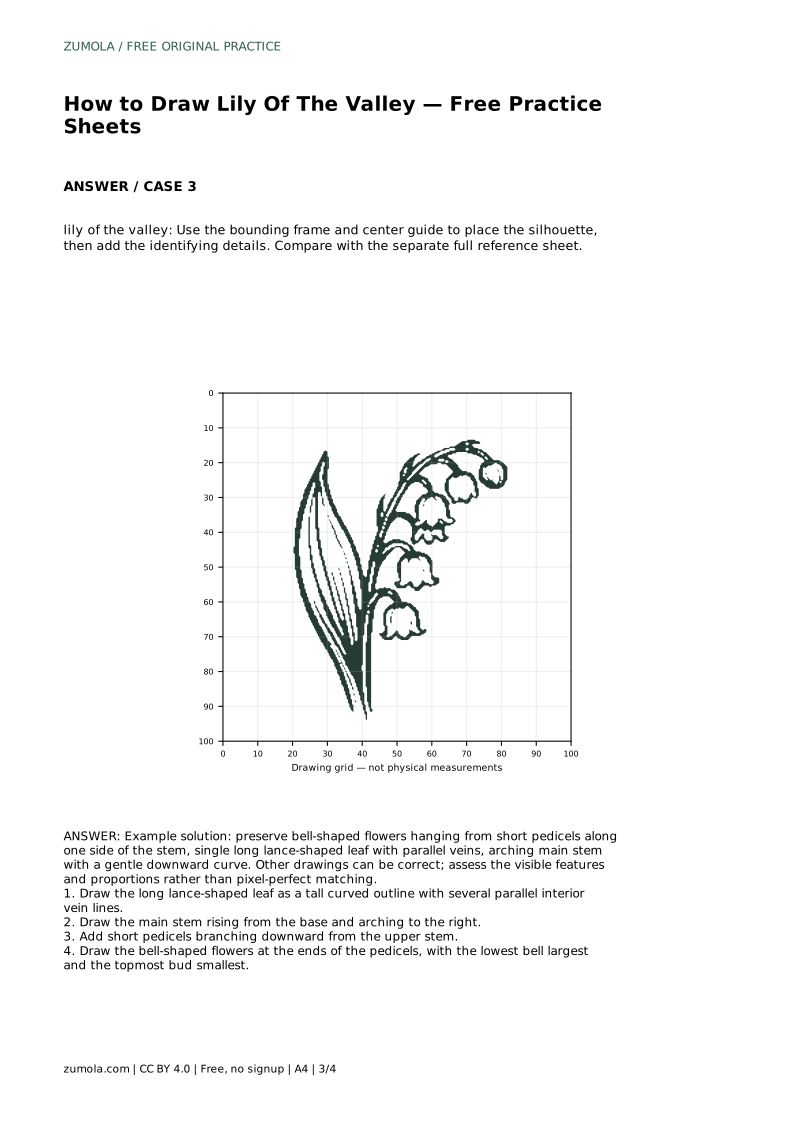
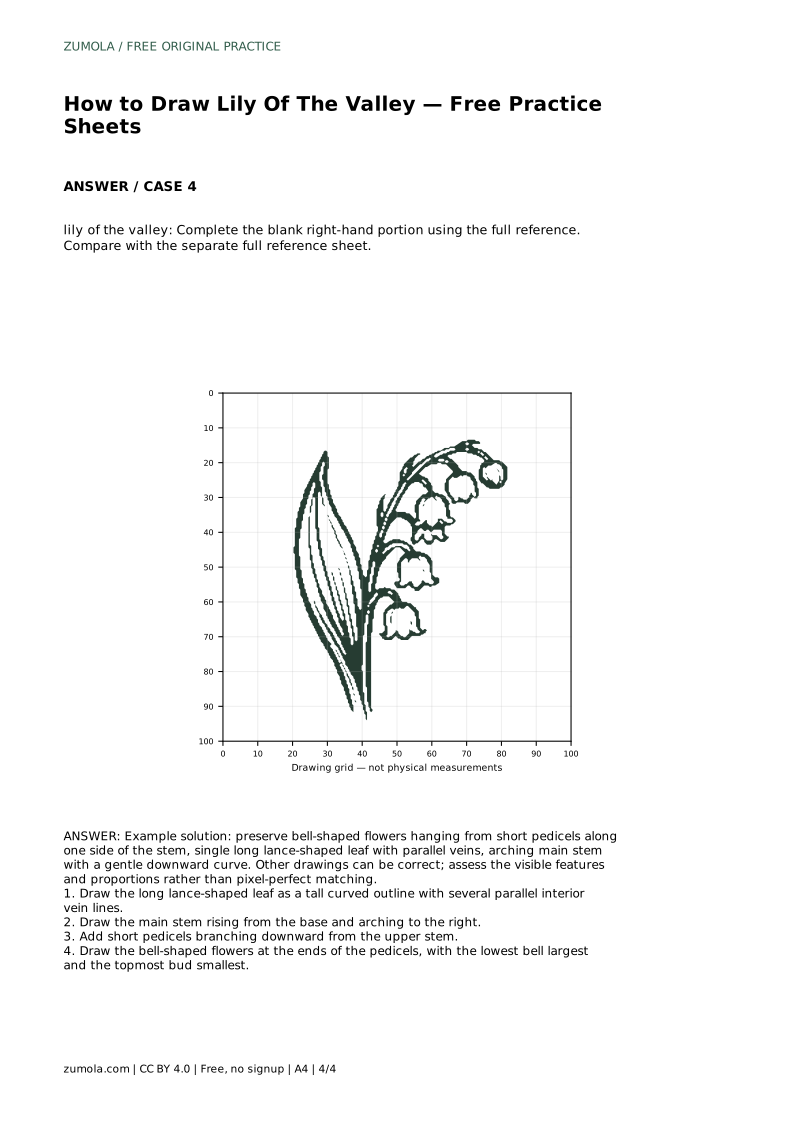
Begin with the two shapes that set the drawing's proportions: the single long lance-shaped leaf and the arching main stem. The leaf is a tall, narrow outline that curves gently; it is not a broad oval. Inside it, draw several vein lines that run roughly parallel along its length, following the leaf's curve rather than crossing it.
The main stem rises from the base and arches to one side with a gentle downward curve. Keep that curve smooth and continuous. The stem is the spine of the drawing, so its height and direction determine where the flowers can hang without crowding the leaf.
Short pedicels branch downward from the upper part of the stem, and each pedicel ends in a bell-shaped flower. Place the pedicels along one side of the stem so the flowers read as a hanging row rather than a scattered cluster. Keep the pedicels short; long stalks change the plant's character.
Draw the bells with a rounded cup and a slightly flared rim, opening downward. Scale matters: the lowest bell is the largest, and the topmost flower is the smallest, often reading as a bud. Working from the lowest bell upward makes the size change easy to control.
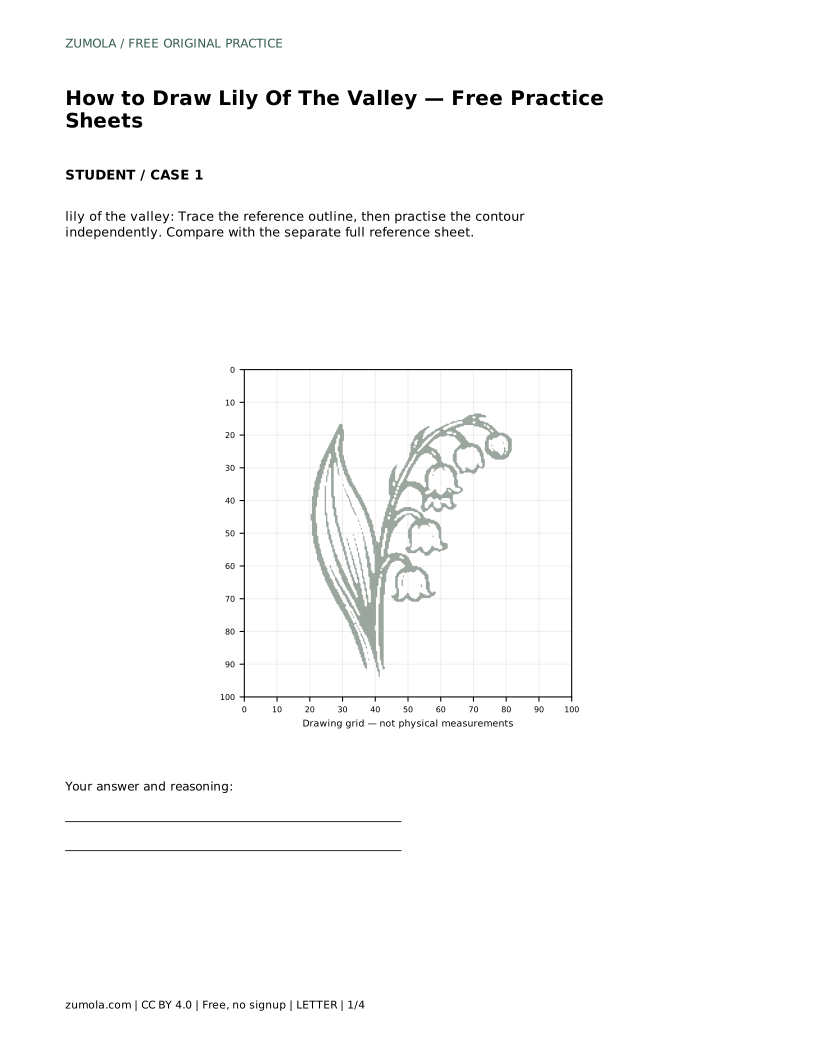
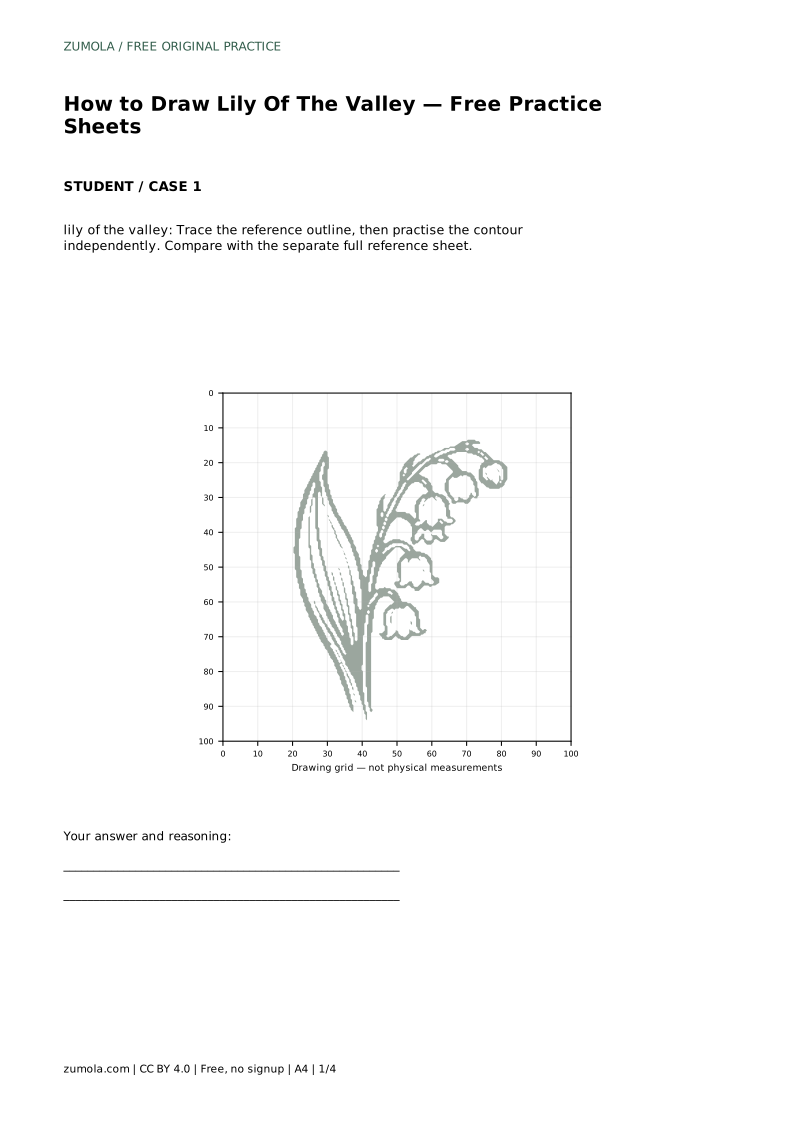
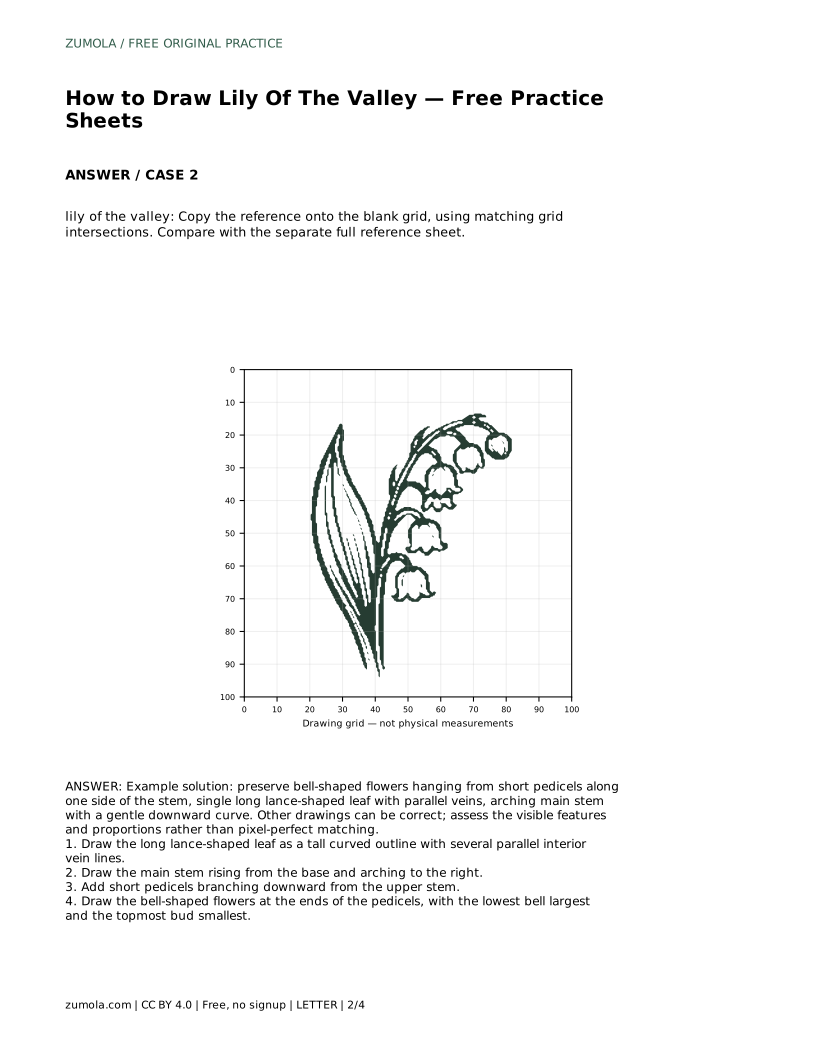
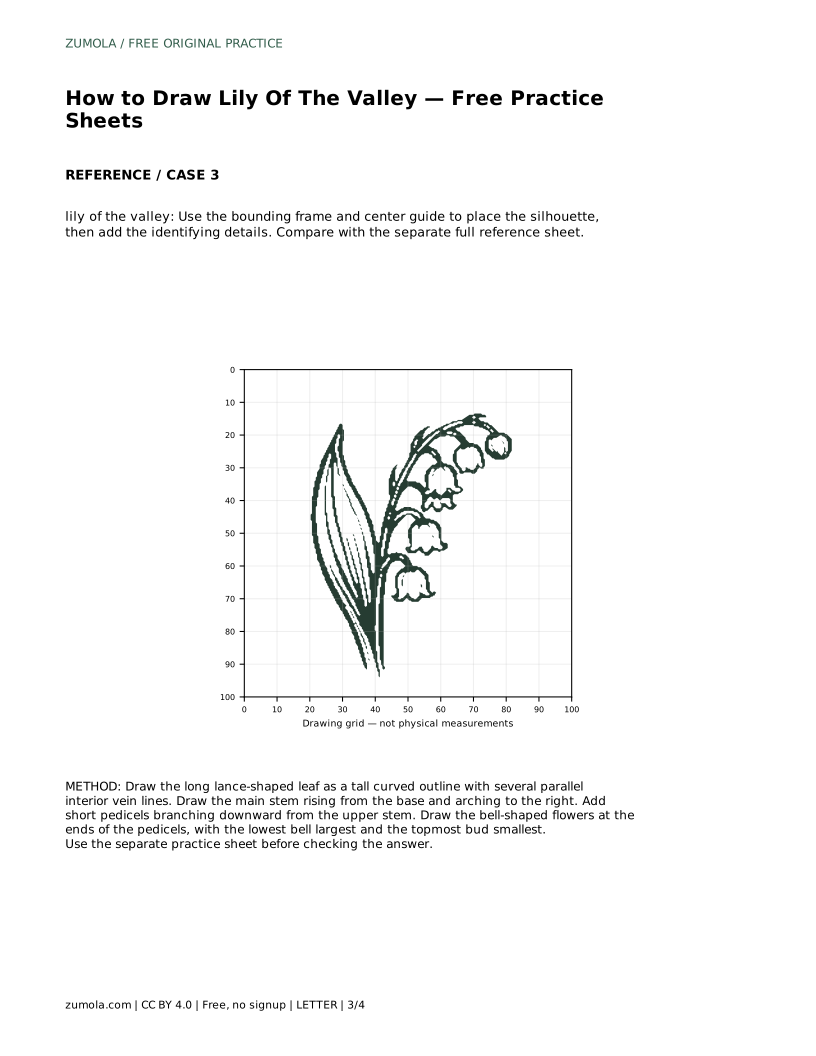
Tracing the reference outline first builds the hand motion for the arch and the hanging bells. Then practise the contour independently and compare with the separate full reference sheet. If tracing feels too guided, copy the reference onto the blank grid using matching grid intersections, which trains placement and proportion.
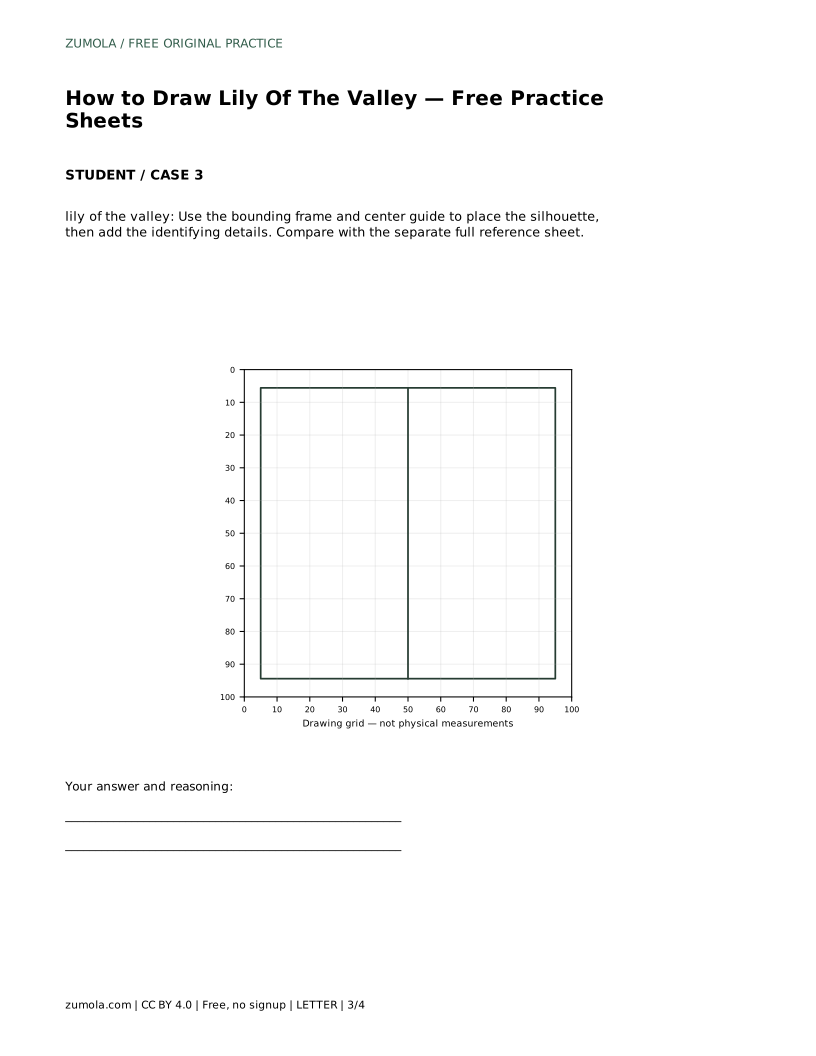
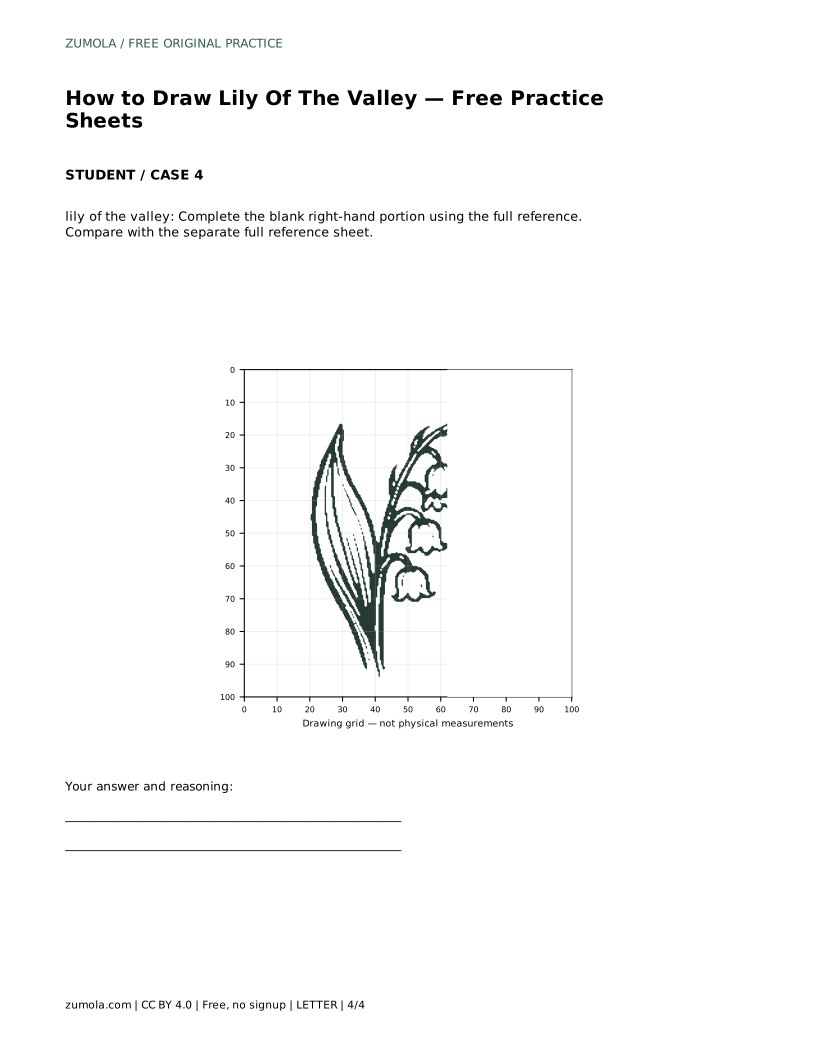
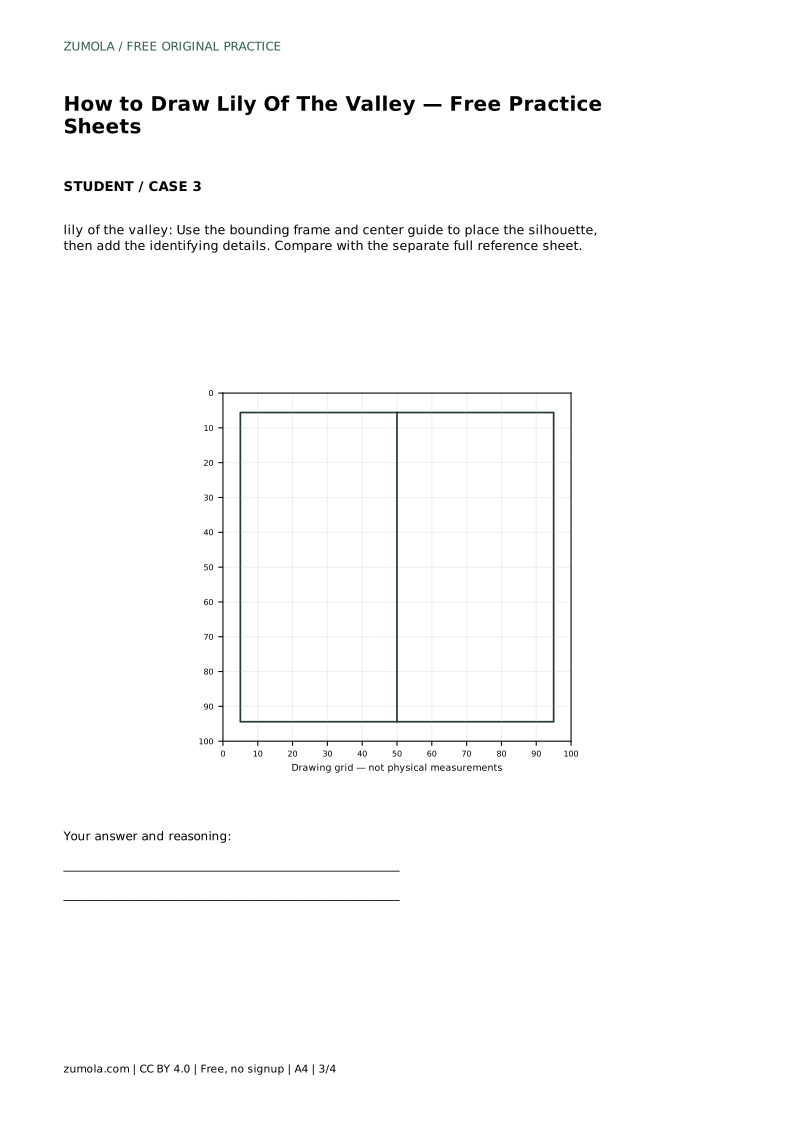
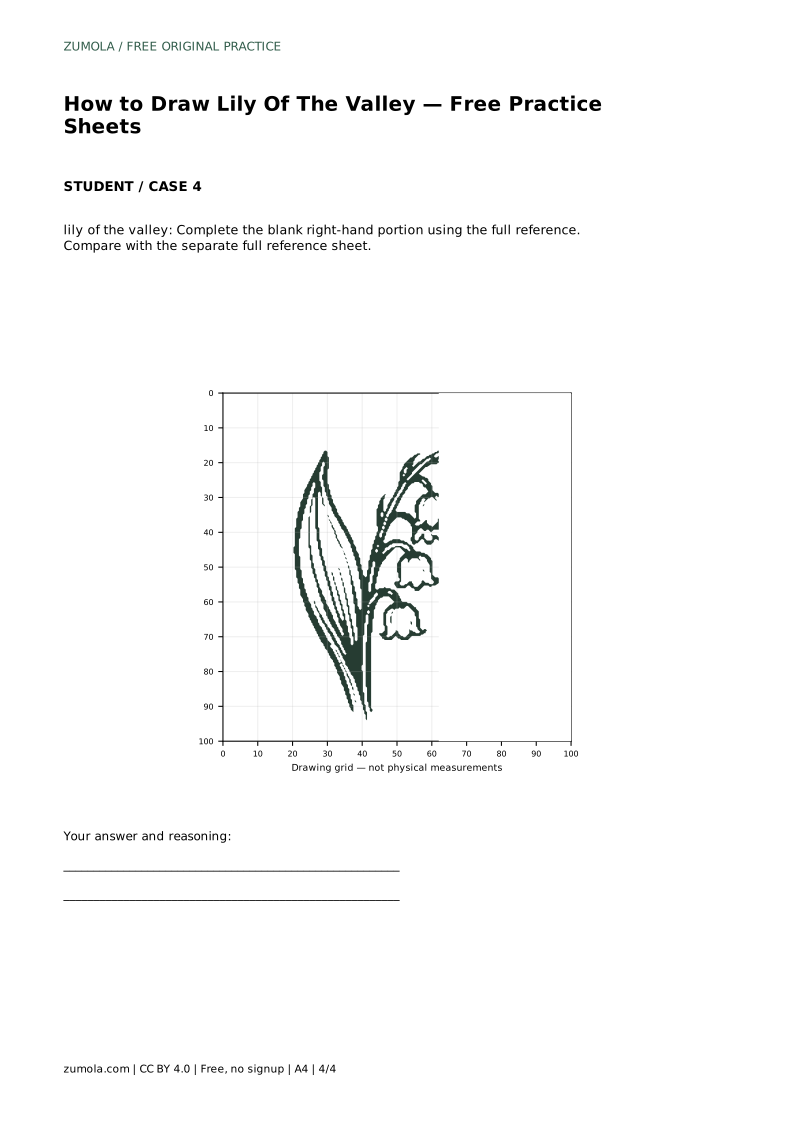
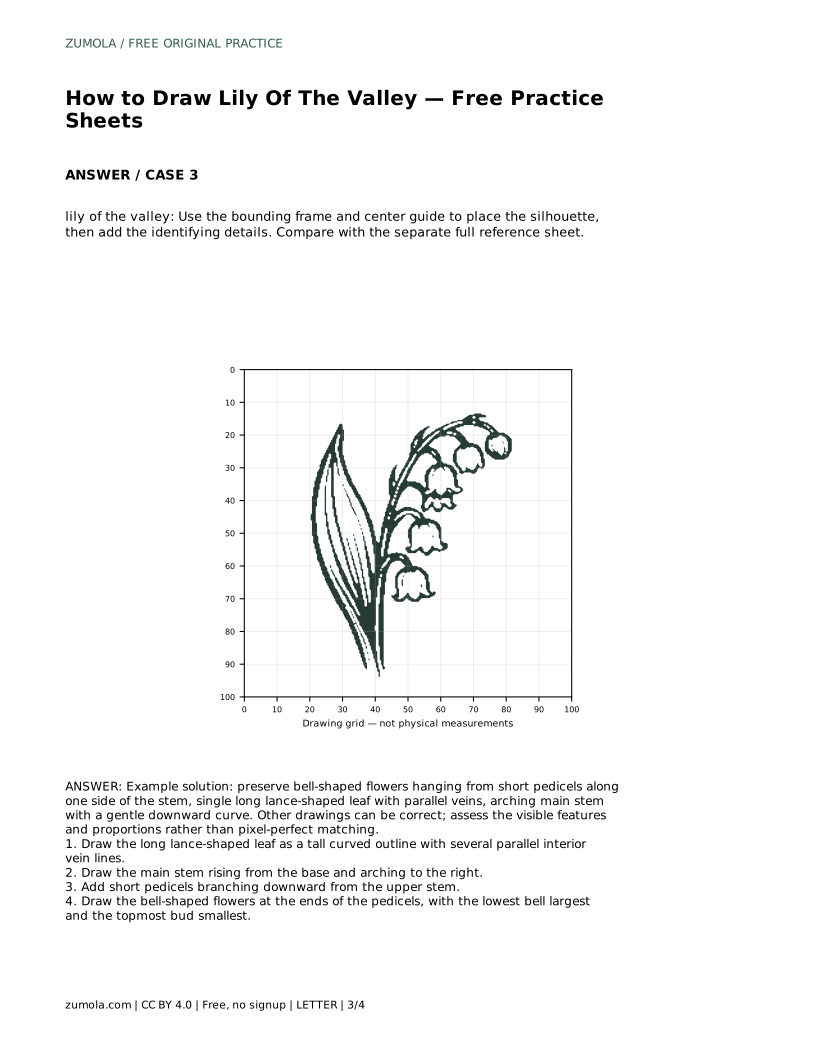
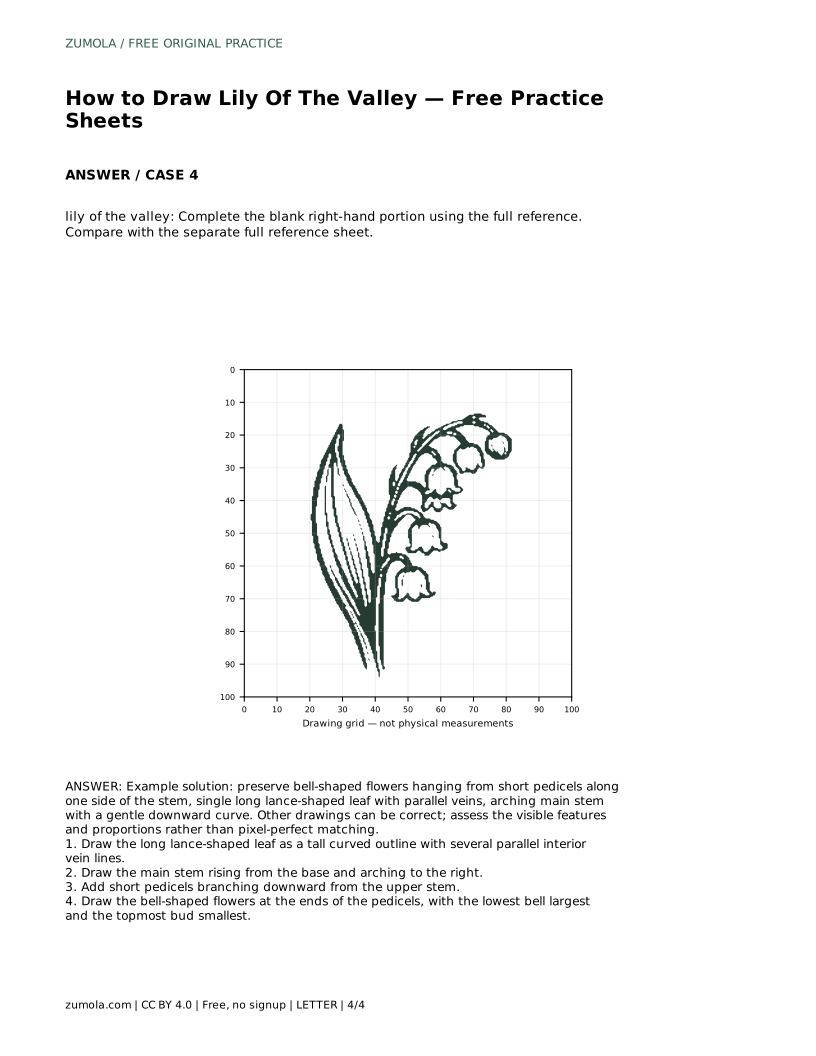
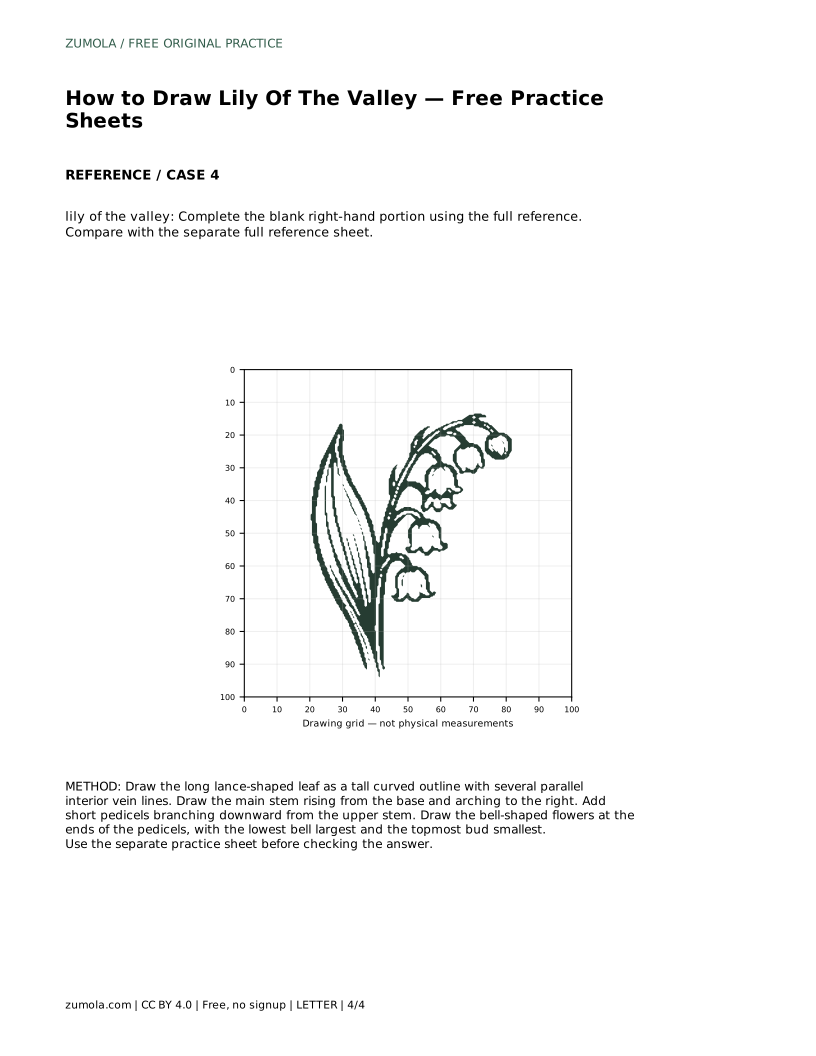
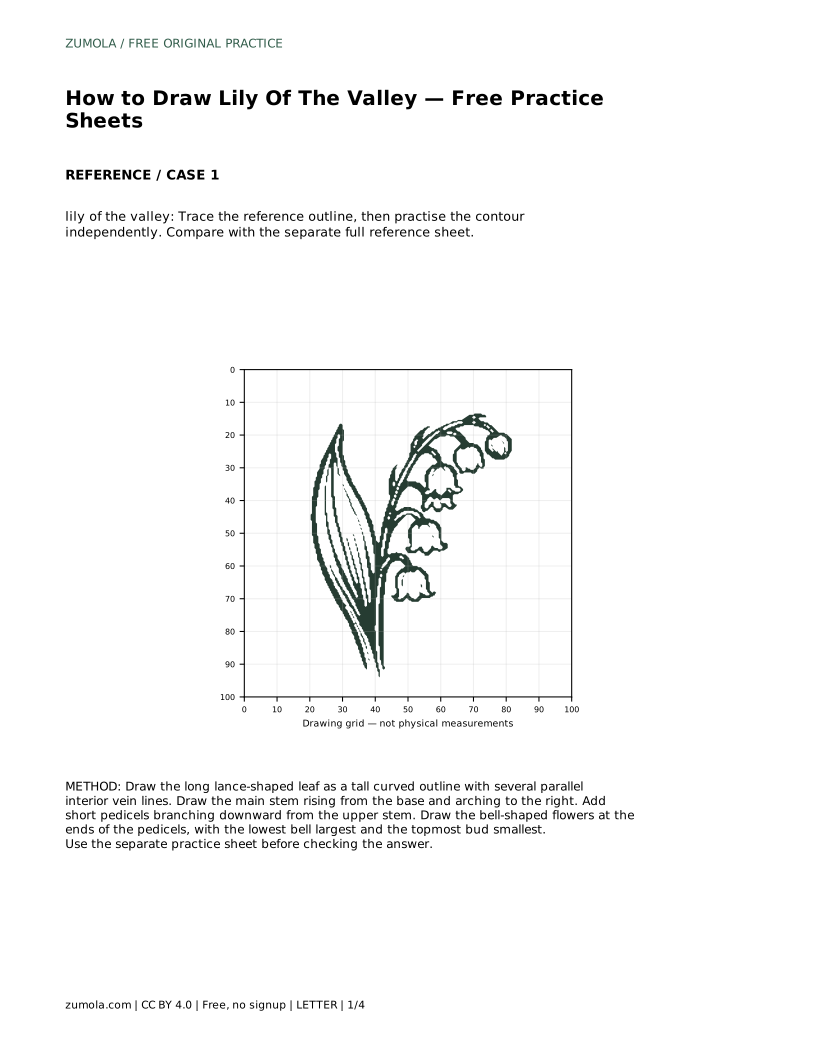
The bounding frame and center guide version asks you to place the silhouette before adding identifying details, which is useful when your drawings drift off-center. The partial version, with the blank right-hand portion, tests whether you can continue the arch and flower row consistently. In every version, compare against the full reference sheet and judge the visible features, not pixel-perfect matching.
A finished drawing can differ from the reference and still be correct. What matters is whether the identifying features are present and proportioned sensibly: bell-shaped flowers hanging from short pedicels along one side of the stem, a single long lance-shaped leaf with parallel veins, and an arching main stem with a gentle downward curve.
Use the rubric below as a quick self-check. If a feature is missing or distorted, return to that stage rather than redrawing everything.
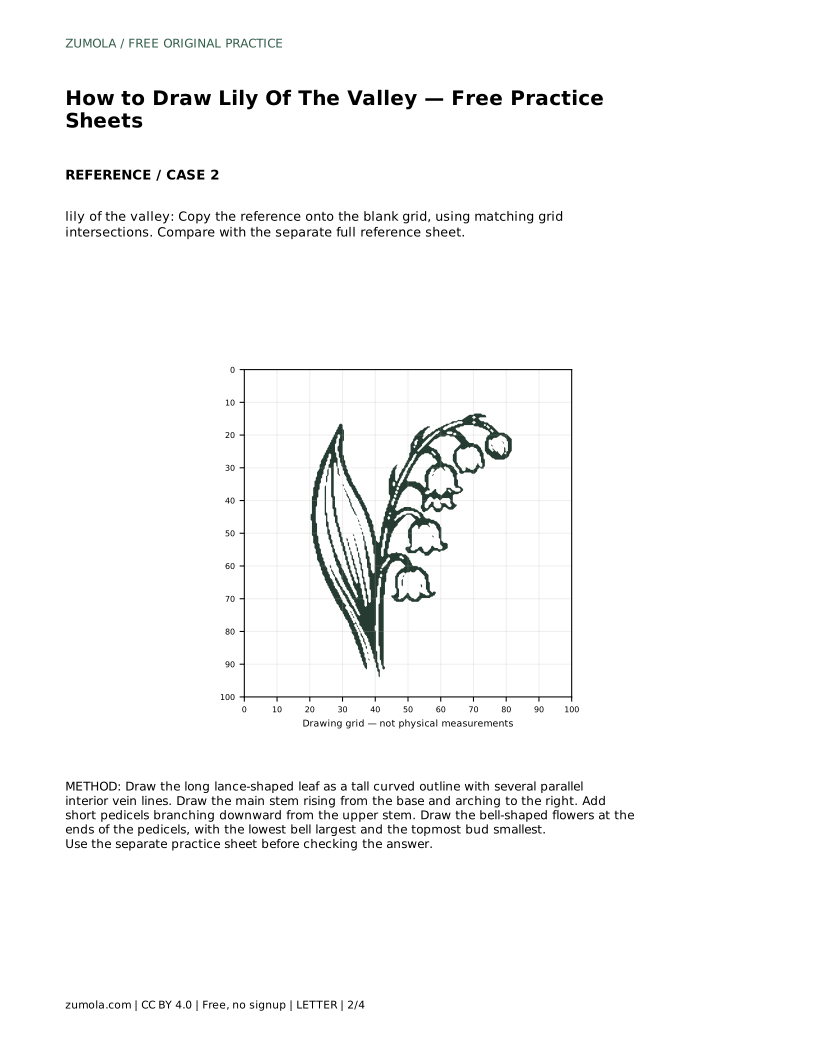
lily of the valley: Trace the reference outline, then practise the contour independently. Compare with the separate full reference sheet.
Example solution: preserve bell-shaped flowers hanging from short pedicels along one side of the stem, single long lance-shaped leaf with parallel veins, arching main stem with a gentle downward curve. Other drawings can be correct; assess the visible features and proportions rather than pixel-perfect matching. Draw the long lance-shaped leaf as a tall curved outline with several parallel interior vein lines. Draw the main stem rising from the base and arching to the right. Add short pedicels branching downward from the upper stem. Draw the bell-shaped flowers at the ends of the pedicels, with the lowest bell largest and the topmost bud smallest.
No. The arch direction can be mirrored. What matters is a gentle downward curve and flowers hanging along one side of it.
There is no fixed count. Draw enough bells to show the size progression from the largest lowest bell to the smallest top bud, keeping the row readable.
The reference uses a single long lance-shaped leaf. Adding more leaves changes the composition, so check the reference sheet before deciding.
All drawing practice · Free coordinate paper
Original resources · CC BY 4.0 · Free for personal and classroom use with attribution.