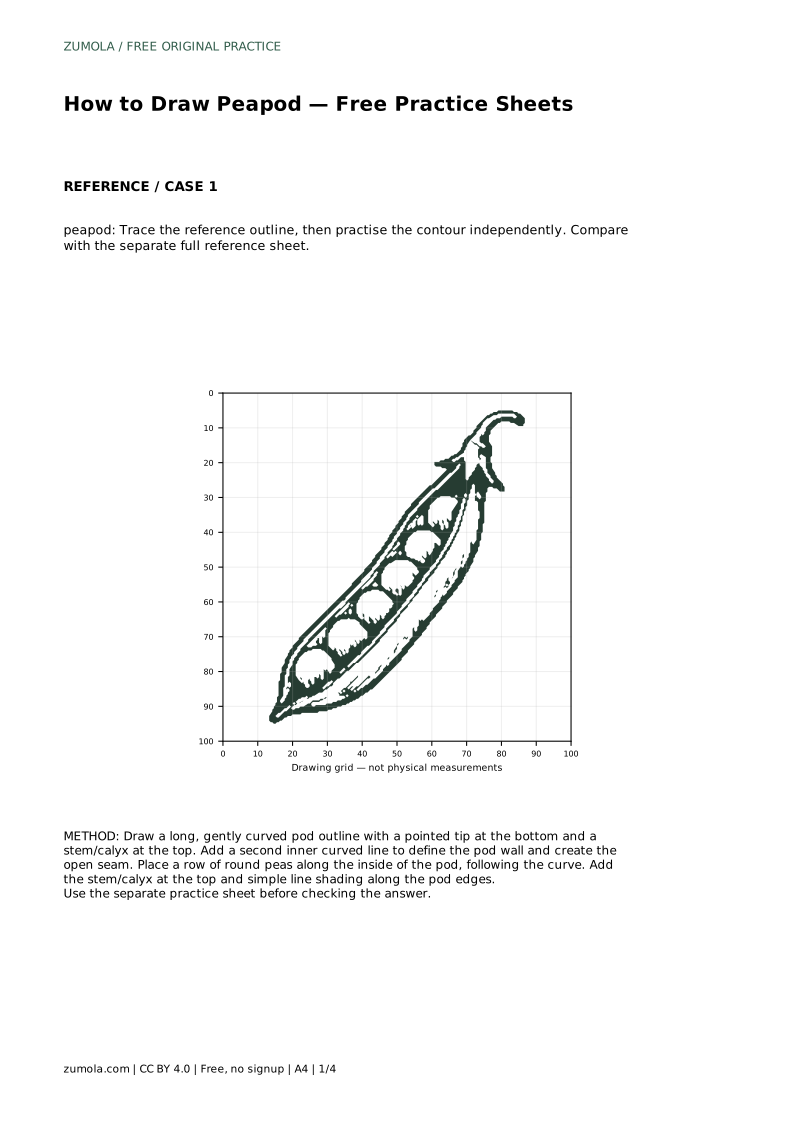
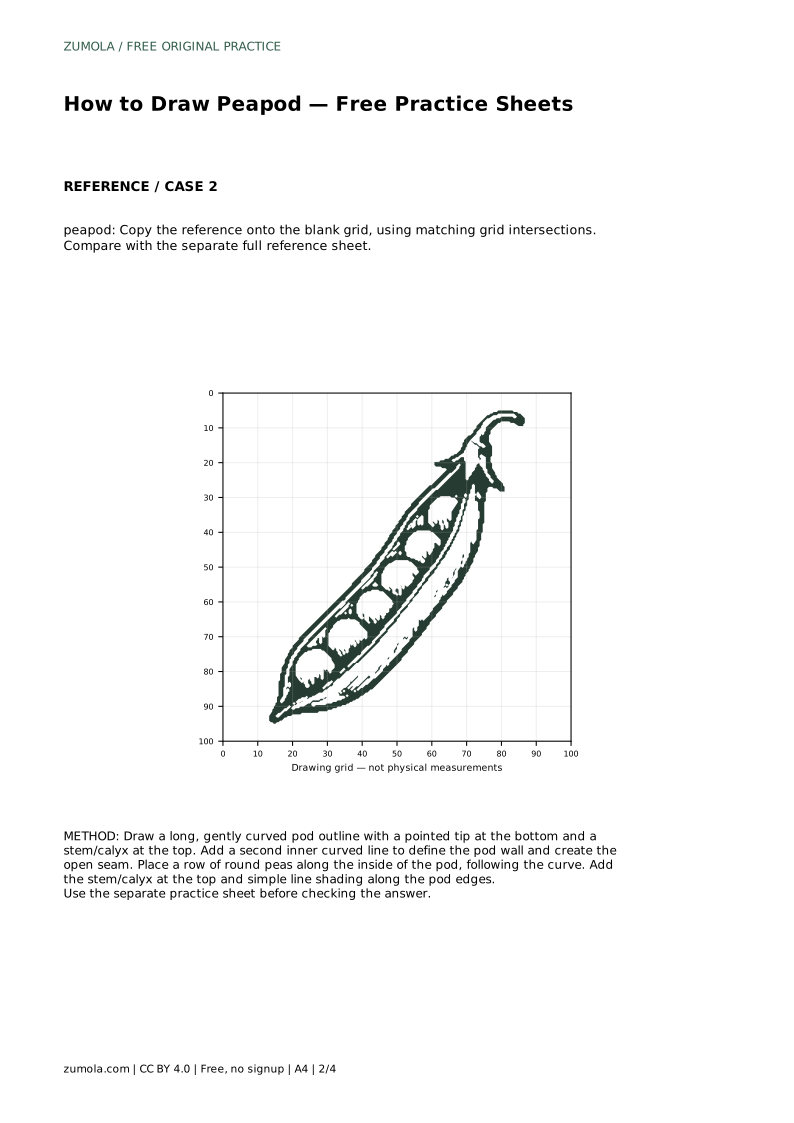
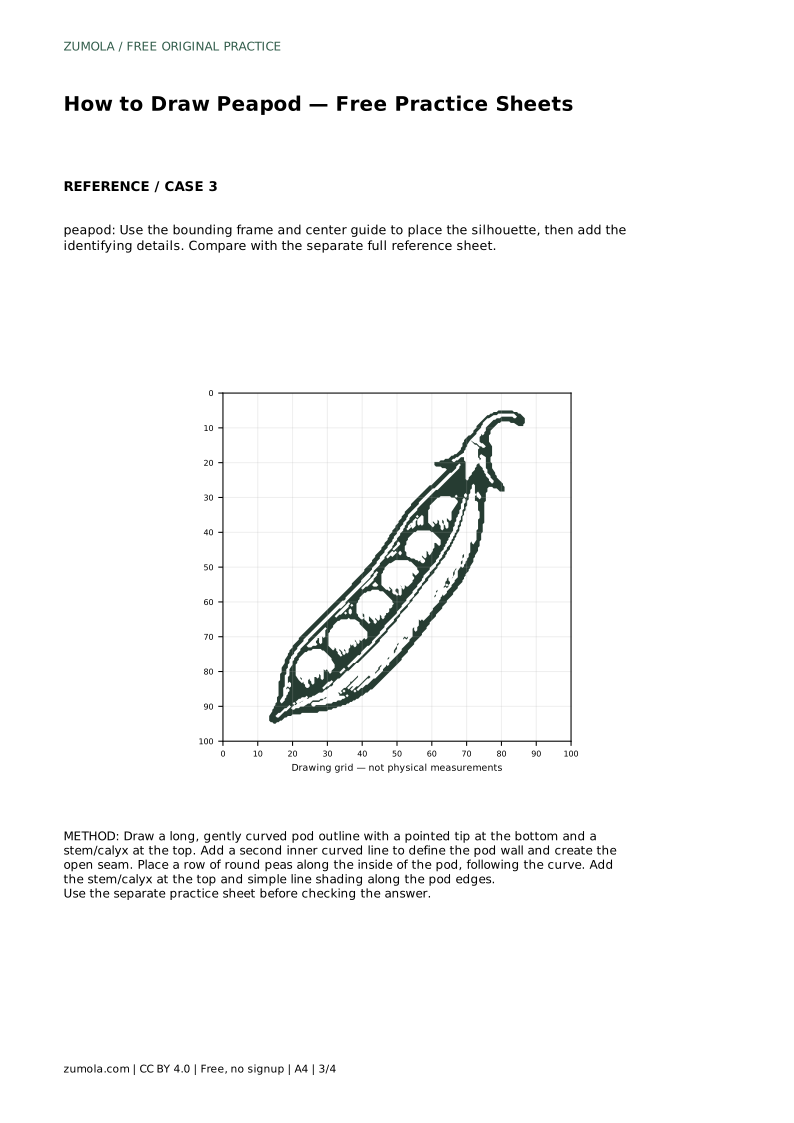
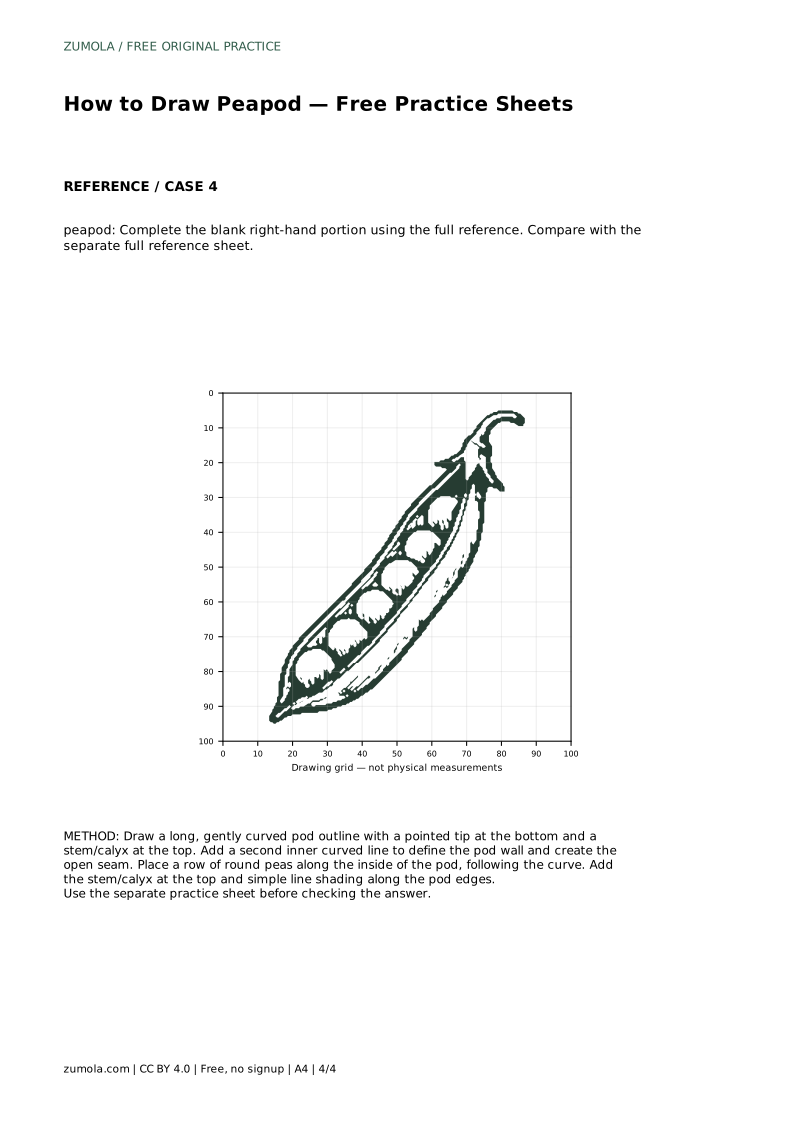
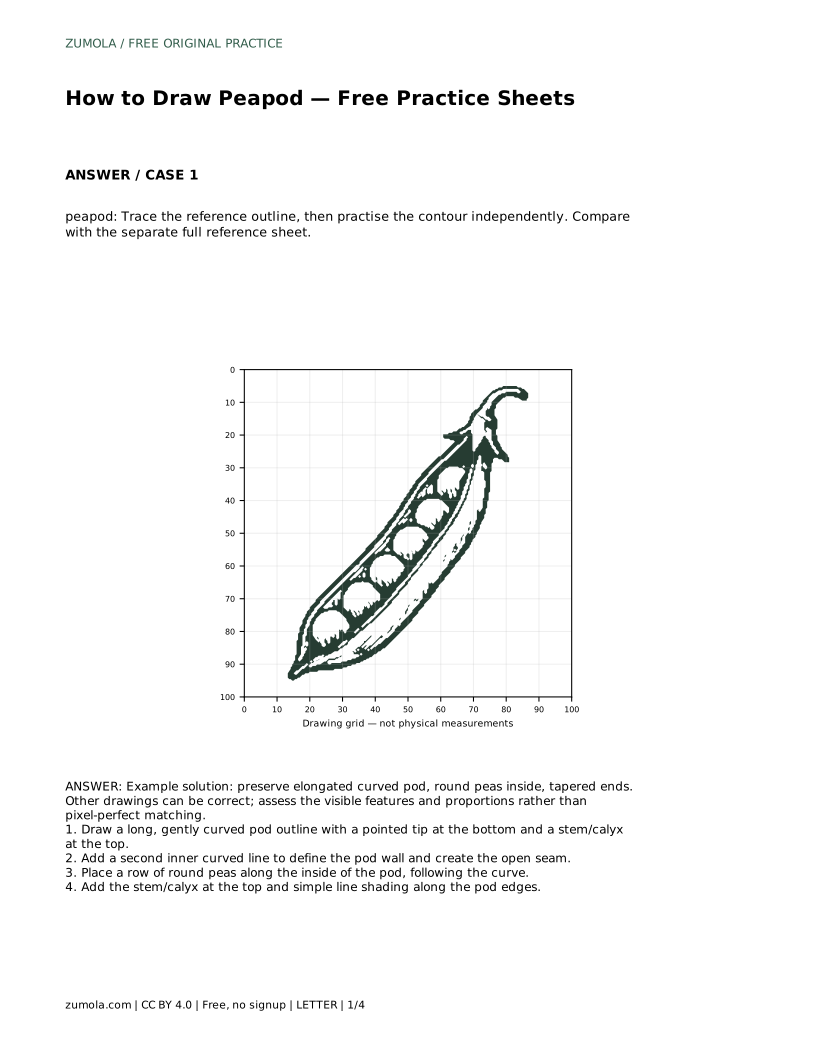
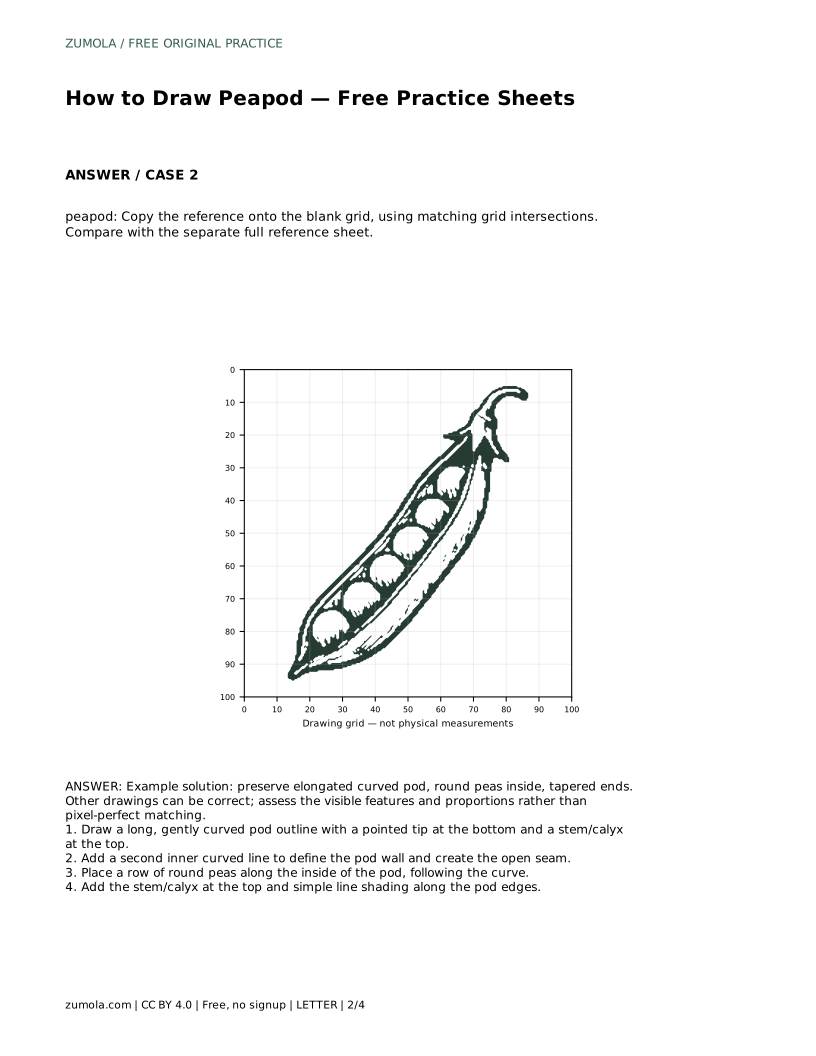
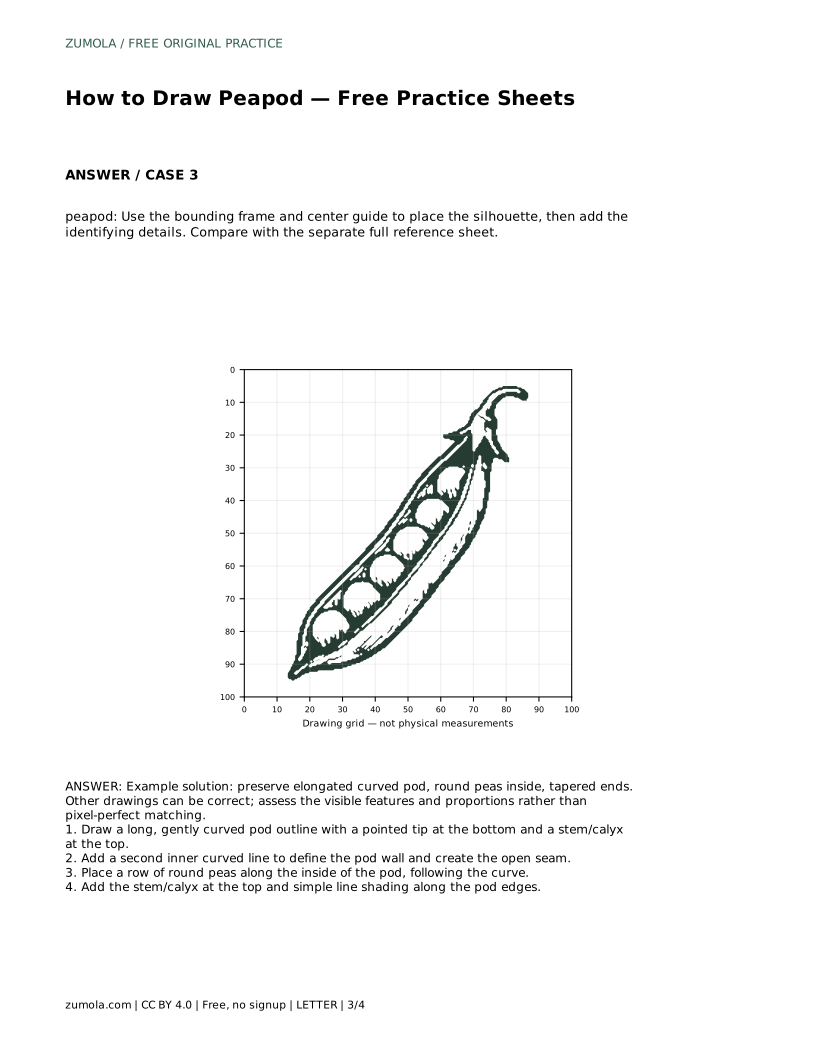
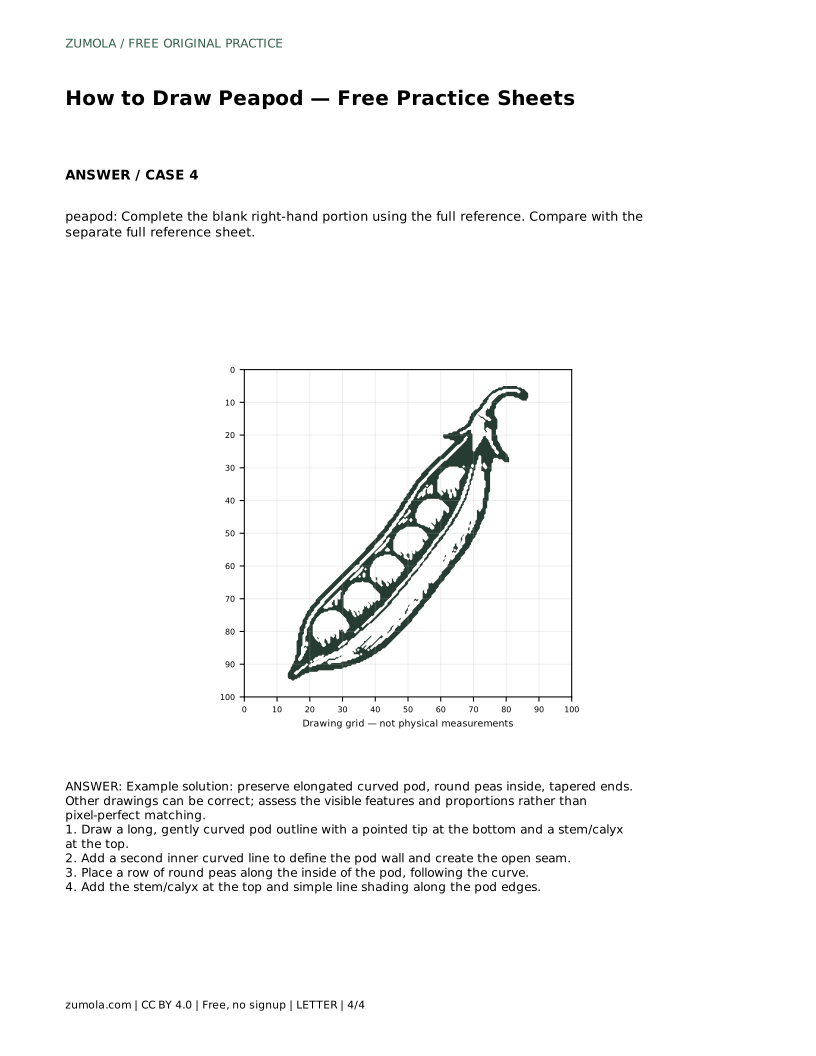
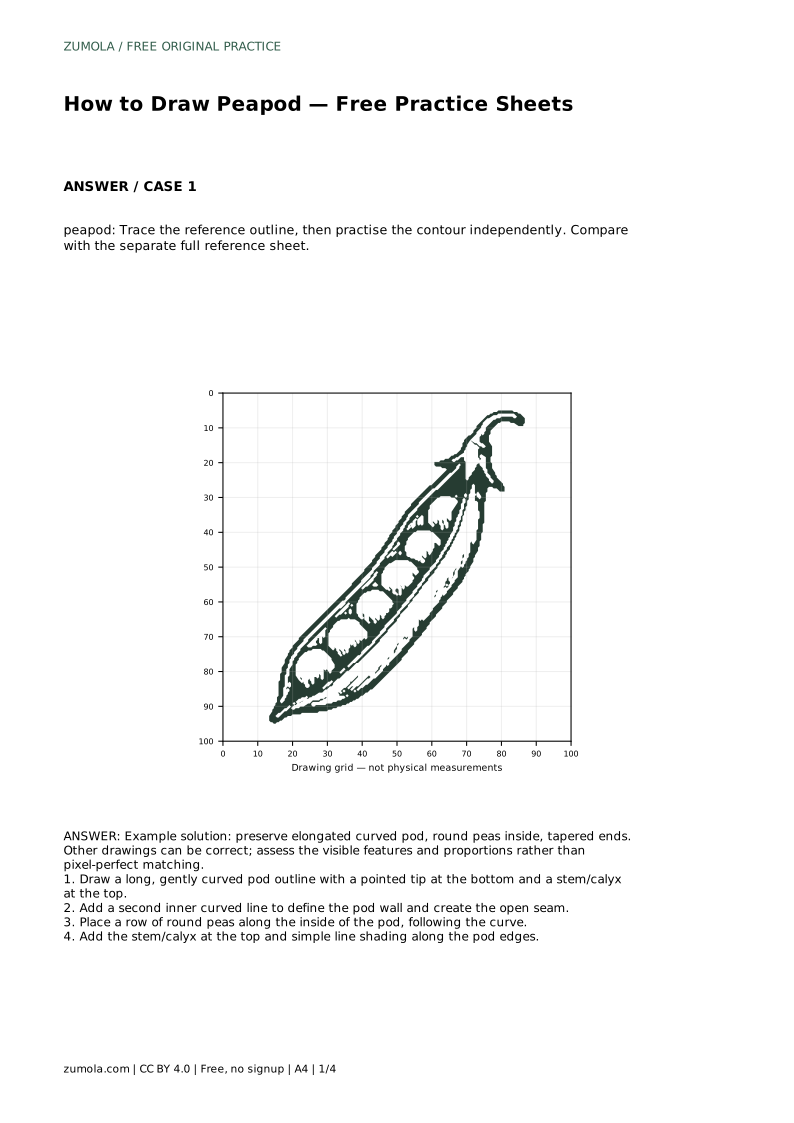
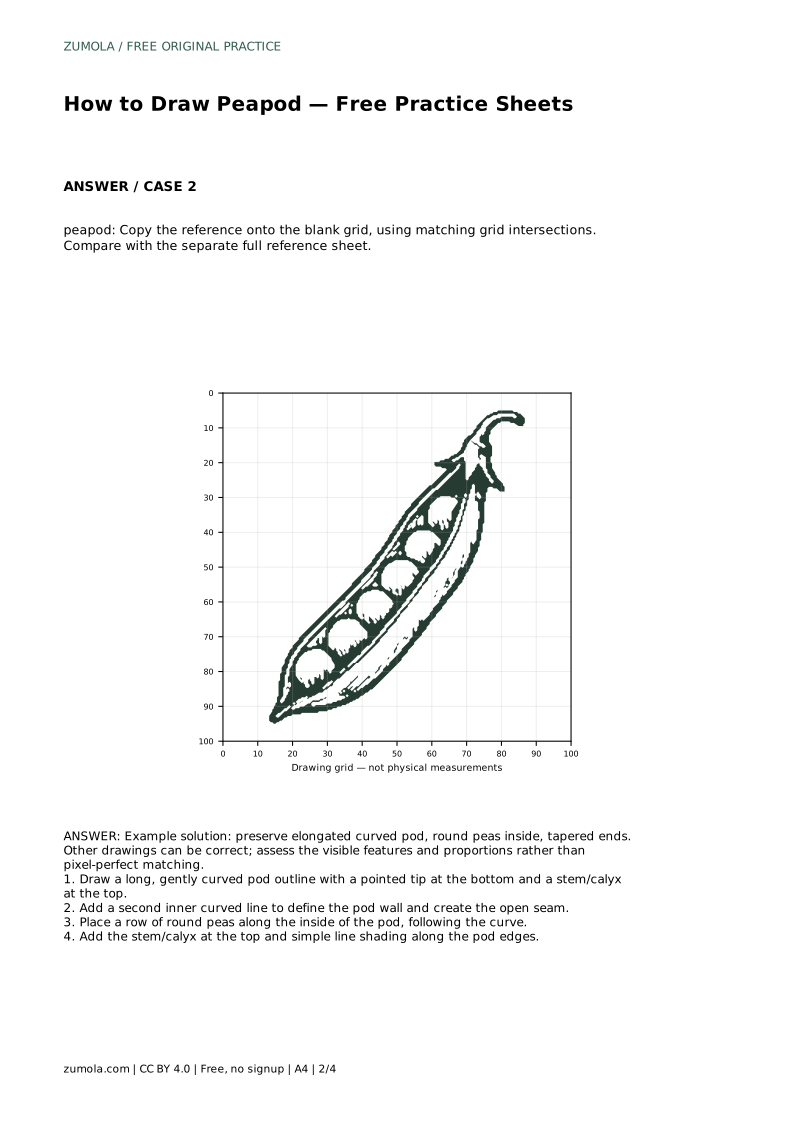
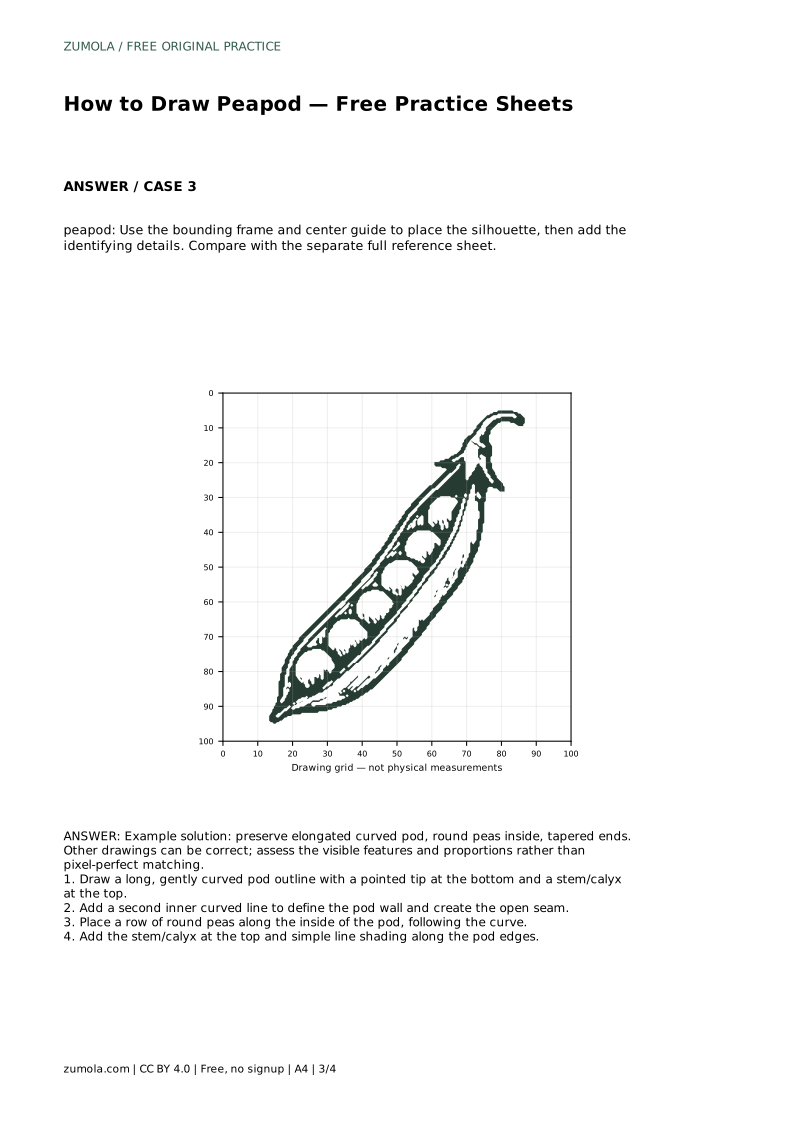
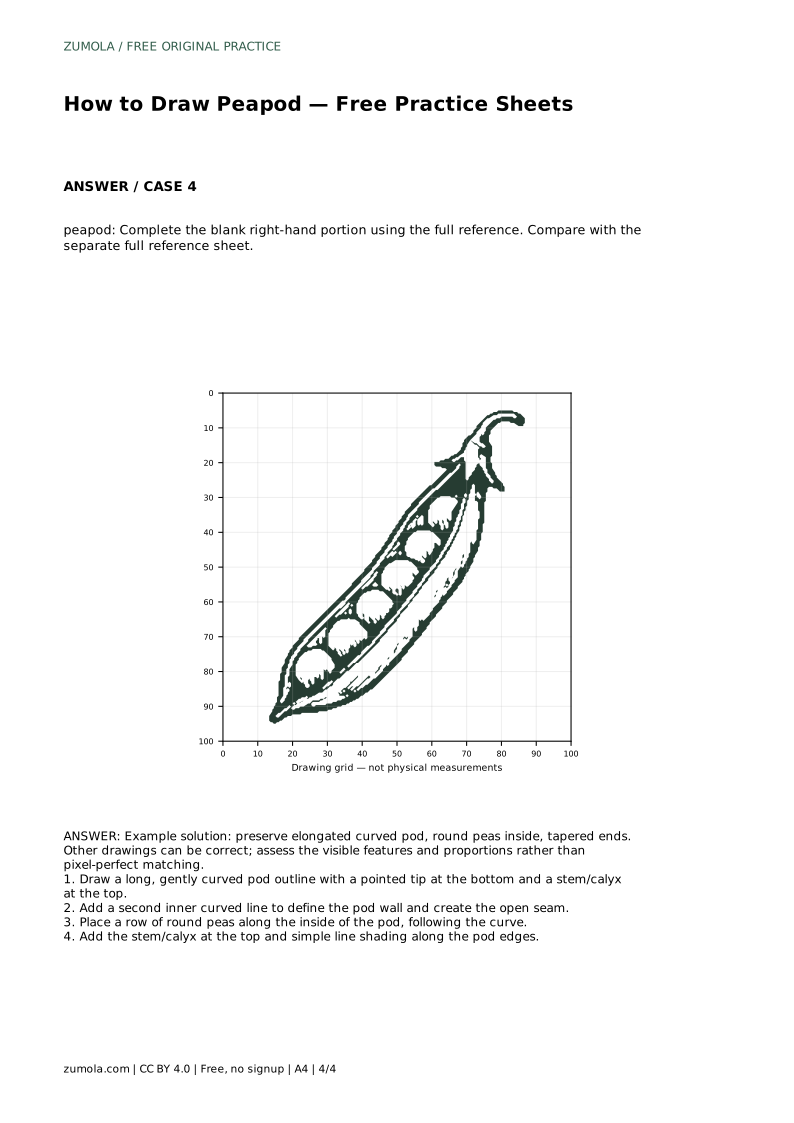
Reference diagrams
LETTER · Download PDF
A4 · Download PDF
Free original resources
Learn to draw a peapod by building a curved pod outline, an inner seam, and a row of round peas. Includes a worked example, common fixes, and a rubric.
Four original cases, with reference diagrams, practice sheets and worked answers. Everything is free; no signup required.
LETTER · Download PDF
A4 · Download PDF
LETTER · Download PDF
A4 · Download PDF
LETTER · Download PDF
A4 · Download PDF
Use A4 or US Letter to match your printer. Use the stated values and conditions to solve each exercise; diagrams are not physical measuring rulers.
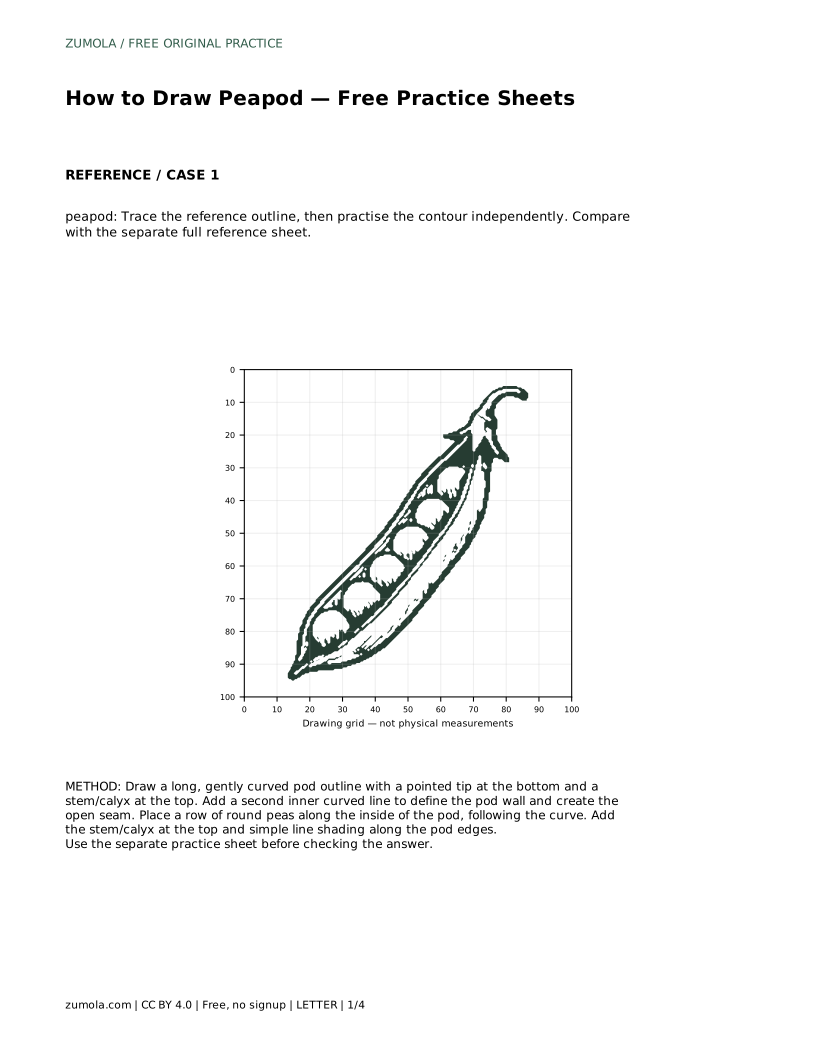
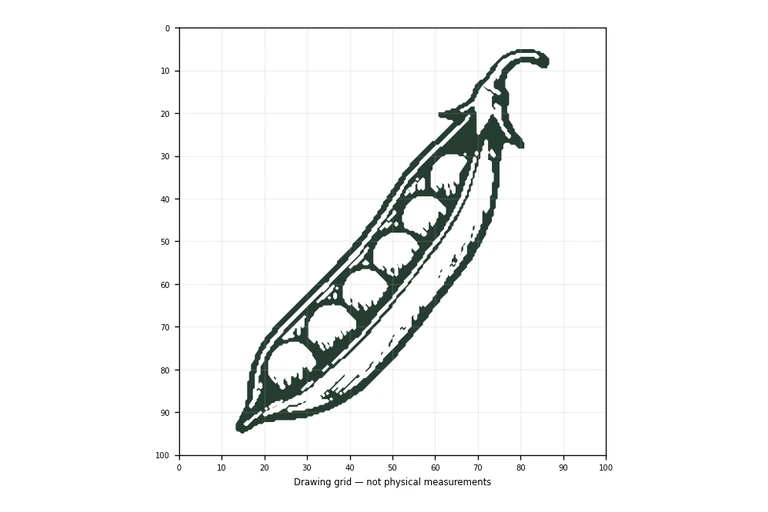
A peapod drawing is mostly a study in one long curve. The pod should read as an elongated, gently bent shape with tapered ends, a stem or calyx at the top, and round peas tucked along the inside. This page walks through that construction step by step, then explains how to judge your own result fairly. Because drawings can succeed in different ways, you will compare visible features and proportions rather than chase a pixel-perfect match.
Begin by placing the overall shape before any detail. Draw a long, gently curved outline that bends like a shallow arc. Make the bottom end taper to a point and leave room at the top for a stem or calyx. Keep the curve smooth rather than kinked; a peapod looks flexible, not rigid.
Check the proportions early. The pod is clearly longer than it is wide, and the bend should be gentle enough that the shape still reads as a single pod. If the outline looks like a straight tube or a tight crescent, adjust the curve before continuing.
A second curved line inside the outline suggests the pod wall and the open seam where the peas sit. Run this inner line roughly parallel to one outer edge, following the same bend. Leave enough space between the outer and inner lines that the wall reads as a thin layer rather than a thick band.
The seam is what makes the drawing recognizable as an opened pod rather than a closed leaf shape. Keep it continuous and aligned with the outer curve so the two lines feel related.
Place a row of round peas along the inside of the pod, following the curve. Space them so each pea is distinct, and let their sizes stay close to one another. Peas near the tapered ends may appear slightly smaller or partly hidden, which helps the pod feel natural.
Finish with the stem or calyx at the top and simple line shading along the pod edges. Shading can be a few short strokes that suggest depth without turning the drawing into a fully rendered illustration.
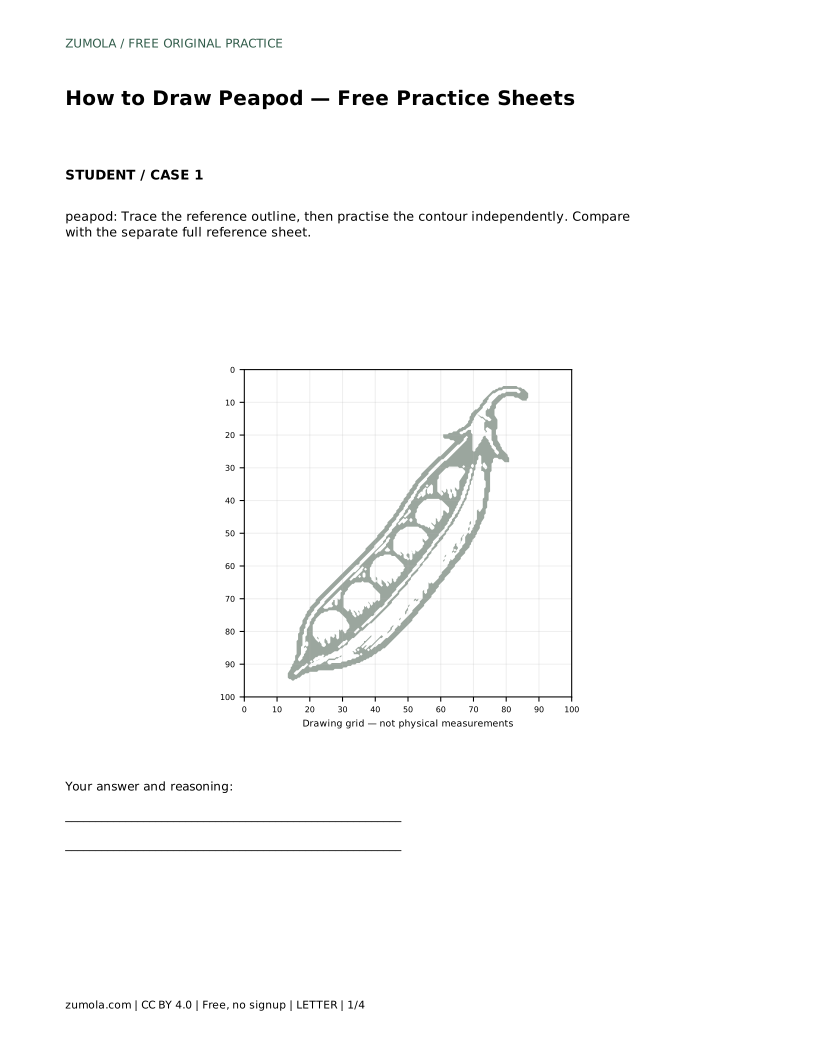
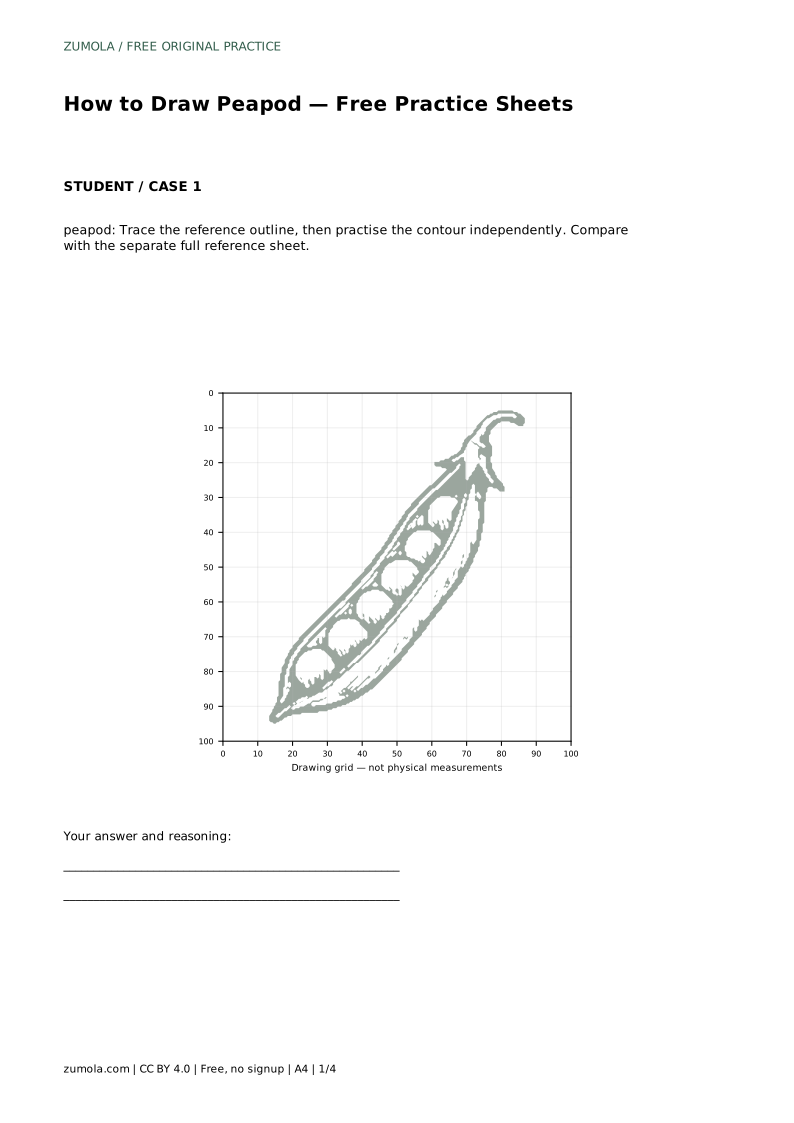
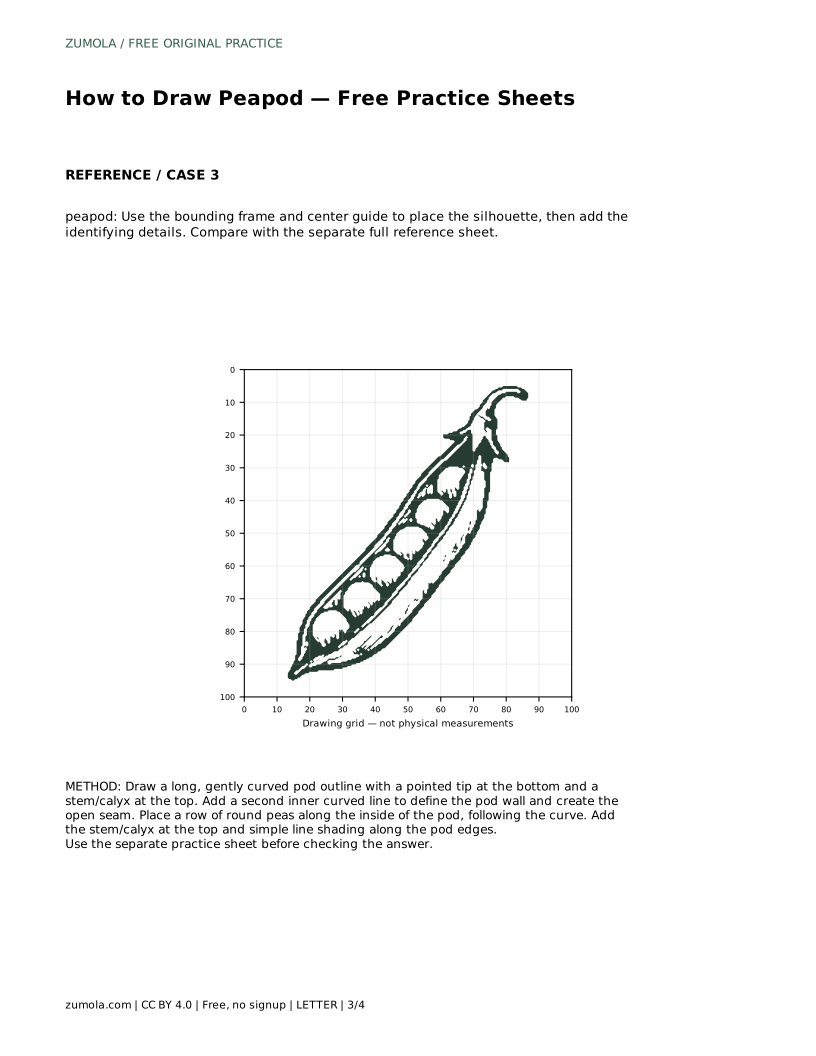
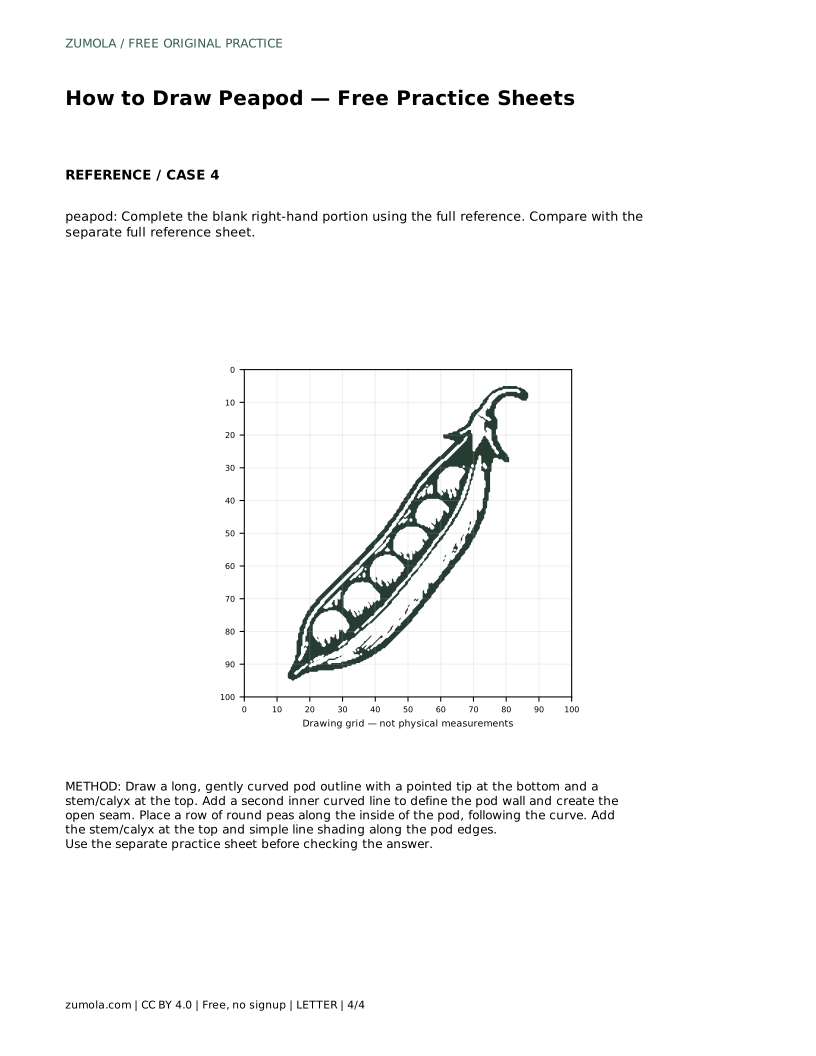
Compare your drawing with a separate full reference sheet rather than judging from memory. Look for the elongated curved pod, round peas inside, and tapered ends. These are the identifying features; small differences in curve depth or pea spacing can still be correct.
Use the rubric below to assess visible features and proportions. A drawing that keeps the pod long and curved, shows a clear seam, and places round peas along the inside has met the main goals even if it does not match the reference exactly.
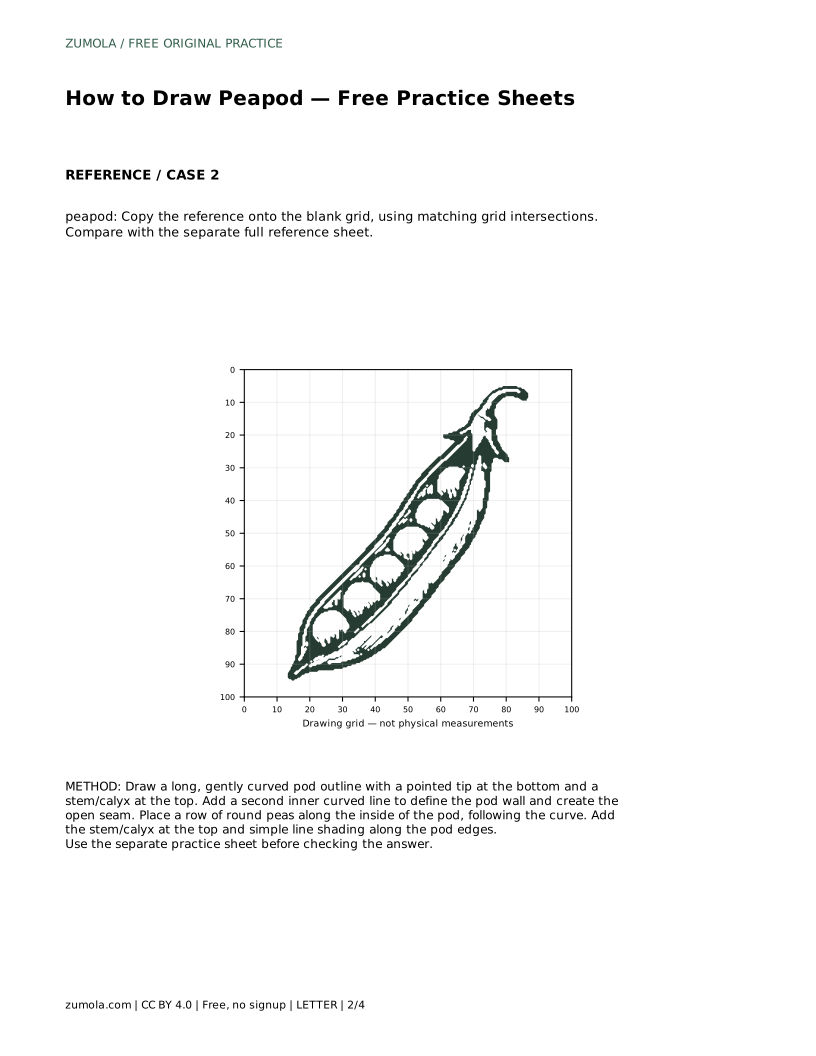
Prompt: Trace the reference outline, then practise the contour independently. Compare with the separate full reference sheet.
Example solution: preserve elongated curved pod, round peas inside, tapered ends. Other drawings can be correct; assess the visible features and proportions rather than pixel-perfect matching.
peapod: Trace the reference outline, then practise the contour independently. Compare with the separate full reference sheet.
Example solution: preserve elongated curved pod, round peas inside, tapered ends. Other drawings can be correct; assess the visible features and proportions rather than pixel-perfect matching. Draw a long, gently curved pod outline with a pointed tip at the bottom and a stem/calyx at the top. Add a second inner curved line to define the pod wall and create the open seam. Place a row of round peas along the inside of the pod, following the curve. Add the stem/calyx at the top and simple line shading along the pod edges.
No. Preserve the elongated curved pod, round peas inside, and tapered ends, then assess visible features and proportions rather than pixel-perfect matching.
Place them along the inside of the pod, following its curve, with enough spacing that each round pea stays distinct.
A missing or unclear inner seam. Add a second curved line parallel to the outer edge to define the pod wall and open seam.
All drawing practice · Free coordinate paper
Original resources · CC BY 4.0 · Free for personal and classroom use with attribution.