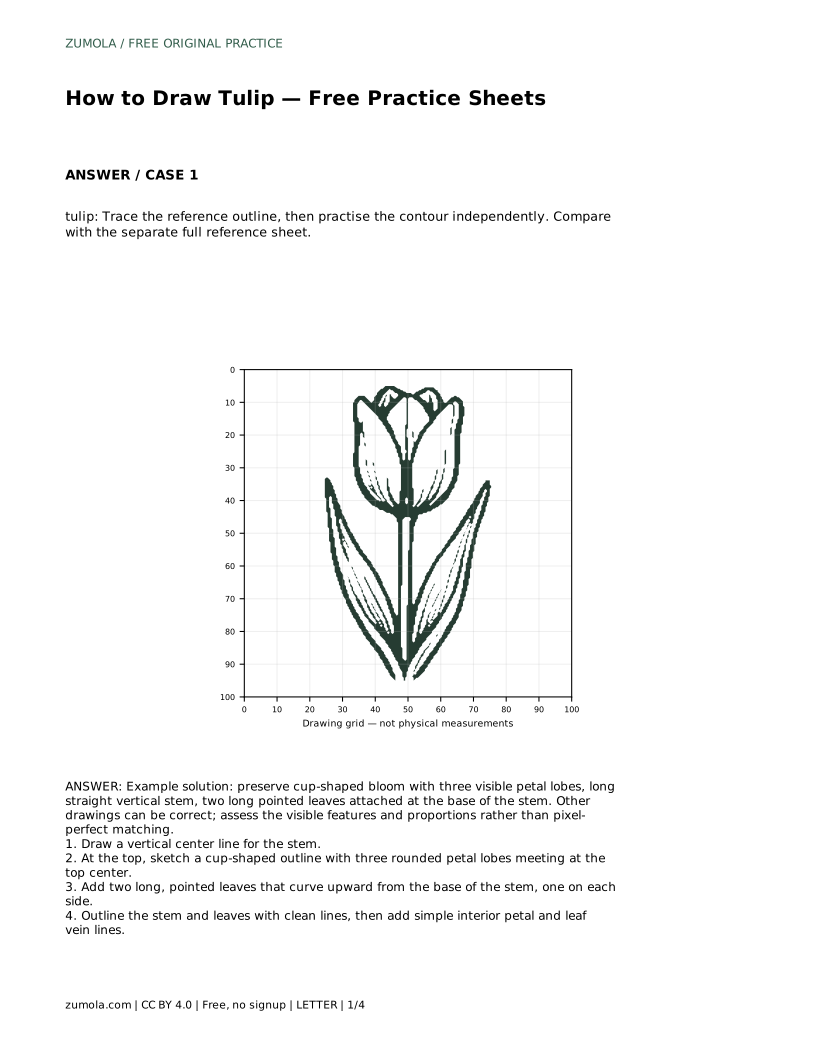
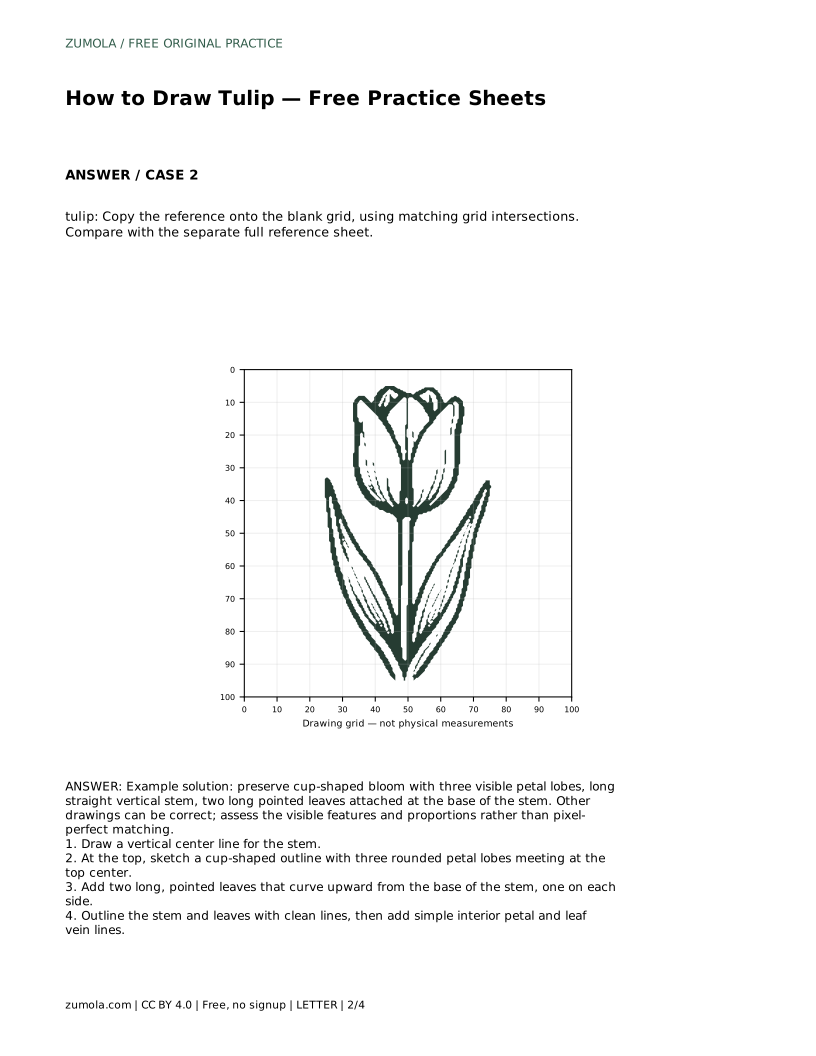
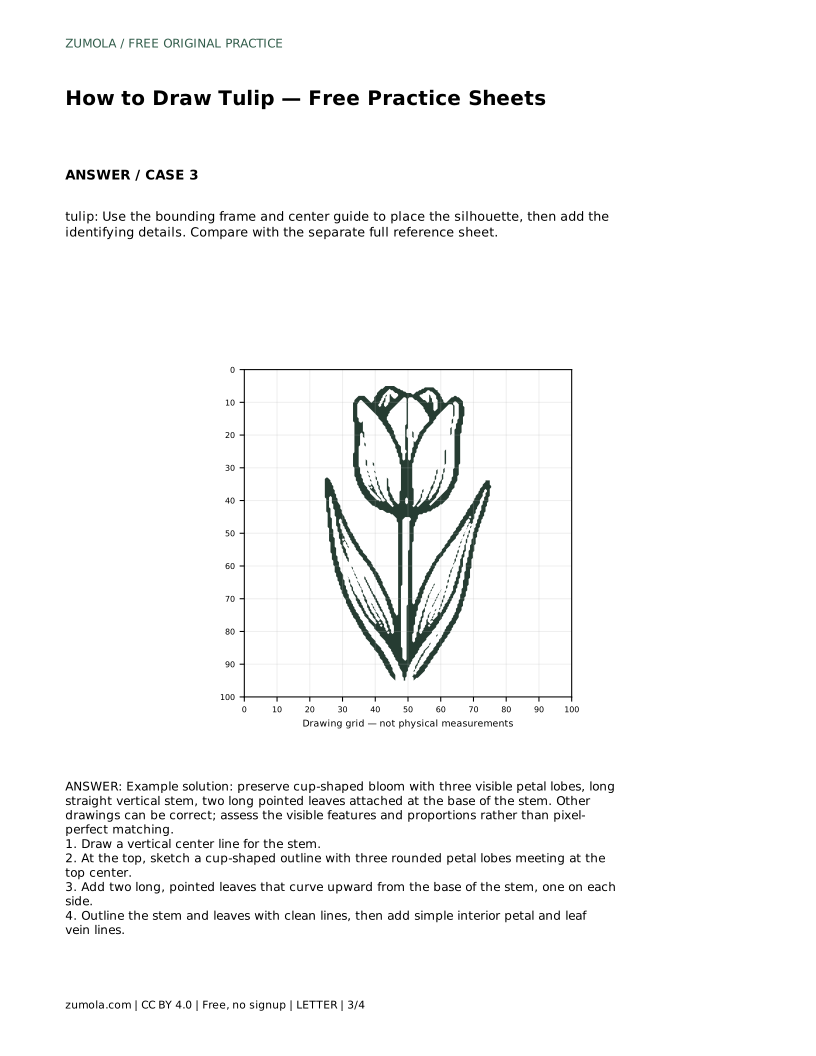
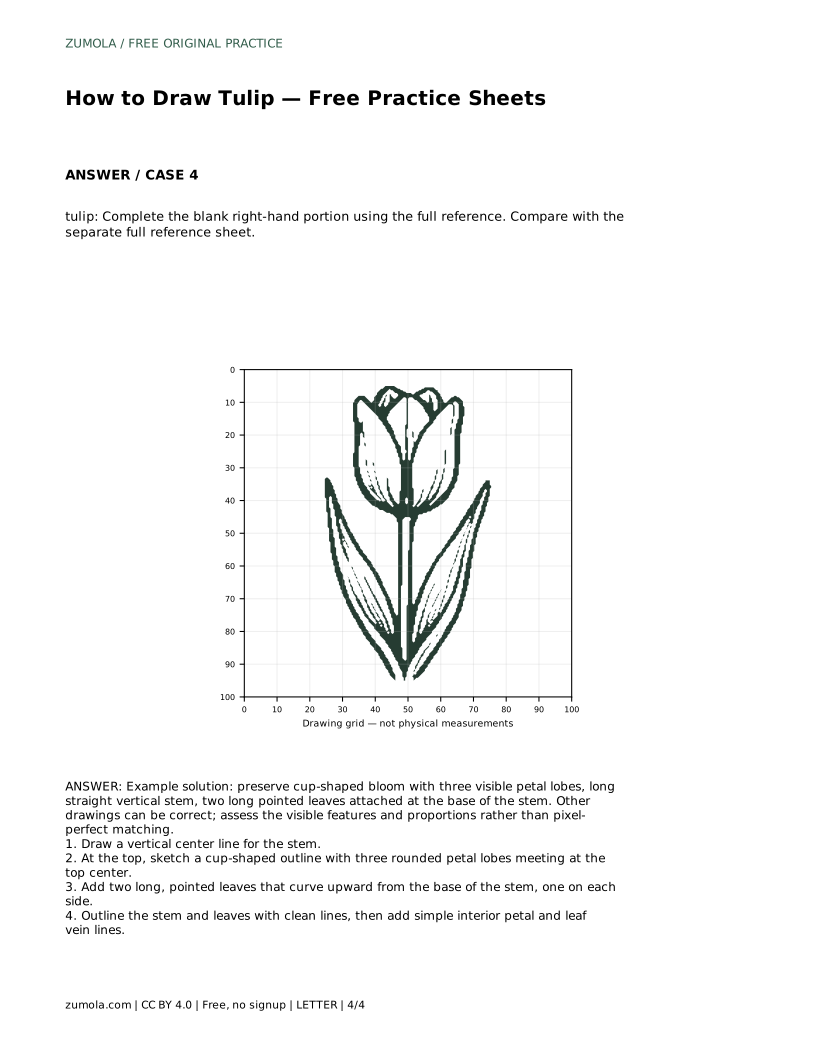
Reference diagrams
LETTER · Download PDF
A4 · Download PDF
Free original resources
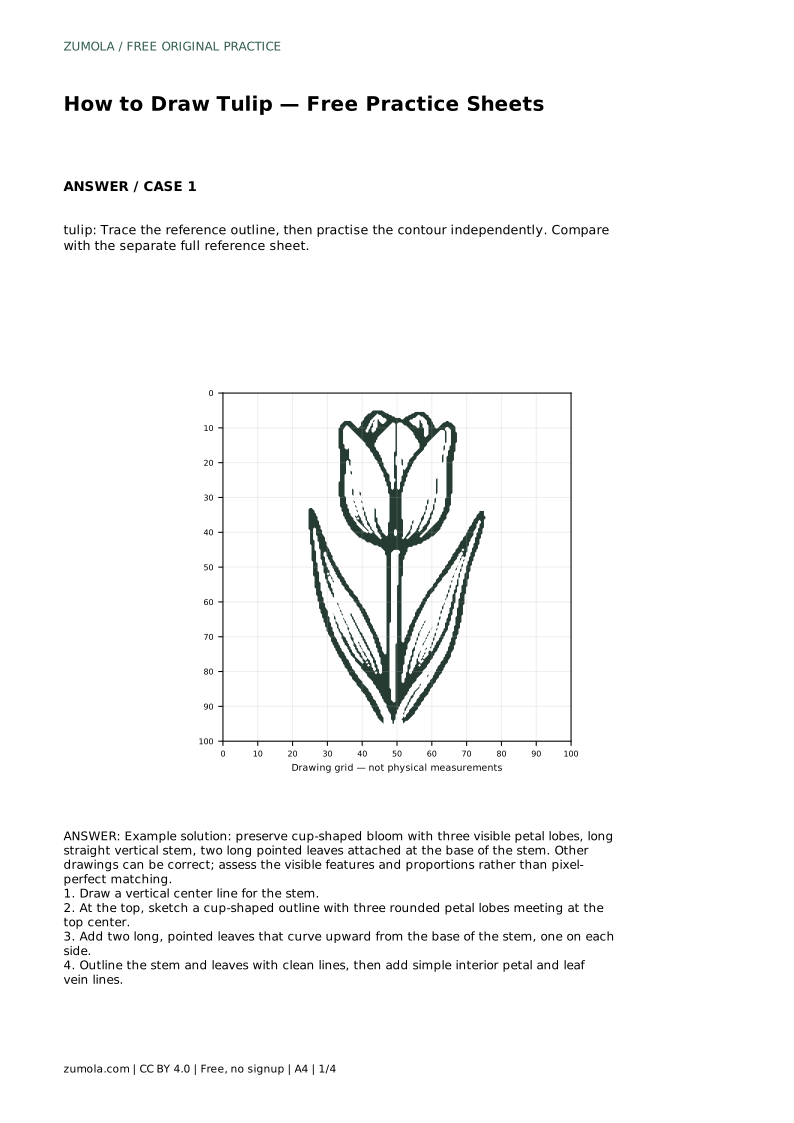
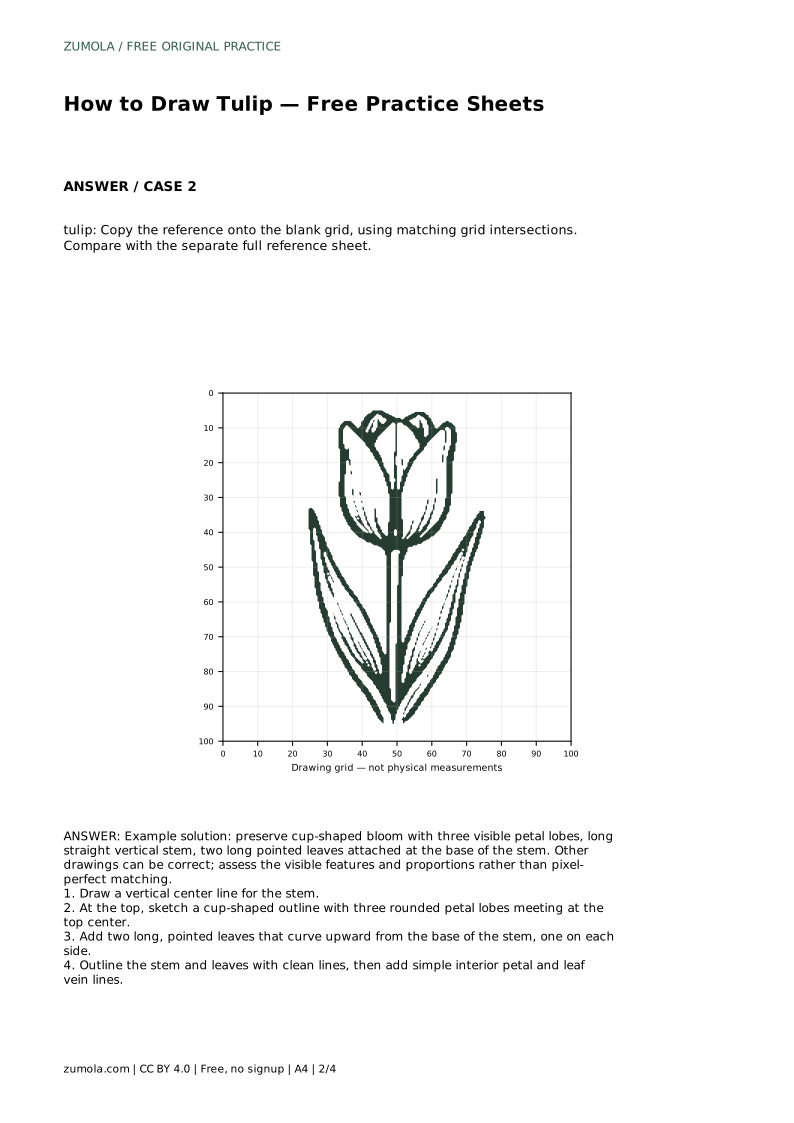
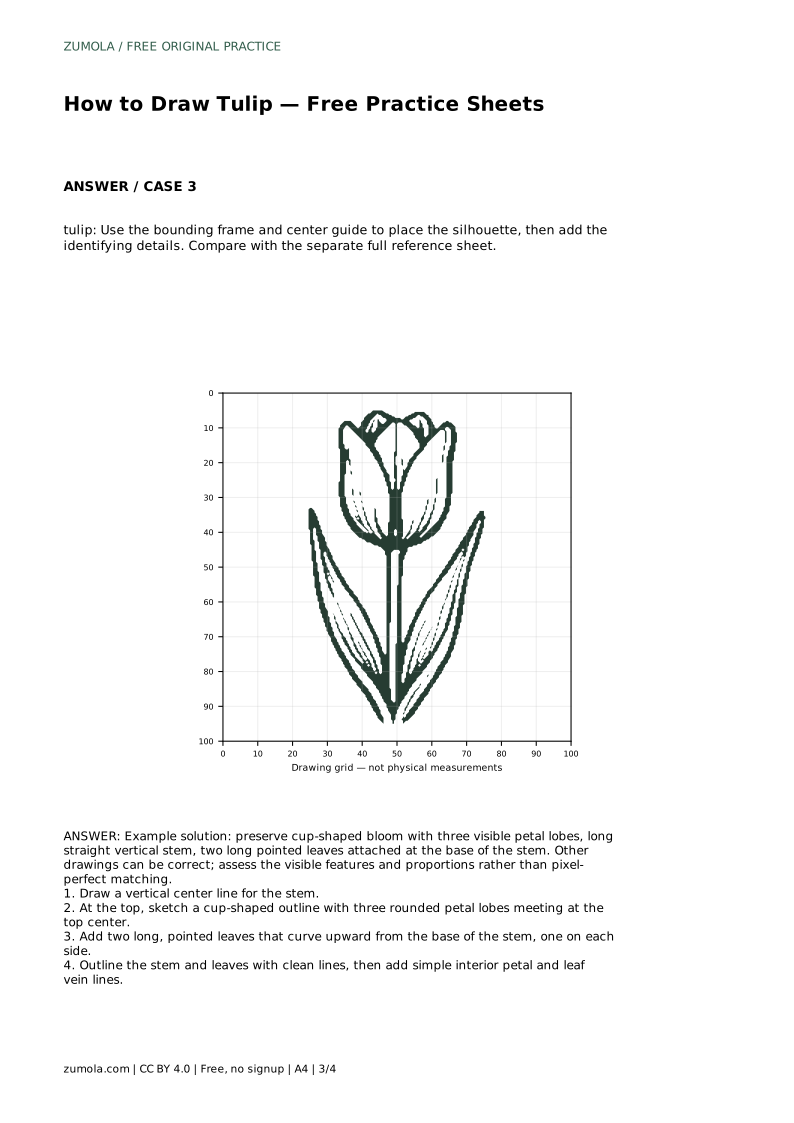
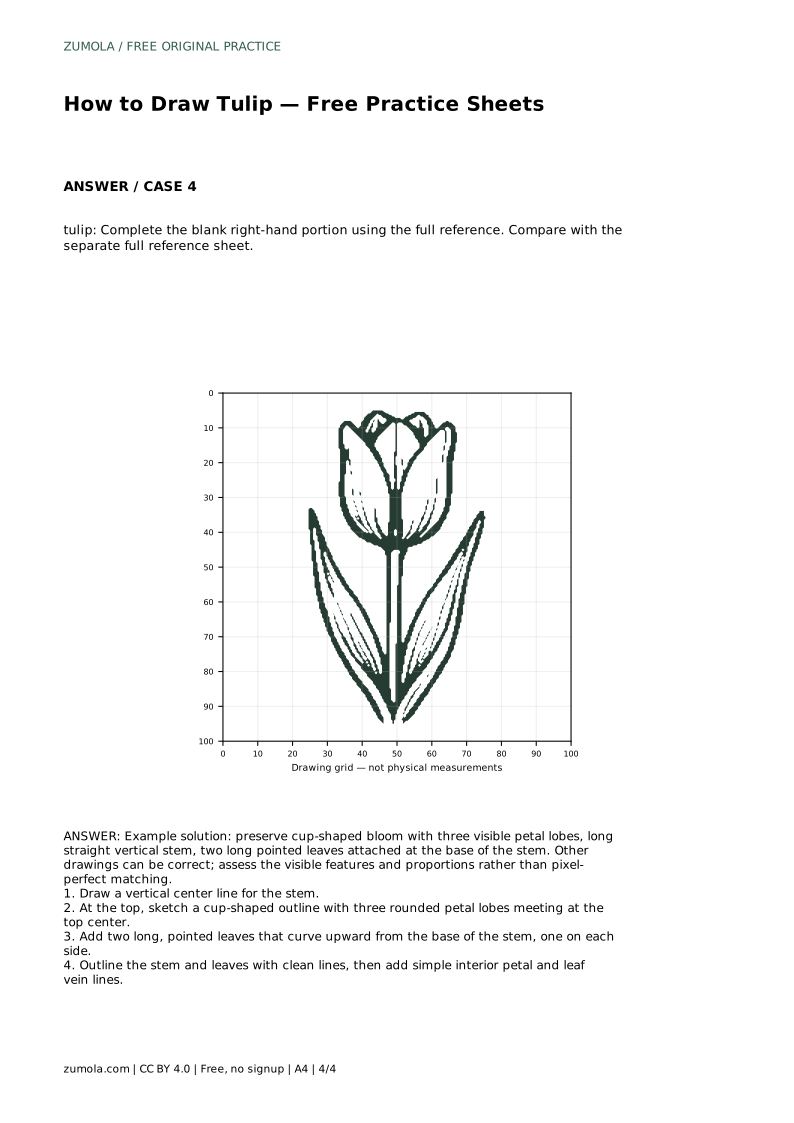
Learn a simple tulip drawing method: cup-shaped bloom with three petal lobes, a straight vertical stem, and two pointed leaves. Includes practice guidance and a rubric.
Four original cases, with reference diagrams, practice sheets and worked answers. Everything is free; no signup required.
LETTER · Download PDF
A4 · Download PDF
LETTER · Download PDF
A4 · Download PDF
LETTER · Download PDF
A4 · Download PDF
Use A4 or US Letter to match your printer. Use the stated values and conditions to solve each exercise; diagrams are not physical measuring rulers.
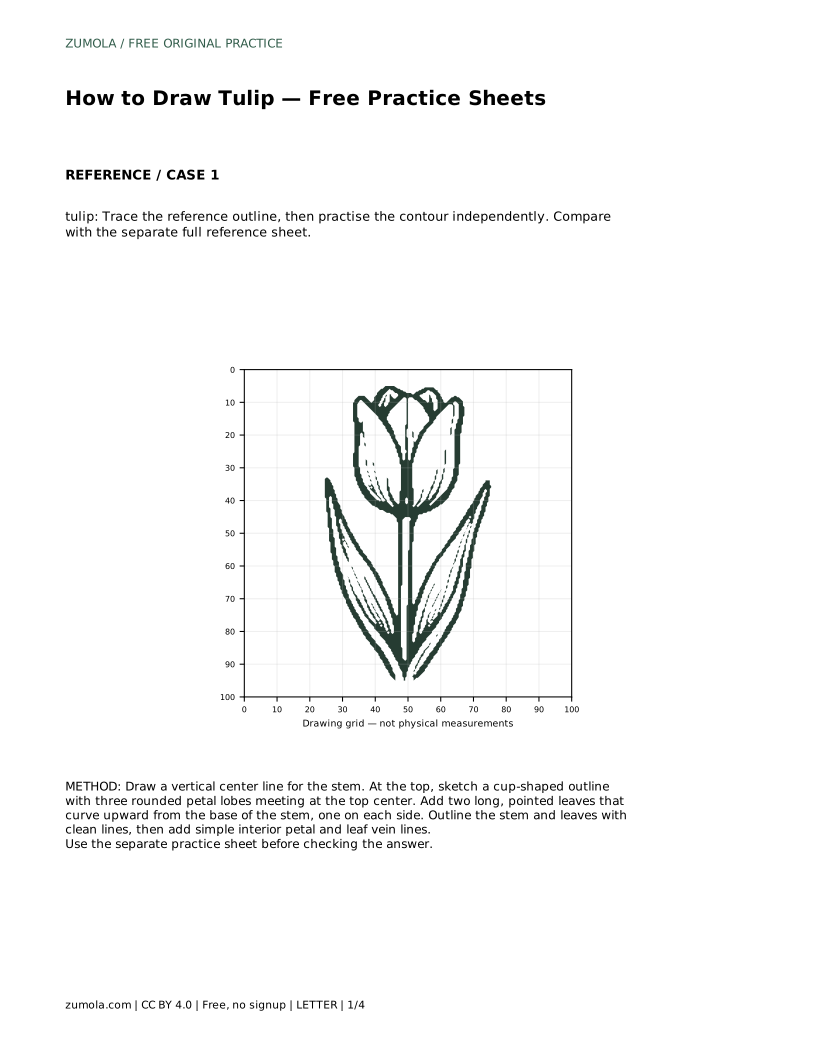
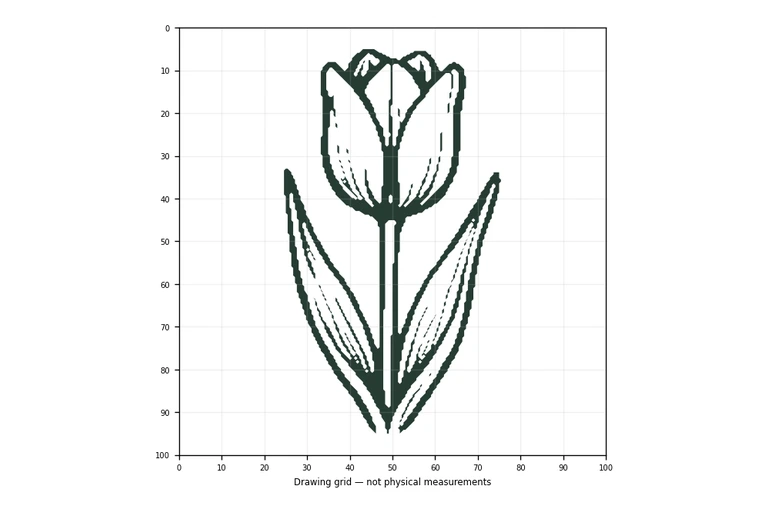
A tulip is a forgiving subject for beginners because its main shapes are few and clear: a rounded cup at the top, a straight stem below, and two long leaves rising from the base. This page teaches a simple drawing method you can practise on paper or on printable practice sheets. The goal is not a pixel-perfect copy but a drawing that keeps the tulip's identifying features and sensible proportions.
Begin with a light vertical line. This line does two jobs: it sets the stem's direction and gives you a reference for keeping the bloom centered above it. Draw the stem as a narrow, mostly straight band rather than a single hairline, so it reads as a stem and not a scratch. Leave the top of the line free for the bloom.
Keep your early marks light. You are placing structure, not committing to final edges. If the stem leans slightly, that is acceptable in a finished drawing, but for a first practice attempt a vertical stem makes the bloom easier to position.
At the top of the stem, sketch a cup shape: wider and rounded at the top, narrowing slightly where it meets the stem. Inside that cup, indicate three visible petal lobes that meet near the top center. The lobes should look like rounded sections of one bloom, not three separate flowers.
A common beginner error is making the bloom too narrow, which turns the tulip into a bud on a stick. Compare the bloom's width to the stem's length: in a simple tulip drawing the bloom is usually a compact cup, clearly wider than the stem. Adjust the outline before adding detail.
Tulip leaves are long and pointed, and they attach near the base of the stem. Draw one leaf on each side, curving upward. Keep the leaves long relative to their width so they read as tulip leaves rather than generic oval shapes.
When the silhouette looks right, go over the stem, leaves, and bloom with clean lines. Then add simple interior lines: a few short lines suggesting petal divisions and one gentle vein line in each leaf. Keep interior detail sparse; too many lines can make a simple drawing look busy.
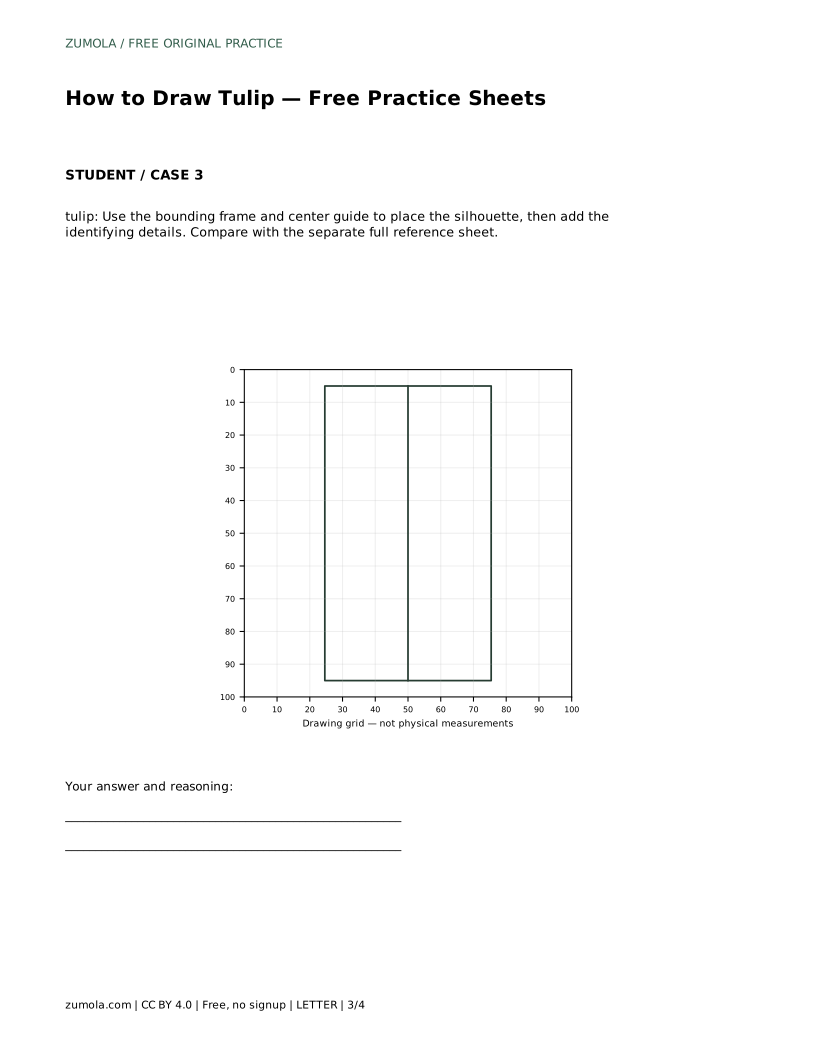
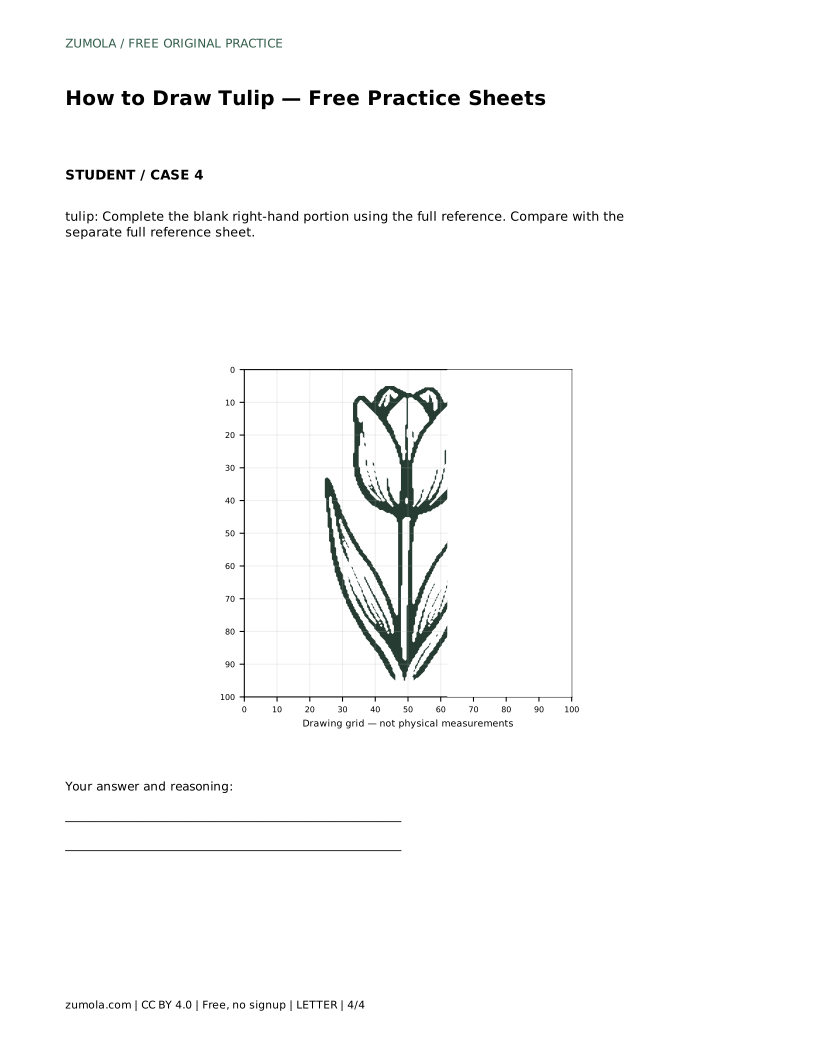
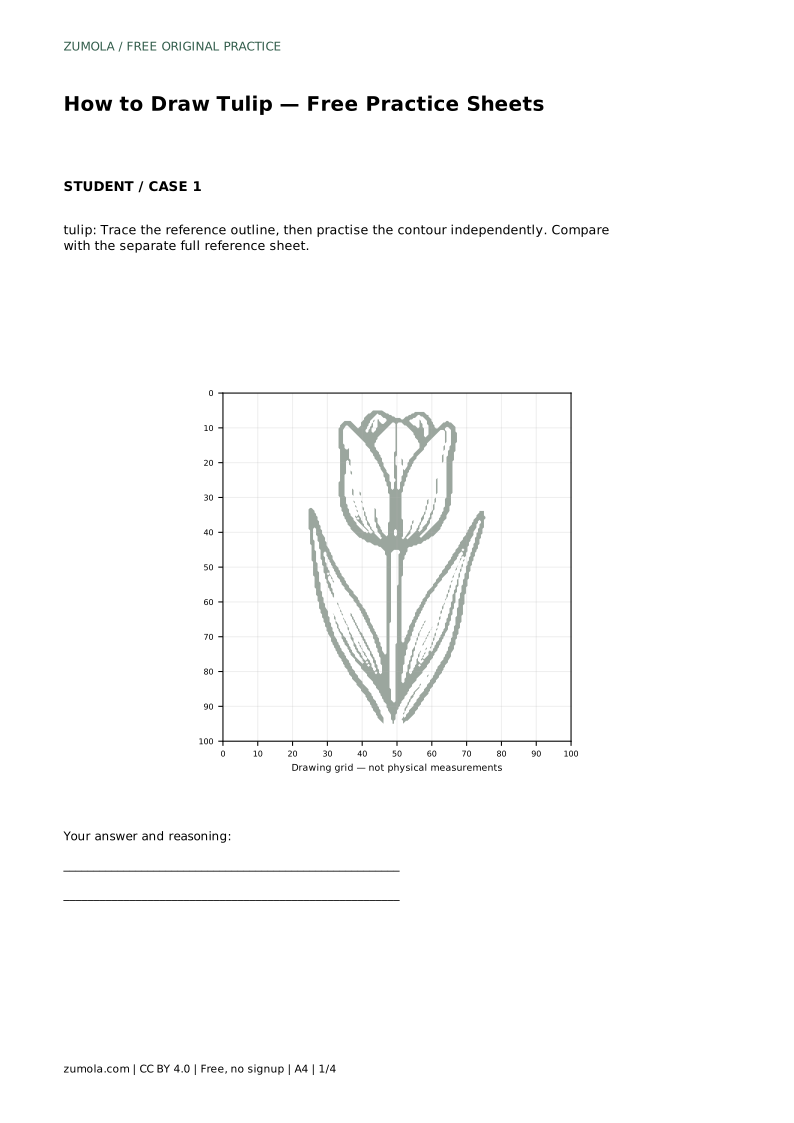
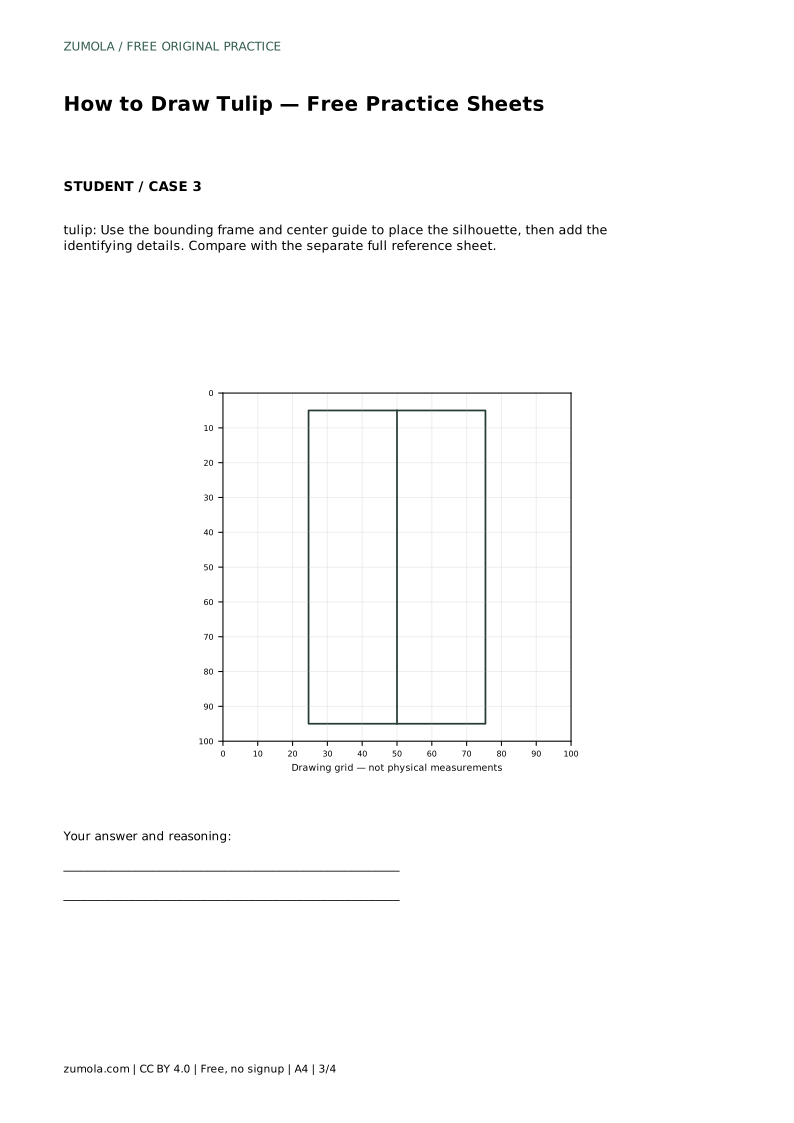
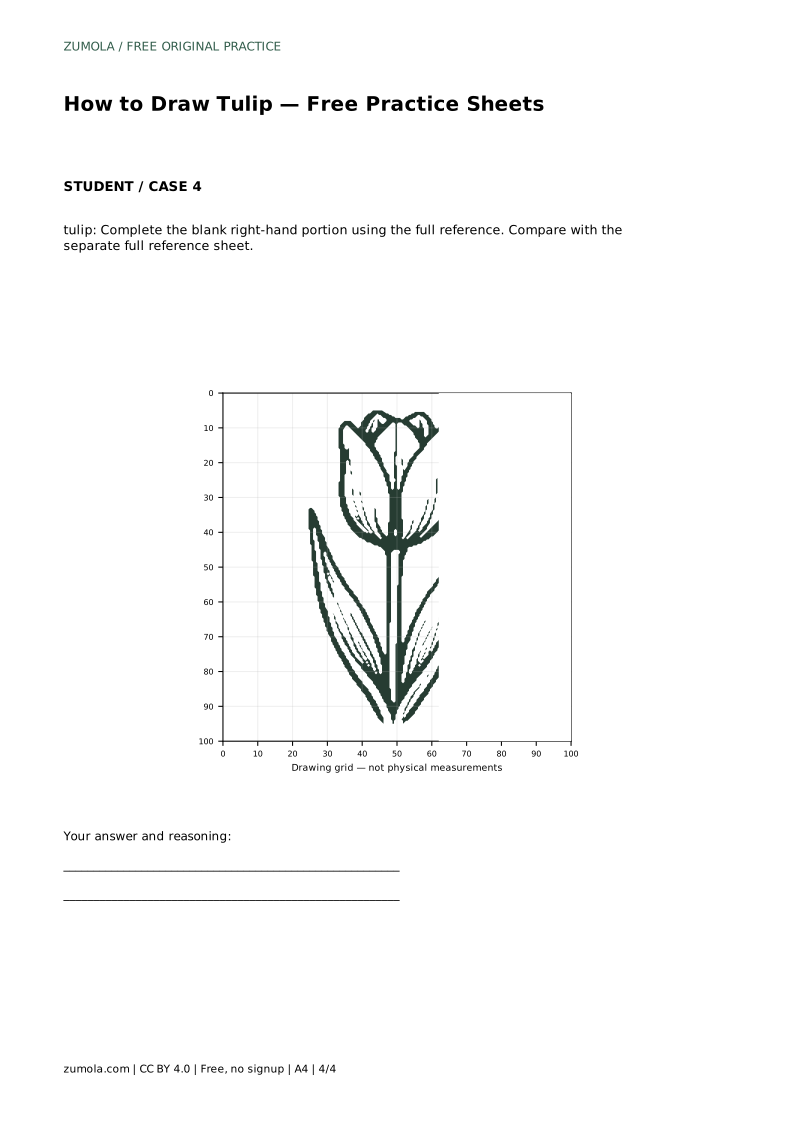
The practice sheets support different approaches. Tracing the reference outline helps you feel the shapes before drawing them independently. Copying onto a blank grid encourages you to compare positions at matching grid intersections. A bounding frame with a center guide helps you place the silhouette before adding details. A partially blank sheet asks you to complete the missing portion using the full reference.
After each attempt, compare your drawing with the separate full reference sheet. Ask whether the cup shape, three petal lobes, straight stem, and two pointed leaves are all present and reasonably proportioned. Different drawings can be correct; judge the visible features rather than exact matching.
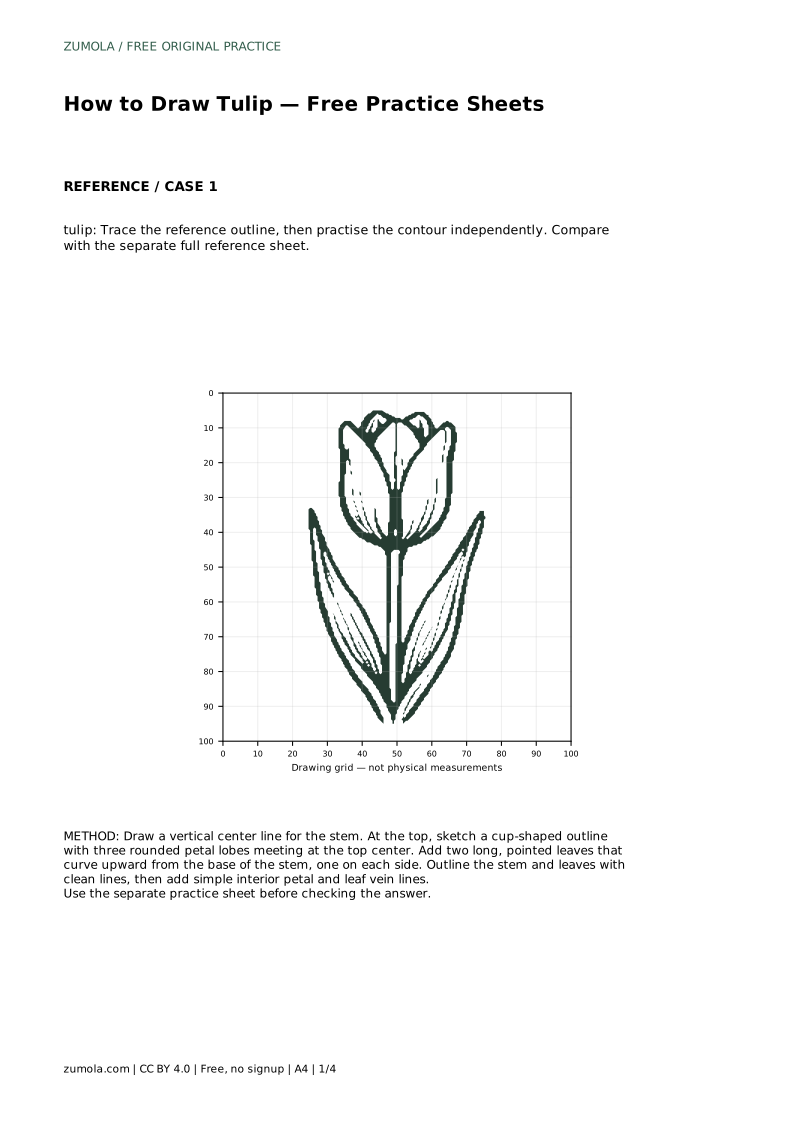
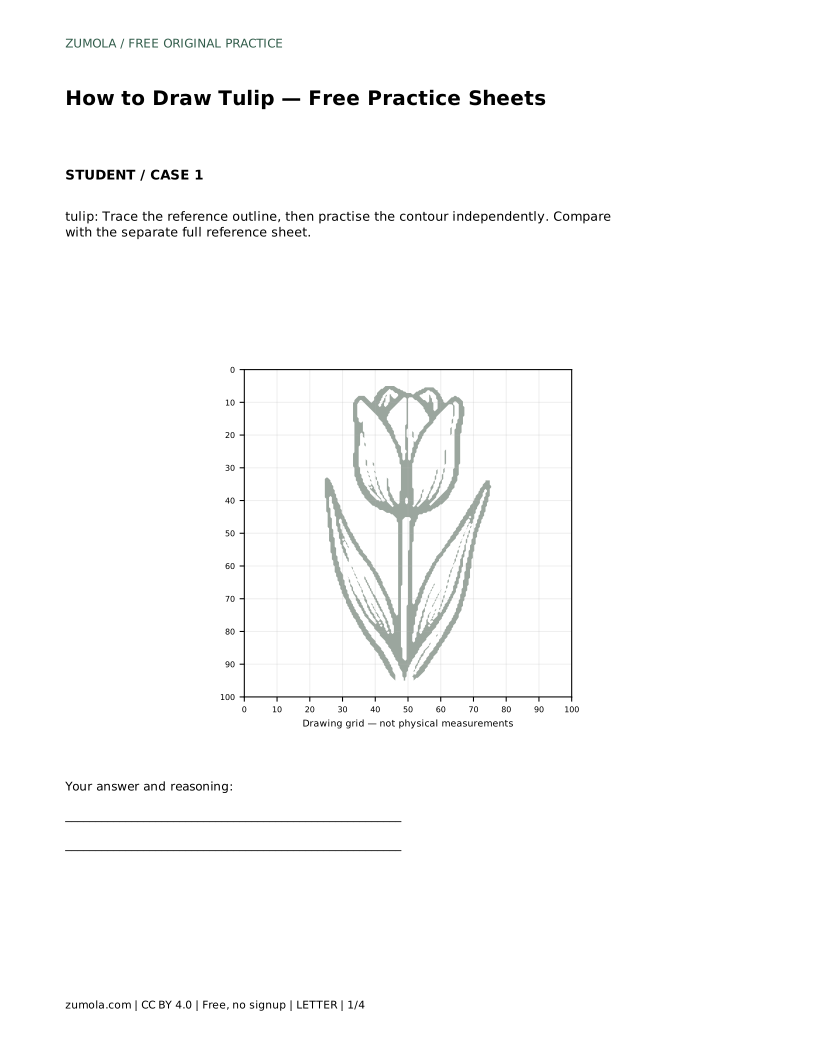
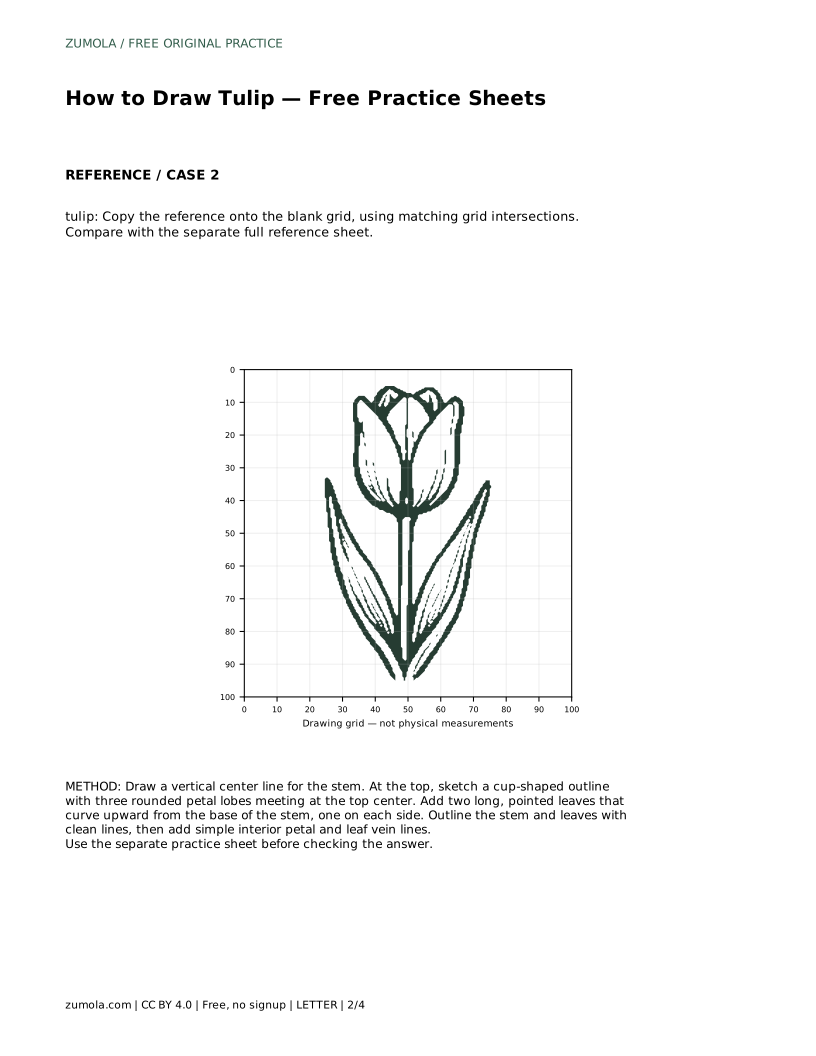
tulip: Trace the reference outline, then practise the contour independently. Compare with the separate full reference sheet.
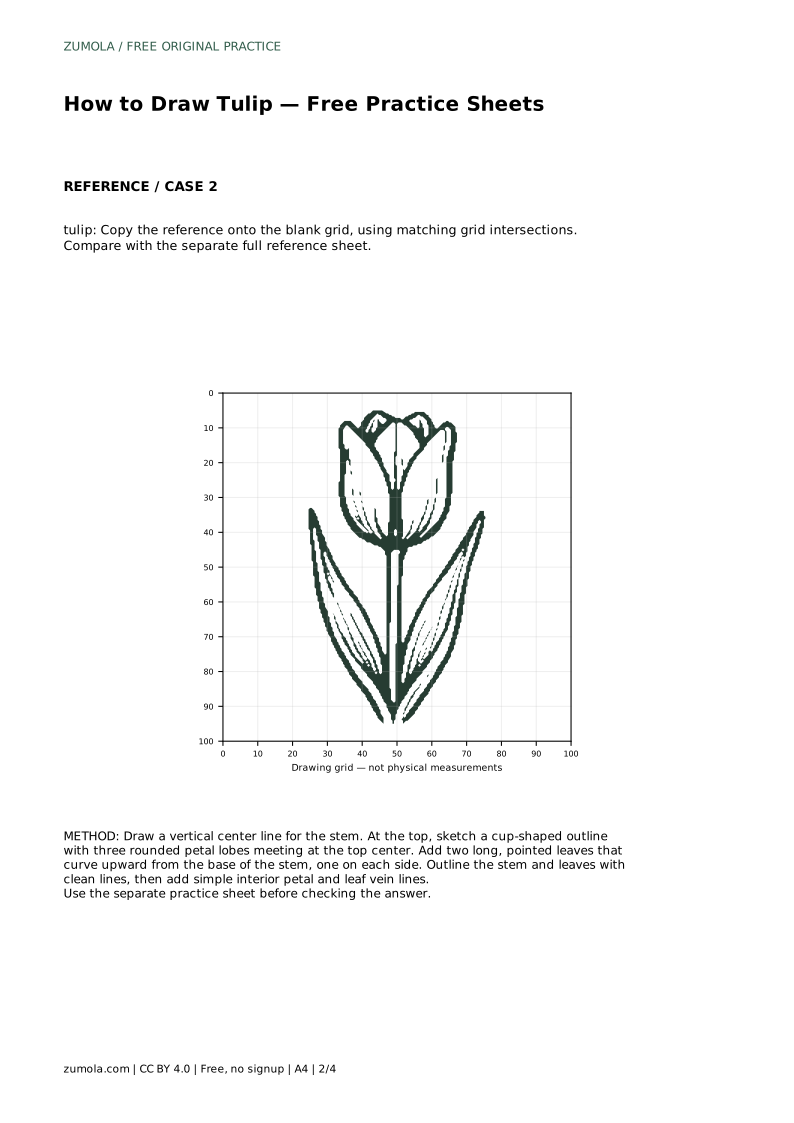
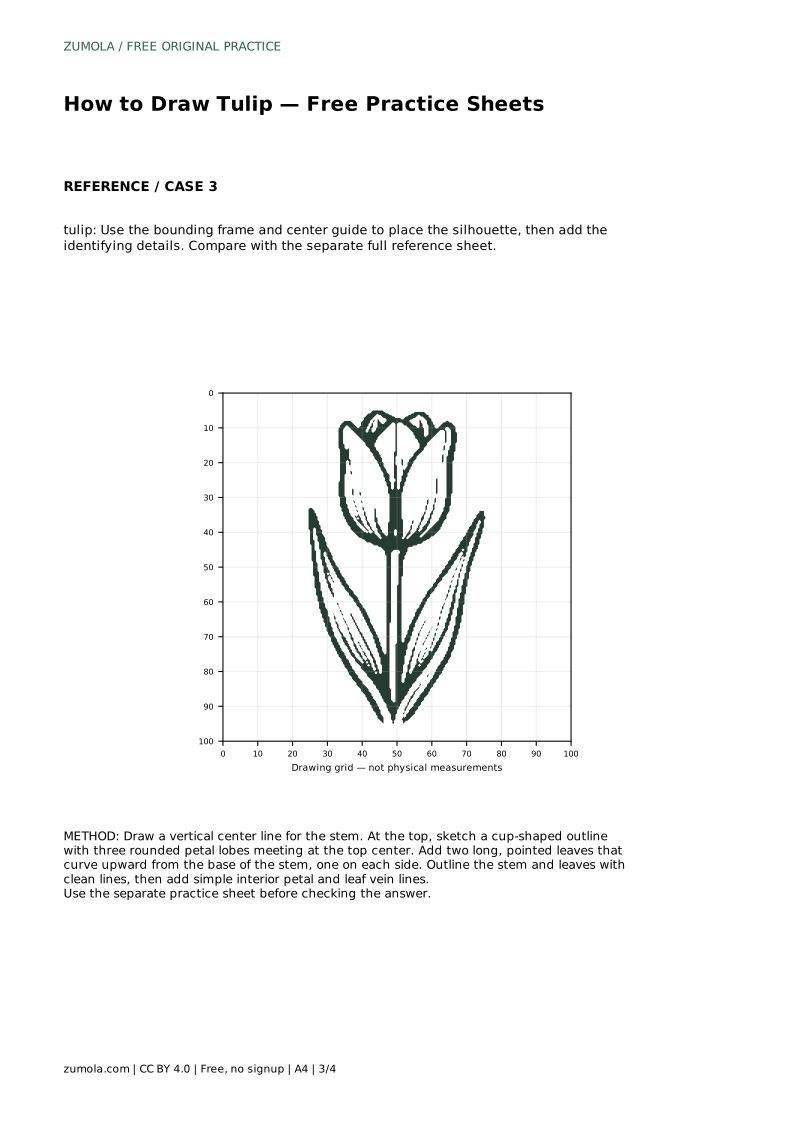
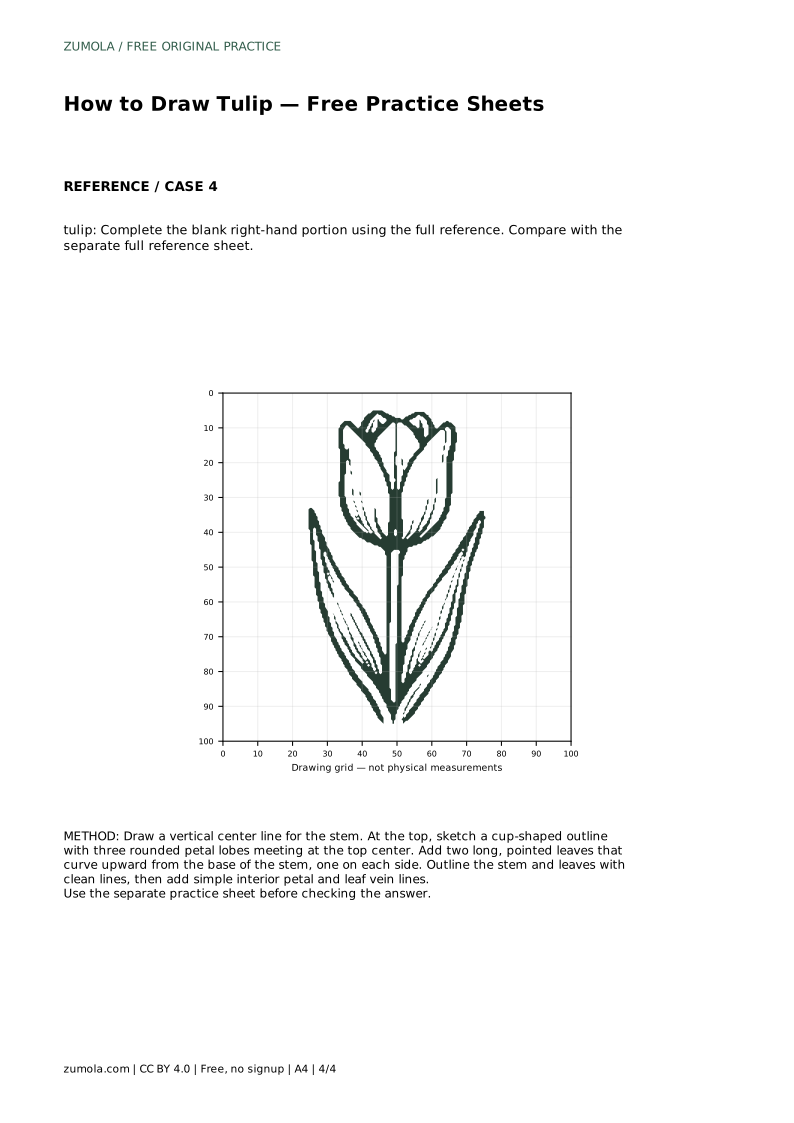
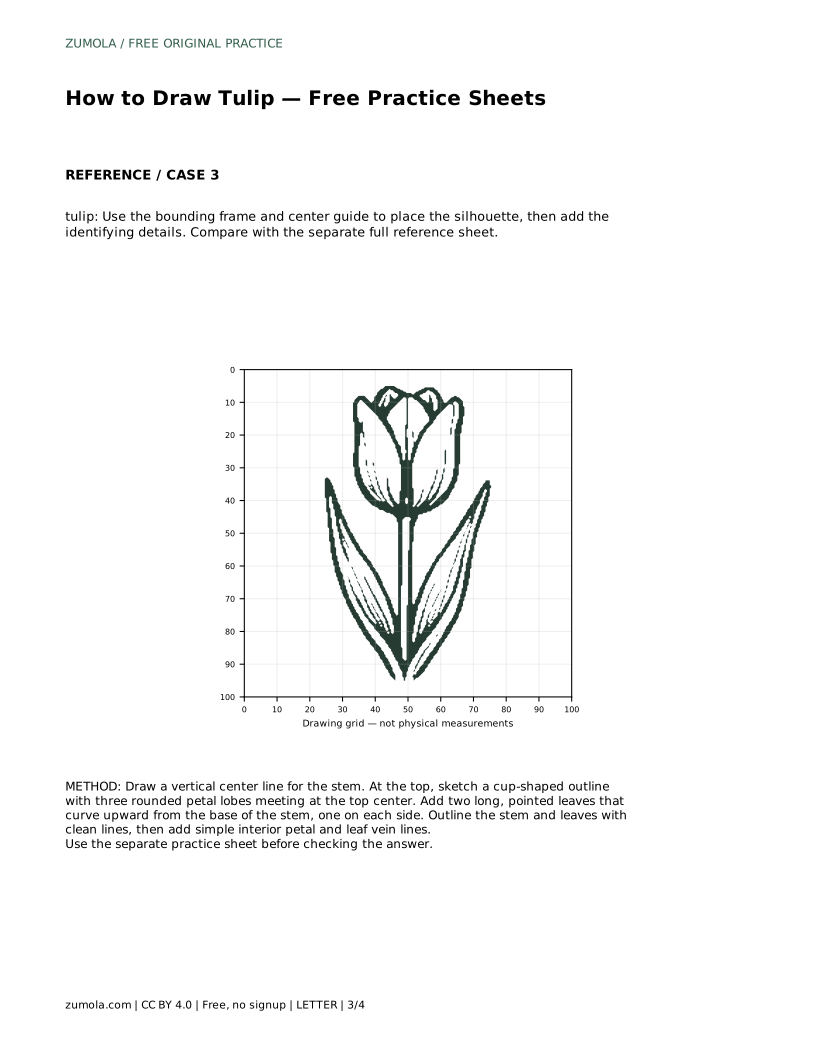
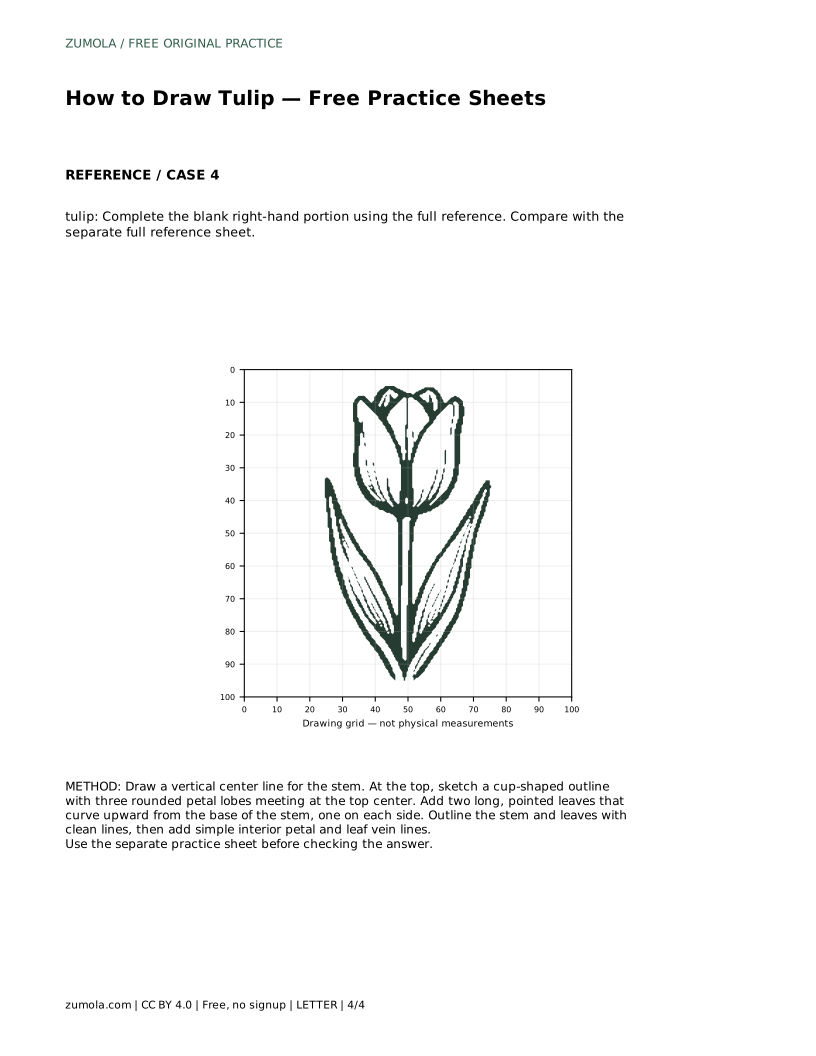
Example solution: preserve cup-shaped bloom with three visible petal lobes, long straight vertical stem, two long pointed leaves attached at the base of the stem. Other drawings can be correct; assess the visible features and proportions rather than pixel-perfect matching. Draw a vertical center line for the stem. At the top, sketch a cup-shaped outline with three rounded petal lobes meeting at the top center. Add two long, pointed leaves that curve upward from the base of the stem, one on each side. Outline the stem and leaves with clean lines, then add simple interior petal and leaf vein lines.
For this simple method, show three visible petal lobes meeting near the top center. Real tulips have more petals, but the simplified cup with three lobes is a clear, recognizable convention for a beginner drawing.
A straight vertical stem is easiest for practice and matches the method here. A slight natural curve can still look correct, but keep the stem narrow and continuous.
Check the identifying features: a cup-shaped bloom with three visible lobes, a long stem, and two long pointed leaves attached at the base. Use the rubric to assess features and proportions rather than exact matching.
All drawing practice · Free coordinate paper
Original resources · CC BY 4.0 · Free for personal and classroom use with attribution.