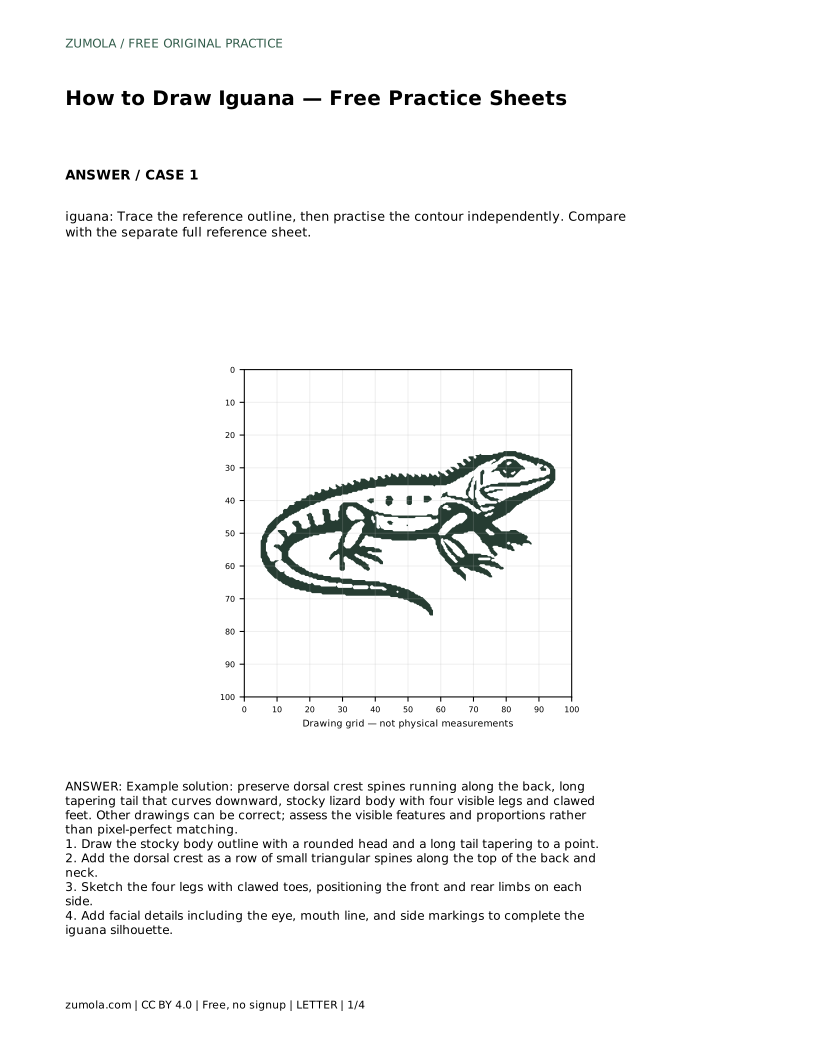
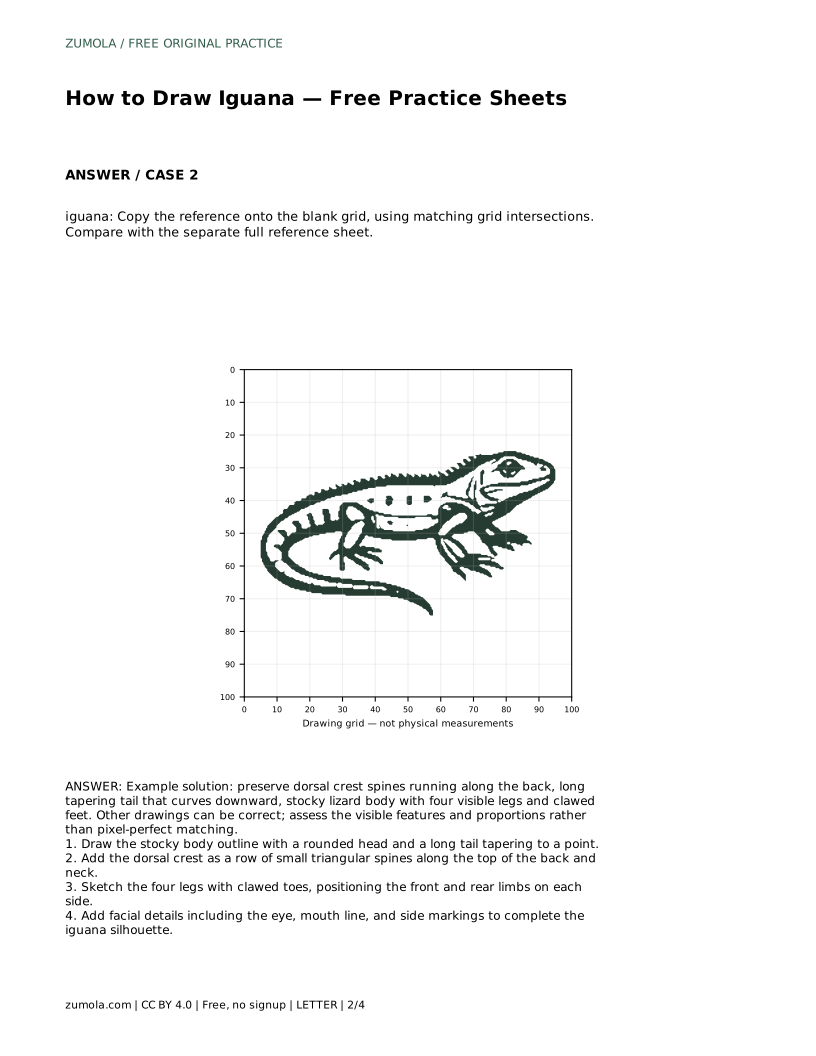
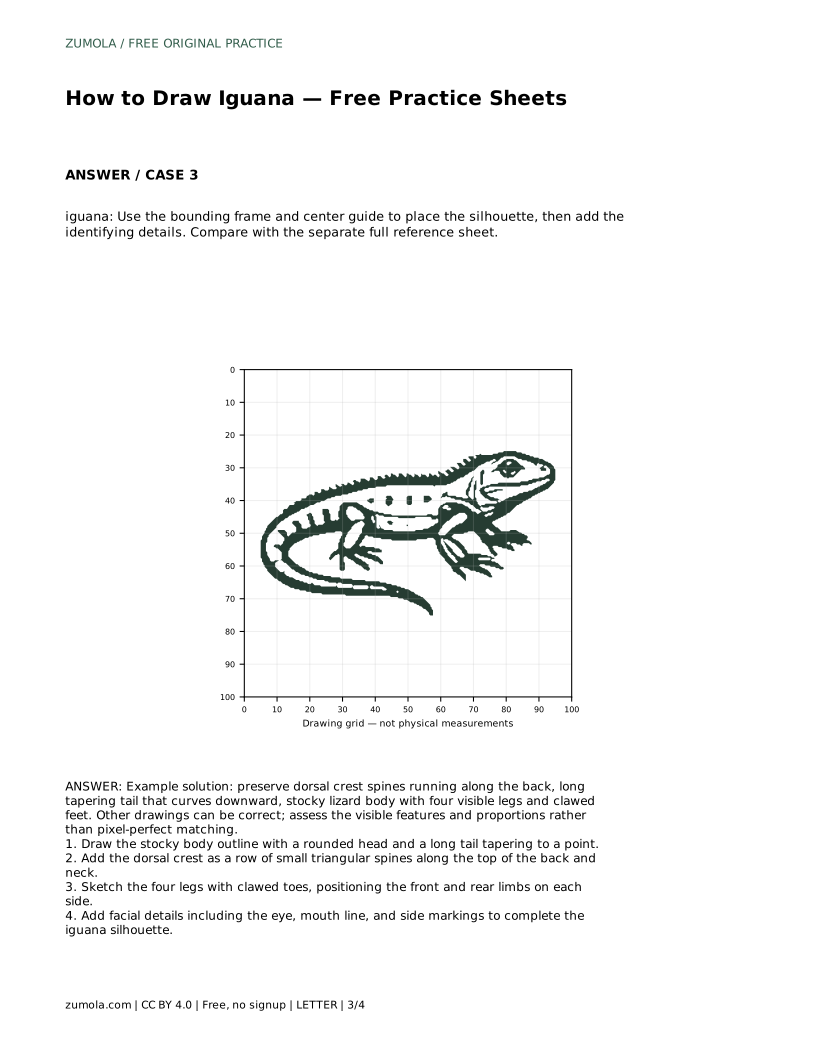
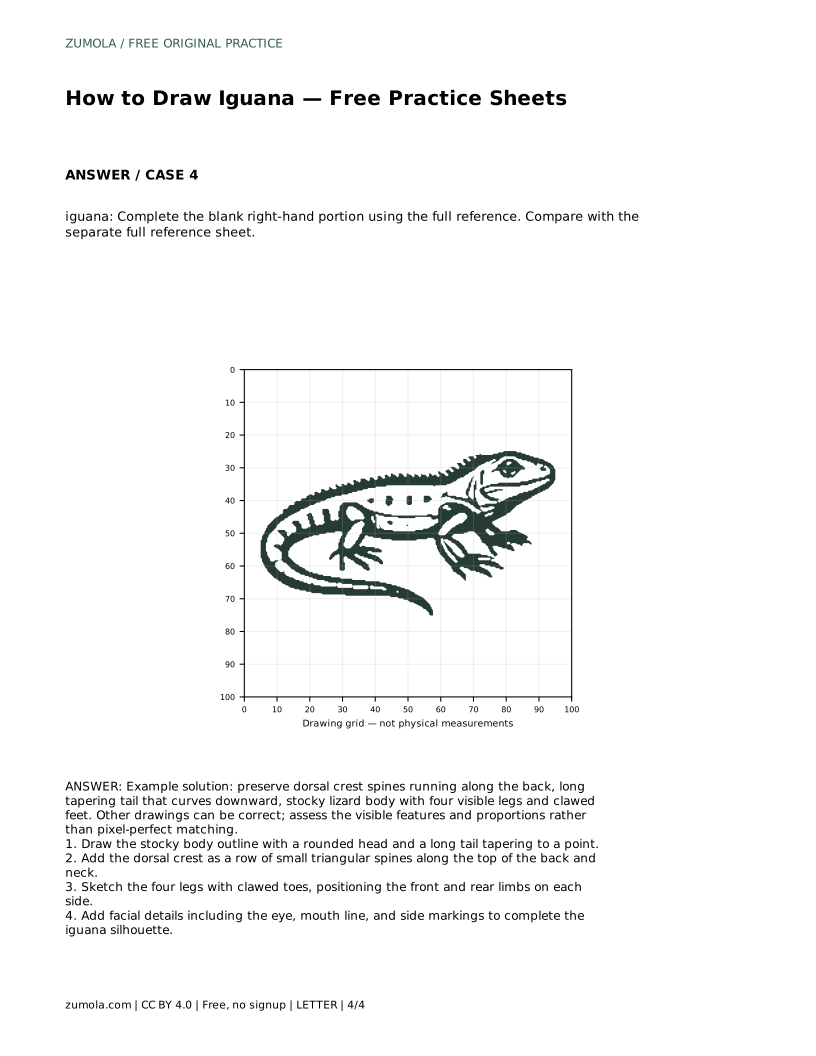
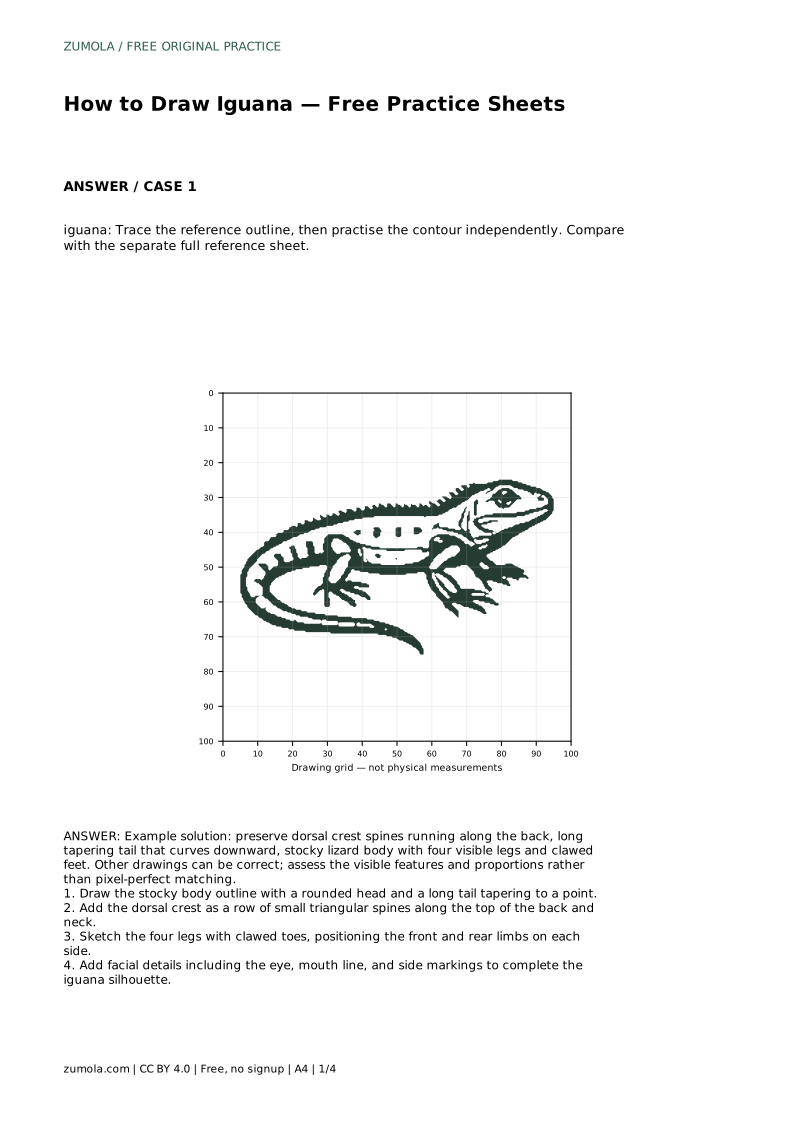
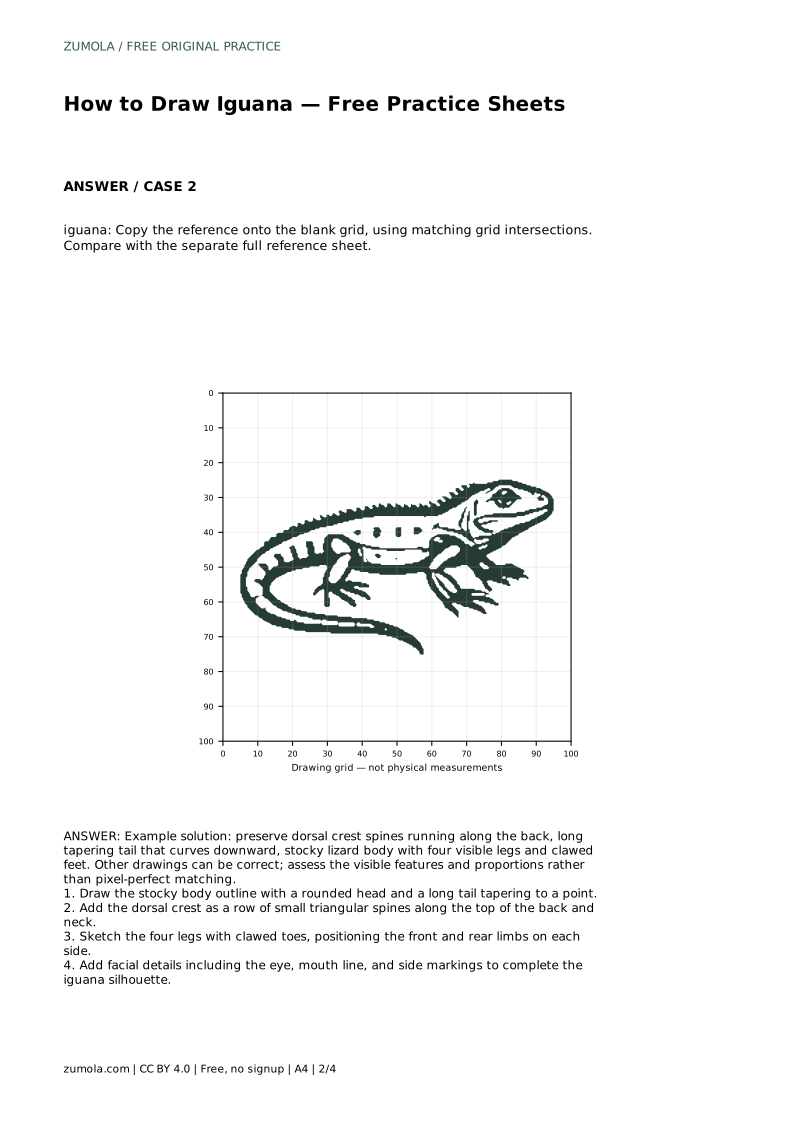
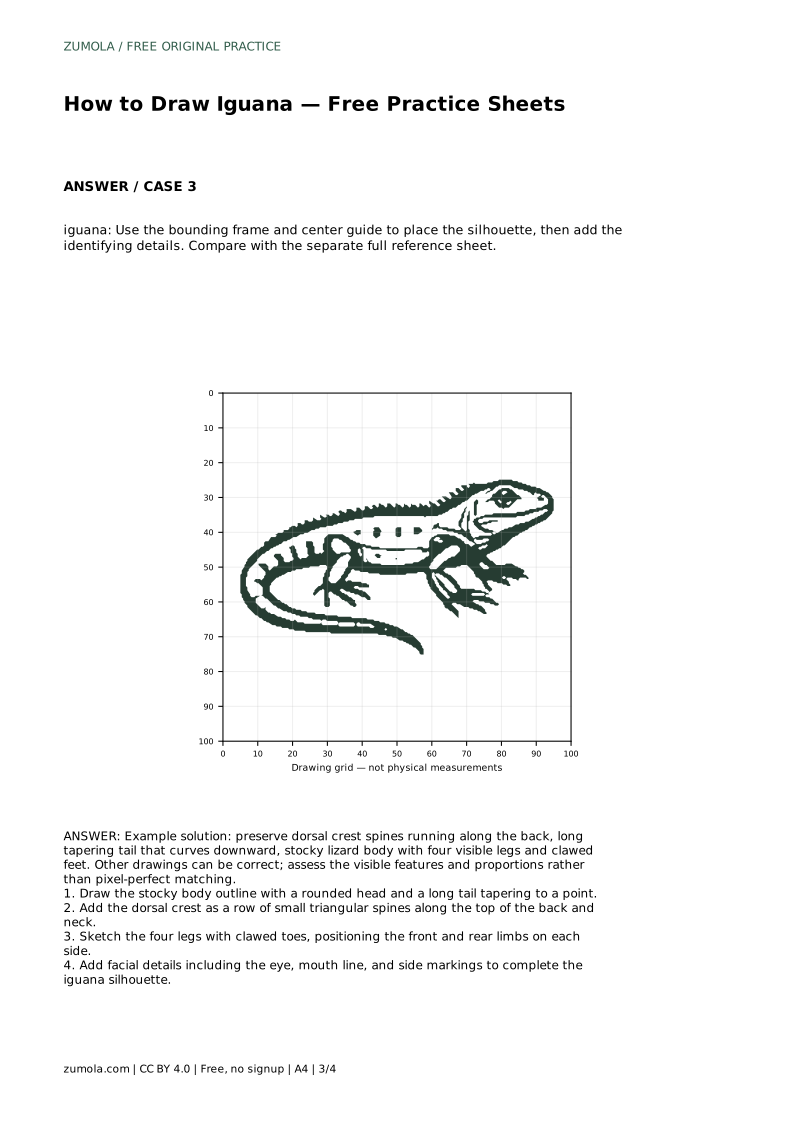
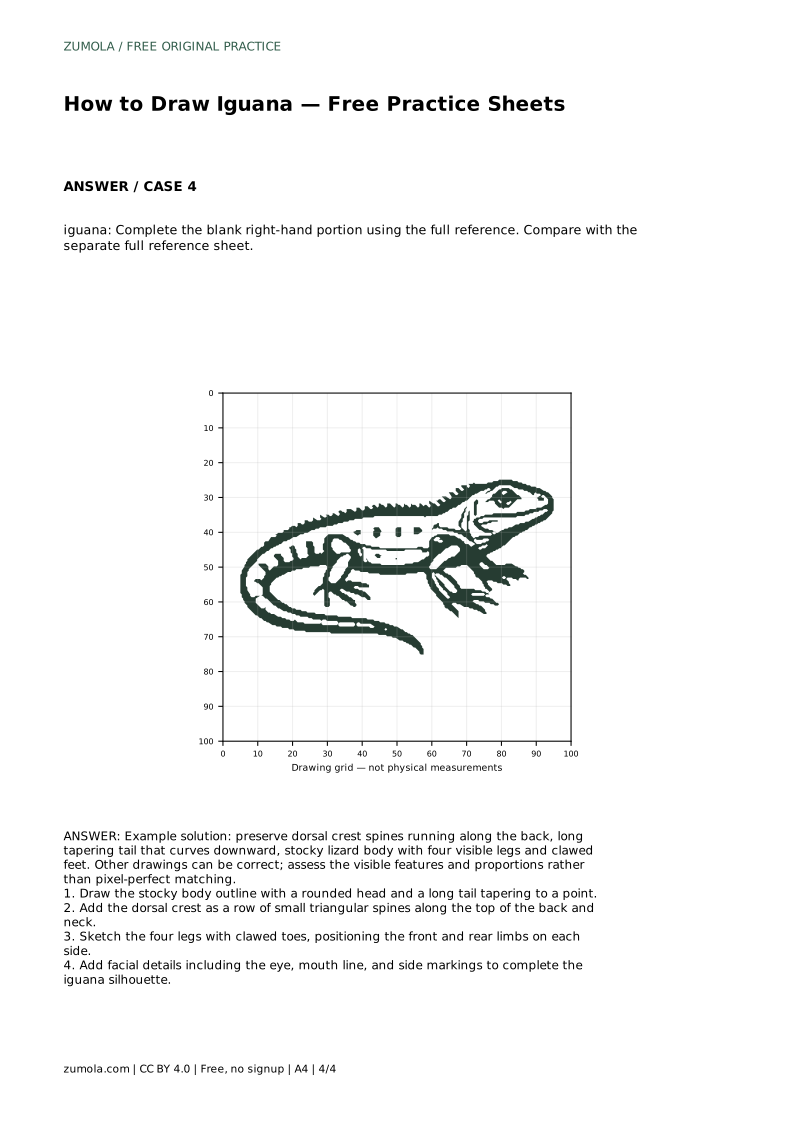
Reference diagrams
LETTER · Download PDF
A4 · Download PDF
Free original resources
Learn to draw an iguana by tracing, gridding, and completing partial outlines. Focus on the stocky body, dorsal crest, tapering tail, and clawed feet.
Four original cases, with reference diagrams, practice sheets and worked answers. Everything is free; no signup required.
LETTER · Download PDF
A4 · Download PDF
LETTER · Download PDF
A4 · Download PDF
LETTER · Download PDF
A4 · Download PDF
Use A4 or US Letter to match your printer. Use the stated values and conditions to solve each exercise; diagrams are not physical measuring rulers.
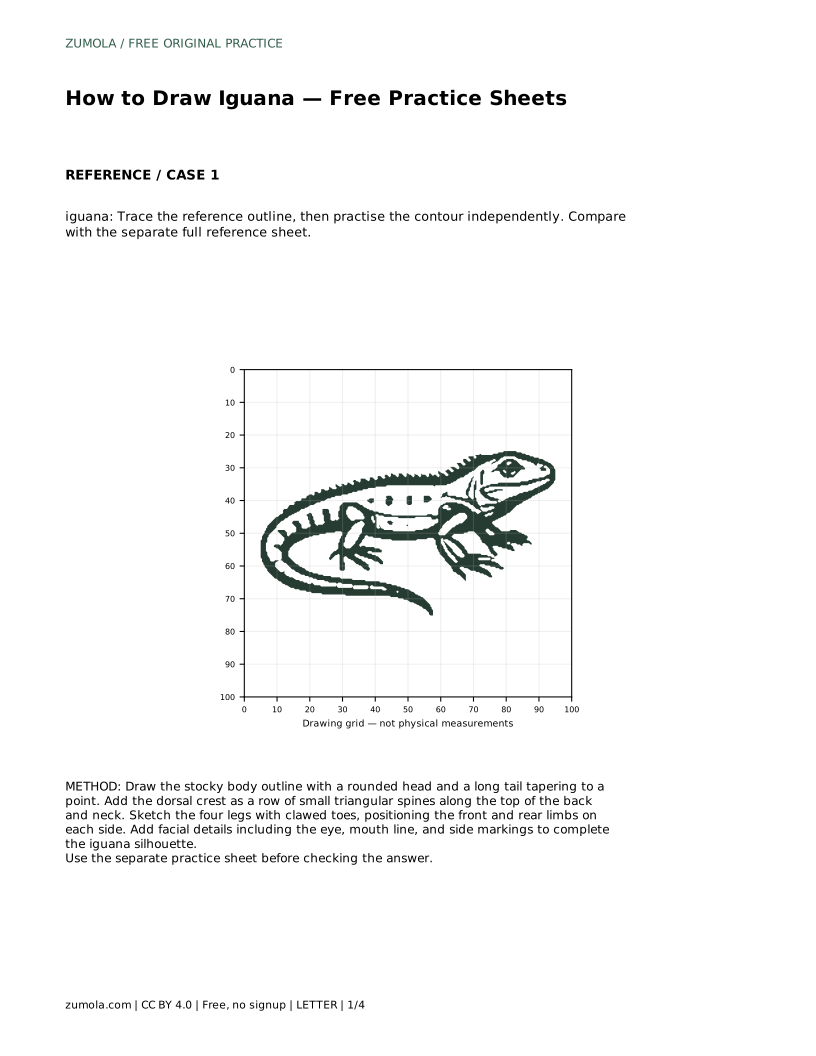
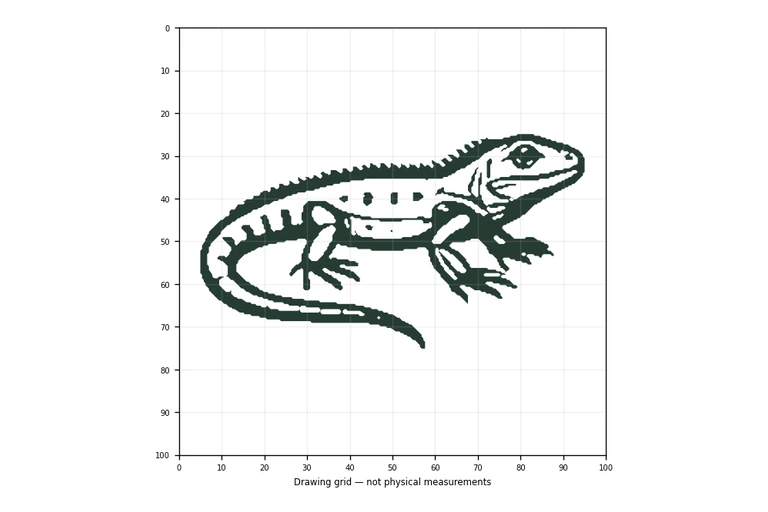
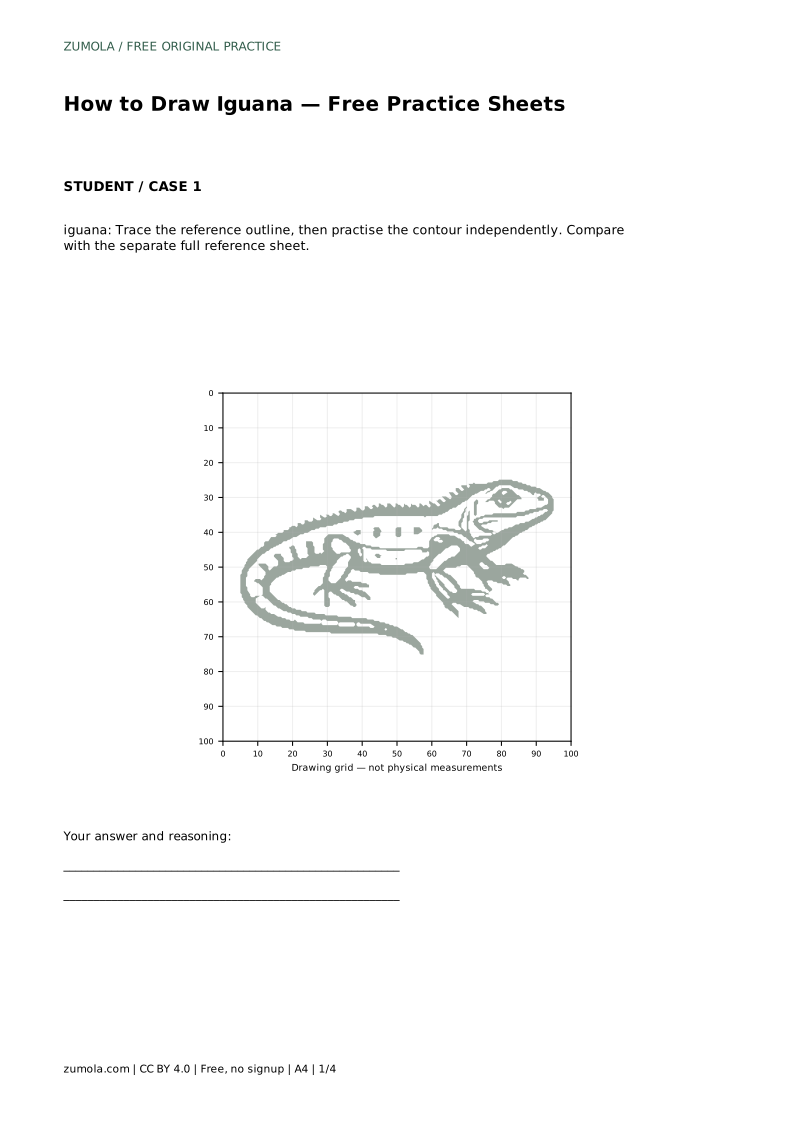
Drawing an iguana is a study in balancing a heavy, low body with a long, tapering tail and a row of spiny crests. This page explains how to use free practice sheets to build that shape step by step. You will trace a reference outline, then try the contour independently, and finally compare your work with a full reference sheet. The goal is not a pixel-perfect copy but a drawing that preserves the iguana’s visible features and proportions.
Begin by drawing the stocky body outline. An iguana’s torso is rounded and somewhat heavy, with a head that blends into the neck rather than sitting on a narrow stalk. Keep the head rounded and slightly wedge-shaped. From the rear of the body, extend a long tail that tapers to a point. The tail should curve downward in a gentle arc, not stick out stiffly. Check that the tail’s length is roughly similar to the body length, though exact proportions vary between references.
Use light pencil strokes so you can adjust the curve. The body and tail together form the main silhouette; all other details sit on or inside this outline.
The dorsal crest is a row of small triangular spines running along the top of the neck and back. Draw them as a series of short, pointed triangles, spaced fairly evenly. They should follow the curve of the back, not stand straight up in a rigid line. The crest continues onto the tail in many references, becoming smaller toward the tip.
Next, sketch the four legs. Iguanas have stocky limbs with clawed toes. Position the front and rear limbs on each side of the body so the animal appears to rest on all fours. The front legs are shorter and set closer to the head; the rear legs are larger and set farther back. Draw the toes as short, separated claws rather than a single blob.
Add the eye as a small oval or circle on the side of the head. Draw a mouth line that runs from the snout toward the back of the jaw. Iguanas often have a dewlap under the throat, but include it only if your reference shows one. Side markings, such as darker bands or spots, can be added lightly to suggest texture without overwhelming the outline.
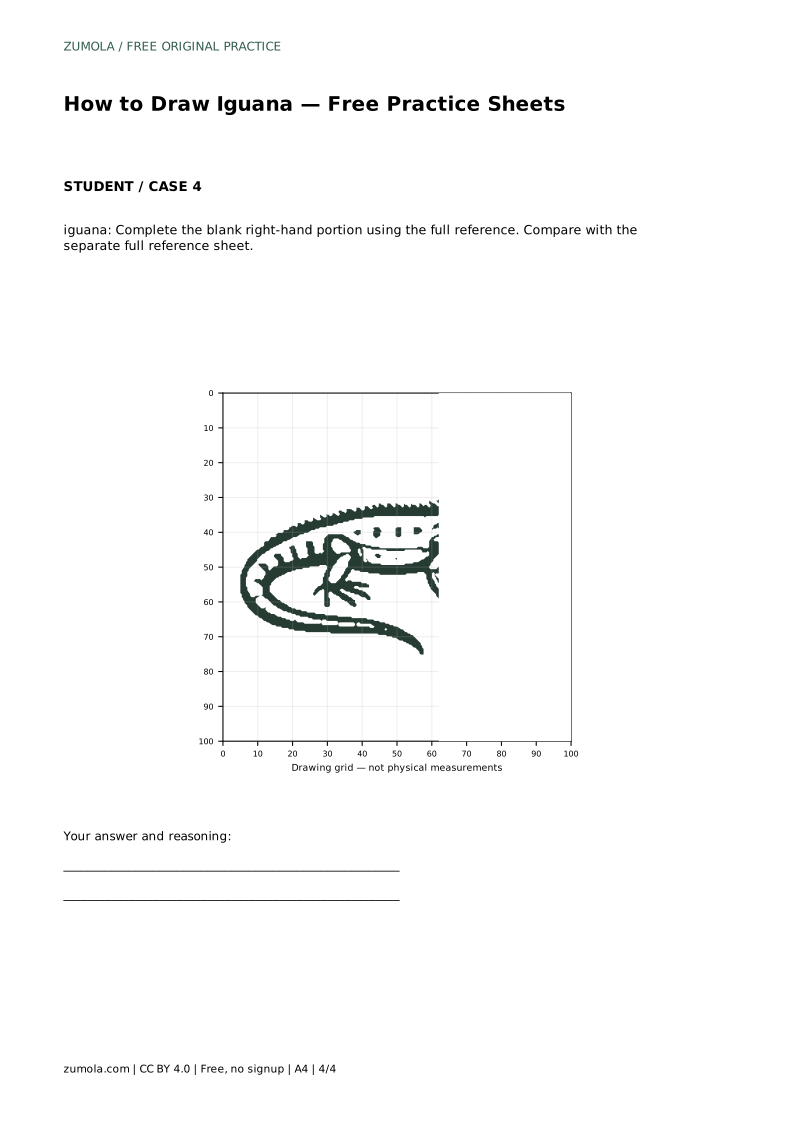
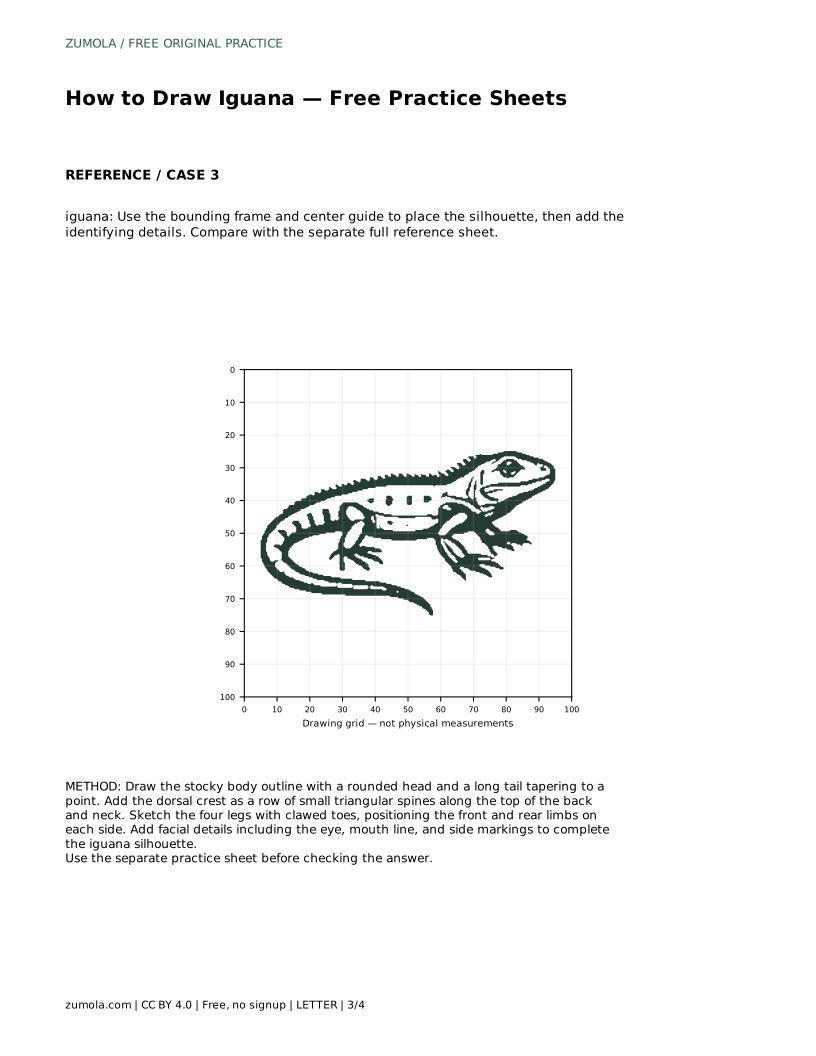
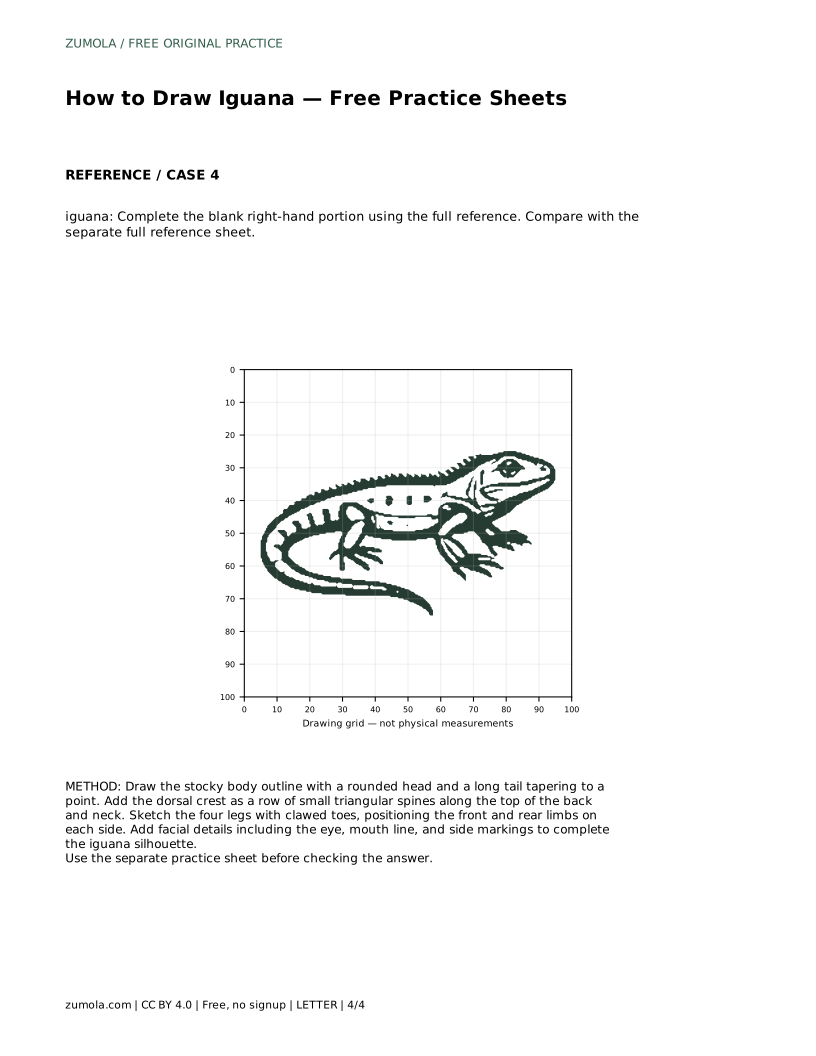
When you compare your drawing with the full reference sheet, check the visible features: dorsal crest spines, a long tapering tail that curves downward, a stocky body, four visible legs, and clawed feet. Other drawings can be correct; assess these features and their proportions rather than pixel-perfect matching.
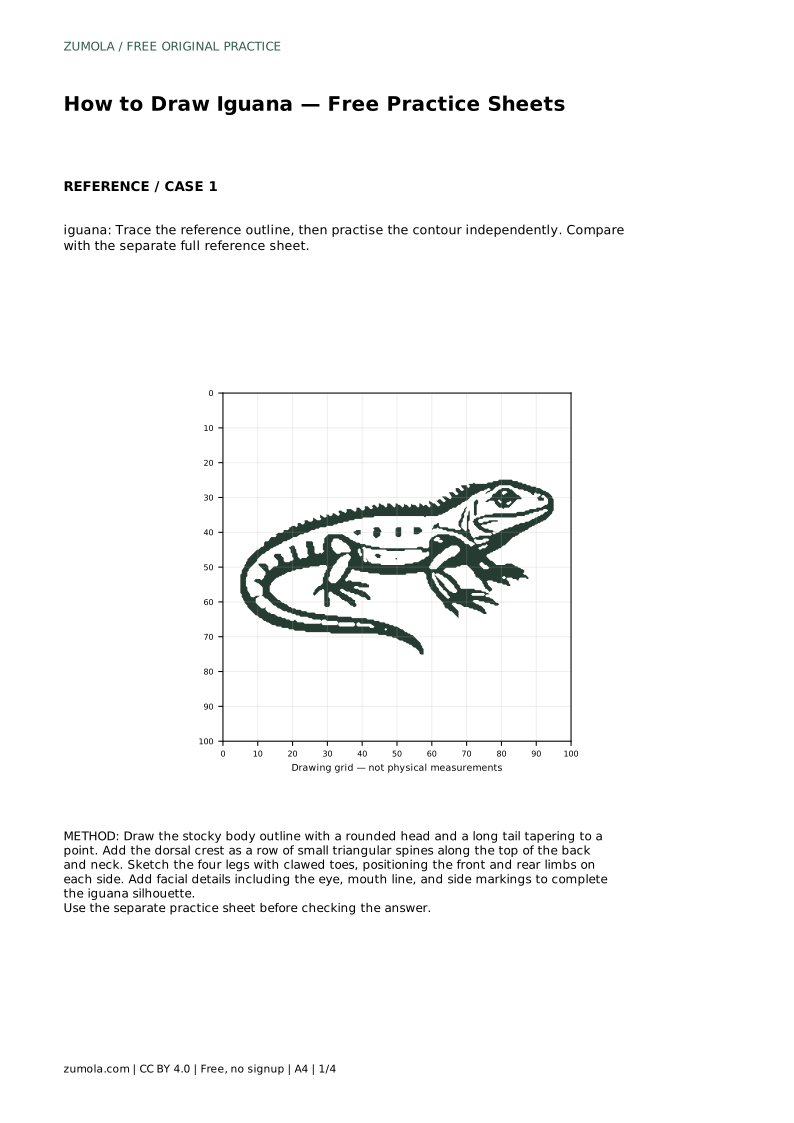
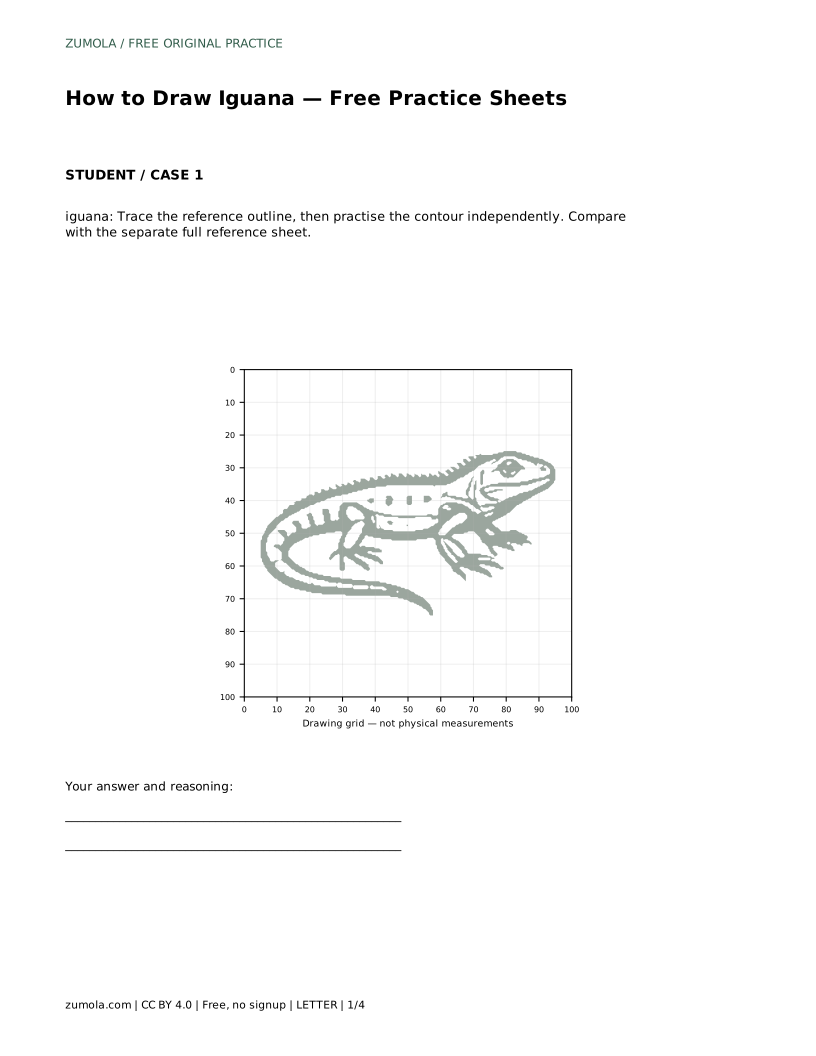
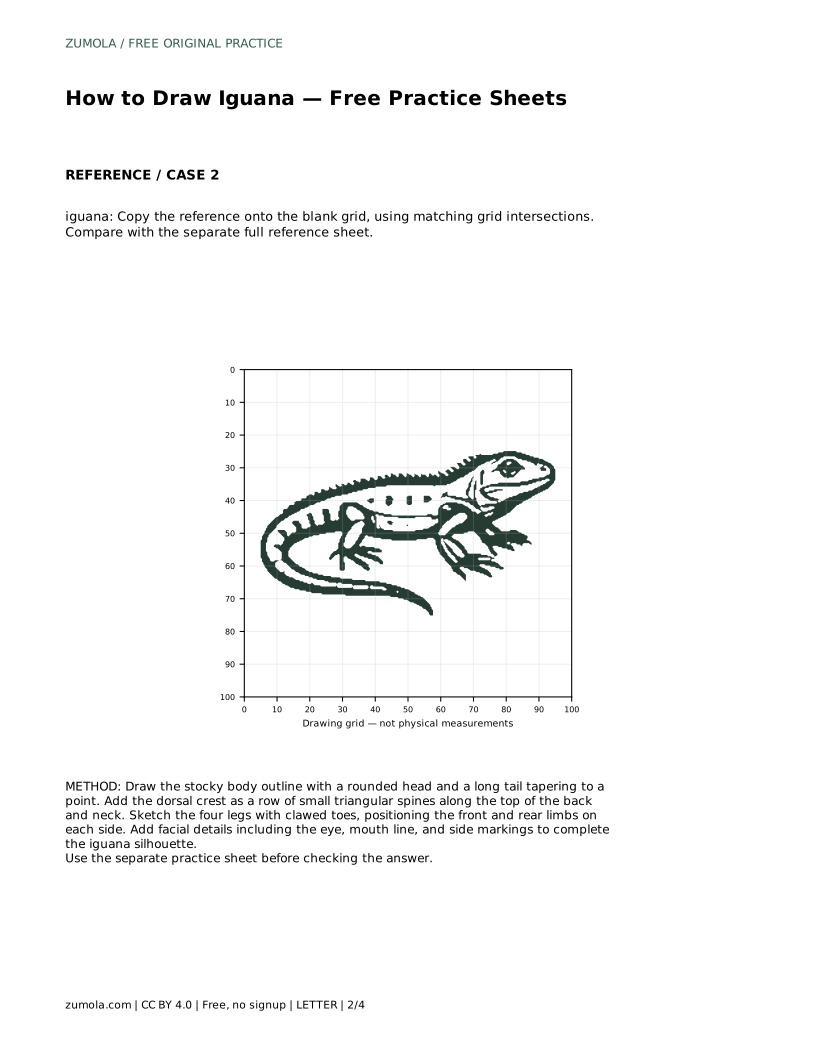
iguana: Trace the reference outline, then practise the contour independently. Compare with the separate full reference sheet.
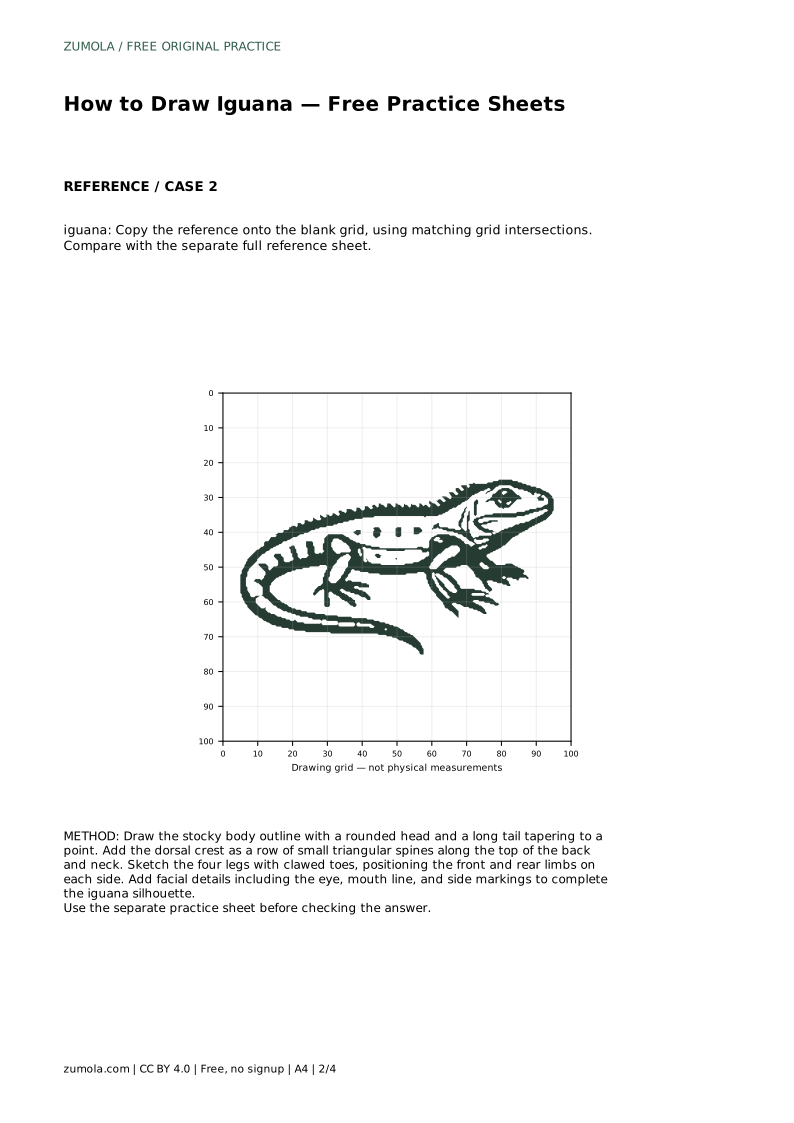
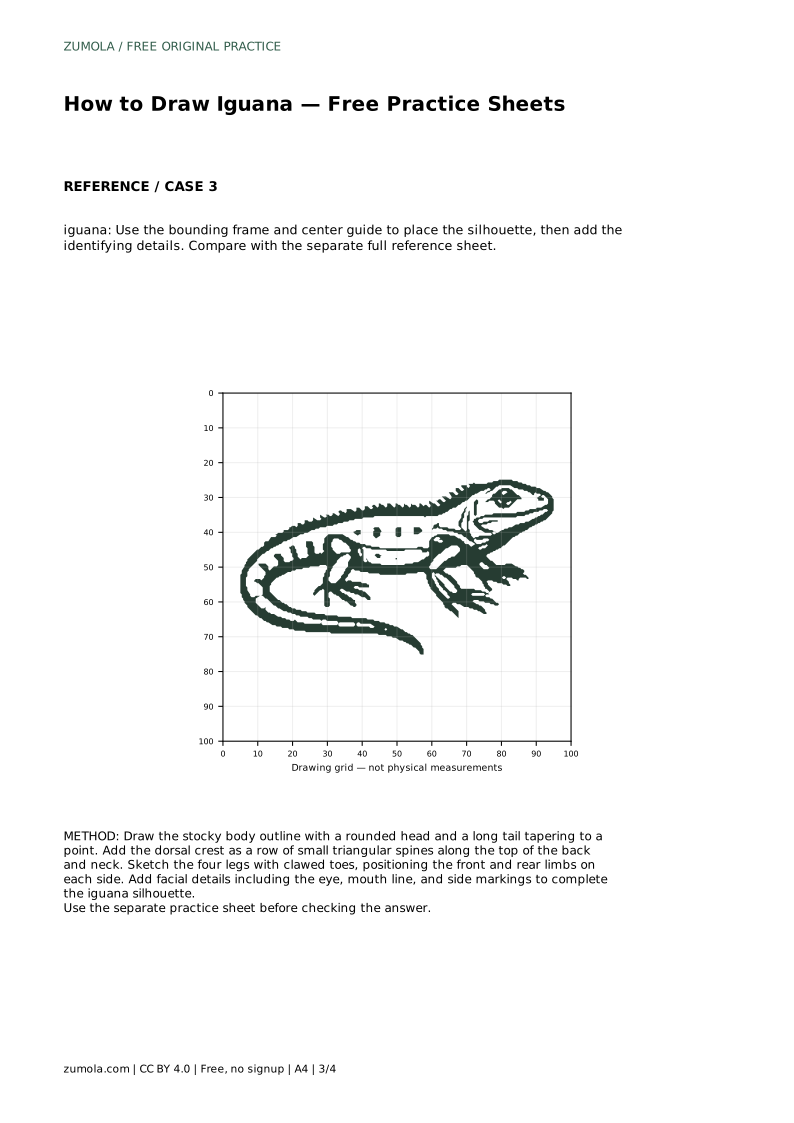
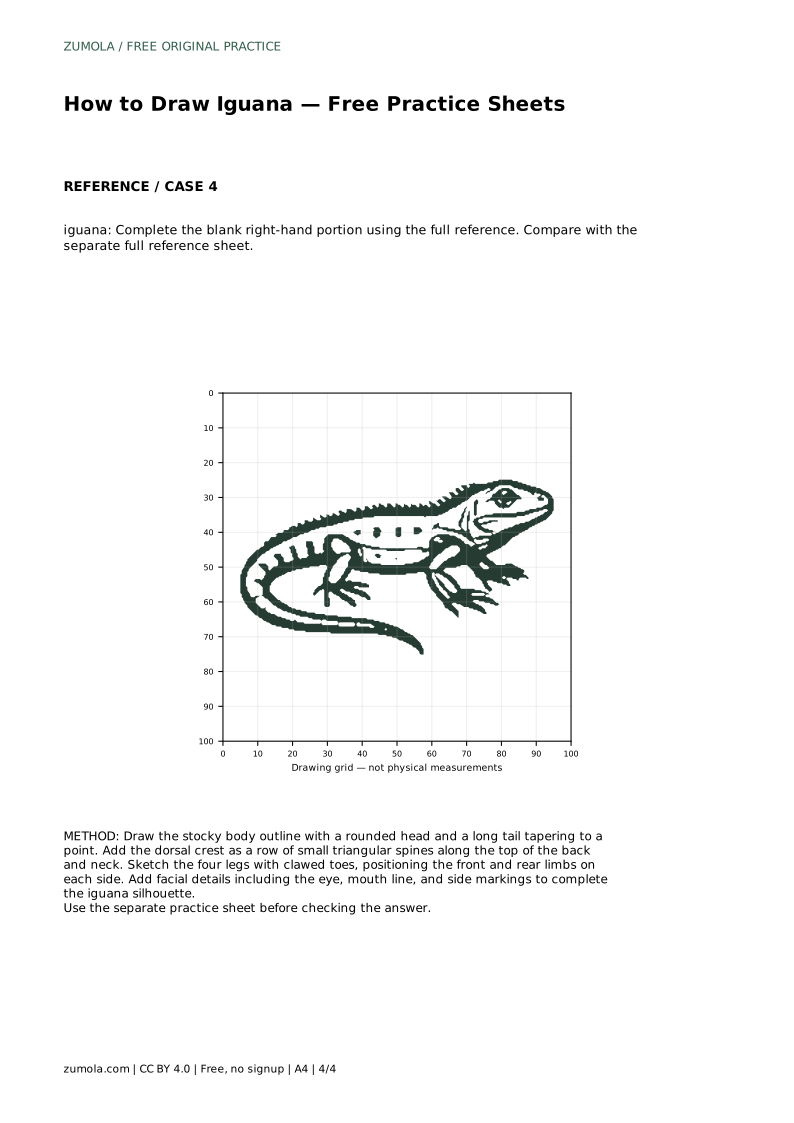
Example solution: preserve dorsal crest spines running along the back, long tapering tail that curves downward, stocky lizard body with four visible legs and clawed feet. Other drawings can be correct; assess the visible features and proportions rather than pixel-perfect matching. Draw the stocky body outline with a rounded head and a long tail tapering to a point. Add the dorsal crest as a row of small triangular spines along the top of the back and neck. Sketch the four legs with clawed toes, positioning the front and rear limbs on each side. Add facial details including the eye, mouth line, and side markings to complete the iguana silhouette.
No. Use the reference to guide the visible features and proportions, but small differences in curve and spacing are fine.
Draw four legs, positioning the front and rear limbs on each side so the iguana appears to rest on all fours.
In the practice sheets, the tail curves downward in a gentle arc. Follow your reference sheet’s direction.
All drawing practice · Free coordinate paper
Original resources · CC BY 4.0 · Free for personal and classroom use with attribution.