Reference diagrams
LETTER · Download PDF
A4 · Download PDF
Free original resources
Learn to draw a sloth with a rounded body, masked face, and long curved claws. Trace, grid, and complete-the-drawing practice sheets build confident contour control.
Four original cases, with reference diagrams, practice sheets and worked answers. Everything is free; no signup required.
LETTER · Download PDF
A4 · Download PDF
LETTER · Download PDF
A4 · Download PDF
LETTER · Download PDF
A4 · Download PDF
Use A4 or US Letter to match your printer. Use the stated values and conditions to solve each exercise; diagrams are not physical measuring rulers.
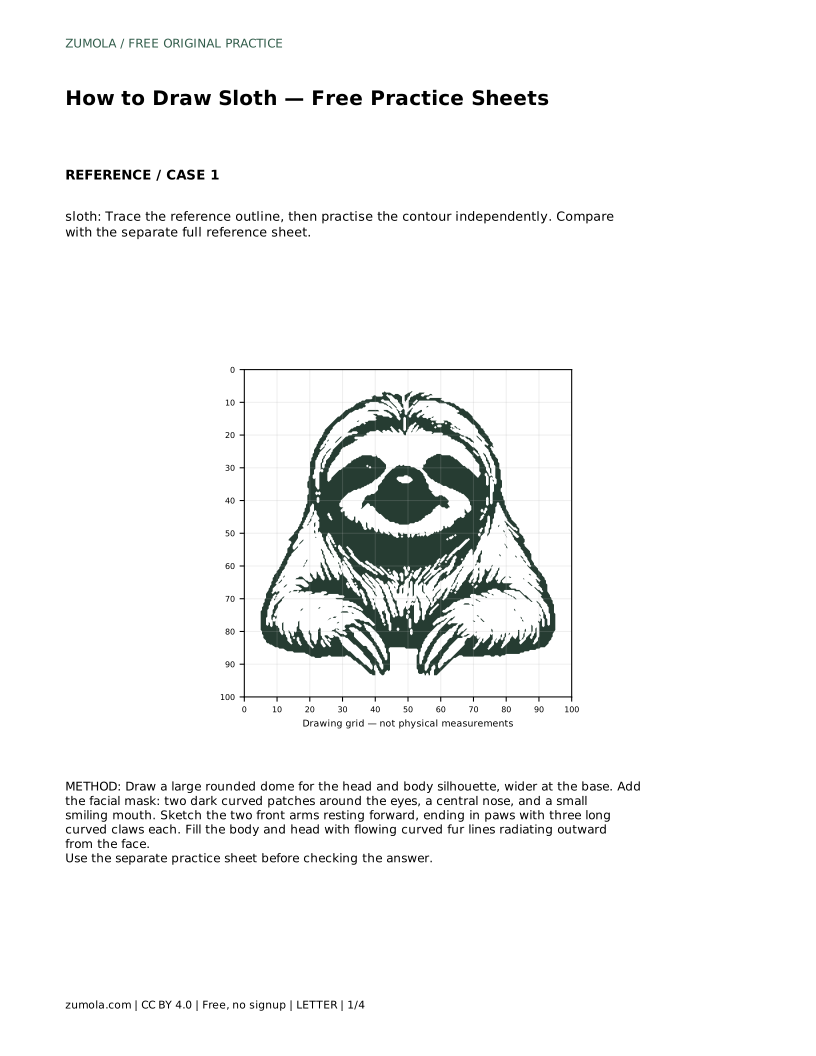
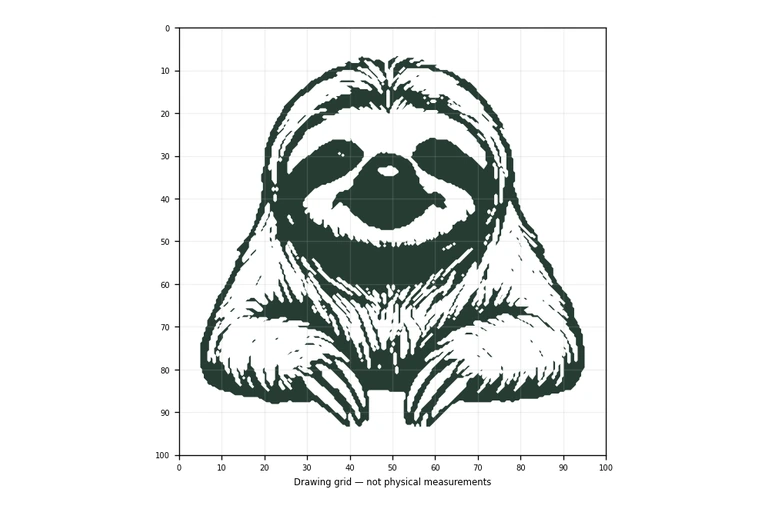
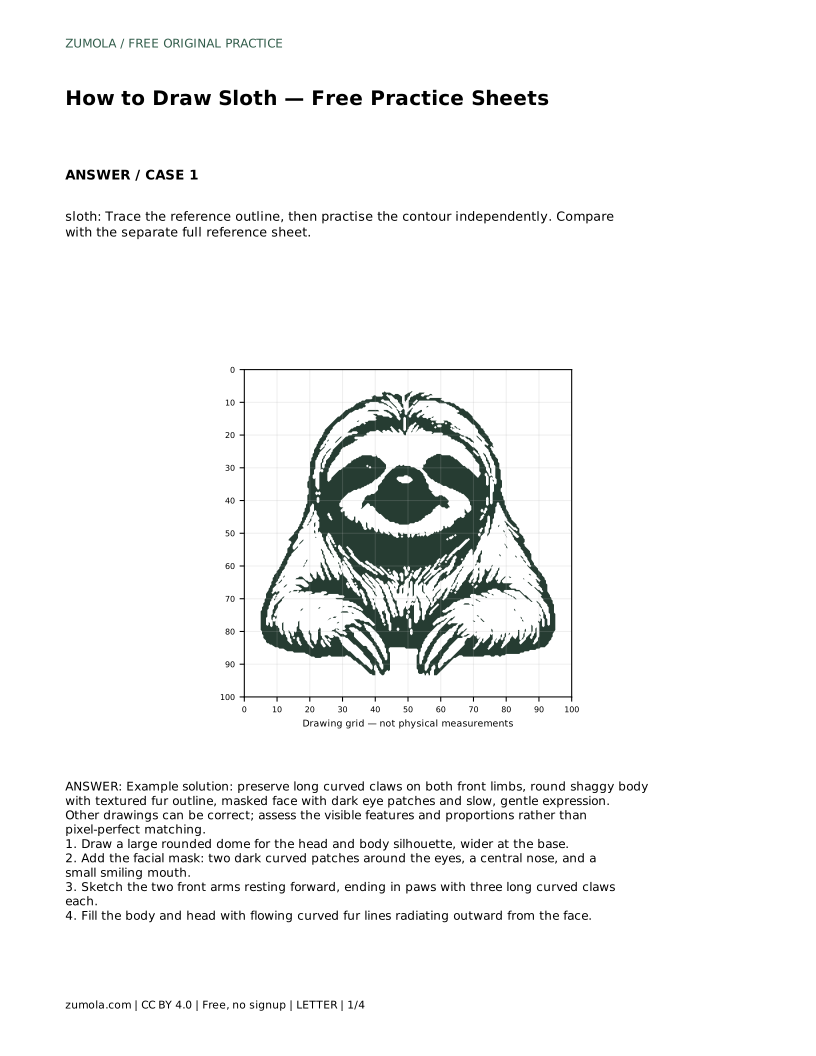
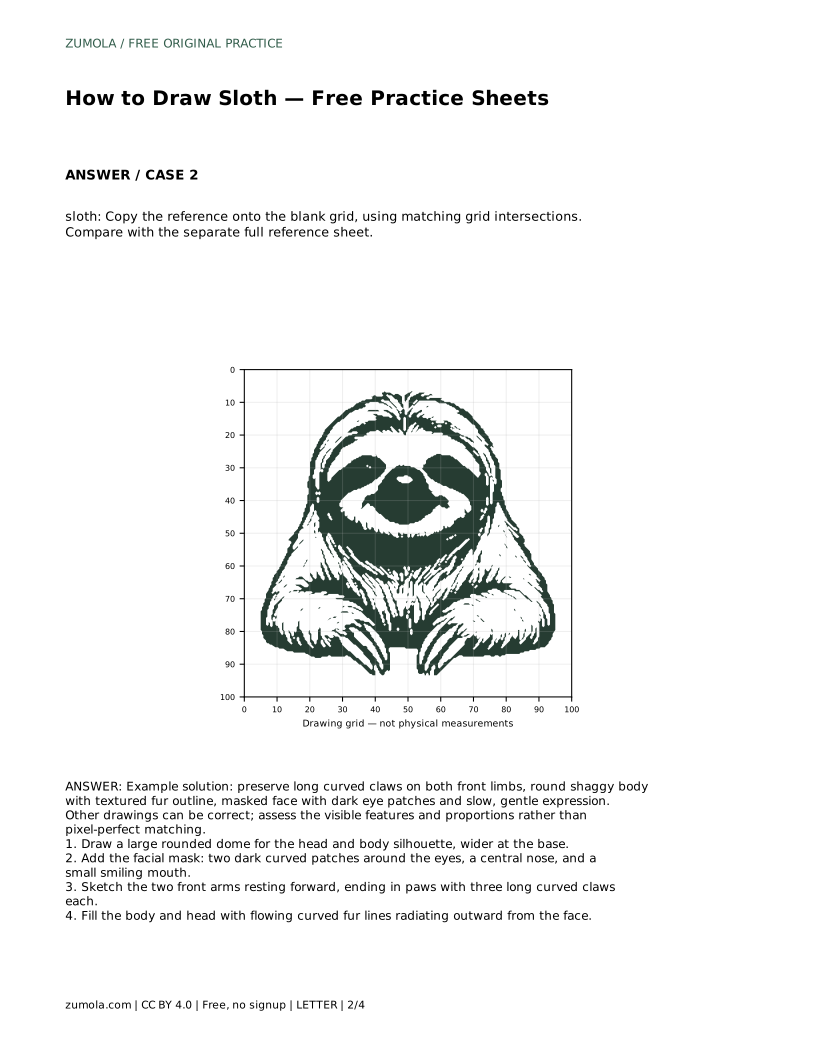
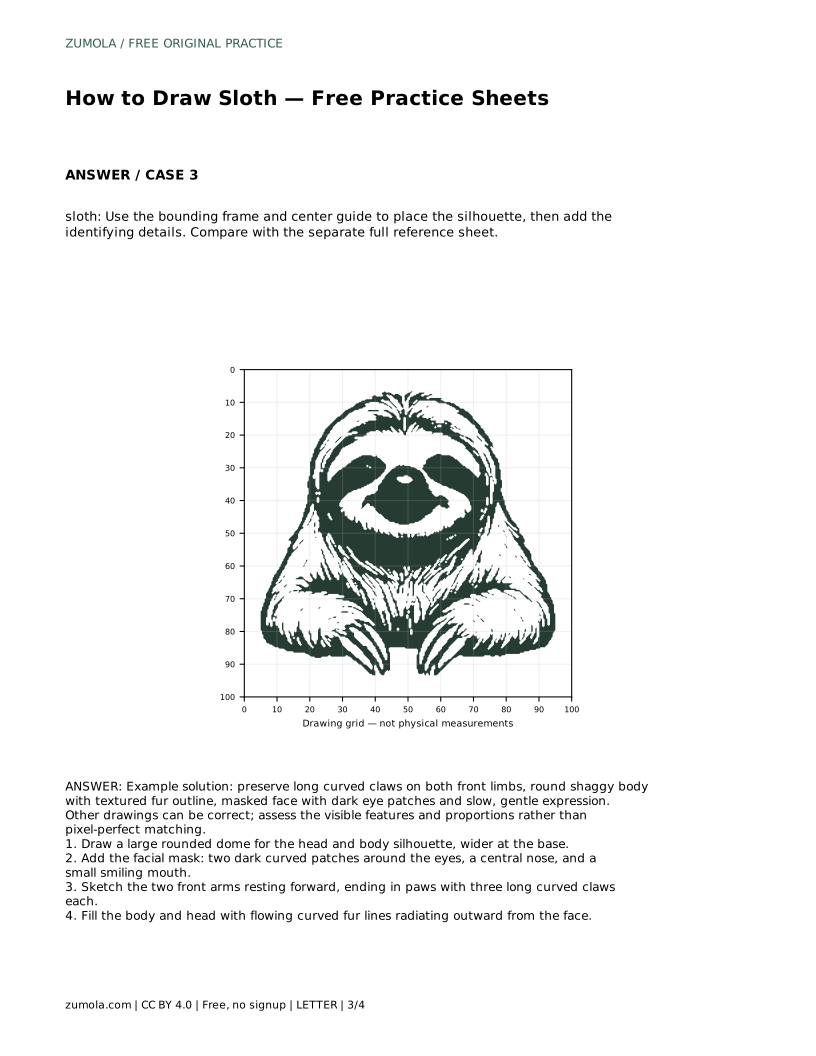
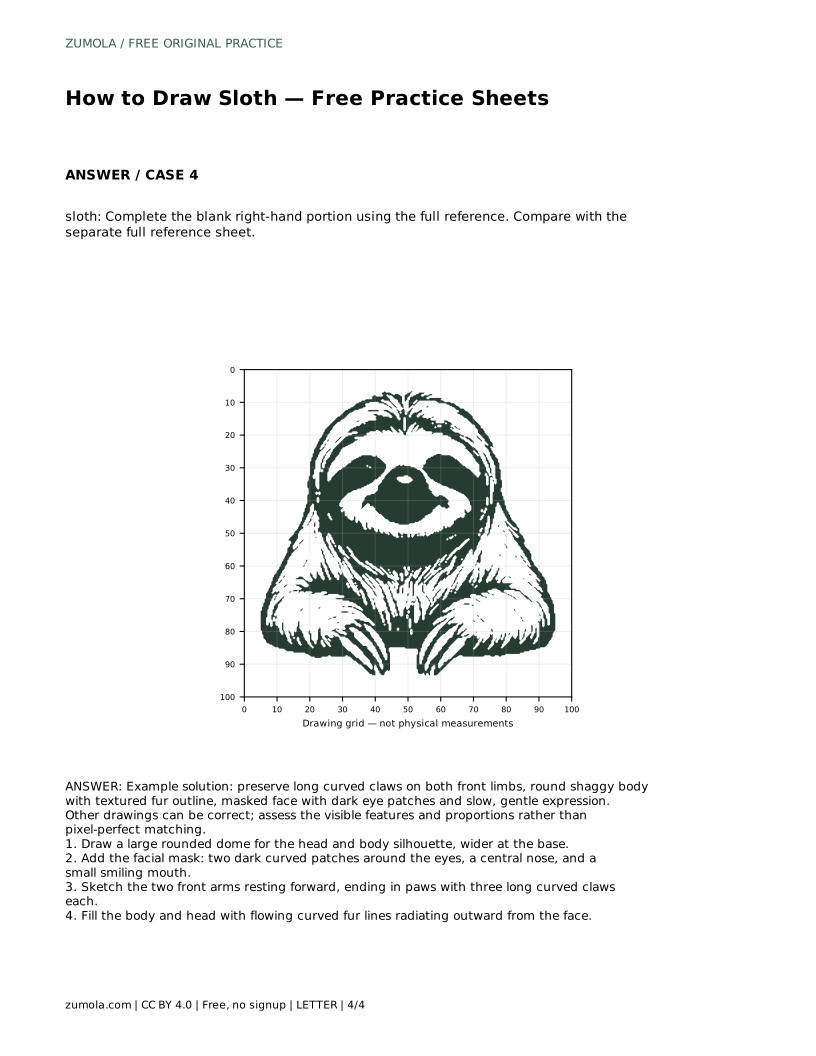
Drawing a sloth is a lesson in slow, deliberate shapes: a wide dome for the body, a soft masked face, and those unmistakable long claws. This page guides you through the key features and offers four practice formats—tracing, grid copying, guided placement, and partial completion—so you can build the same sloth independently. Each format targets a different drawing skill, but all share the same goal: a recognizable, gentle sloth with correct proportions and clear identifying details.
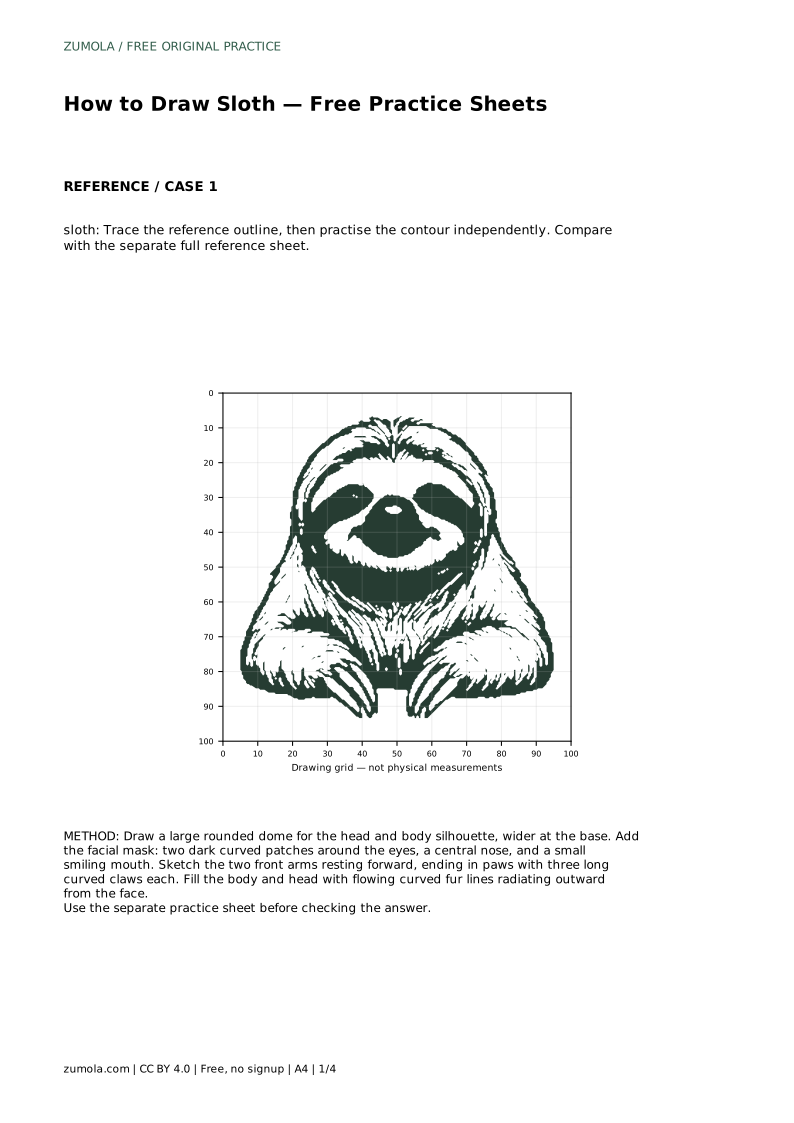
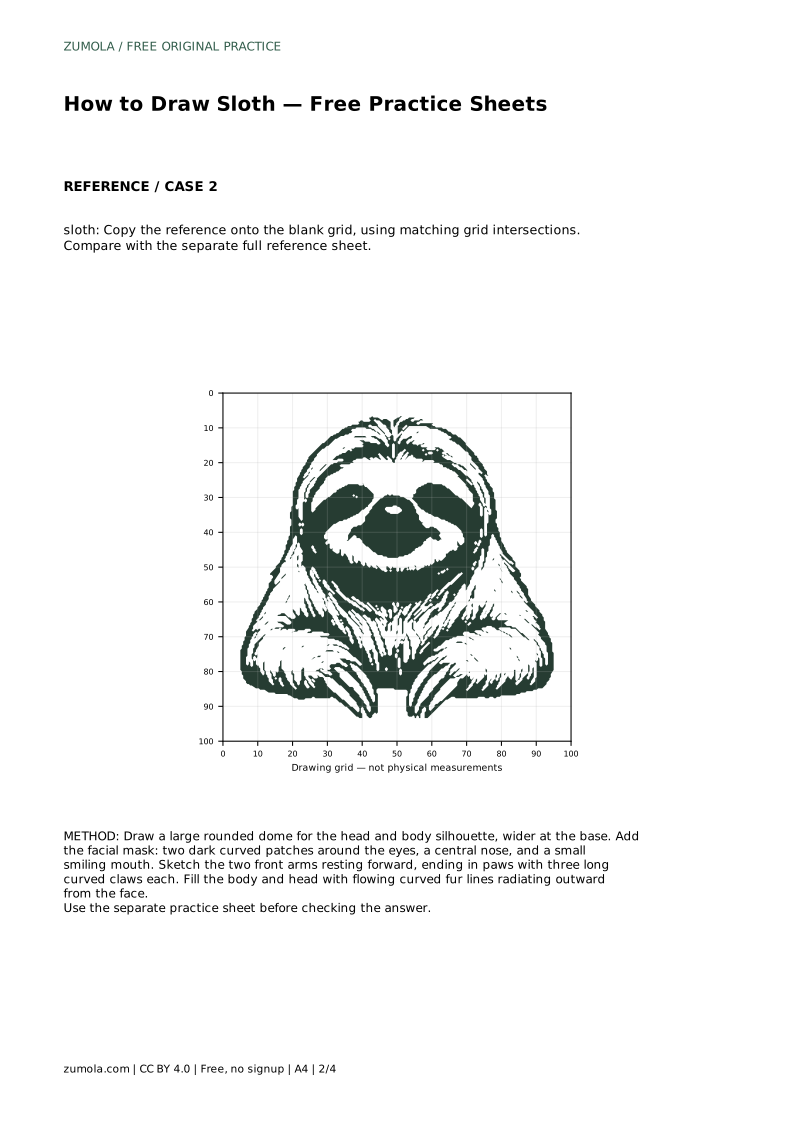
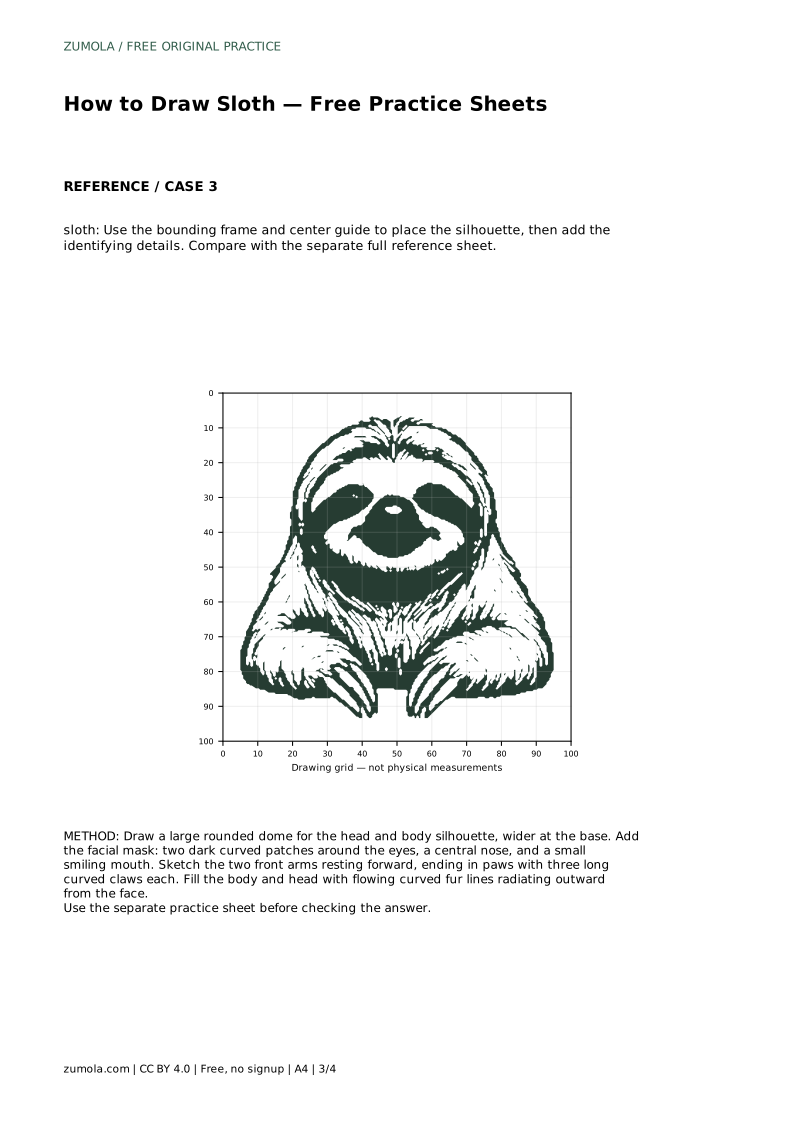
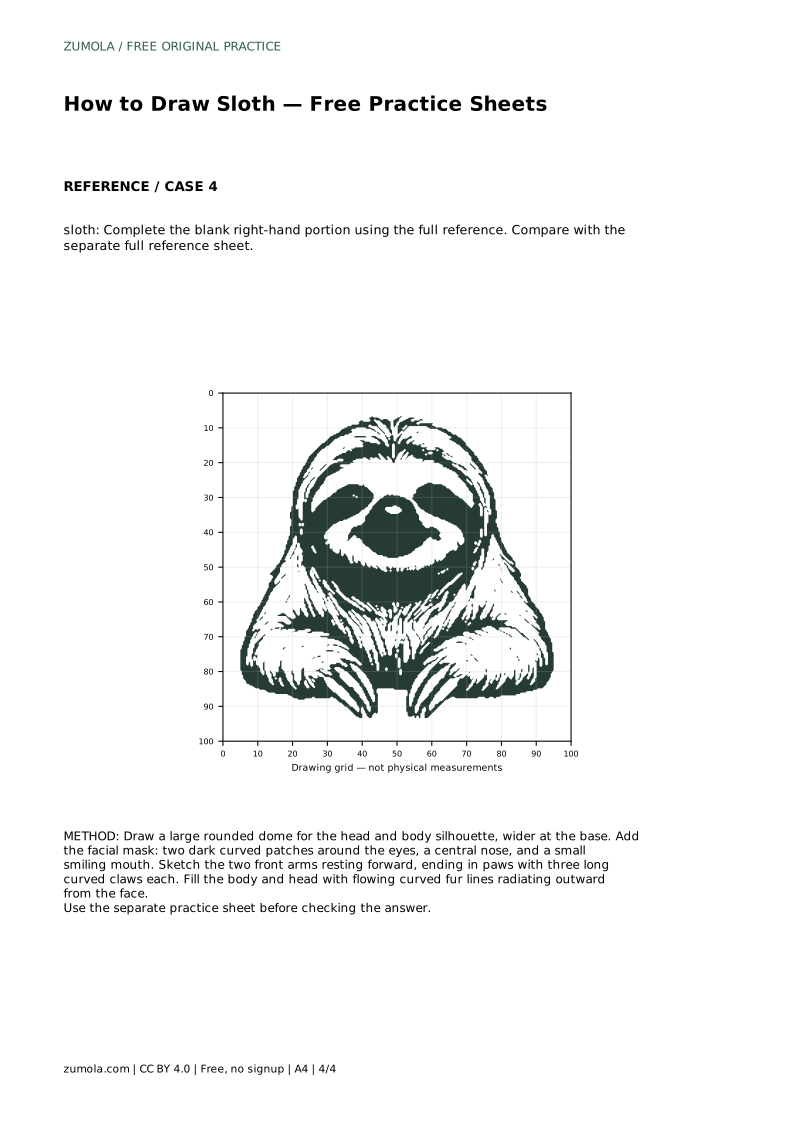
Begin by drawing a large rounded dome that is wider at the base than at the top. This single shape holds both the head and the body, so keep it smooth and generous—sloths are compact, not stretched. Next, place the facial mask: two dark curved patches around the eyes, a central nose, and a small smiling mouth. The mask should sit in the upper half of the dome, leaving room for the body below. Keep the eye patches soft-edged and slightly tilted to suggest a calm, gentle expression.
Once the mask is in place, sketch the two front arms resting forward. Each paw ends in three long curved claws. Draw the claws as smooth arcs that curve downward, and keep them clearly separated so they read as distinct hooks. The arms should emerge from the lower sides of the dome, not from the center.
Fur lines should radiate outward from the face, curving gently around the dome. Avoid straight, parallel strokes; instead, let each line follow the rounded contour of the body. Shorter strokes near the face and longer strokes along the back and sides create a shaggy, soft outline. Keep the lines flowing in one general direction so the sloth looks calm rather than chaotic.
The claws are the strongest identifying feature, so check that both front limbs show three long curved claws. If a claw looks short or straight, redraw it as a longer arc. The overall silhouette should stay round and low, with no sharp corners.
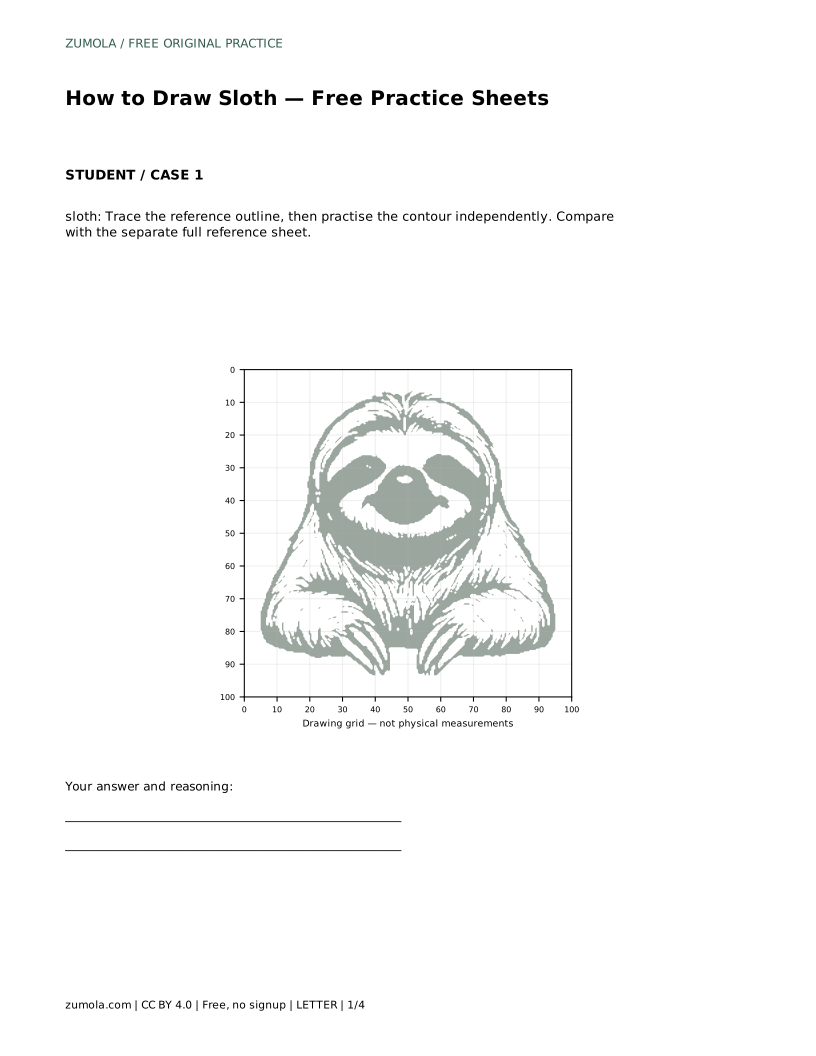
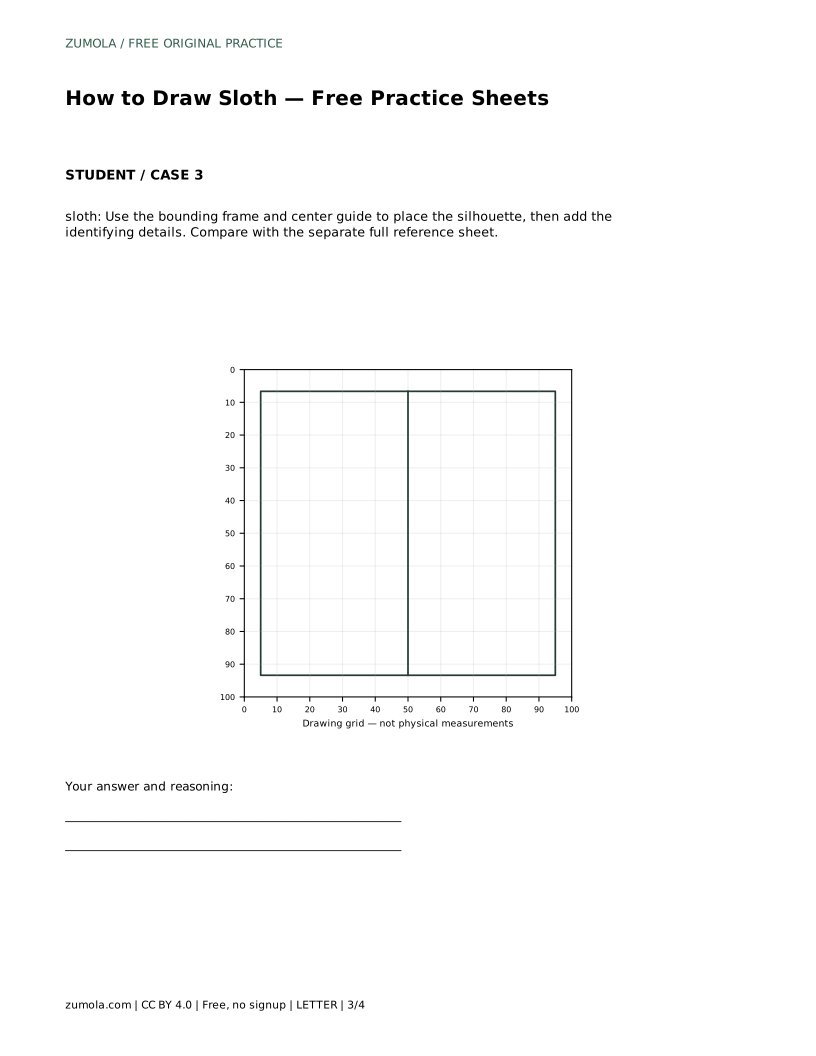
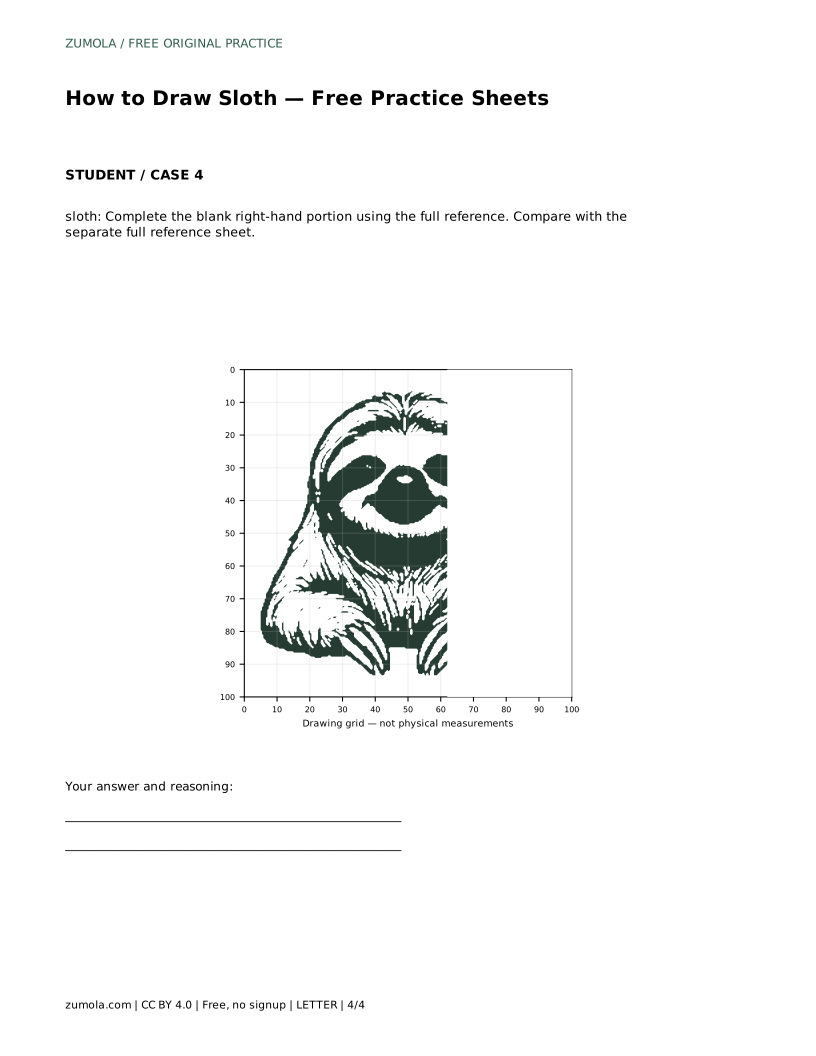
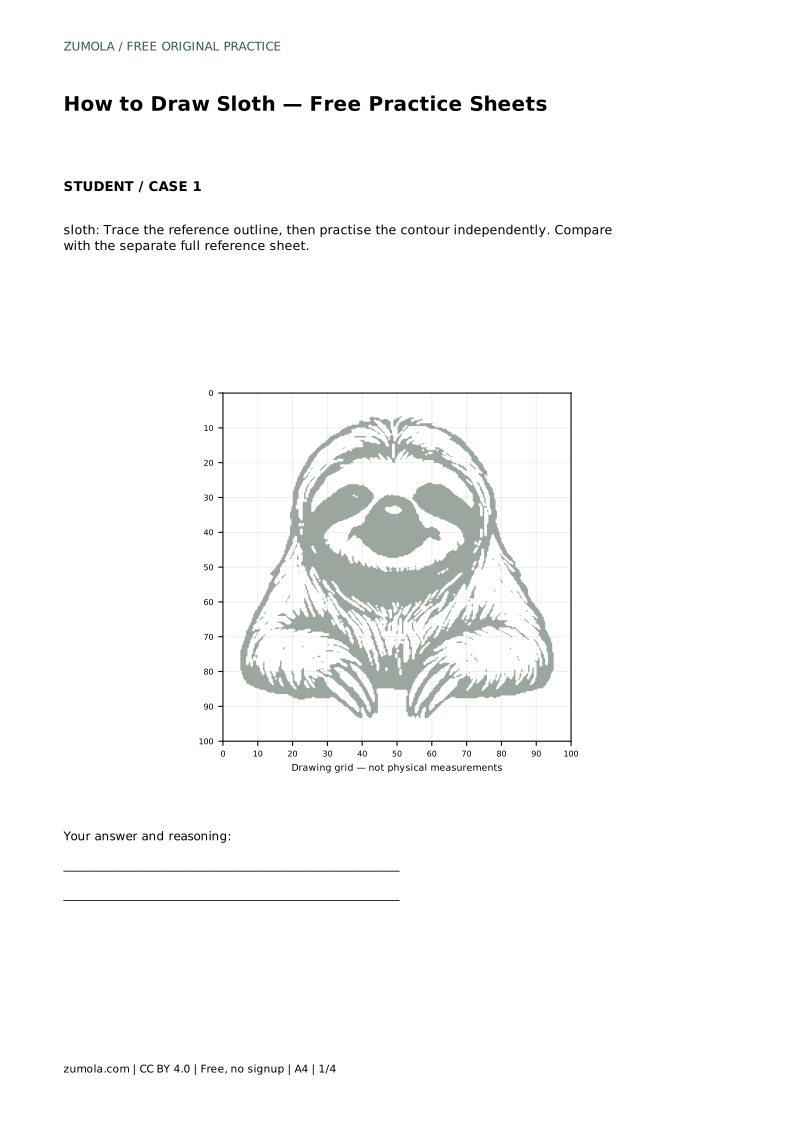
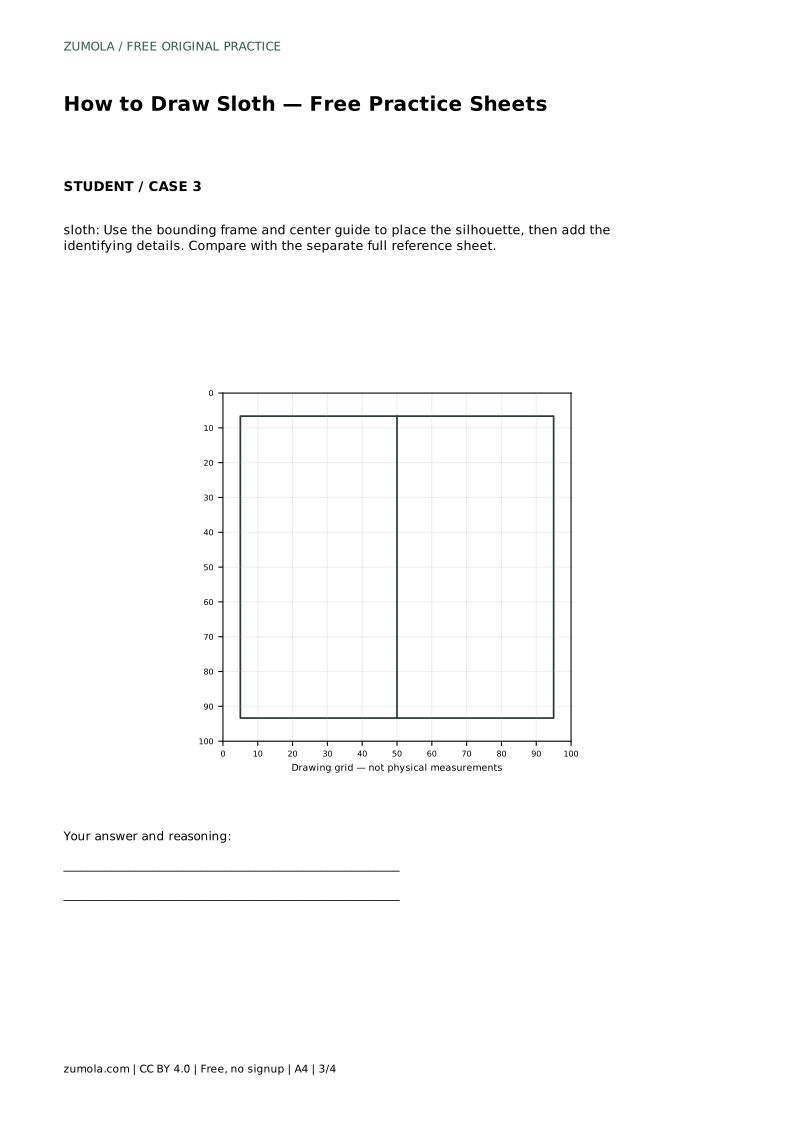
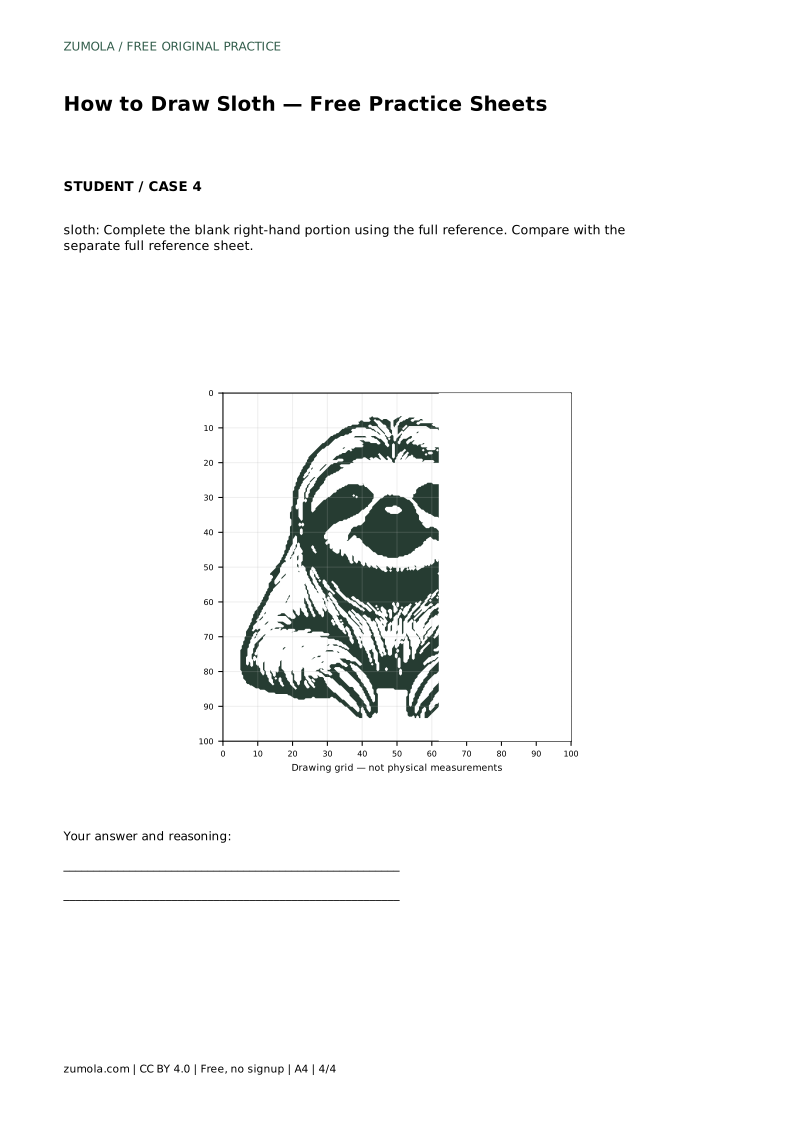
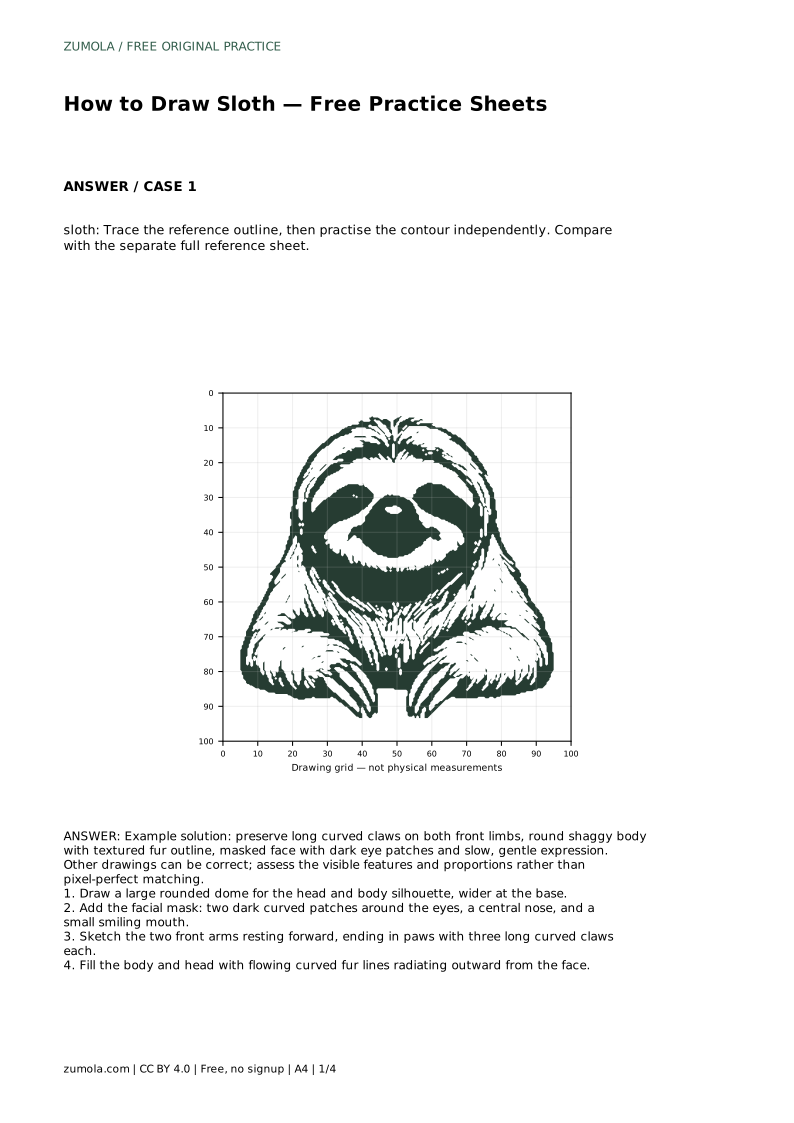
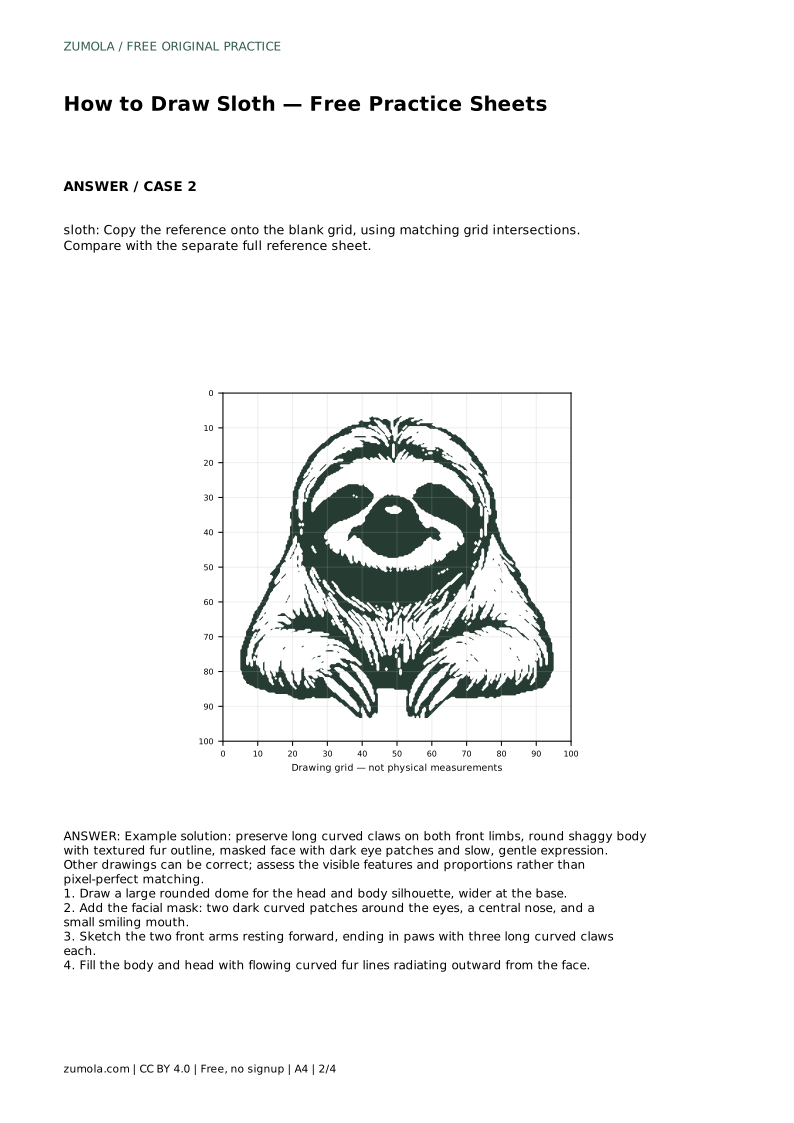
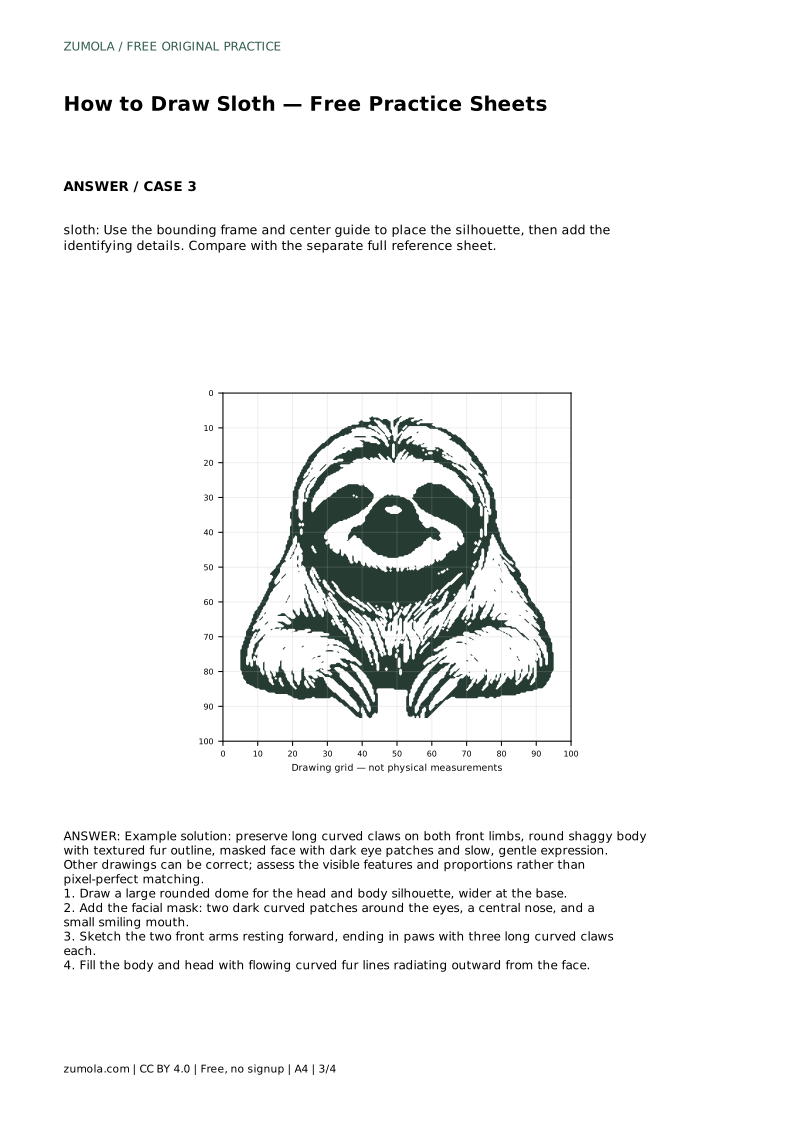
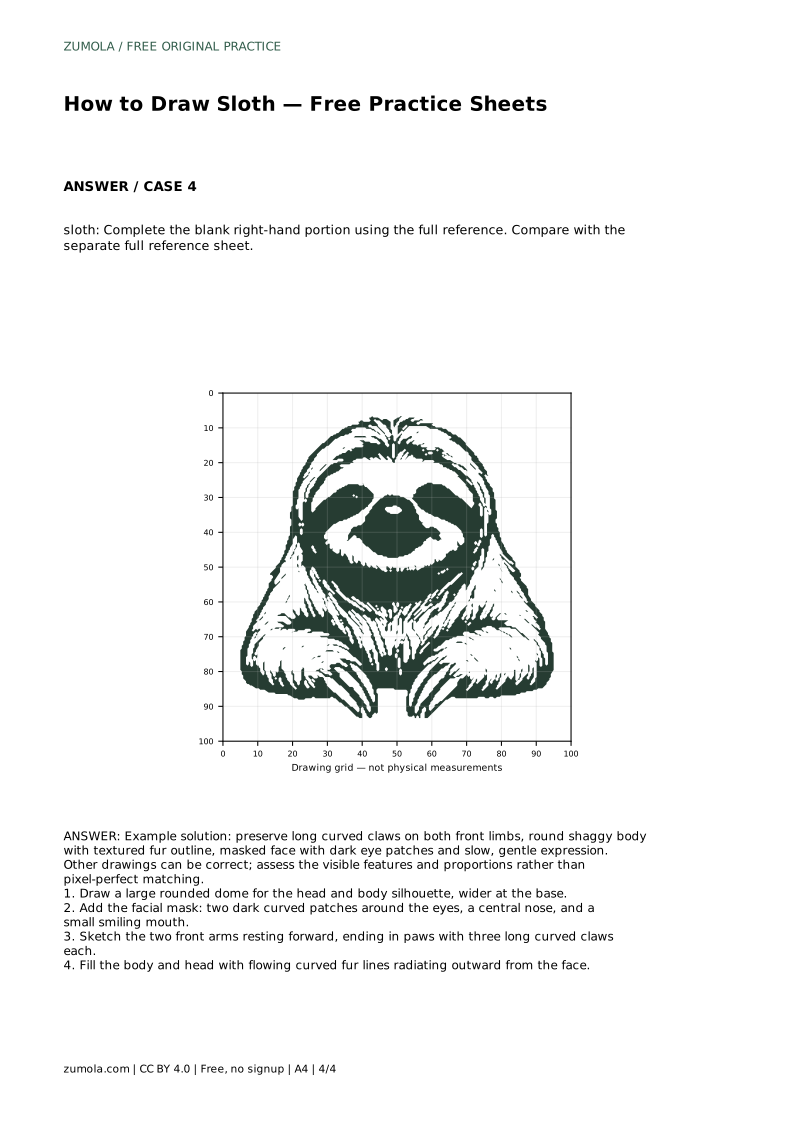
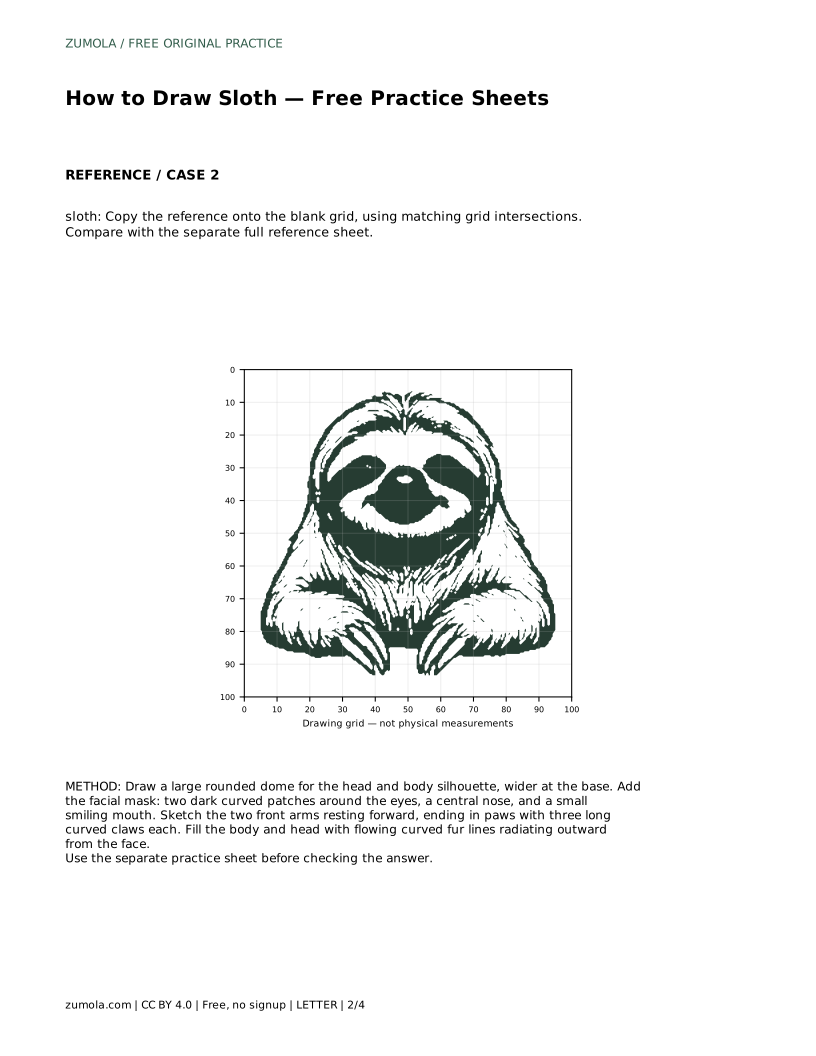
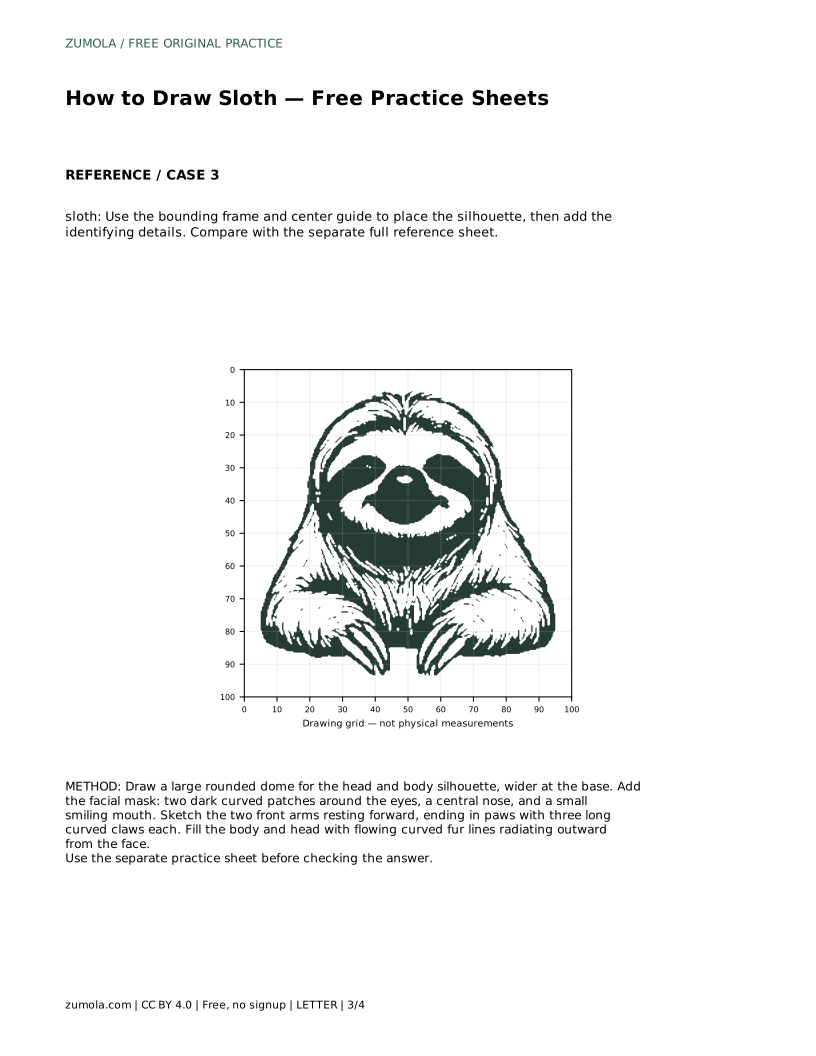
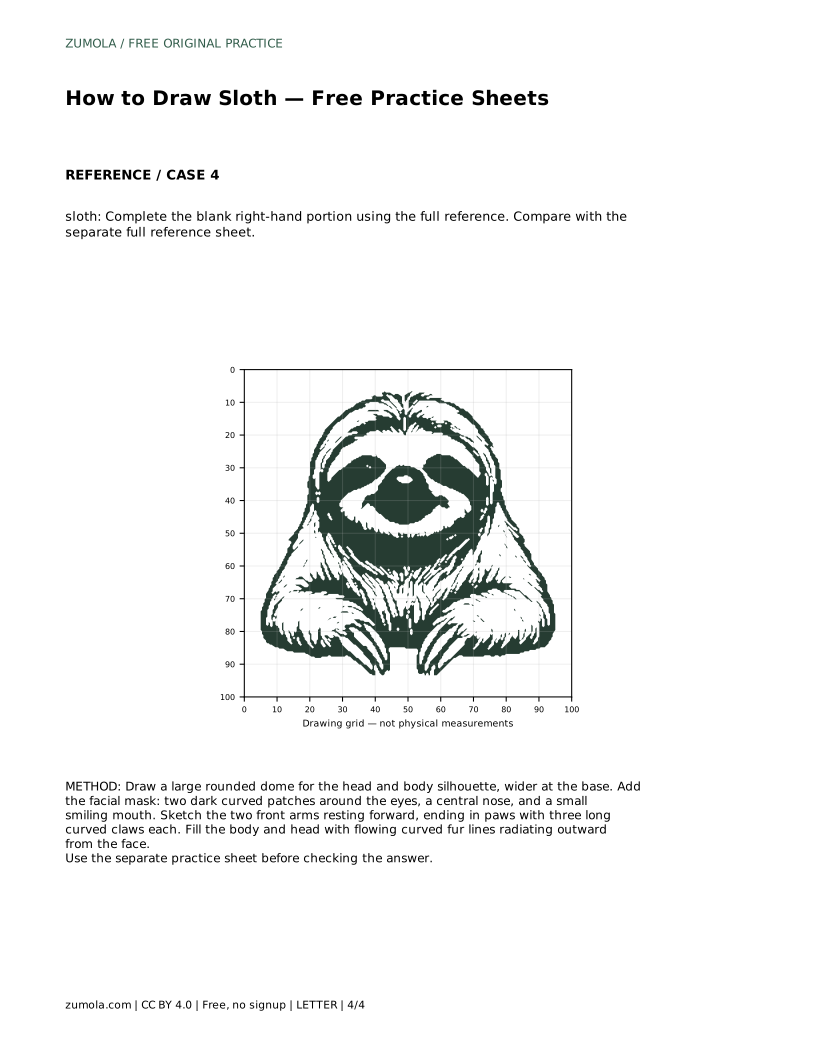
The tracing sheet asks you to follow the reference outline first, then practise the contour independently. Compare your freehand contour with the separate full reference sheet. The grid sheet asks you to copy the reference onto the blank grid using matching grid intersections—this trains proportion and placement. The bounding-frame sheet gives you a center guide to place the silhouette before adding details. The partial-completion sheet asks you to finish the blank right-hand portion using the full reference.
Each format isolates a different skill: tracing builds muscle memory, gridding builds proportion sense, framing builds placement, and partial completion builds inference. Use them in any order, but always compare your result with the full reference sheet rather than expecting a pixel-perfect match.
sloth: Trace the reference outline, then practise the contour independently. Compare with the separate full reference sheet.
Example solution: preserve long curved claws on both front limbs, round shaggy body with textured fur outline, masked face with dark eye patches and slow, gentle expression. Other drawings can be correct; assess the visible features and proportions rather than pixel-perfect matching. Draw a large rounded dome for the head and body silhouette, wider at the base. Add the facial mask: two dark curved patches around the eyes, a central nose, and a small smiling mouth. Sketch the two front arms resting forward, ending in paws with three long curved claws each. Fill the body and head with flowing curved fur lines radiating outward from the face.
Draw three long curved claws on each front paw. Keep them clearly separated and curved downward so they read as distinct hooks.
No. Other drawings can be correct. Assess the visible features and proportions—rounded dome, masked face, three long claws per front paw, and flowing fur—rather than pixel-perfect matching.
Start with tracing to build the contour, then use the grid or bounding frame to practise placement, and finish with the partial-completion sheet to test independent recall. Always compare with the full reference sheet.
All drawing practice · Free coordinate paper
Original resources · CC BY 4.0 · Free for personal and classroom use with attribution.