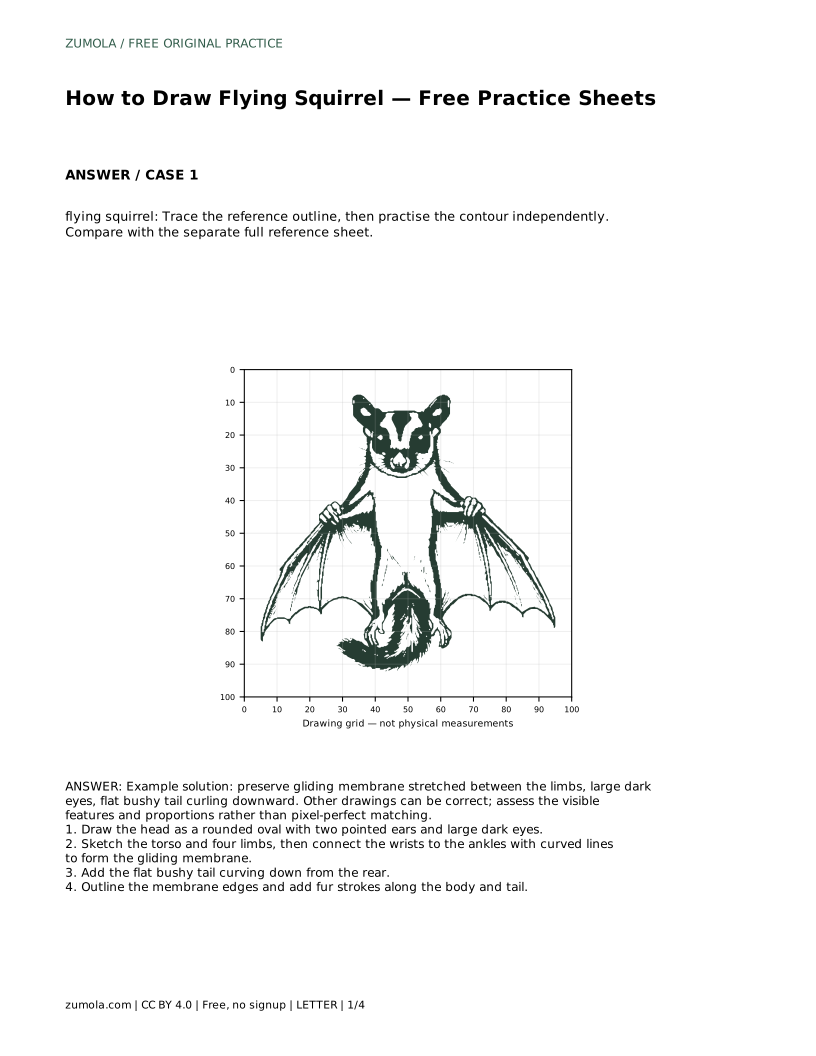
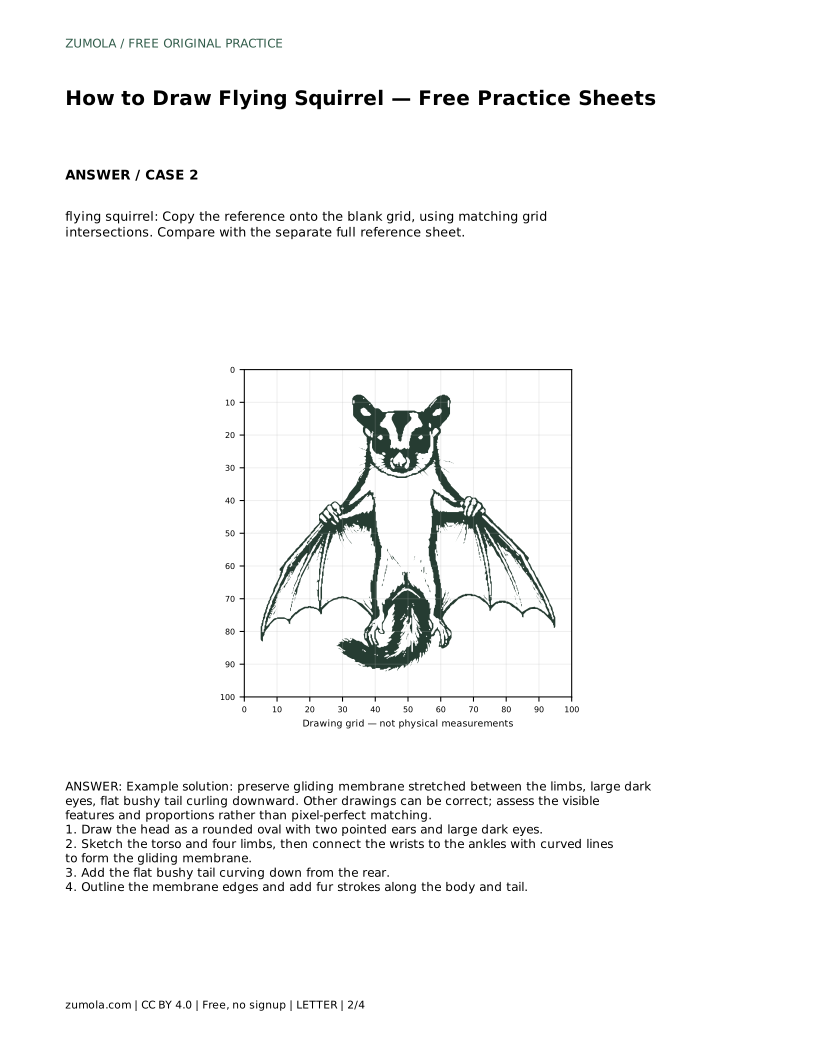
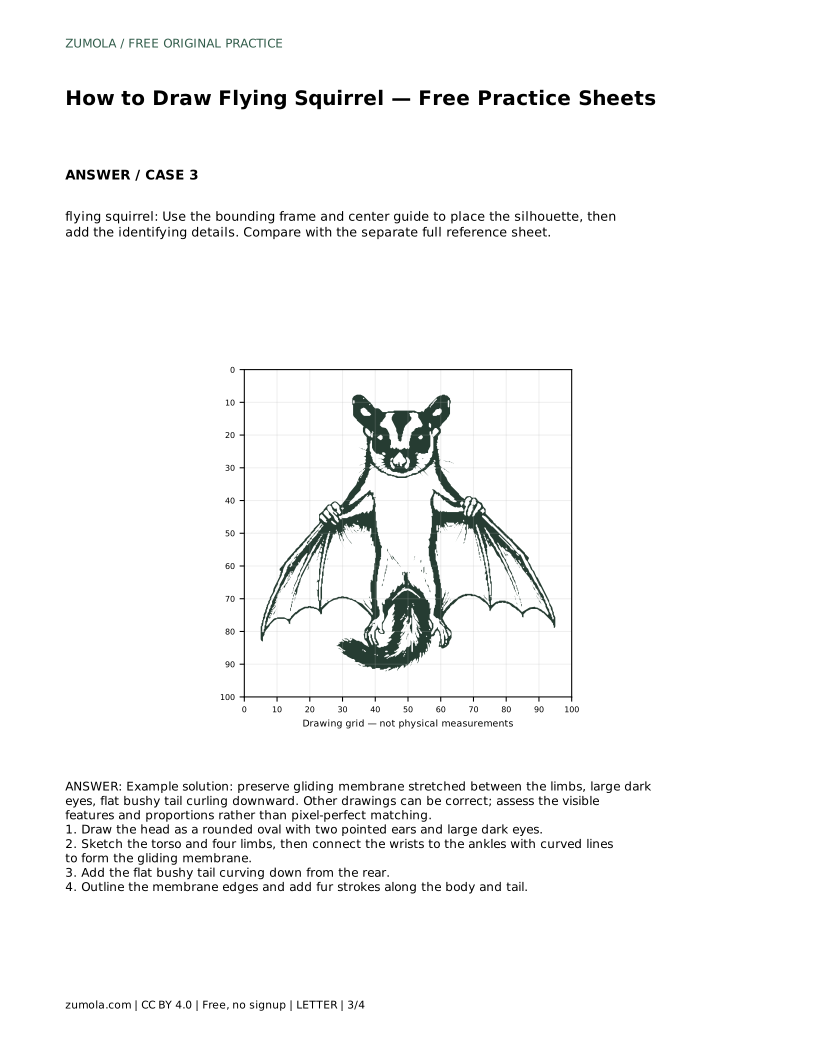
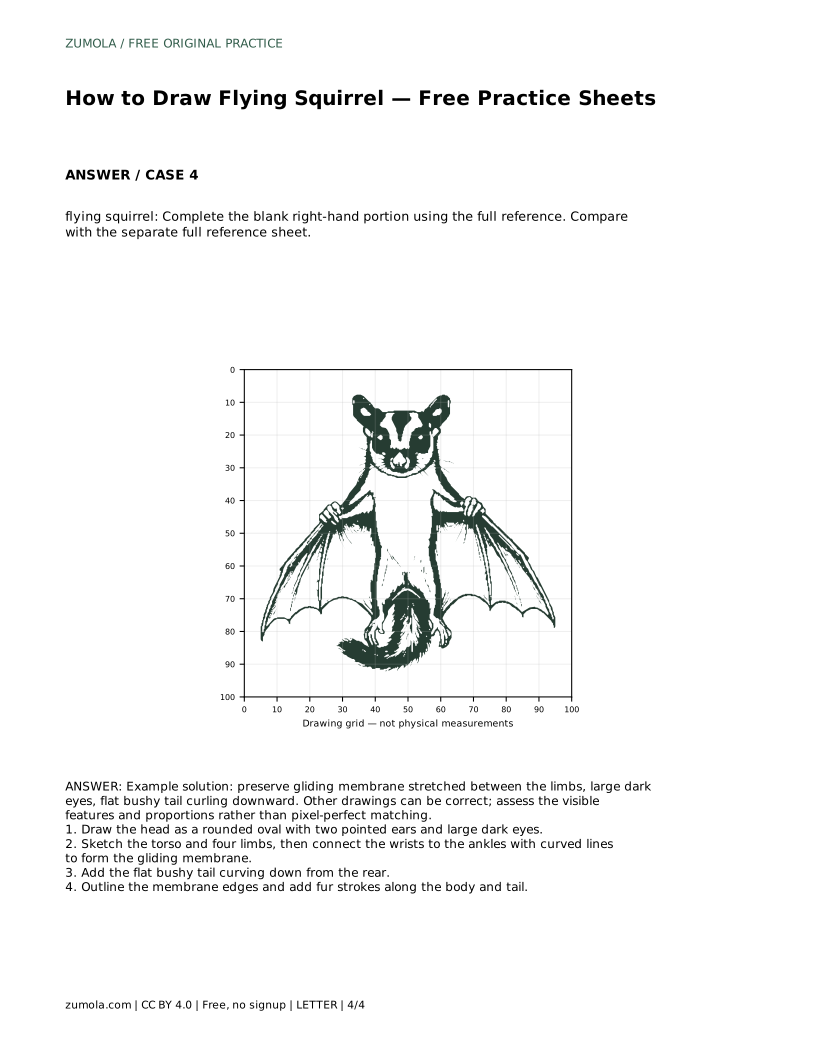
Reference diagrams
LETTER · Download PDF
A4 · Download PDF
Free original resources
Learn to draw a flying squirrel by building the gliding membrane, large eyes, and flat bushy tail, then practise with tracing, grid, and frame sheets.
Four original cases, with reference diagrams, practice sheets and worked answers. Everything is free; no signup required.
LETTER · Download PDF
A4 · Download PDF
LETTER · Download PDF
A4 · Download PDF
LETTER · Download PDF
A4 · Download PDF
Use A4 or US Letter to match your printer. Use the stated values and conditions to solve each exercise; diagrams are not physical measuring rulers.
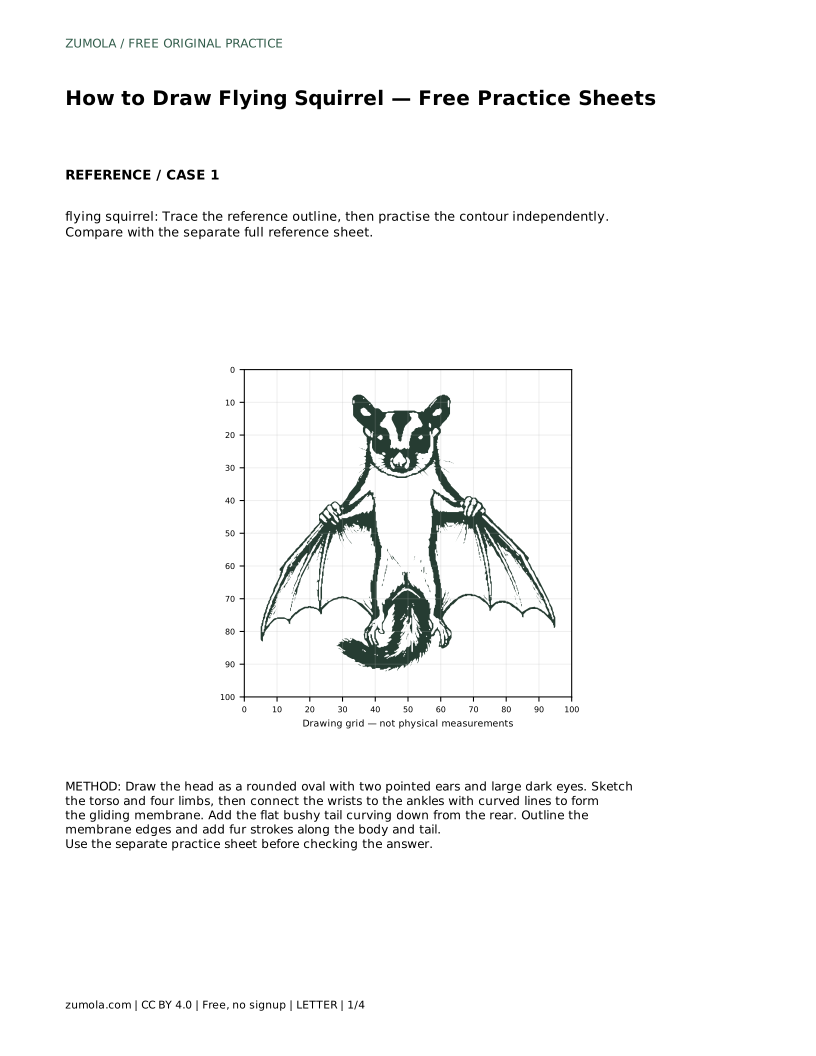
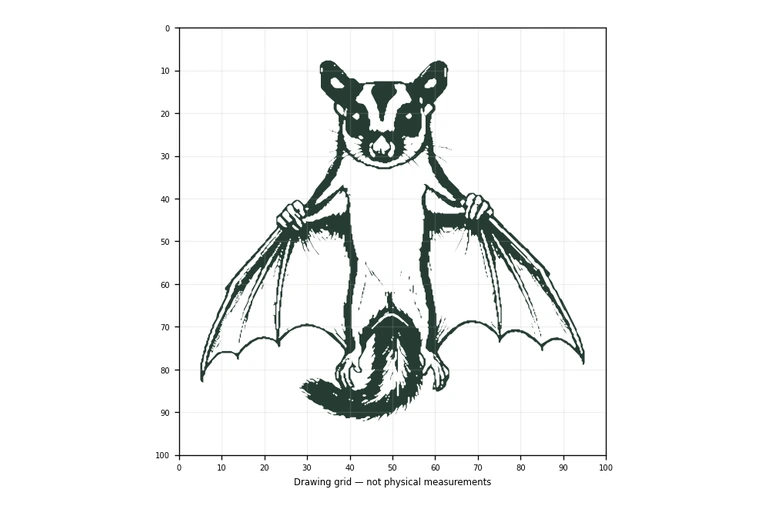
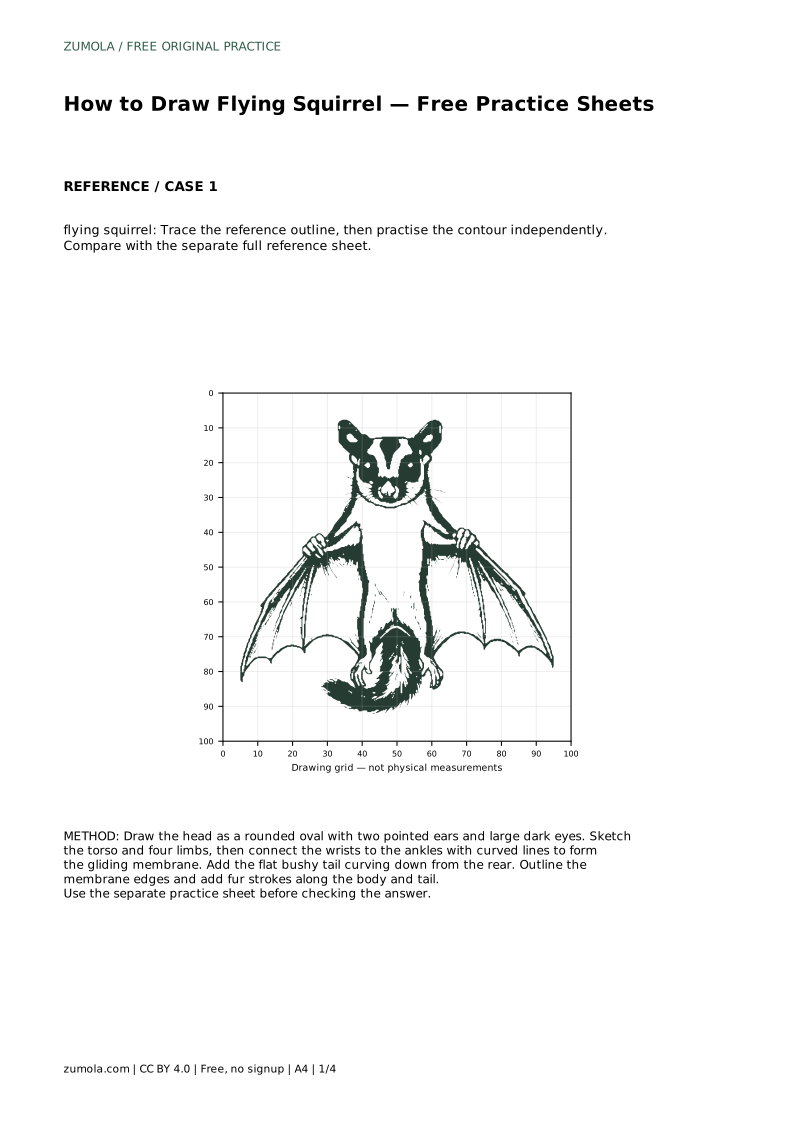
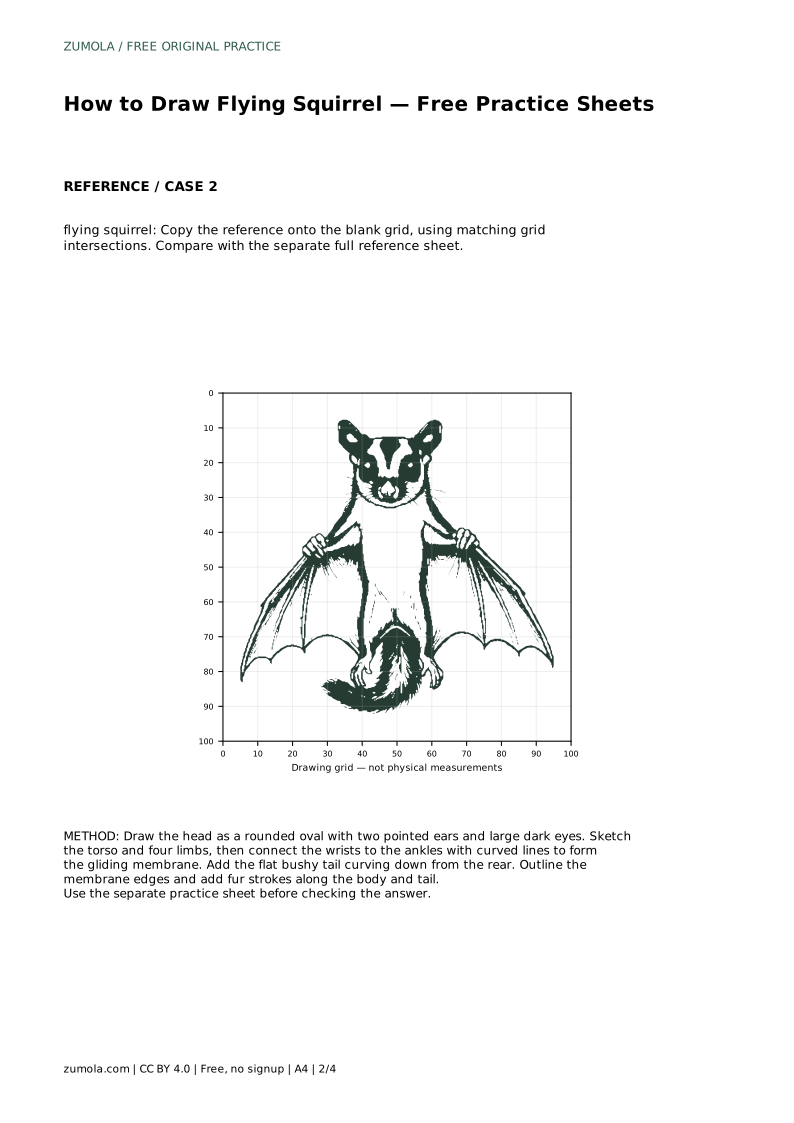
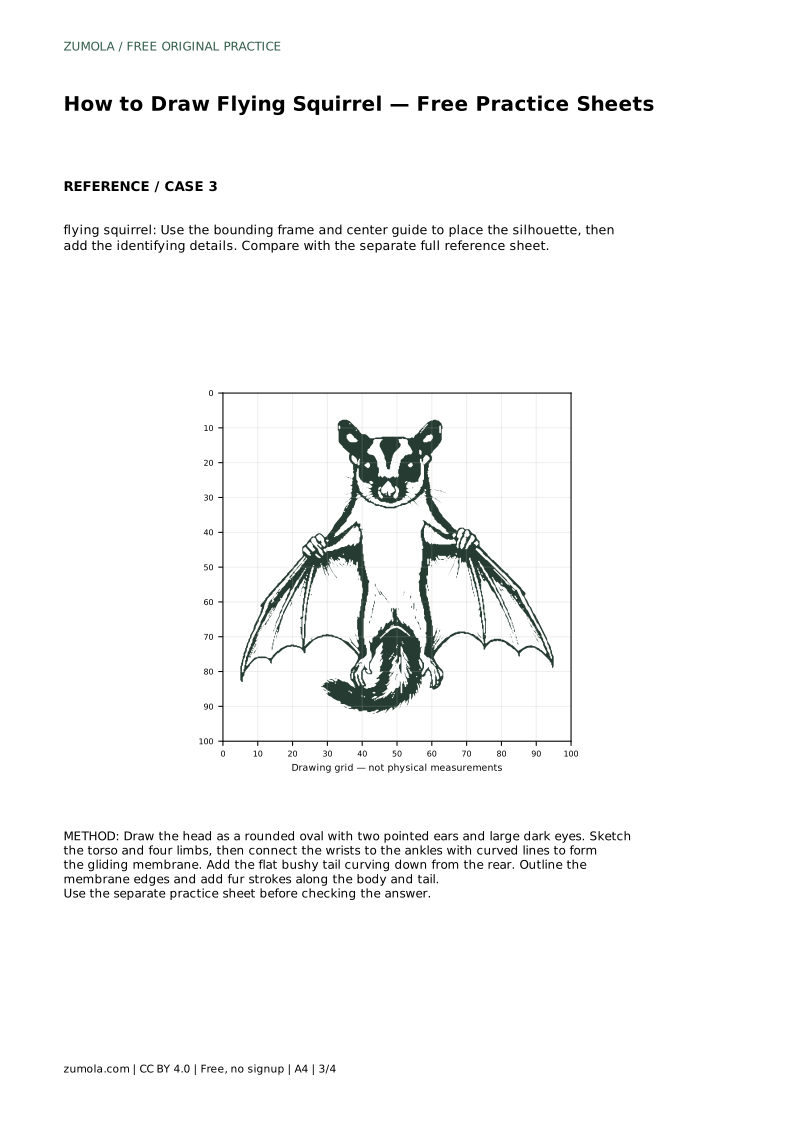
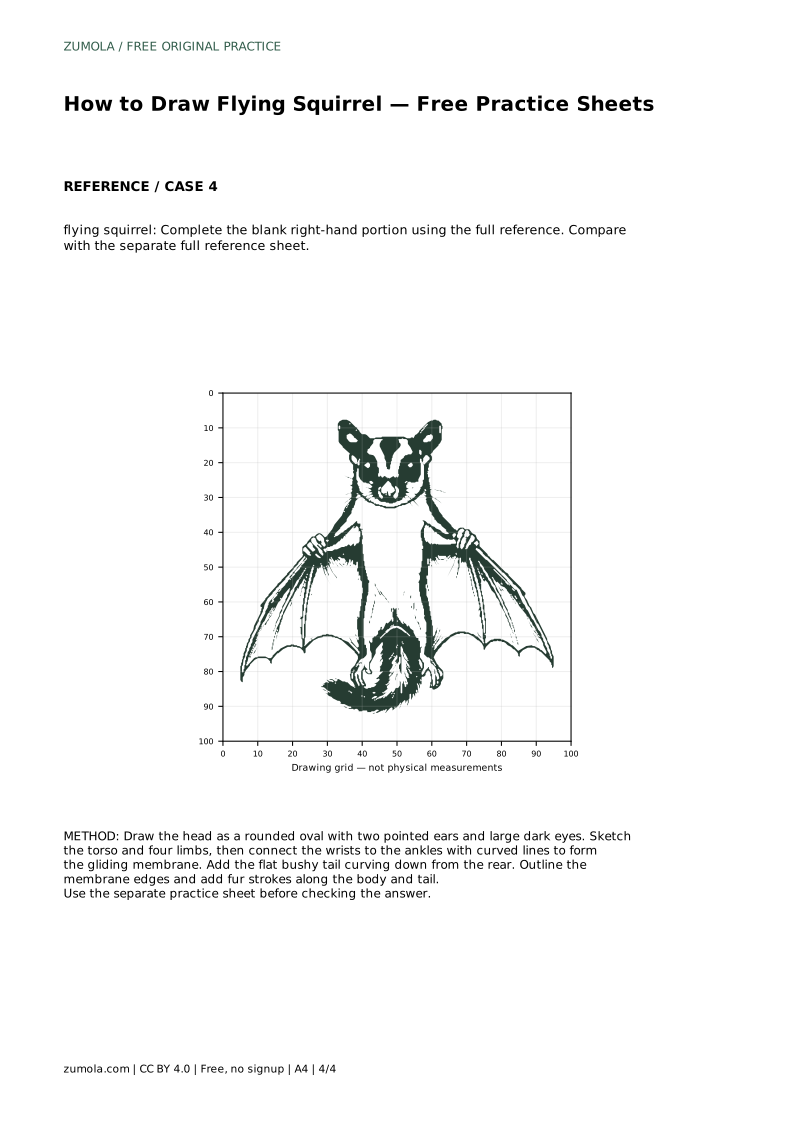
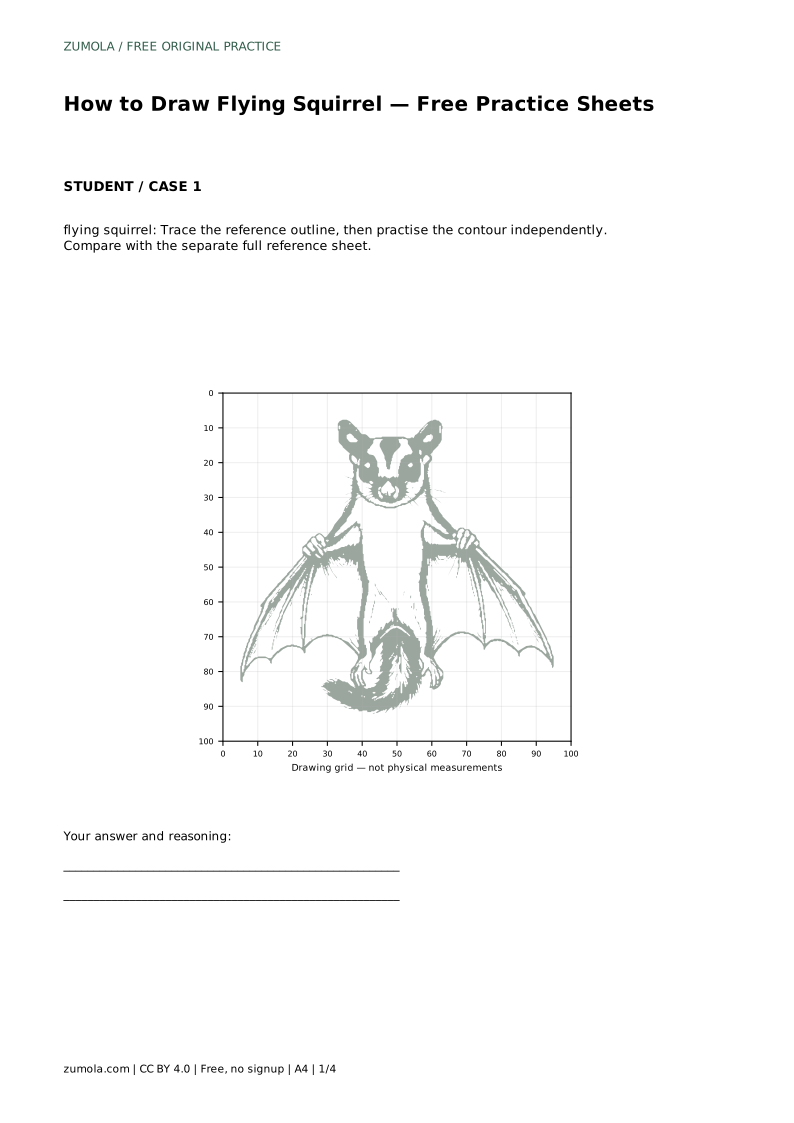
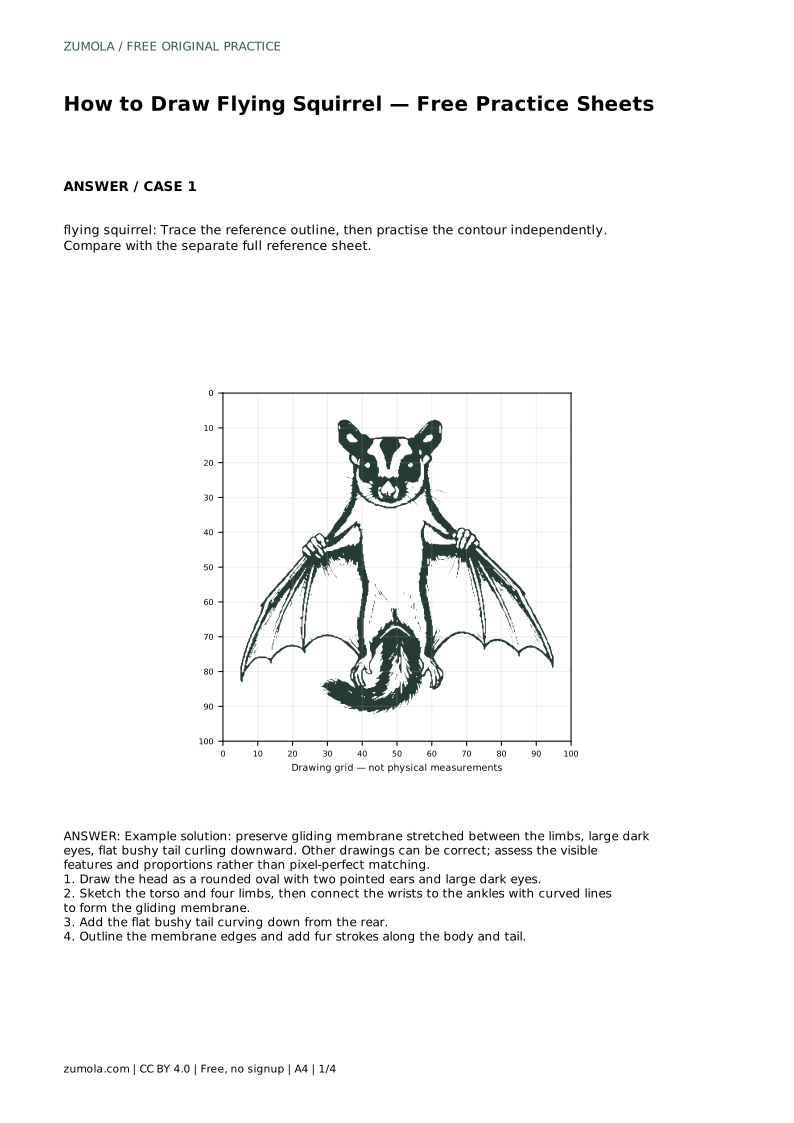
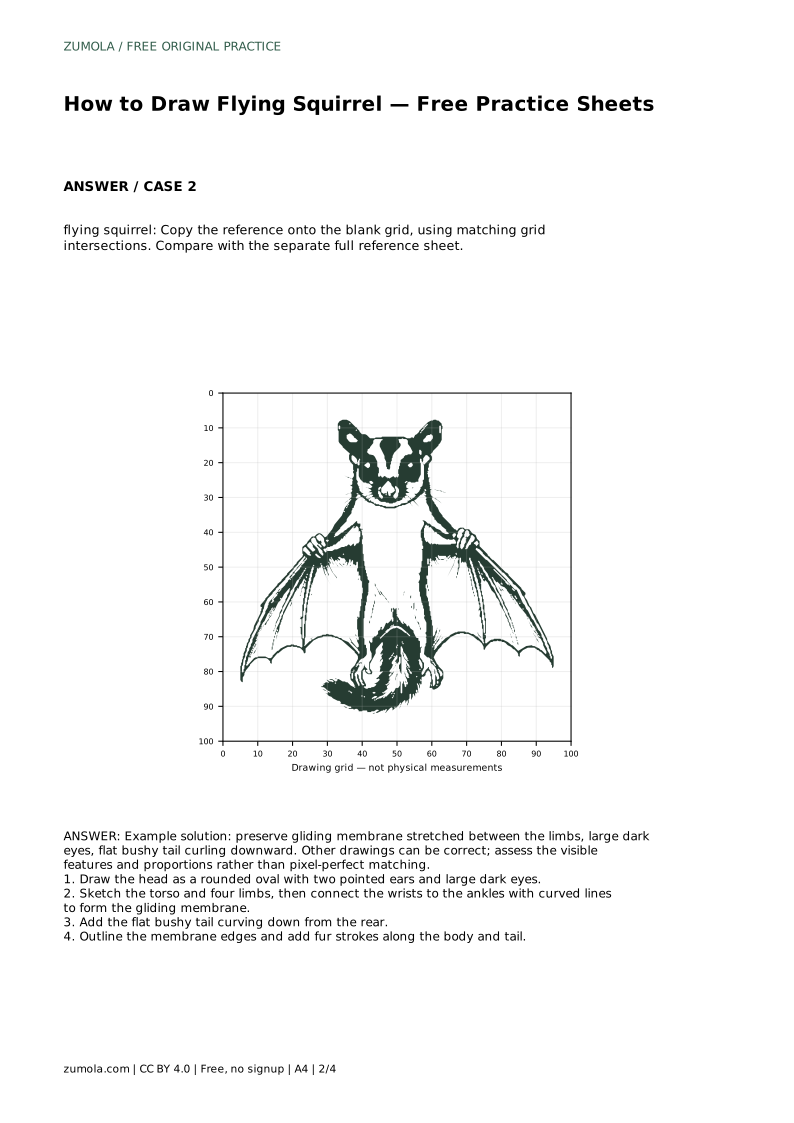
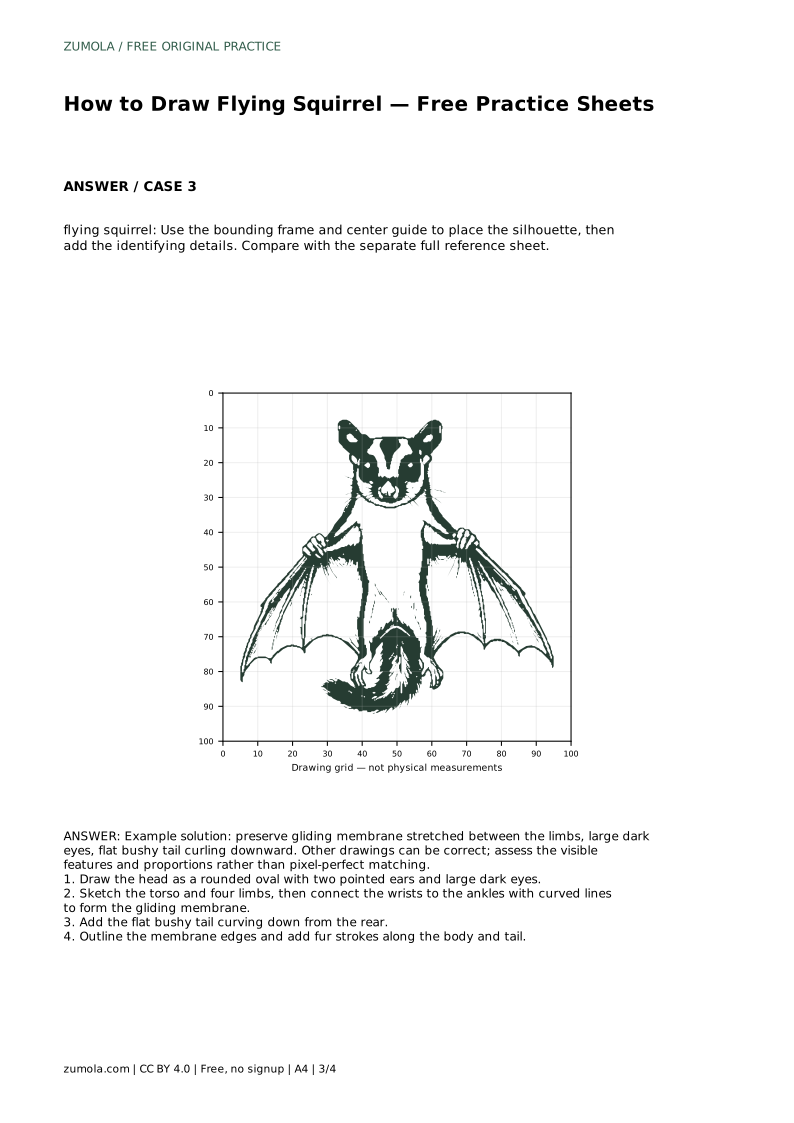
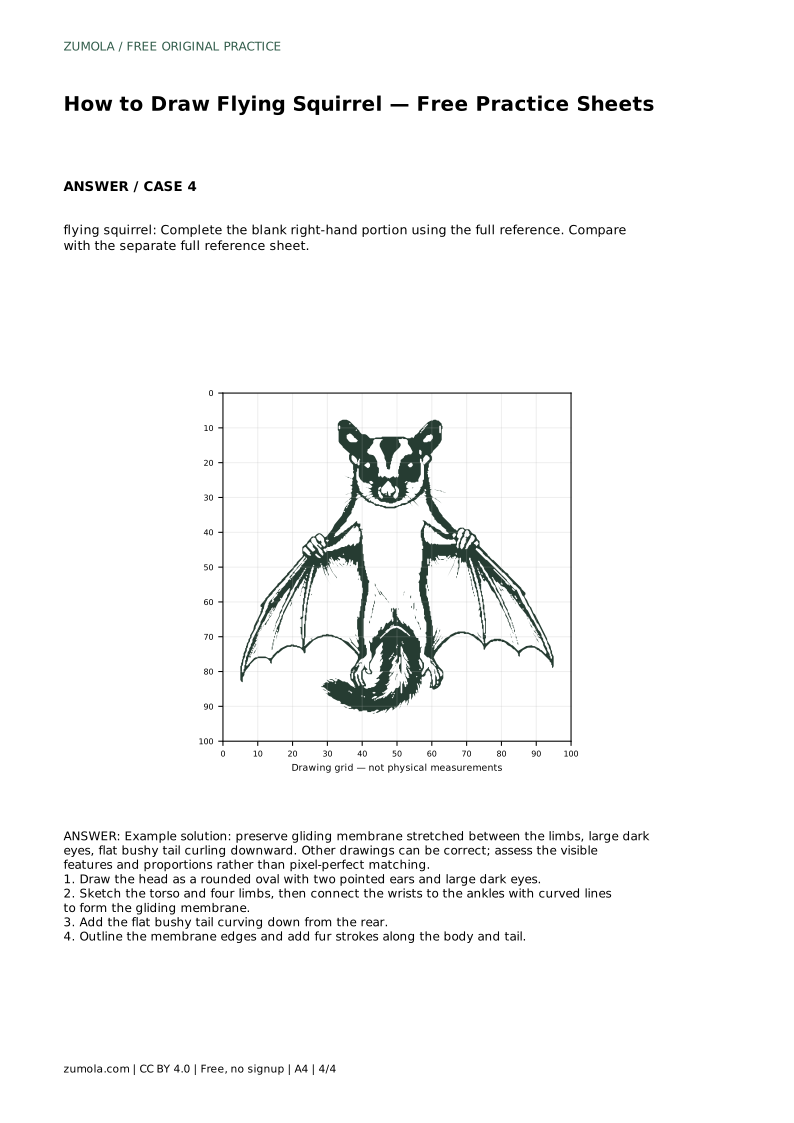
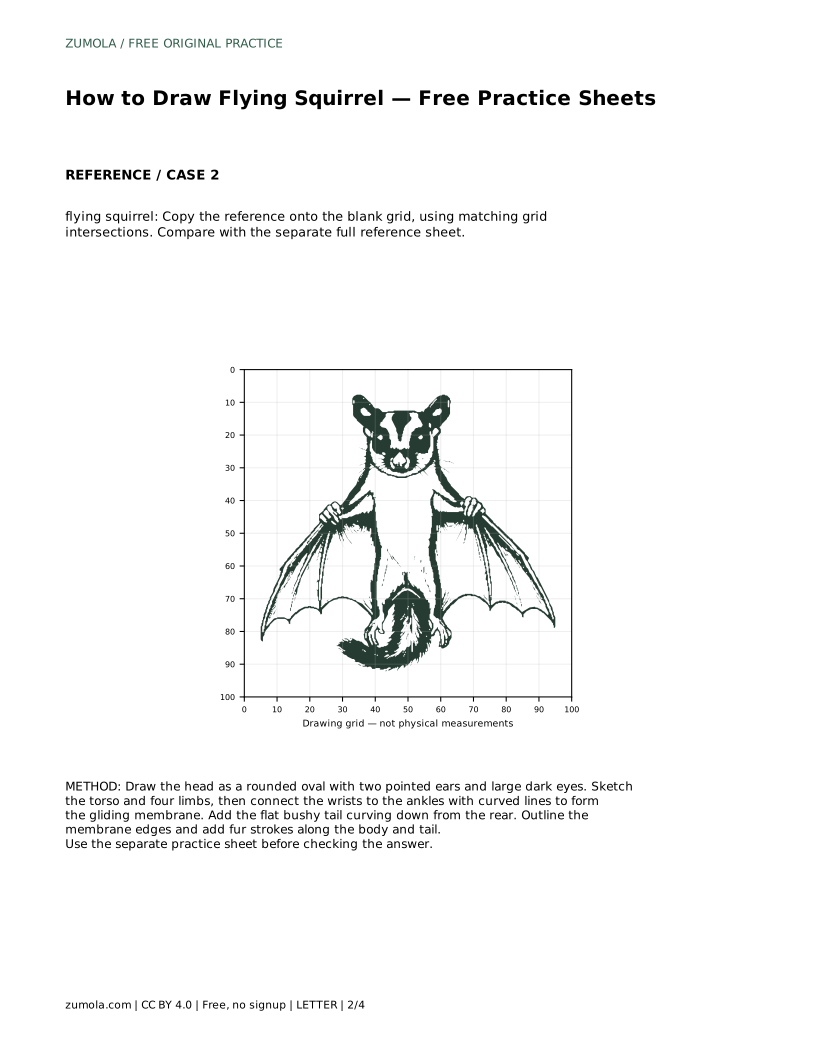
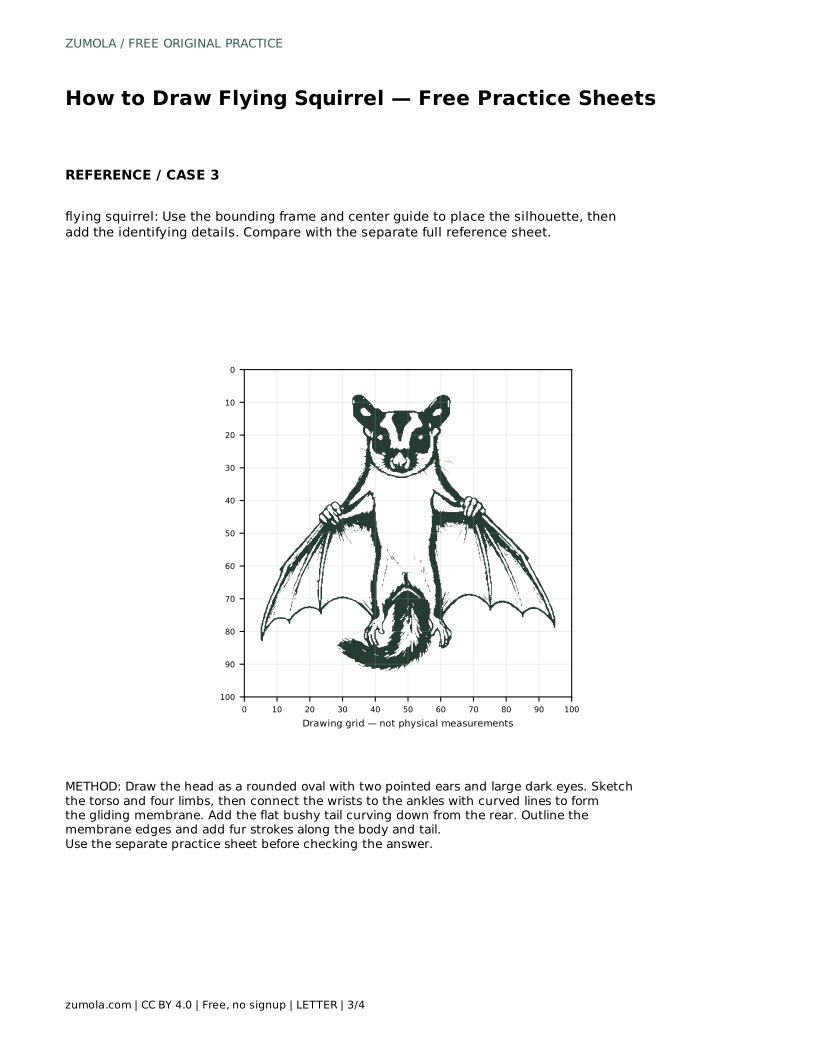
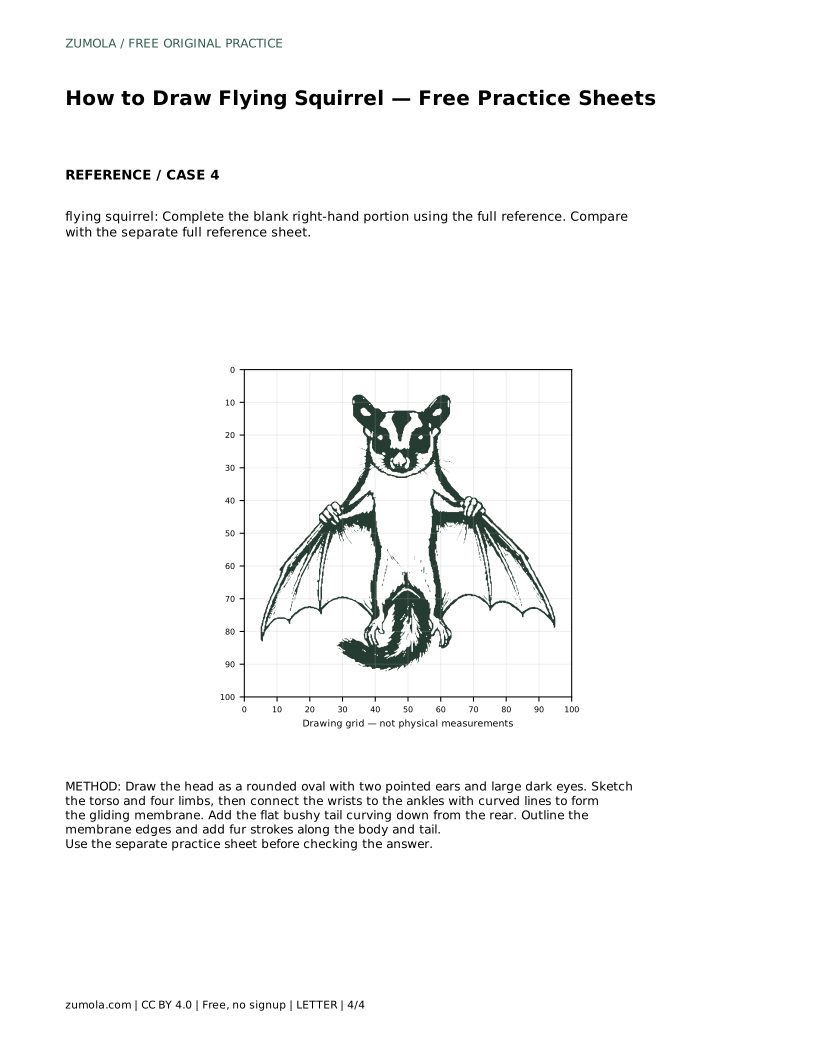
A flying squirrel drawing depends on a few clear features: a rounded head with pointed ears and large dark eyes, four limbs joined by a stretched gliding membrane, and a flat bushy tail that curls downward. This page explains how those parts fit together and how to practise them on the free sheets. The aim is a recognisable, well-proportioned squirrel, not a pixel-perfect copy, because several valid drawings can show the same features.
Begin with the head as a rounded oval rather than a circle; the slight length gives room for the muzzle and the wide-set eyes. Add two pointed ears on top, angled outward, and place large dark eyes low and forward on the face. The eyes are a defining feature, so keep them generous but symmetrical.
Sketch the torso beneath the head as a soft, slightly elongated shape. Keep it small relative to the membrane, because the outstretched skin is what makes the animal look like a glider. Light pencil lines are easier to adjust than dark ones.
The membrane is the key structure. Draw four limbs first, then connect each wrist to the matching ankle with a curved line. The line should bow outward slightly, suggesting skin stretched between the limbs rather than a straight bar. Keep the front and rear connections consistent on both sides so the silhouette reads as balanced.
Once the membrane edges are in place, outline them more firmly. Add short fur strokes along the body and the membrane border to soften the shape. Avoid drawing the membrane as a flat triangle; a gentle curve keeps it looking like living tissue.
Draw the flat bushy tail from the rear of the body, curving downward. Keep it broad and flattened rather than round, and let the tip curl gently. The tail balances the wide membrane, so give it enough length to sit visually against the body.
Finish by checking the whole silhouette: head, ears, eyes, four limbs, membrane, and tail. Compare your drawing with the separate full reference sheet, but judge the visible features and proportions rather than exact line placement.
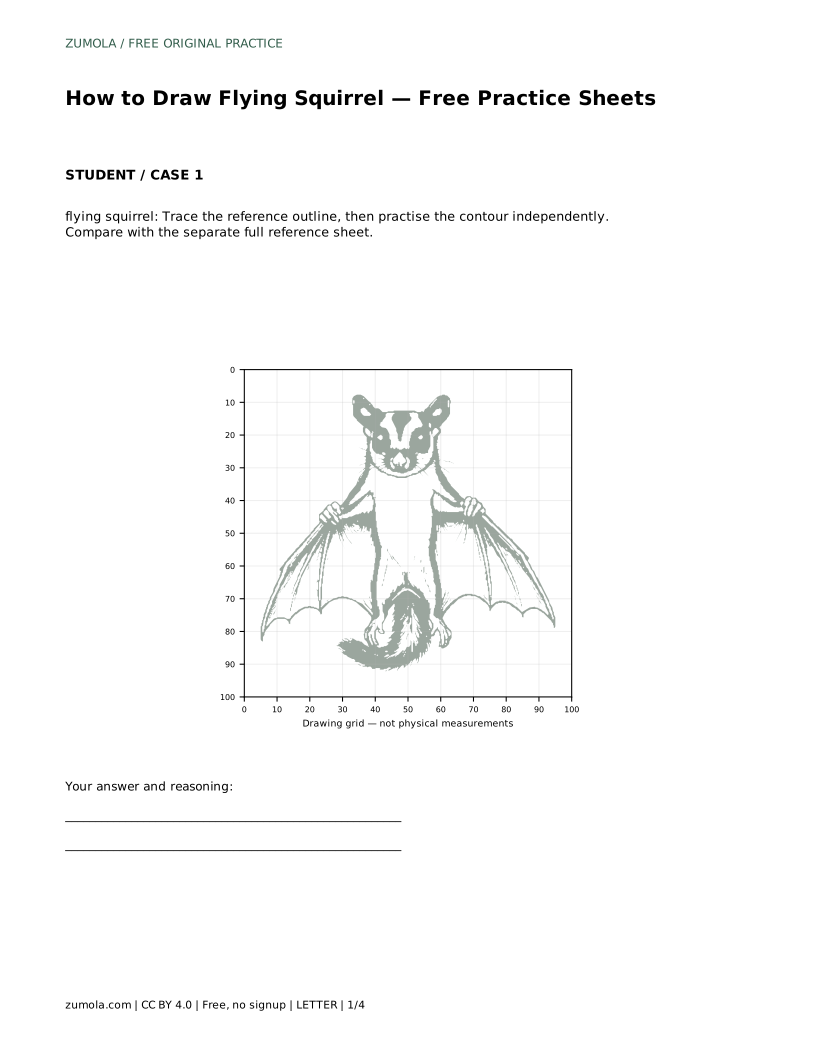
flying squirrel: Trace the reference outline, then practise the contour independently. Compare with the separate full reference sheet.
Example solution: preserve gliding membrane stretched between the limbs, large dark eyes, flat bushy tail curling downward. Other drawings can be correct; assess the visible features and proportions rather than pixel-perfect matching. Draw the head as a rounded oval with two pointed ears and large dark eyes. Sketch the torso and four limbs, then connect the wrists to the ankles with curved lines to form the gliding membrane. Add the flat bushy tail curving down from the rear. Outline the membrane edges and add fur strokes along the body and tail.
No. Several drawings can be correct. Assess whether the membrane, large dark eyes, and flat bushy tail are visible and proportioned well.
Start with the head and torso, then add limbs and the membrane. The tail comes last so it can balance the finished silhouette.
Compare your drawing with the separate full reference sheet and look at the relative size of the head, membrane, and tail rather than individual lines.
All drawing practice · Free coordinate paper
Original resources · CC BY 4.0 · Free for personal and classroom use with attribution.