Reference diagrams
LETTER · Download PDF
A4 · Download PDF
Free original resources
Learn to draw a symmetrical pair of antlers with curved main beams, branching tines and tapered tips. Includes a tracing and contour practice method.
Four original cases, with reference diagrams, practice sheets and worked answers. Everything is free; no signup required.
LETTER · Download PDF
A4 · Download PDF
LETTER · Download PDF
A4 · Download PDF
LETTER · Download PDF
A4 · Download PDF
Use A4 or US Letter to match your printer. Use the stated values and conditions to solve each exercise; diagrams are not physical measuring rulers.
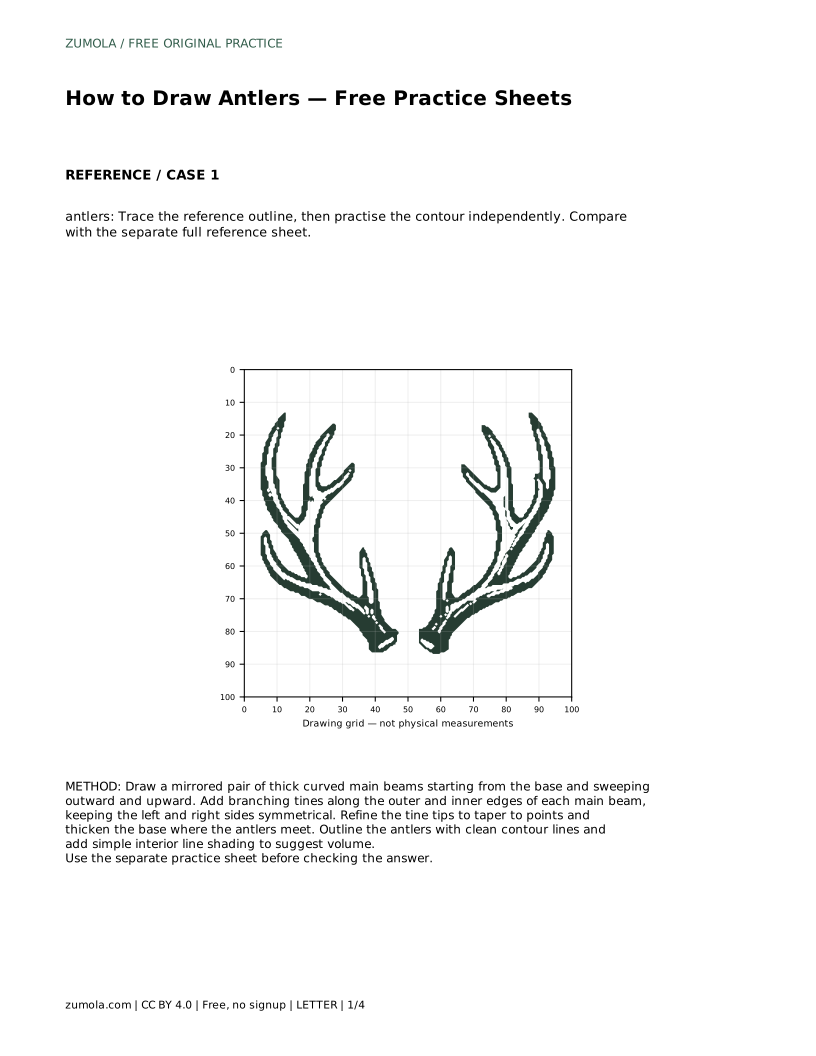
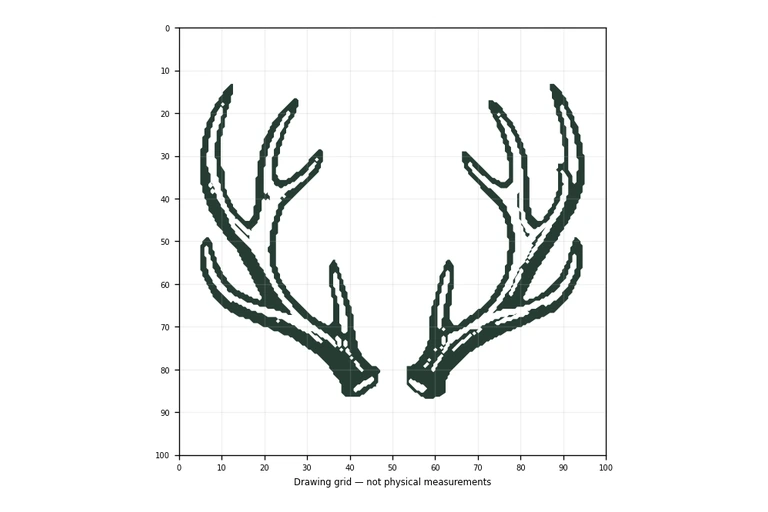
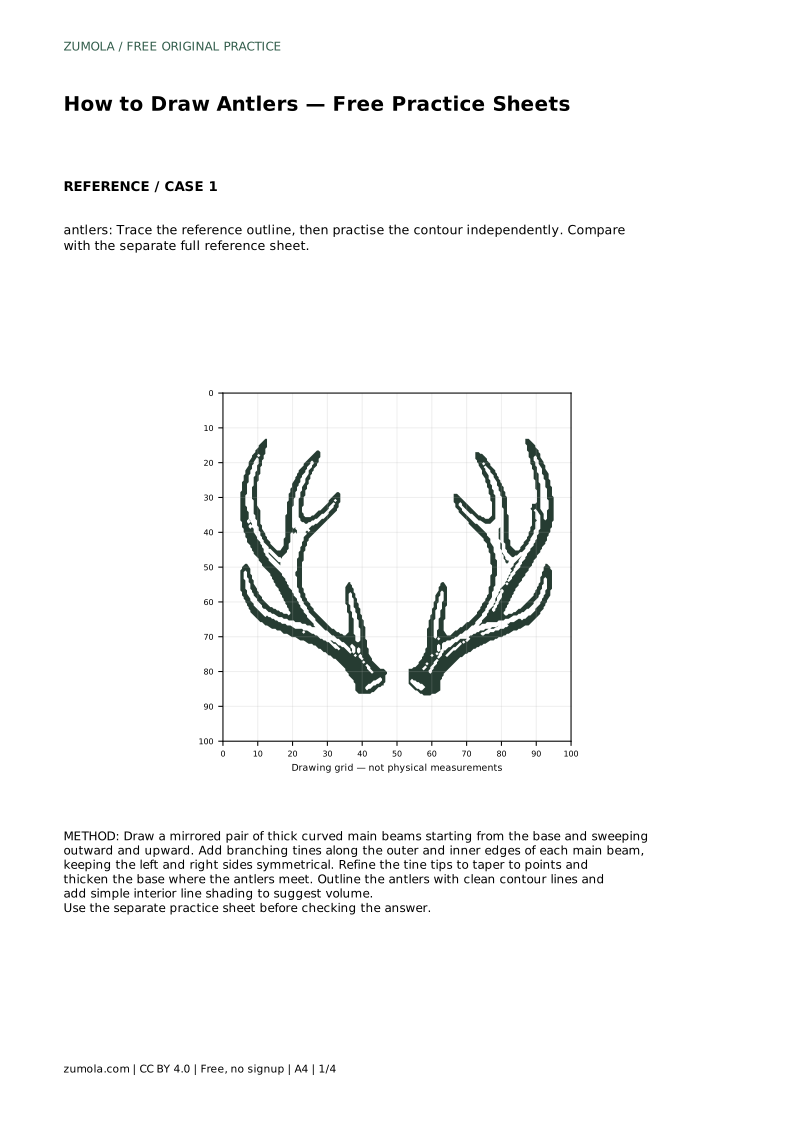
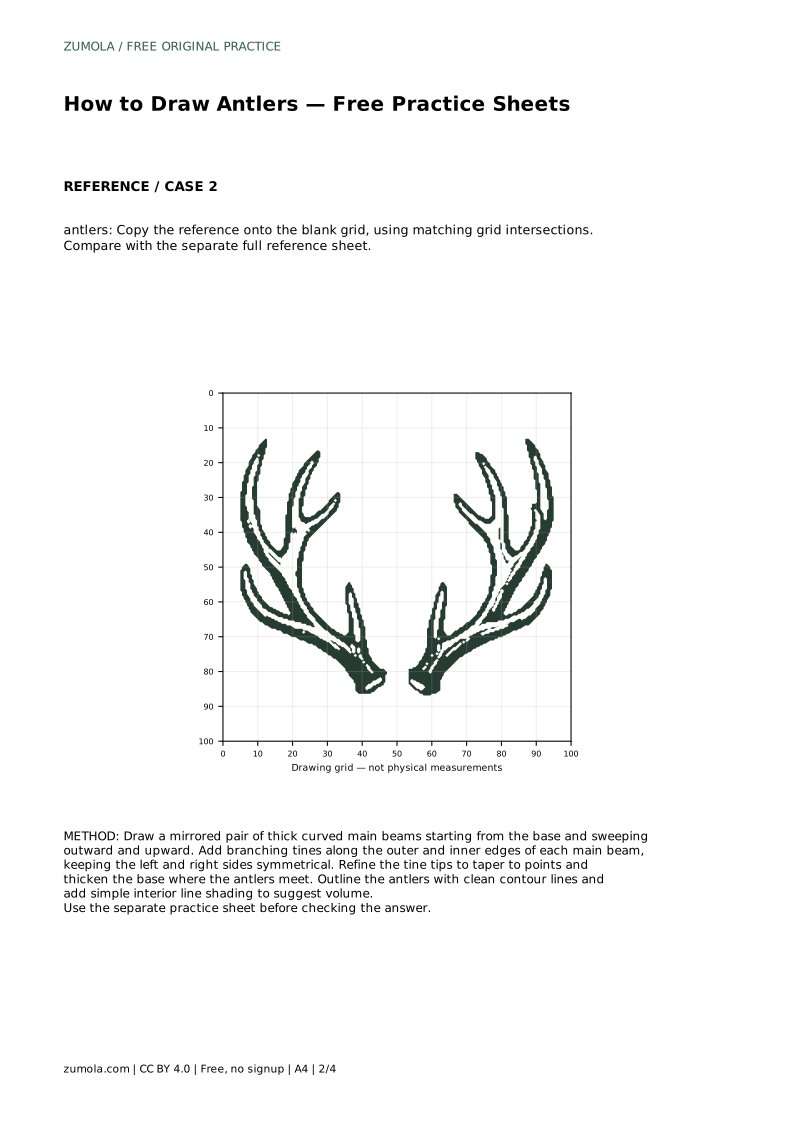
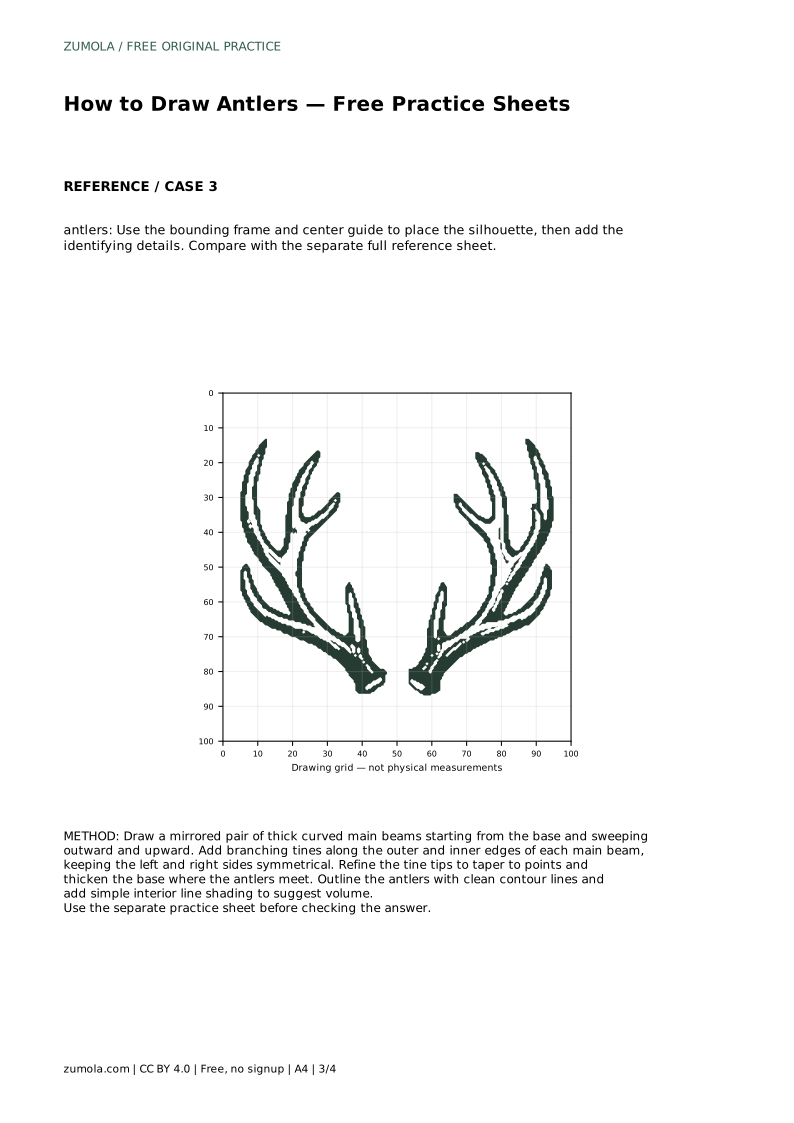
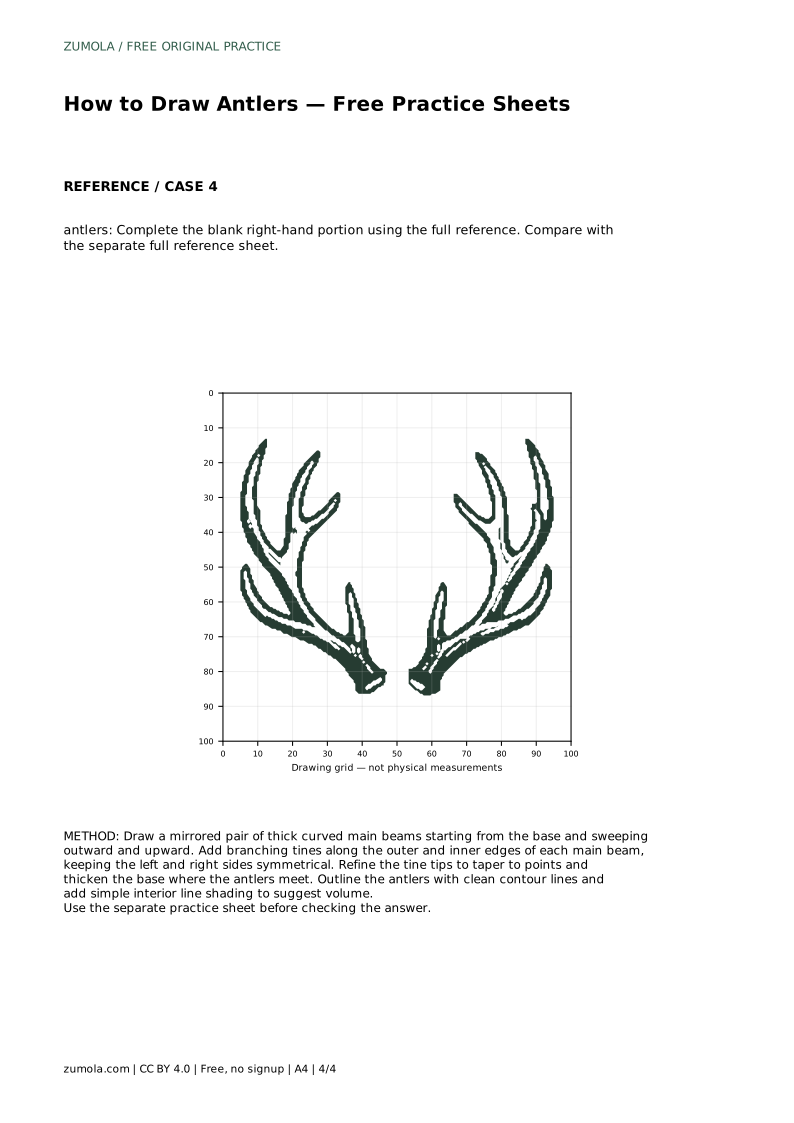
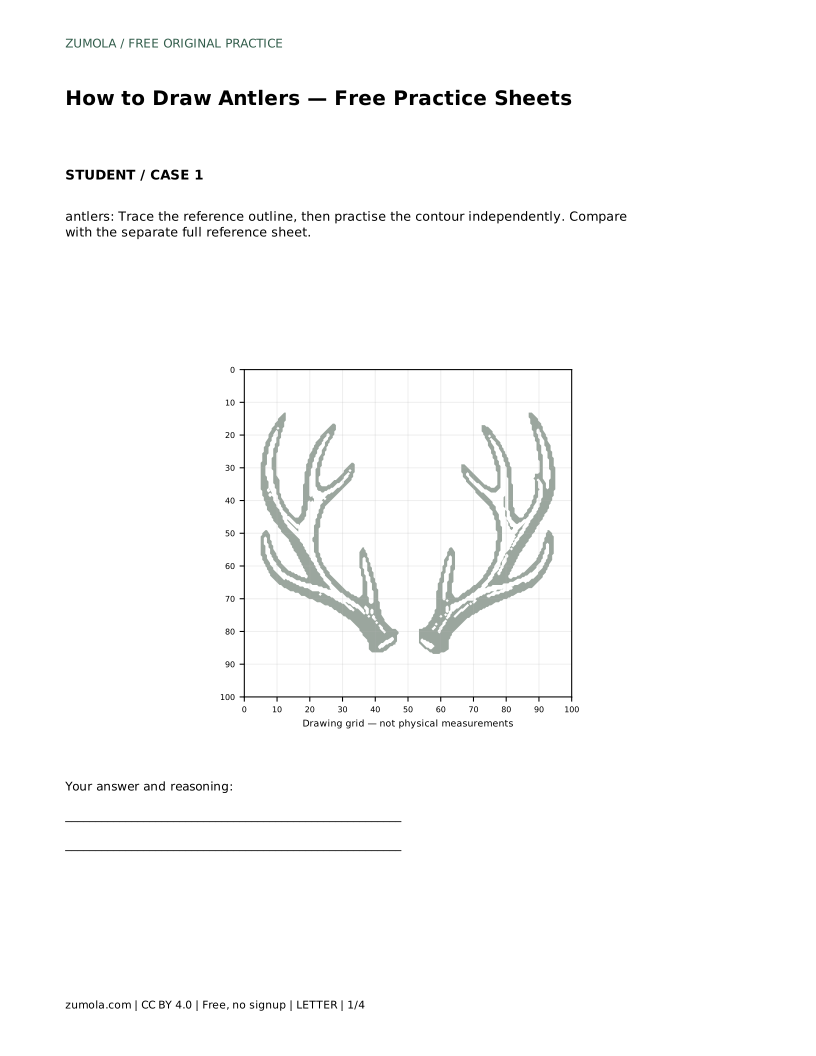
Antlers are a rewarding drawing subject because their structure is clear: two mirrored main beams curve outward and upward, and each beam carries several branching tines. This page explains how to build that structure step by step, first by tracing a reference outline and then by practising the contour independently. The goal is not a pixel-perfect copy but a drawing that preserves the visible features and proportions of the reference.
Begin with the two thick curved main beams. Each beam starts at the base where the antlers meet and sweeps outward and upward in a smooth arc. Draw the left and right beams as a mirrored pair so the overall silhouette stays balanced. Keep the base thick and let the beam narrow gradually as it rises.
Treat the beams as the skeleton of the drawing. If their curves and spacing look right, the tines will have somewhere sensible to attach. Check the pair from a short distance to confirm the two sides mirror each other.
Tines branch from the main beams along both the outer and inner edges. Place them at intervals along each beam, keeping the left and right sides symmetrical. Each tine should leave the beam at a clear angle and taper toward its tip.
Vary the length of the tines slightly so the antlers look natural rather than mechanical, but keep the overall pattern matched across the pair. A tine on the left beam should have a corresponding tine on the right at a similar height.
Refine the tine tips so they taper to clean points, and thicken the base where the antlers meet. Then outline the antlers with clean contour lines. Add simple interior line shading along the beams and tines to suggest volume without overworking the surface.
When practising independently, compare your contour with the separate full reference sheet. Look at the symmetry of the pair, the sweep of the main beams and the number and placement of tines. Other drawings can be correct, so assess the visible features and proportions rather than pixel-perfect matching.
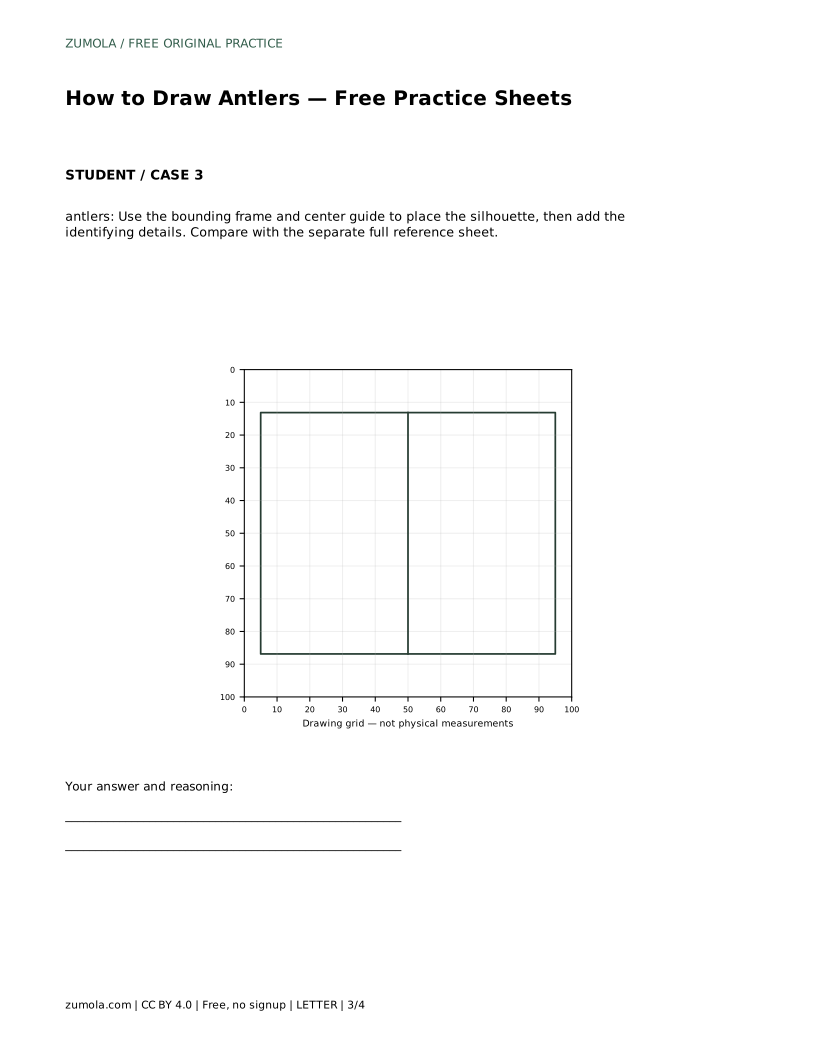
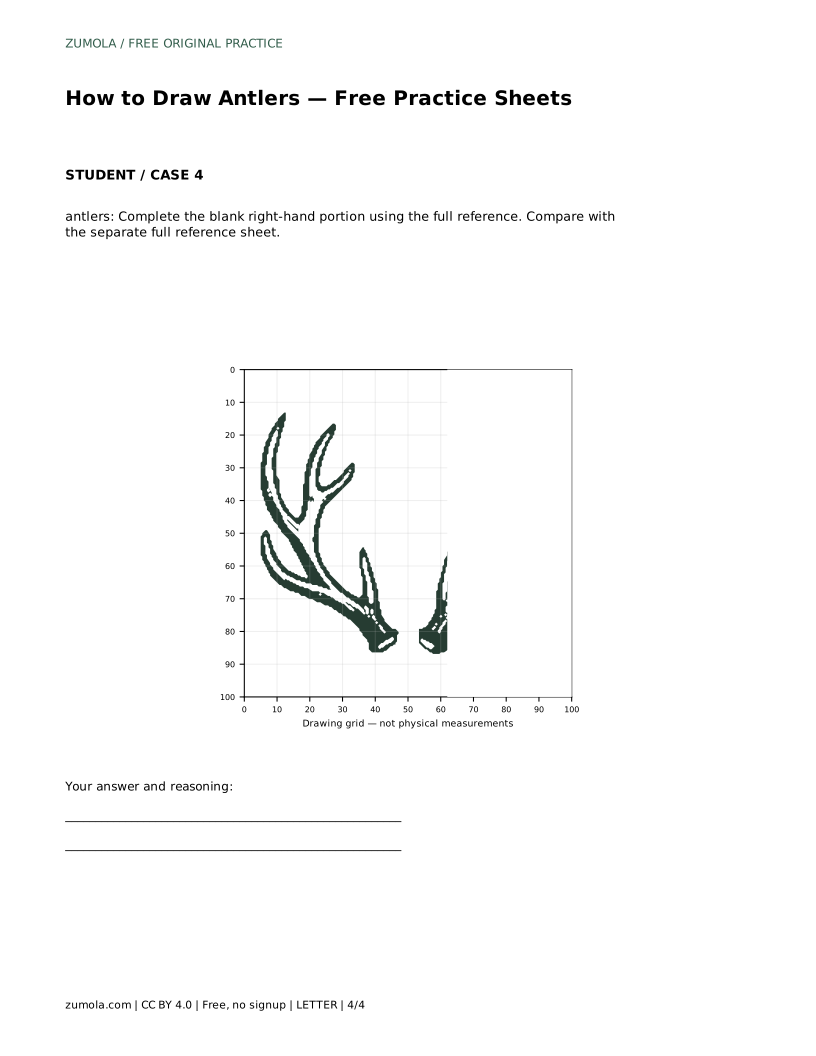
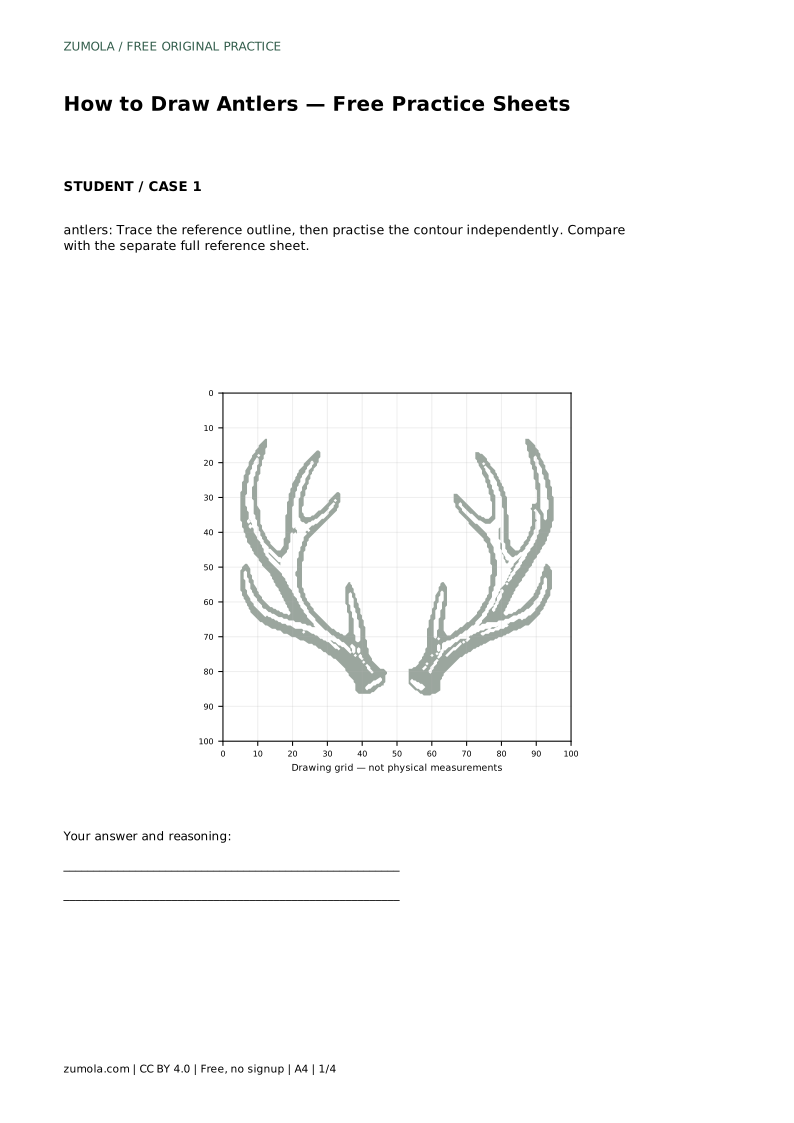
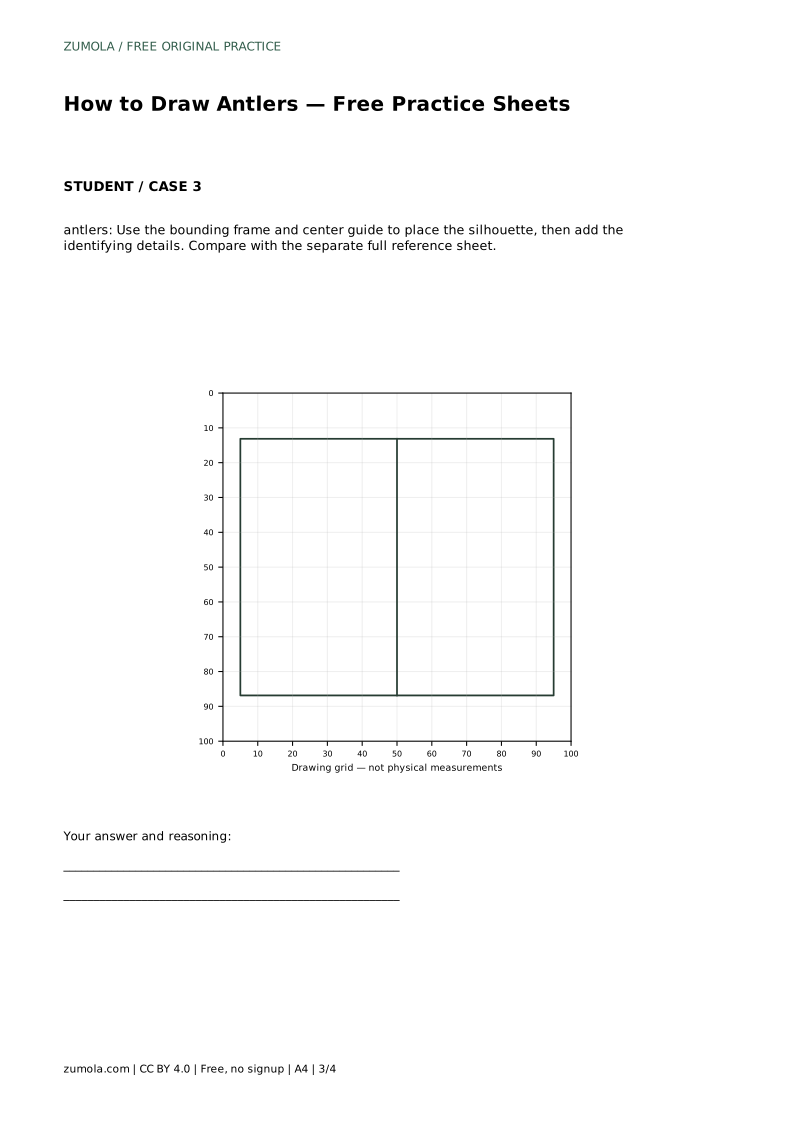
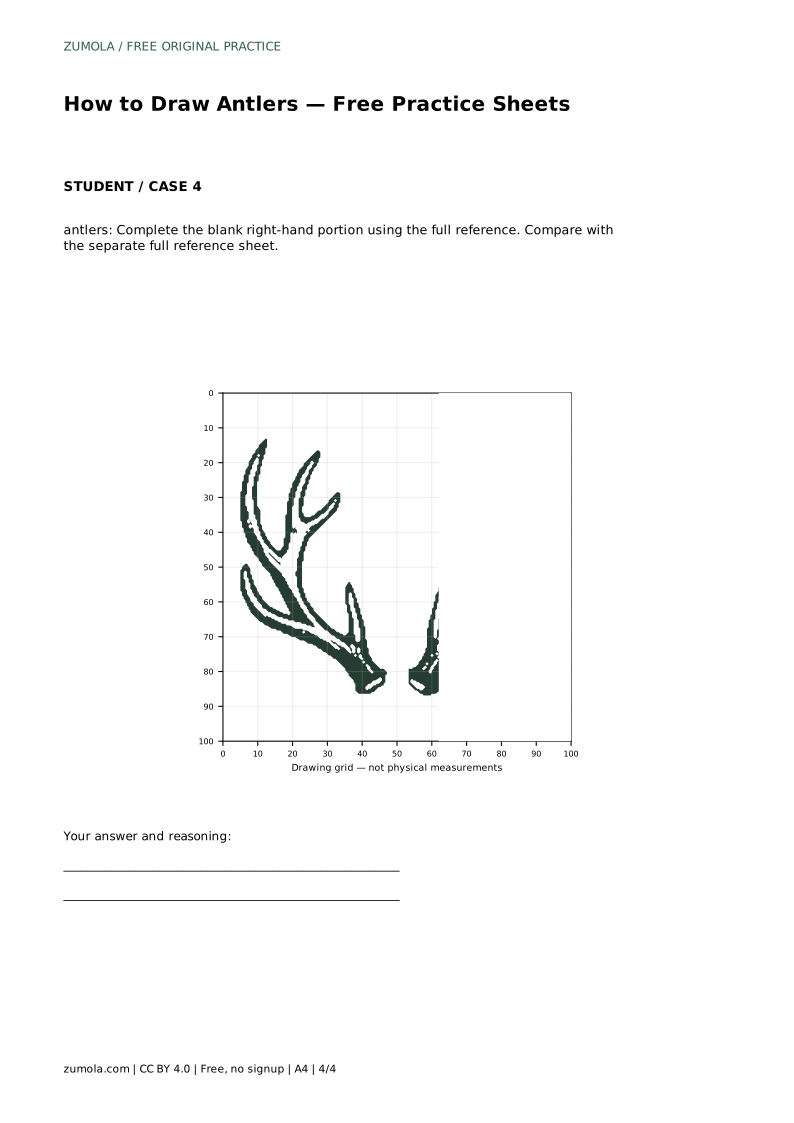
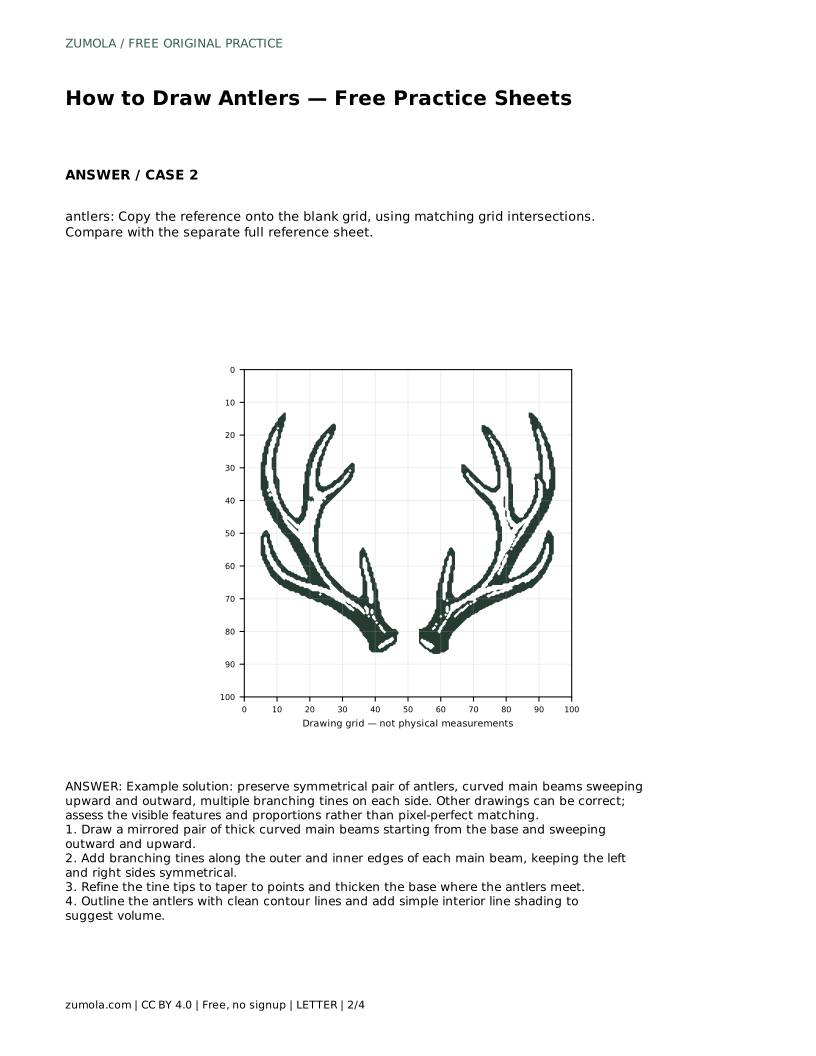
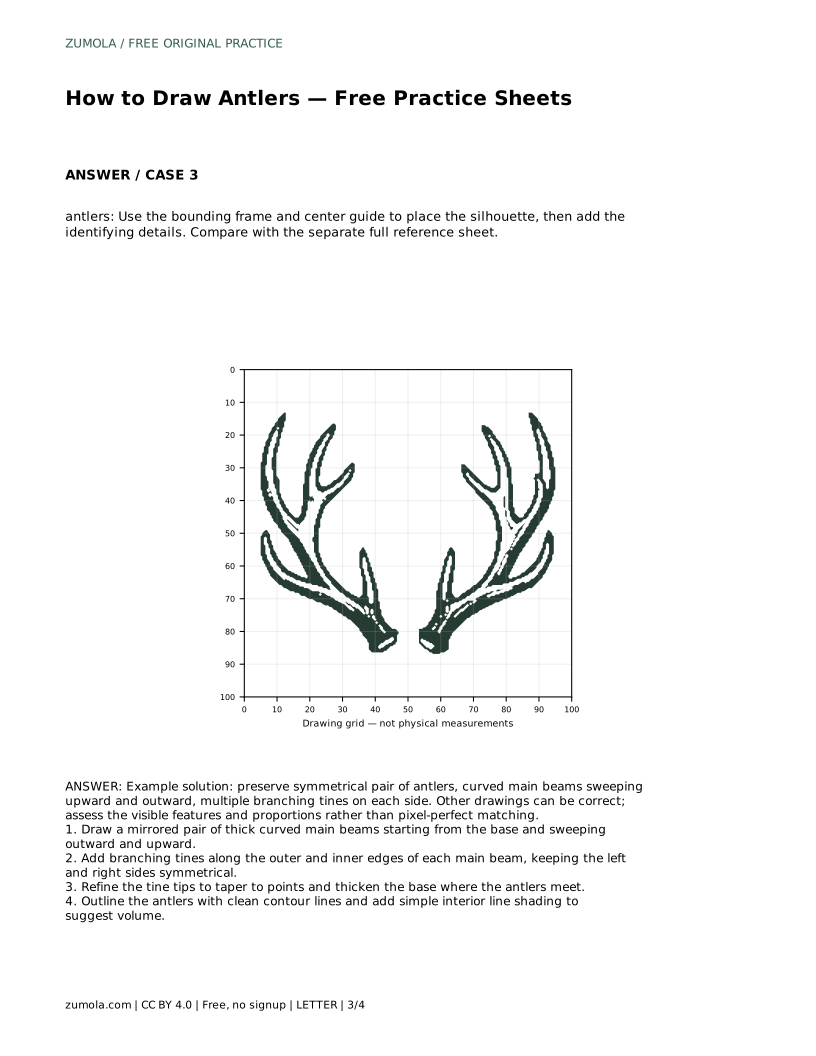
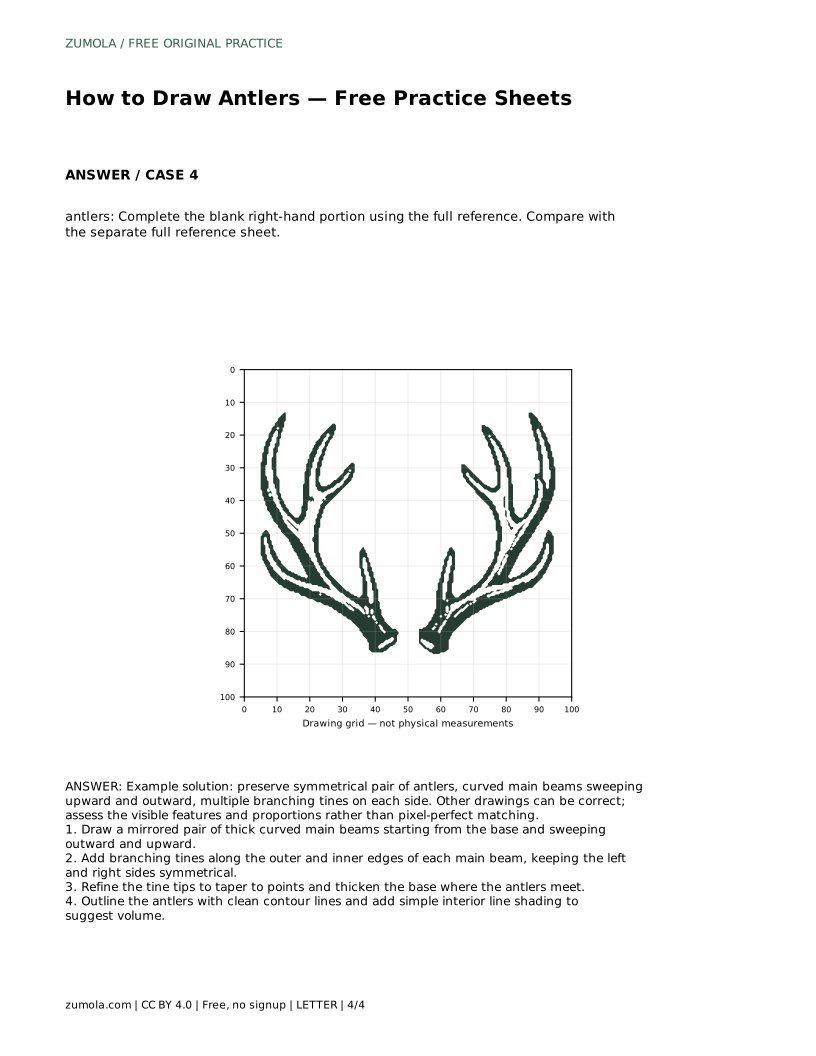
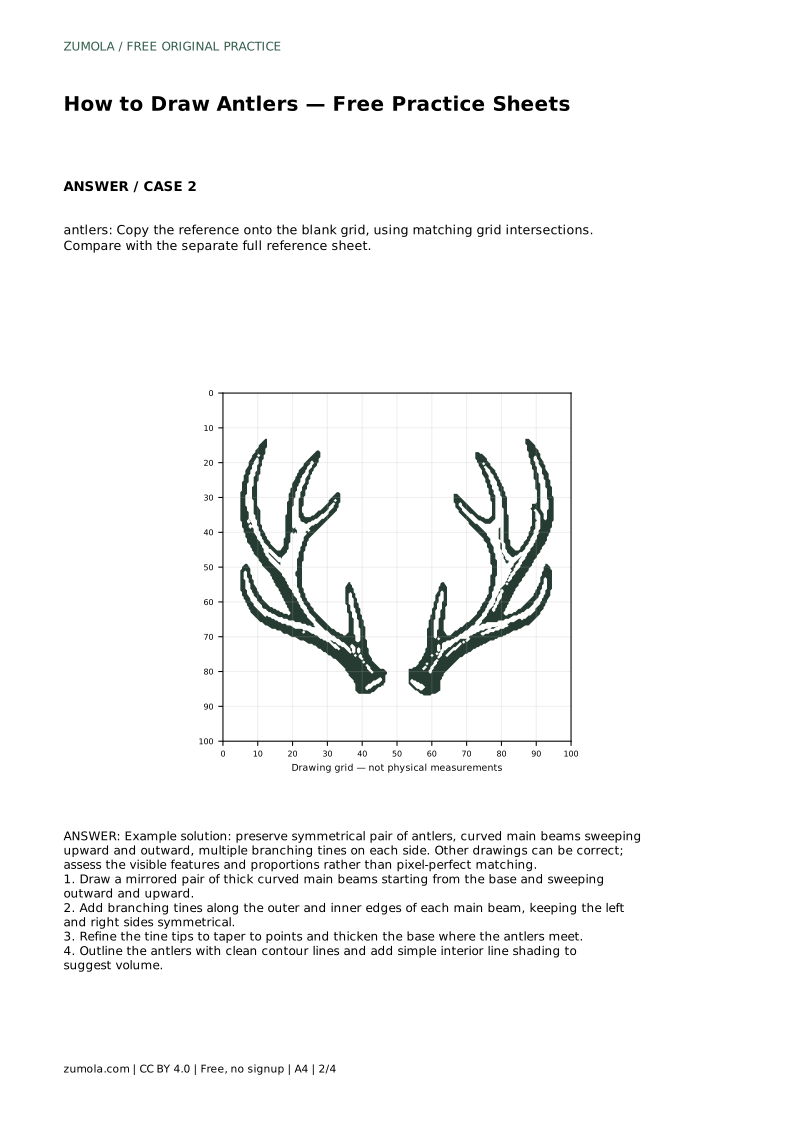
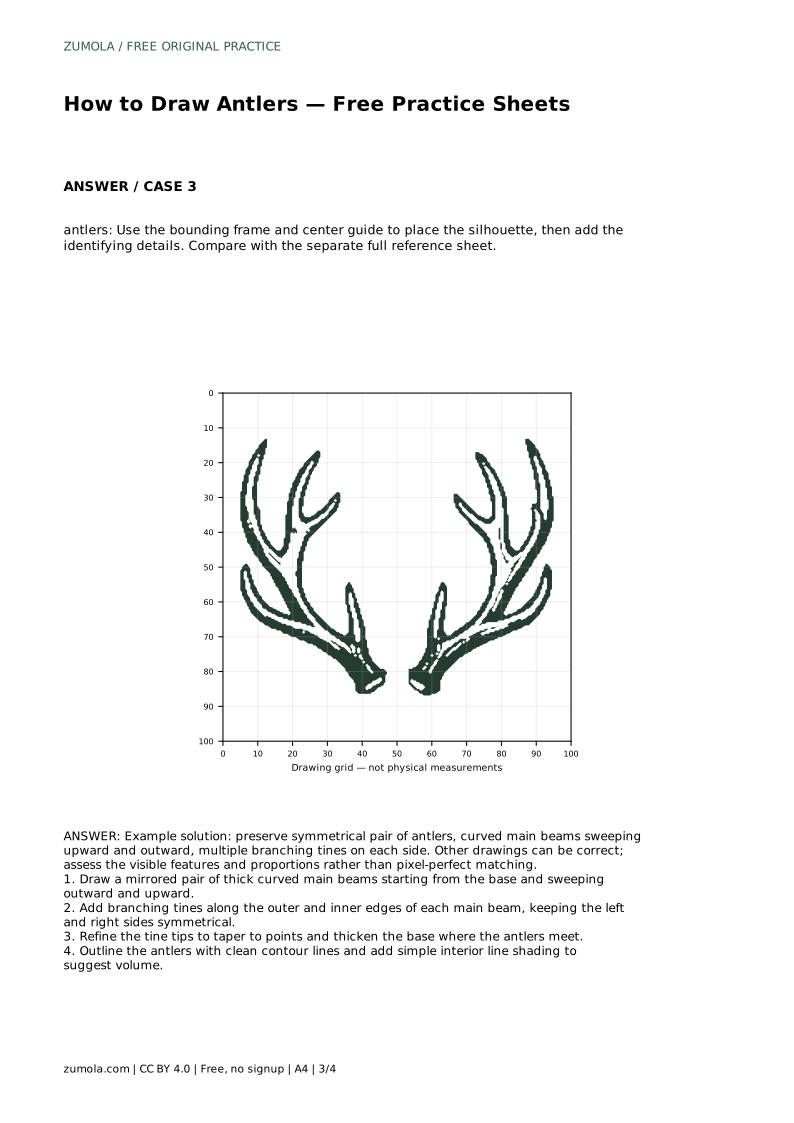
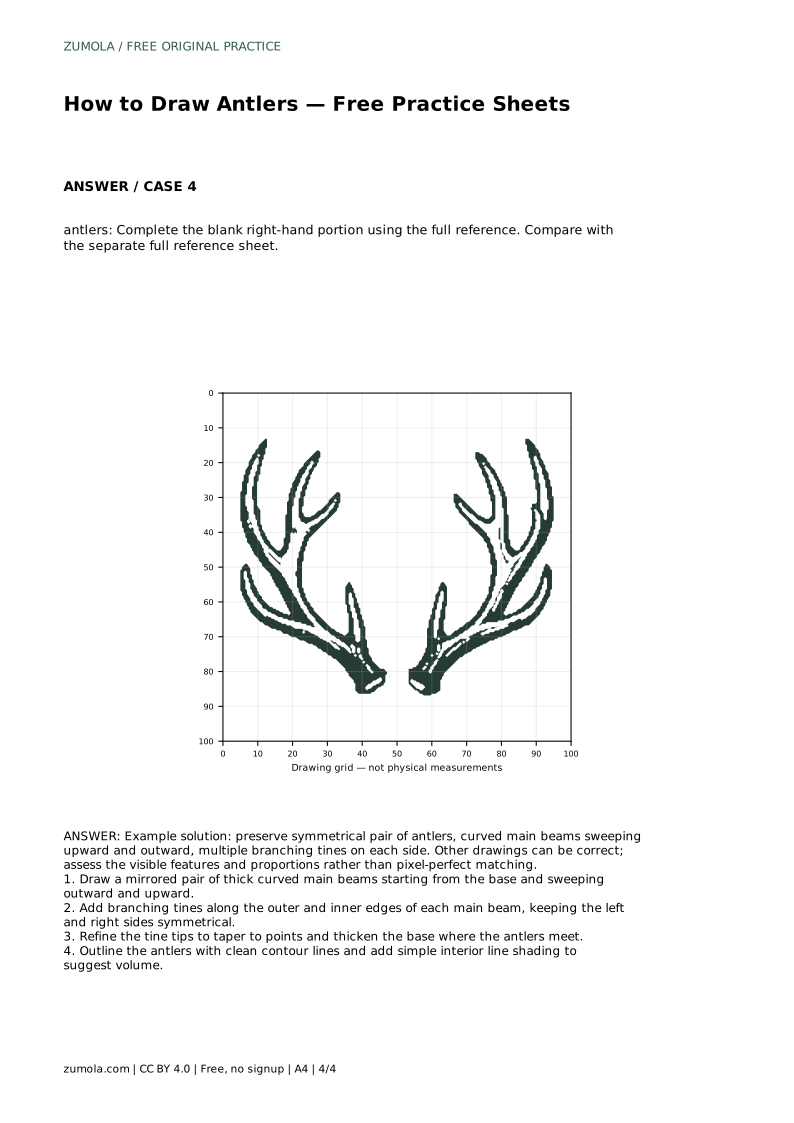
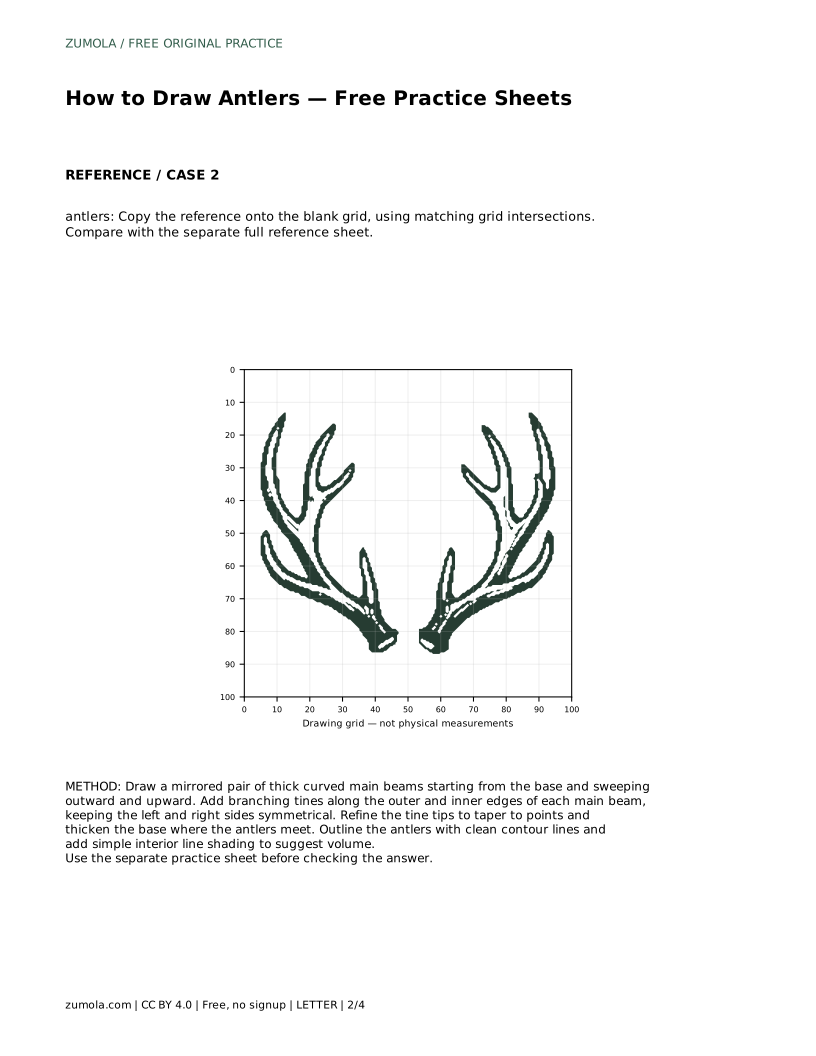
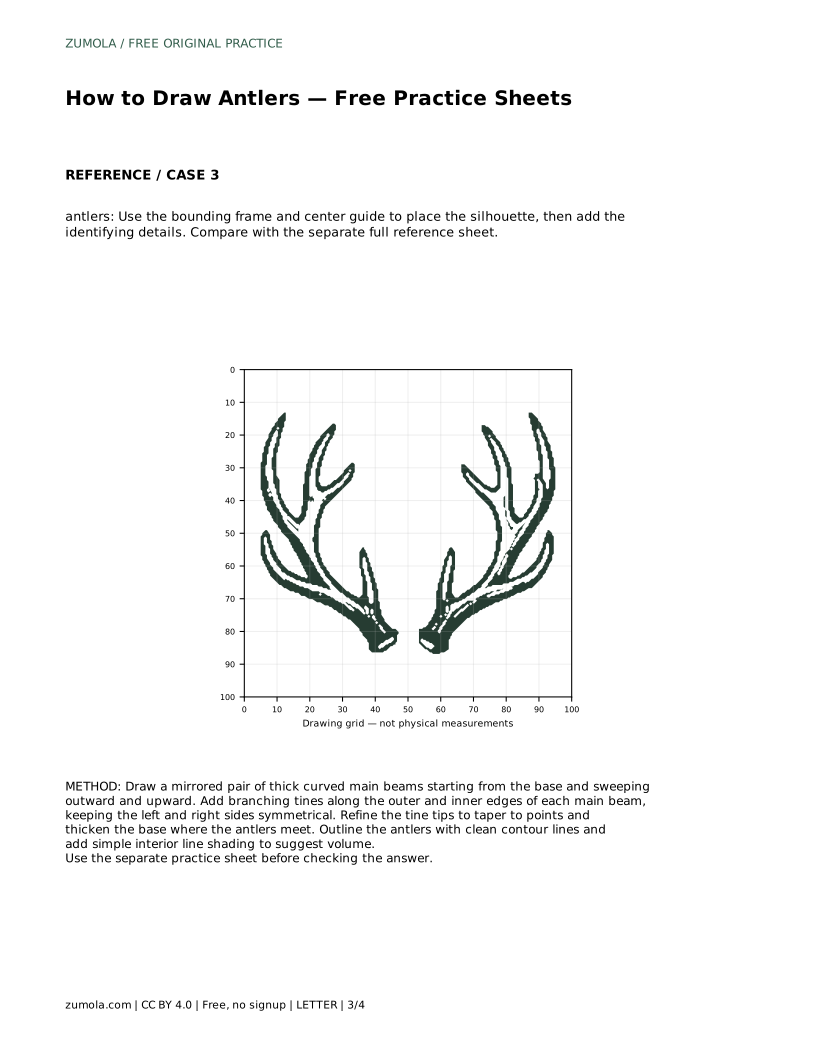
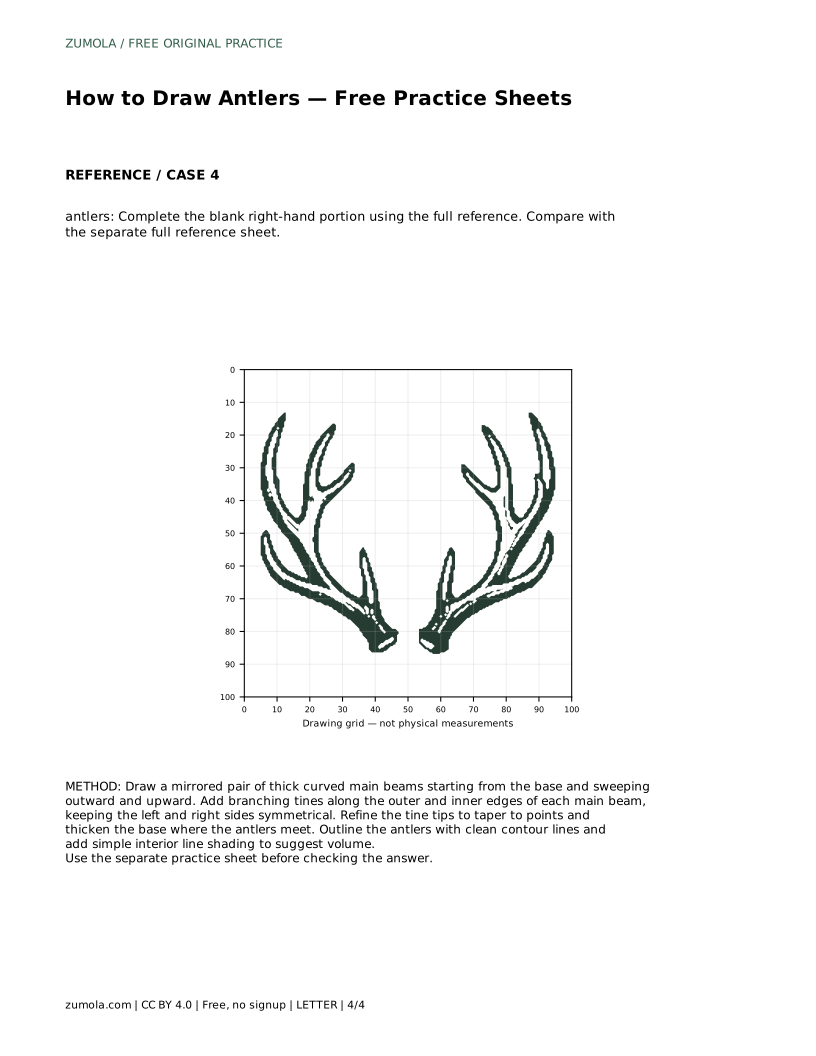
The tracing format asks you to trace the reference outline first, then practise the contour independently. The grid format asks you to copy the reference onto the blank grid using matching grid intersections. The bounding frame and center guide format asks you to place the silhouette first, then add the identifying details. The partial-reference format asks you to complete the blank right-hand portion using the full reference.
Each format trains a different part of the same skill: observing the mirrored beams, the branching tines and the tapered tips. Use the full reference sheet for comparison after each attempt.
Most problems come from unbalanced beams, tines that do not taper, or a base that is too thin. Correct these early, before adding shading.
Answers to common questions about antler drawing practice.
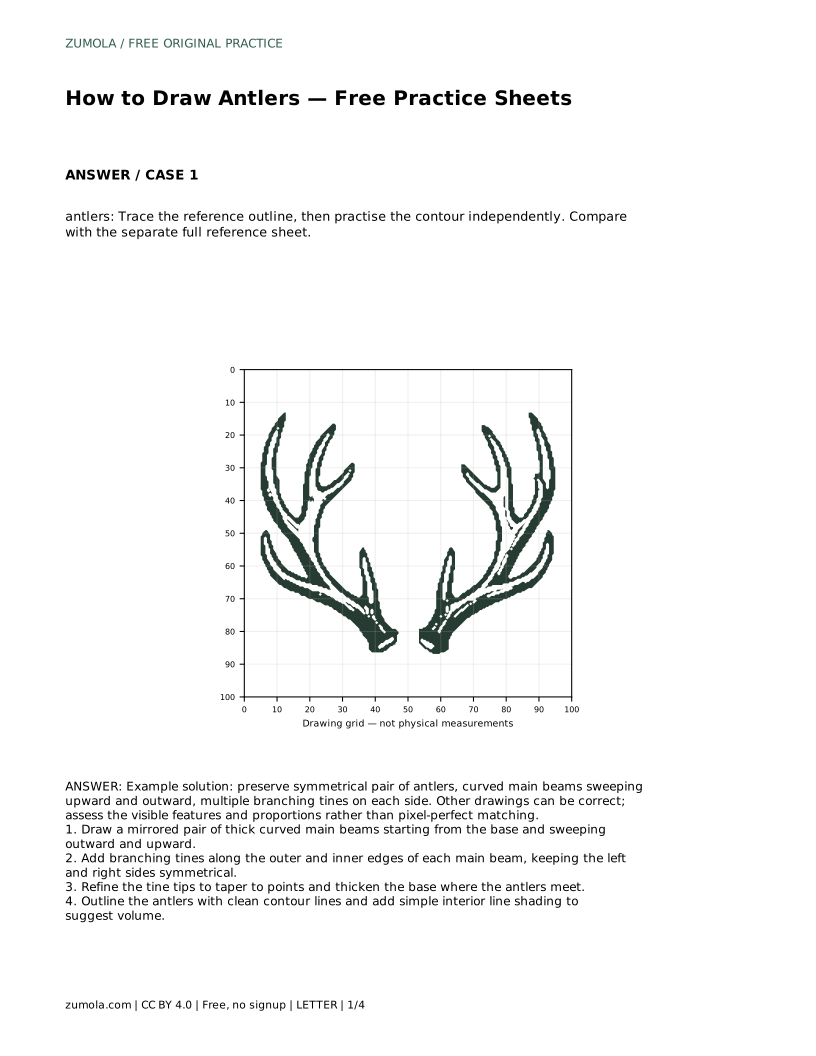
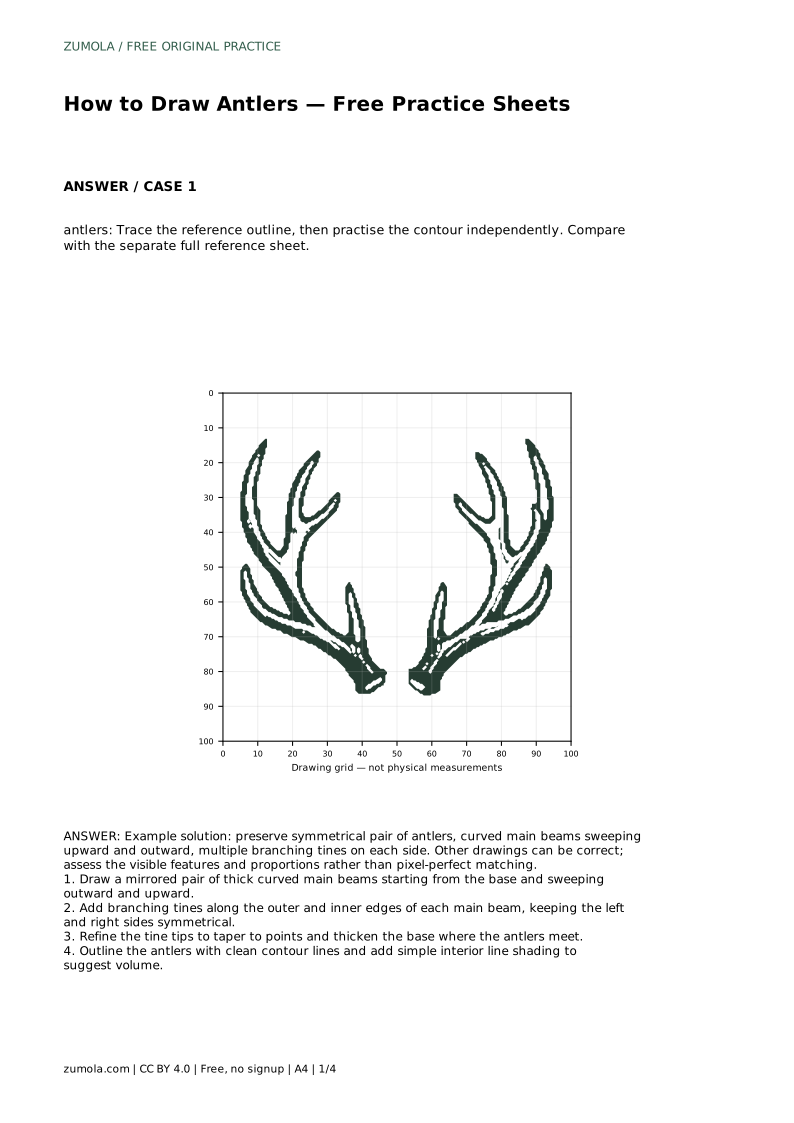
antlers: Trace the reference outline, then practise the contour independently. Compare with the separate full reference sheet.
Example solution: preserve symmetrical pair of antlers, curved main beams sweeping upward and outward, multiple branching tines on each side. Other drawings can be correct; assess the visible features and proportions rather than pixel-perfect matching. Draw a mirrored pair of thick curved main beams starting from the base and sweeping outward and upward. Add branching tines along the outer and inner edges of each main beam, keeping the left and right sides symmetrical. Refine the tine tips to taper to points and thicken the base where the antlers meet. Outline the antlers with clean contour lines and add simple interior line shading to suggest volume.
No. Other drawings can be correct. Assess the visible features and proportions, such as the symmetrical pair, the curved main beams and the branching tines, rather than pixel-perfect matching.
Draw the mirrored main beams first, then add the branching tines, then refine the tips and base, and finally outline with clean contour lines and simple interior shading.
Compare it with the separate full reference sheet, looking at symmetry, beam sweep, tine placement and tapered tips.
All drawing practice · Free coordinate paper
Original resources · CC BY 4.0 · Free for personal and classroom use with attribution.