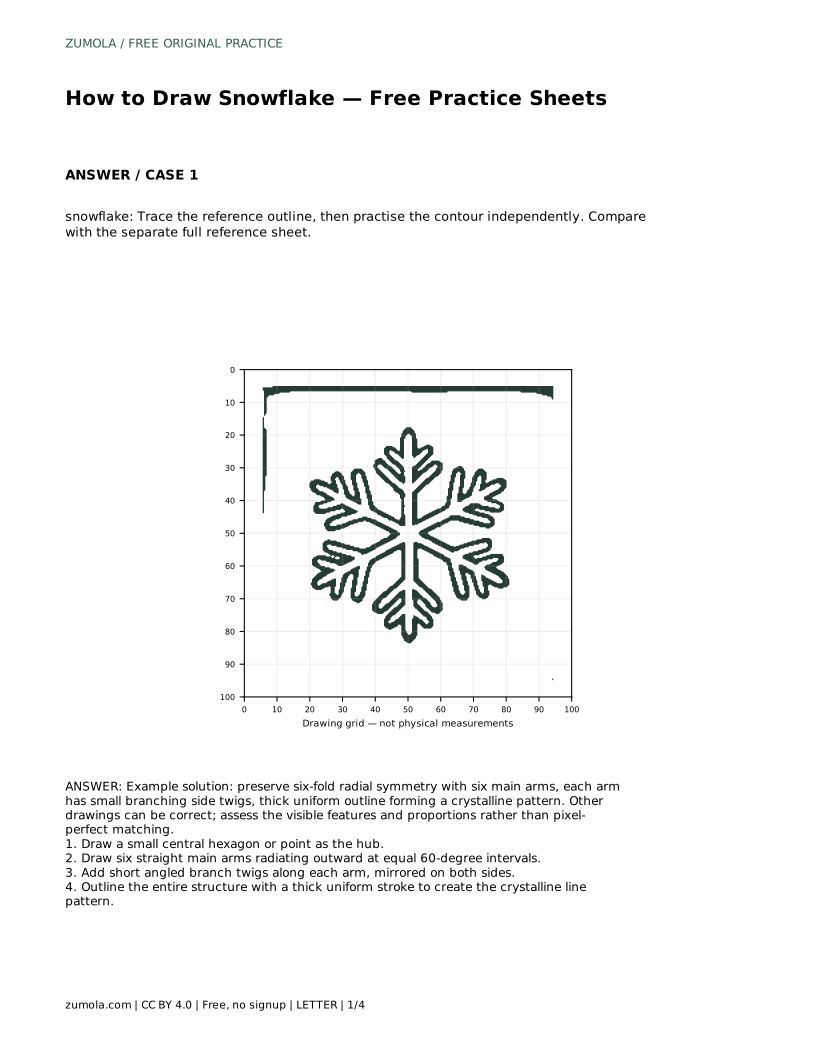
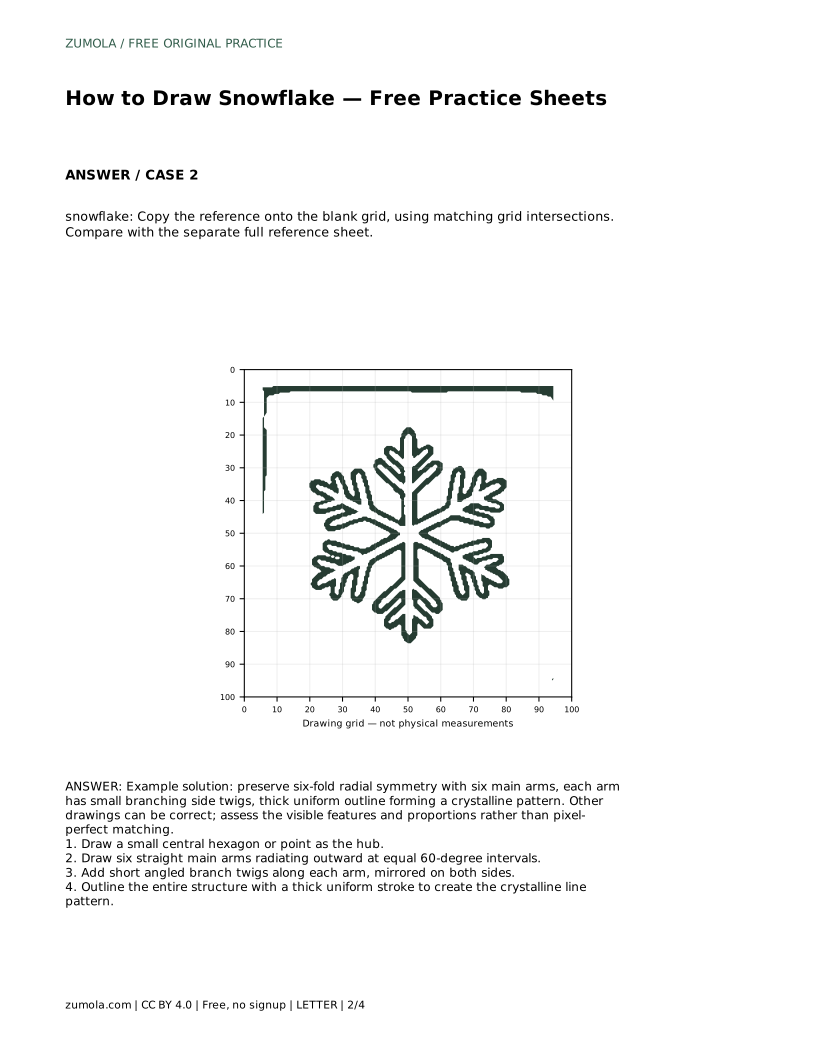
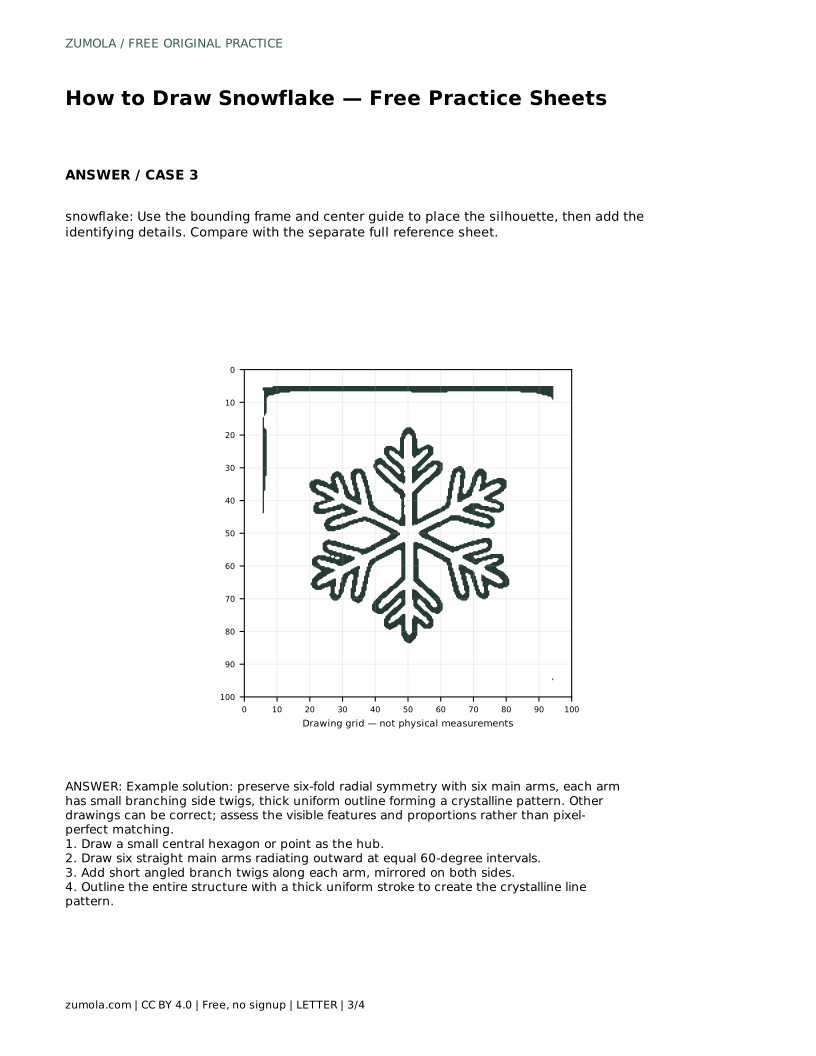
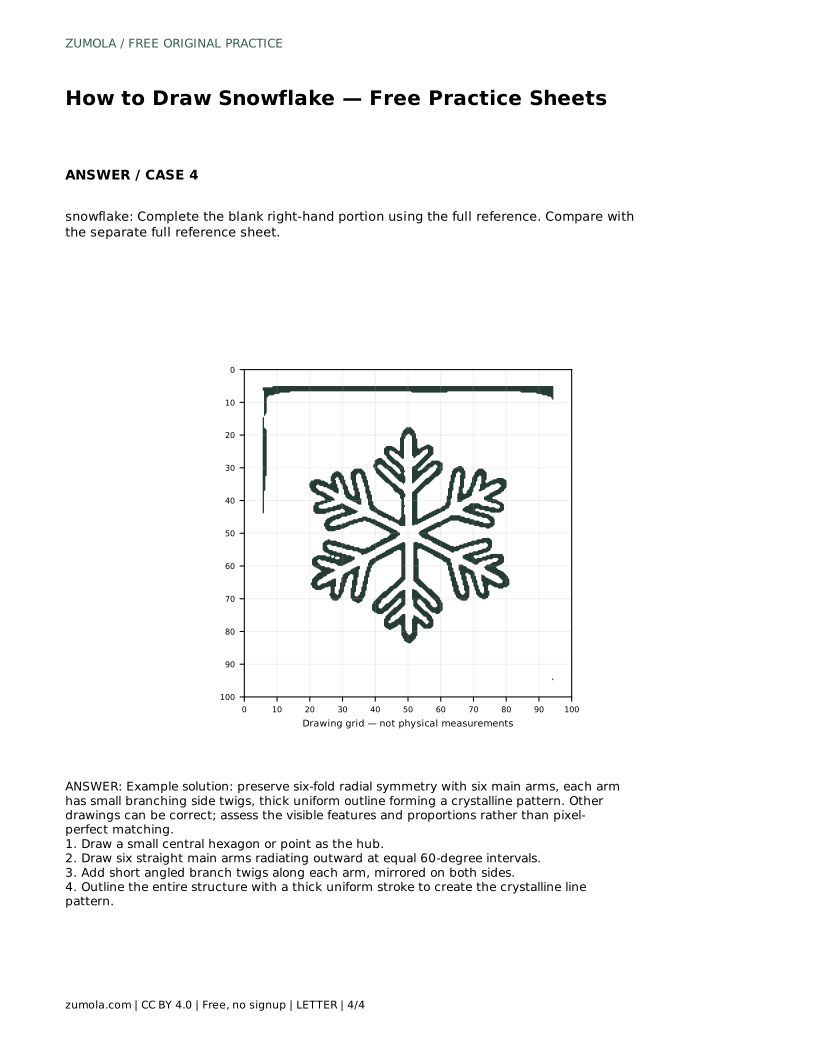
Reference diagrams
LETTER · Download PDF
A4 · Download PDF
Free original resources
Learn to draw a snowflake with six equal arms, mirrored branch twigs, and a clean crystalline outline. Free printable tracing, grid, and completion practice sheets.
Four original cases, with reference diagrams, practice sheets and worked answers. Everything is free; no signup required.
LETTER · Download PDF
A4 · Download PDF
LETTER · Download PDF
A4 · Download PDF
LETTER · Download PDF
A4 · Download PDF
Use A4 or US Letter to match your printer. Use the stated values and conditions to solve each exercise; diagrams are not physical measuring rulers.
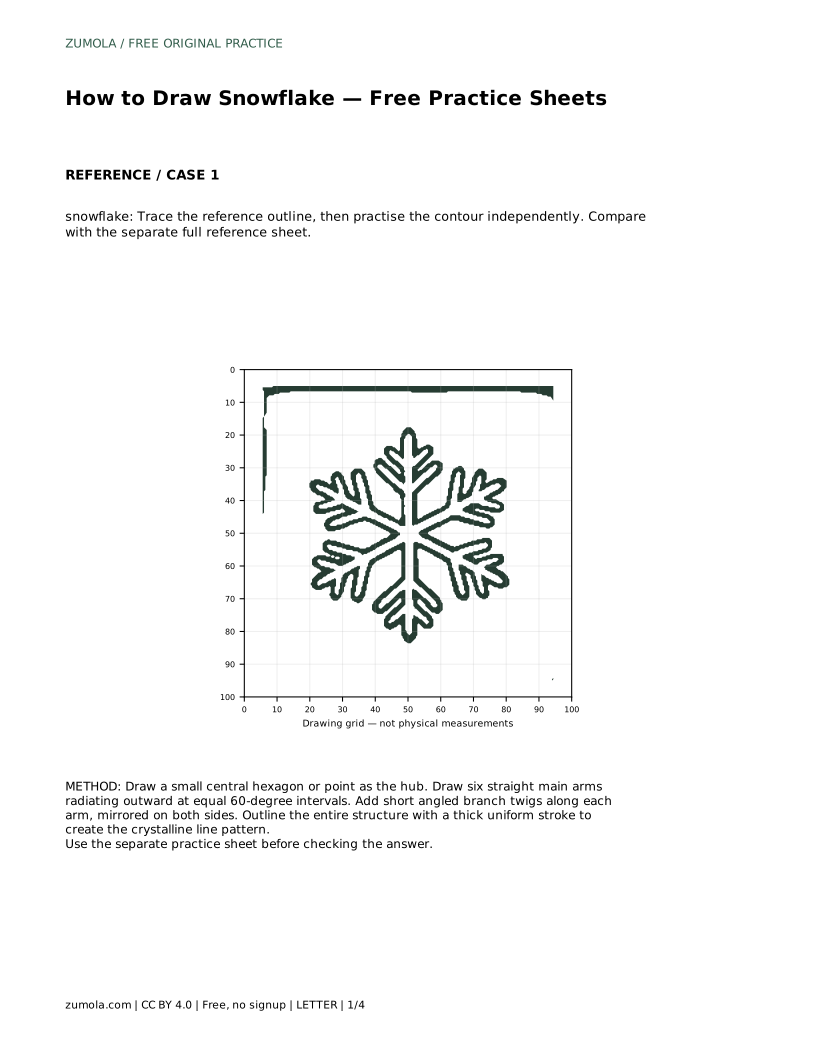
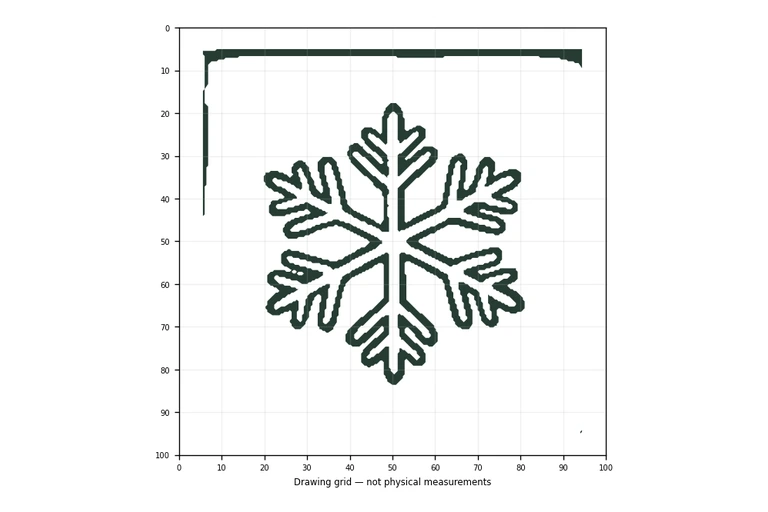
A convincing snowflake drawing depends on structure more than decoration. Six arms must radiate from one hub at equal 60-degree intervals, and every branch twig on one side of an arm should have a matching twig on the other. This page explains that structure step by step, then shows how to use tracing, grid-copy, frame-guided, and partial-completion sheets to practise it. Because drawings can be correct in many ways, judge your work against visible features and proportions rather than expecting a pixel-perfect match.
Begin at the centre. Draw a small hexagon or simply mark a centre point; either works as the hub from which everything grows. From that hub, draw six straight main arms radiating outward. The key measurement is angular: neighbouring arms should sit 60 degrees apart, so the six arms divide a full turn evenly. A useful check is that opposite arms form one straight line through the hub.
Keep the arms similar in length. Slight variation is natural in hand drawing, but a snowflake reads as balanced when no single arm dominates. Light pencil strokes at this stage make corrections easy before you commit to a final outline.
Real snowflake patterns vary enormously, but the crystalline look in a drawing comes from short angled twigs branching off each main arm. Place a twig partway along an arm, angling it outward and back toward the tip direction. Then mirror it on the opposite side of the same arm at the same distance from the hub. Repeat along each of the six arms so the pattern is consistent all the way around.
Symmetry is the organising rule. If one arm has two pairs of twigs, the other five should carry comparable pairs at similar positions. You do not need identical twig shapes, but the overall rhythm should repeat around the hub.
Once the structure is placed, outline the entire snowflake with a thick, even stroke. Trace over the hub, the six arms, and every twig so the drawing reads as one connected crystalline line pattern rather than a set of separate marks. Keep stroke width consistent; uneven thickness makes some arms look heavier and breaks the visual balance.
Erase construction marks only after the outline is complete, so you can still check symmetry while adjusting. If you are working on a practice sheet, compare your finished drawing with the separate full reference sheet and note which features match: six arms, equal spacing, mirrored twigs, and a clean outline.
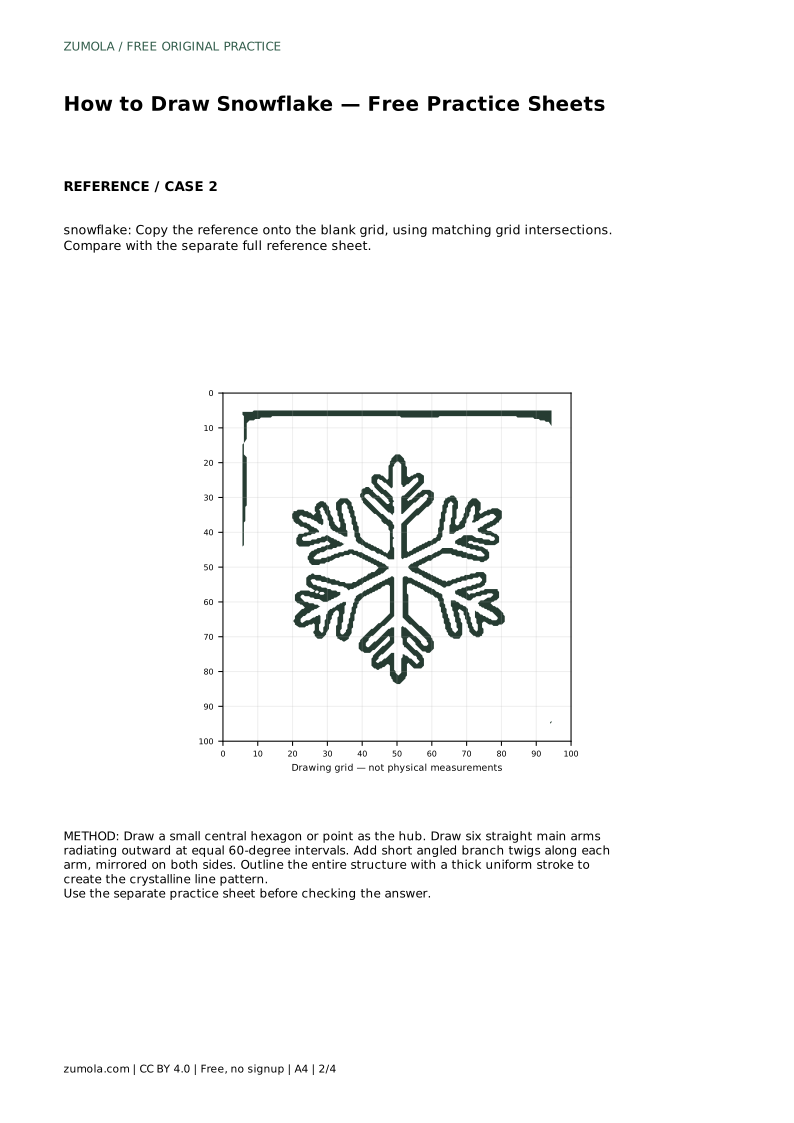
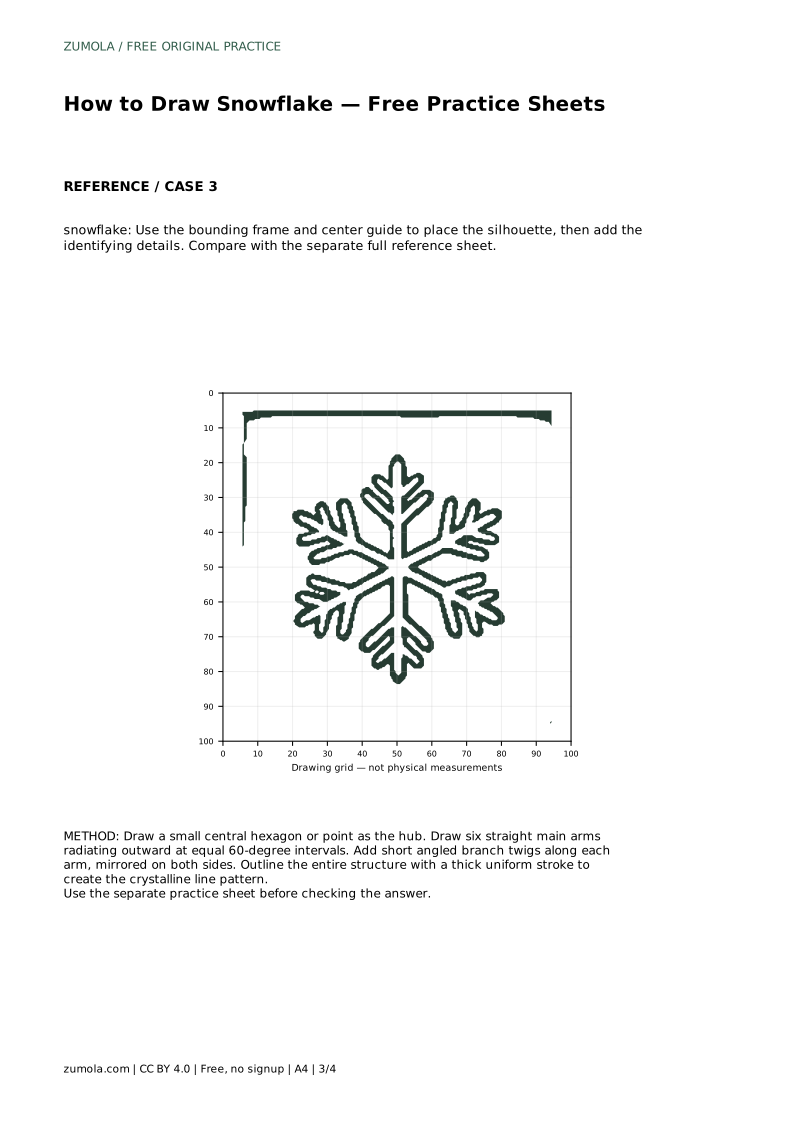
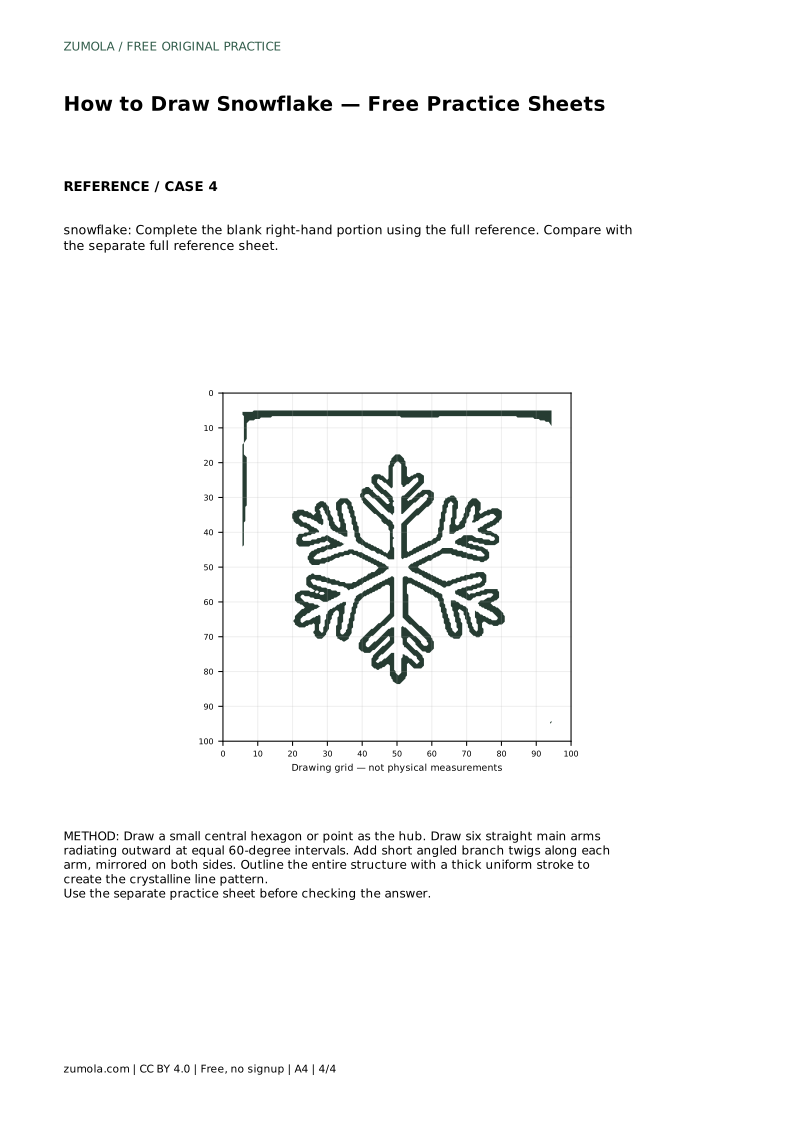
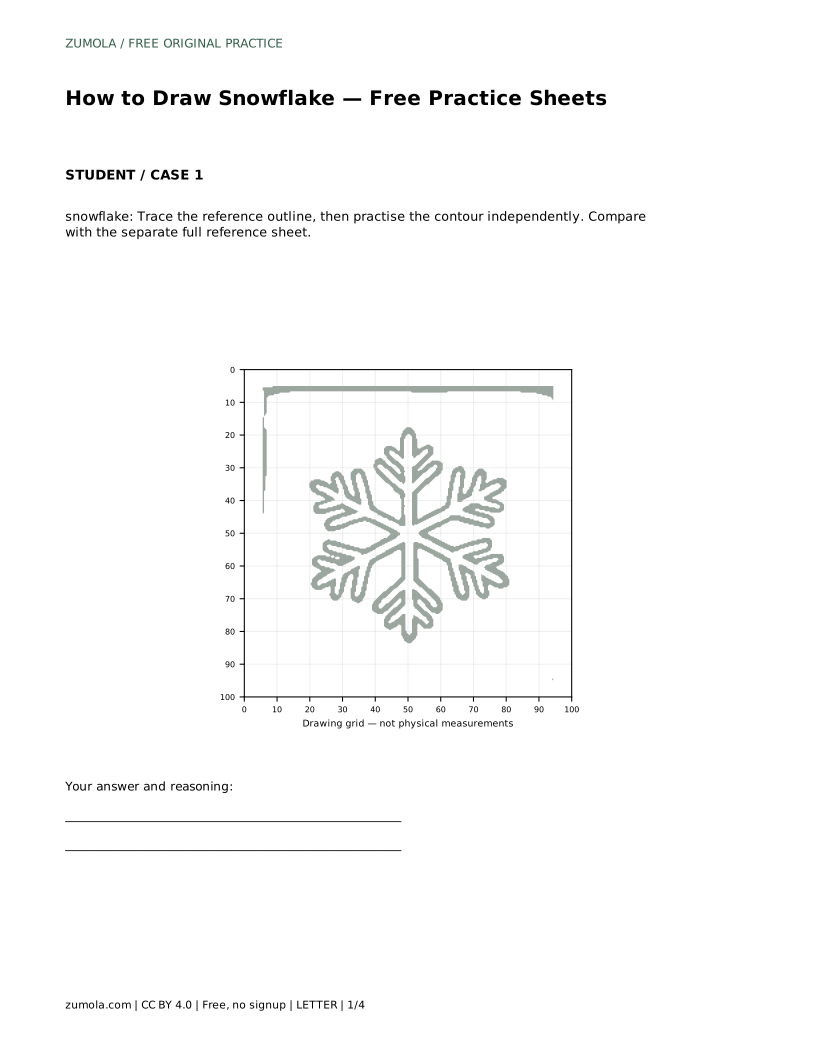
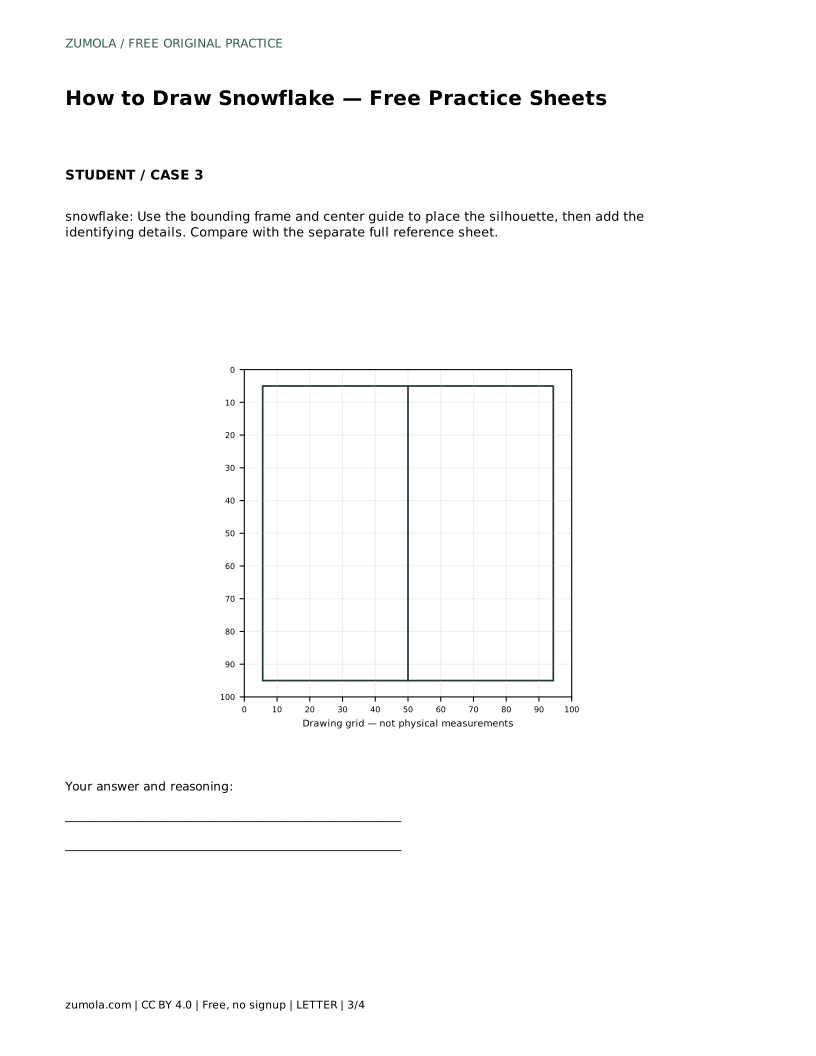
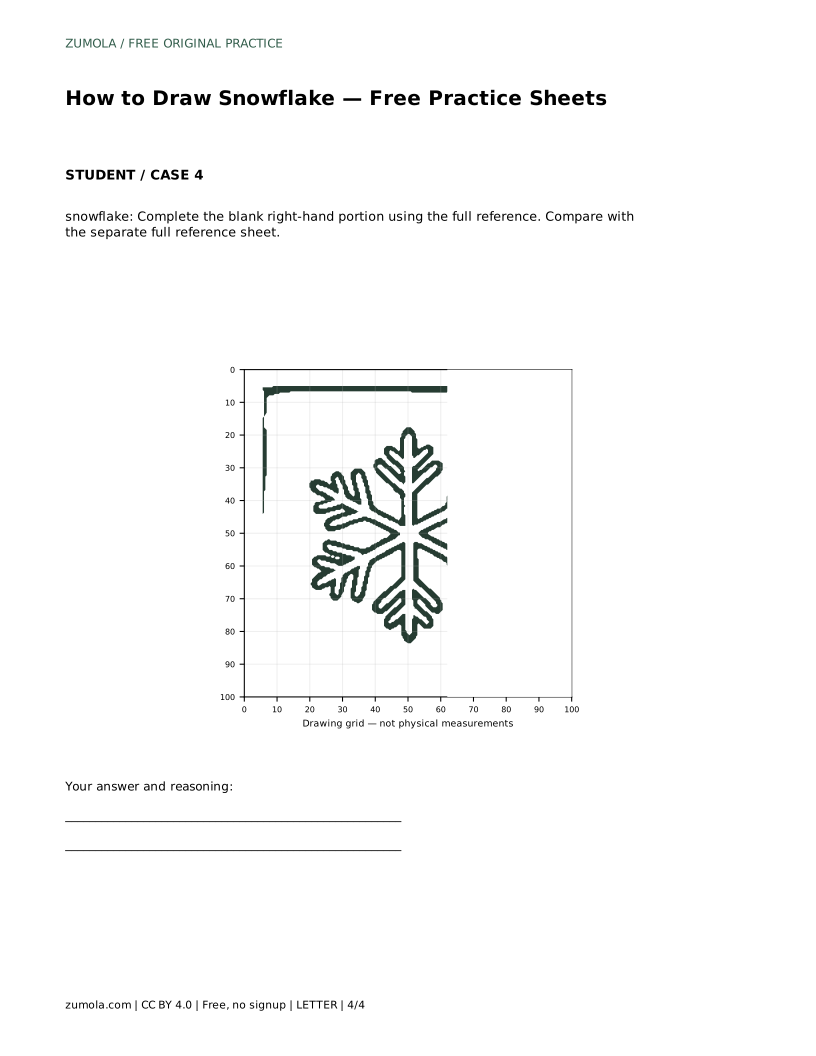
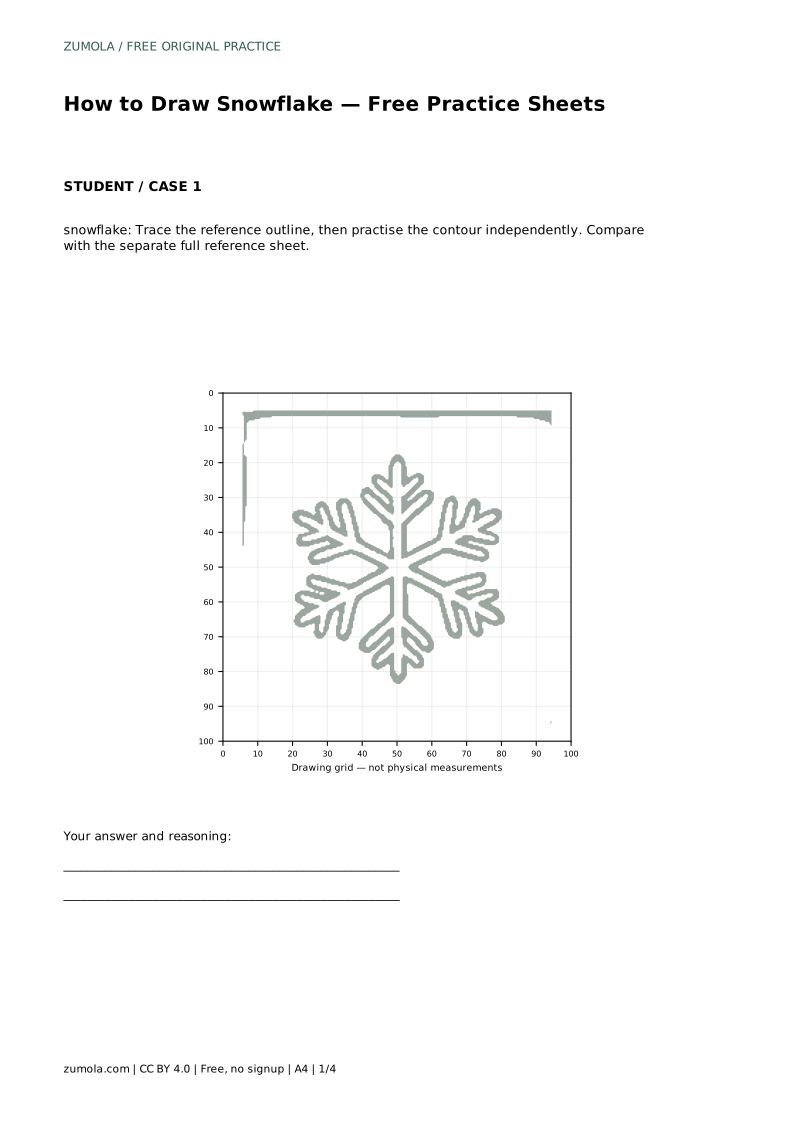
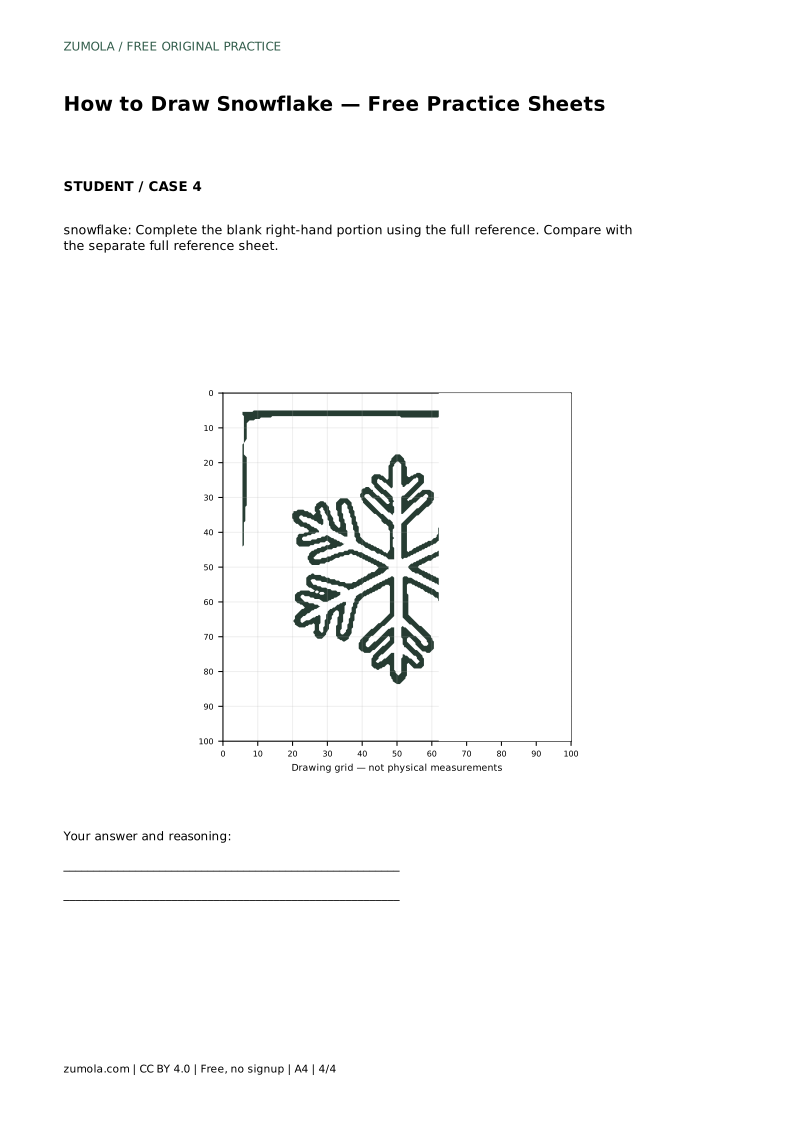
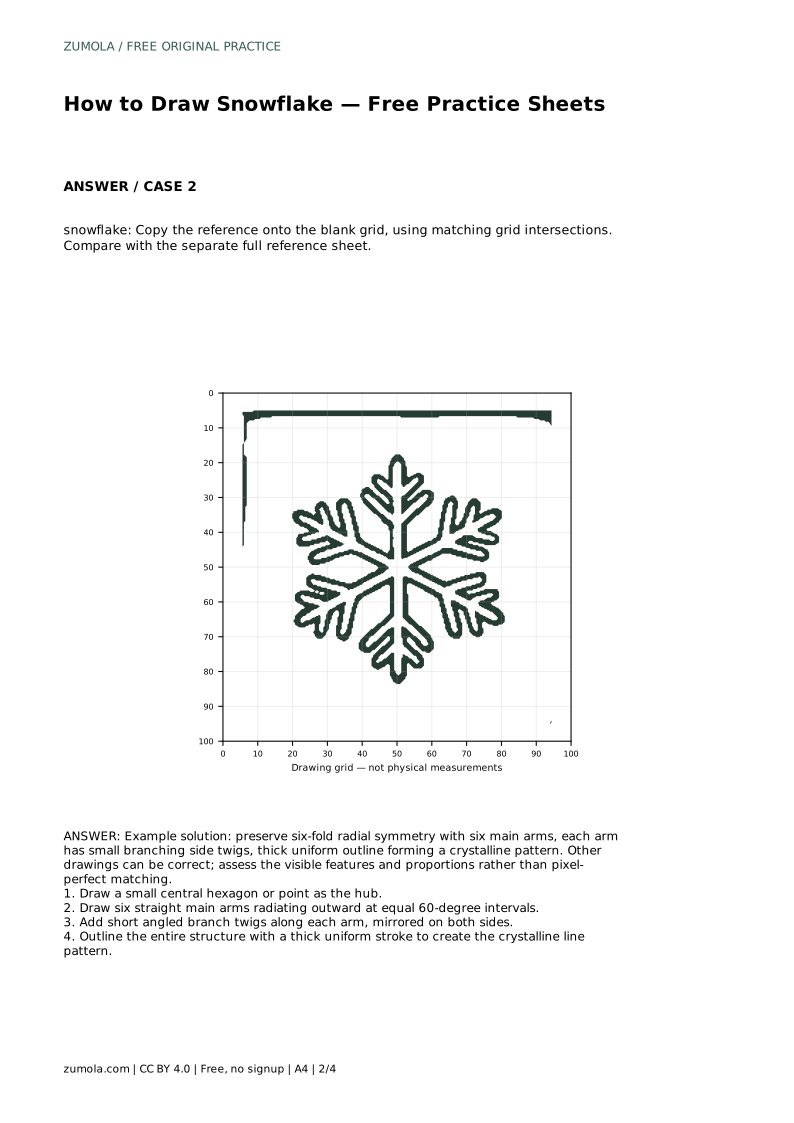
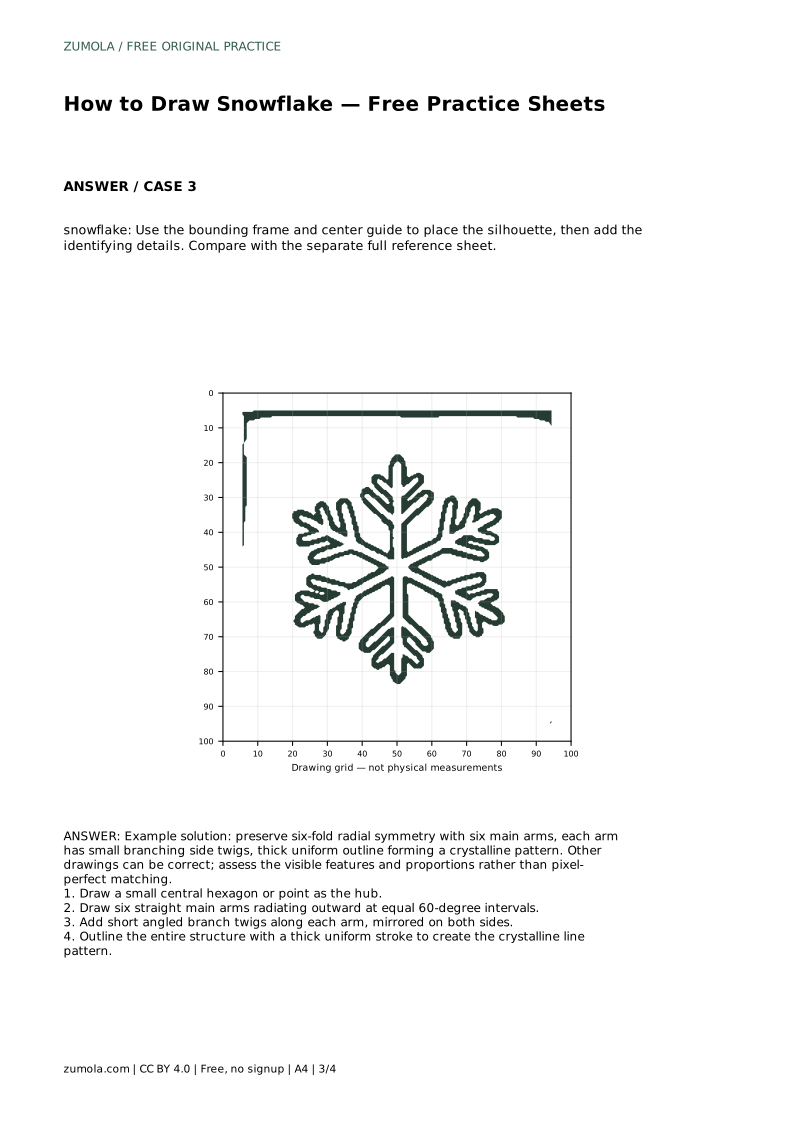
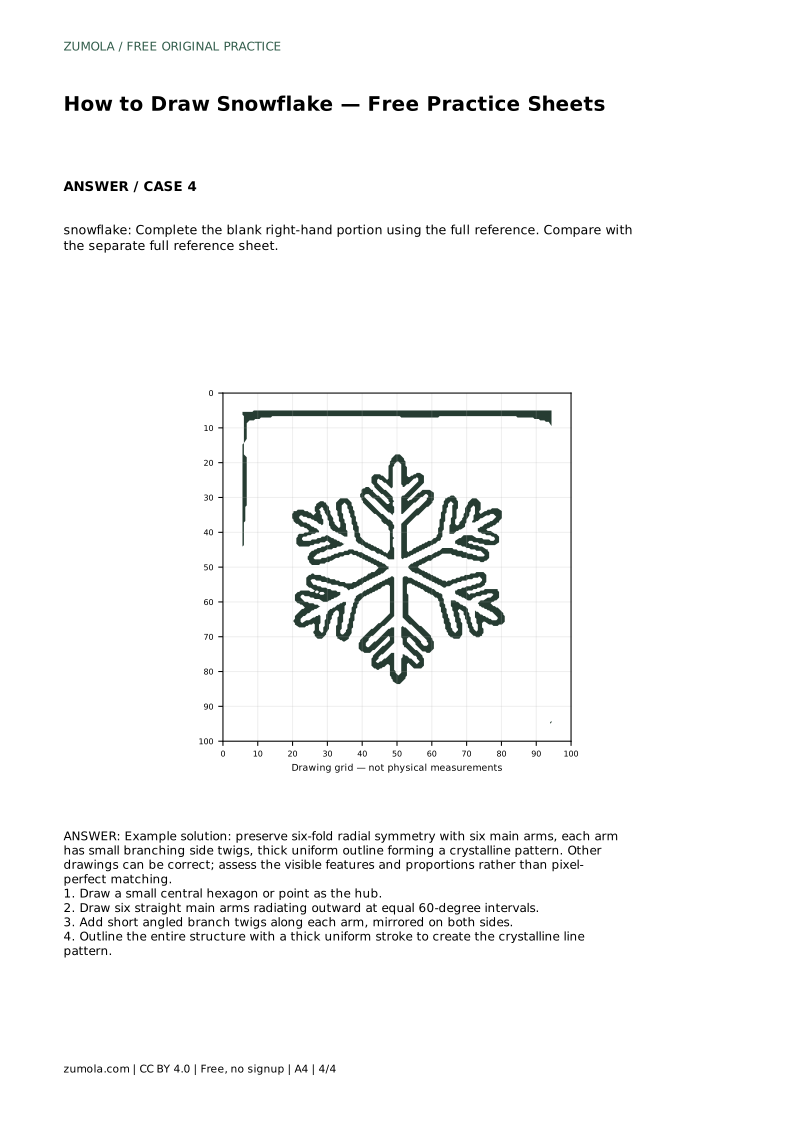
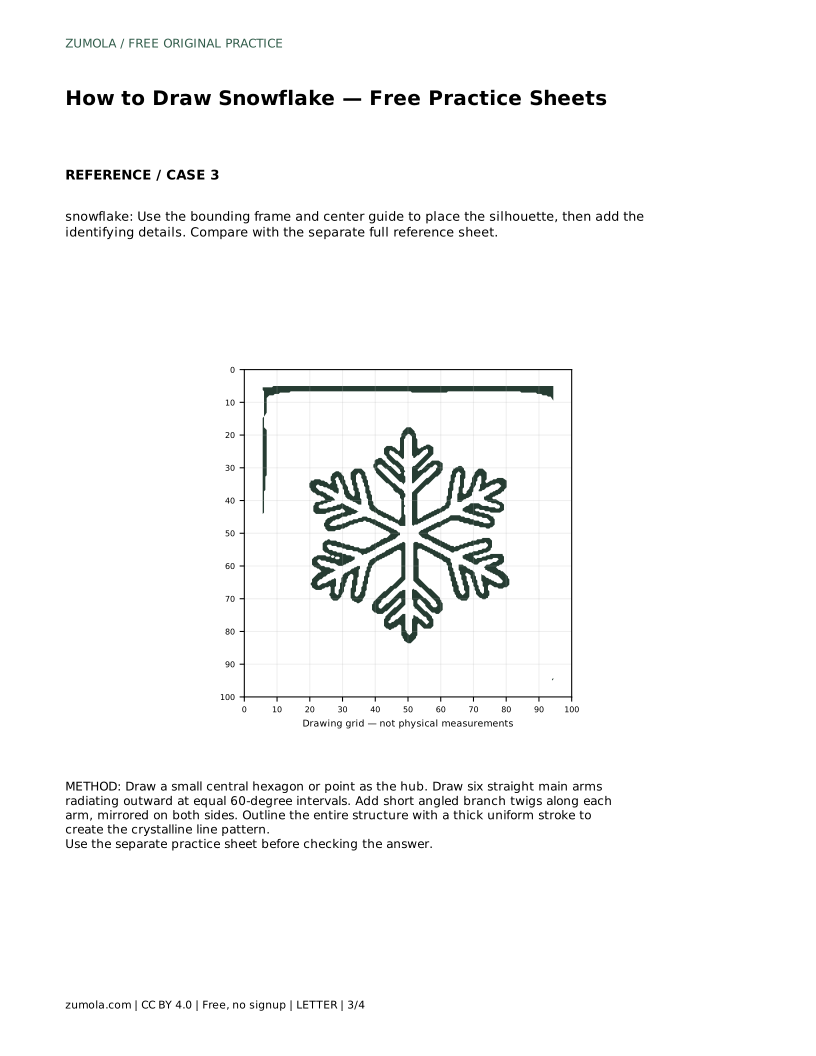
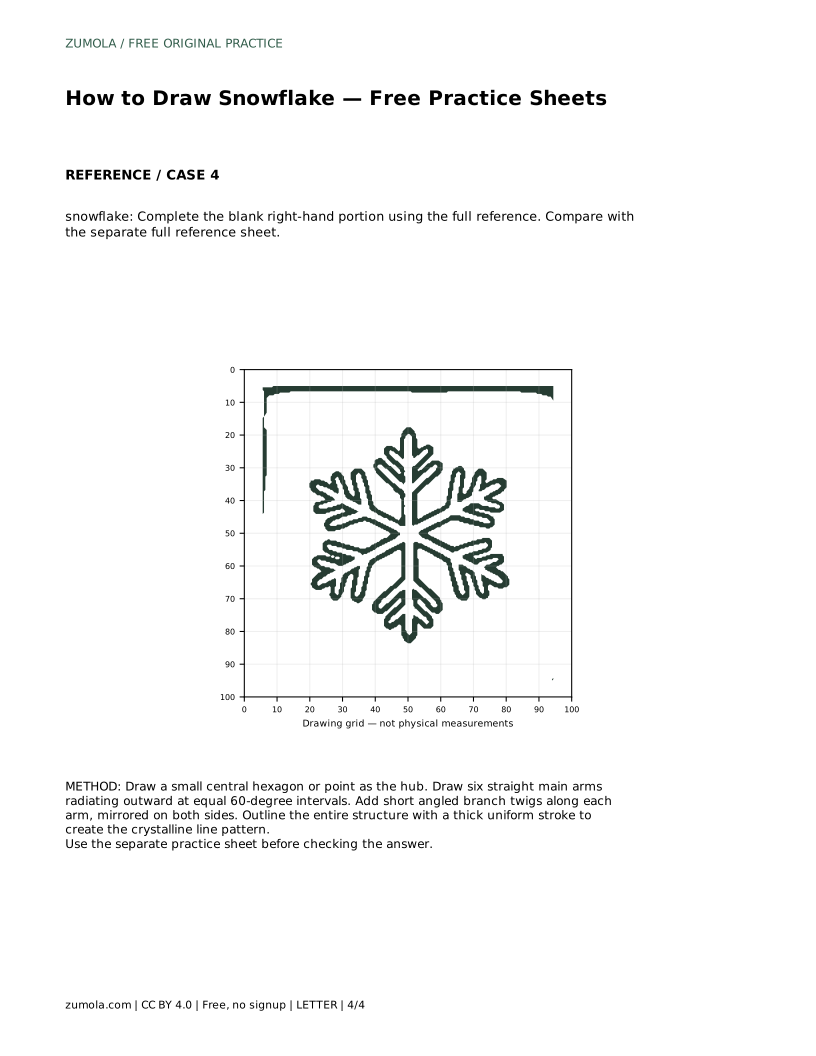
The tracing sheet asks you to follow the reference outline first, then repeat the contour independently on blank space. The grid sheet asks you to copy the reference onto blank grid squares, matching grid intersections so proportions stay consistent. The frame sheet gives a bounding frame and centre guide so you can place the silhouette before adding details. The partial-completion sheet leaves the right-hand portion blank; finish it using the full reference.
Each format trains a different skill: tracing builds the contour, the grid supports proportion, the frame supports placement, and completion supports recall. Use the full reference sheet separately for comparison after each attempt.
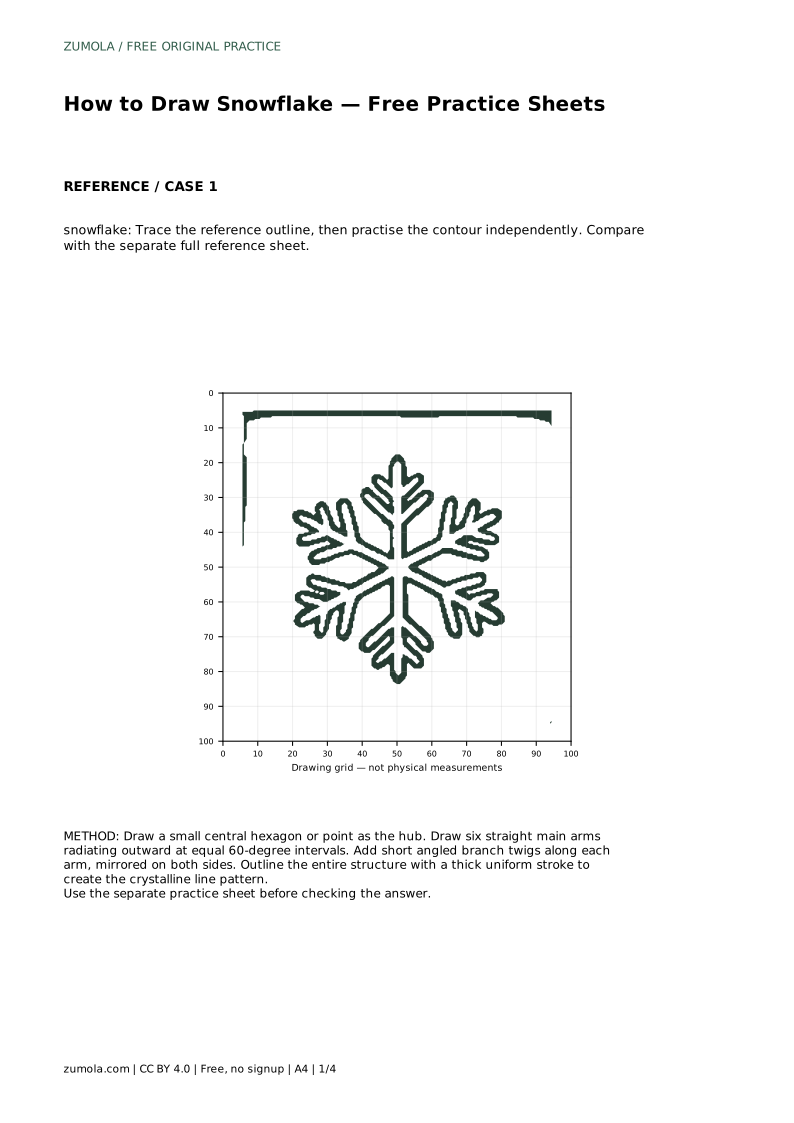
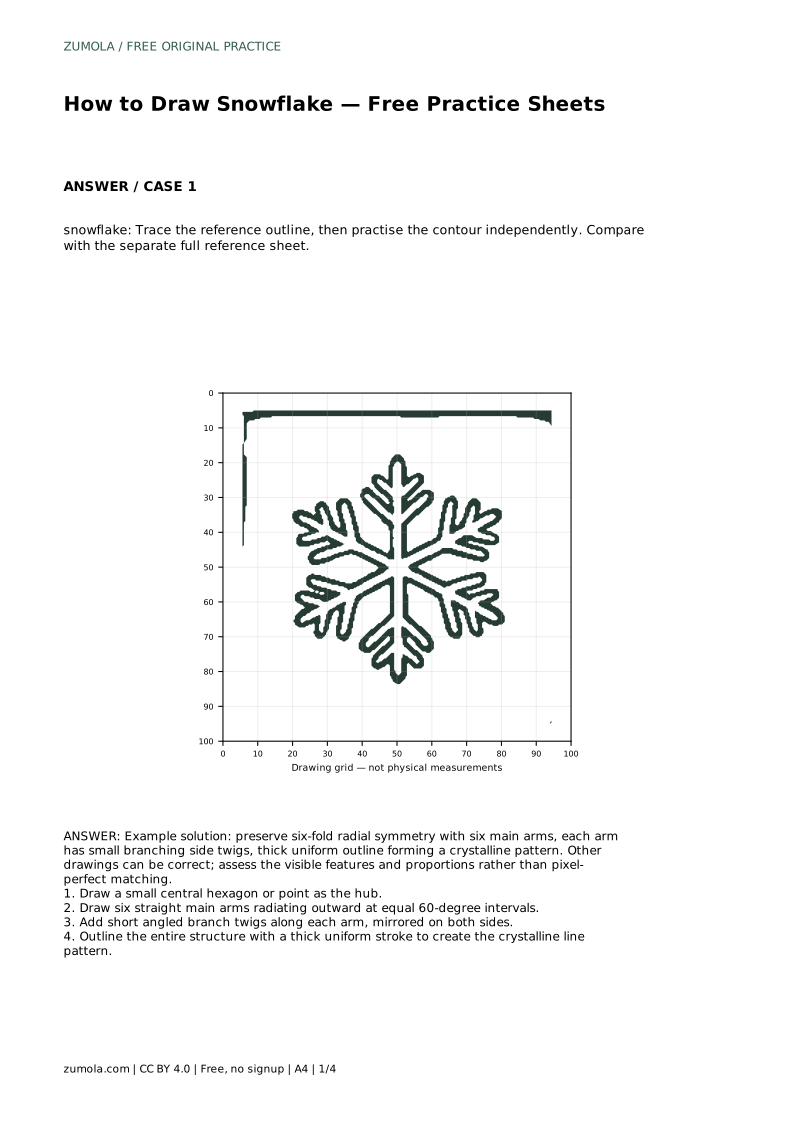
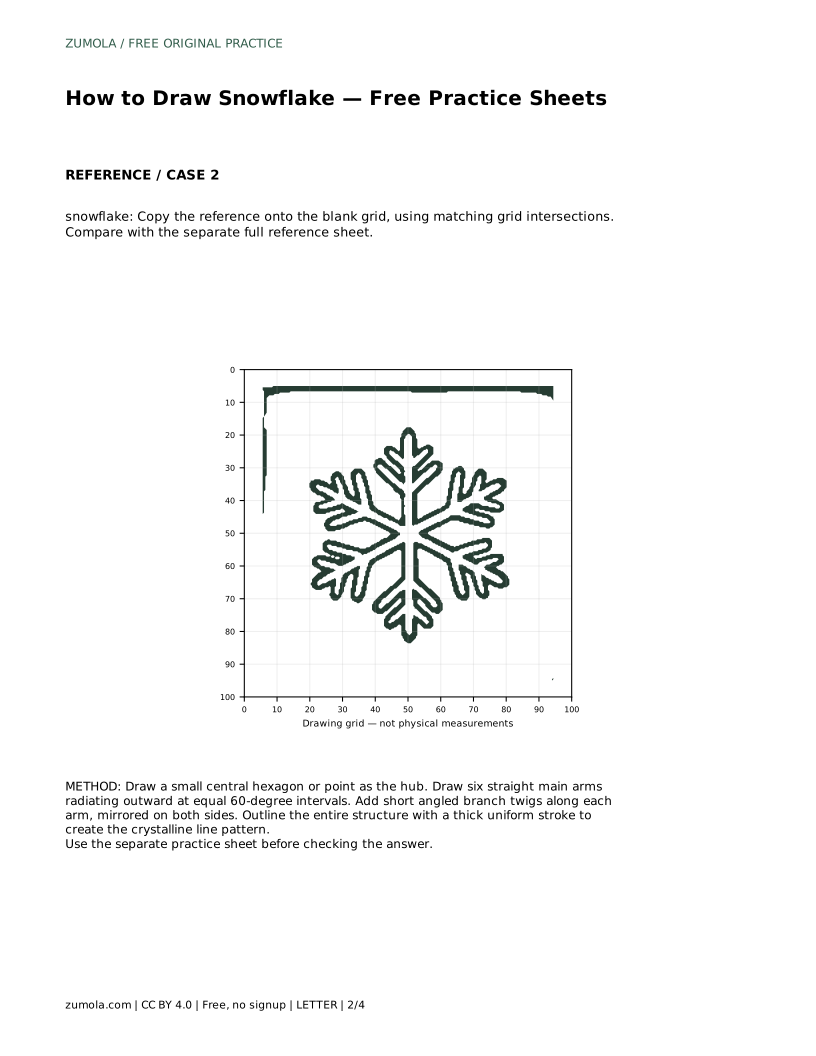
snowflake: Trace the reference outline, then practise the contour independently. Compare with the separate full reference sheet.
Example solution: preserve six-fold radial symmetry with six main arms, each arm has small branching side twigs, thick uniform outline forming a crystalline pattern. Other drawings can be correct; assess the visible features and proportions rather than pixel-perfect matching. Draw a small central hexagon or point as the hub. Draw six straight main arms radiating outward at equal 60-degree intervals. Add short angled branch twigs along each arm, mirrored on both sides. Outline the entire structure with a thick uniform stroke to create the crystalline line pattern.
Six main arms radiating from one hub at equal 60-degree intervals. Opposite arms should line up as straight lines through the centre.
No. They should be mirrored on both sides of each arm and comparable in position around all six arms, but exact shapes can vary.
Compare visible features with the full reference sheet: six evenly spaced arms, mirrored twigs, balanced arm lengths, and a uniform outline. Use the rubric criteria rather than expecting a pixel-perfect match.
All drawing practice · Free coordinate paper
Original resources · CC BY 4.0 · Free for personal and classroom use with attribution.