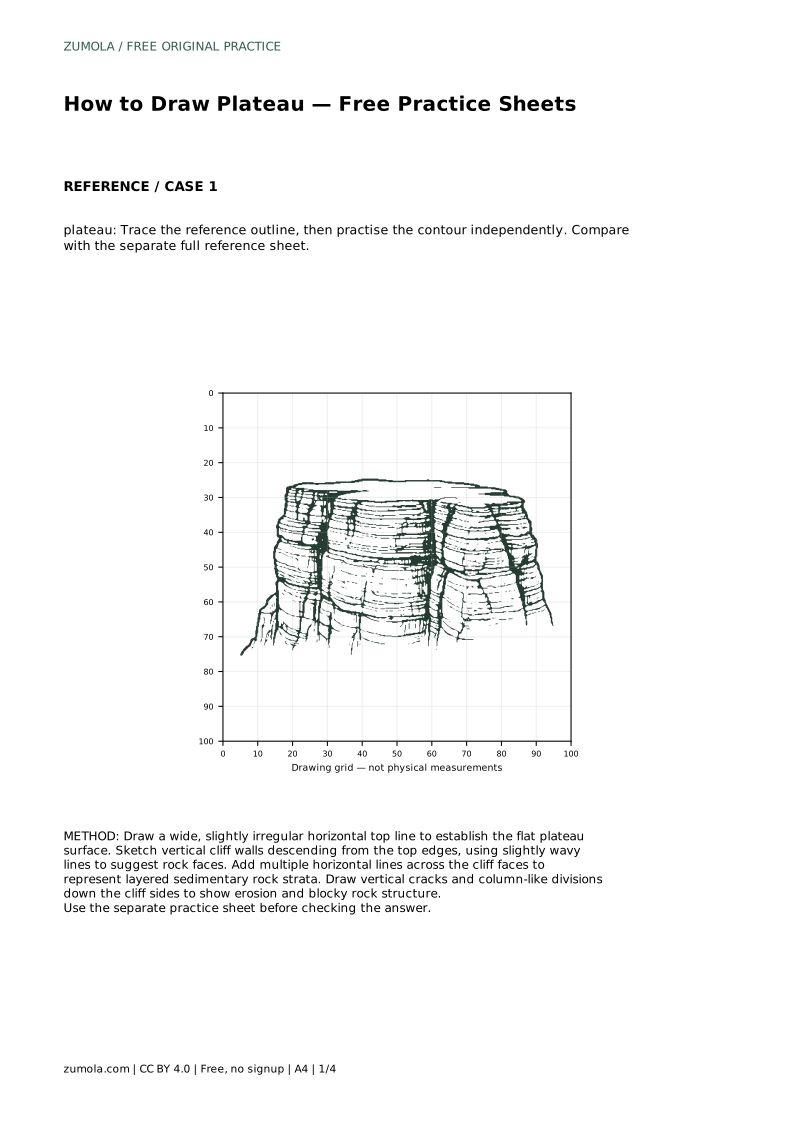
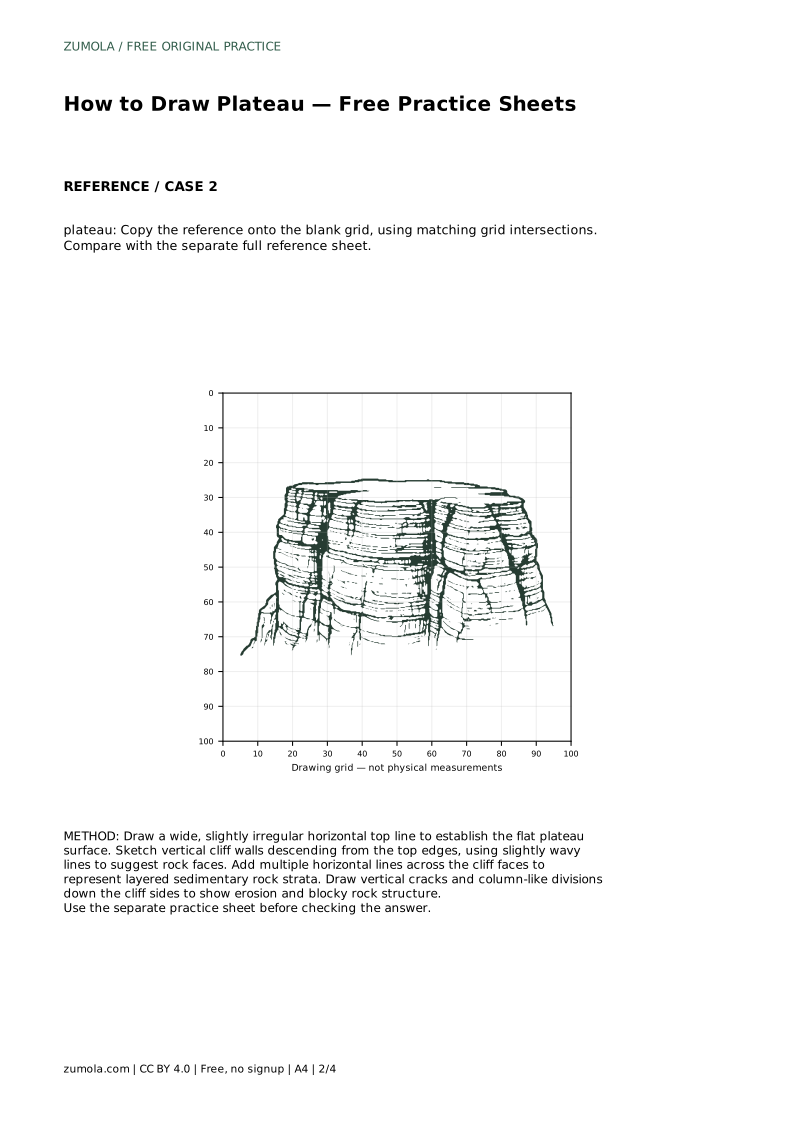
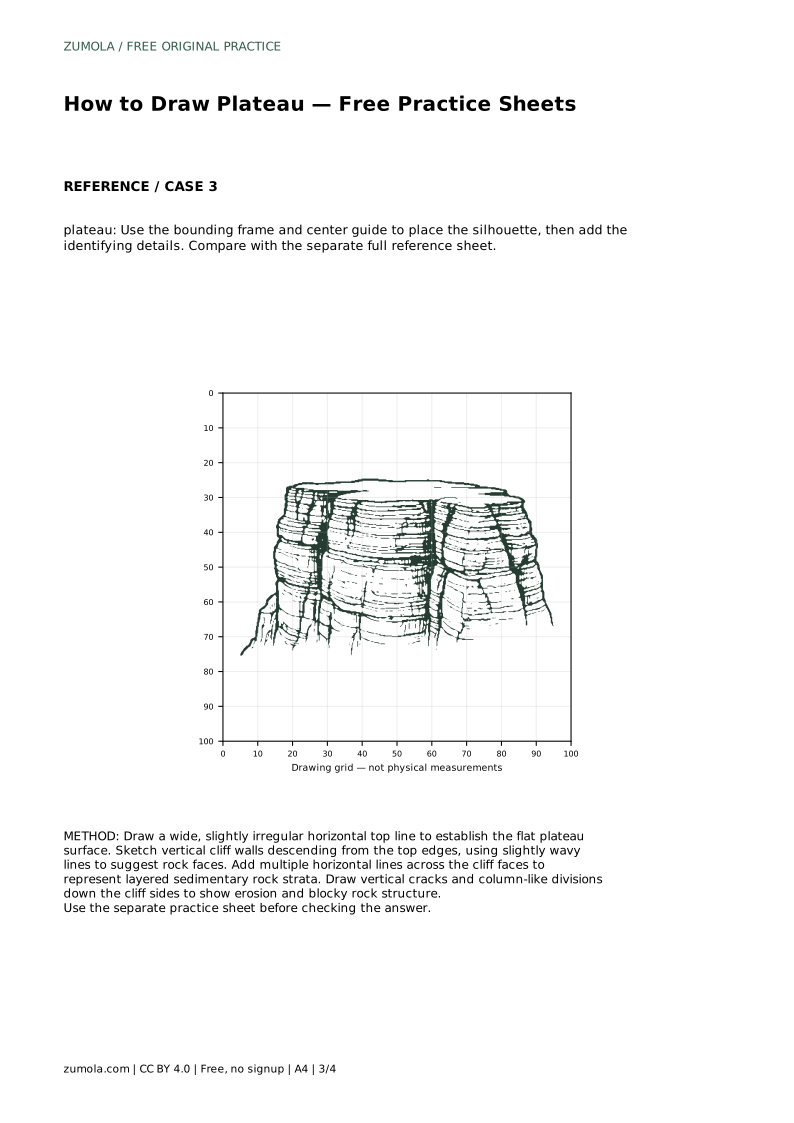
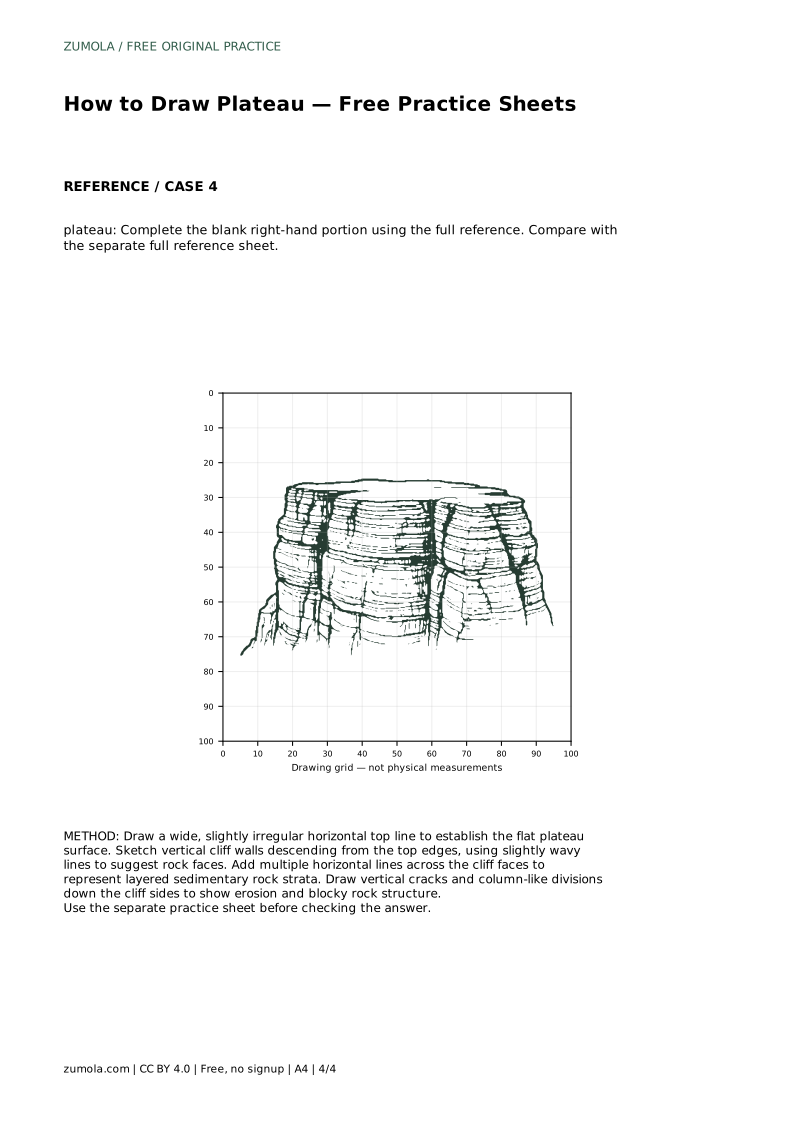
Reference diagrams
LETTER · Download PDF
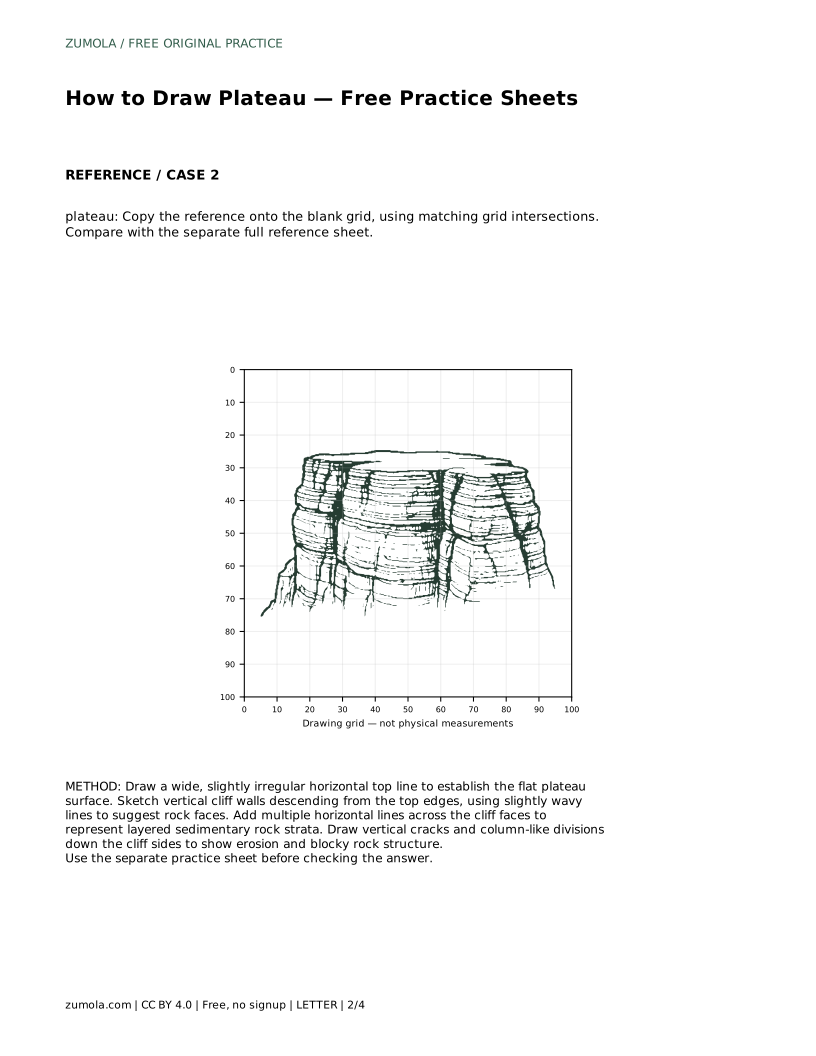
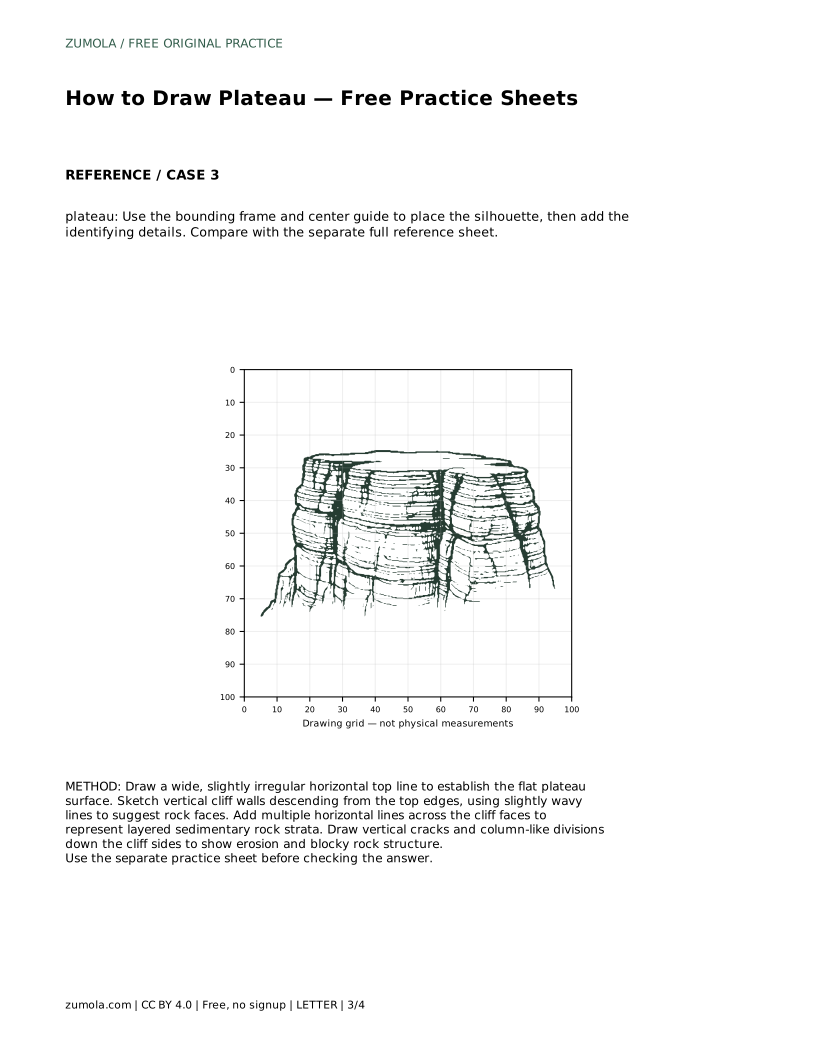
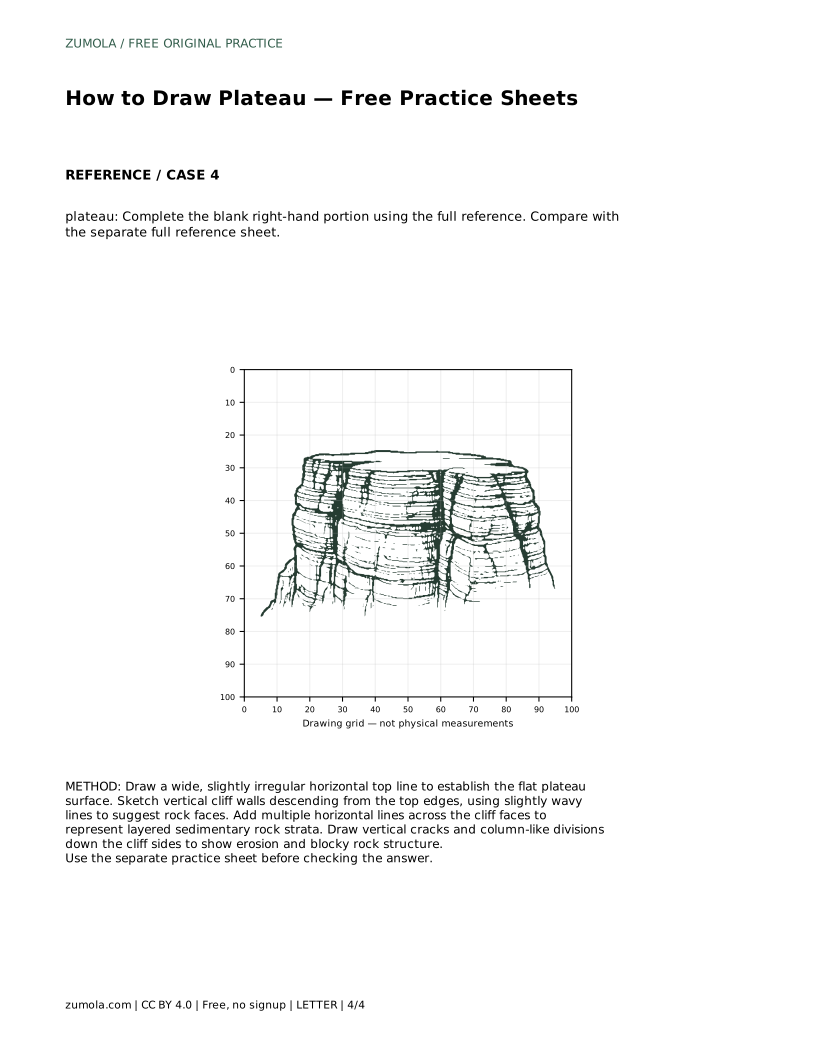
A4 · Download PDF
Free original resources
Learn to draw a plateau with a flat elevated top, steep cliff sides, and horizontal rock layers. Free practice sheets support tracing, grids, and independent drawing.
Four original cases, with reference diagrams, practice sheets and worked answers. Everything is free; no signup required.
LETTER · Download PDF
A4 · Download PDF
LETTER · Download PDF
A4 · Download PDF
LETTER · Download PDF
A4 · Download PDF
Use A4 or US Letter to match your printer. Use the stated values and conditions to solve each exercise; diagrams are not physical measuring rulers.
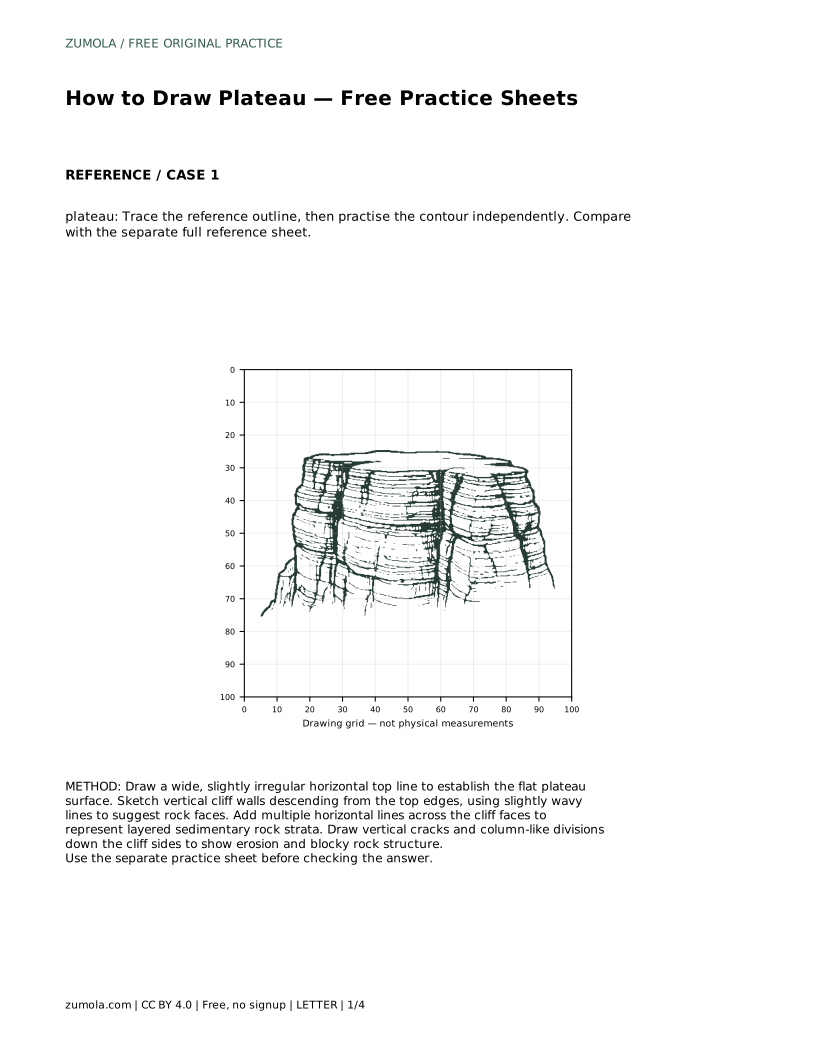
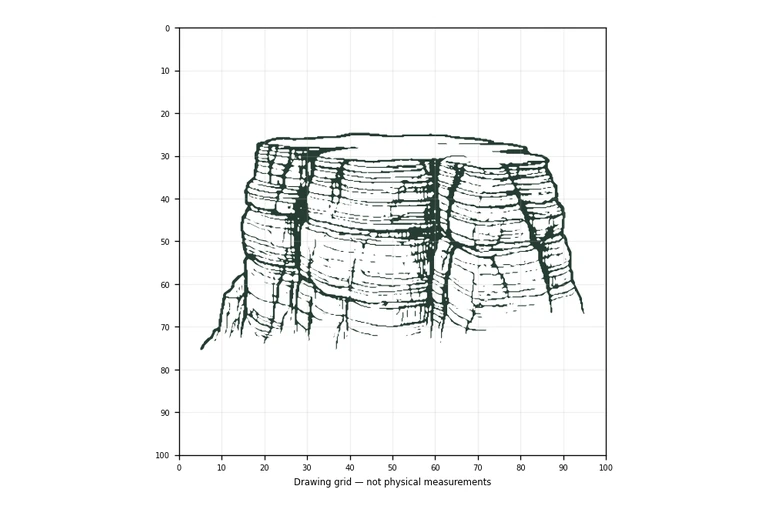
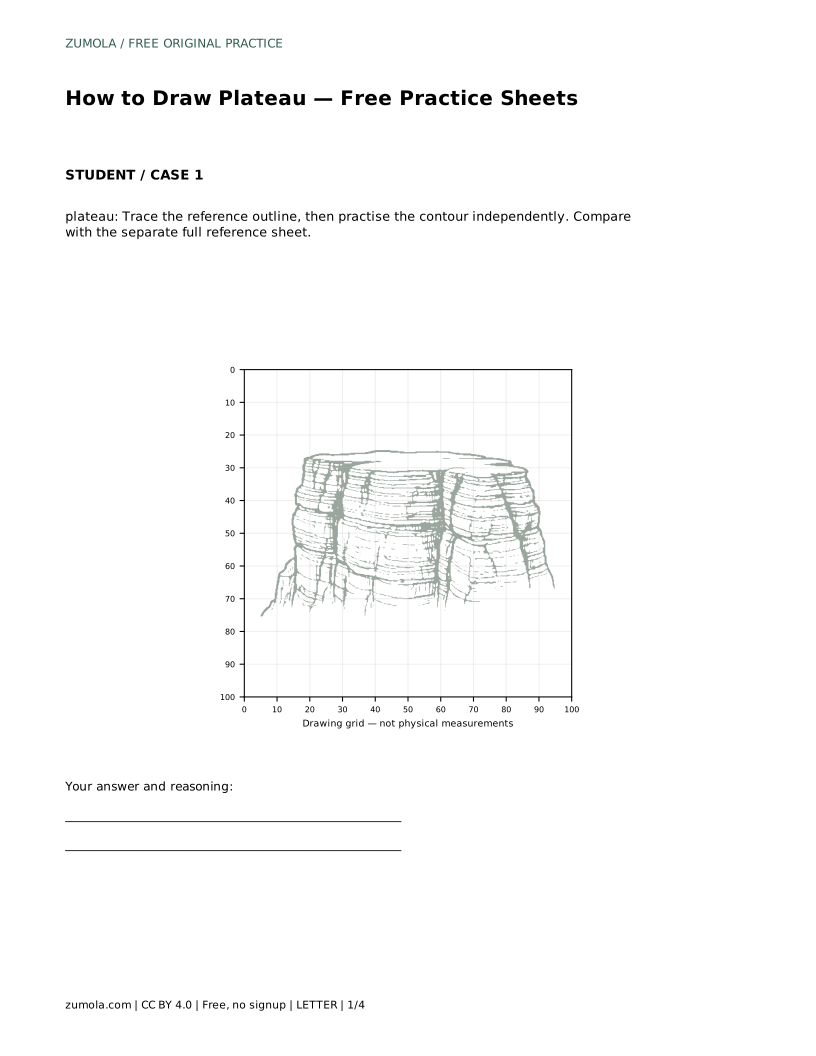
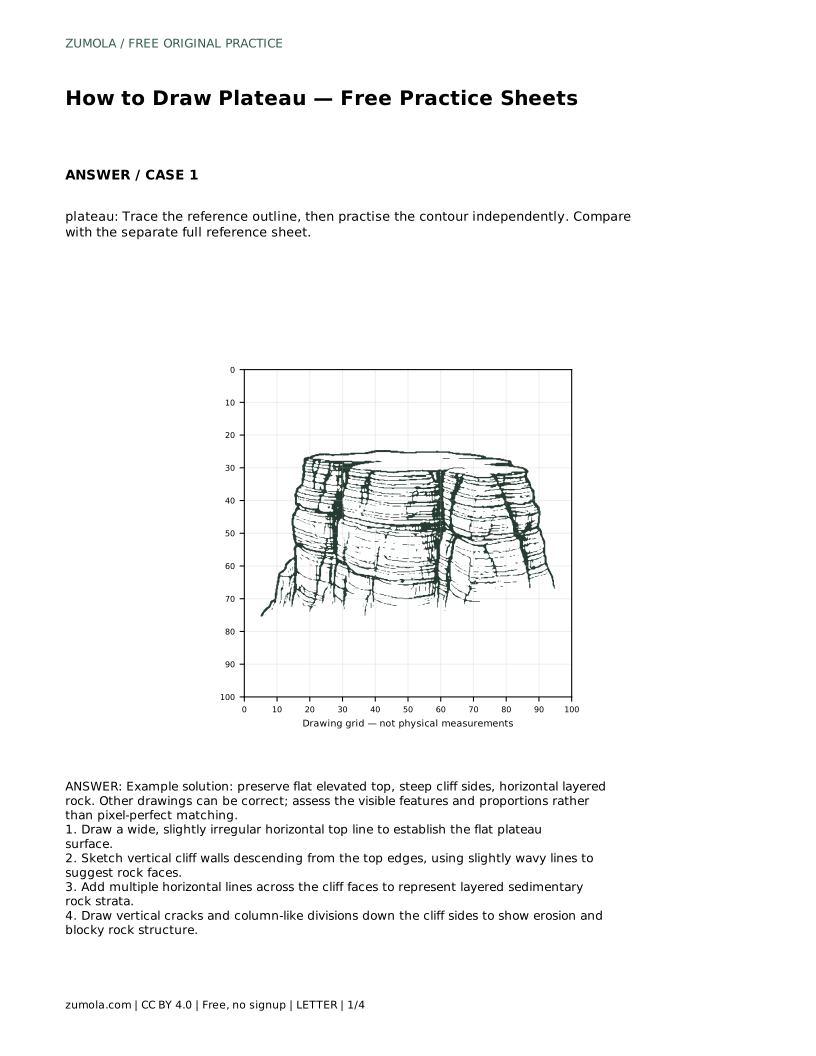
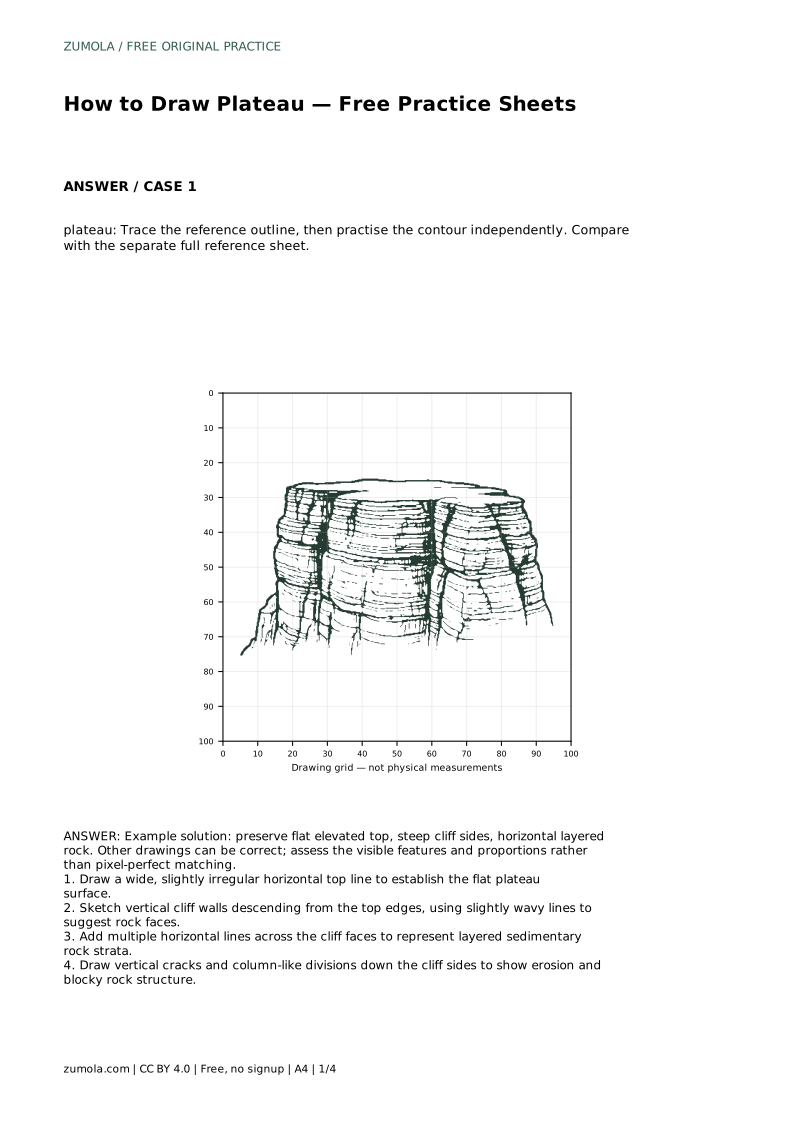
A plateau is a raised landform with a broad, mostly flat top and steep sides. Drawing one well depends on three visible features: the level top surface, the cliff walls dropping away from its edges, and the horizontal layers exposed in those walls. This page explains how to build those features in order, then use the free practice sheets to trace, copy, or complete a plateau drawing. Art has many valid outcomes, so compare your work by visible features and proportions rather than exact line matching.
Begin by establishing the plateau's silhouette before adding surface detail. The top should read as wide and level, not domed or pointed. A slightly irregular horizontal line works better than a perfectly straight one because real plateau edges weather unevenly. From the left and right ends of that top line, draw cliff walls downward. Keep the walls steep; a plateau is defined by its abrupt drop rather than a gentle slope. Slightly wavy vertical lines suggest rough rock without changing the overall steep profile.
Leave the lower edge of the cliffs open at first so you can judge how tall the landform looks relative to its width.
Horizontal lines across the cliff faces represent layered sedimentary rock. Space them unevenly and let them follow the slight waves of the cliff edge so they look attached to the rock rather than pasted on. Layers can vary in thickness; a few thicker bands among thinner ones look more natural than evenly spaced stripes. Keep the lines roughly parallel to the plateau top, since horizontal strata are the feature that makes the flat top and layered walls read as one landform.
Avoid drawing layers that curve sharply upward or downward unless you intend to show folding, which changes the landform's story.
Vertical cracks and column-like divisions break up the cliff face and suggest blocky rock structure shaped by erosion. Draw a few short vertical lines that cross the horizontal layers, starting near the top edge and running partway down. Not every crack needs to reach the base. Grouping two or three cracks close together creates a column effect, while a single isolated crack reads as a fissure. Keep these lines thinner or lighter than the cliff outline so the silhouette stays dominant.
Stop adding detail when the three key features are clear; extra marks can clutter the drawing and obscure the flat top.
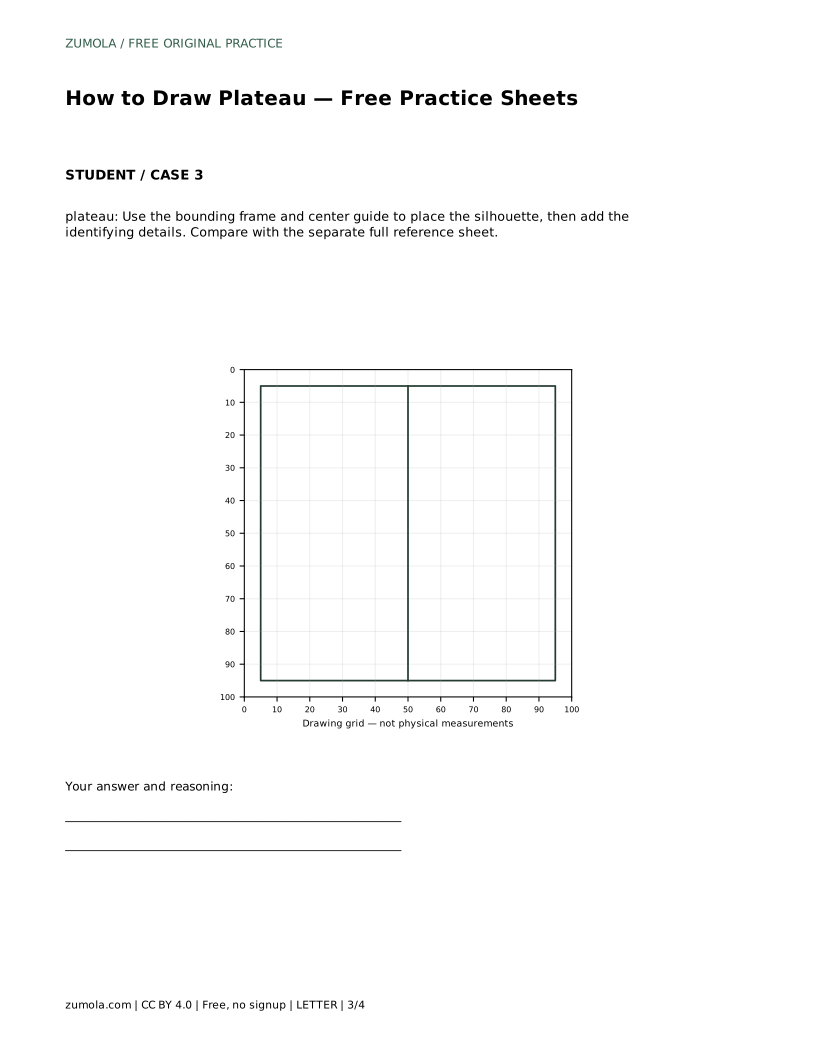
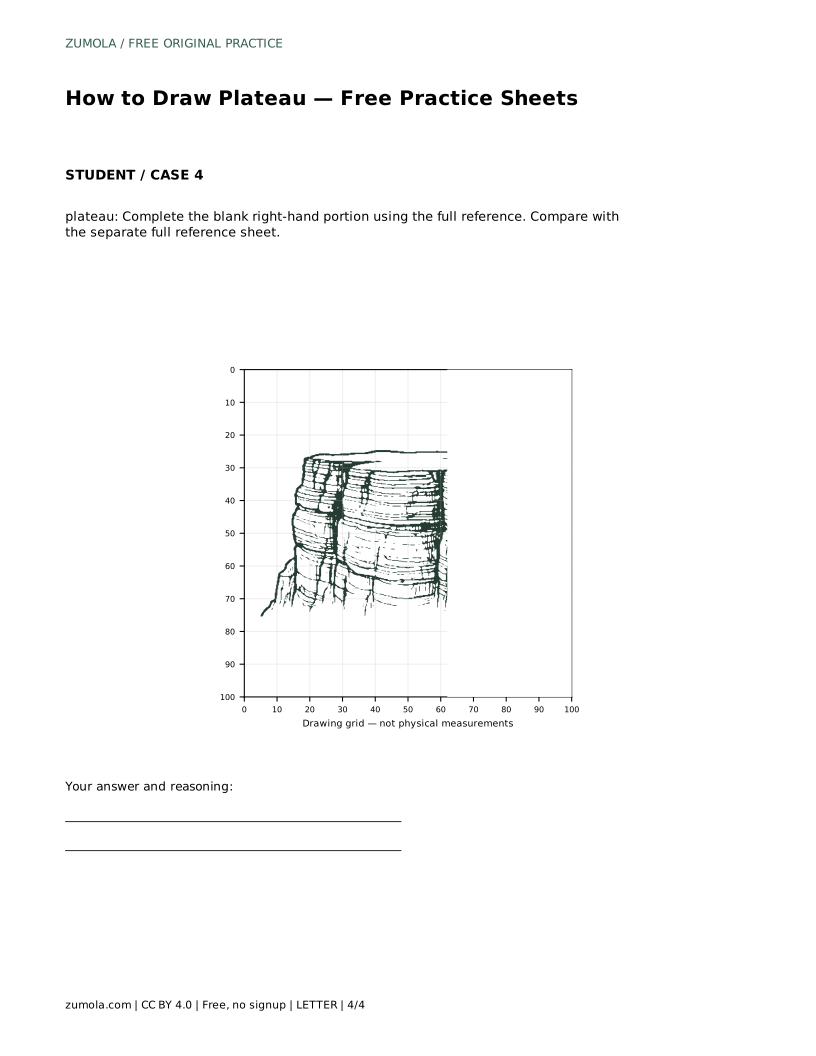
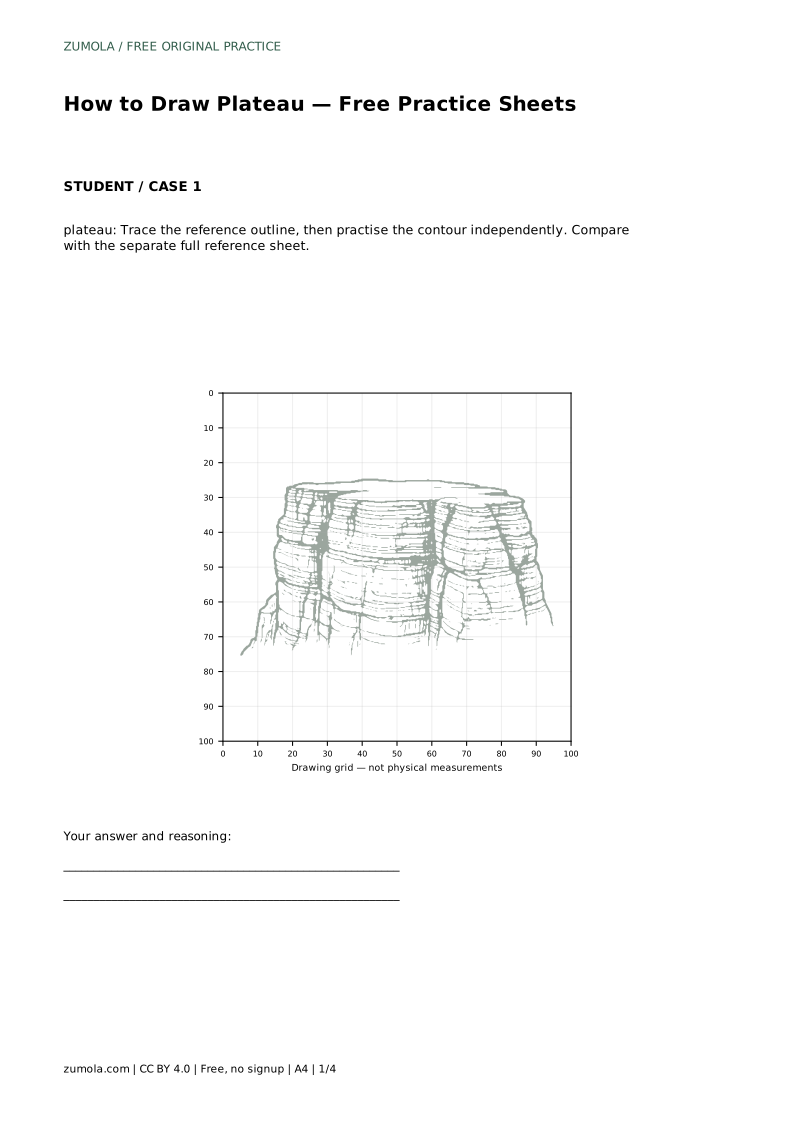
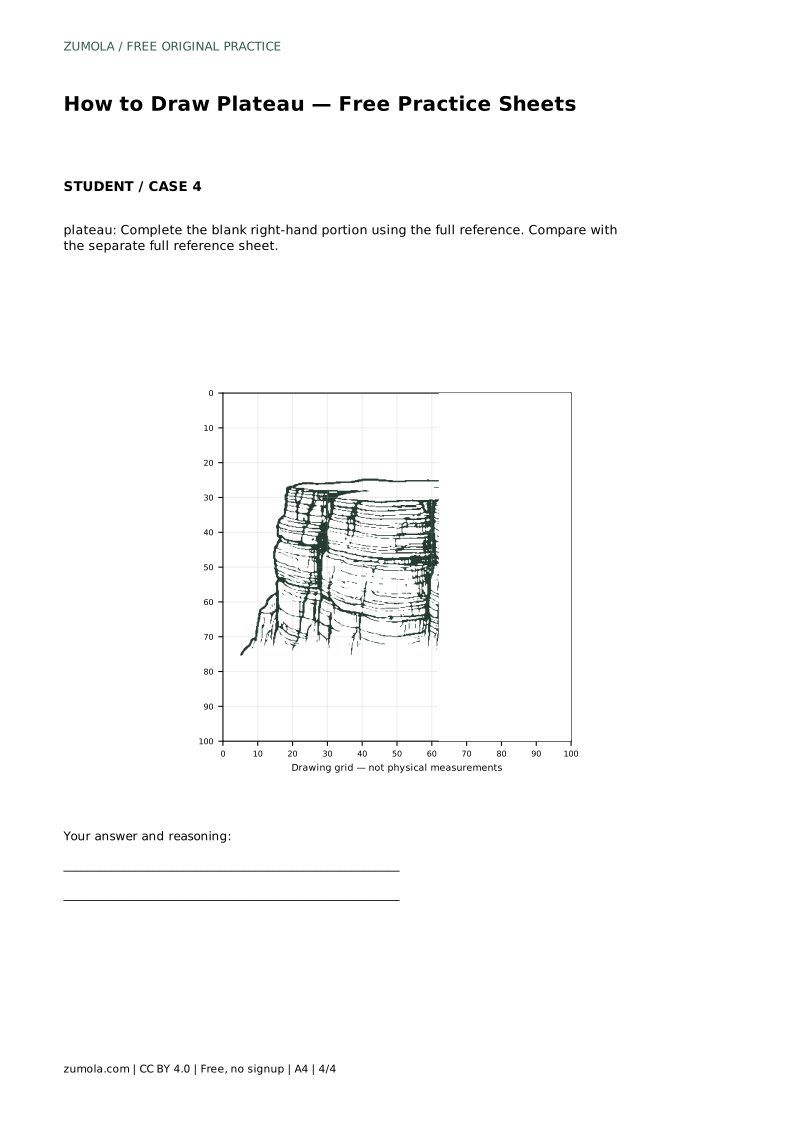
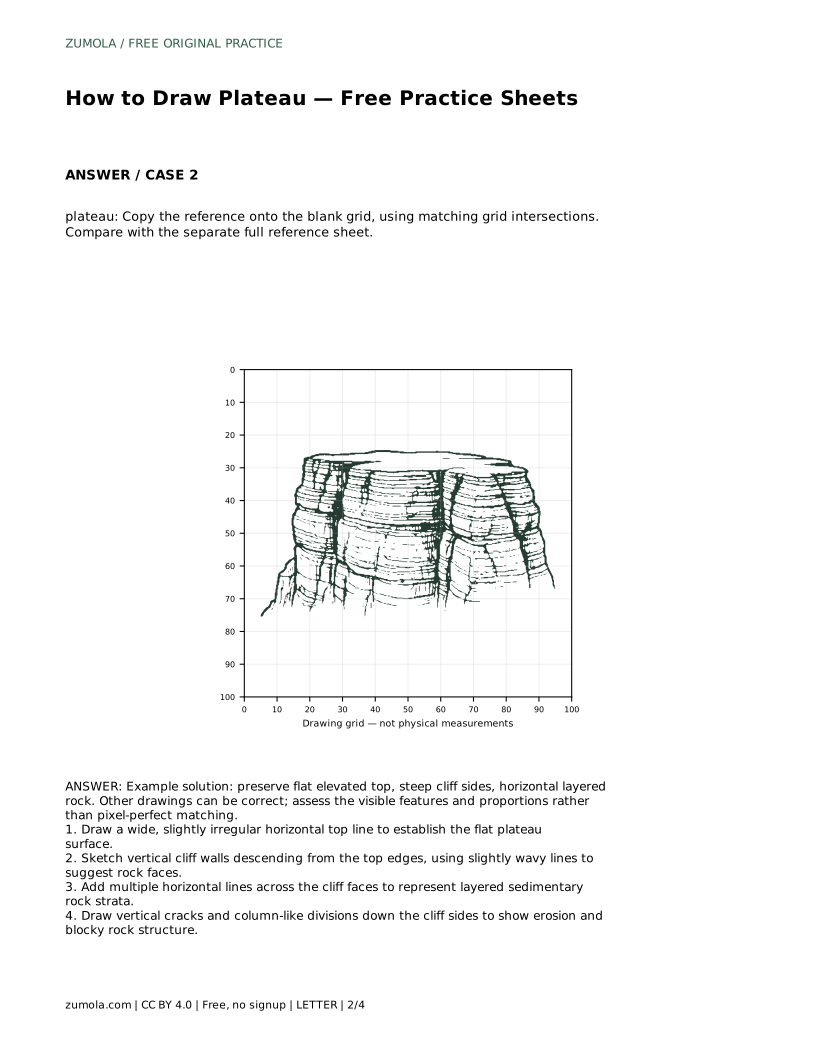
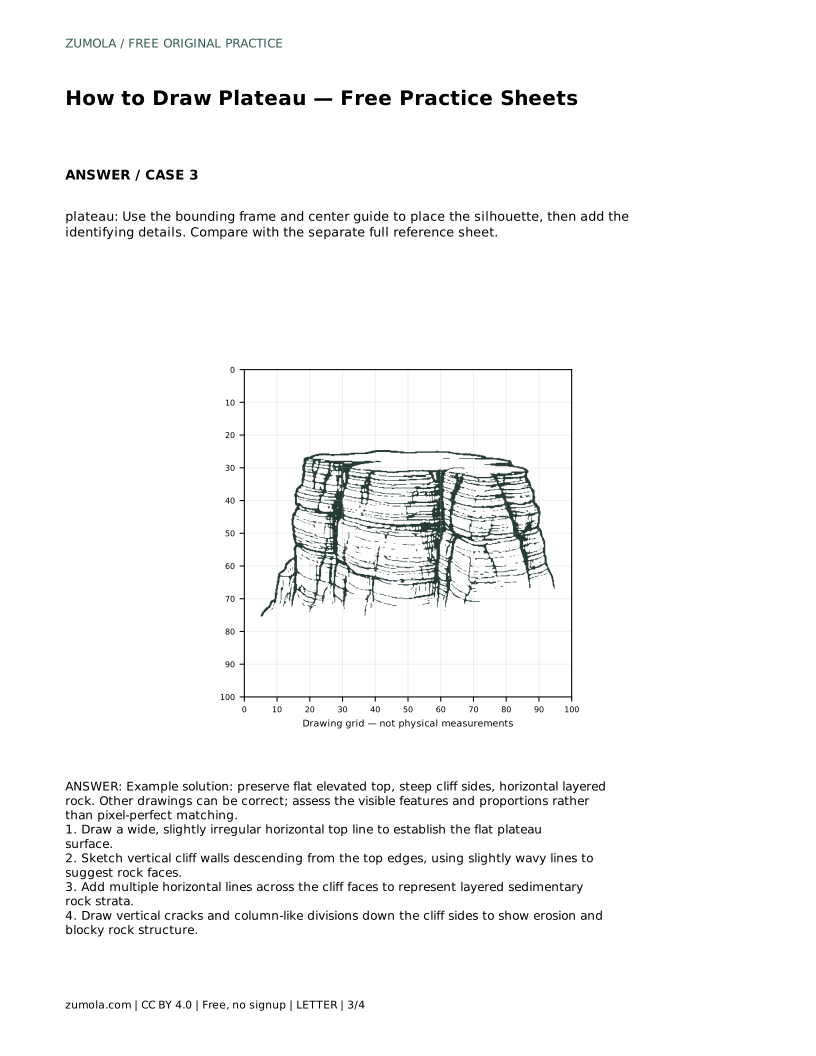
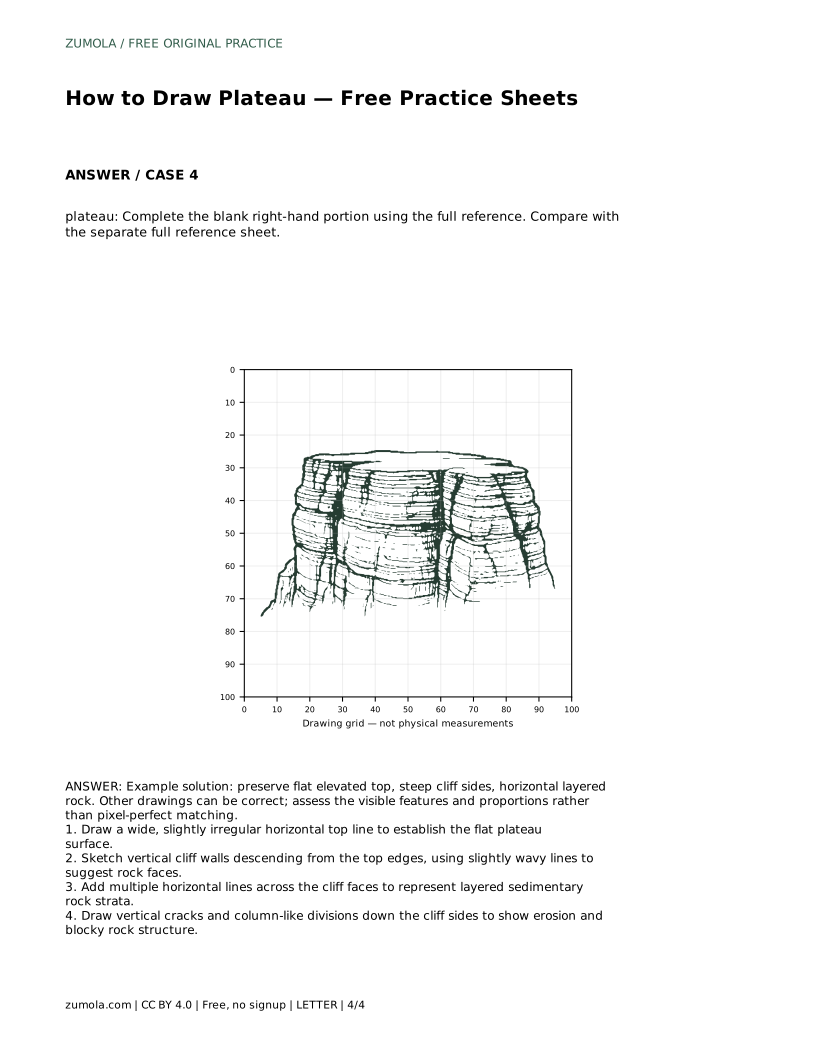
The practice sheets offer different levels of support. Tracing the reference outline helps you feel the proportions of the flat top and steep walls. Copying onto a blank grid asks you to match intersections, which trains placement and scale. Using a bounding frame and center guide helps you position the silhouette before adding details. Completing a blank portion tests whether you can continue the same features independently. After any sheet, compare your drawing with the separate full reference sheet and check the three key features rather than chasing an identical line.
Each sheet isolates a different skill, so choose the one that matches what you want to practise rather than working through all of them in order.
A finished plateau drawing should show a flat elevated top, steep cliff sides, and horizontal layered rock. Proportions matter: a top that is too narrow or walls that lean too far outward stop reading as a plateau. Compare your drawing against the reference by asking whether each feature is present and clearly visible, not whether every line matches.
plateau: Trace the reference outline, then practise the contour independently. Compare with the separate full reference sheet.
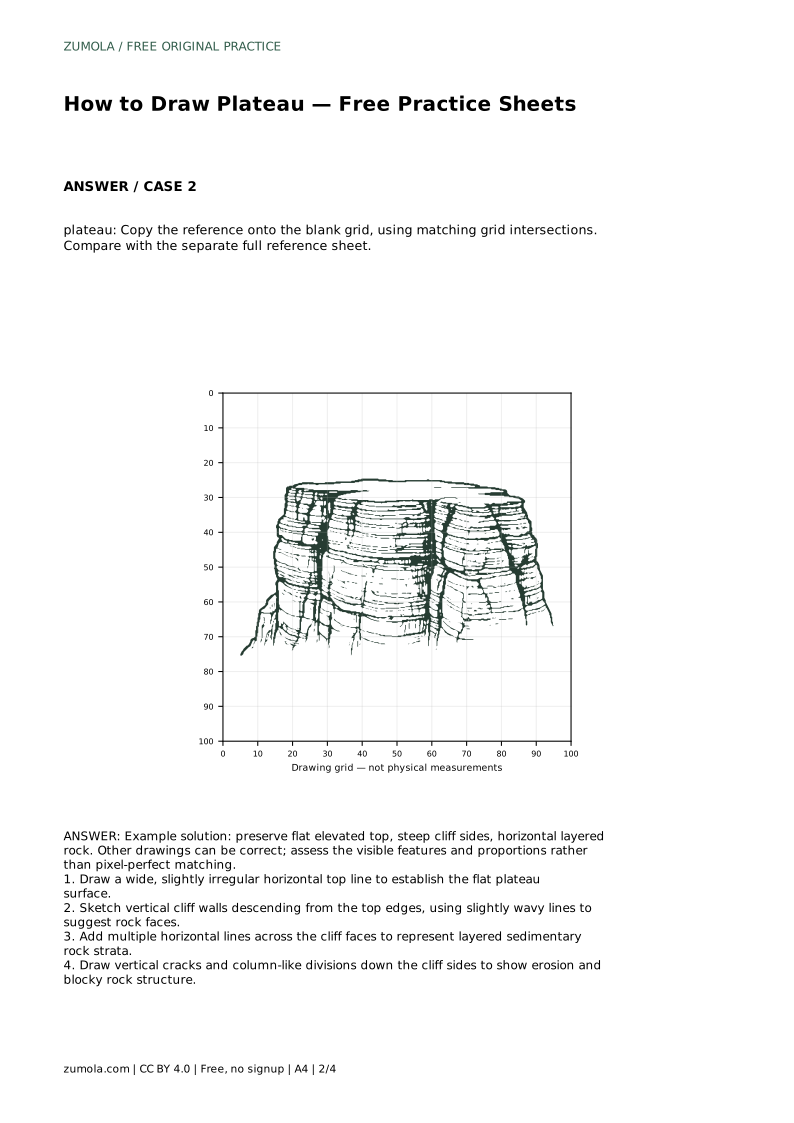
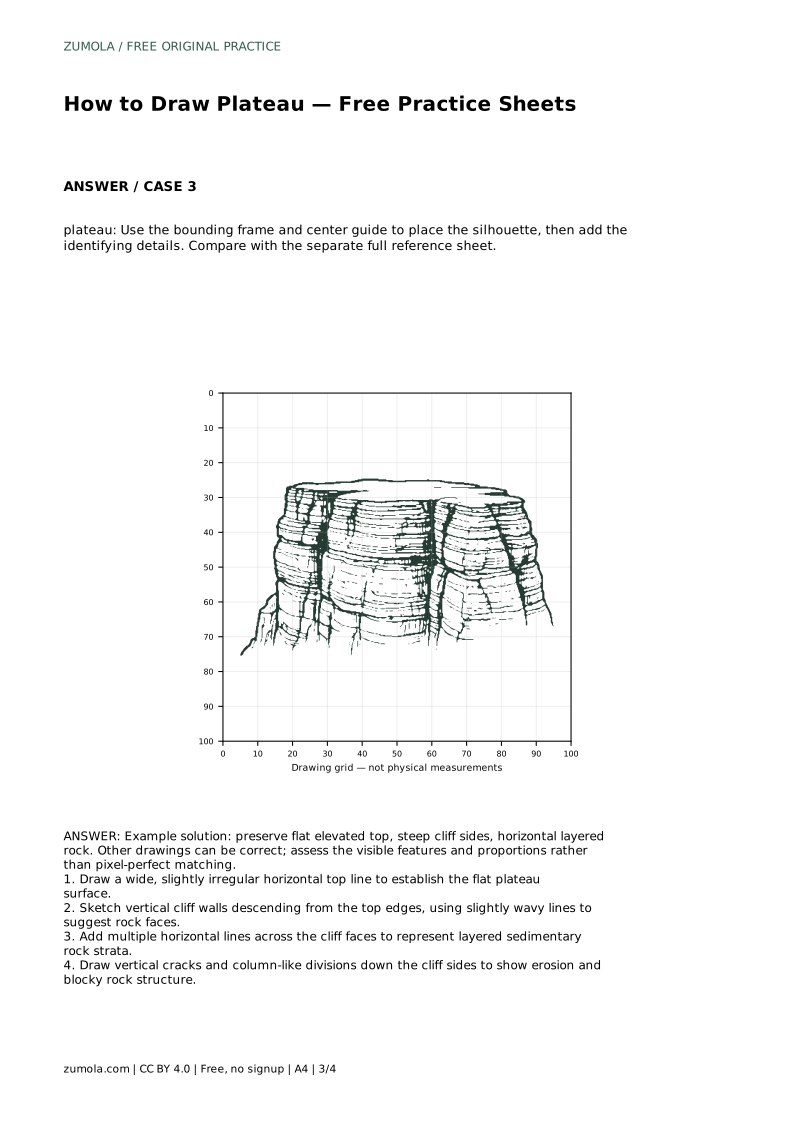
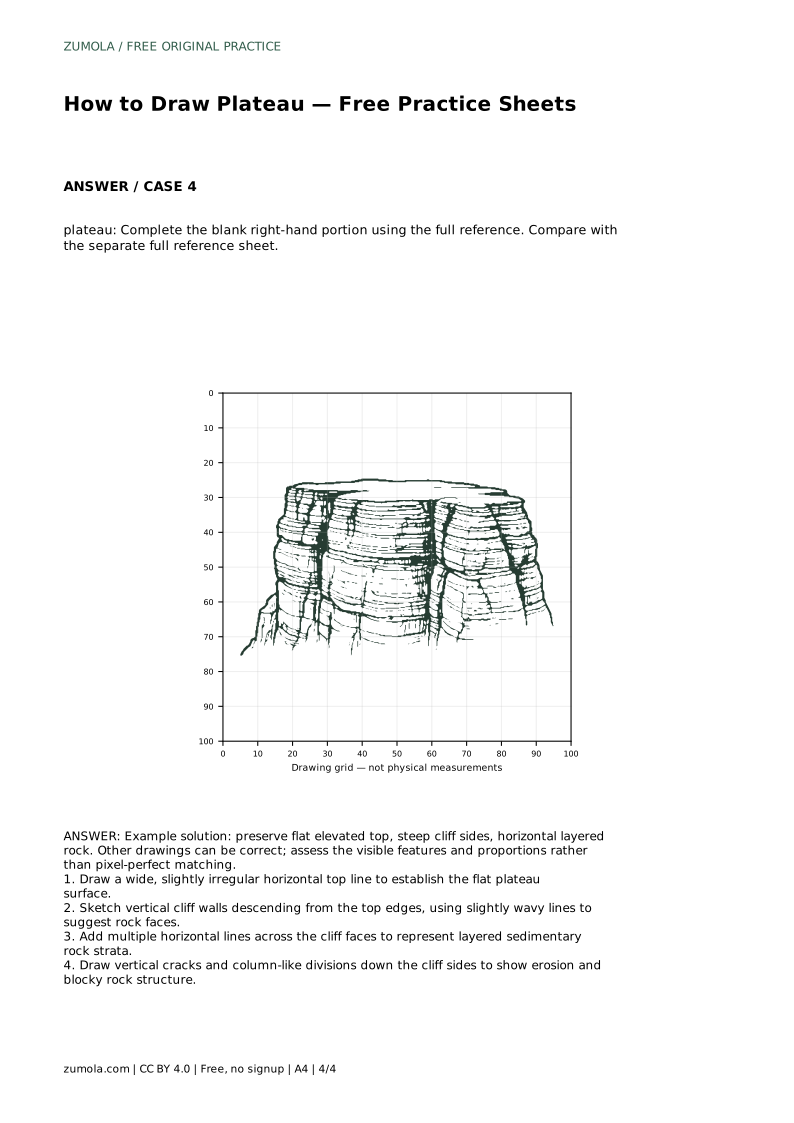
Example solution: preserve flat elevated top, steep cliff sides, horizontal layered rock. Other drawings can be correct; assess the visible features and proportions rather than pixel-perfect matching. Draw a wide, slightly irregular horizontal top line to establish the flat plateau surface. Sketch vertical cliff walls descending from the top edges, using slightly wavy lines to suggest rock faces. Add multiple horizontal lines across the cliff faces to represent layered sedimentary rock strata. Draw vertical cracks and column-like divisions down the cliff sides to show erosion and blocky rock structure.
A wide flat elevated top, steep cliff sides, and horizontal layered rock across the cliff faces.
No. Multiple drawings can be correct. Assess whether the visible features and proportions are present rather than matching every line.
After the silhouette and horizontal layers are clear. Keep cracks lighter than the outline so the flat top and steep sides stay dominant.
All drawing practice · Free coordinate paper
Original resources · CC BY 4.0 · Free for personal and classroom use with attribution.