Reference diagrams
LETTER · Download PDF
A4 · Download PDF
Free original resources
Learn to draw a shooting star with a five-pointed head and tapered trailing streaks. Trace, grid-copy, and complete partial drawings on free practice sheets.
Four original cases, with reference diagrams, practice sheets and worked answers. Everything is free; no signup required.
LETTER · Download PDF
A4 · Download PDF
LETTER · Download PDF
A4 · Download PDF
LETTER · Download PDF
A4 · Download PDF
Use A4 or US Letter to match your printer. Use the stated values and conditions to solve each exercise; diagrams are not physical measuring rulers.
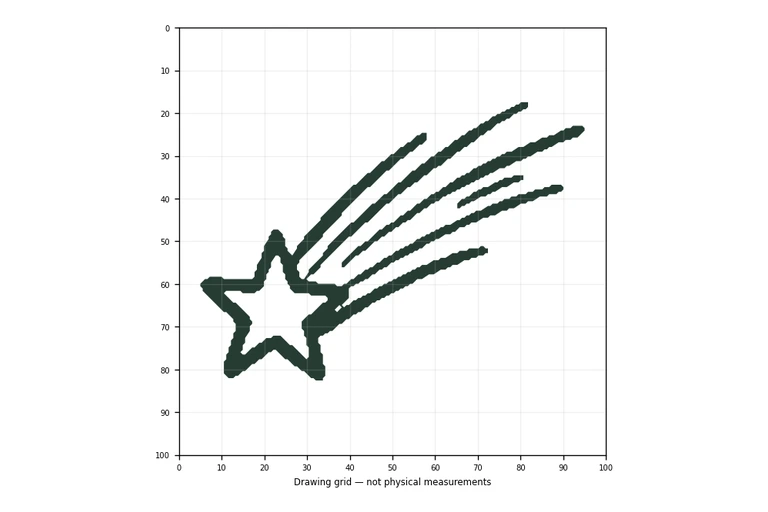
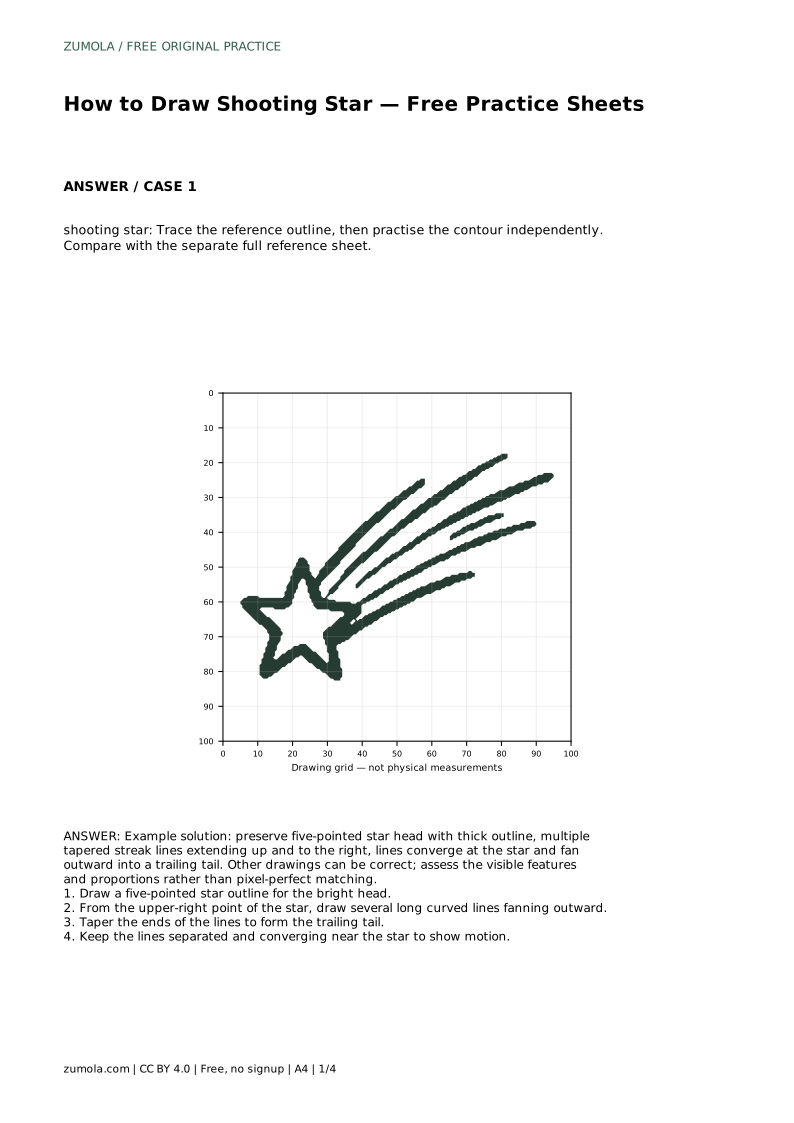
A shooting star is a simple shape with a clear job: one bright star head and a tail of streaks that shows direction and speed. This page explains how to build that shape step by step, then how to use tracing, grid-copy, and partial-completion sheets to practise it. The goal is not a pixel-perfect copy. Different drawings can all be correct when the head, the converging streaks, and the tapered tail are clearly visible.
Start with the head, because everything else attaches to it. Draw a five-pointed star outline and keep the outline fairly thick so it reads as the bright source of the streak. Place the star where you want the motion to begin, usually toward the lower left of the page, leaving open space up and to the right for the tail.
Check the star before adding streaks. All five points should be visible, the shape should sit upright or tilted deliberately rather than accidentally, and the outline should be closed. A wobbly star is fine; an unfinished one makes the tail look disconnected.
The tail is several long curved lines, not one thick band. Begin each line near the upper-right point of the star so the lines converge at the head, then let them fan outward as they travel up and to the right. Keep the lines separated along their length; gaps between them are what suggest speed and glowing motion.
Curve the lines gently and consistently. If one line bends sharply while its neighbours stay straight, the tail looks broken rather than swept. Taper each line so it is widest near the star and narrows to a point at the far end. That taper is the main cue that the star is moving, not just sitting with decorations.
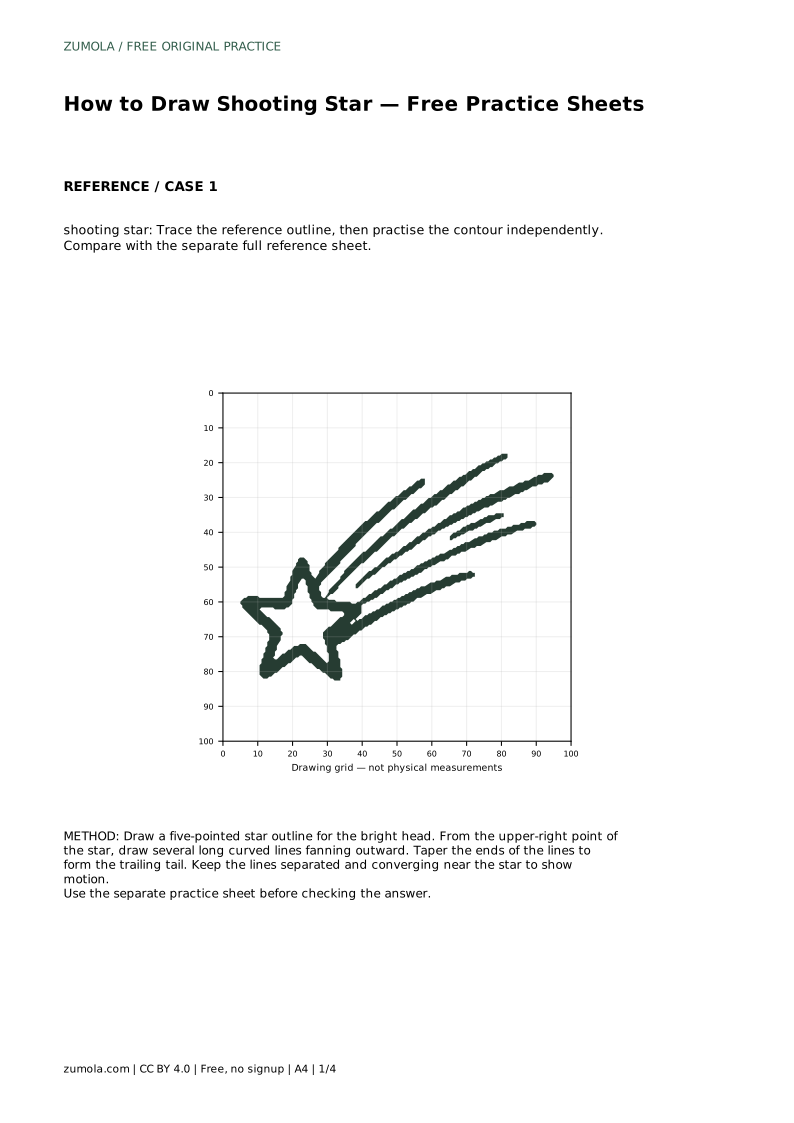
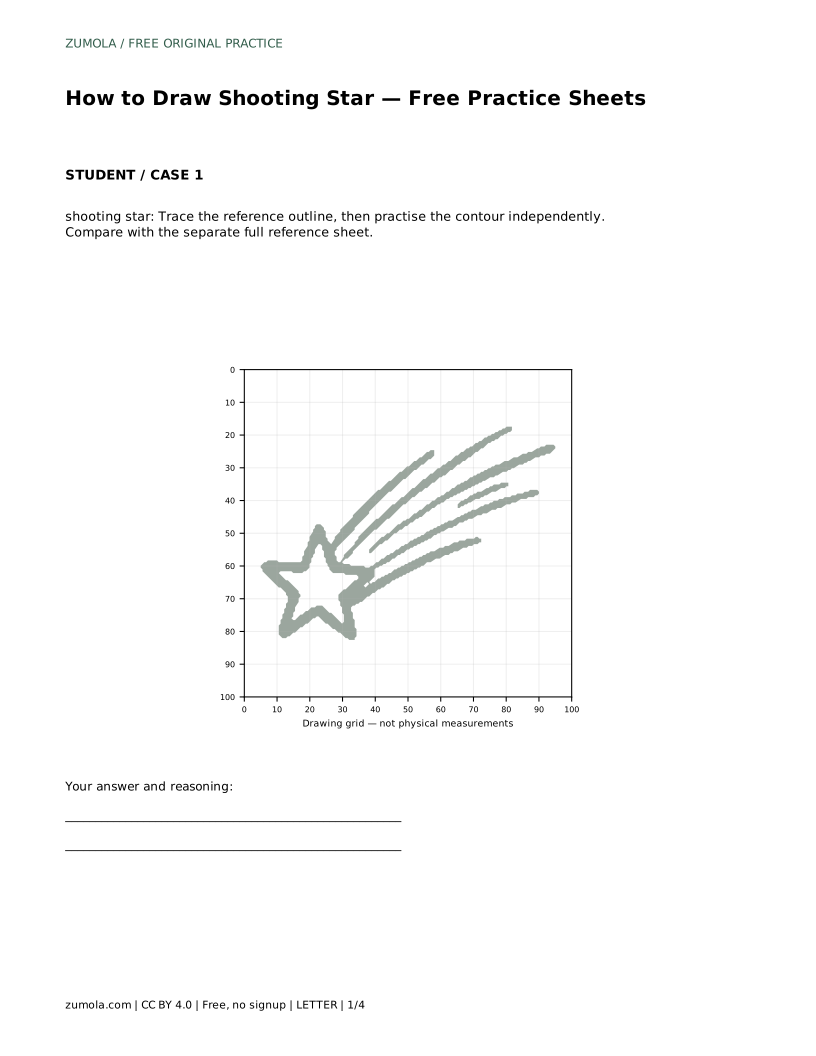
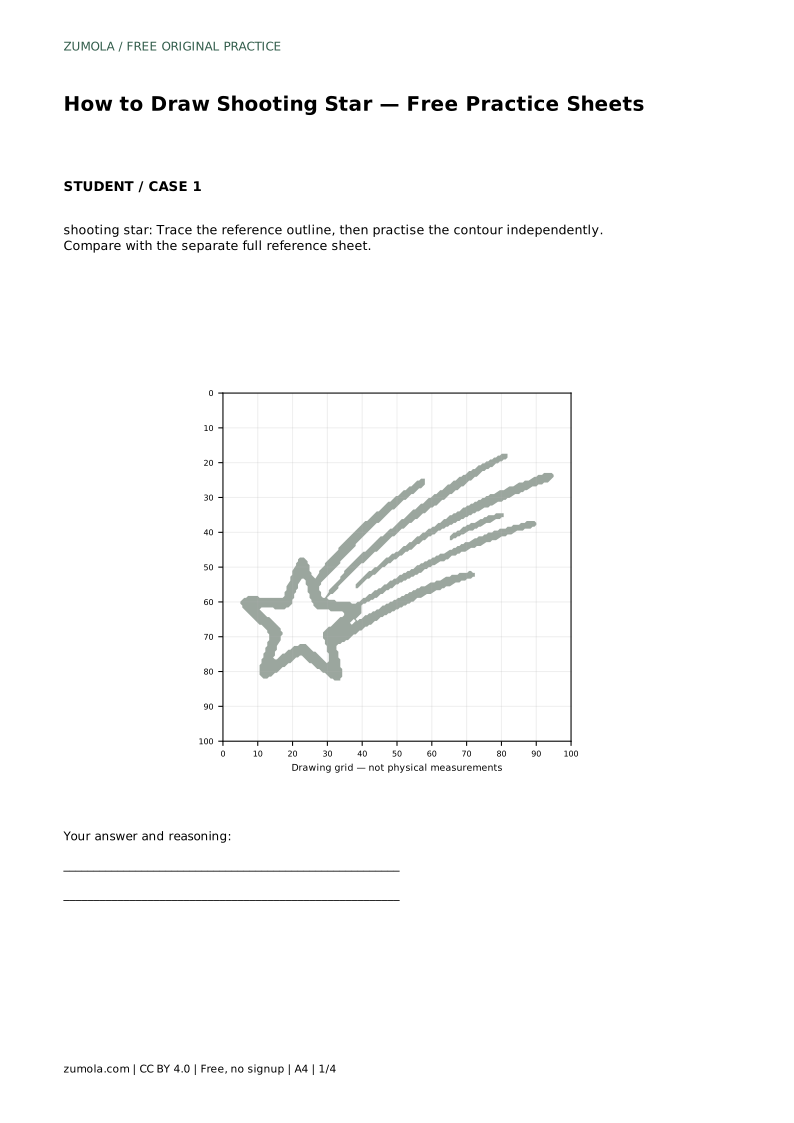
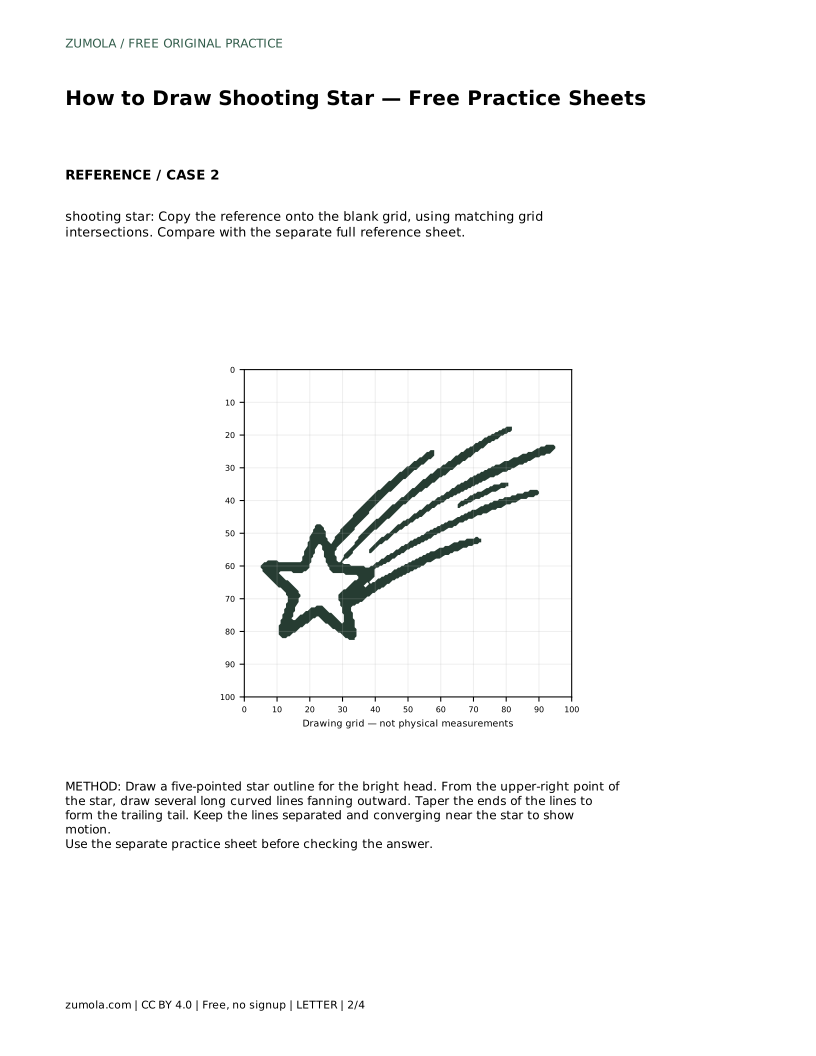
Tracing sheet: follow the reference outline, then draw the contour again on your own beside it. Compare your free drawing with the separate full reference sheet, not with your traced line.
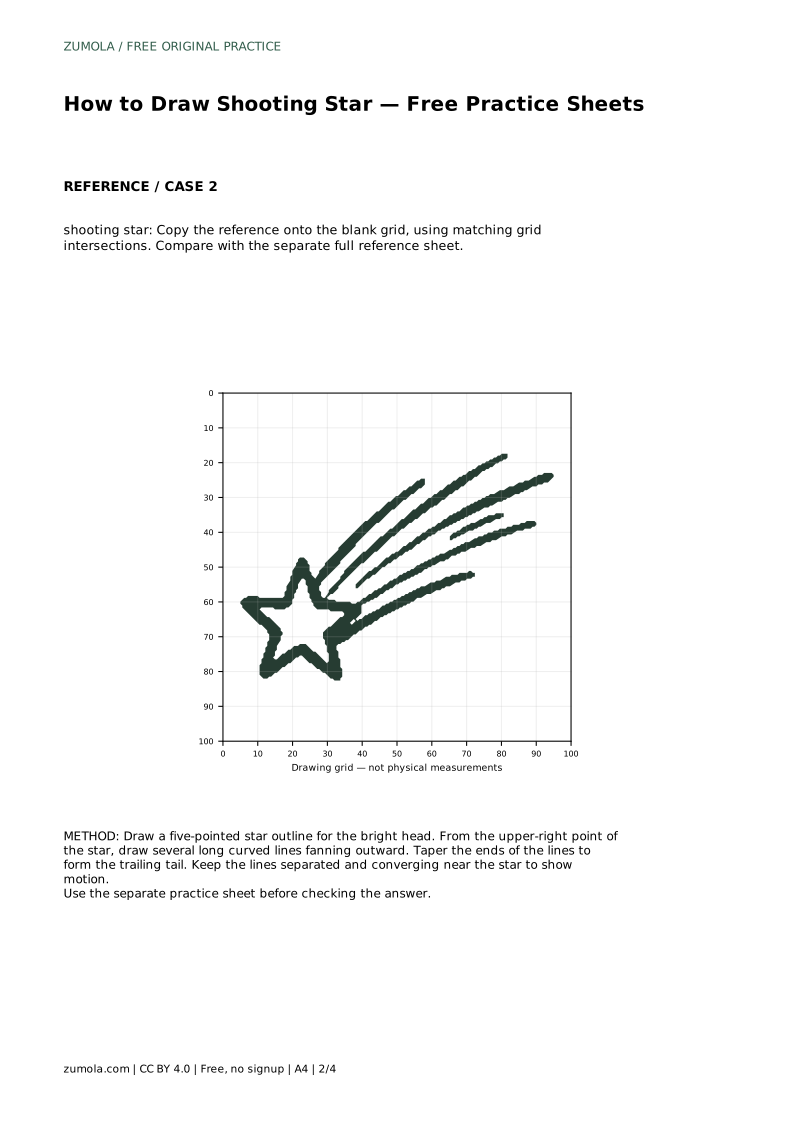
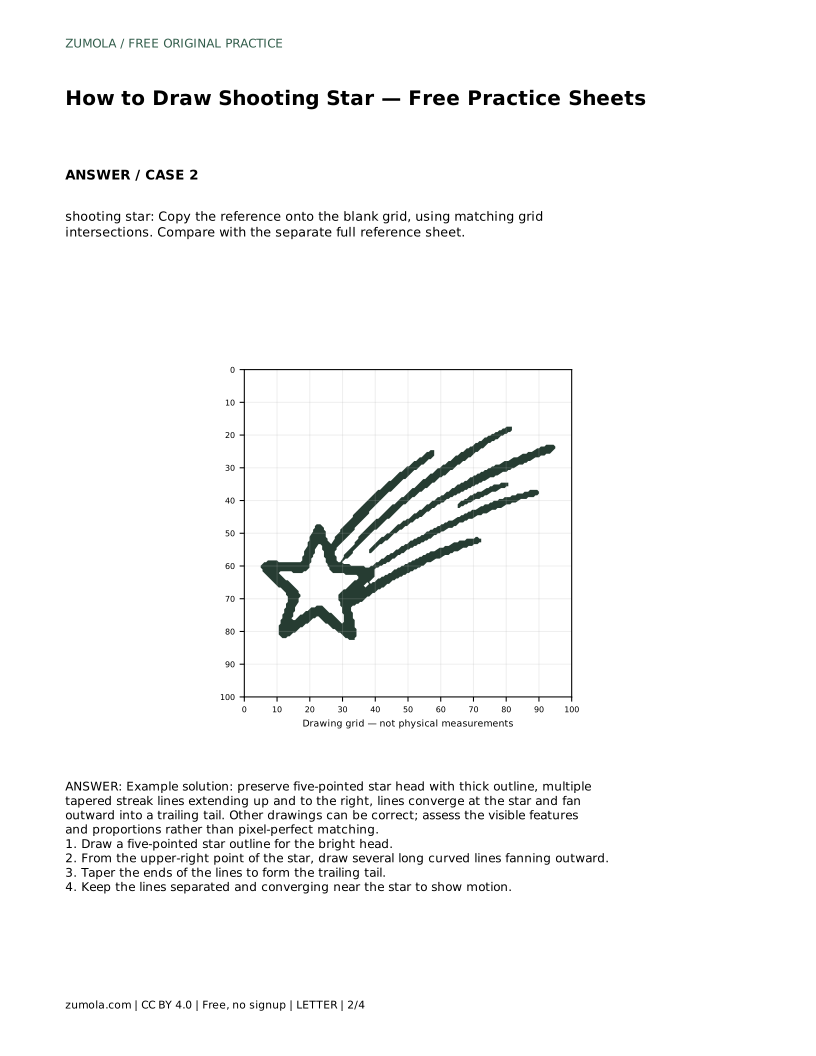
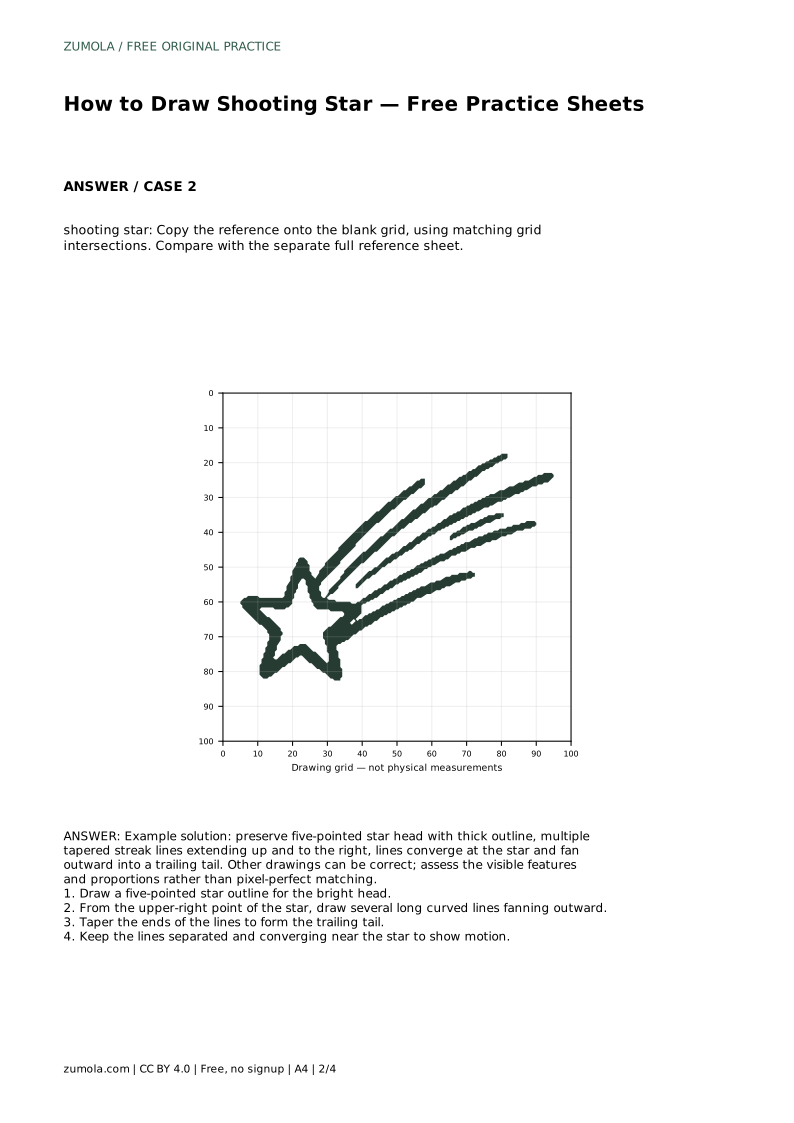
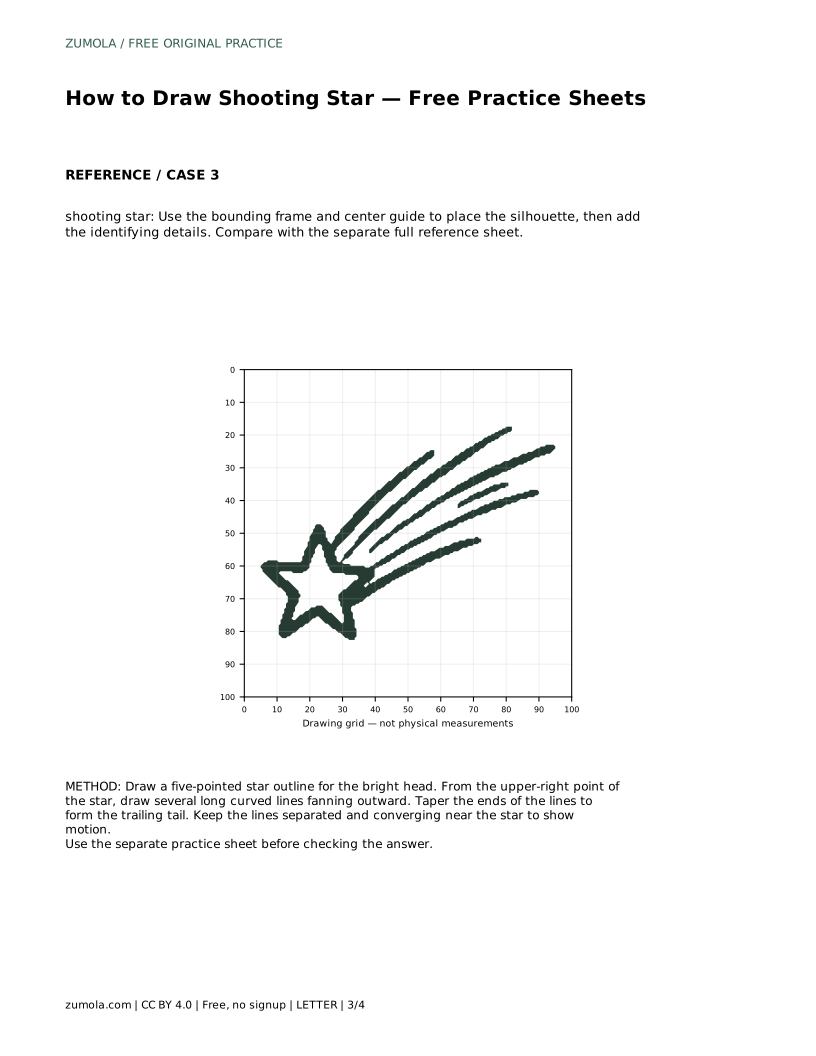
Grid-copy sheet: copy the reference onto the blank grid, matching where lines cross grid intersections. Use the grid to keep the star head and the spread of the tail in proportion.
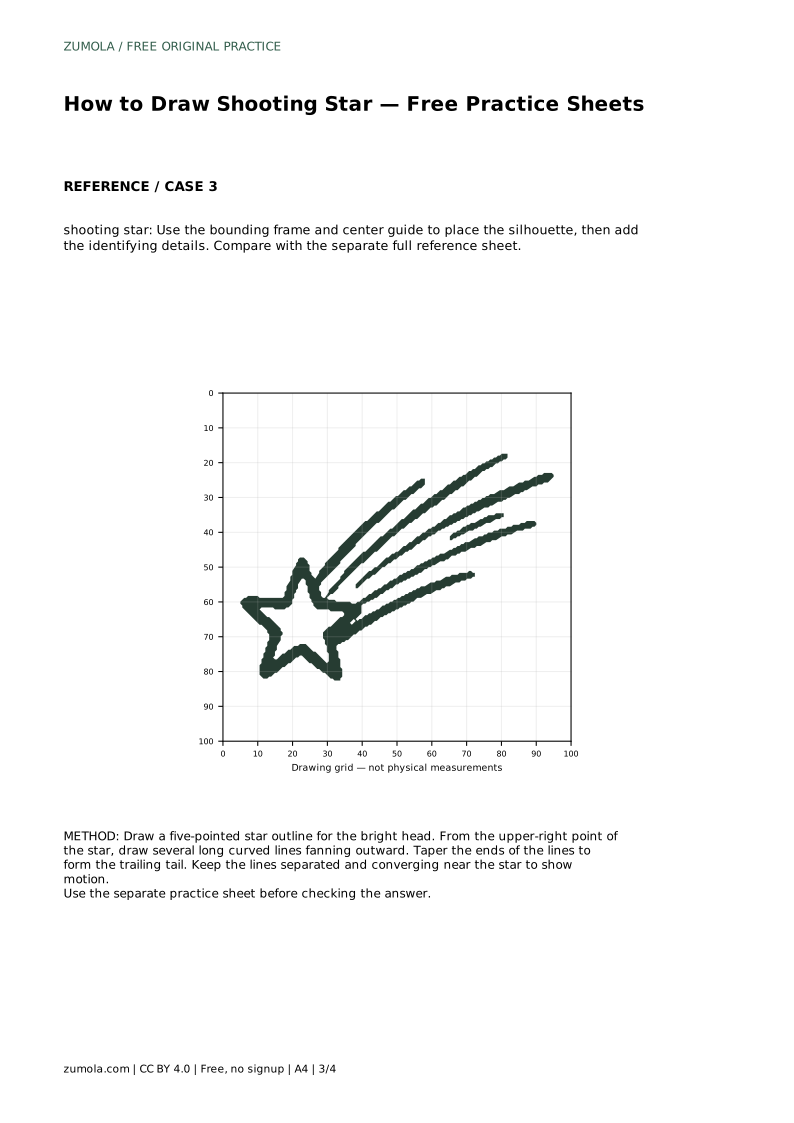
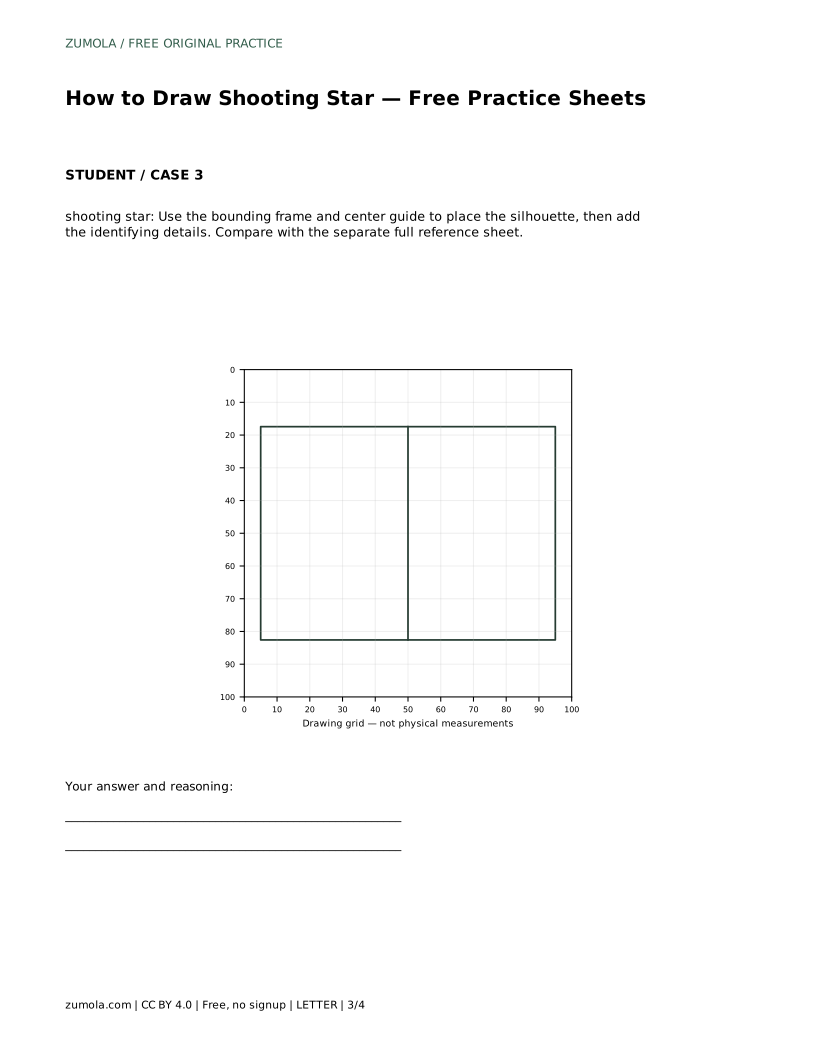
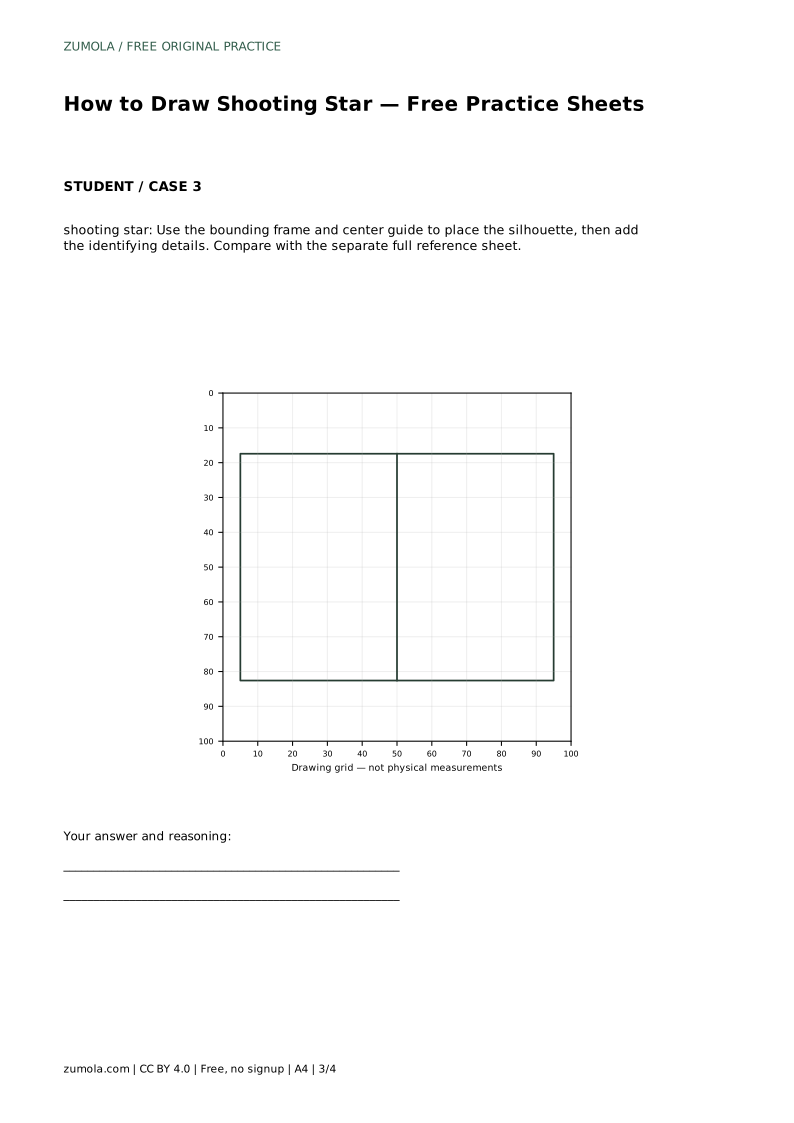
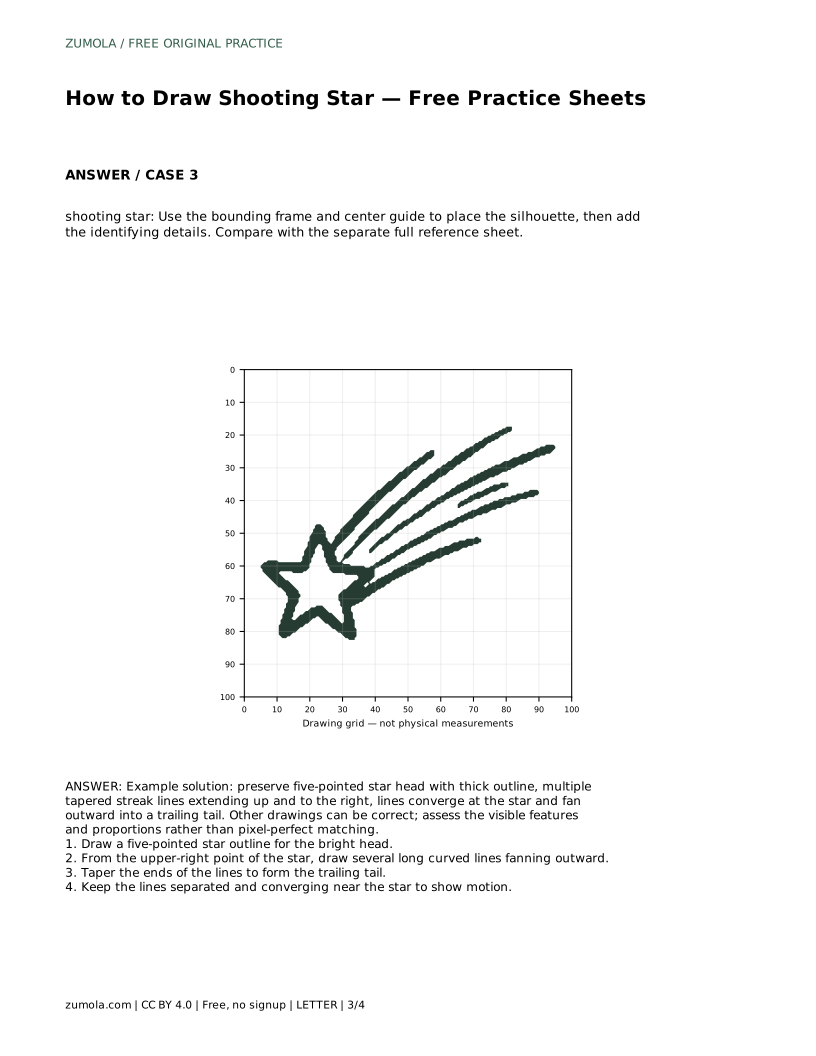
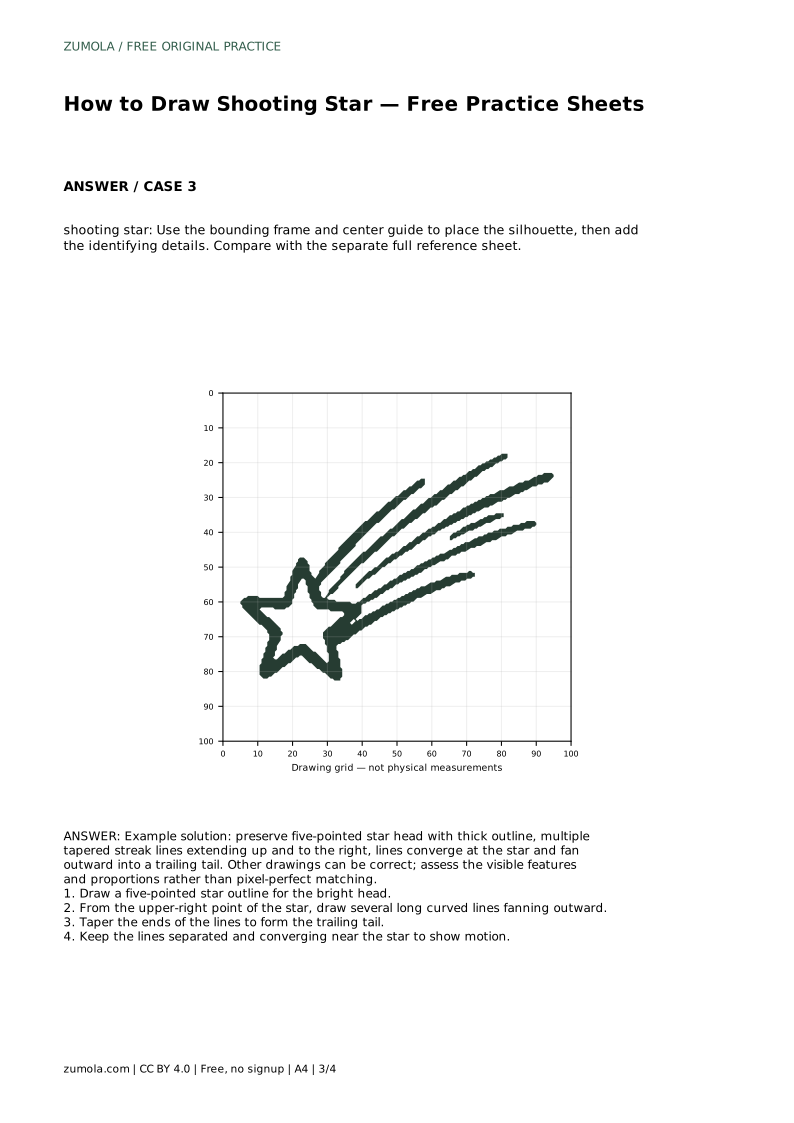
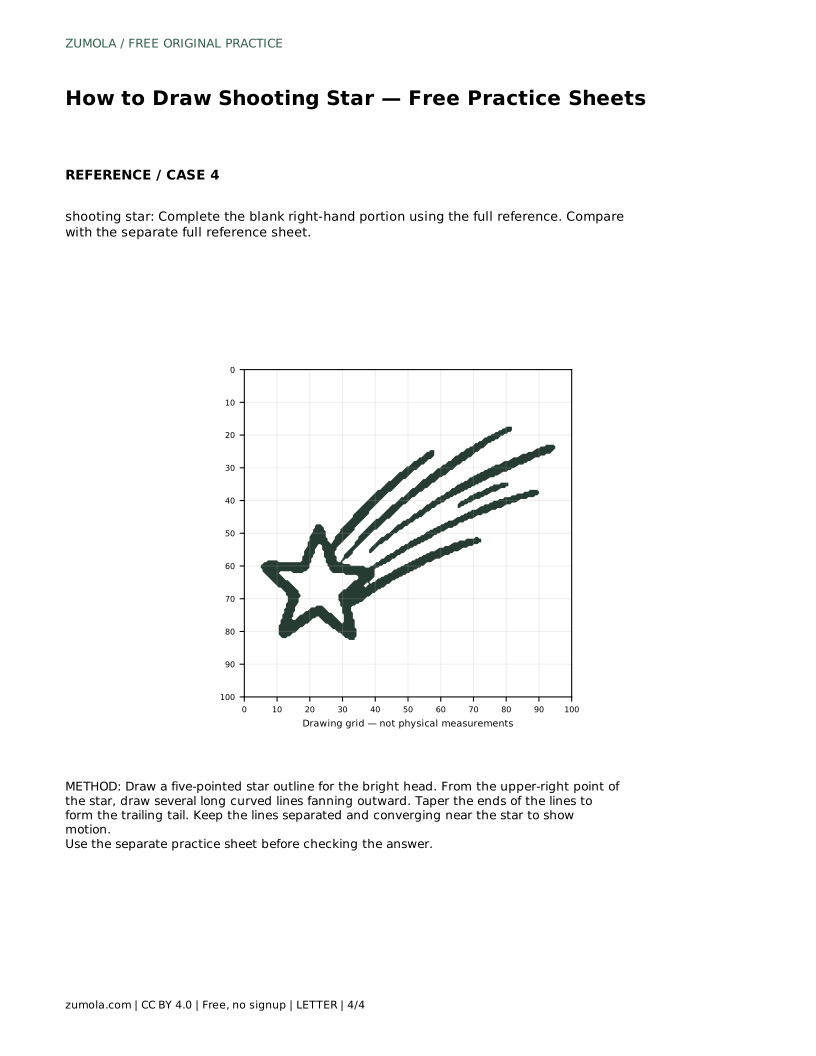
Bounding-frame sheet: use the frame and centre guide to place the silhouette first, then add the identifying details such as the star points and the separated streaks.
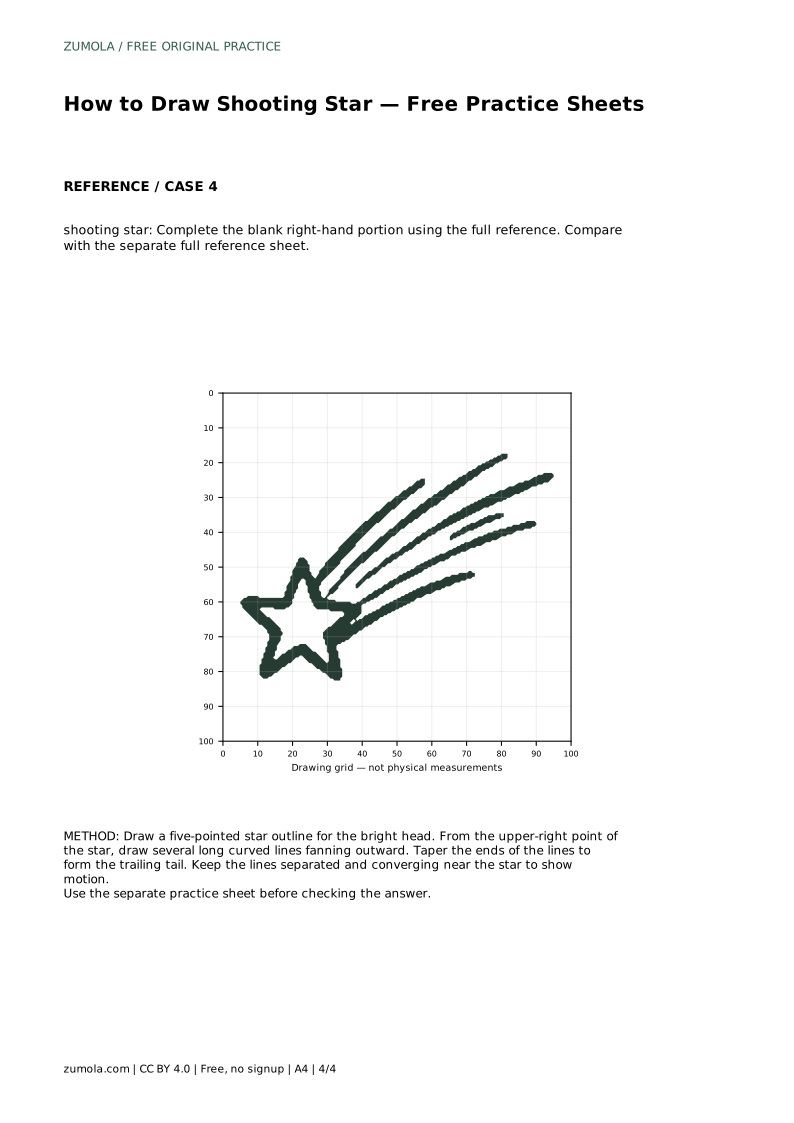
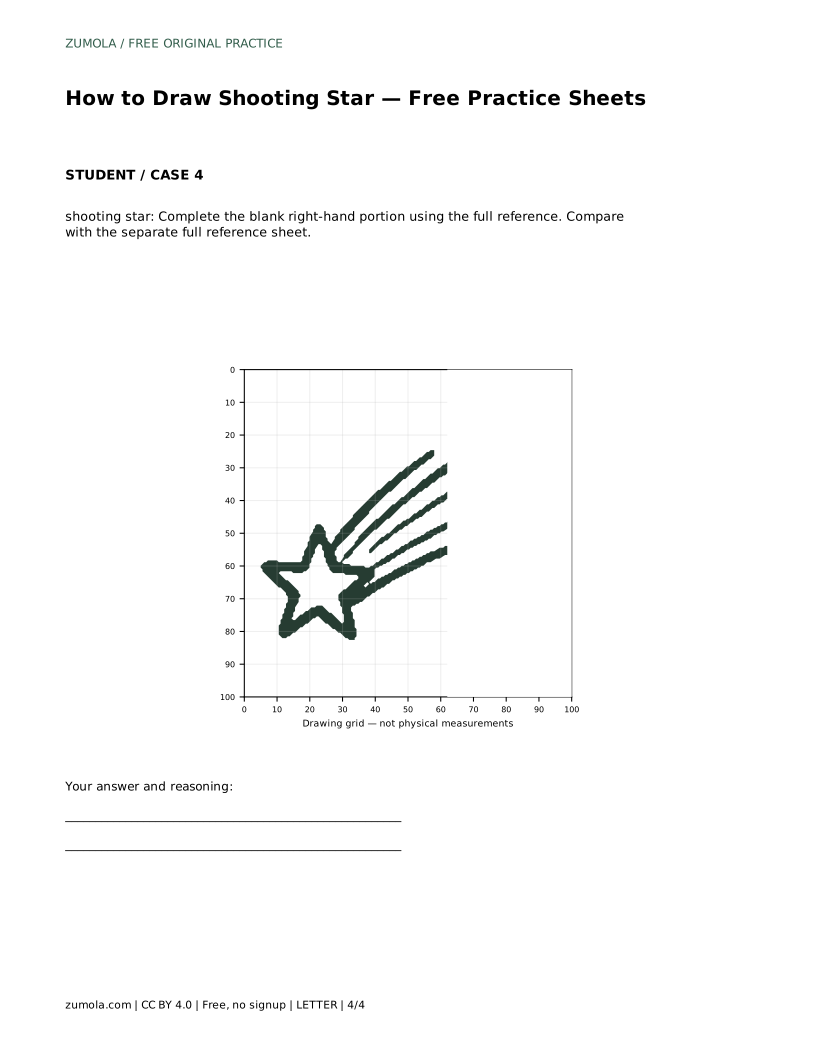
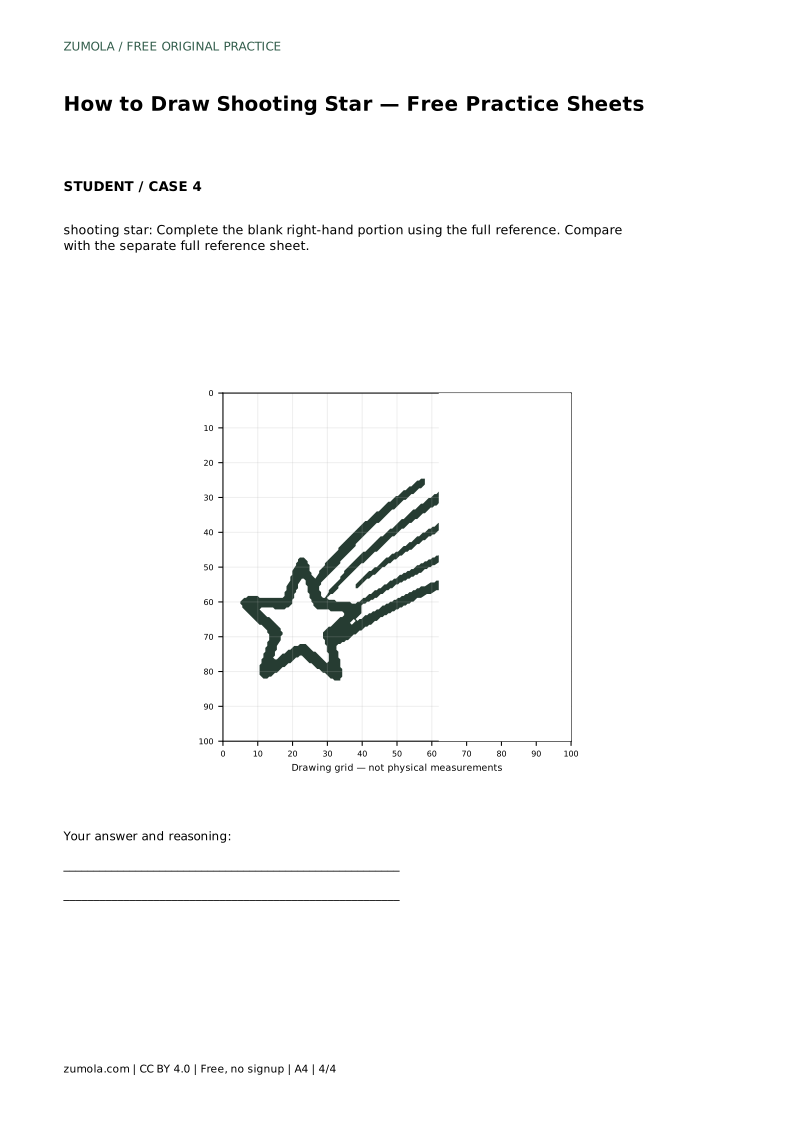
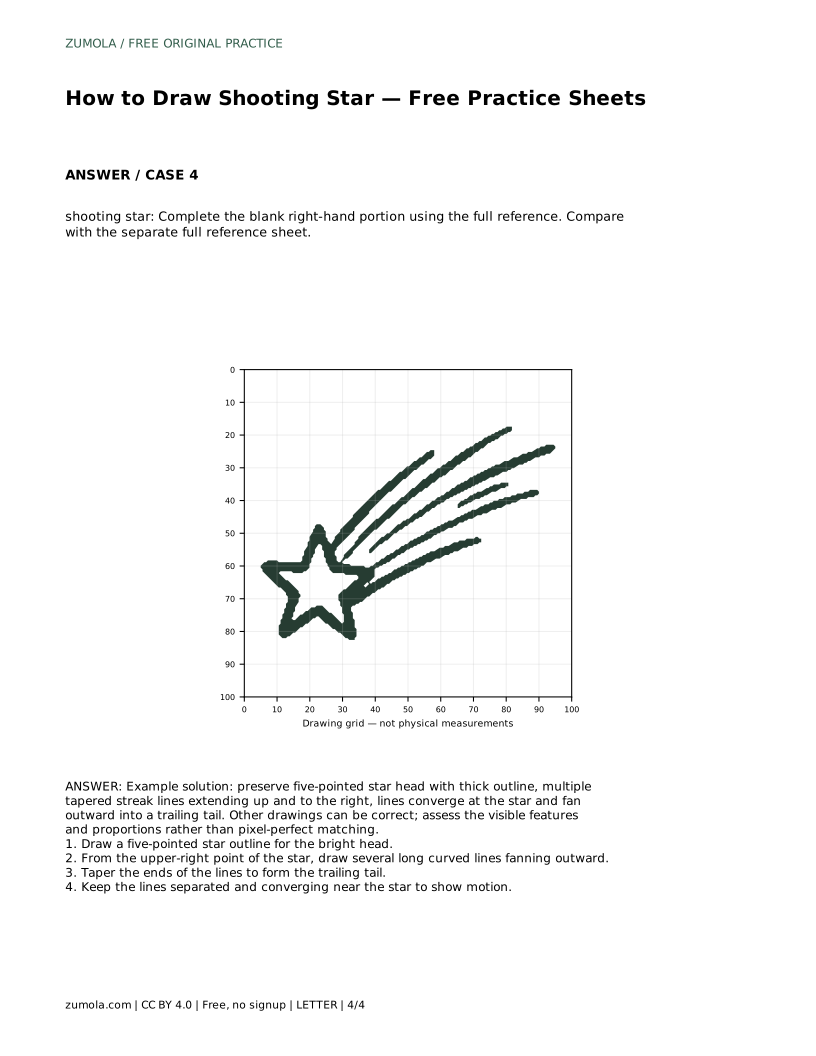
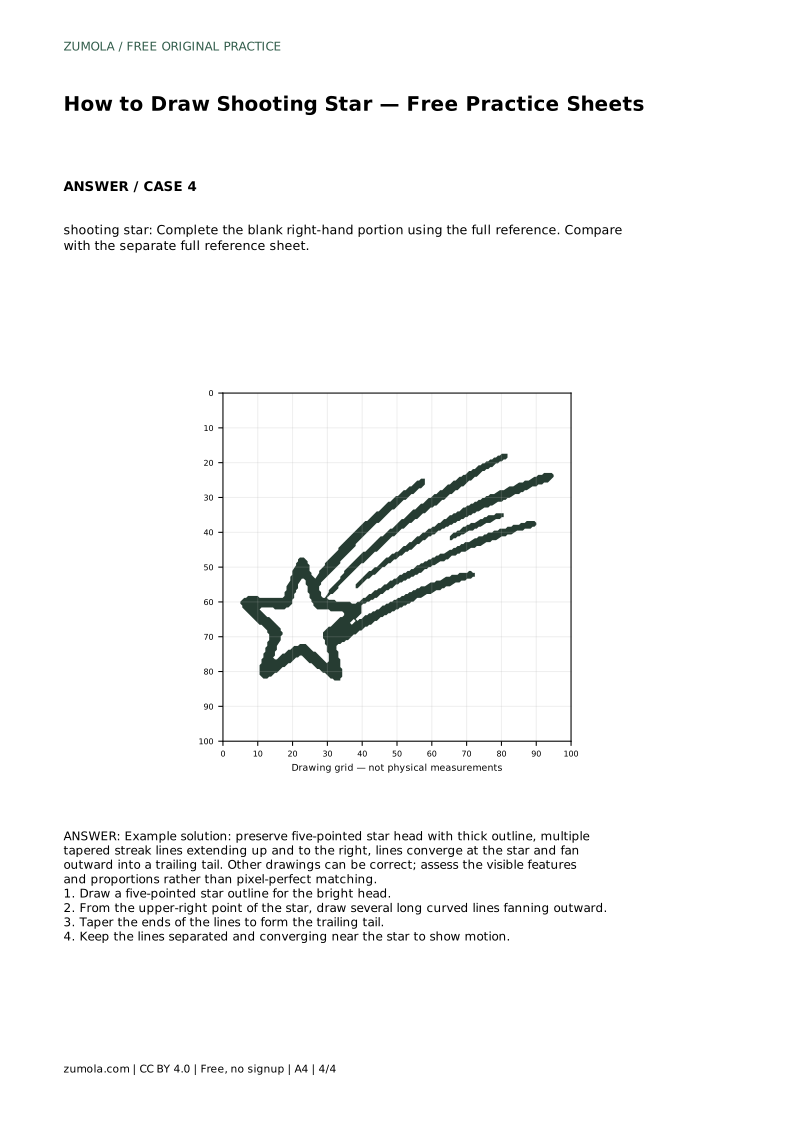
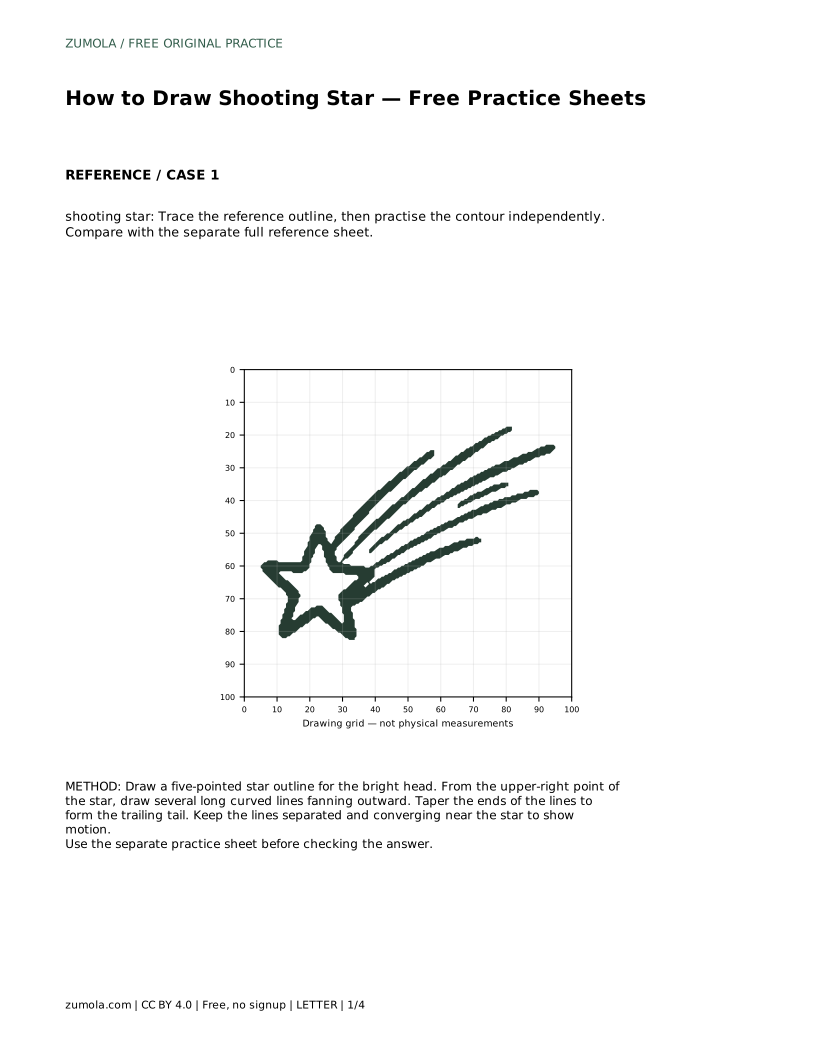
Partial sheet: complete the blank right-hand portion using the full reference. The left side shows the head and the start of the streaks; you finish the fan and the tapered ends.
Because art has multiple valid outcomes, assess visible features rather than exact matching. A strong drawing shows a recognisable five-pointed head, streaks that meet near the star and spread outward, tapered ends, and clear separation between lines. Proportions matter more than perfect curves: the tail should be longer than the head is wide, and the fan should widen steadily.
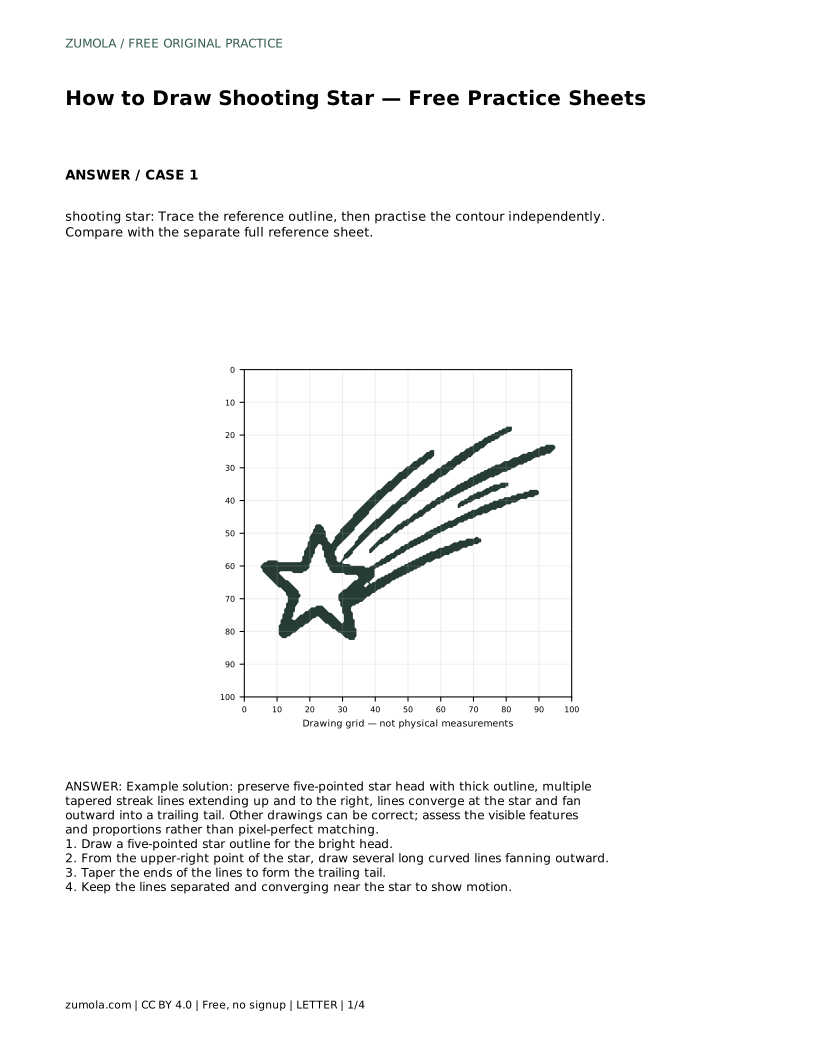
shooting star: Trace the reference outline, then practise the contour independently. Compare with the separate full reference sheet.
Example solution: preserve five-pointed star head with thick outline, multiple tapered streak lines extending up and to the right, lines converge at the star and fan outward into a trailing tail. Other drawings can be correct; assess the visible features and proportions rather than pixel-perfect matching. Draw a five-pointed star outline for the bright head. From the upper-right point of the star, draw several long curved lines fanning outward. Taper the ends of the lines to form the trailing tail. Keep the lines separated and converging near the star to show motion.
Three to five separated lines is enough to read as motion. More lines can work if they stay distinct and taper.
Yes. The reference uses up and to the right, but any consistent direction works if the streaks converge at the head and fan outward.
No. A slightly uneven star is acceptable; the rubric checks five visible points, a closed outline, and a clear tail.
All drawing practice · Free coordinate paper
Original resources · CC BY 4.0 · Free for personal and classroom use with attribution.