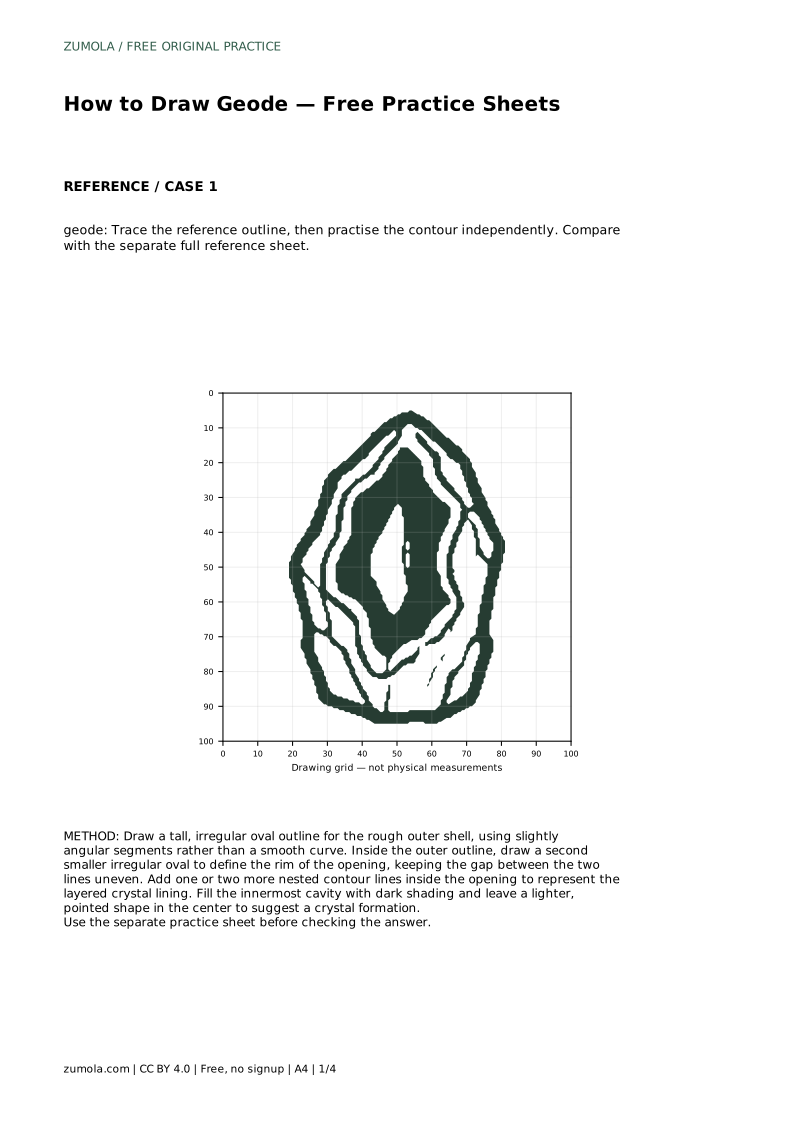
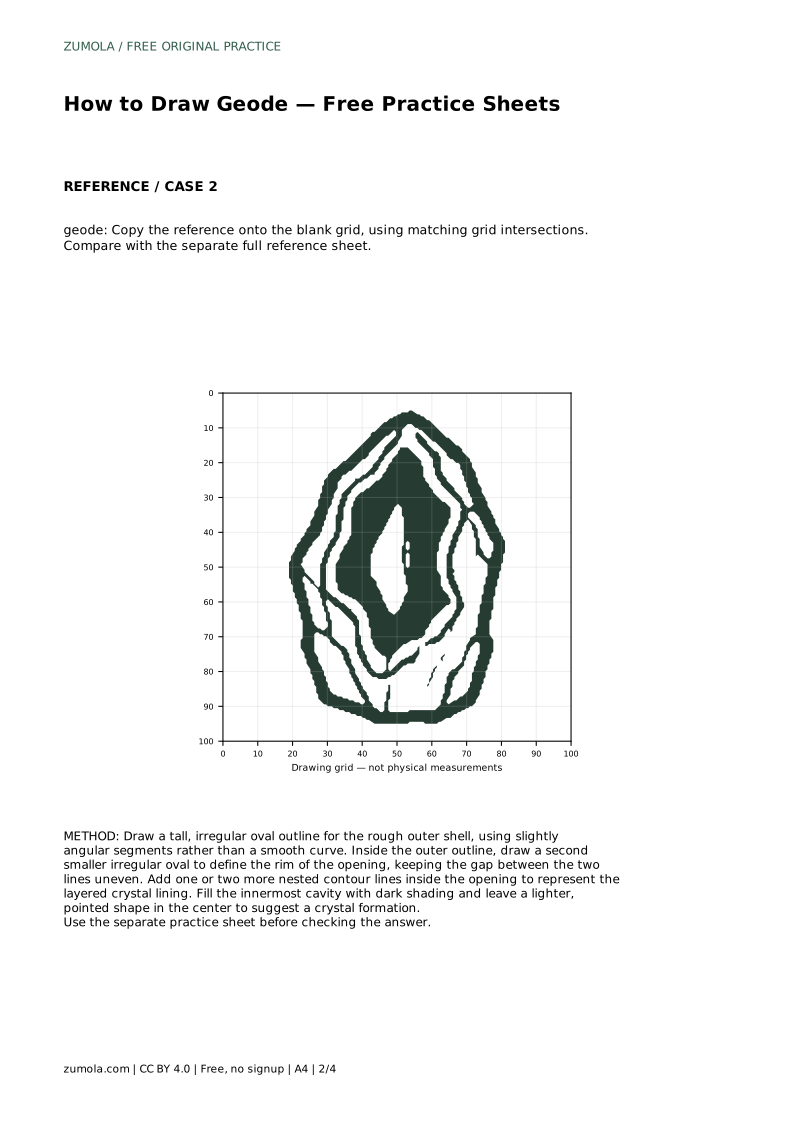
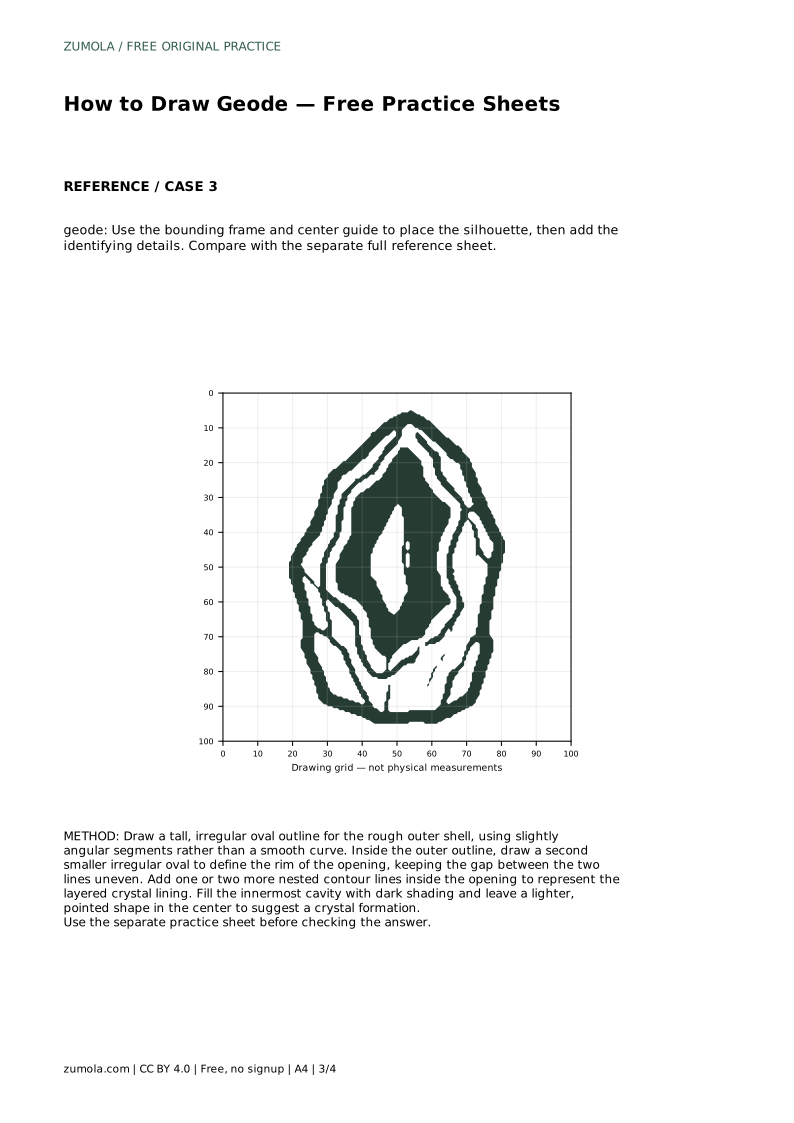
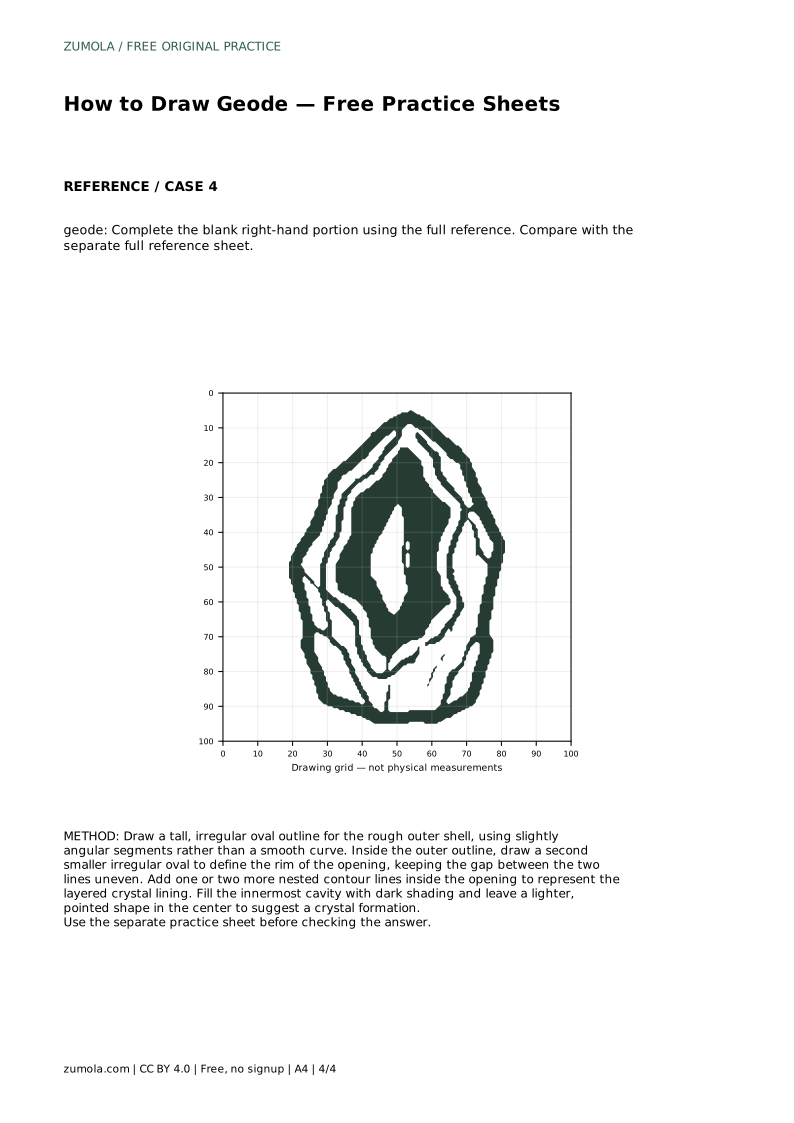
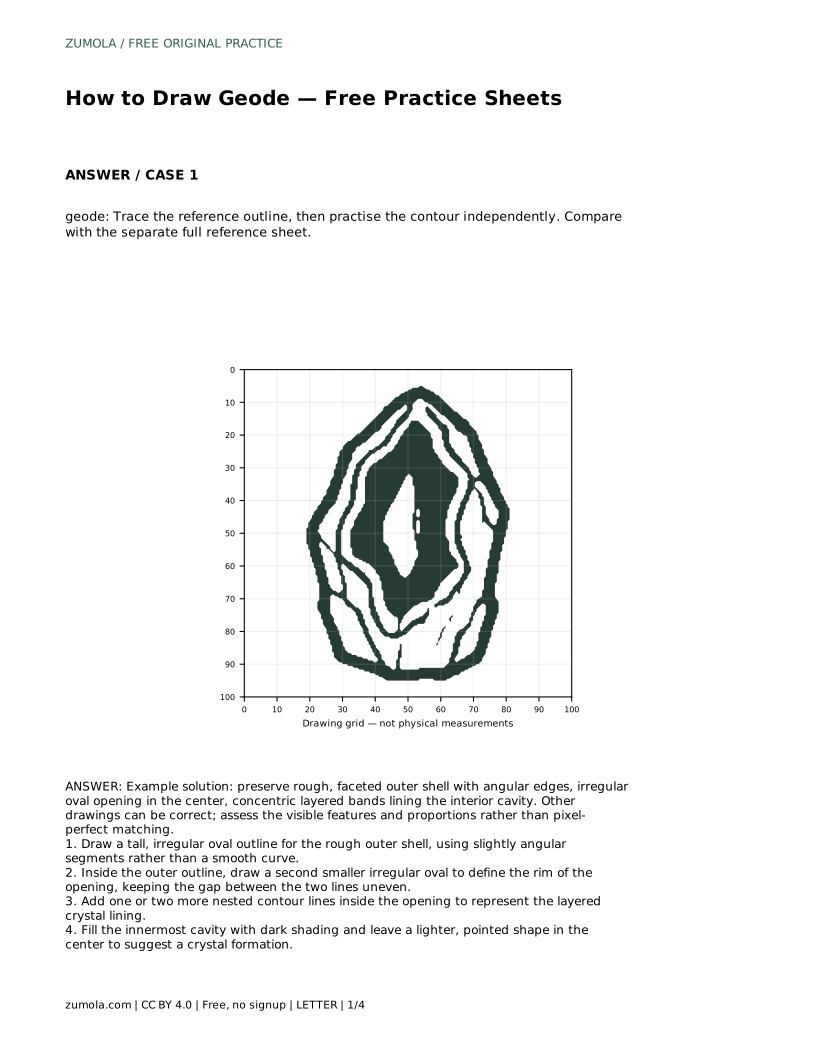
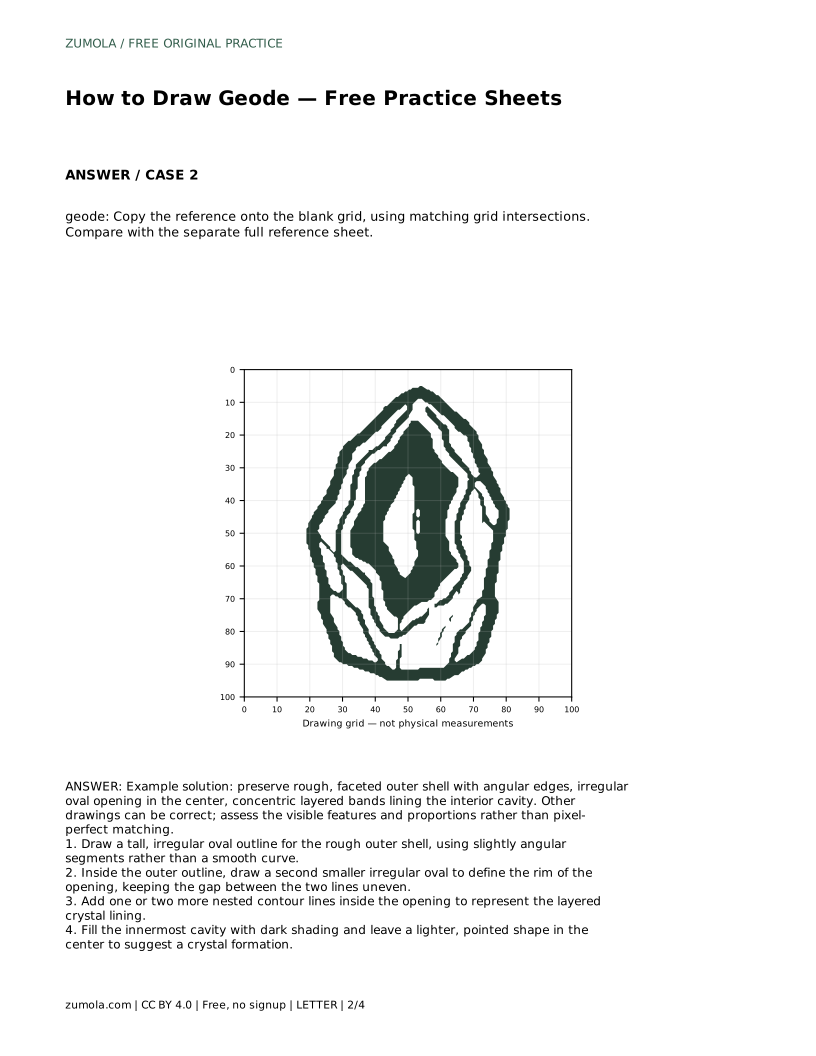
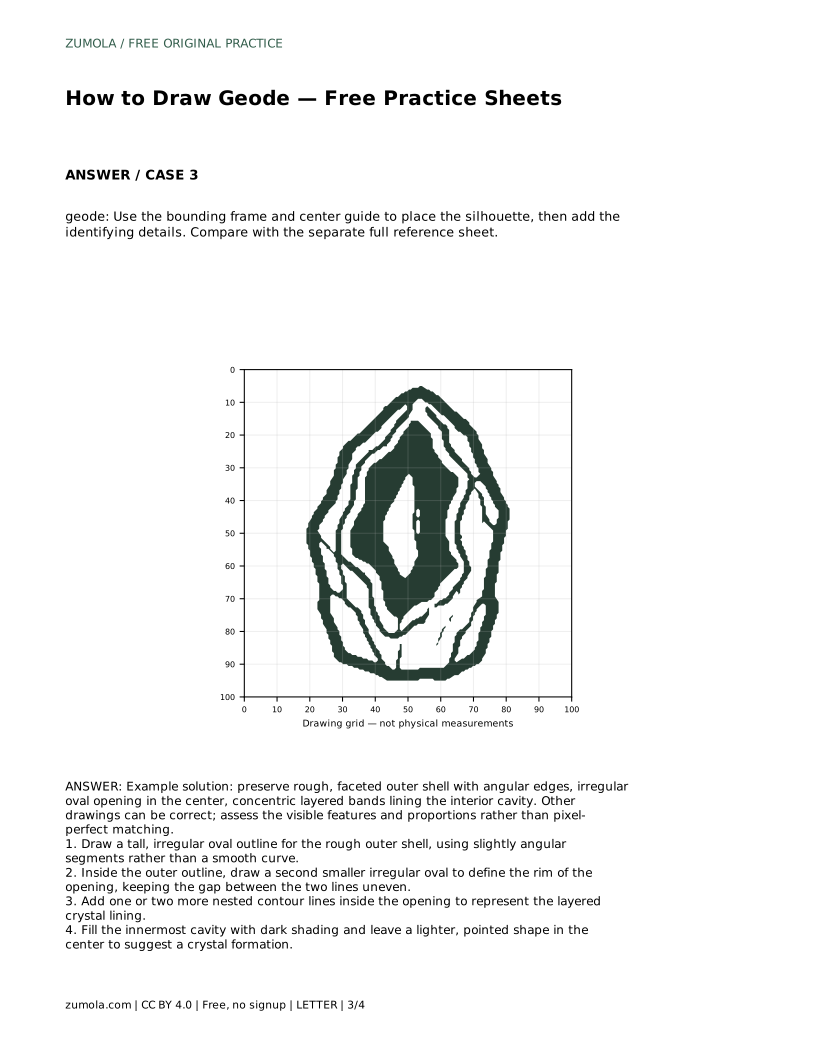
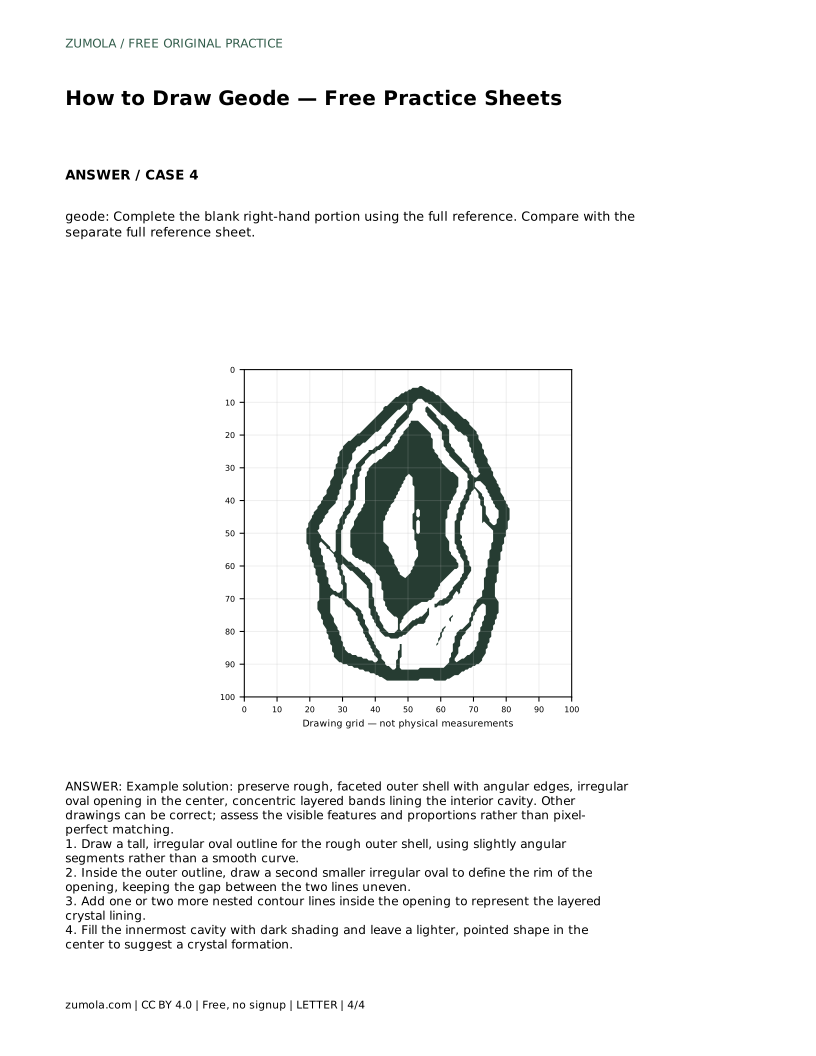
Reference diagrams
LETTER · Download PDF
A4 · Download PDF
Free original resources
Learn to draw a geode by building a rough outer shell, an irregular opening, and layered crystal bands. Free practice sheets support tracing, grids, and guided placement.
Four original cases, with reference diagrams, practice sheets and worked answers. Everything is free; no signup required.
LETTER · Download PDF
A4 · Download PDF
LETTER · Download PDF
A4 · Download PDF
LETTER · Download PDF
A4 · Download PDF
Use A4 or US Letter to match your printer. Use the stated values and conditions to solve each exercise; diagrams are not physical measuring rulers.
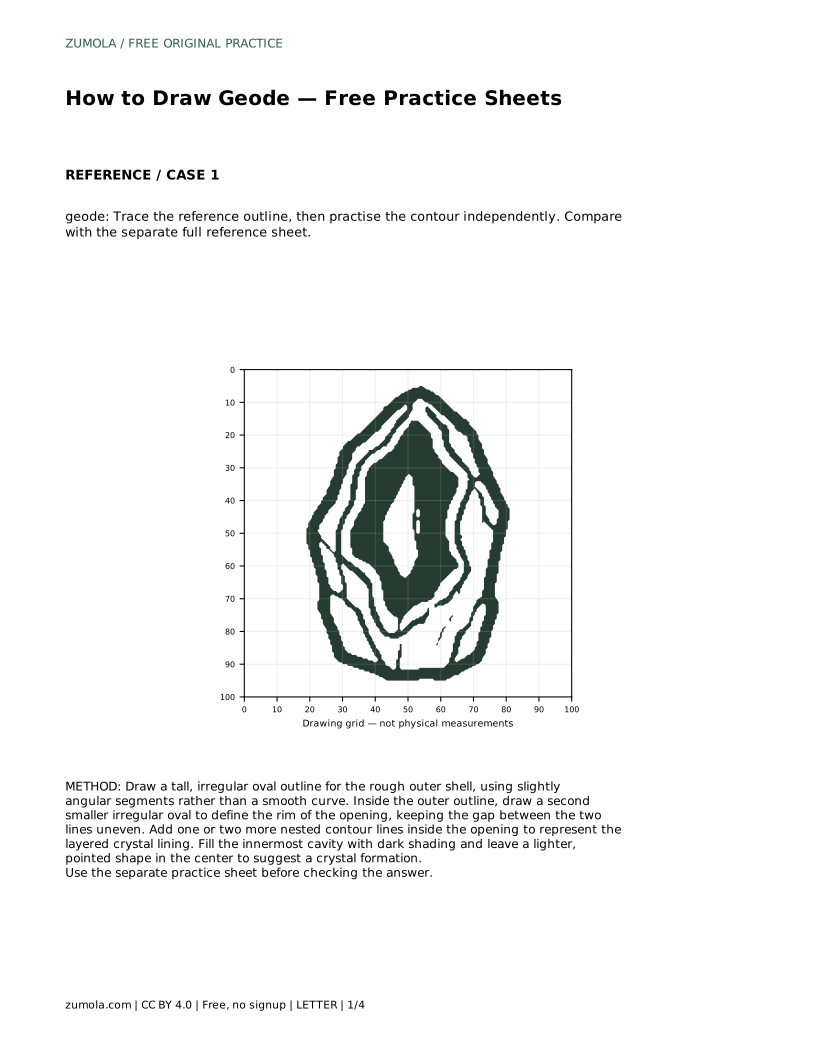
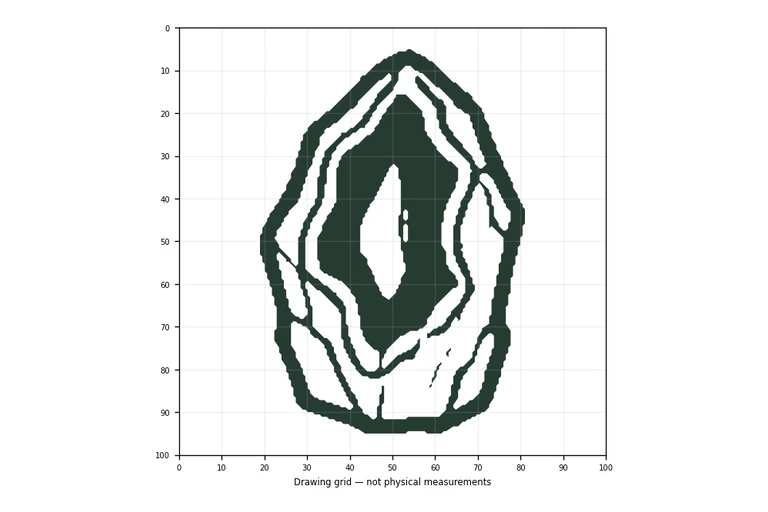
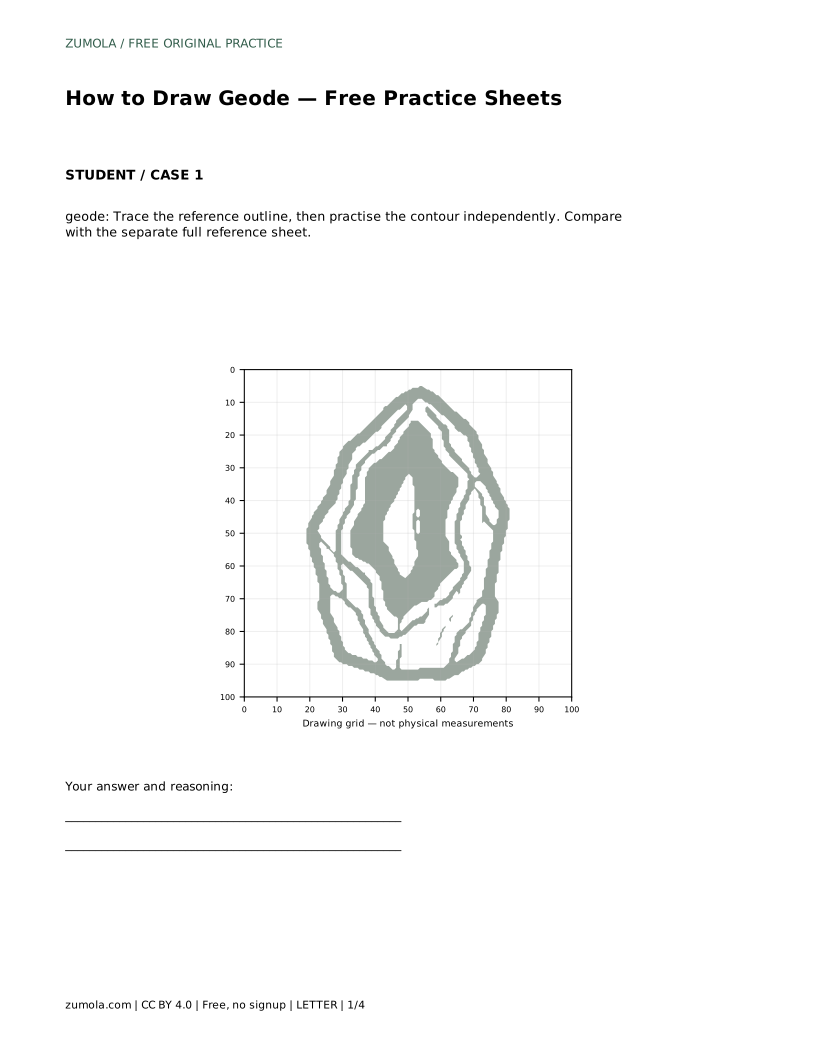
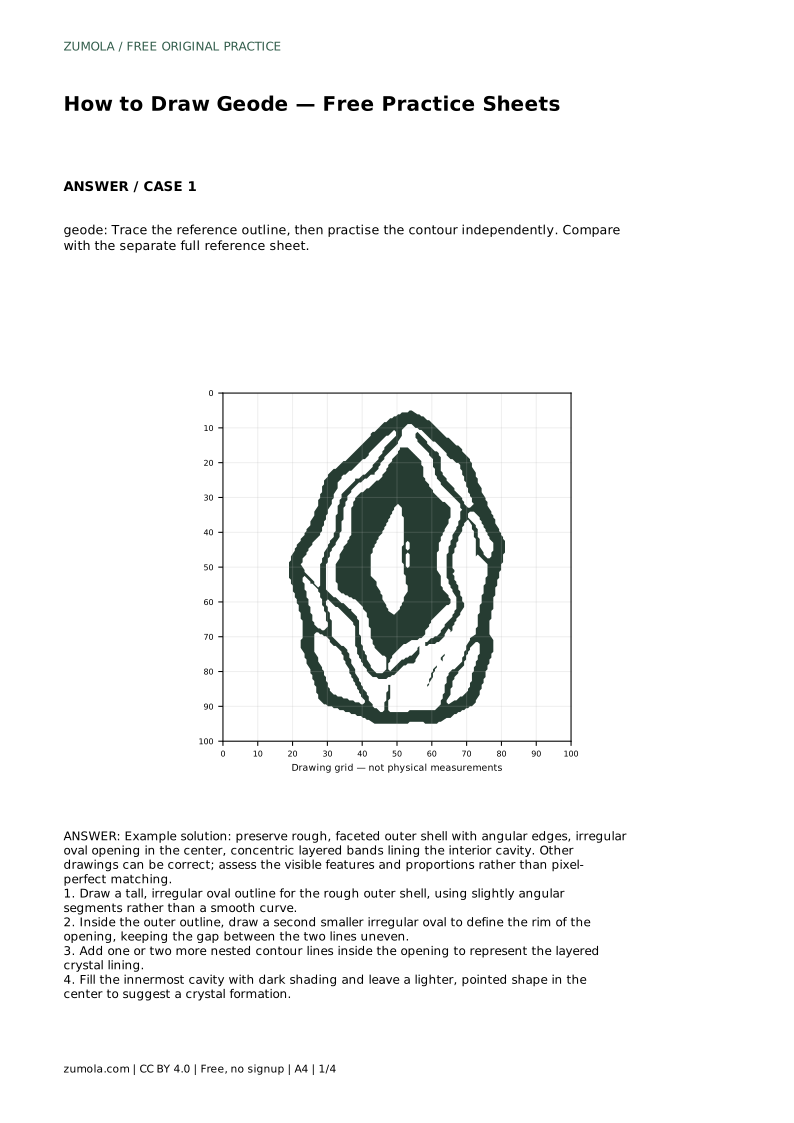
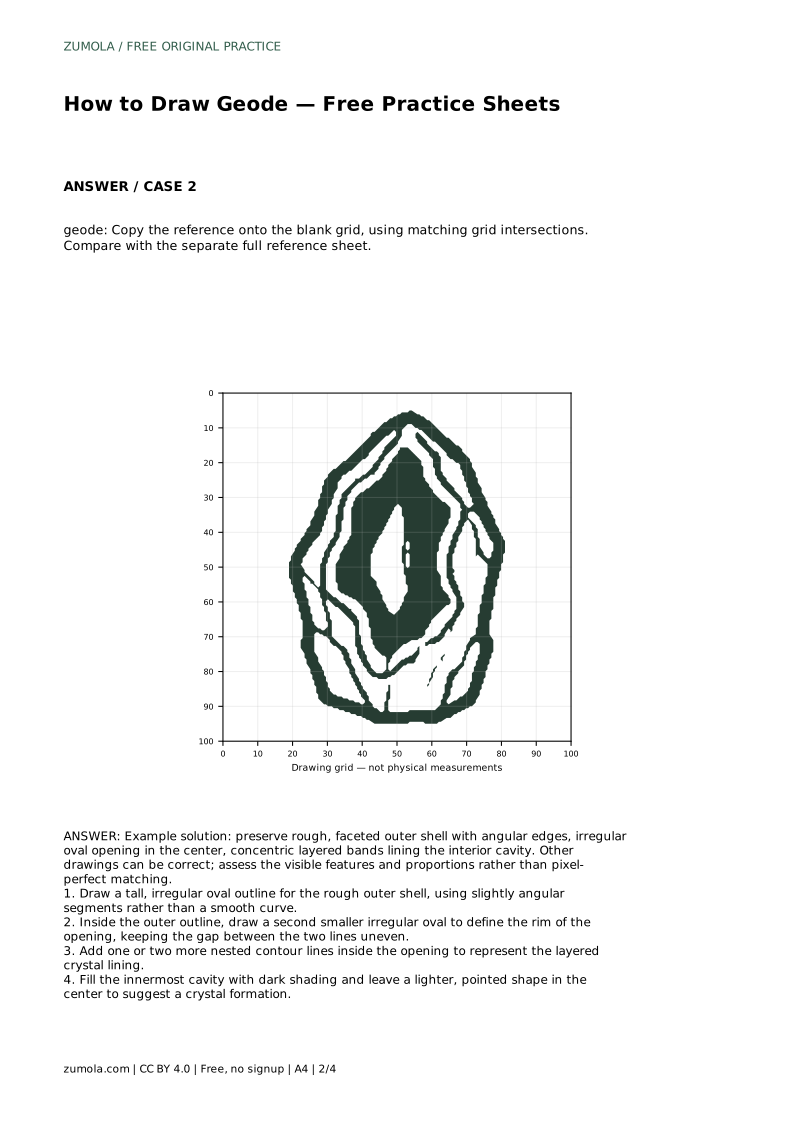
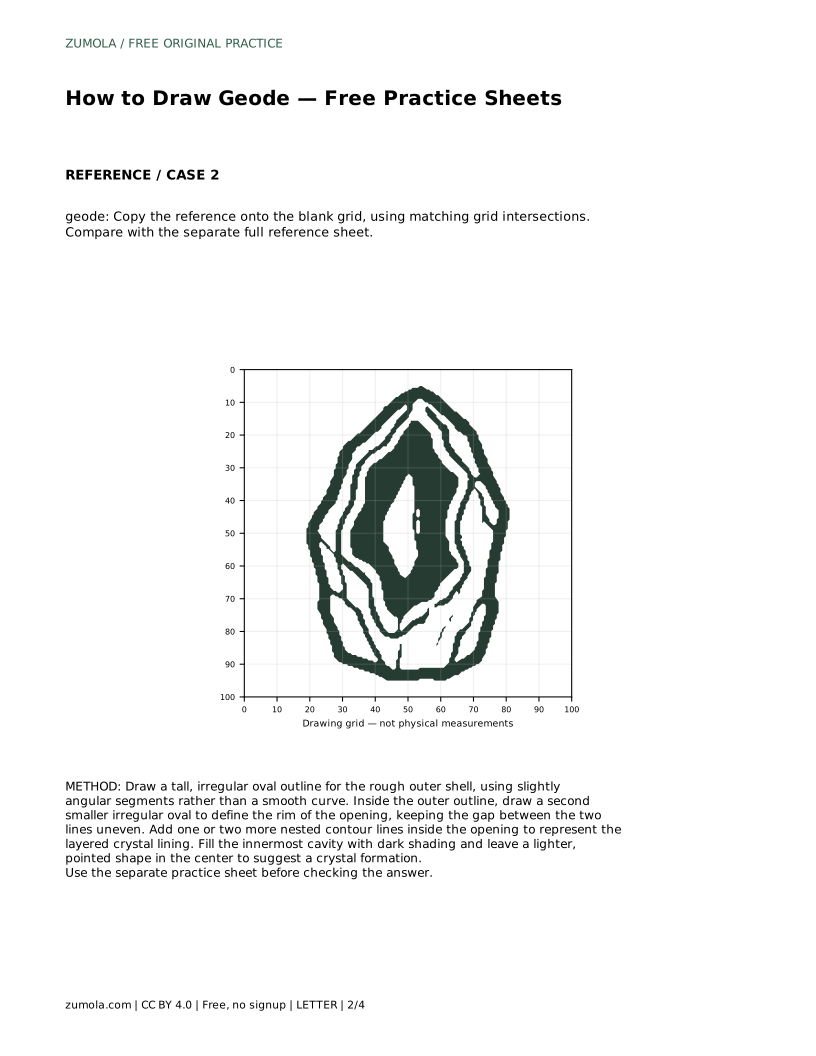
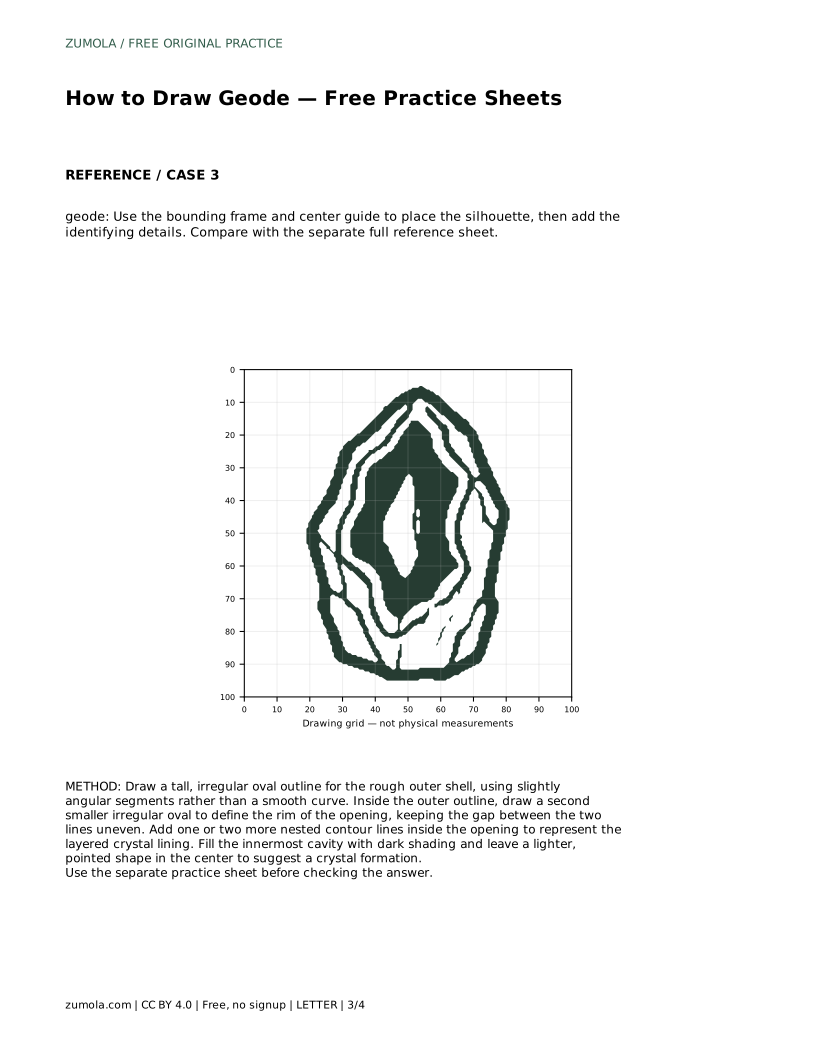
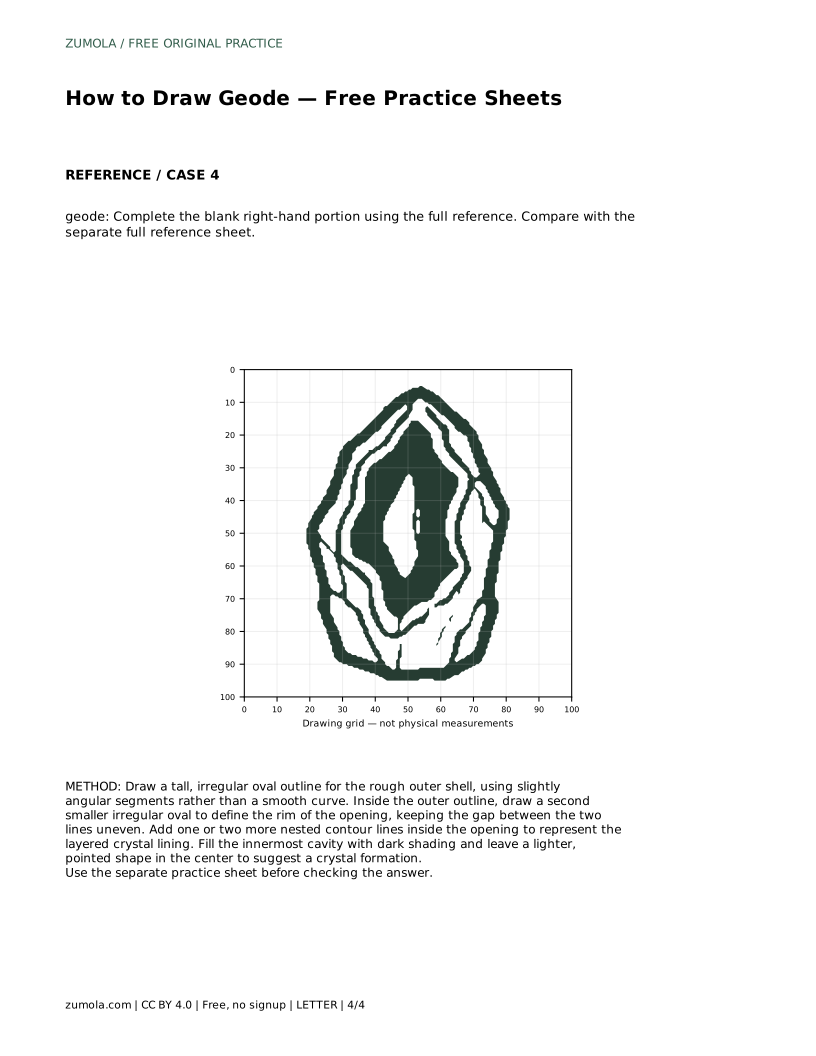
A geode drawing is built from three visible ideas: a rough, faceted outer shell; an irregular opening that reveals a cavity; and concentric bands that line the cavity. This page explains how to construct those features in order, then how to practise them with tracing, grid, and guided-placement sheets. The goal is not a pixel-perfect copy. Different drawings can be correct when they preserve the rough shell, the off-centre or irregular opening, and the layered interior. Use the rubric to assess visible features and proportions.
Start with the outer shell. A geode is not a perfect circle or a smooth egg. Draw a tall, irregular oval using short, slightly angular segments. Keep the left and right sides uneven, and let some segments meet at shallow points. This gives the shell a rough, faceted edge without turning it into a spiky shape.
Next, define the opening. Inside the outer outline, draw a second smaller irregular oval. The gap between the two lines is the thickness of the shell rim, so keep that gap uneven. The opening does not need to sit exactly in the centre; a slight offset can look natural. Avoid making the opening a perfect circle, because the rim should feel broken and irregular.
Then add the layered lining. Draw one or two more nested contour lines inside the opening. These lines represent the concentric bands that line the cavity. They should follow the shape of the opening loosely, not exactly. Leave small gaps or slight wobbles where the bands meet the rim. Finally, shade the innermost cavity darkly and leave a lighter, pointed shape in the centre to suggest a crystal formation. The point can be a simple angular shape rather than a detailed crystal cluster.
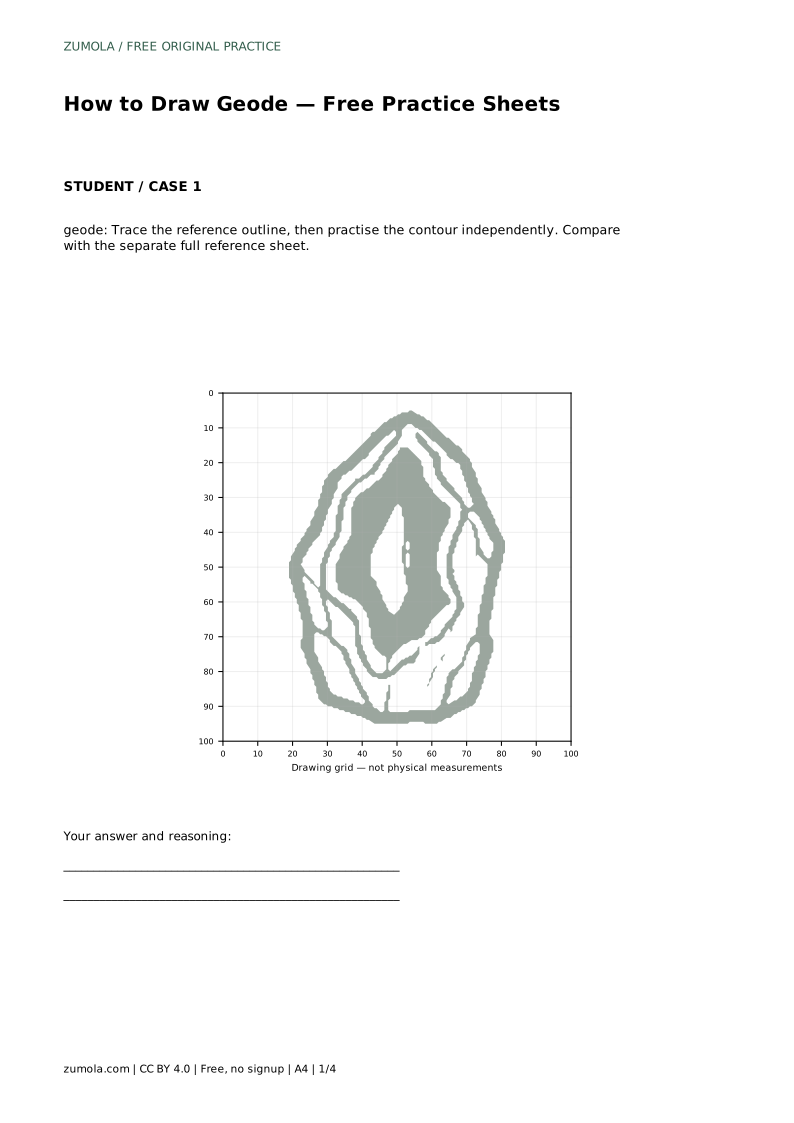
Tracing helps you feel the order of the lines: outer shell, opening, nested bands, then the central crystal shape. Trace the reference outline first, then cover it and draw the contour independently on blank paper. Compare your independent drawing with the separate full reference sheet, not with your traced copy.
Grid copying trains proportion. Copy the reference onto the blank grid by matching where each outline crosses grid intersections. Work one square at a time, but check the whole shape before adding details. If the outer shell becomes too round, correct the angular segments before moving to the opening.
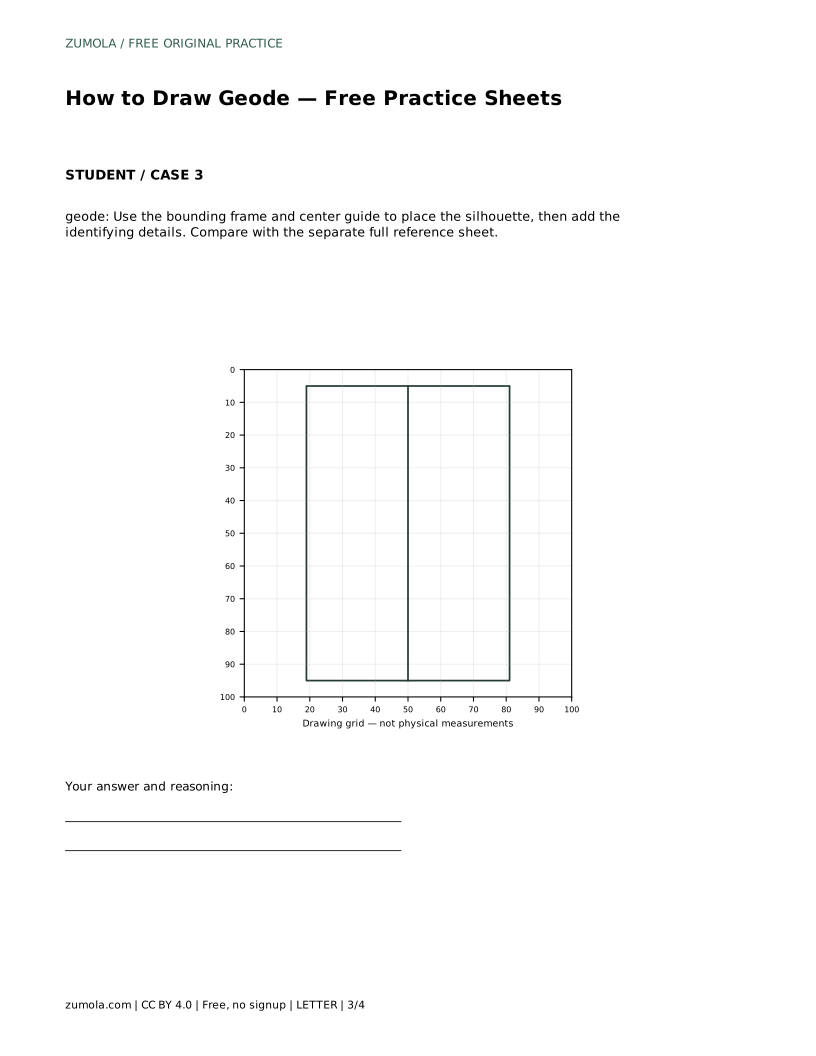
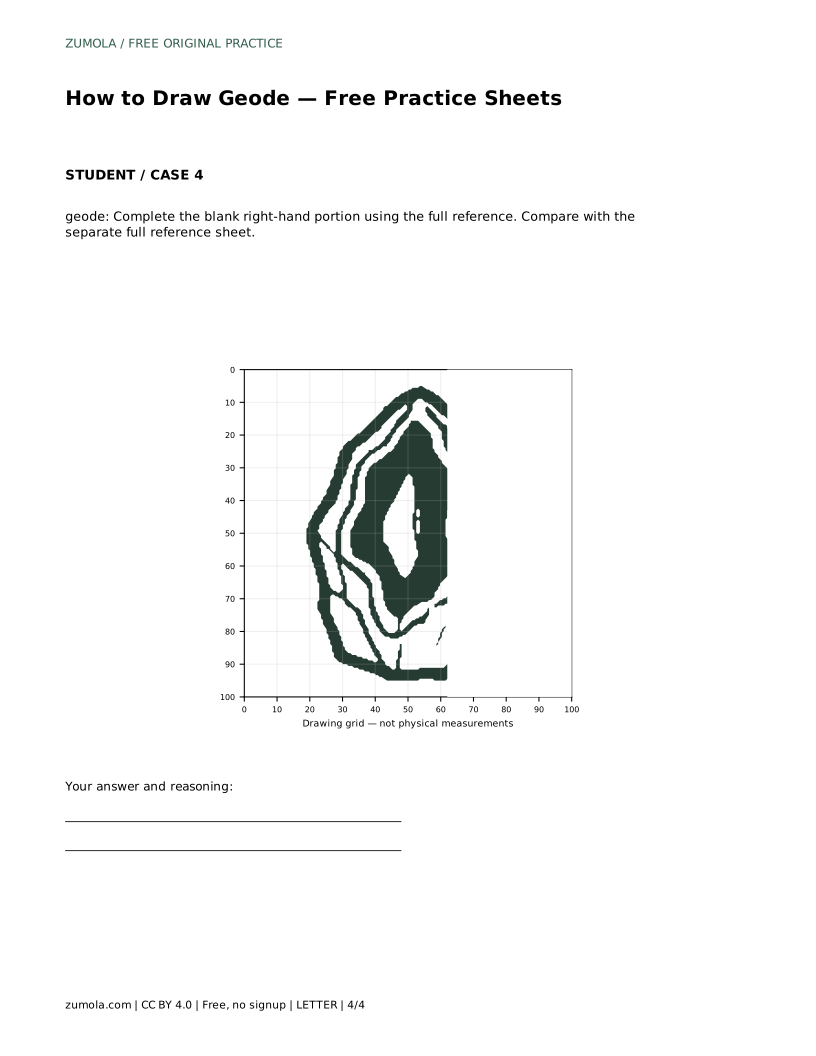
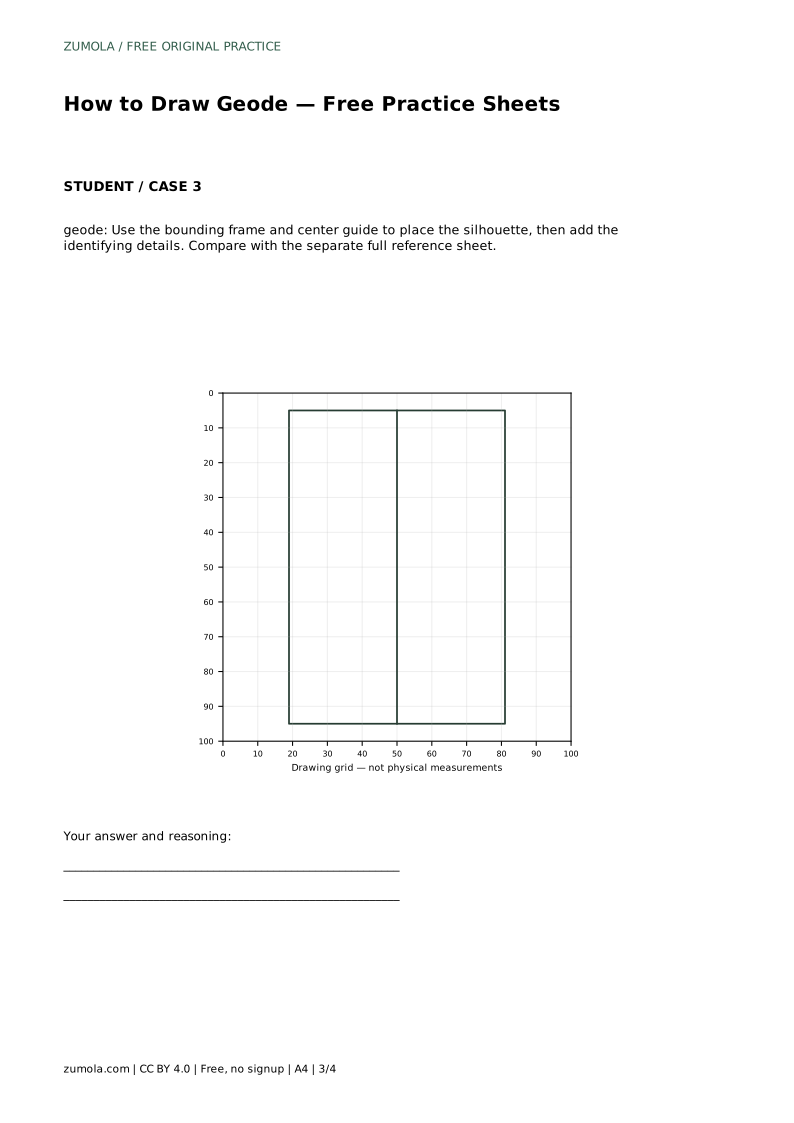
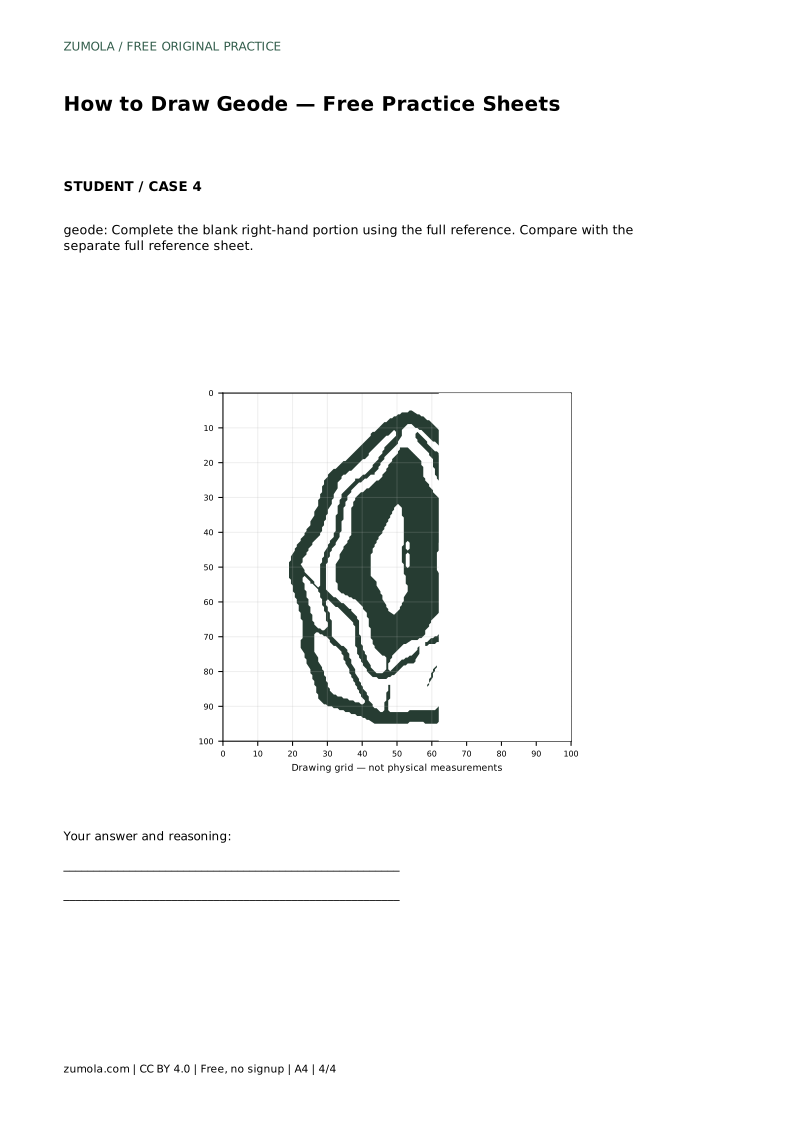
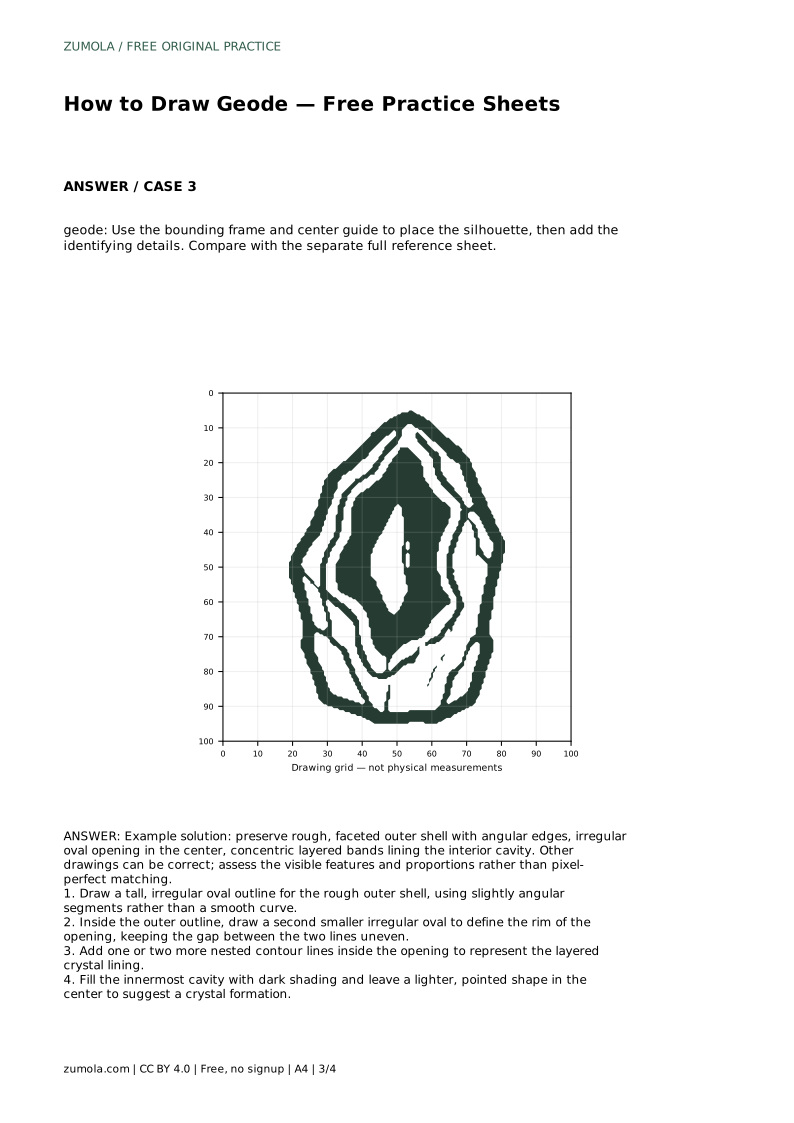
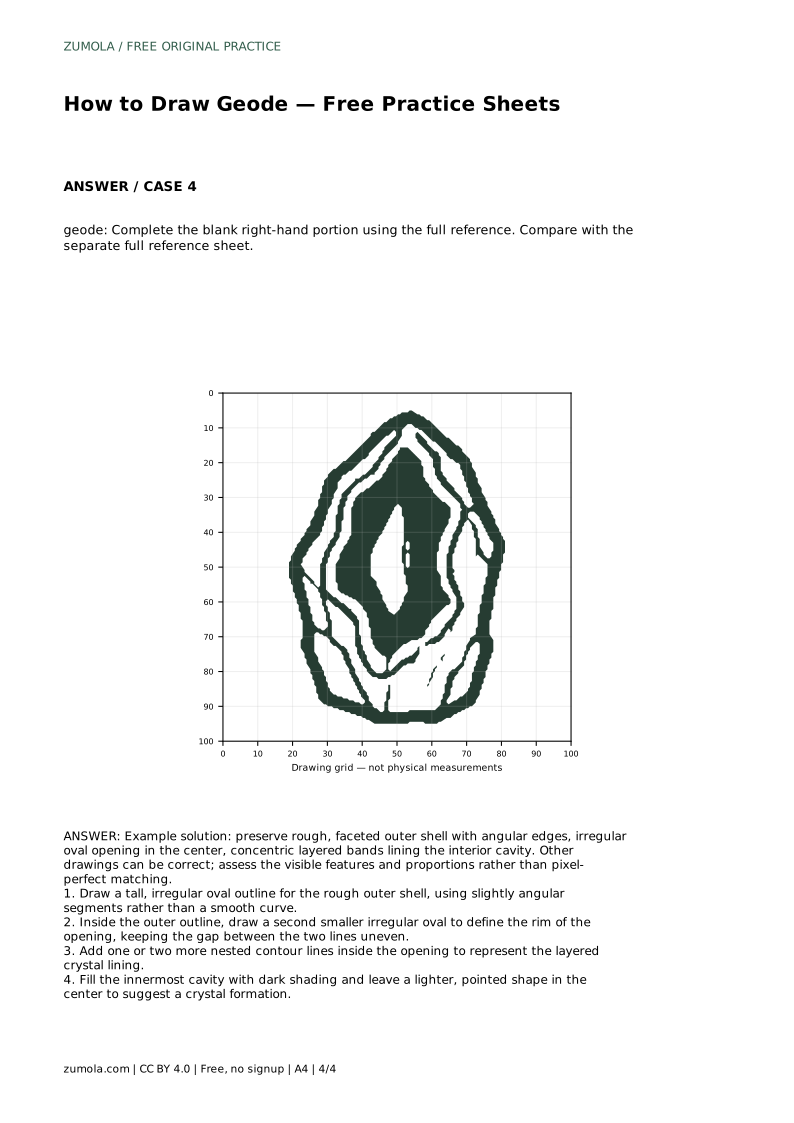
The bounding frame and centre guide help you place the silhouette before adding identifying details. Use the frame to set the overall height and width, and the centre guide to judge whether the opening sits high, low, or slightly to one side. The partial-reference sheet asks you to complete the blank right-hand portion using the full reference. In that task, match the height of the shell and the position of the opening before drawing the nested bands.
A useful geode drawing shows a rough outer shell with angular edges, an irregular oval opening, and concentric layered bands inside the cavity. Check that the opening is smaller than the outer shell and that the rim thickness varies. The nested bands should sit inside the opening, not outside it. The darkest shading belongs in the innermost cavity, with a lighter pointed shape left visible.
Proportion matters more than exact line placement. If the shell is too wide, the geode may look like a rounded stone rather than a tall nodule. If the opening is too large, the shell rim disappears. If the nested bands are evenly spaced and perfectly circular, the drawing loses the irregular, layered look. Revise one feature at a time and compare again with the full reference sheet.
geode: Trace the reference outline, then practise the contour independently. Compare with the separate full reference sheet.
Example solution: preserve rough, faceted outer shell with angular edges, irregular oval opening in the center, concentric layered bands lining the interior cavity. Other drawings can be correct; assess the visible features and proportions rather than pixel-perfect matching. Draw a tall, irregular oval outline for the rough outer shell, using slightly angular segments rather than a smooth curve. Inside the outer outline, draw a second smaller irregular oval to define the rim of the opening, keeping the gap between the two lines uneven. Add one or two more nested contour lines inside the opening to represent the layered crystal lining. Fill the innermost cavity with dark shading and leave a lighter, pointed shape in the center to suggest a crystal formation.
No. Other drawings can be correct. Assess the visible features and proportions rather than pixel-perfect matching. The rough shell, irregular opening, and layered interior should be present.
Put the darkest shading in the innermost cavity. Leave a lighter, pointed shape in the centre to suggest a crystal formation.
Yes. The grid sheet is a separate task. Match where the outlines cross grid intersections, then check the whole shape against the full reference sheet before adding details.
All drawing practice · Free coordinate paper
Original resources · CC BY 4.0 · Free for personal and classroom use with attribution.