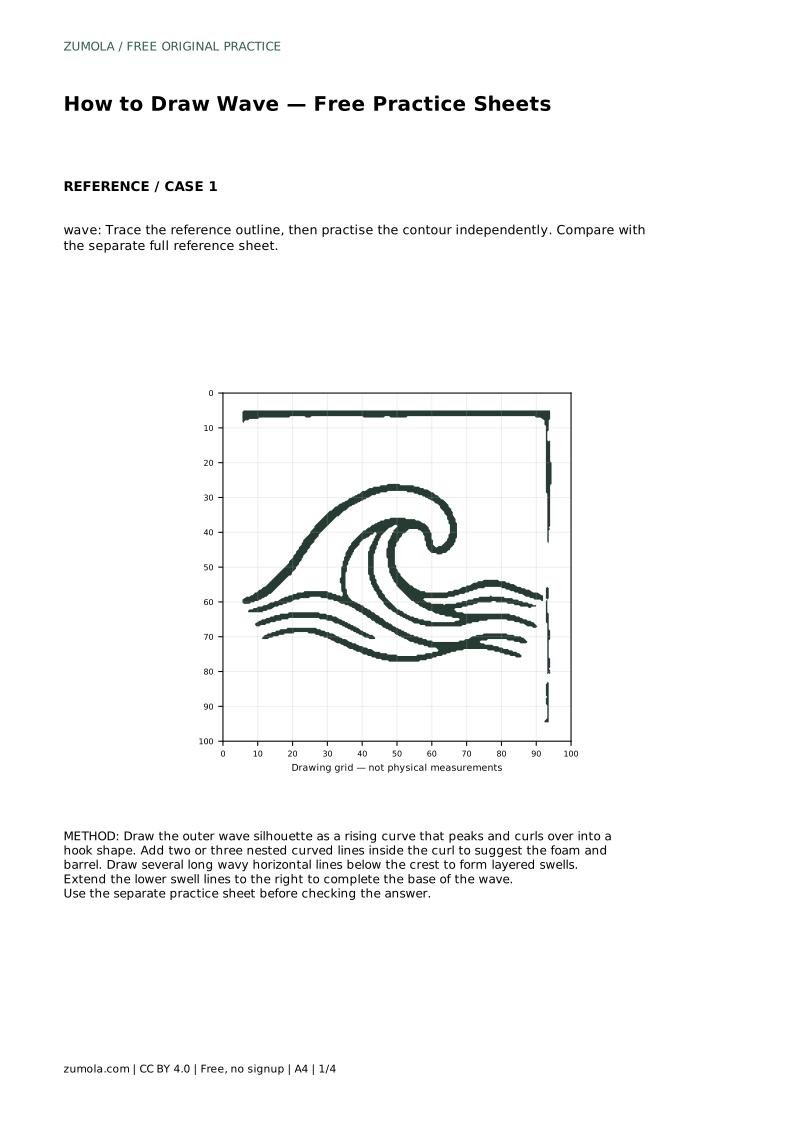
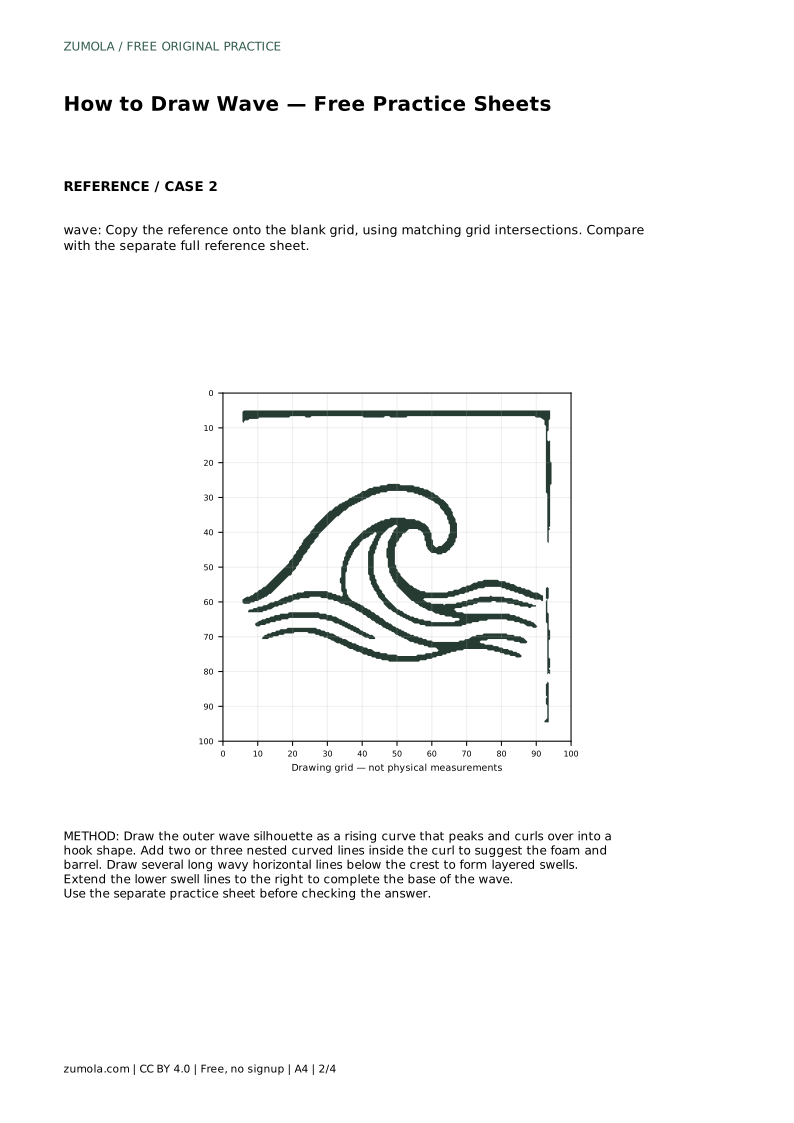
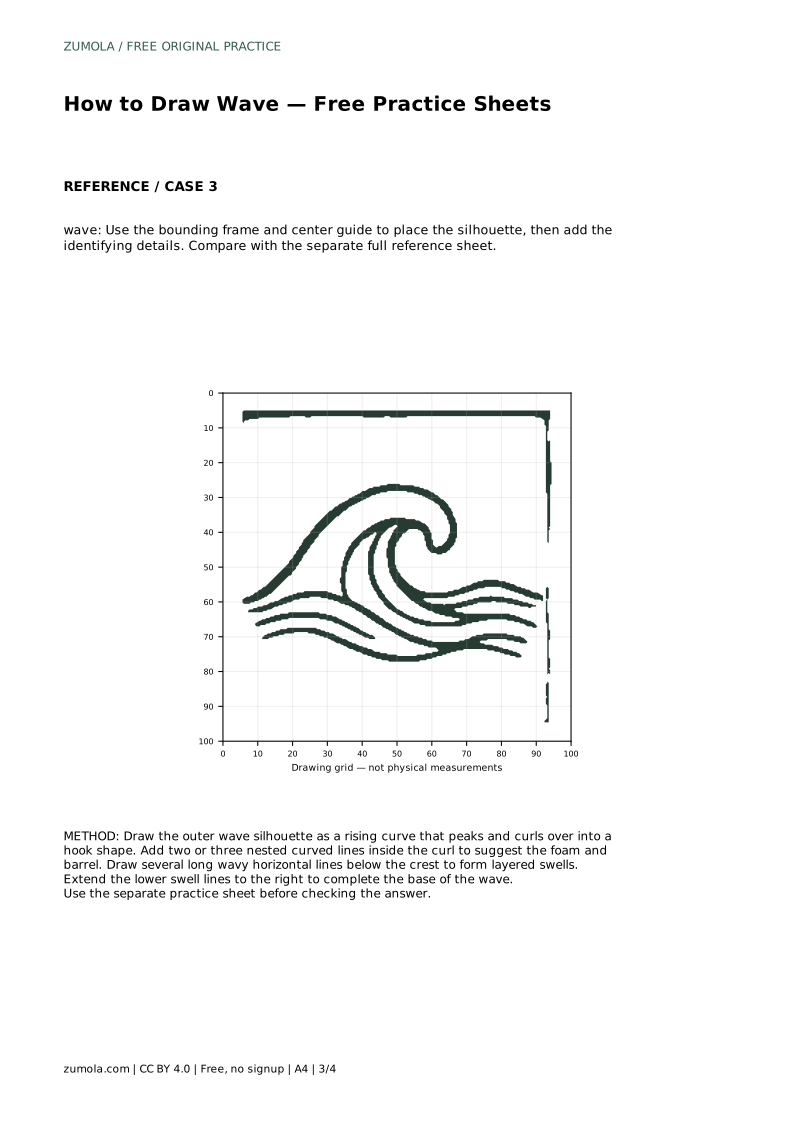
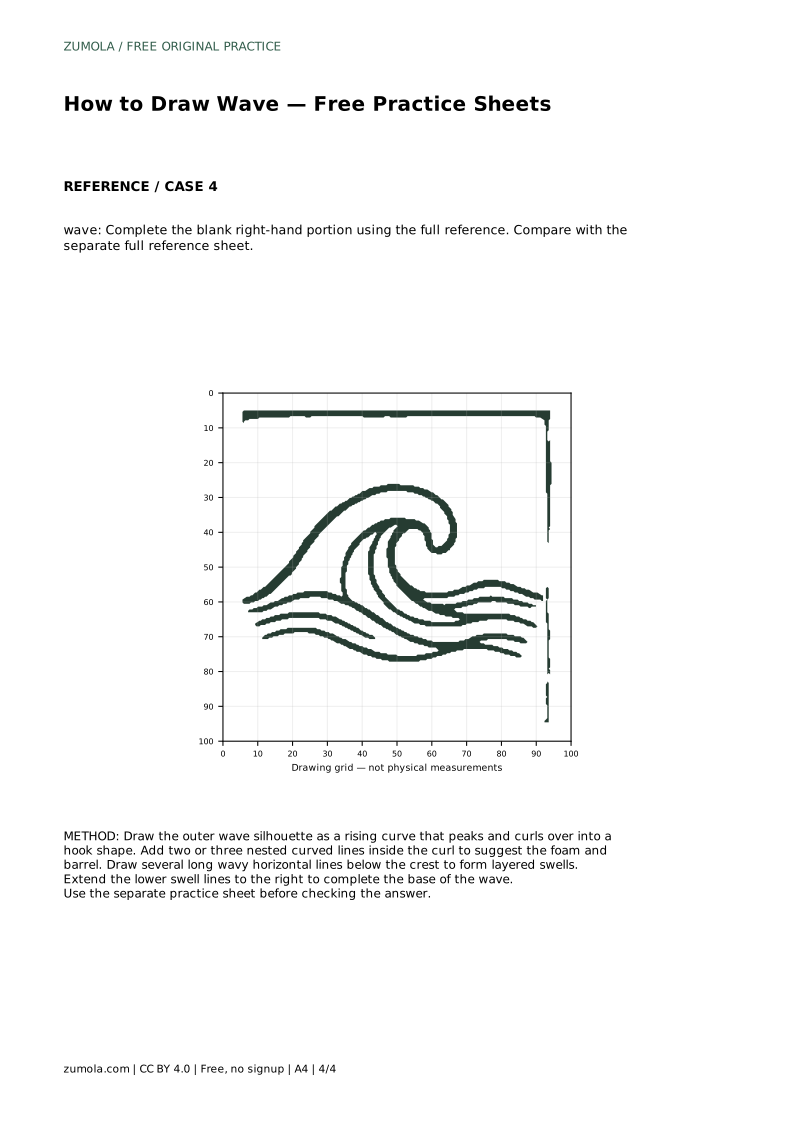
Reference diagrams
LETTER · Download PDF
A4 · Download PDF
Free original resources
Learn to draw a curling wave by tracing its outline, then working independently. Practice sheets build contour, foam lines, and layered swells step by step.
Four original cases, with reference diagrams, practice sheets and worked answers. Everything is free; no signup required.
LETTER · Download PDF
A4 · Download PDF
LETTER · Download PDF
A4 · Download PDF
LETTER · Download PDF
A4 · Download PDF
Use A4 or US Letter to match your printer. Use the stated values and conditions to solve each exercise; diagrams are not physical measuring rulers.
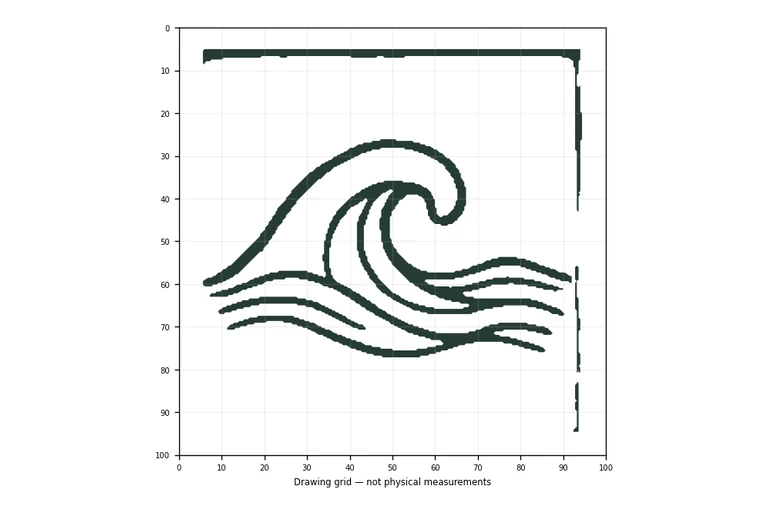
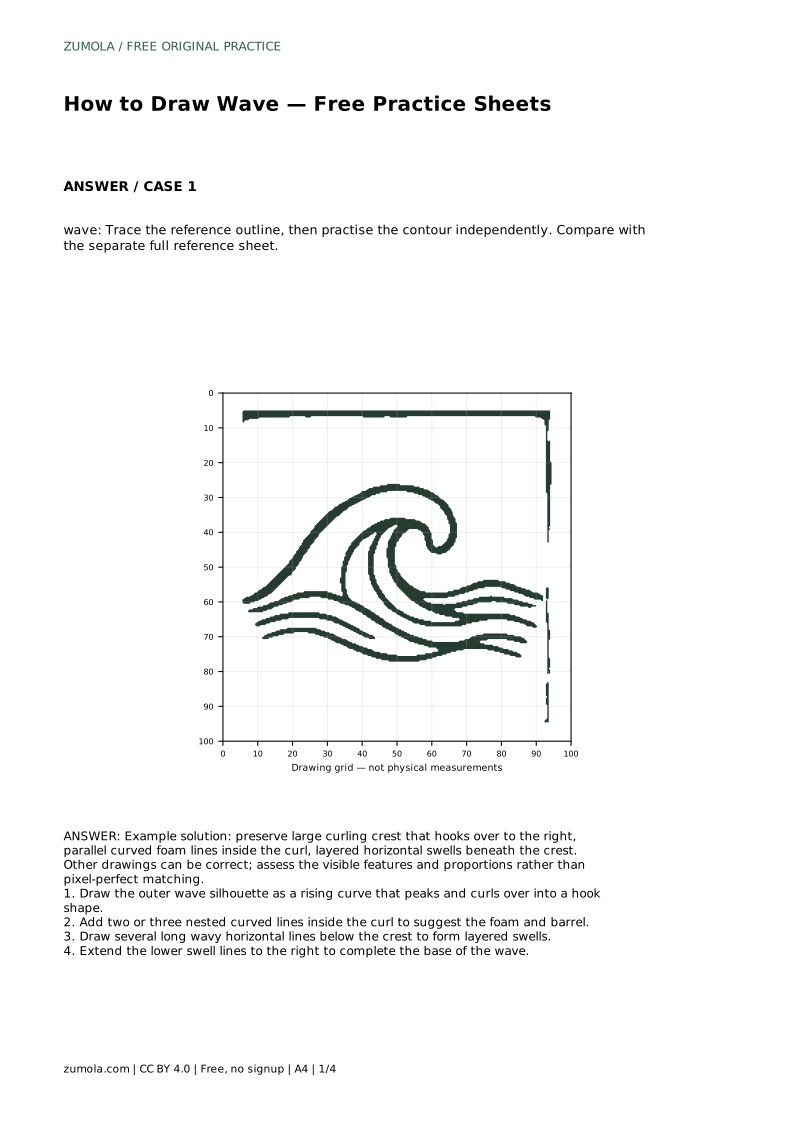
Drawing a wave is less about memorizing a shape and more about noticing how a crest rises, curls, and folds into foam. This guide walks you through a reliable sequence: establish the outer silhouette, add nested curves inside the curl, then layer horizontal swells beneath. You will also find practical ways to use tracing, grid, and partial-reference sheets so you can move from copying to drawing independently. Each drawing can vary; judge visible features and proportions rather than exact matching.
Begin by drawing the wave's overall shape as one continuous outline. Picture a rising curve that climbs from the left, reaches a peak, and then hooks over to the right. That hook is the wave's most recognizable feature, so give it a clear curl rather than a rounded bump. Keep the line light so you can adjust the peak height and the amount of overhang before committing.
The silhouette should feel top-heavy: the crest leans forward while the base stays broad and stable. If the hook points left or the peak sits too low, the wave will read as a hill rather than a breaking wave. Check that the outer line returns downward on the right side to suggest the falling lip.
Inside the hook, draw two or three nested curved lines that follow the outer contour. These lines suggest the barrel and the foam being pulled over the lip. Space them evenly and keep them parallel to the outer edge; if they cross or fan out, the curl will look tangled rather than hollow.
The innermost line can stop short of the lip to leave a small gap, which helps the curl read as open space. Avoid filling the interior with scribbles. A few clean, curved lines communicate more than many busy marks.
Below the curling crest, draw several long wavy horizontal lines to form layered swells. These lines should run roughly left to right, with gentle rises and dips rather than sharp zigzags. Stack two or three layers, spacing them so the lower ones sit closer together; this suggests the water flattening as it moves away from the break.
Extend the lower swell lines to the right to complete the base of the wave. The swells should not touch the foam lines inside the curl; leave a clear band of space between the barrel and the water below. That separation keeps the crest distinct from the base.
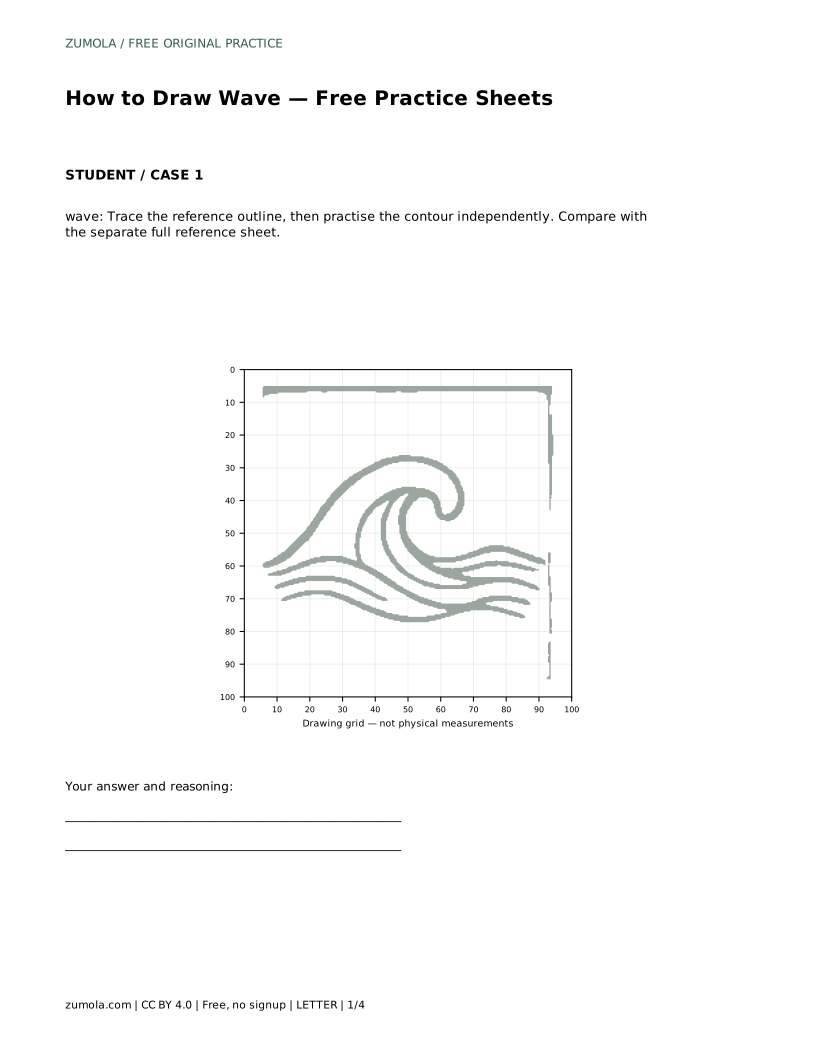
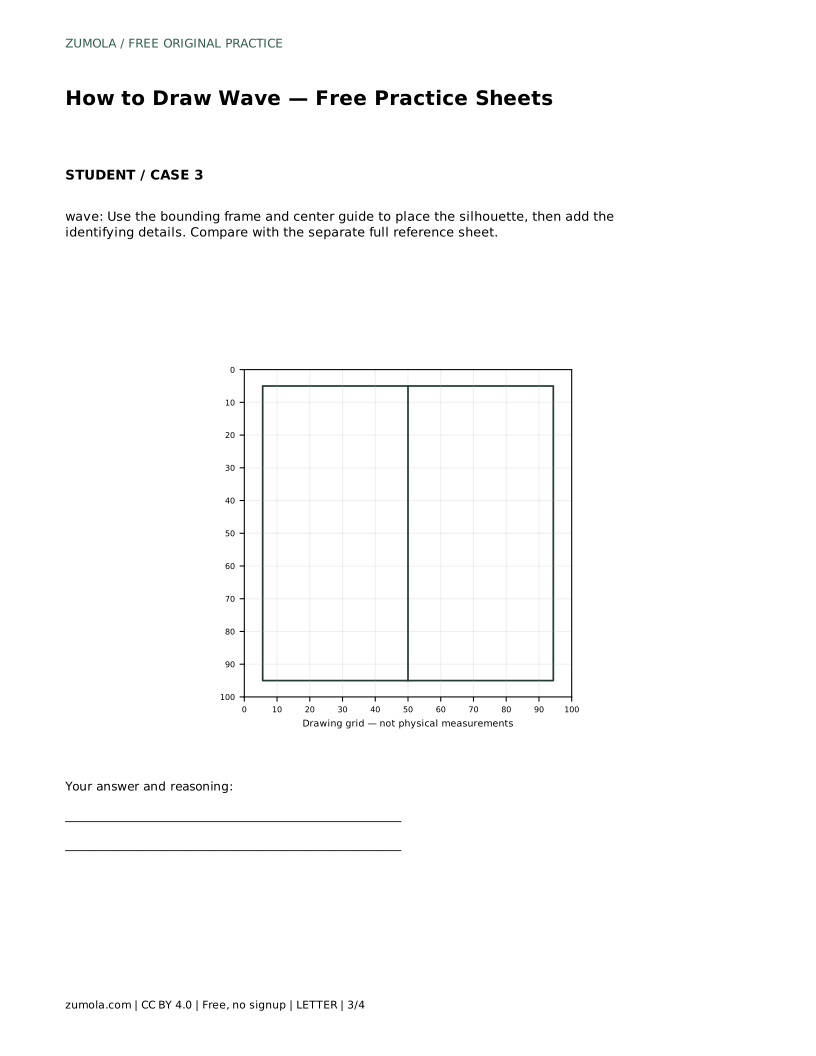
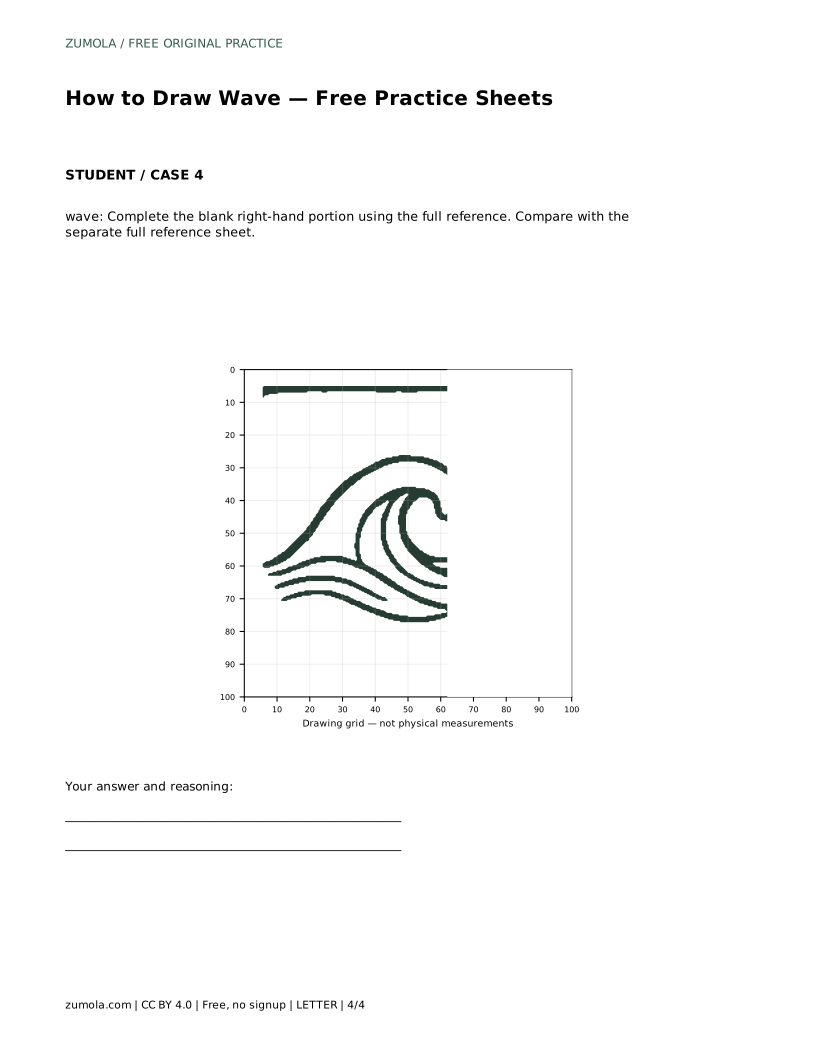
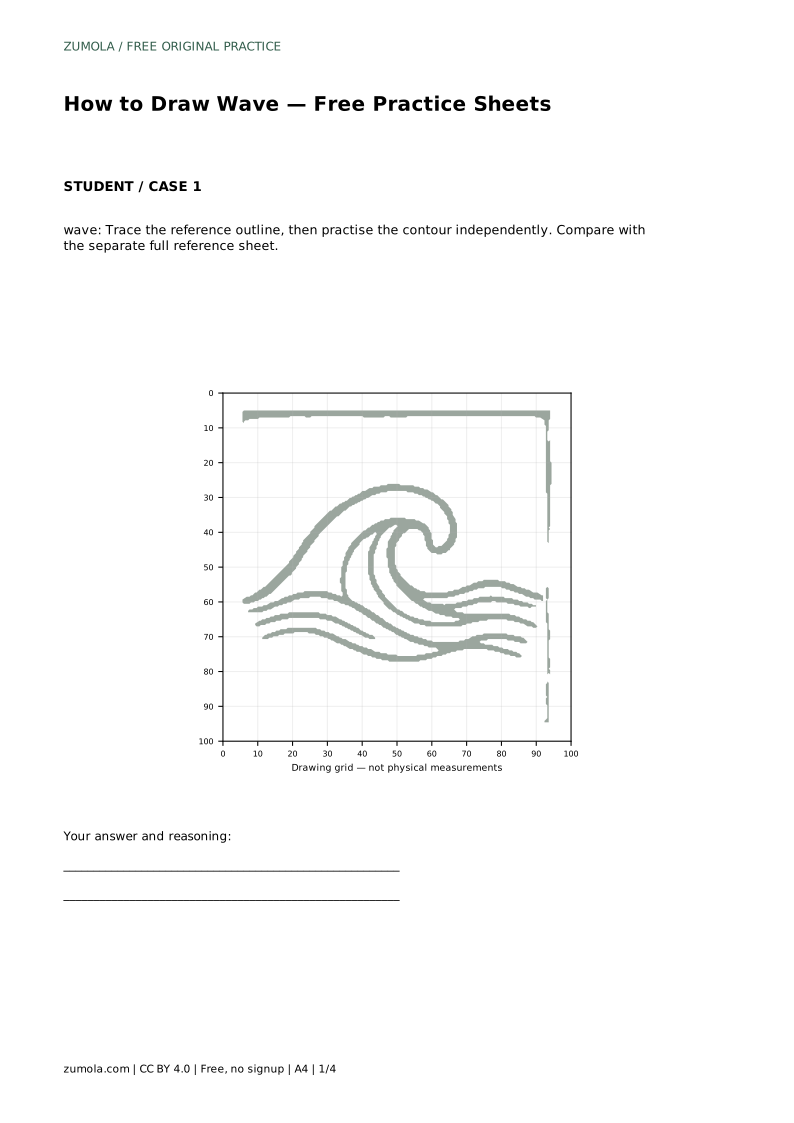
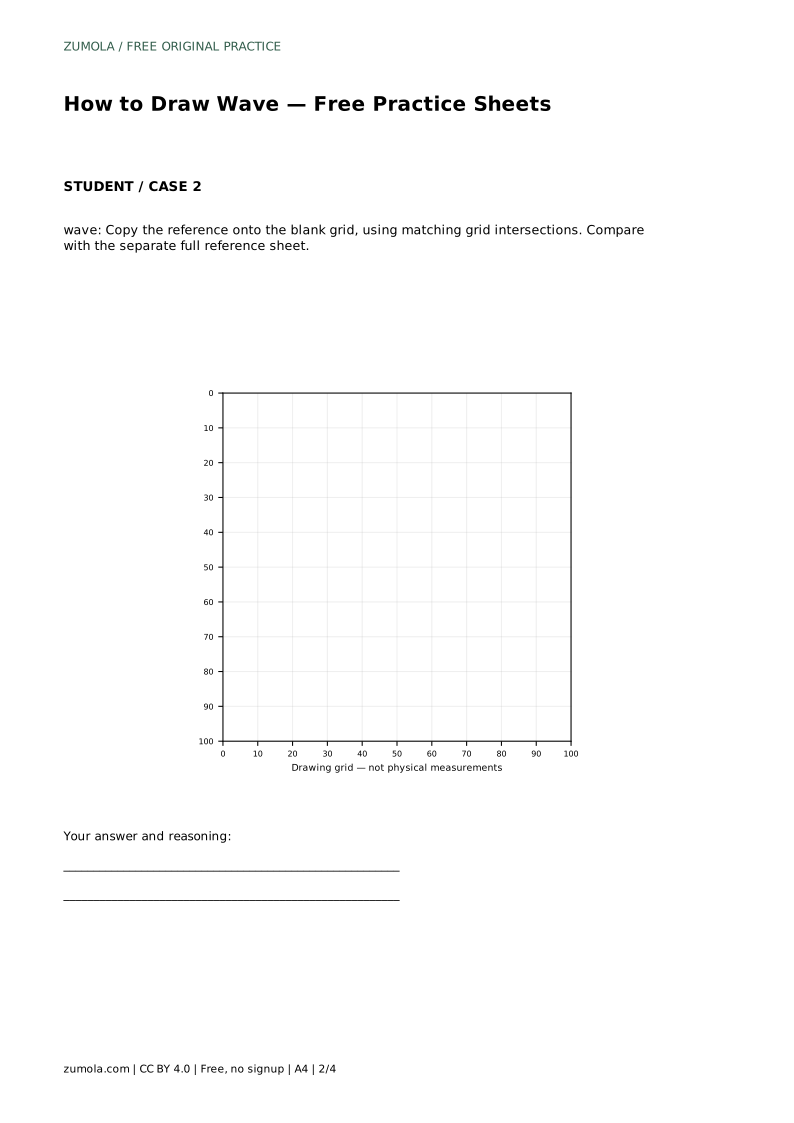
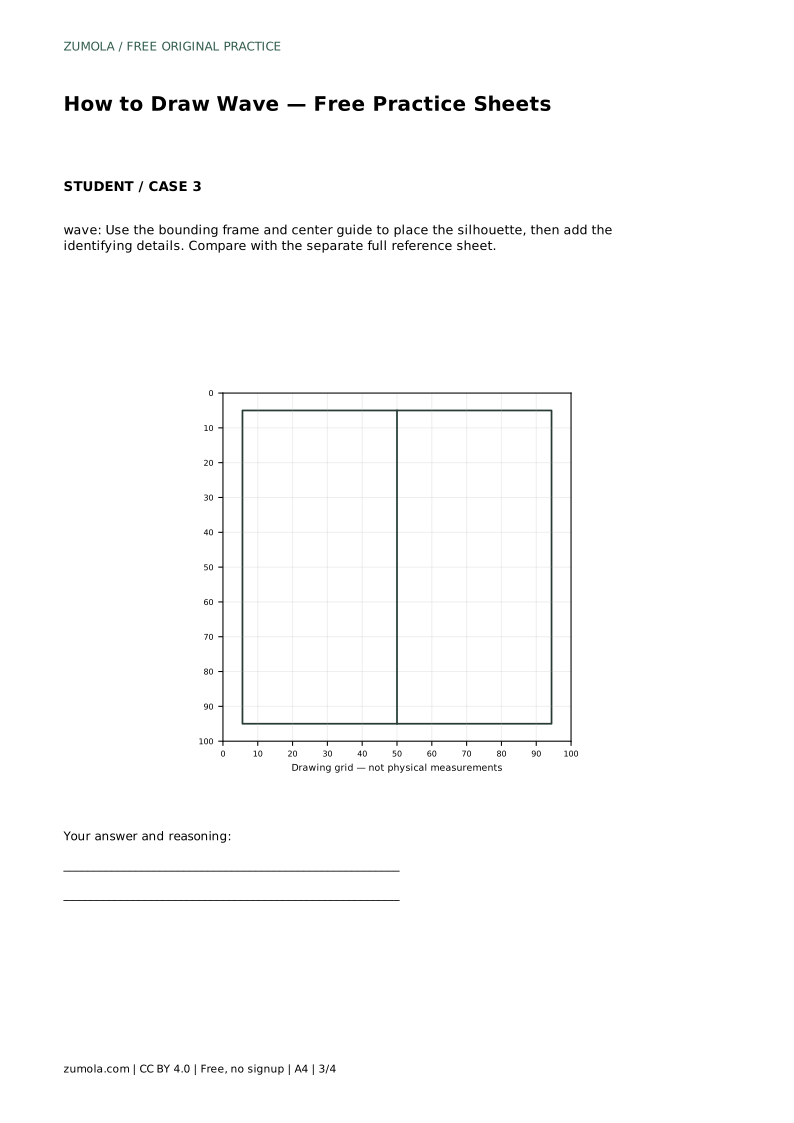
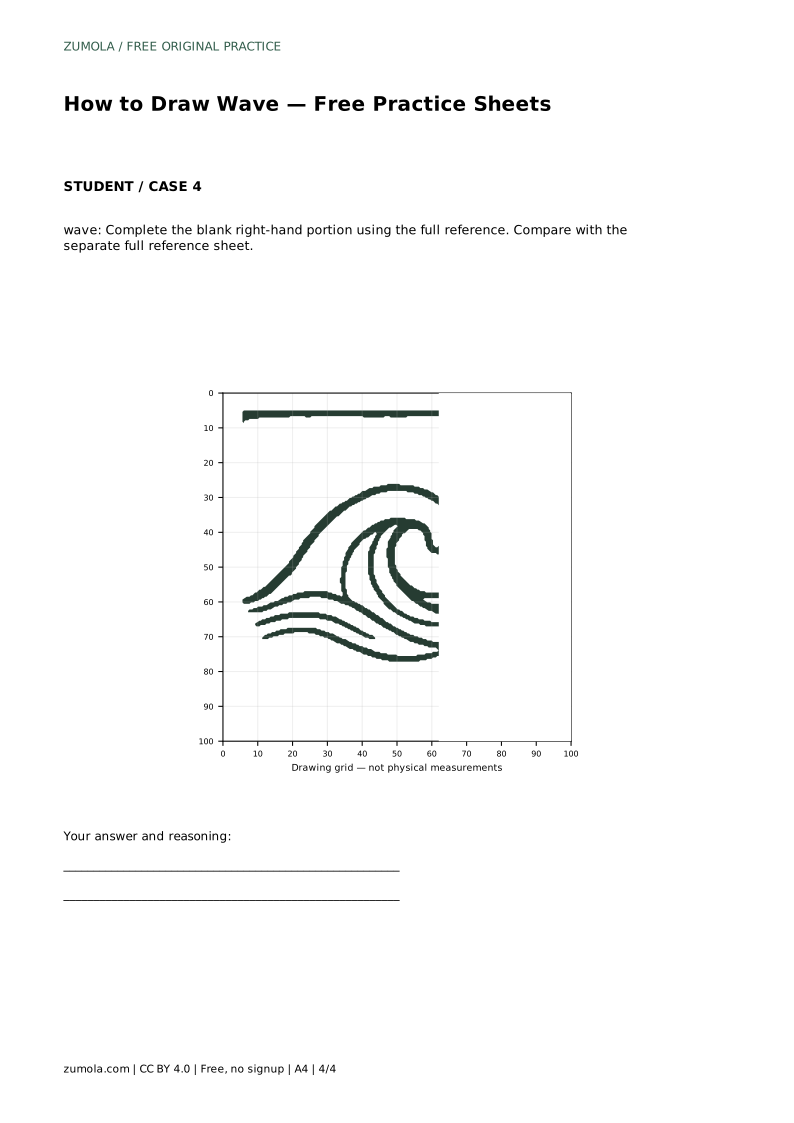
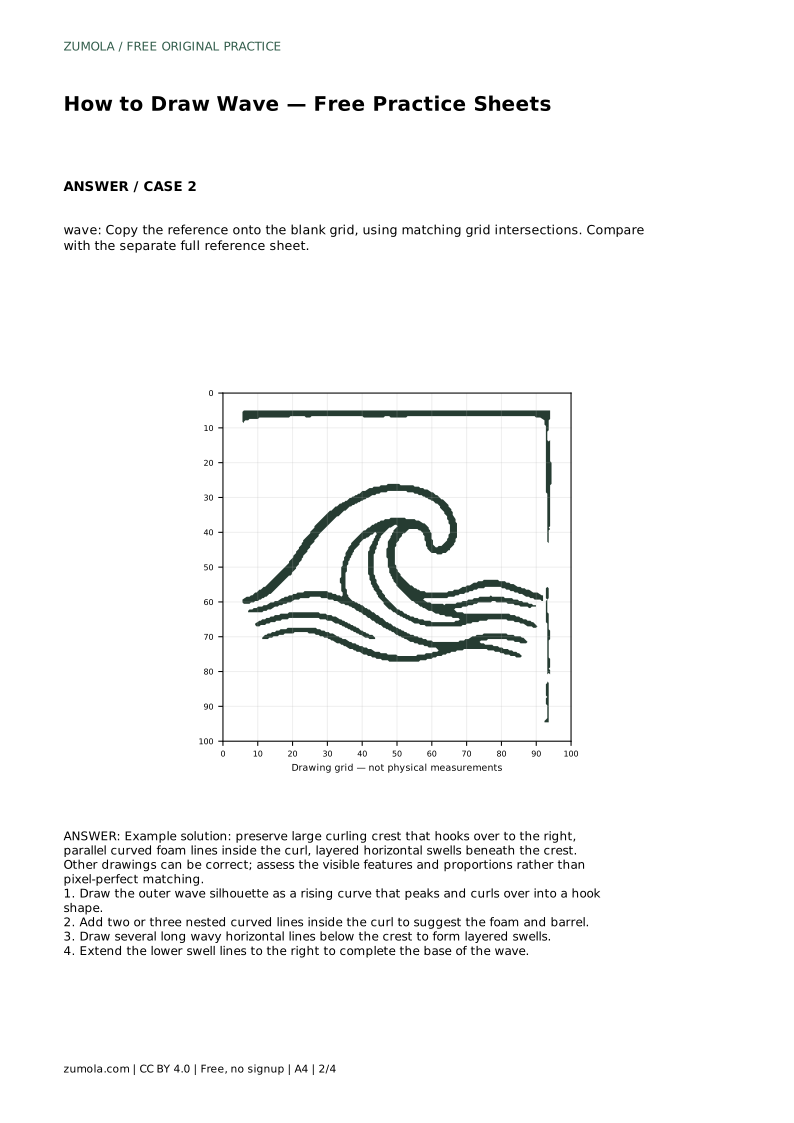
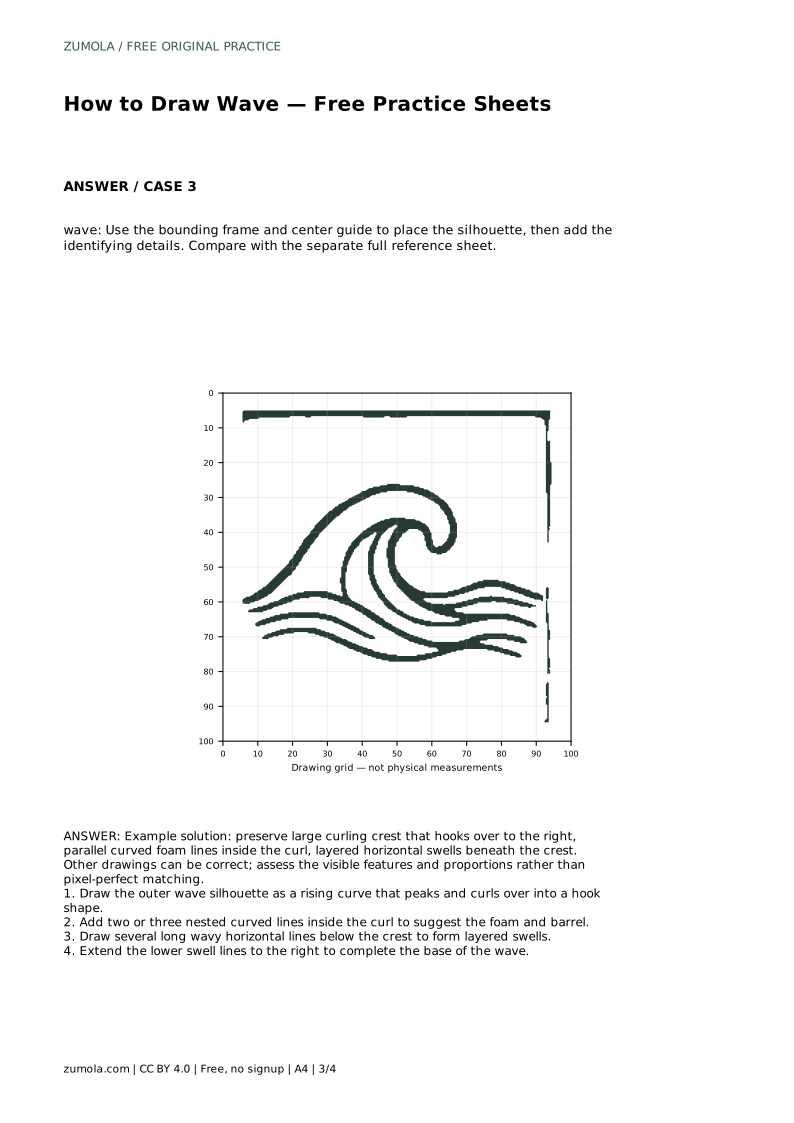
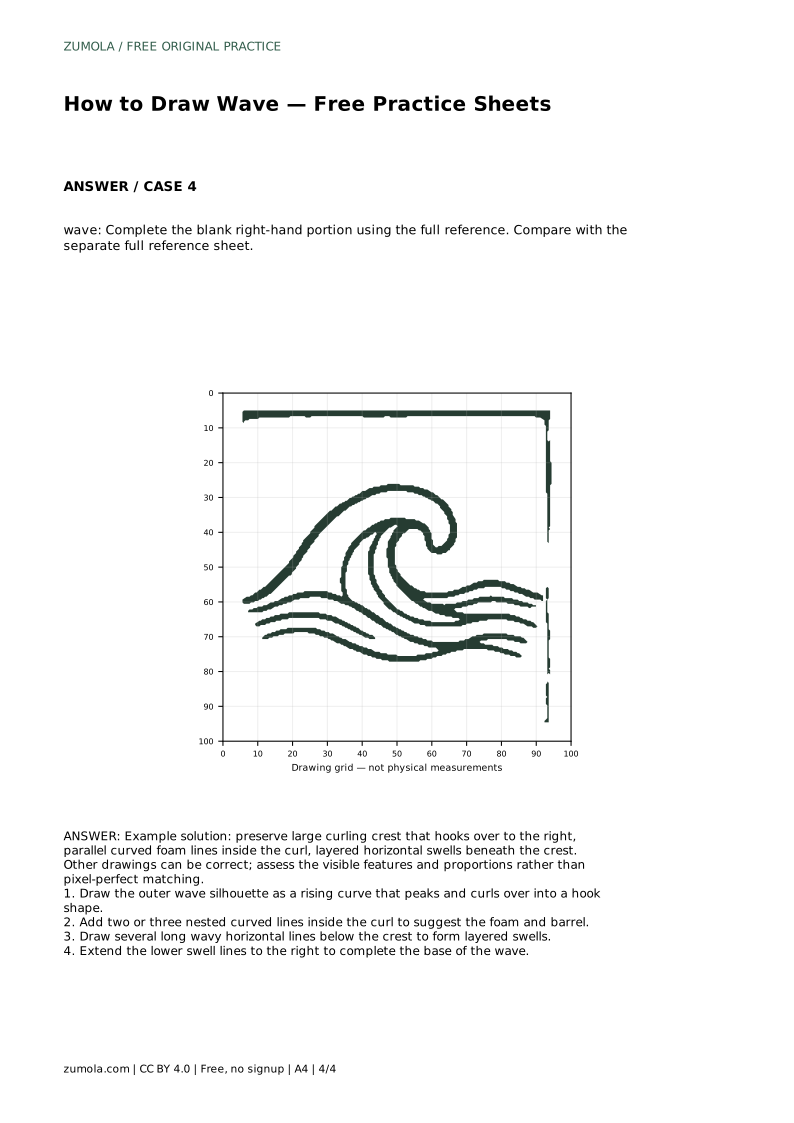
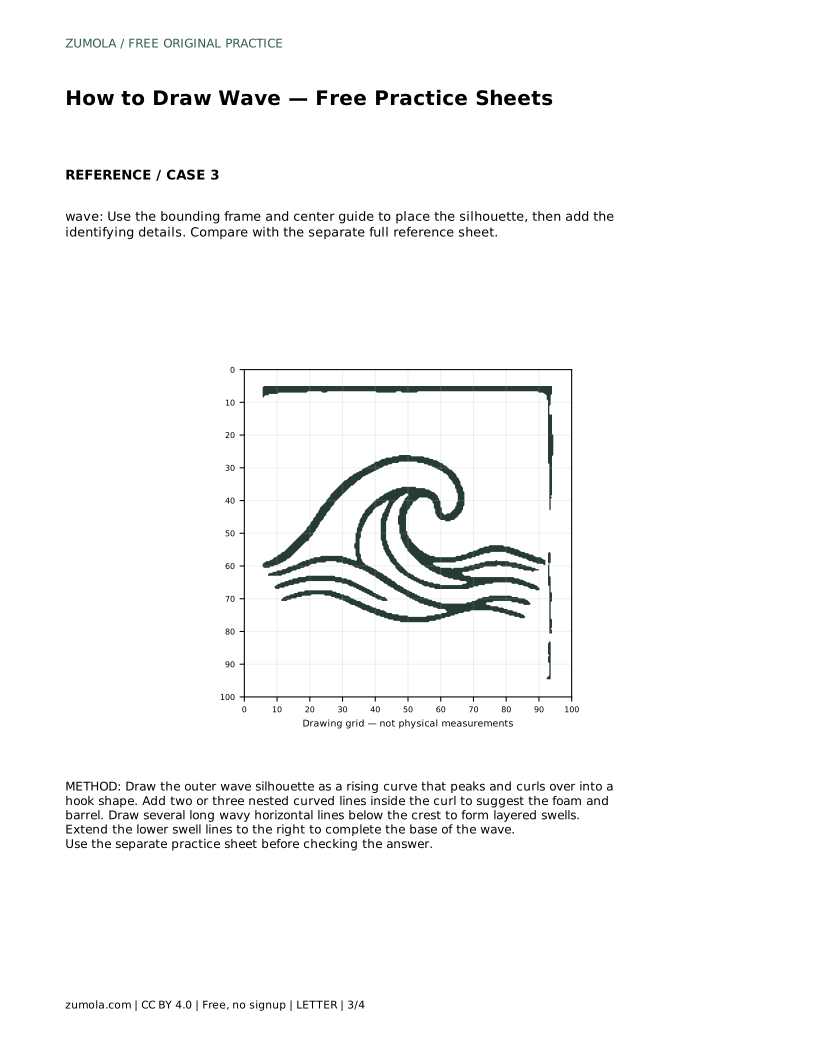
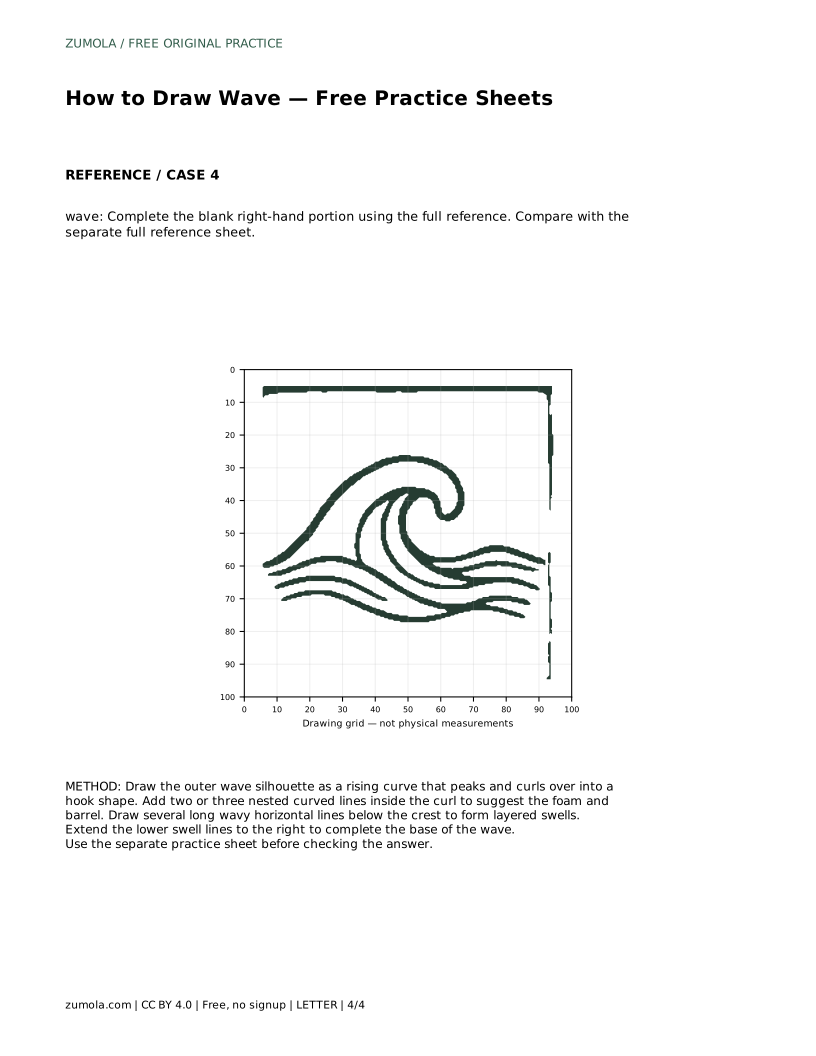
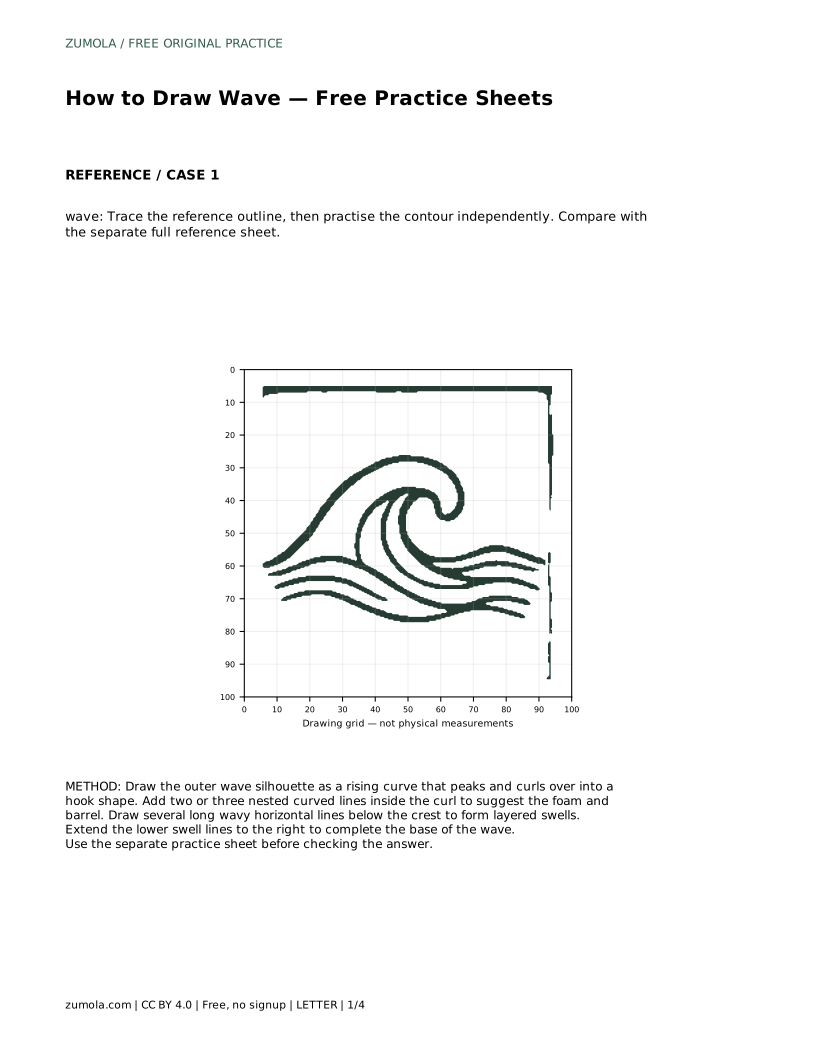
The tracing sheet asks you to follow the reference outline first, then repeat the contour on your own. The grid sheet helps you place the silhouette by matching intersections, which trains your eye to judge proportion. The bounding-frame sheet gives you a center guide for positioning the crest before adding details. The partial-reference sheet asks you to complete the blank right-hand portion using the full reference.
In every case, compare your drawing with the separate full reference sheet after you finish. Ask whether the crest hooks to the right, whether the foam lines stay parallel inside the curl, and whether the swells layer beneath without merging into the barrel. Small differences in curve and spacing are fine; the goal is to preserve the visible features and their relationships.
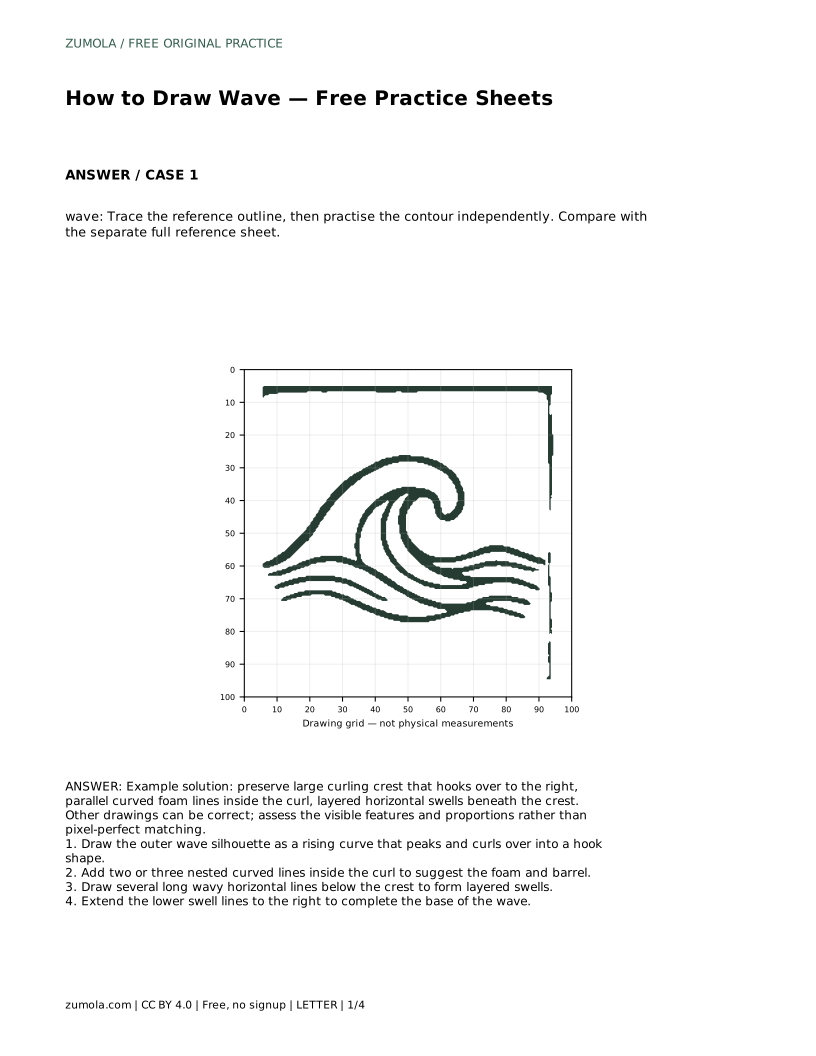
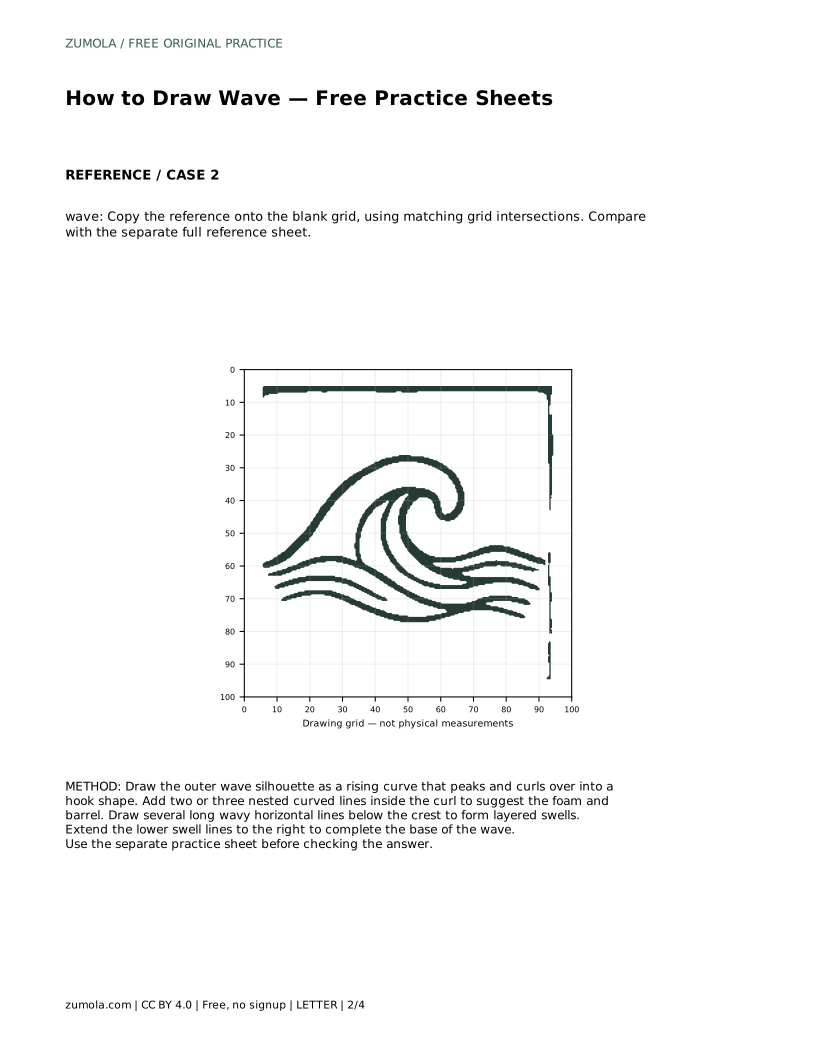
wave: Trace the reference outline, then practise the contour independently. Compare with the separate full reference sheet.
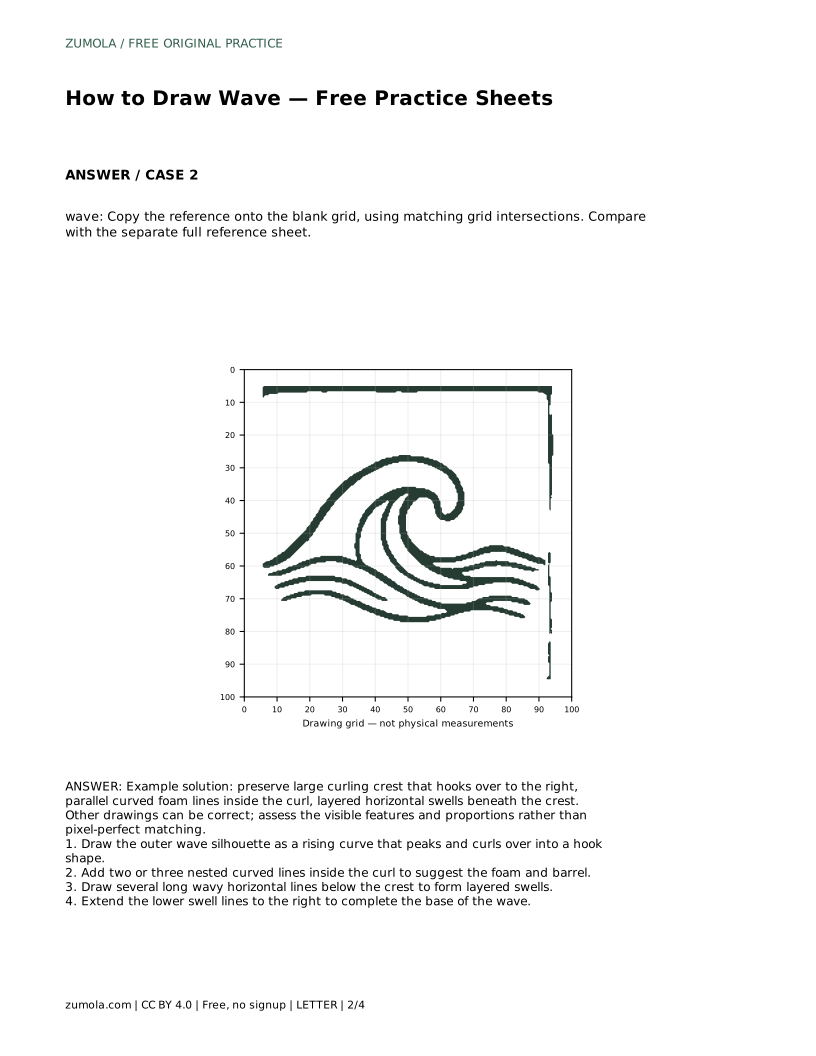
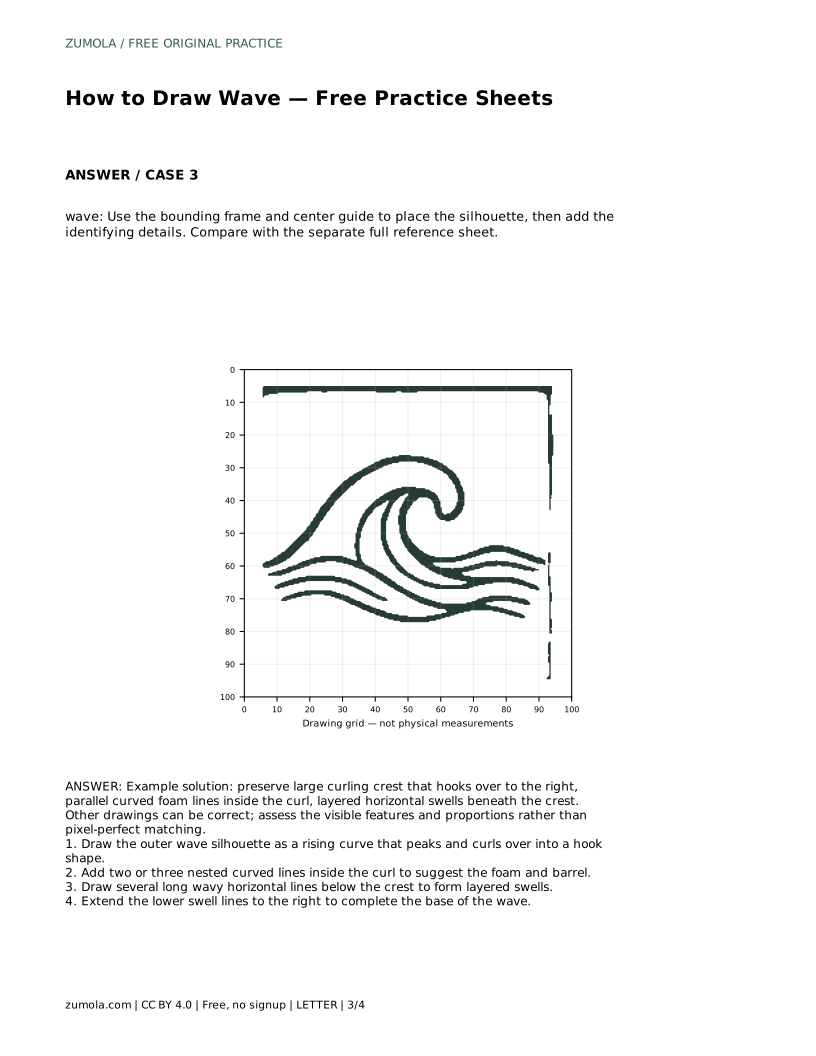
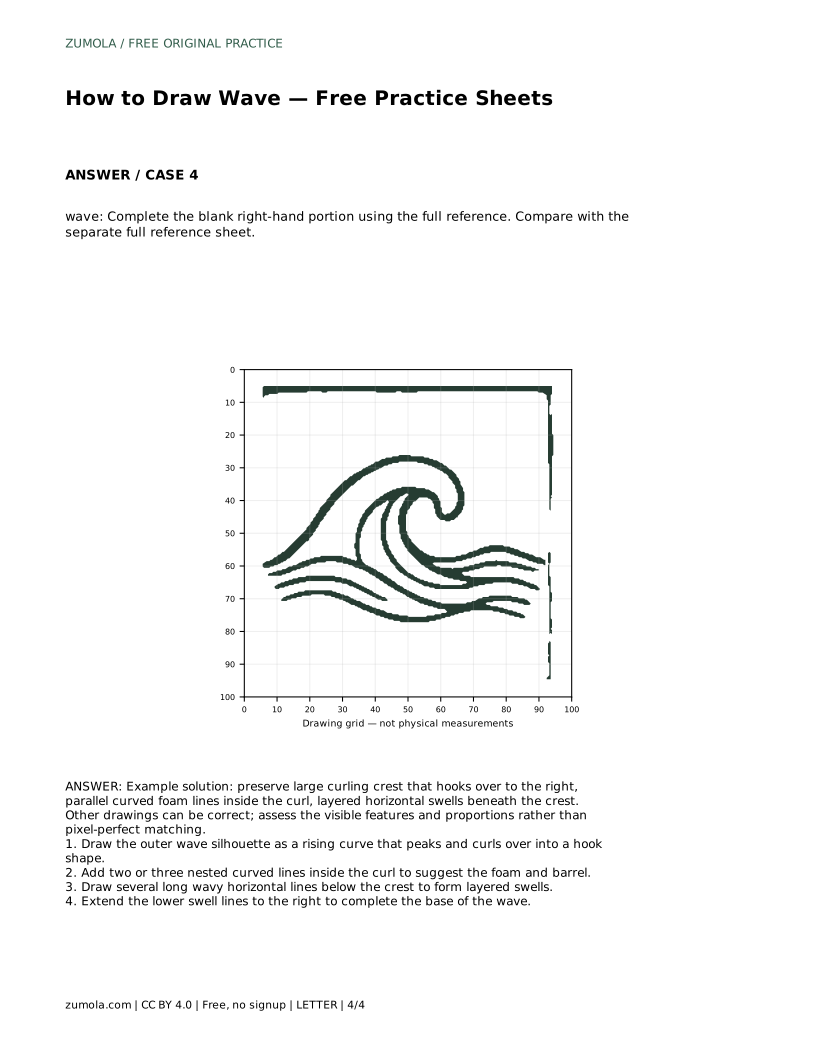
Example solution: preserve large curling crest that hooks over to the right, parallel curved foam lines inside the curl, layered horizontal swells beneath the crest. Other drawings can be correct; assess the visible features and proportions rather than pixel-perfect matching. Draw the outer wave silhouette as a rising curve that peaks and curls over into a hook shape. Add two or three nested curved lines inside the curl to suggest the foam and barrel. Draw several long wavy horizontal lines below the crest to form layered swells. Extend the lower swell lines to the right to complete the base of the wave.
No. Waves have many valid shapes. Check that the crest hooks to the right, the foam lines stay parallel inside the curl, and the swells layer beneath without merging. Proportions and visible features matter more than pixel-perfect matching.
Start with the tracing sheet to learn the contour, then move to the grid or bounding-frame sheet to practice placement. Use the partial-reference sheet when you can complete the right-hand portion without tracing.
Two or three nested curved lines are enough. Keep them parallel to the outer hook and evenly spaced; more lines can make the curl look busy rather than hollow.
All drawing practice · Free coordinate paper
Original resources · CC BY 4.0 · Free for personal and classroom use with attribution.