Reference diagrams
LETTER · Download PDF
A4 · Download PDF
Free original resources
Learn to draw a nest by building a rounded bowl silhouette, a hollow center, overlapping twig strokes, and protruding rim ends. Includes a practice rubric.
Four original cases, with reference diagrams, practice sheets and worked answers. Everything is free; no signup required.
LETTER · Download PDF
A4 · Download PDF
LETTER · Download PDF
A4 · Download PDF
LETTER · Download PDF
A4 · Download PDF
Use A4 or US Letter to match your printer. Use the stated values and conditions to solve each exercise; diagrams are not physical measuring rulers.
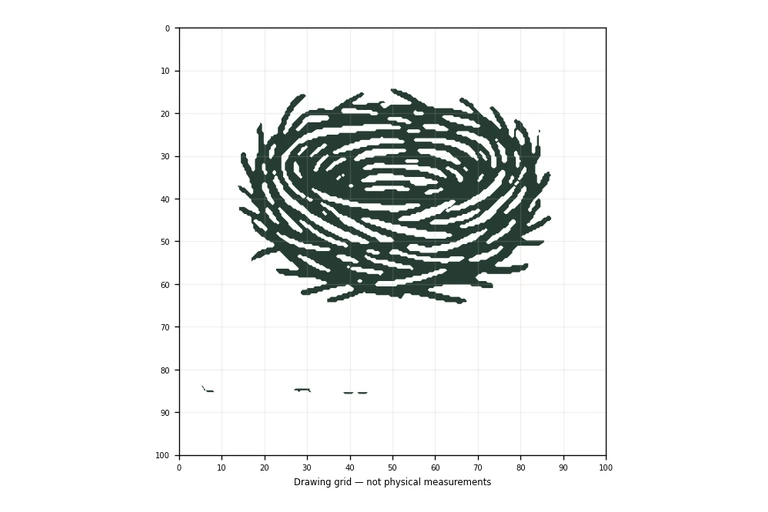
A nest is easy to recognize but surprisingly easy to draw as a solid blob. The key is to separate three jobs: establish a shallow, rounded bowl shape; show that the middle is hollow; then build a woven surface from overlapping curved twig lines. This page explains that order and gives you a way to judge your own drawing by visible features rather than exact matching.
Before adding texture, decide where the nest sits on the page and how wide it is compared with its height. A nest is usually wider than it is tall, so begin with a shallow oval rather than a circle. Keep the lower edge gently curved; a flat bottom makes the nest look like a basket sitting on a shelf.
The oval is a guide, not a final line. You will later break its edge with twig ends, so draw it lightly. If you are working from a reference, compare the widest point of the nest with its total height and note whether the rim tilts slightly. A small tilt is common and gives the drawing life.
The hollow is what tells the viewer this is a nest and not a mound. Inside the rim, sketch curved lines that follow the bowl's inner surface, becoming tighter toward the bottom of the hollow. These lines should feel like the inside of a bowl seen at a slight angle, not like flat concentric circles.
Keep the hollow darker or more crowded than the outer wall. That contrast reads as depth. Leave enough space inside the rim that the hollow is clearly visible; if twig lines fill it completely, the nest looks solid.
Twigs are long, thin, and rarely straight. Build the woven surface from overlapping curved strokes that cross at different angles, some nearly horizontal around the bowl and some angled upward. Vary stroke length and spacing so the texture looks gathered rather than striped.
Finish by extending short twig ends outward around the rim. These protruding ends are one of the most recognizable features of a nest, so place them at uneven intervals and let a few cross the rim line. Avoid making every twig the same thickness or direction.
There is no single correct nest drawing. Two sketches can both succeed with different twig density, rim tilt, or hollow depth. Use the rubric below to check whether the identifying features are present and proportioned, rather than comparing your lines pixel by pixel with a reference.
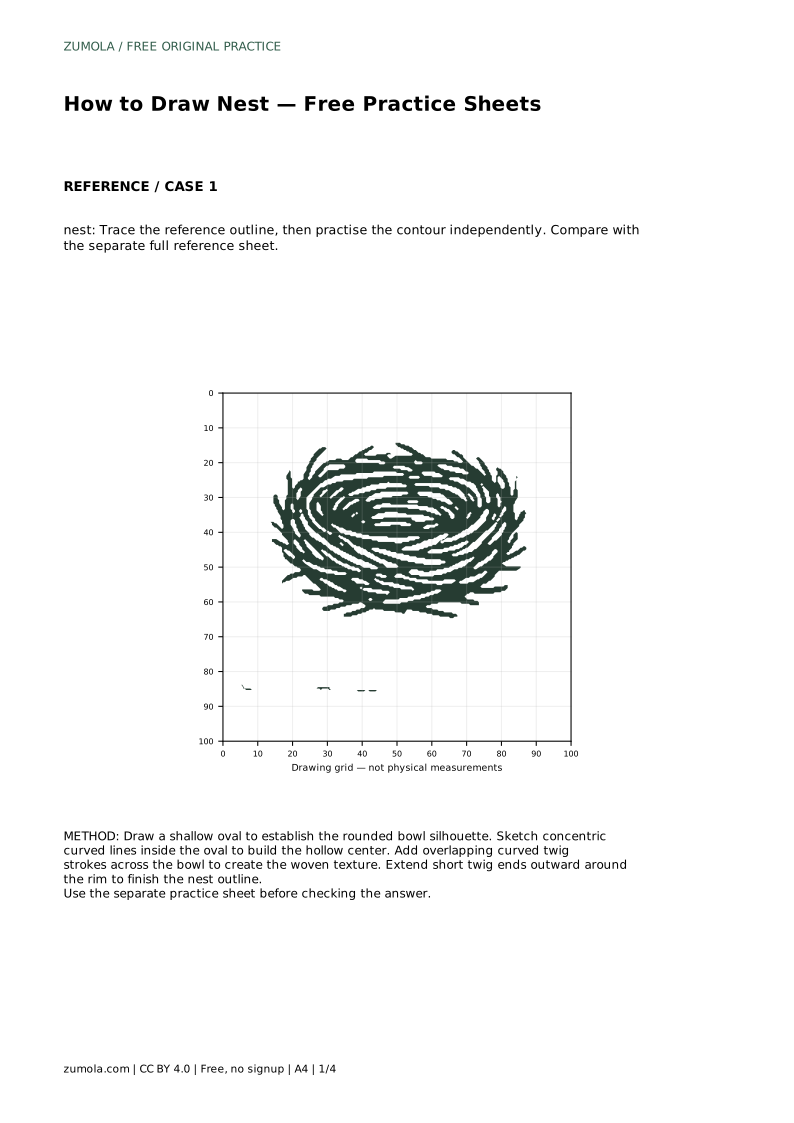
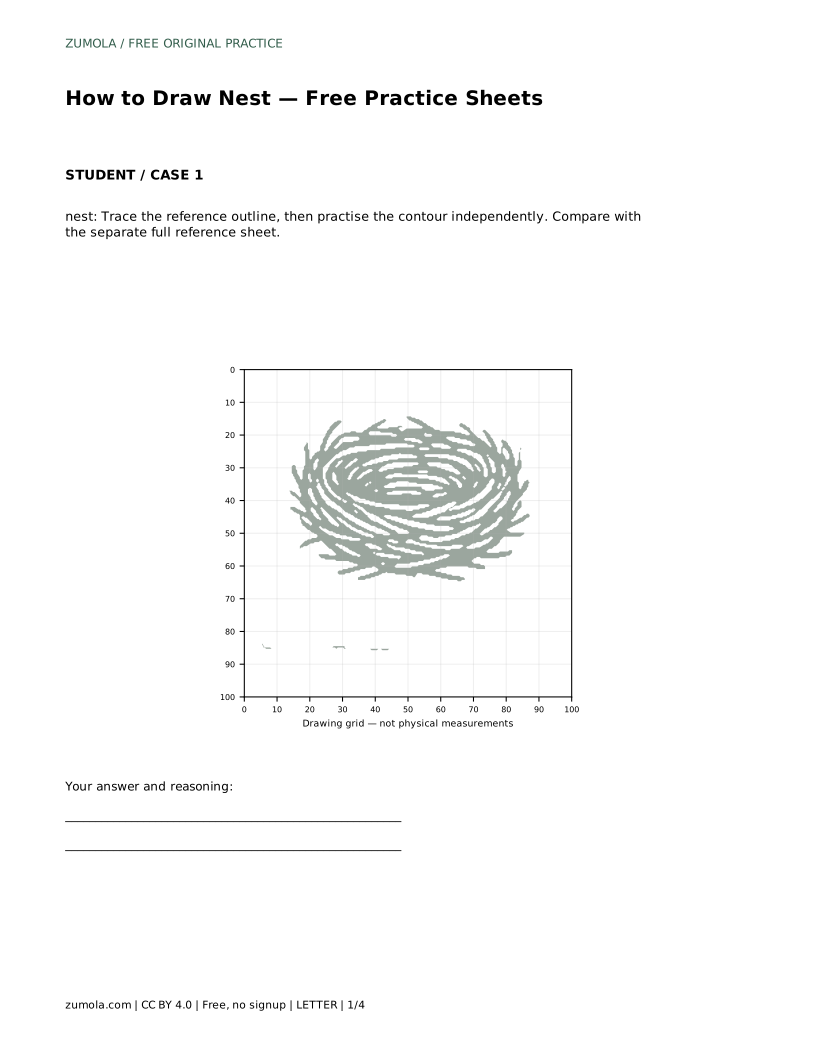
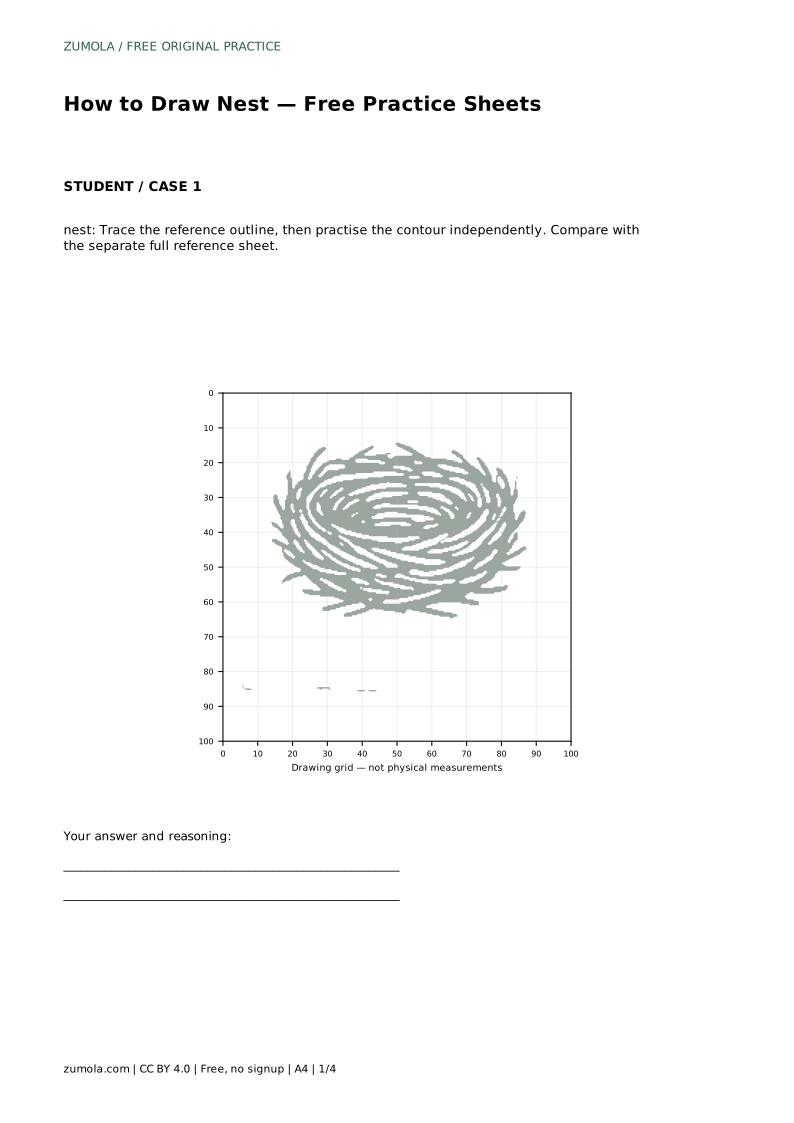
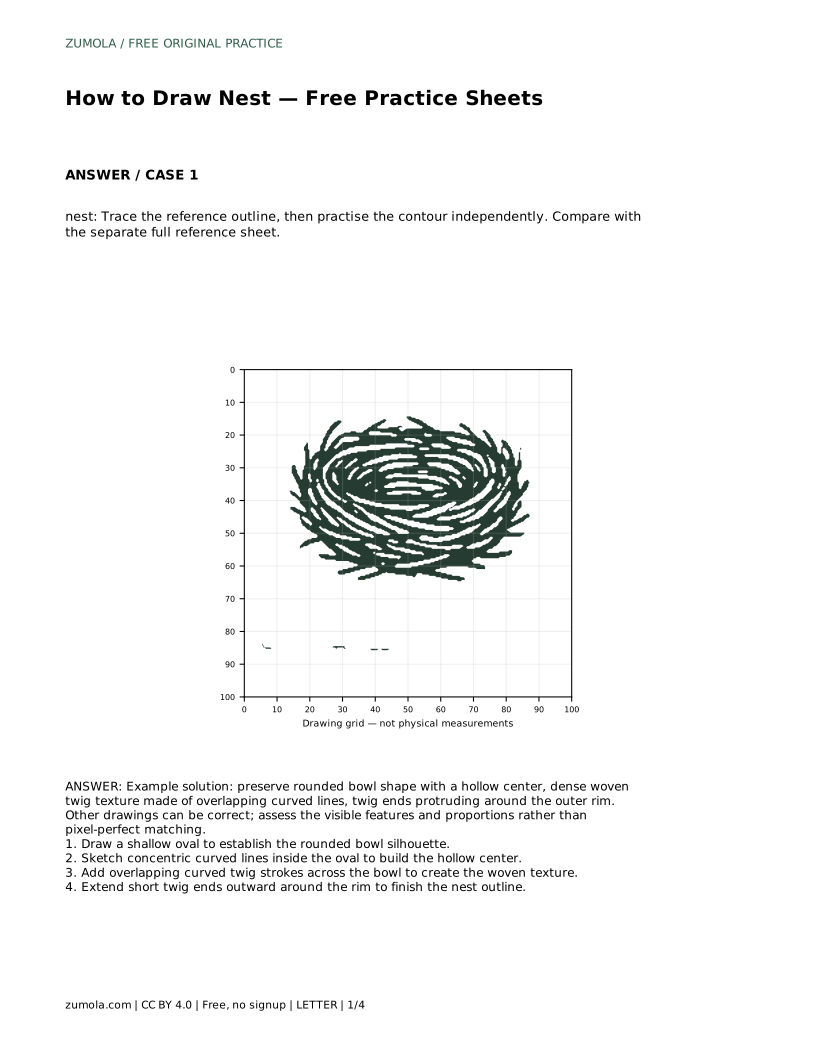
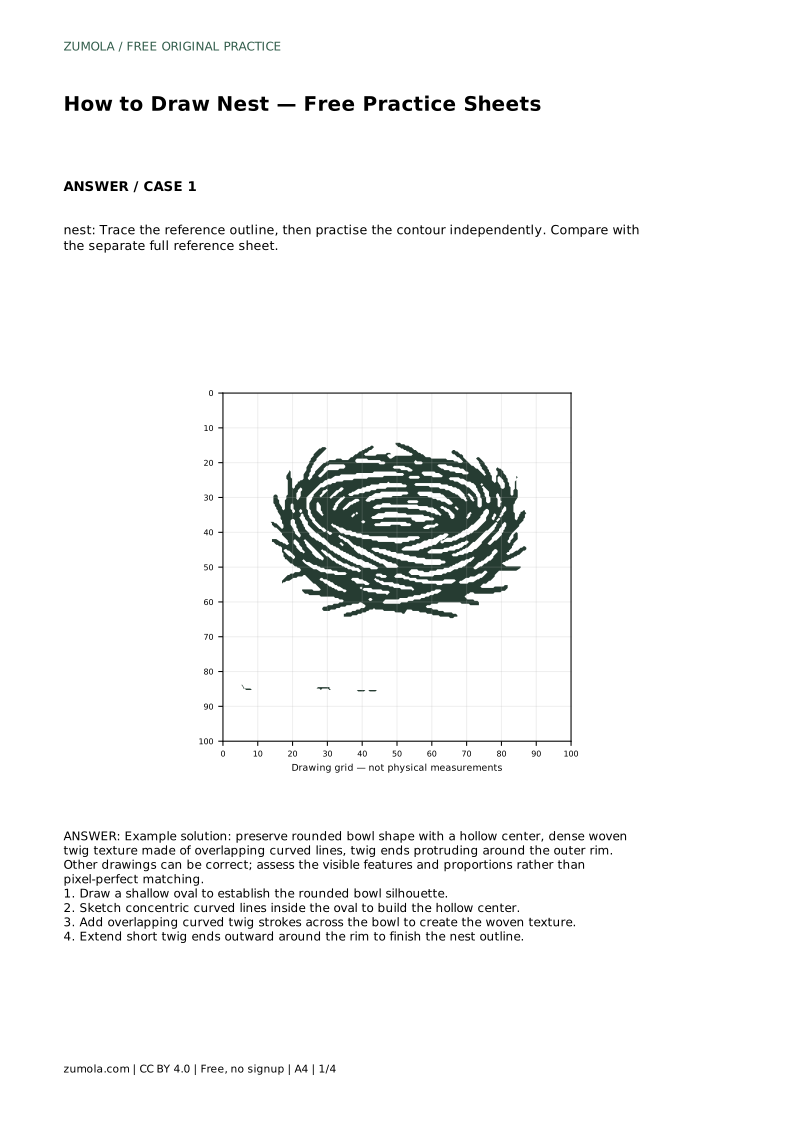
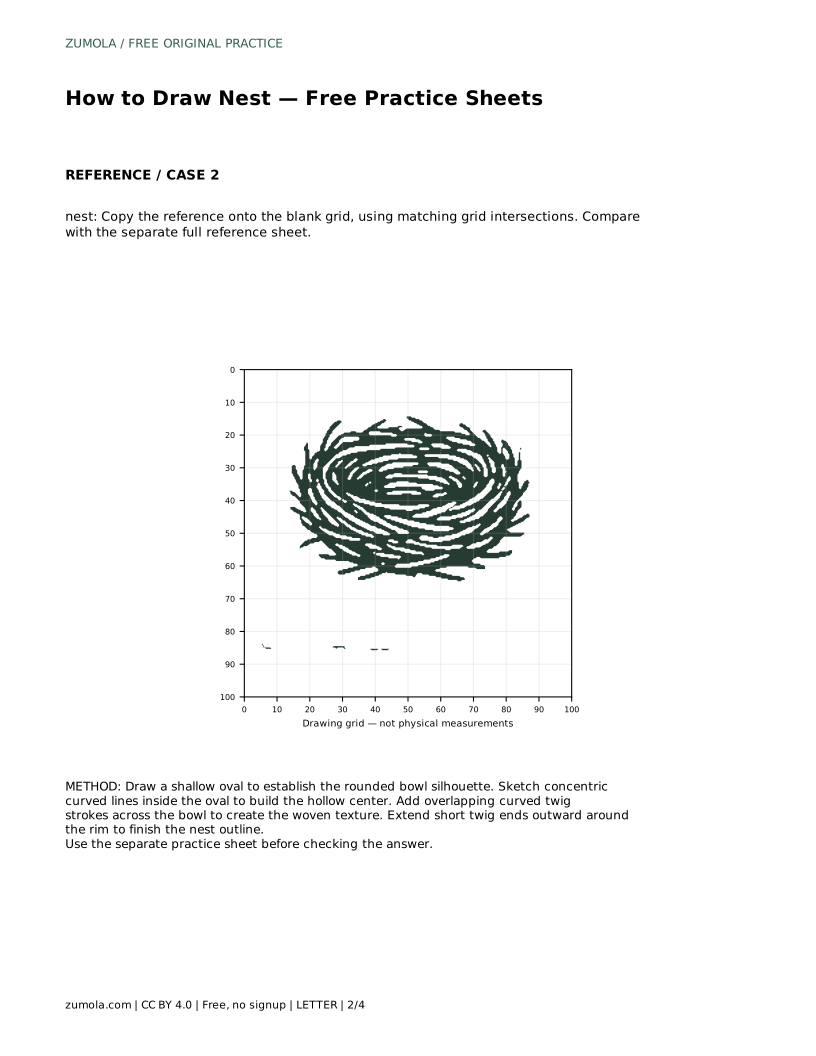
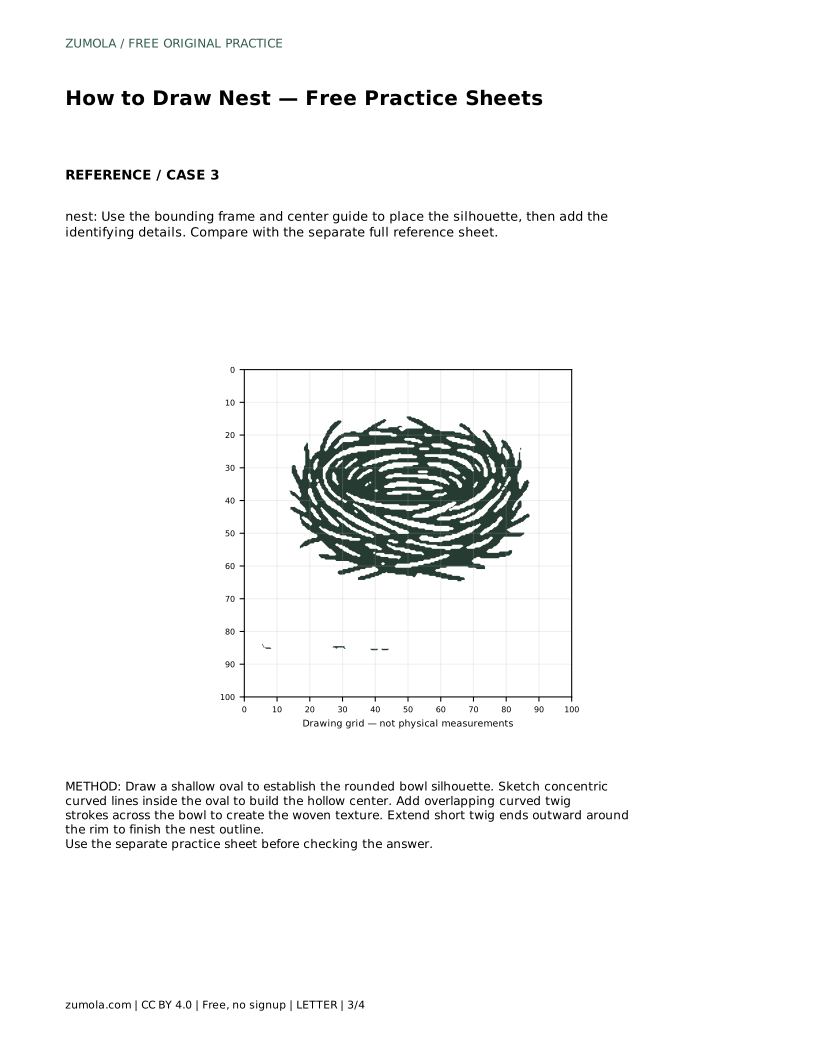
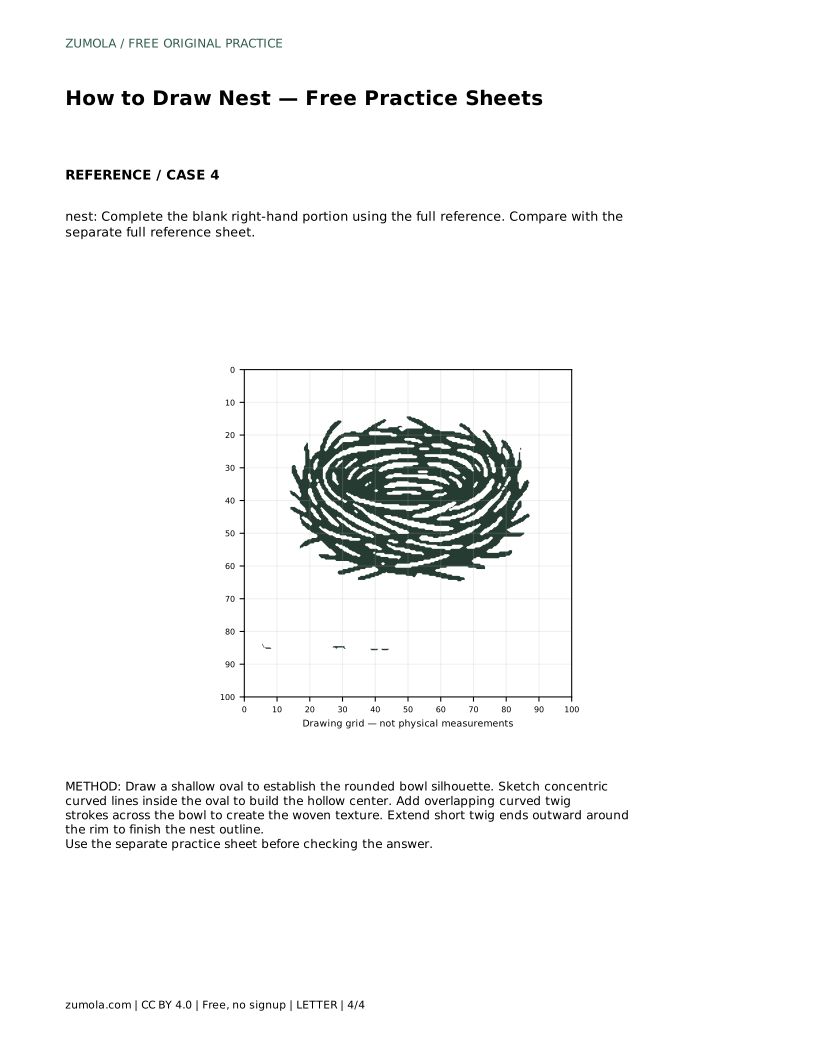
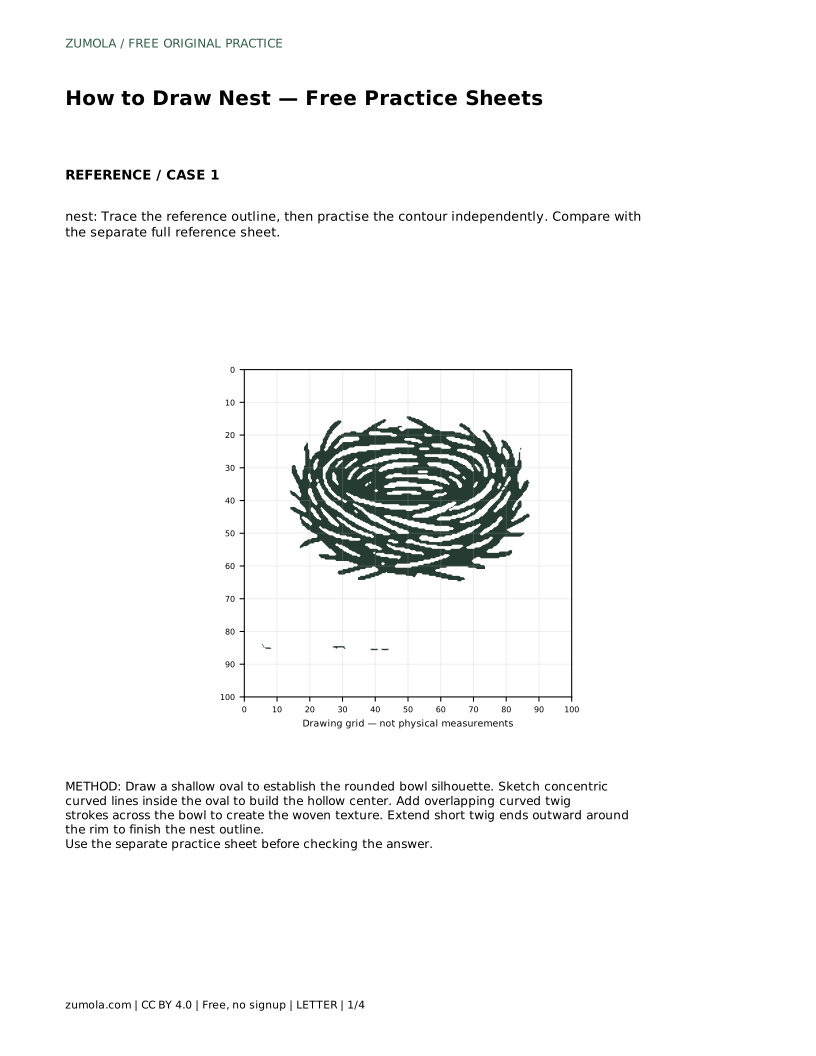
nest: Trace the reference outline, then practise the contour independently. Compare with the separate full reference sheet.
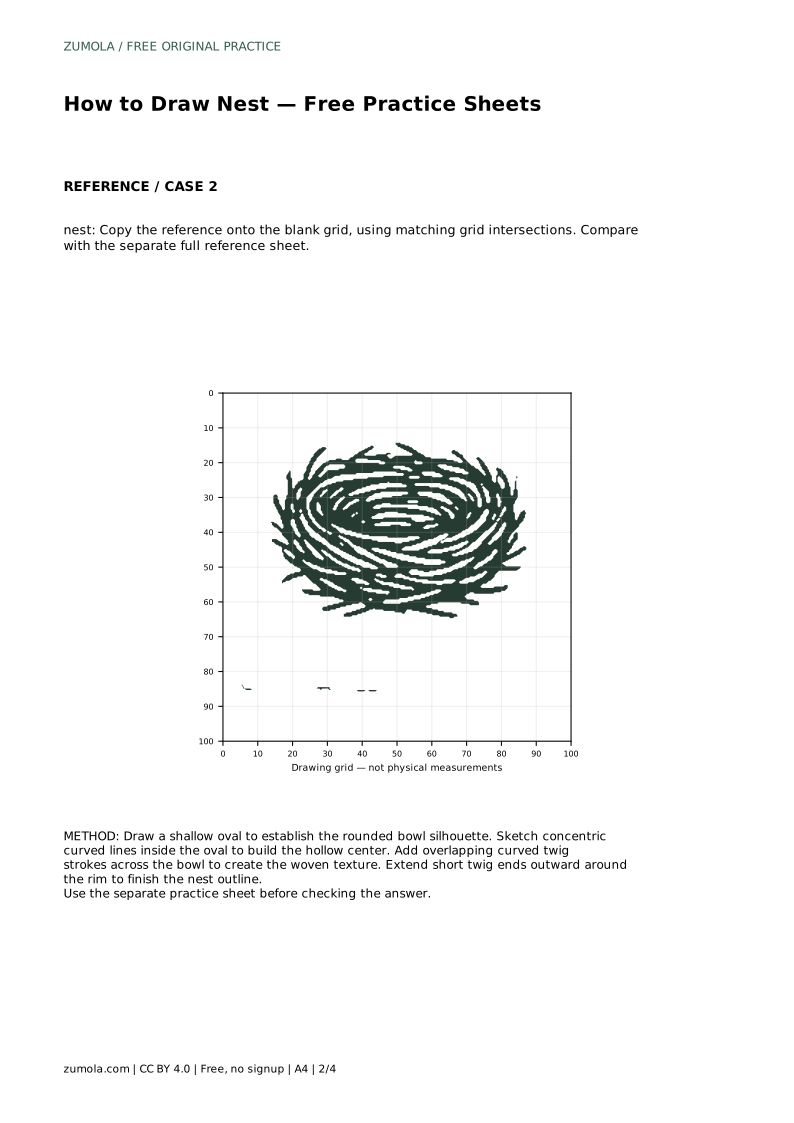
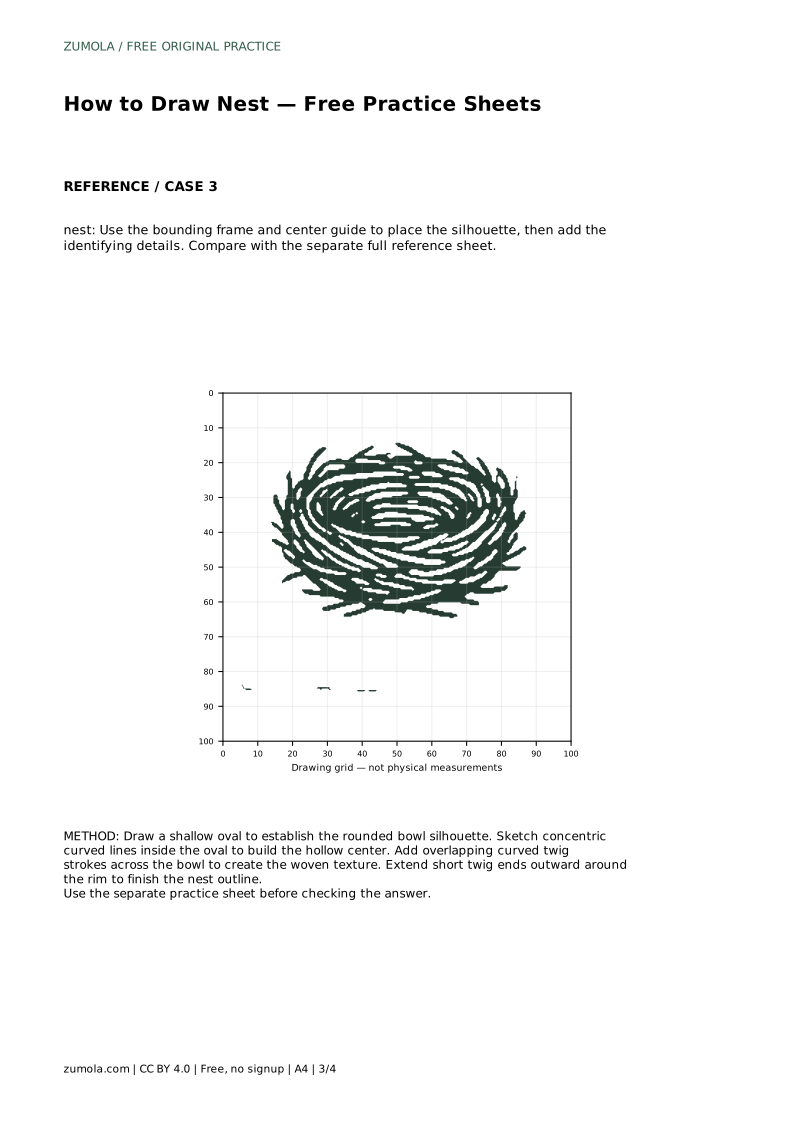
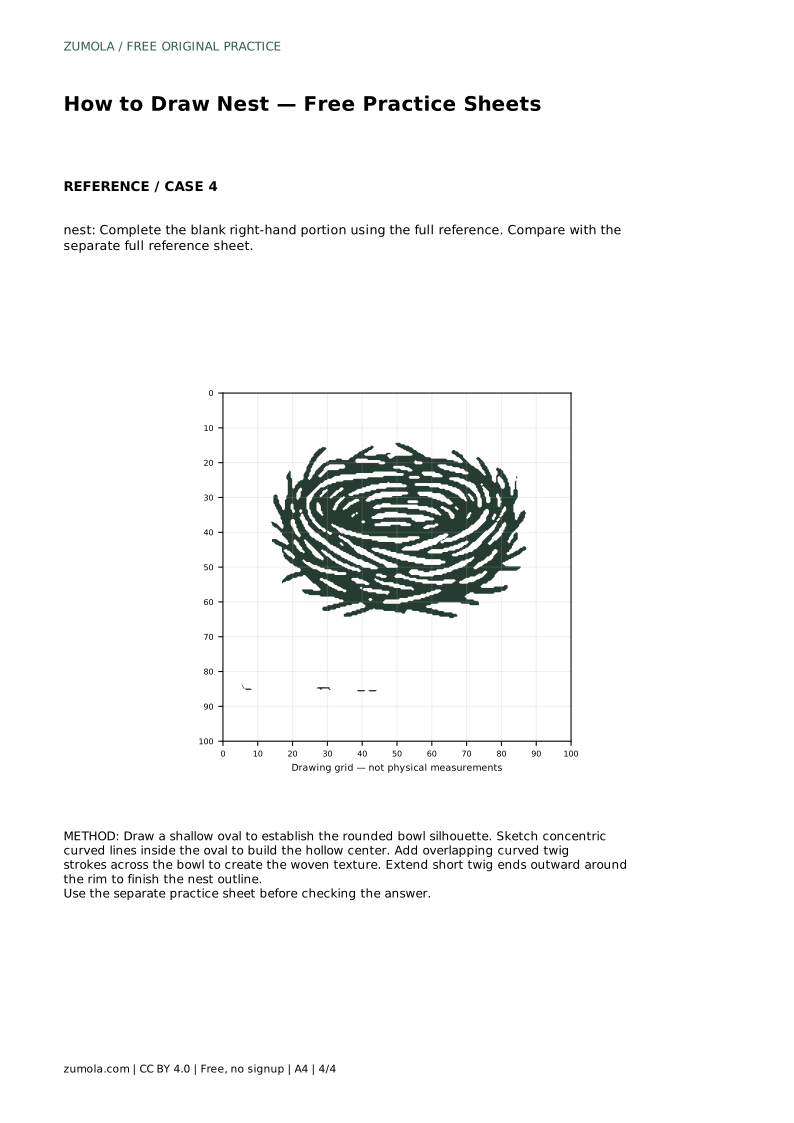
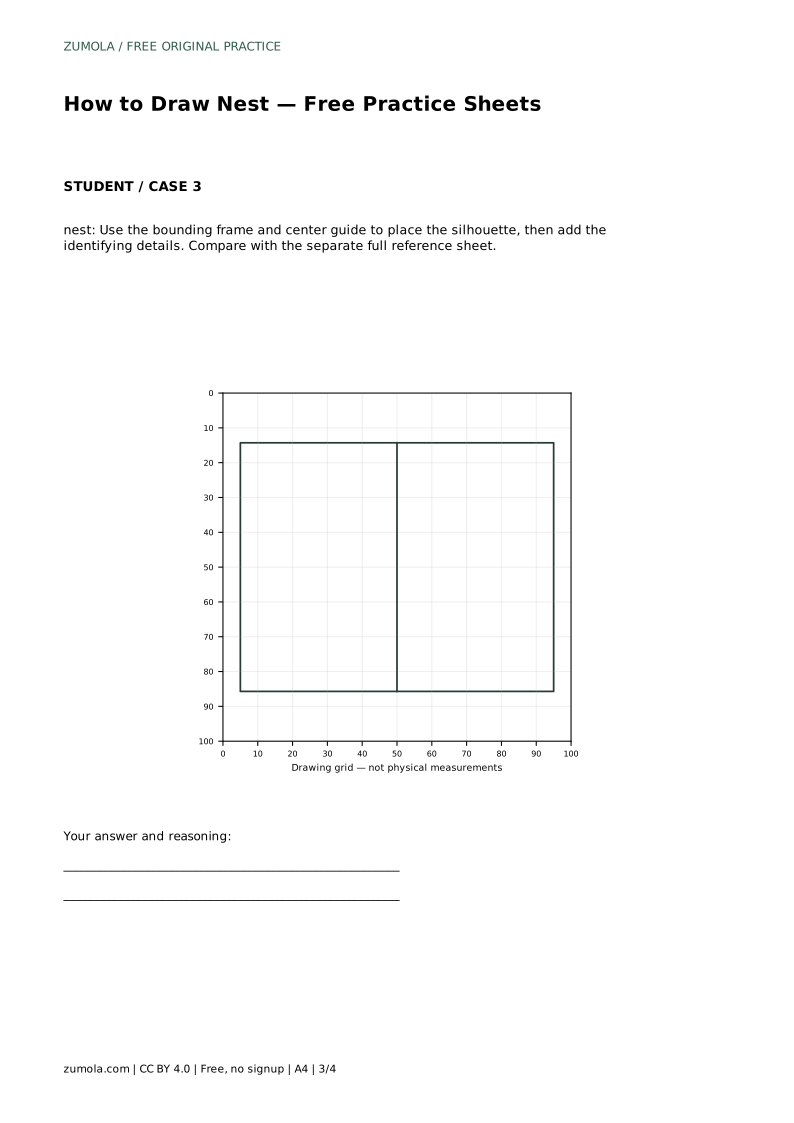
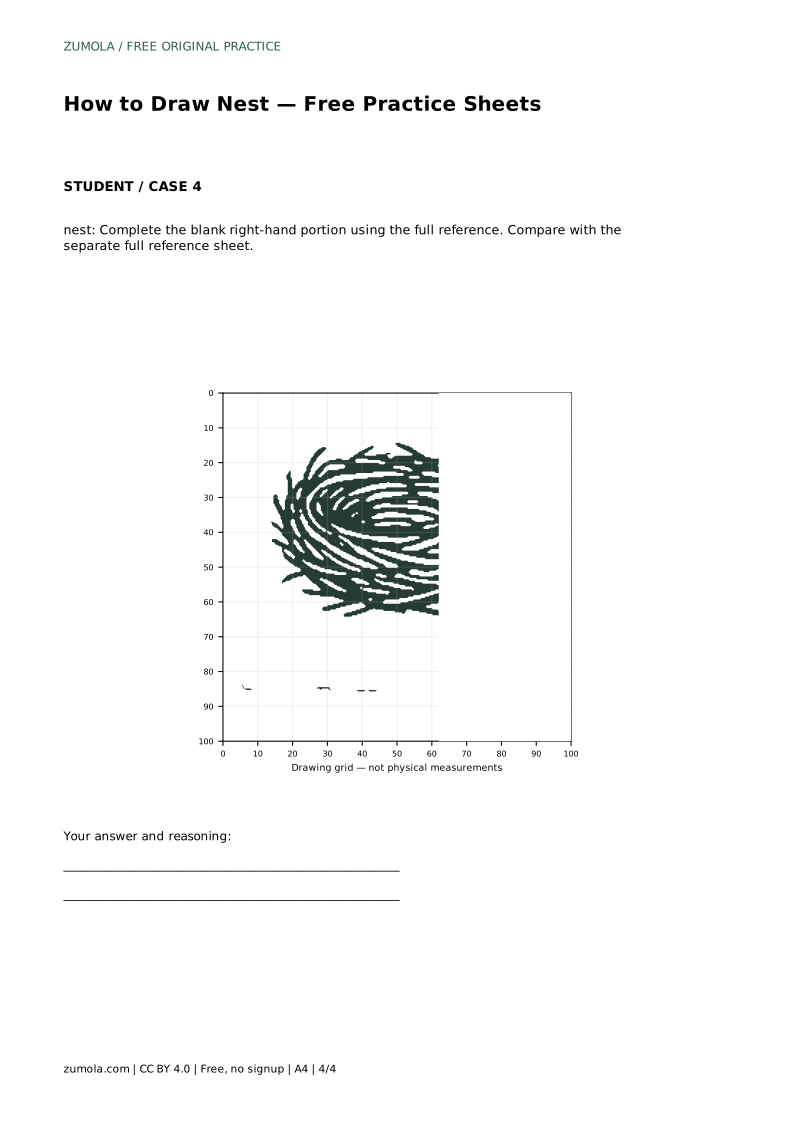
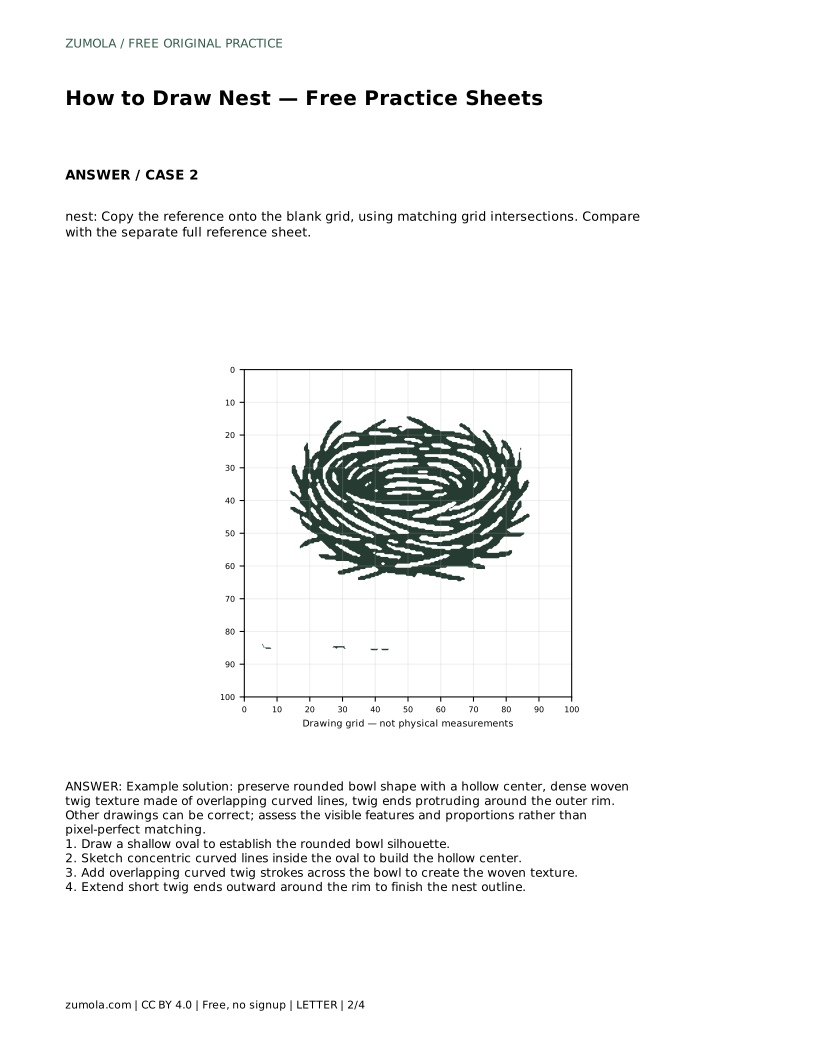
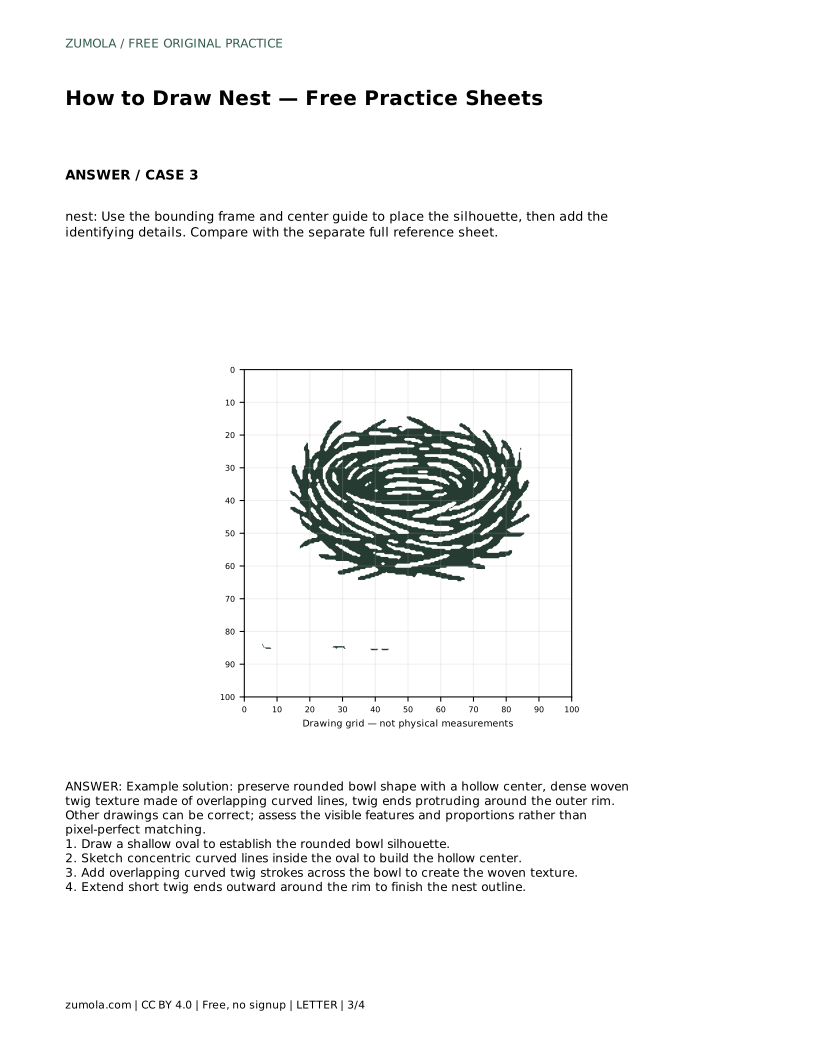
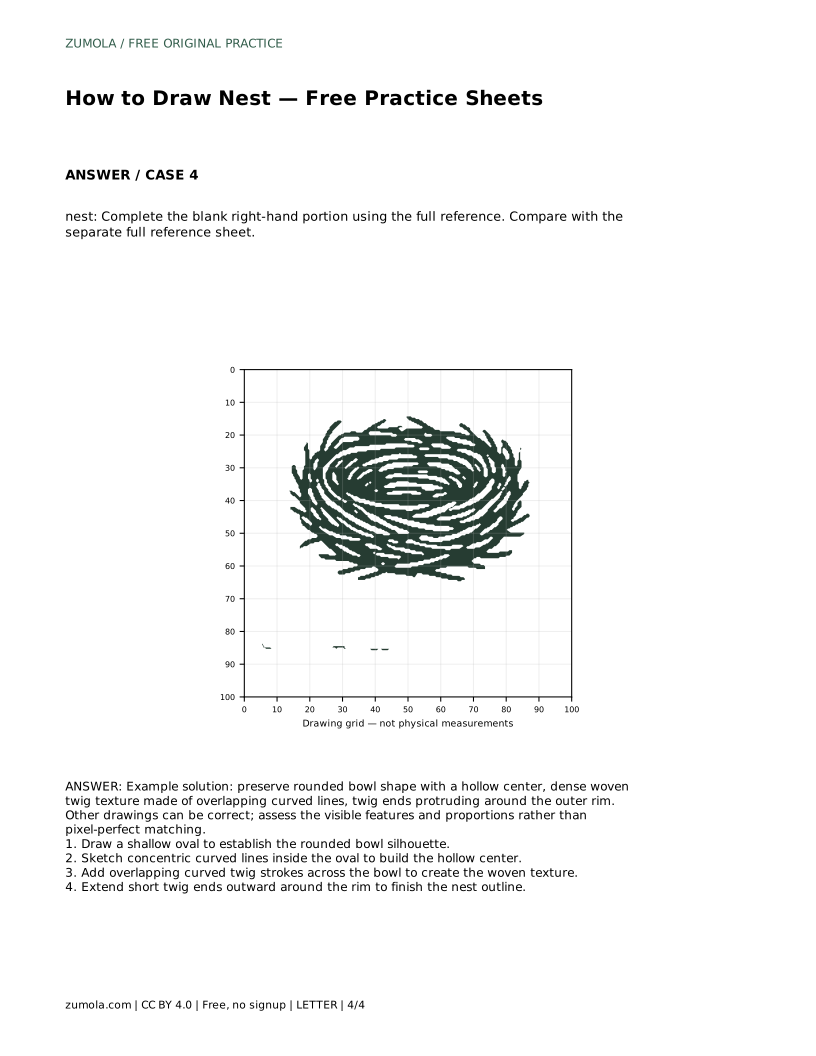
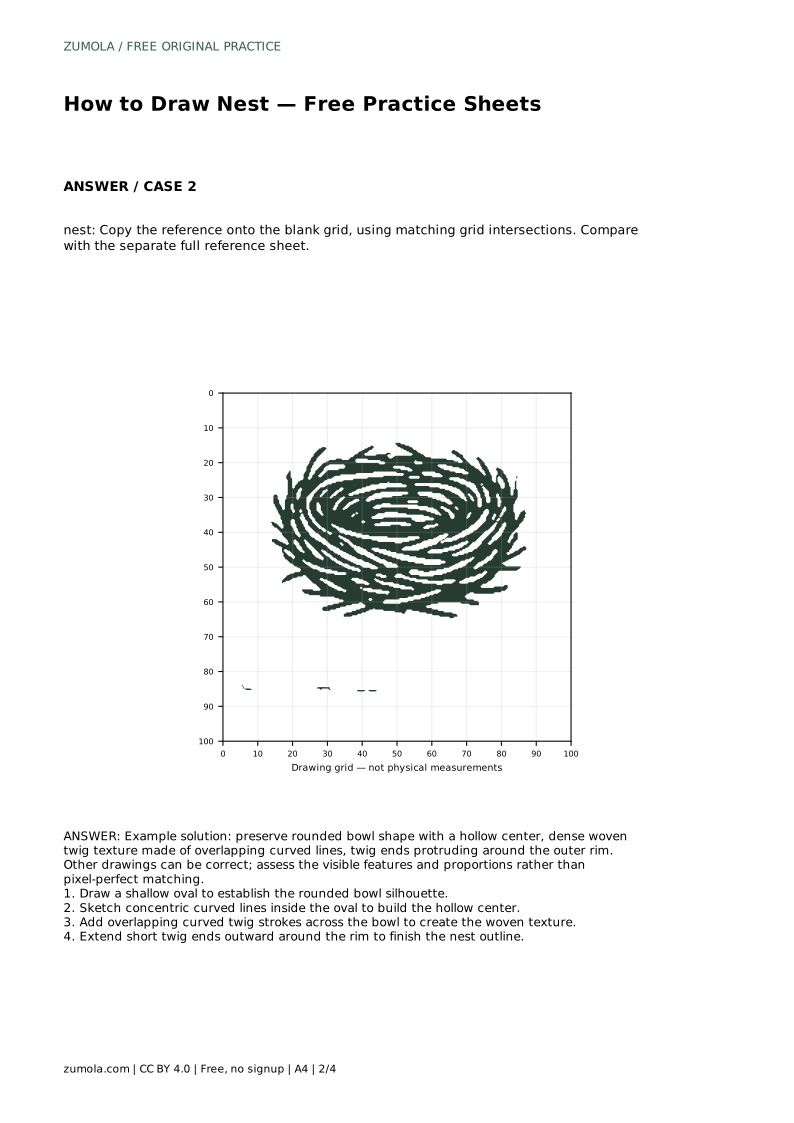
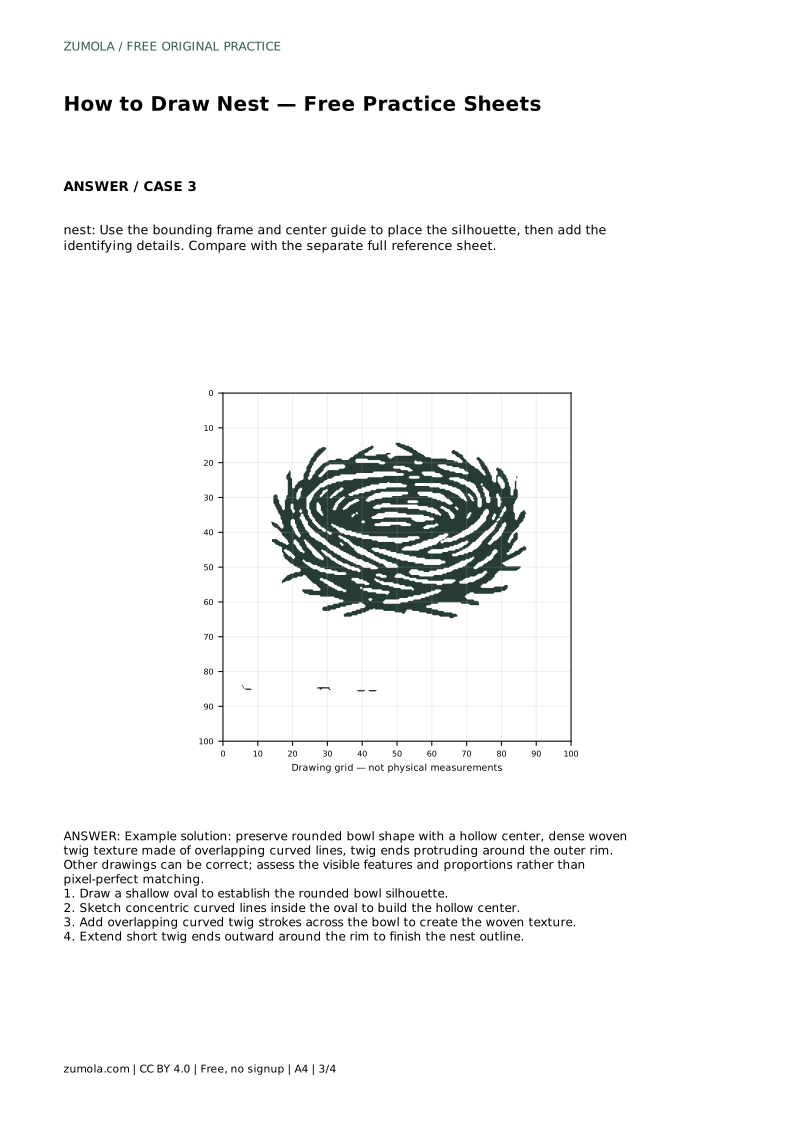
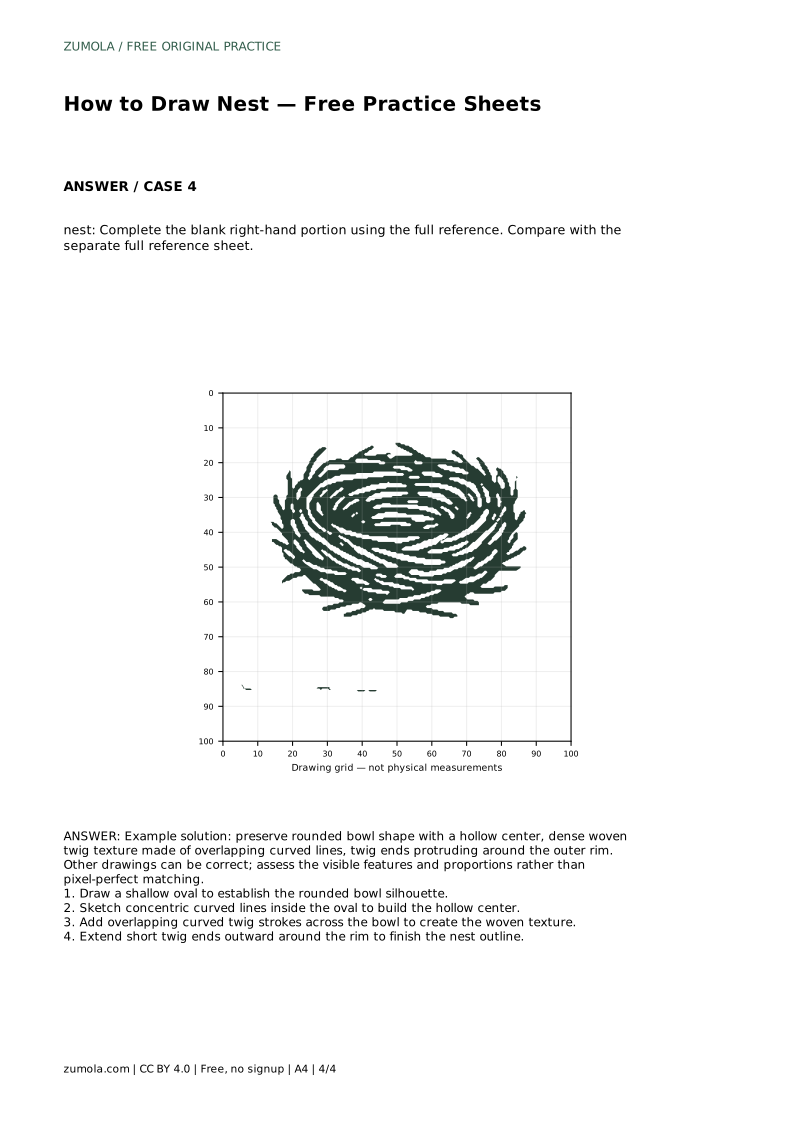
Example solution: preserve rounded bowl shape with a hollow center, dense woven twig texture made of overlapping curved lines, twig ends protruding around the outer rim. Other drawings can be correct; assess the visible features and proportions rather than pixel-perfect matching. Draw a shallow oval to establish the rounded bowl silhouette. Sketch concentric curved lines inside the oval to build the hollow center. Add overlapping curved twig strokes across the bowl to create the woven texture. Extend short twig ends outward around the rim to finish the nest outline.
No. Establish the shallow oval and rim first, then add the hollow and woven texture. The bowl gives every twig a place to sit.
There is no fixed number. Aim for enough overlapping strokes to read as woven texture while keeping the hollow center visible.
No. Assess visible features and proportions, such as the rounded bowl, hollow center, overlapping twigs, and protruding rim ends.
All drawing practice · Free coordinate paper
Original resources · CC BY 4.0 · Free for personal and classroom use with attribution.