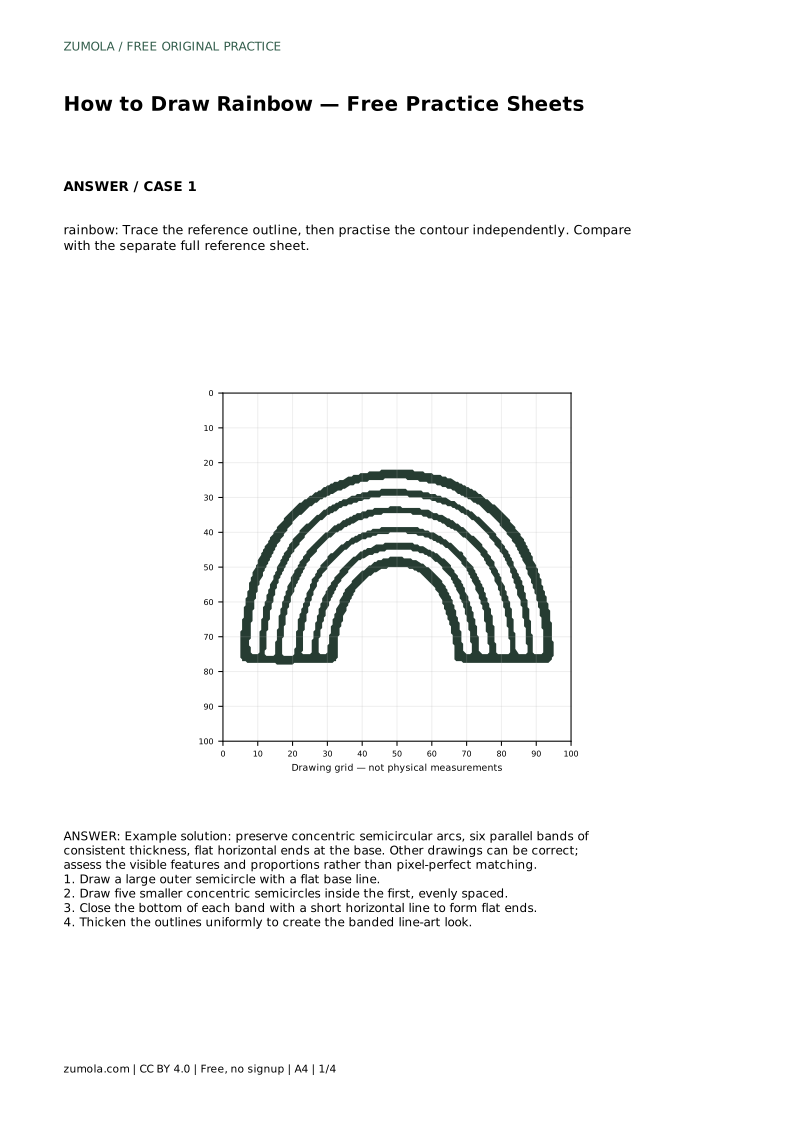
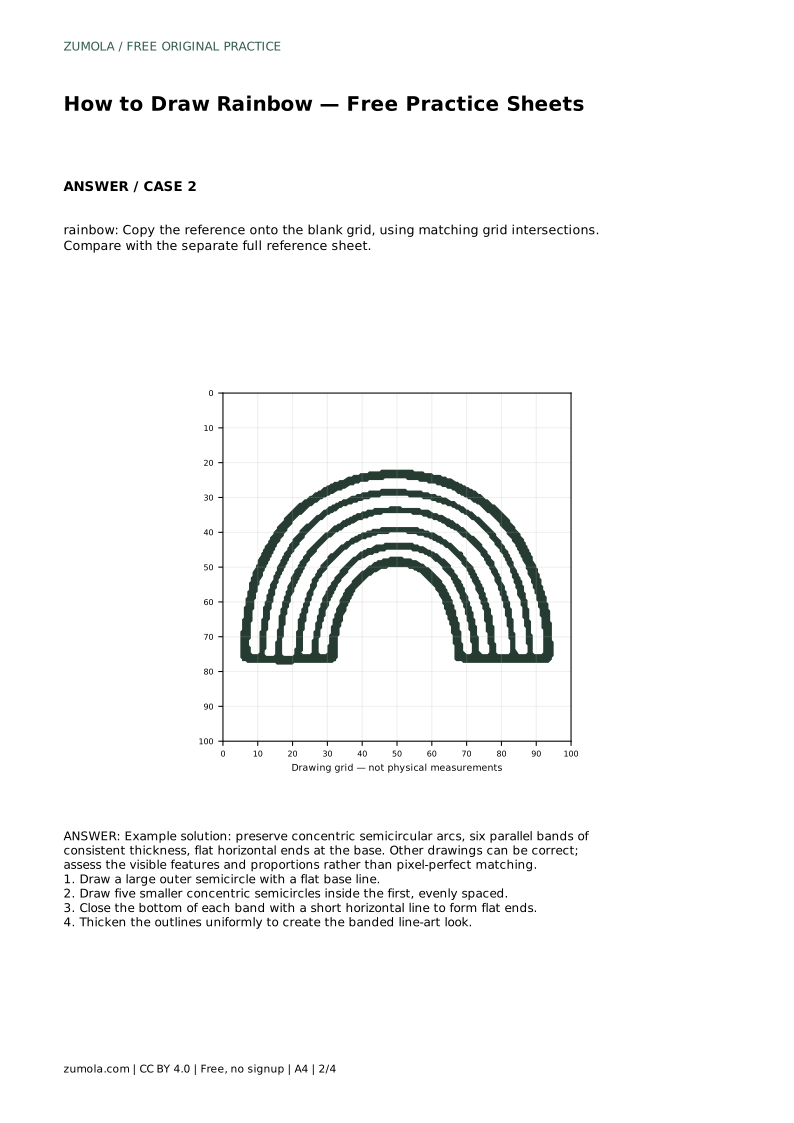
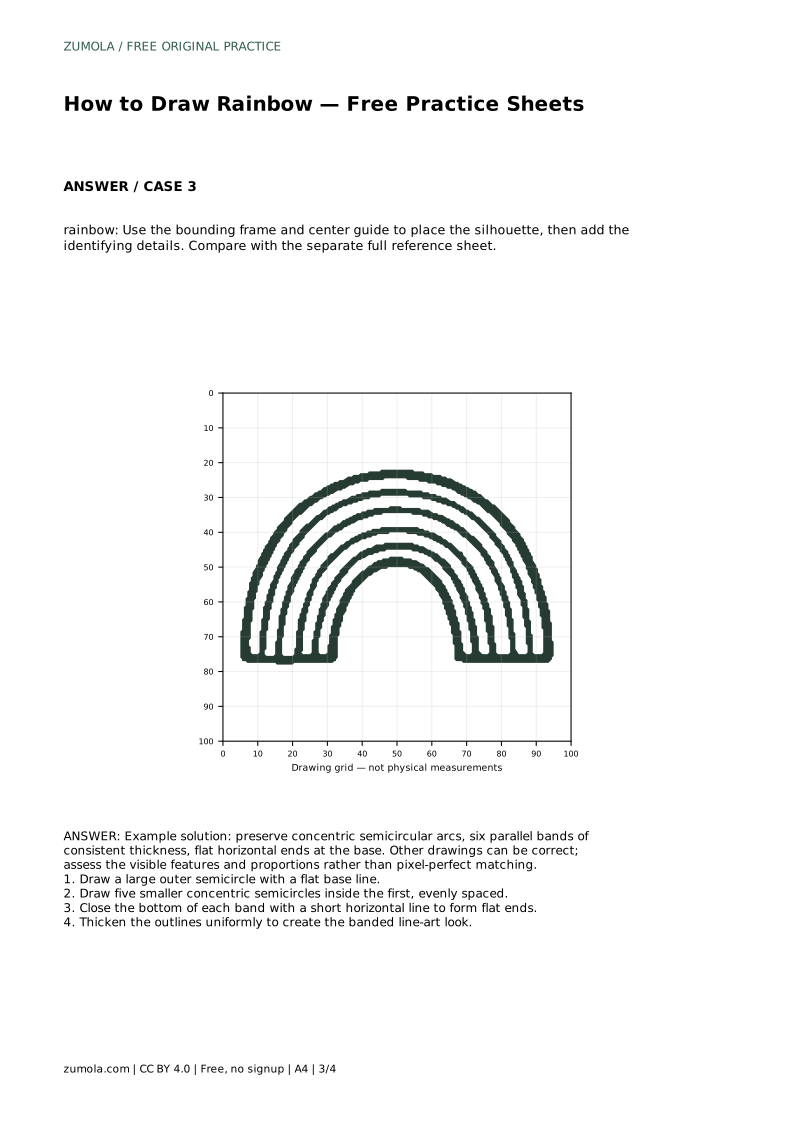
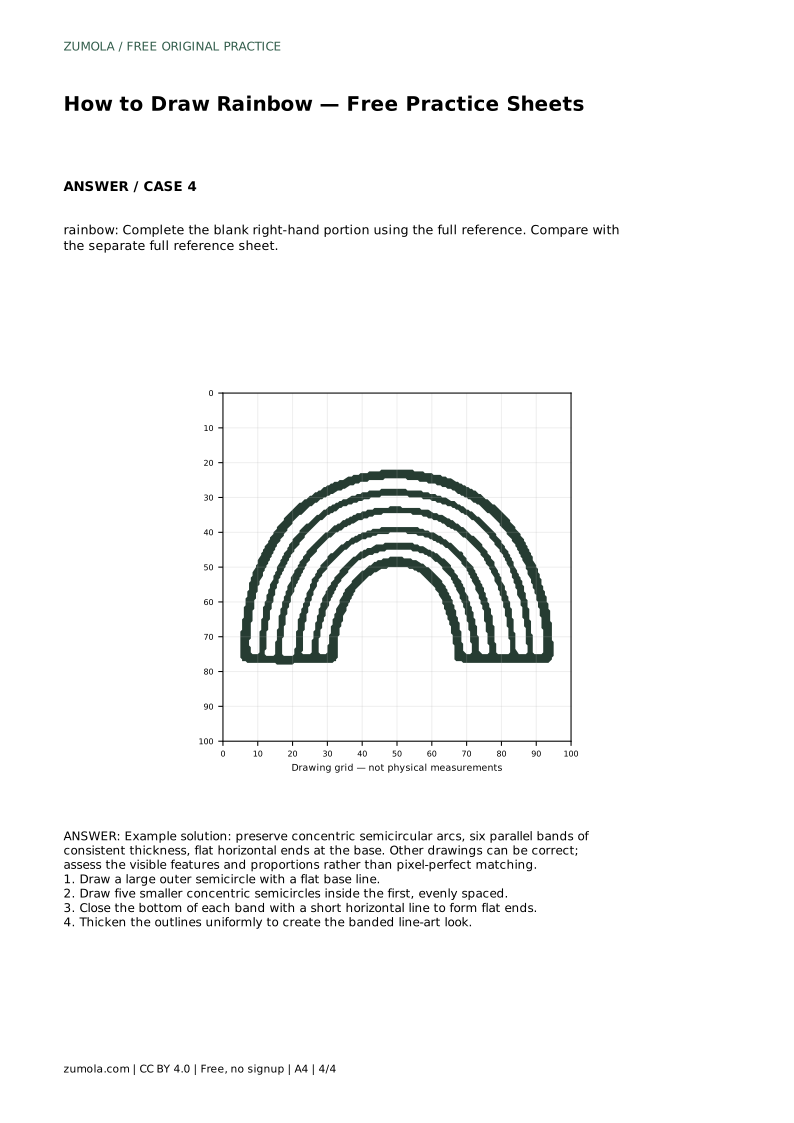
Reference diagrams
LETTER · Download PDF
A4 · Download PDF
Free original resources
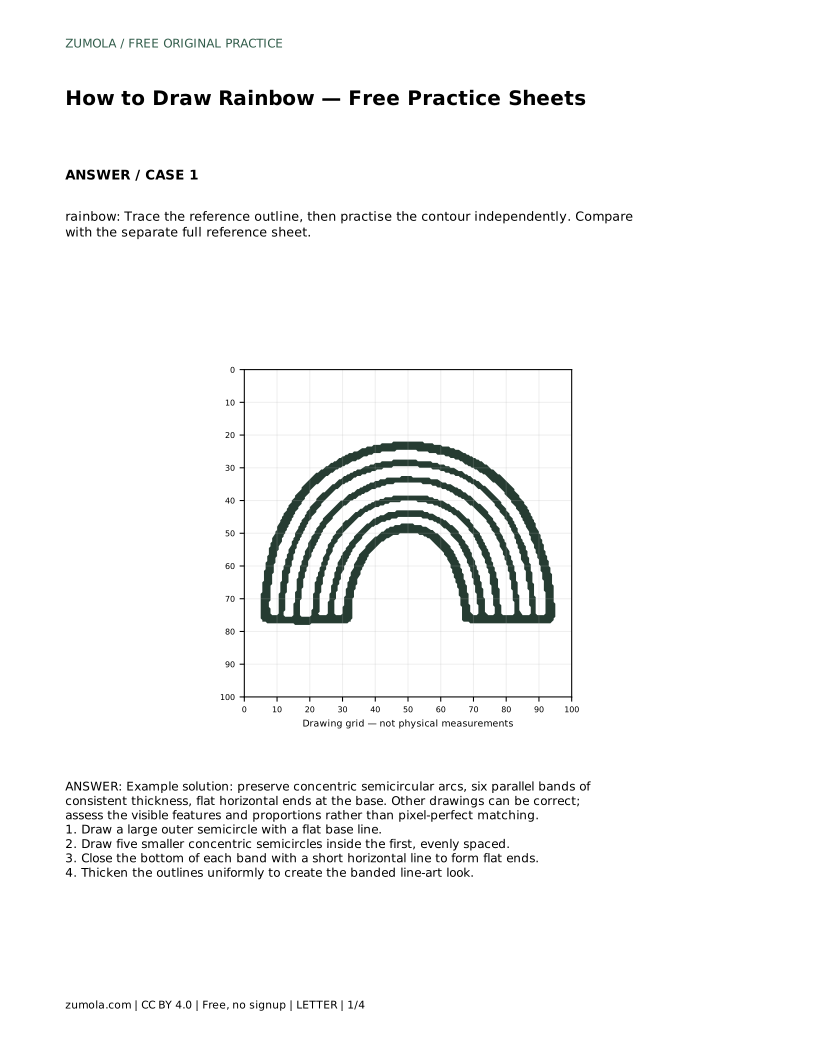
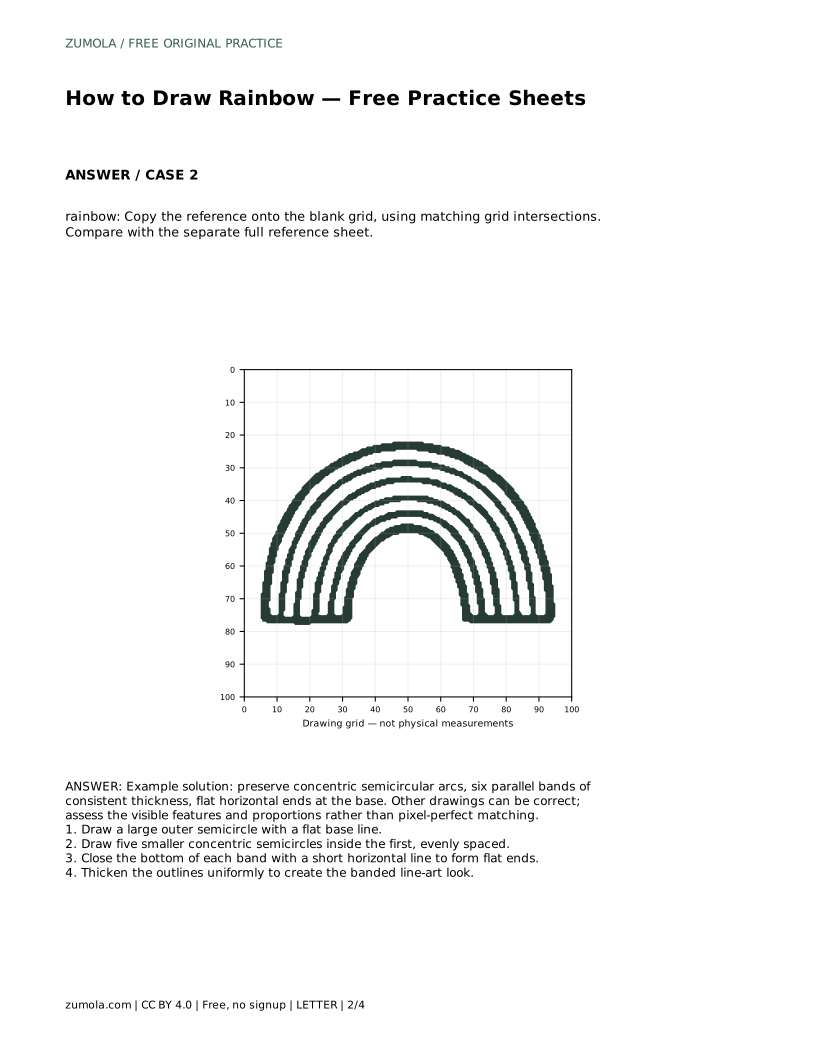
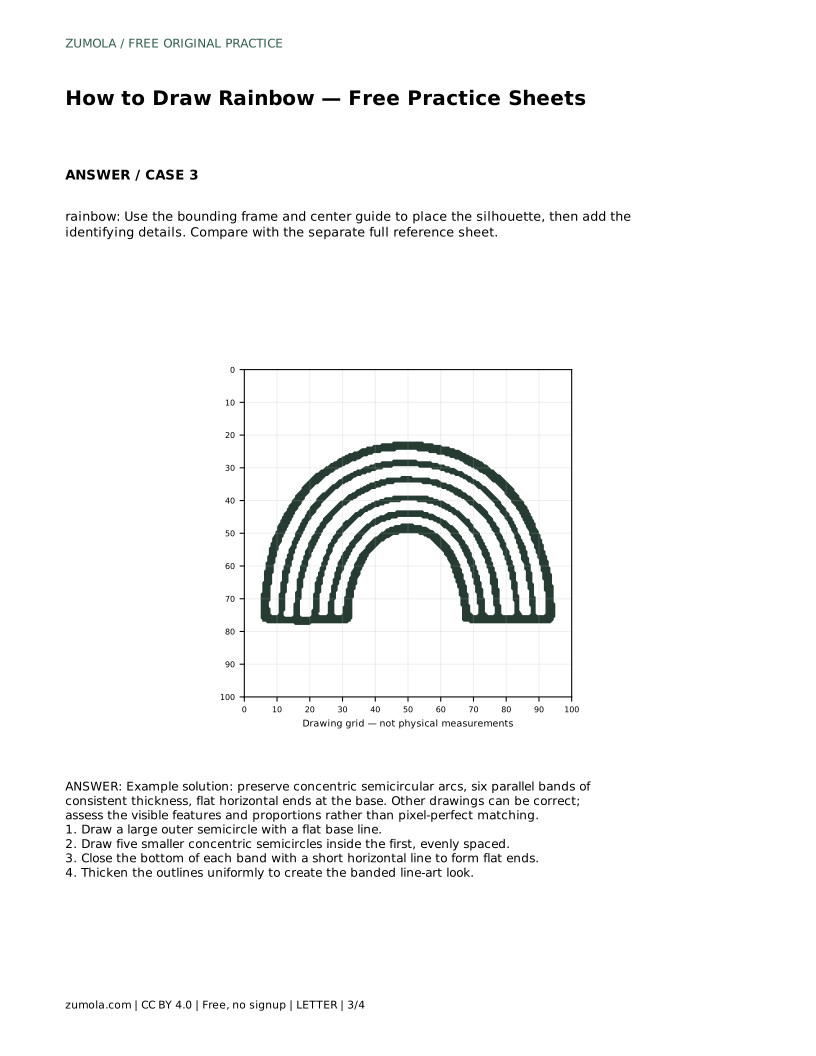
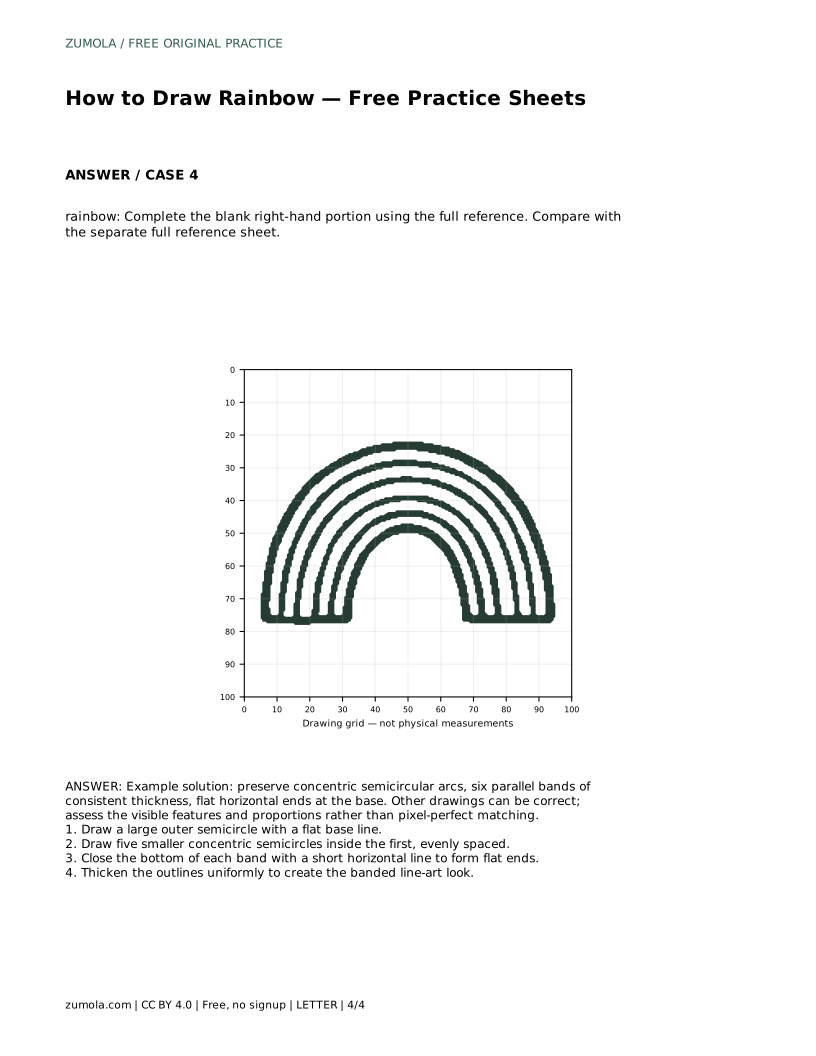
Learn to draw a rainbow with six concentric semicircular bands, flat horizontal ends, and consistent thickness. Includes tracing, grid, and completion practice guidance.
Four original cases, with reference diagrams, practice sheets and worked answers. Everything is free; no signup required.
LETTER · Download PDF
A4 · Download PDF
LETTER · Download PDF
A4 · Download PDF
LETTER · Download PDF
A4 · Download PDF
Use A4 or US Letter to match your printer. Use the stated values and conditions to solve each exercise; diagrams are not physical measuring rulers.
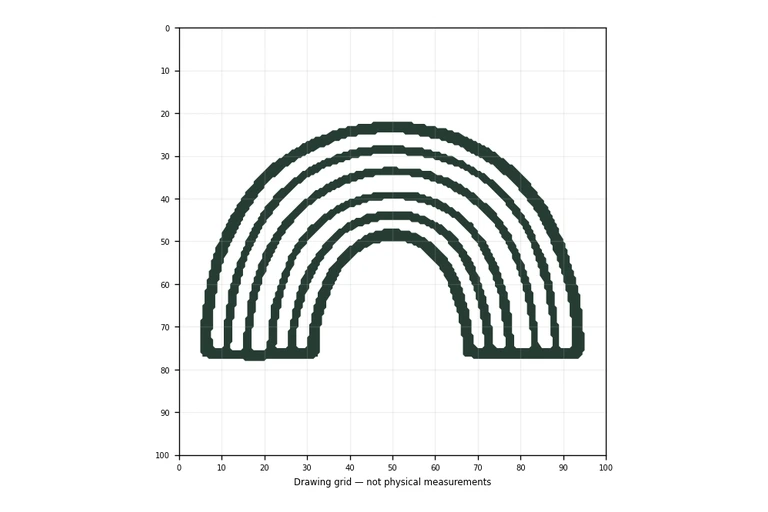
A rainbow drawing is mostly a geometry exercise: one large semicircle, five smaller arcs nested inside it, and a flat base line that closes each band. This page explains how to build that structure step by step, then how to use tracing, grid-copy, frame-guide, and partial-completion sheets to practise it. The goal is a clear, balanced banded outline, not a pixel-perfect copy.
Start with the outer semicircle. Draw a horizontal base line, choose a centre point on it, and sweep one large arc from the left end to the right end. Keep the two endpoints level with each other so the rainbow sits flat rather than tilting.
Inside that outer arc, add five smaller semicircles that share the same centre point. Each new arc should sit a roughly equal distance from the one outside it. Even spacing is what makes the bands read as parallel stripes rather than random curves.
Close each band at the bottom with a short horizontal segment joining neighbouring arcs. The outermost band needs a flat end on both sides, and each inner band does too. Without these short closing lines, the arcs look like open hoops instead of a finished rainbow.
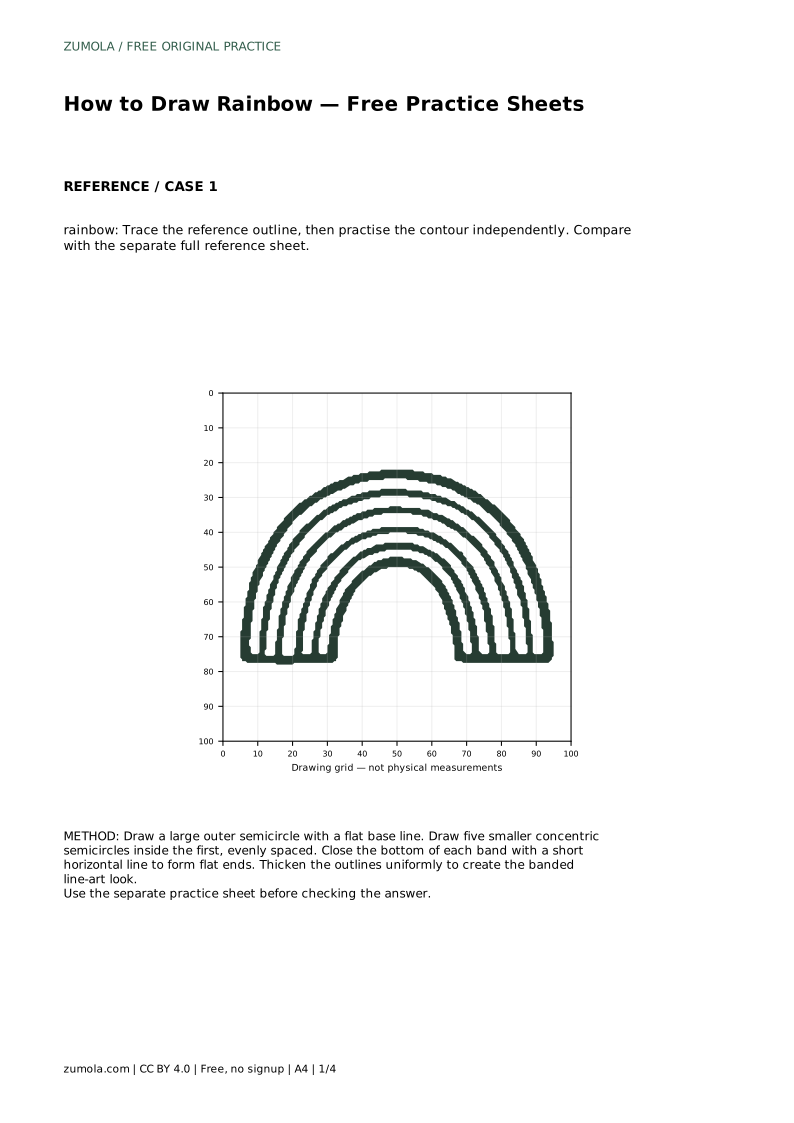
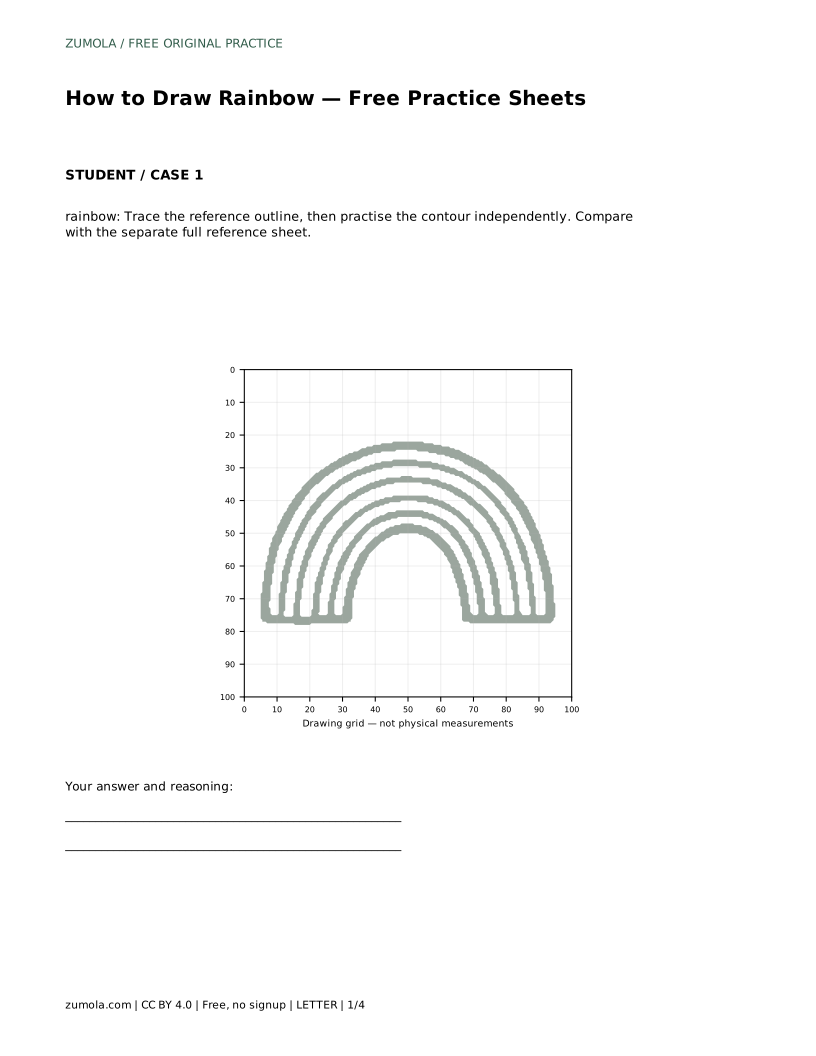
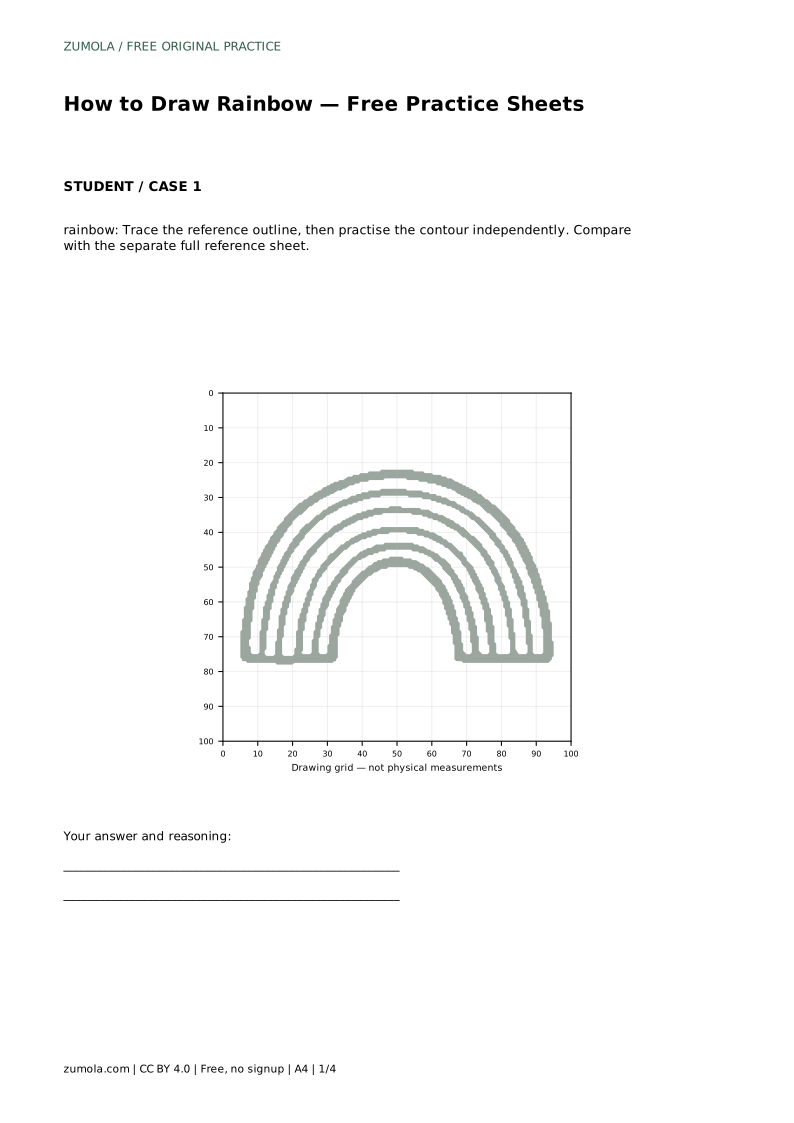
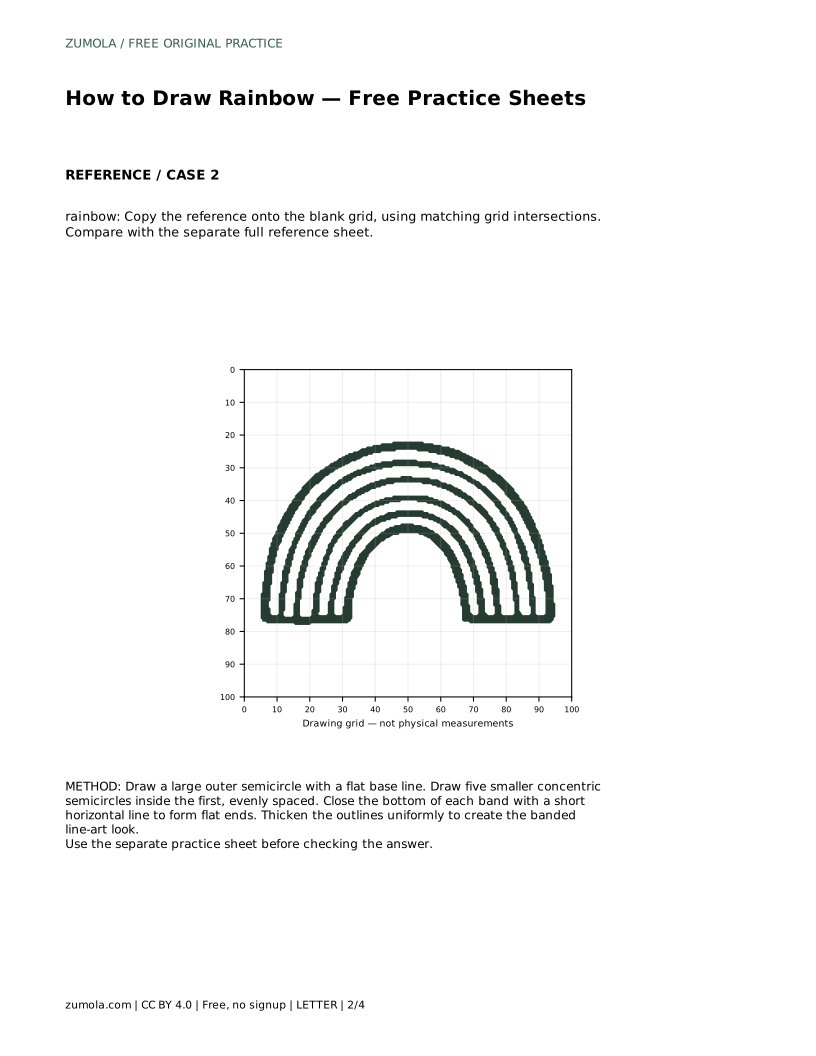
The tracing sheet asks you to follow the reference outline first, then repeat the contour on your own. Tracing builds the hand motion; the independent repeat is where the shape actually sticks. Compare your free attempt with the separate full reference sheet rather than with your traced line.
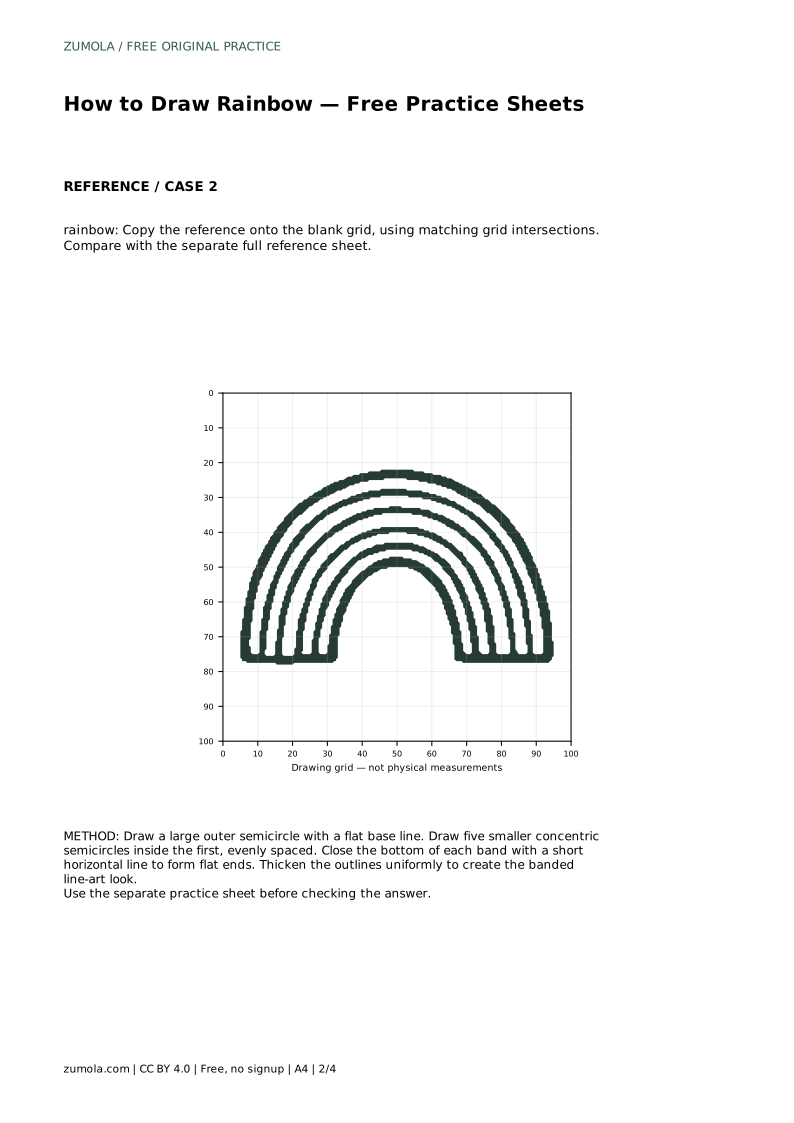
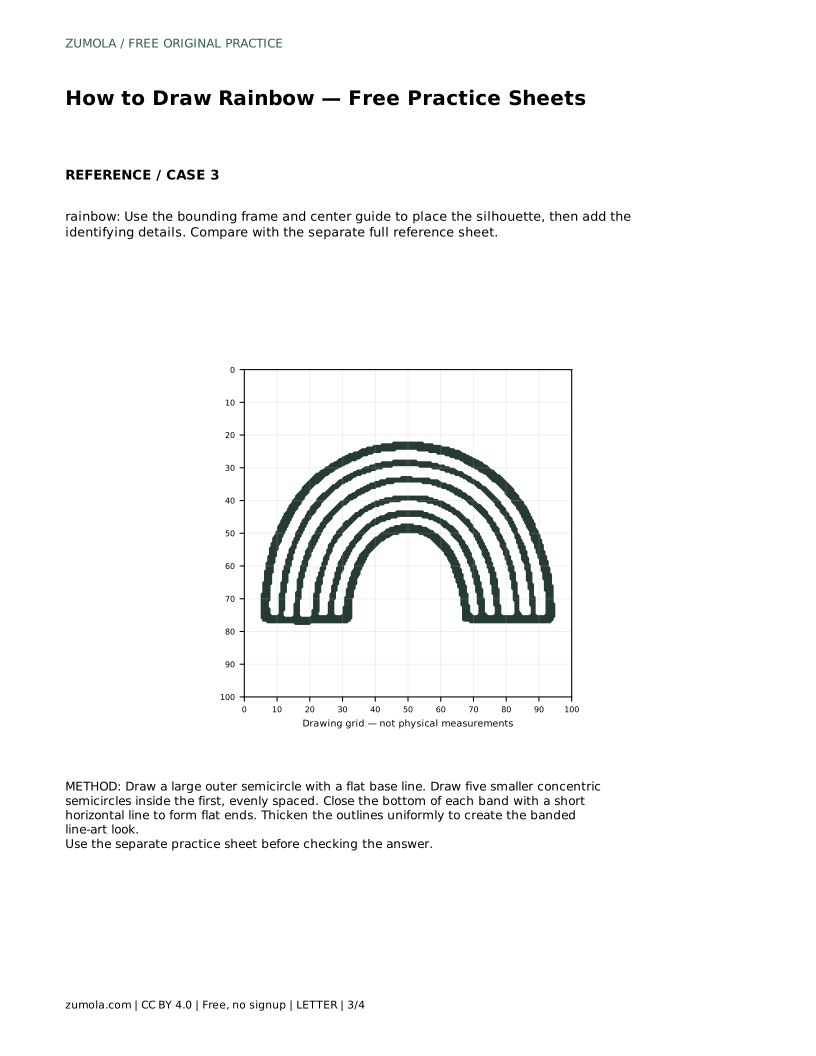
The grid-copy sheet works differently. Match the reference at grid intersections, so the outer arc's highest point and the base endpoints land on the same relative positions. The grid helps you judge proportion, not just outline.
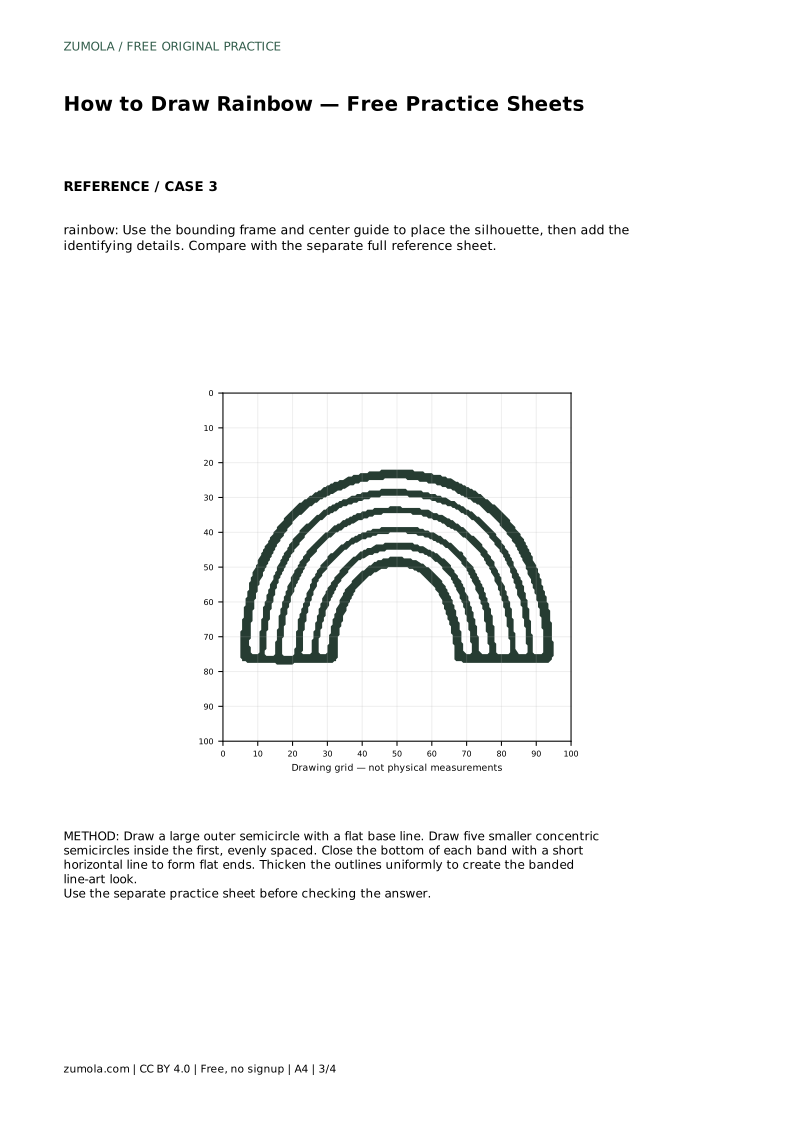
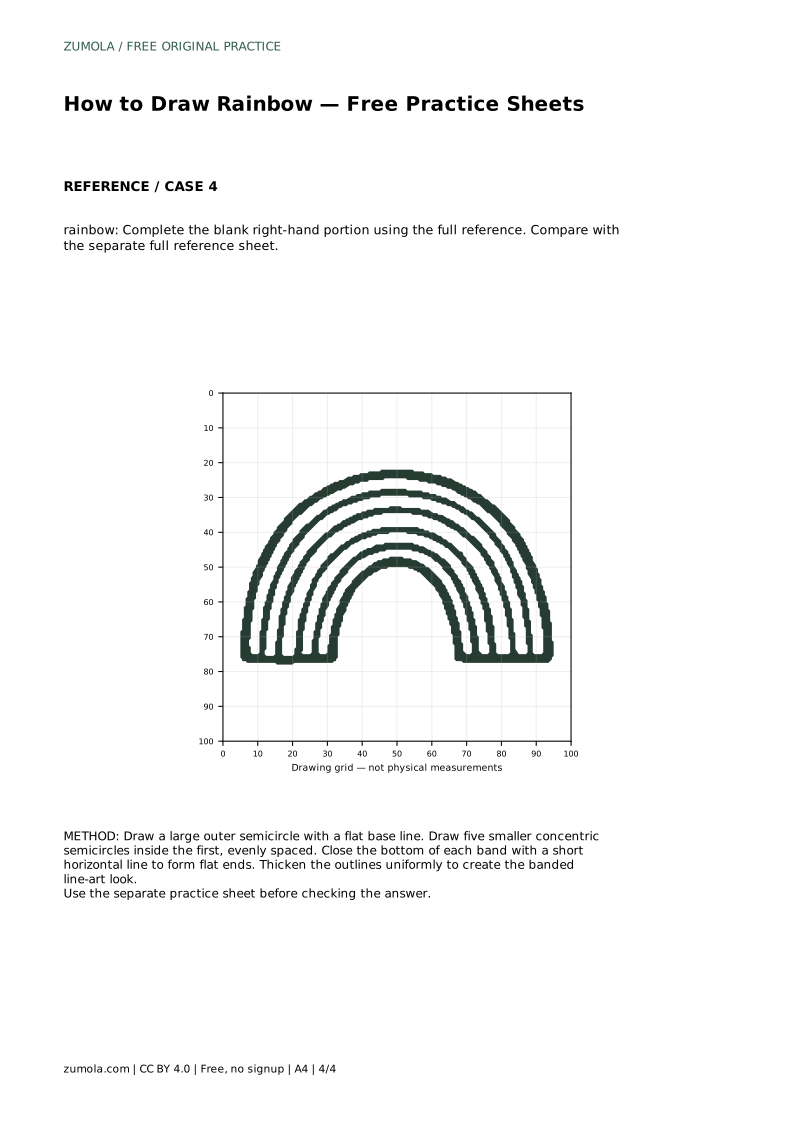
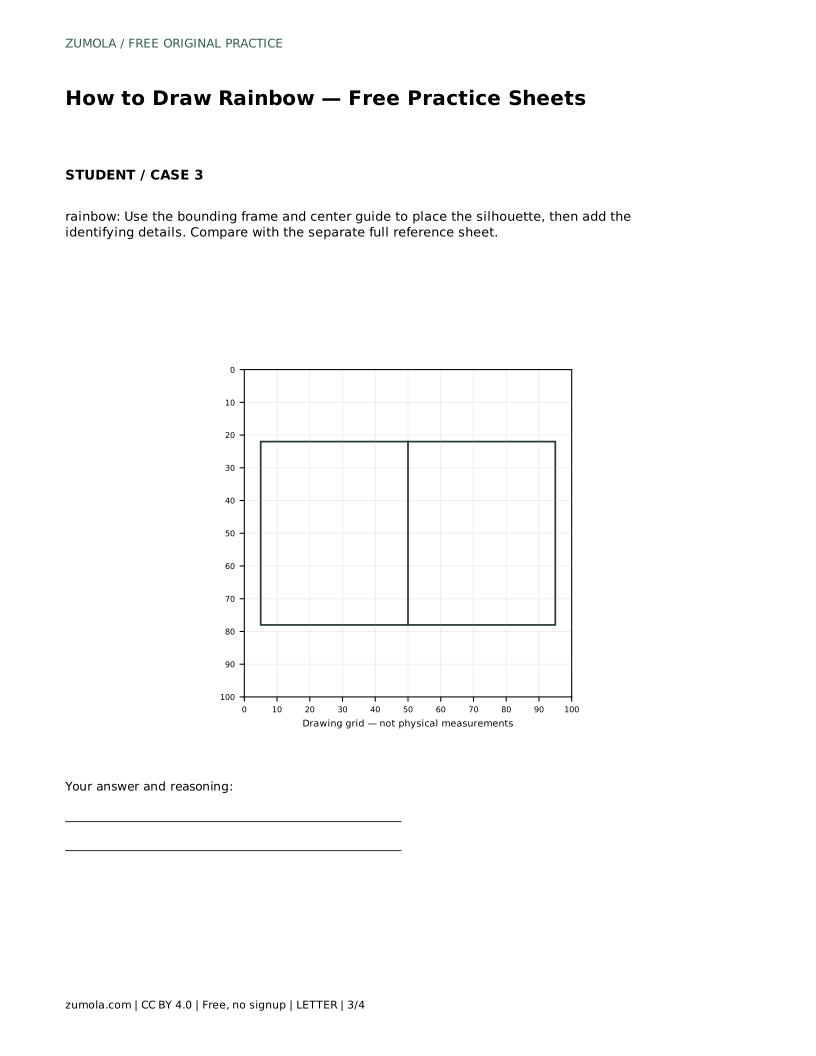
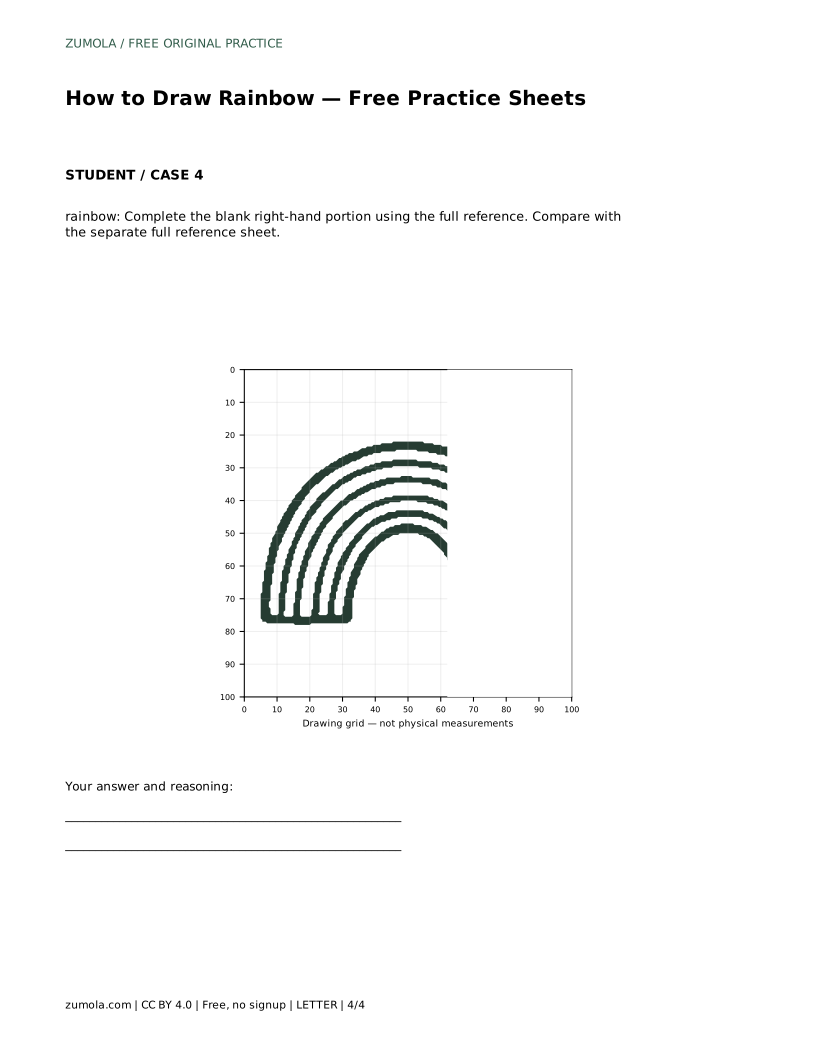
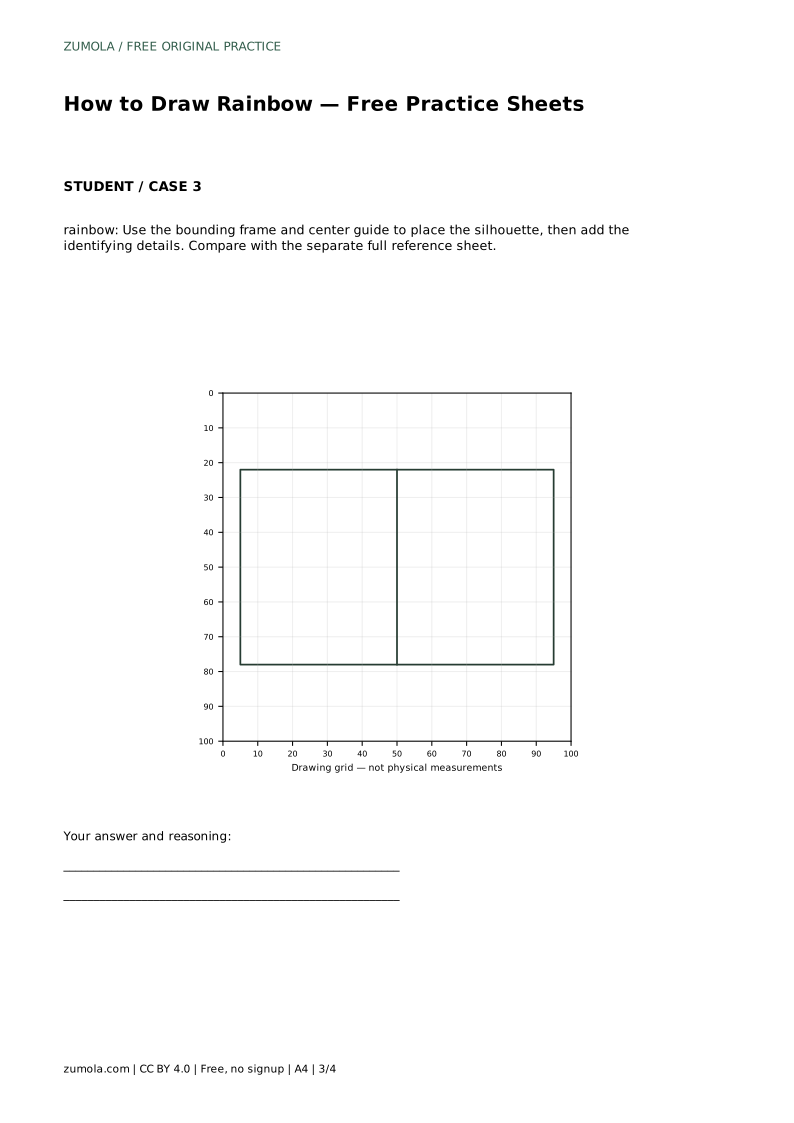
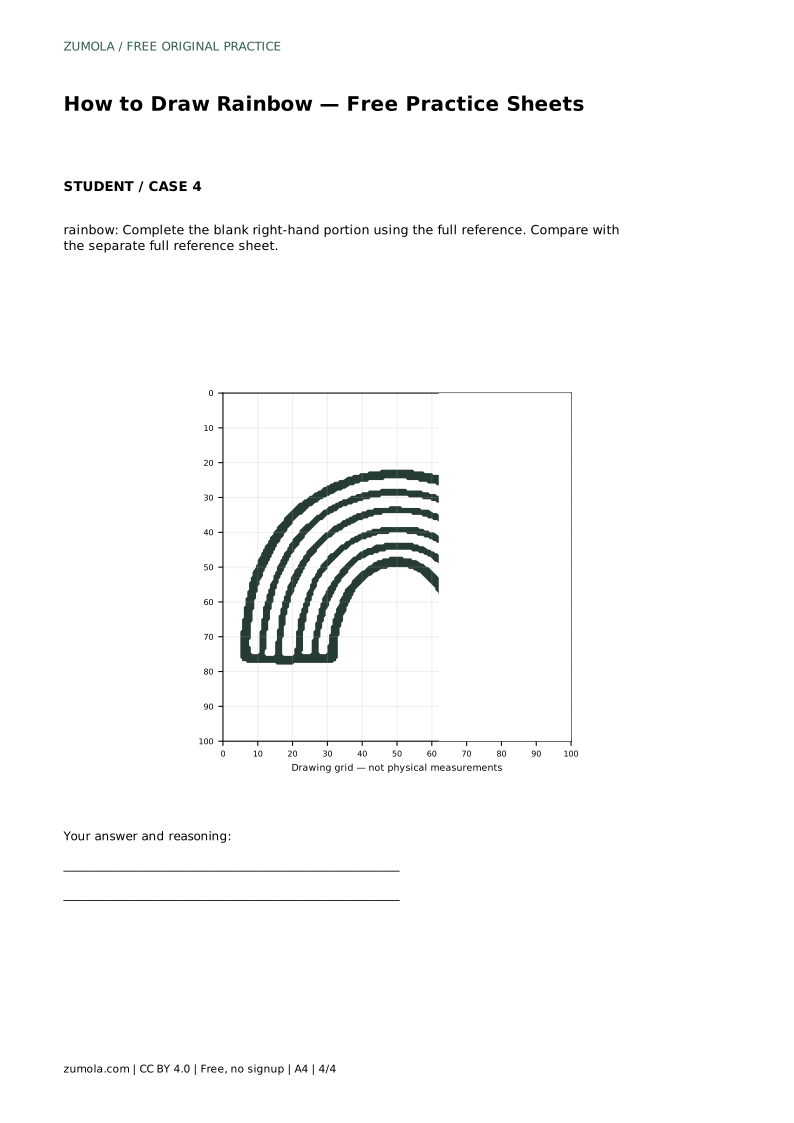
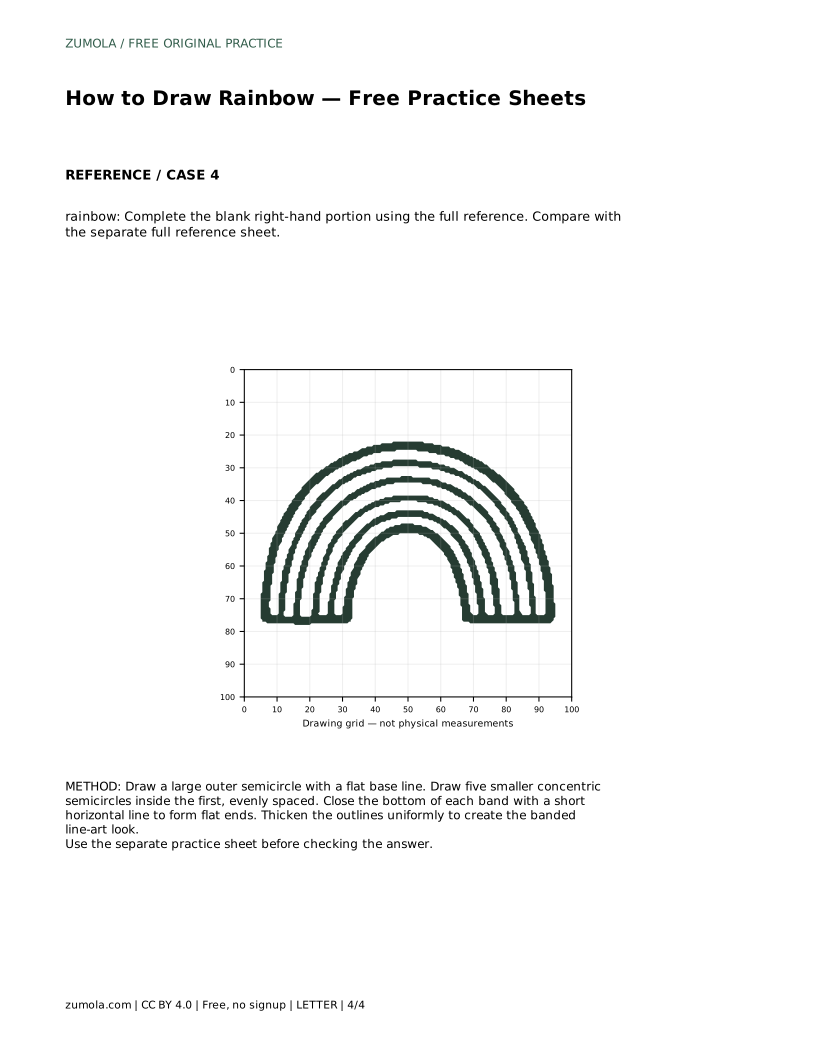
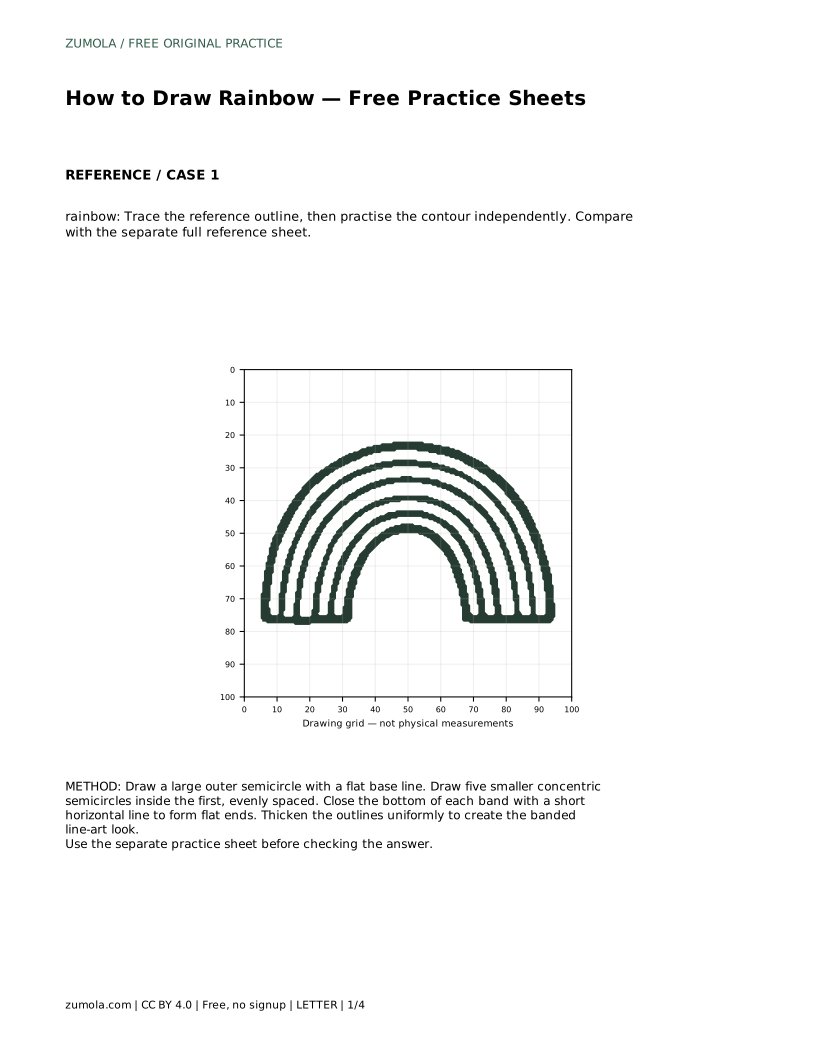
The frame-and-centre-guide sheet gives you a bounding box and a centre line. Place the silhouette inside that frame before adding the band details. The partial-completion sheet supplies one side and asks you to finish the other, which tests whether you understand the spacing rule well enough to continue it.
A convincing rainbow keeps its arcs concentric and its bands similar in width. If one band is much wider than its neighbours, the drawing looks lopsided even when the outer shape is correct. Step back and compare the gaps between arcs at the top and at the sides.
The flat ends should sit on the same horizontal level. If one end is higher, the rainbow appears to lean. Also check that the outer arc is the widest and that each inner arc stays strictly inside the previous one.
Art has many valid outcomes, so judge visible features and proportions rather than exact matching. A slightly different overall size can still be correct if the concentric structure and even banding hold.
rainbow: Trace the reference outline, then practise the contour independently. Compare with the separate full reference sheet.
Example solution: preserve concentric semicircular arcs, six parallel bands of consistent thickness, flat horizontal ends at the base. Other drawings can be correct; assess the visible features and proportions rather than pixel-perfect matching. Draw a large outer semicircle with a flat base line. Draw five smaller concentric semicircles inside the first, evenly spaced. Close the bottom of each band with a short horizontal line to form flat ends. Thicken the outlines uniformly to create the banded line-art look.
This practice set uses six bands: one outer arc plus five inner arcs. Keep the count consistent with the reference you are copying.
Aim for smooth, concentric arcs with level endpoints. Small variations are fine; the structure and even spacing matter more than mathematical precision.
Study the finished side, note the band spacing and base level, then continue the same arcs and flat ends across the blank portion.
All drawing practice · Free coordinate paper
Original resources · CC BY 4.0 · Free for personal and classroom use with attribution.