Reference diagrams
LETTER · Download PDF
A4 · Download PDF
Free original resources
Learn to draw a gavel by building a round sound block, a ridged cylindrical head, and a tapered handle. Practice with tracing, grid, and outline sheets.
Four original cases, with reference diagrams, practice sheets and worked answers. Everything is free; no signup required.
LETTER · Download PDF
A4 · Download PDF
LETTER · Download PDF
A4 · Download PDF
LETTER · Download PDF
A4 · Download PDF
Use A4 or US Letter to match your printer. Use the stated values and conditions to solve each exercise; diagrams are not physical measuring rulers.
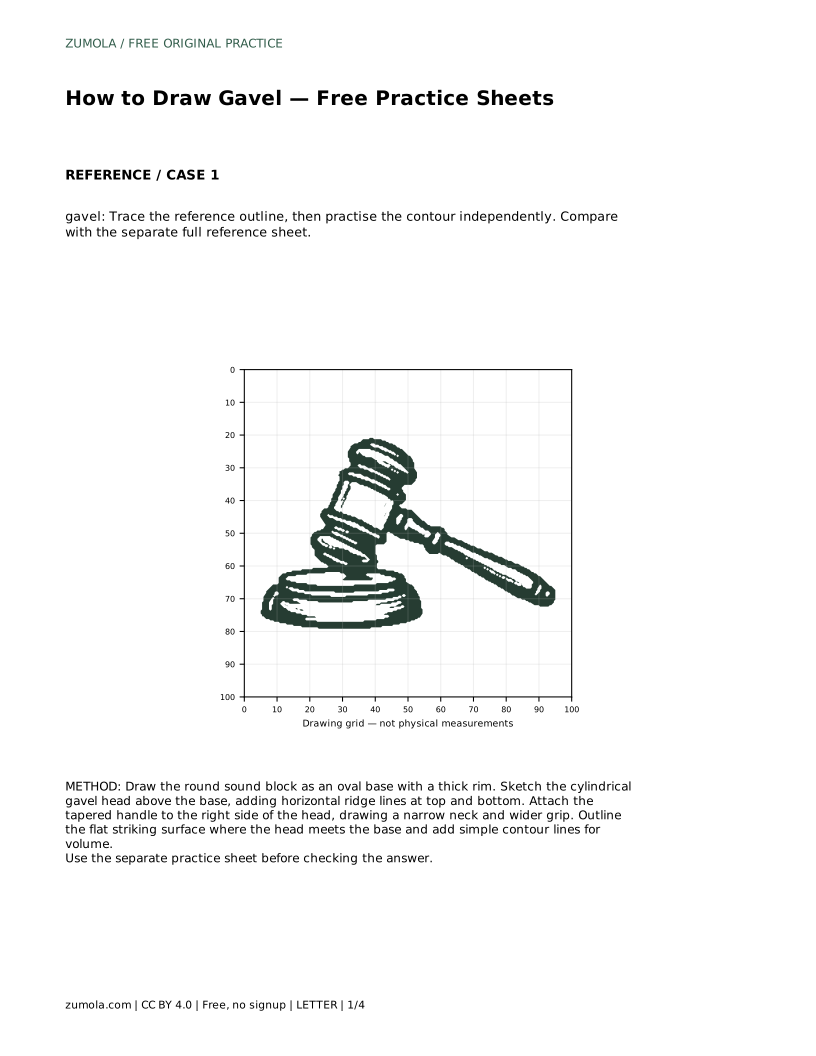
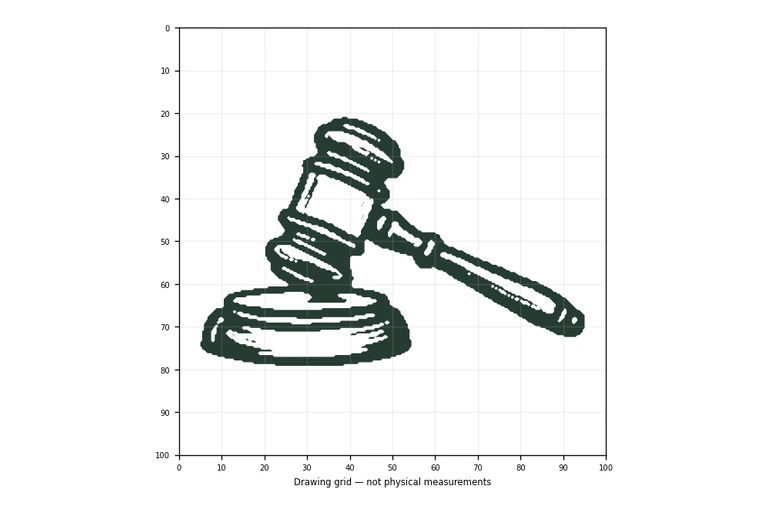
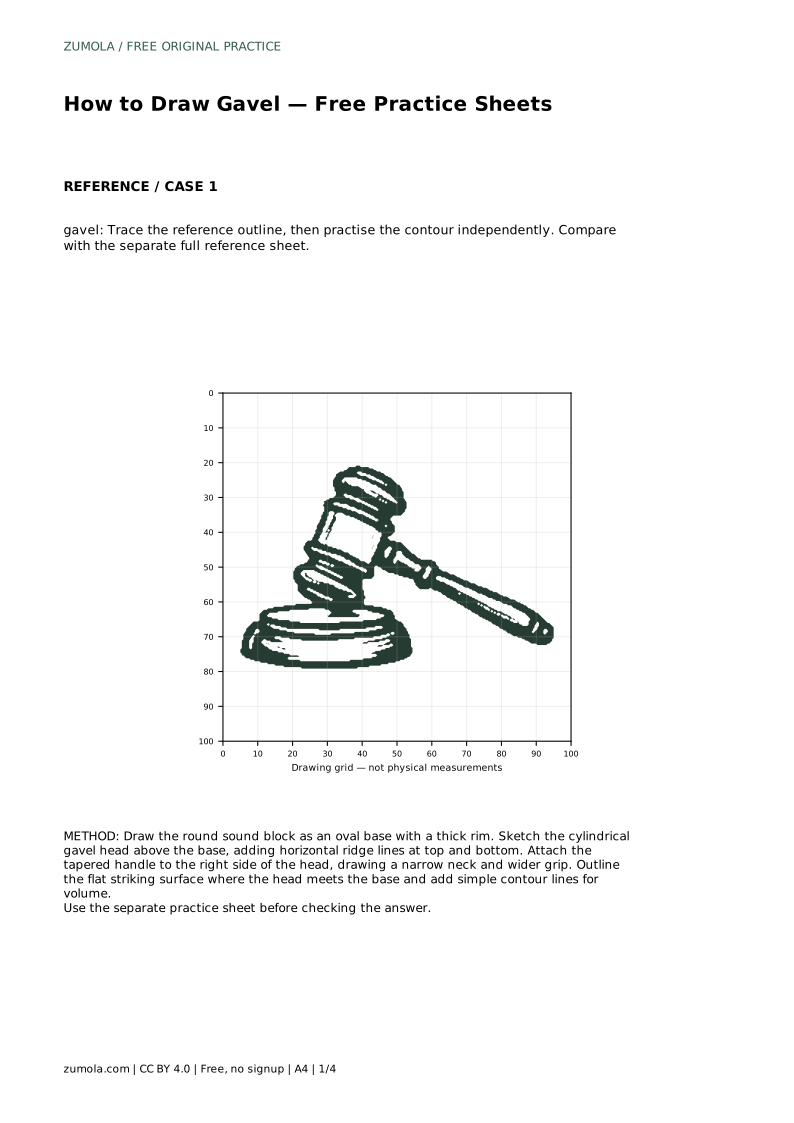
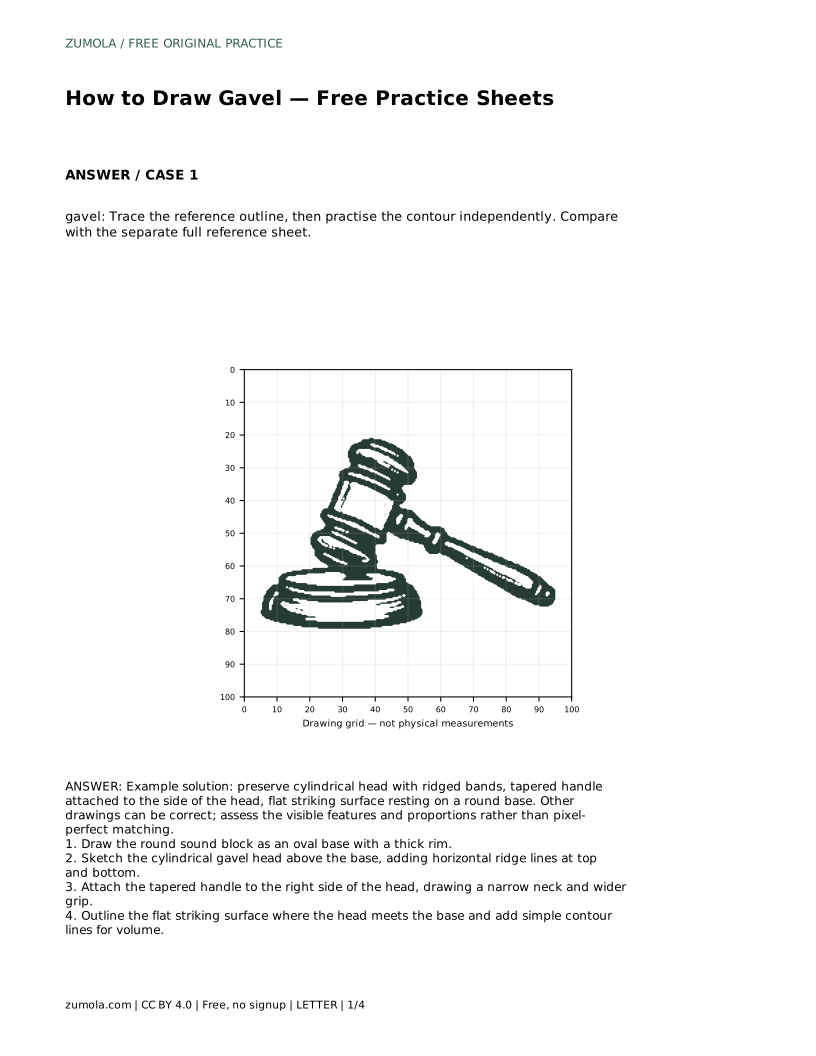
A gavel is a good subject for learning to combine simple solid shapes. The head is a cylinder with raised bands, the handle tapers from a narrow neck to a wider grip, and the round sound block sits beneath the striking face. This guide explains how to place those parts in a believable arrangement, then use the practice sheets to trace, copy, and complete the drawing independently.
Start with the sound block, because it anchors the whole composition. Draw it as an oval rather than a circle: the oval shows that the round block is seen at a slight angle. Add a second, slightly smaller oval inside the first to suggest a thick rim, and keep the two ovals parallel so the block reads as a solid disc rather than a flat ring.
Place the gavel head above the block. Sketch it as a cylinder lying horizontally, with an oval at each visible end. Add horizontal ridge lines near the top and bottom of the cylinder to mark the raised bands. These lines should curve with the cylinder's surface, not run perfectly straight, so the head keeps its round volume.
The handle joins the side of the head, not the top. Begin at the head with a narrow neck, then widen gradually toward the grip. A tapered handle looks more natural than one with parallel sides, and the change in width should be gradual so the handle does not appear to bulge.
Where the head meets the sound block, show a flat striking surface. This is the face that would contact the block, so it should look level and broad rather than pointed. A few light contour lines along the head and handle can suggest rounded volume without turning the drawing into a shaded study.
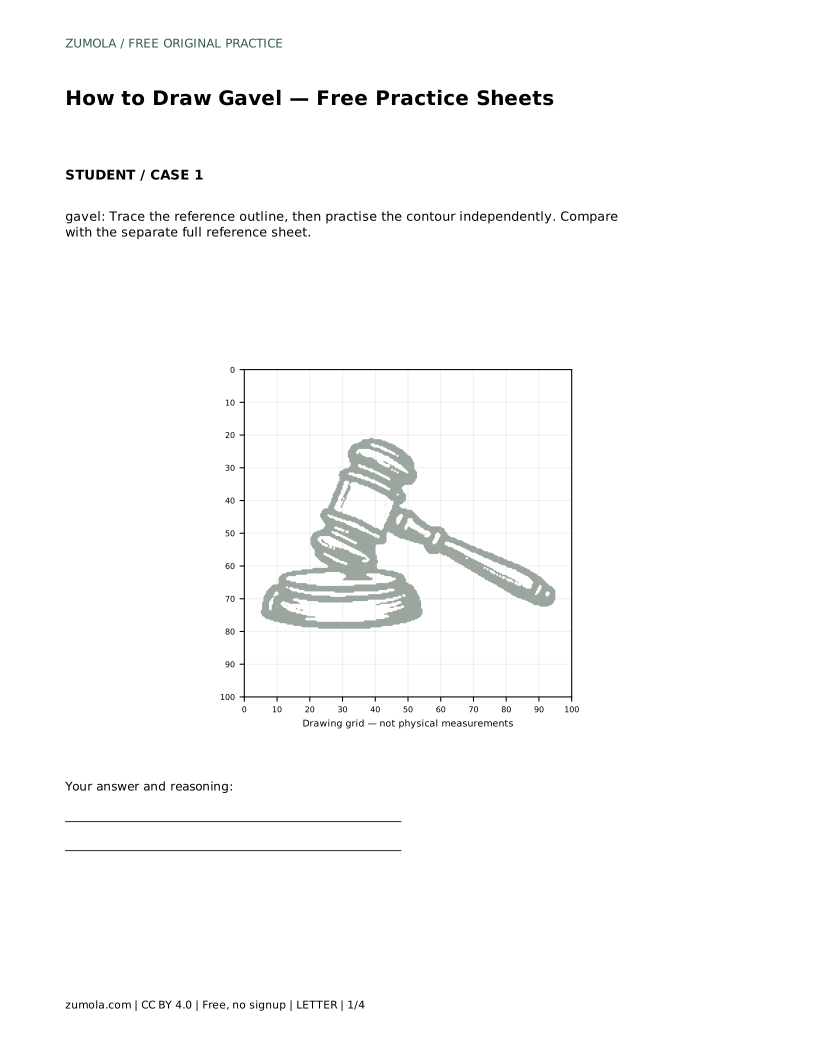
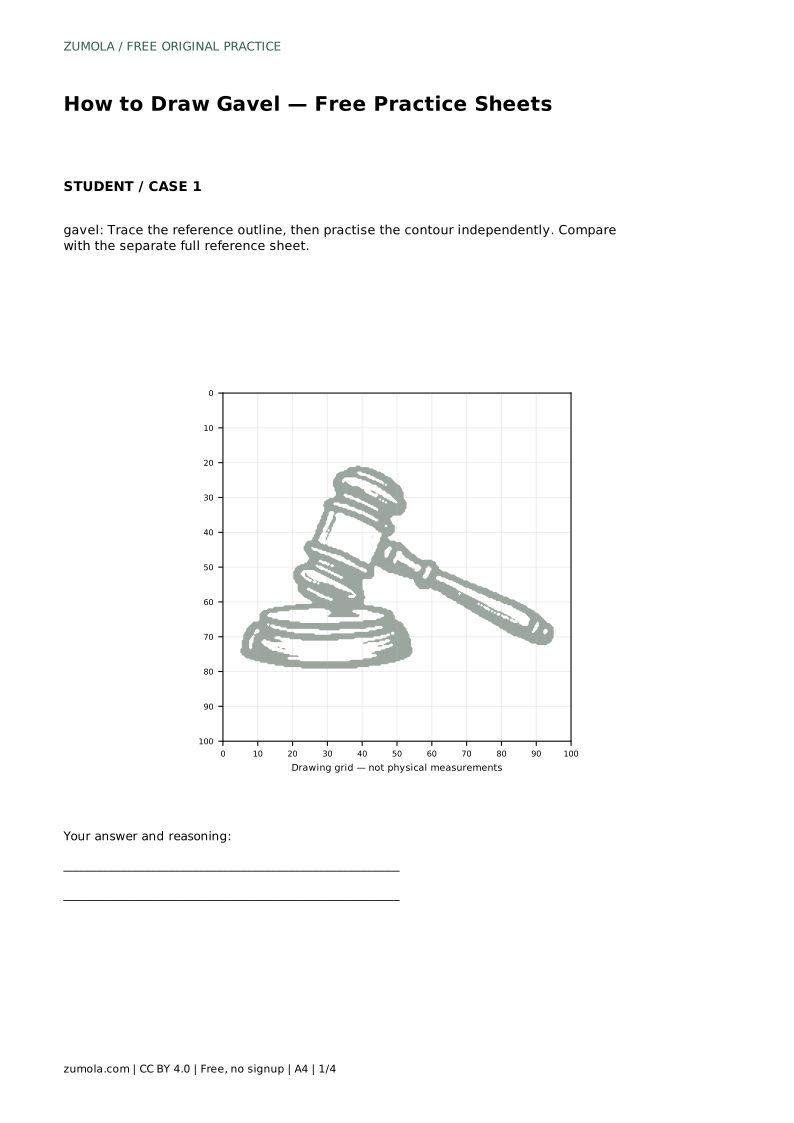
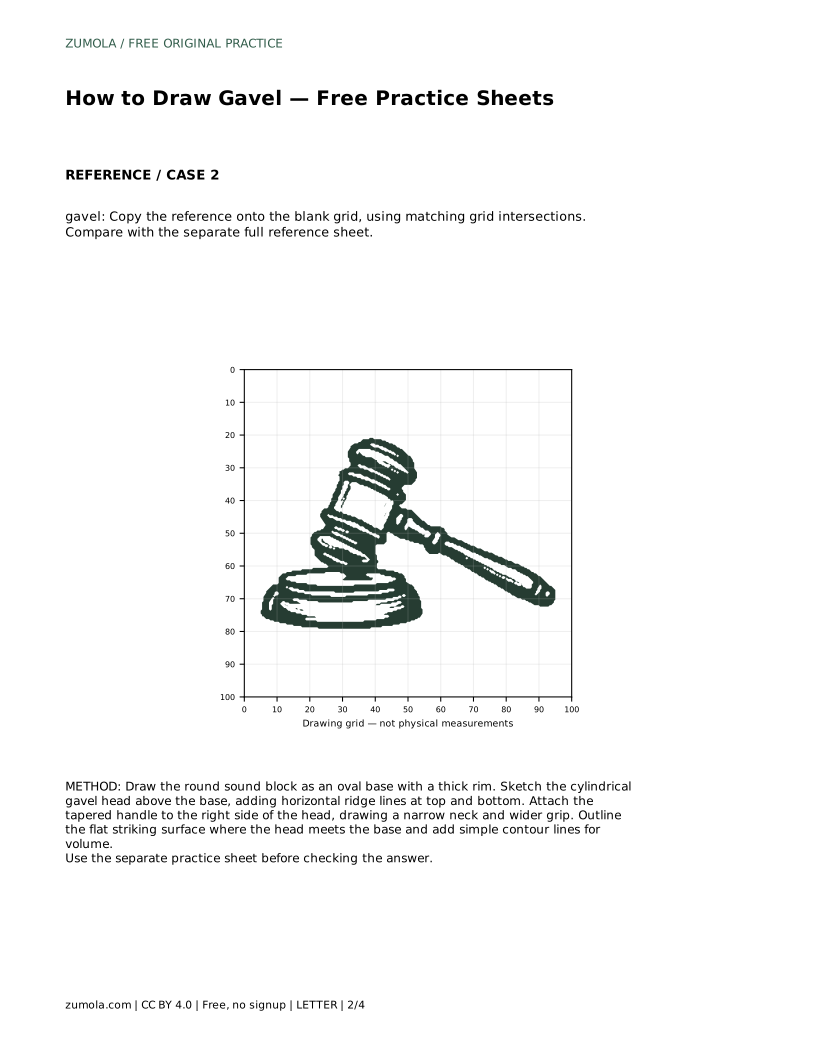
The tracing sheet asks you to follow the reference outline first, then repeat the contour on your own. Compare your independent attempt with the separate full reference sheet rather than with your traced line, since the reference shows the intended proportions.
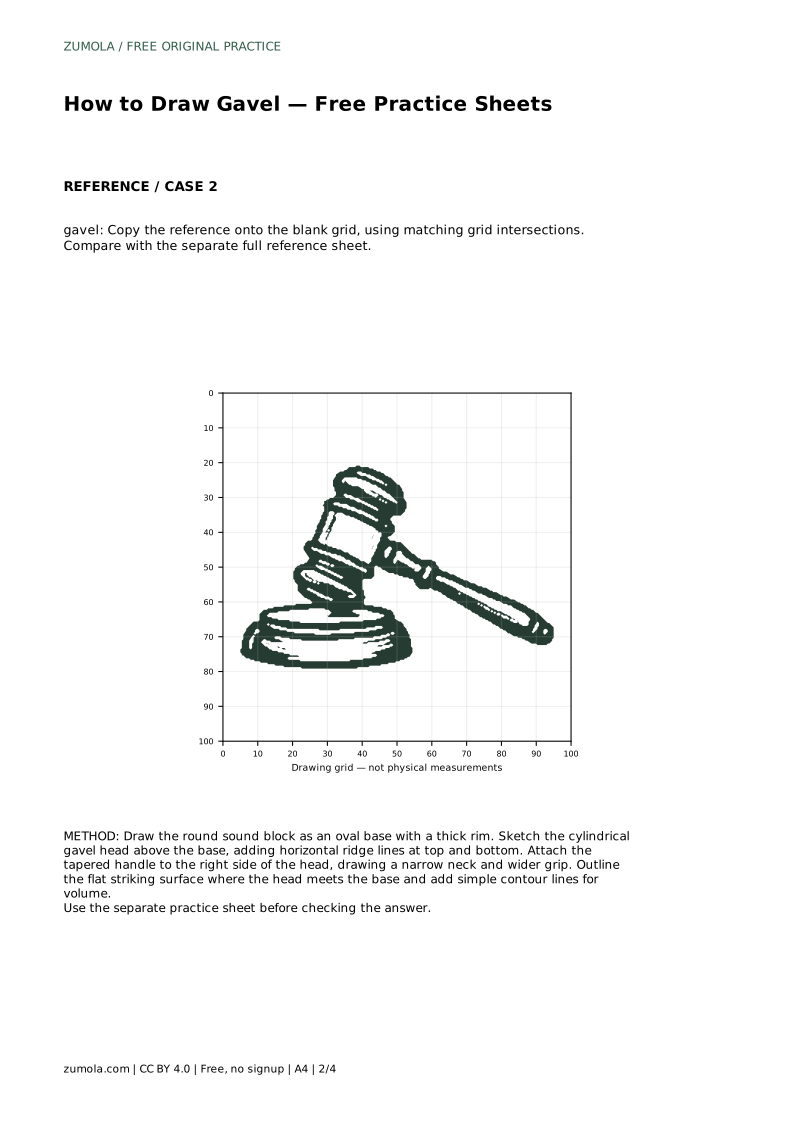
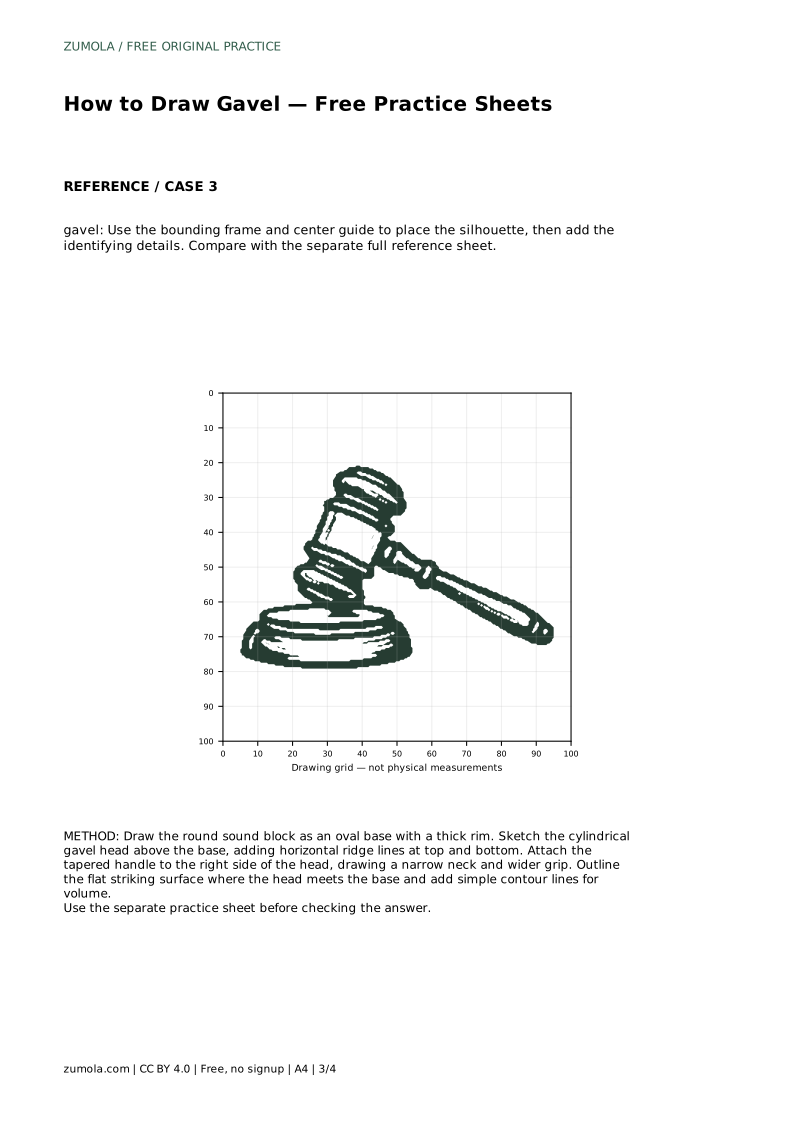
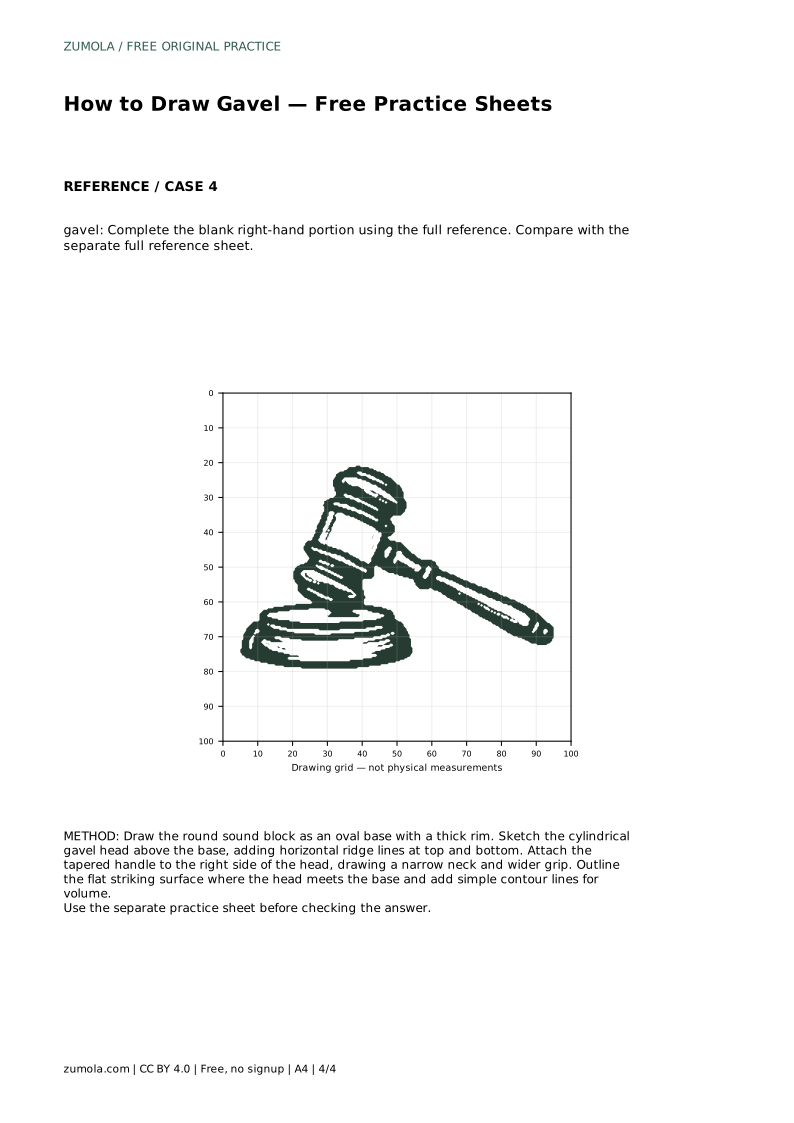
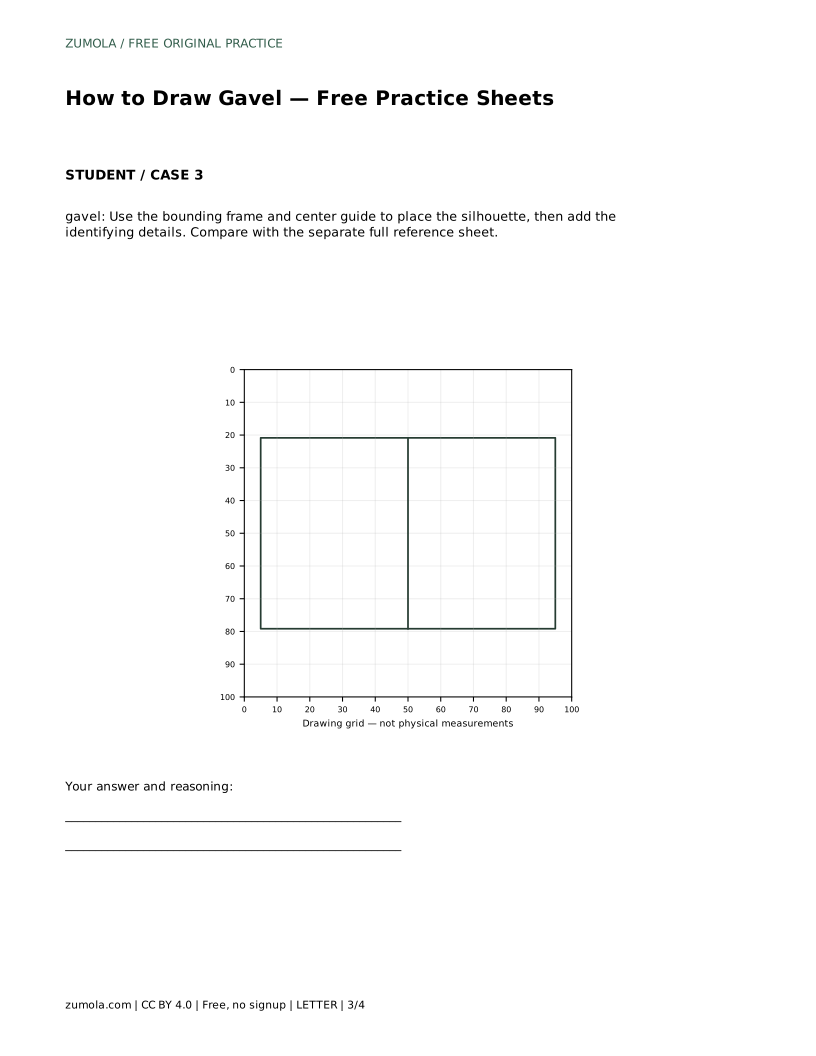
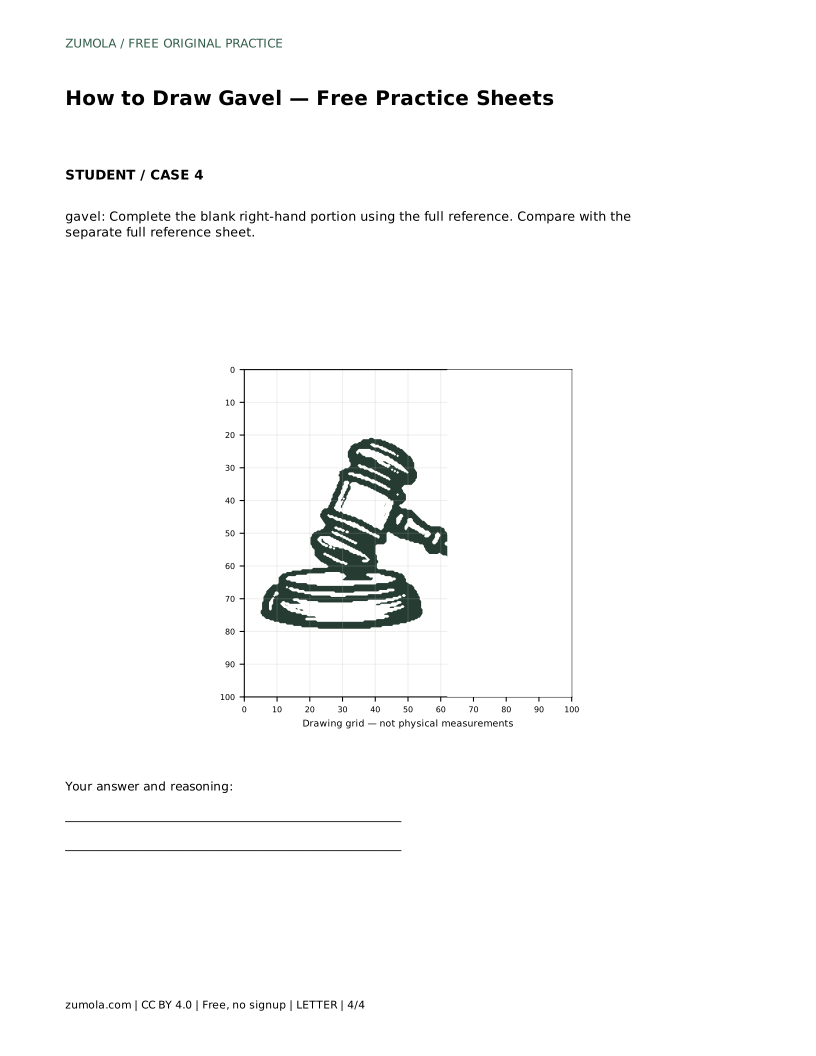
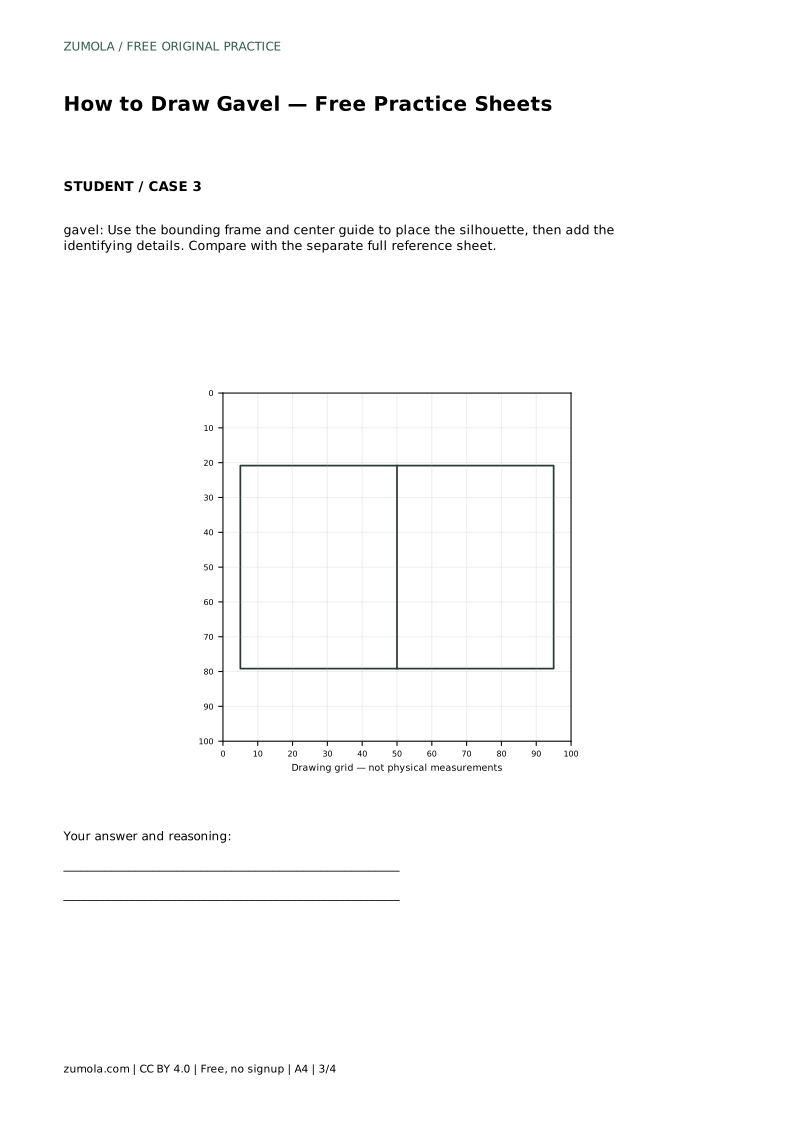
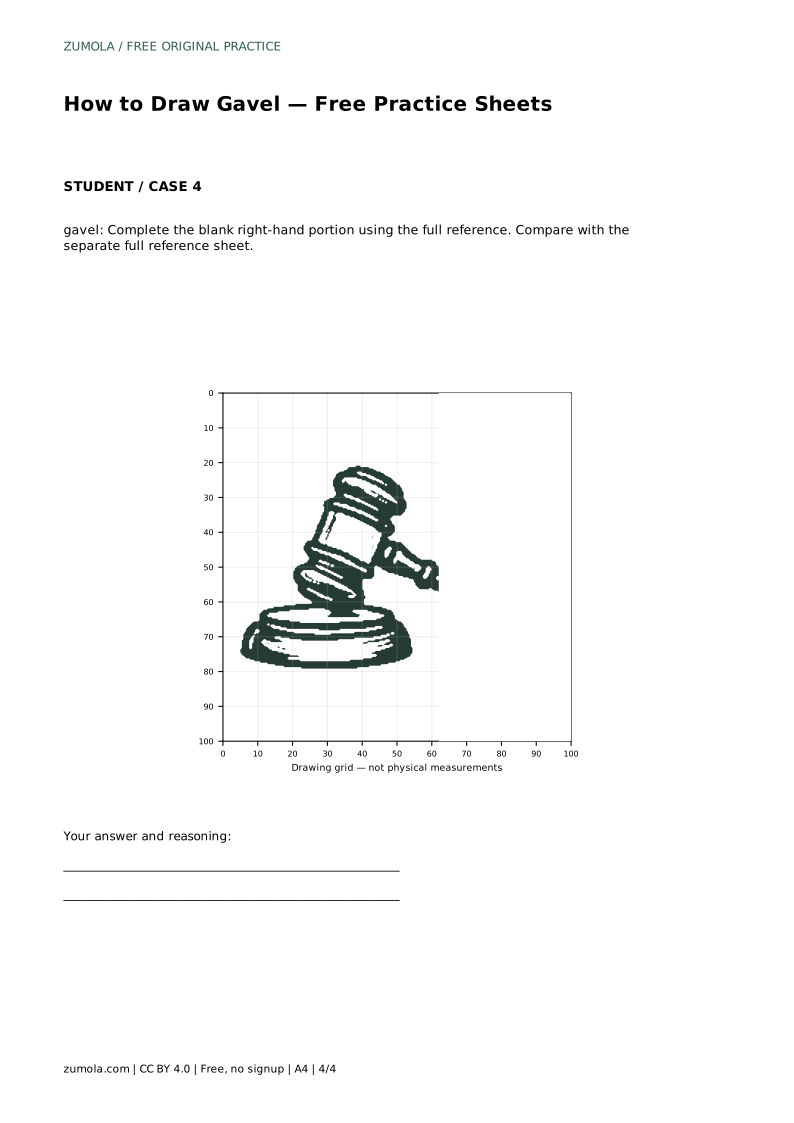
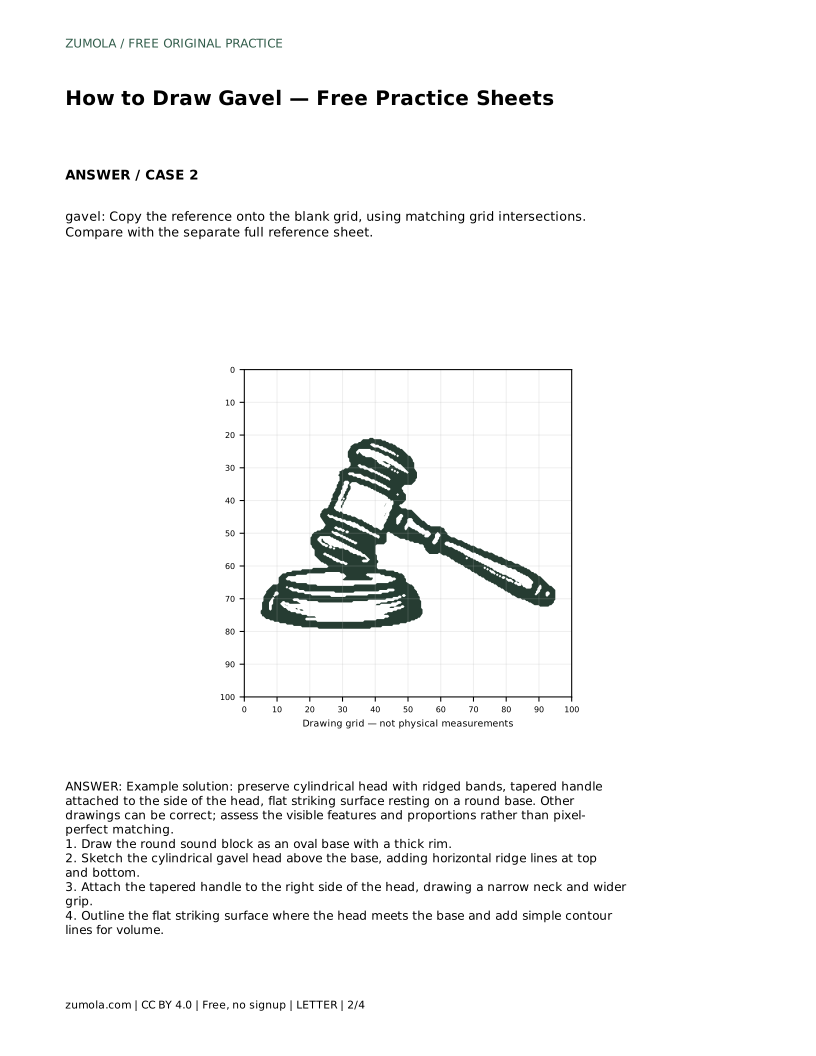
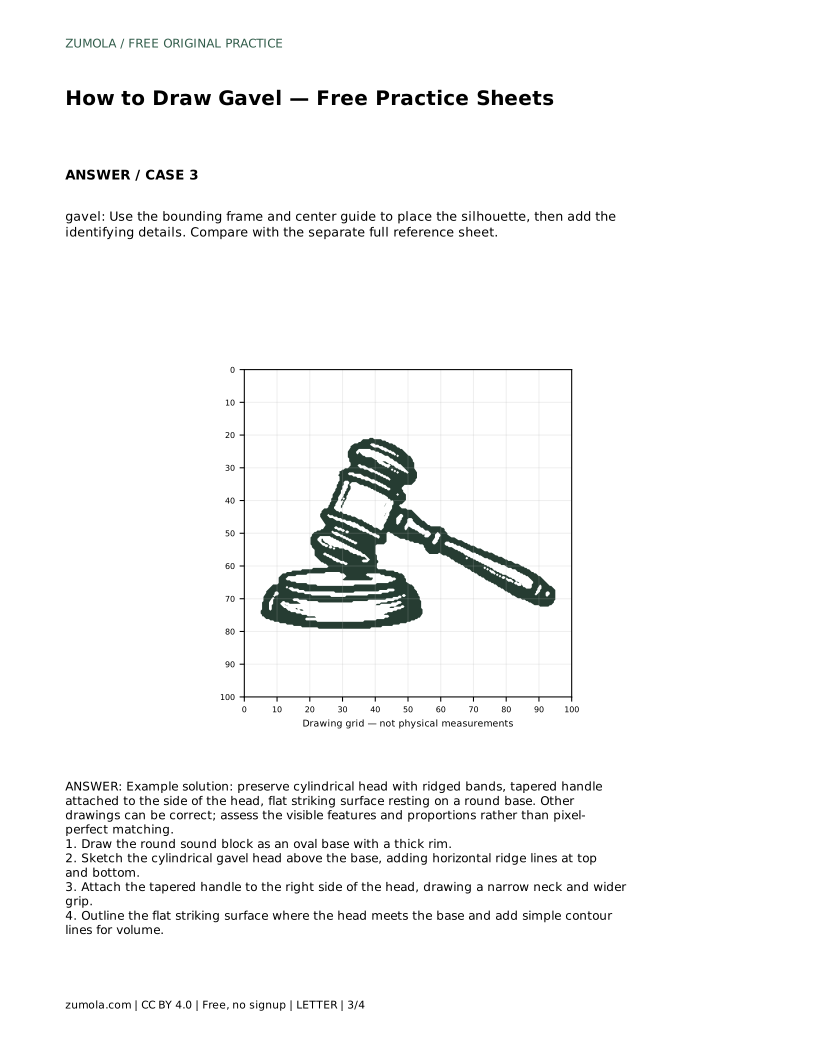
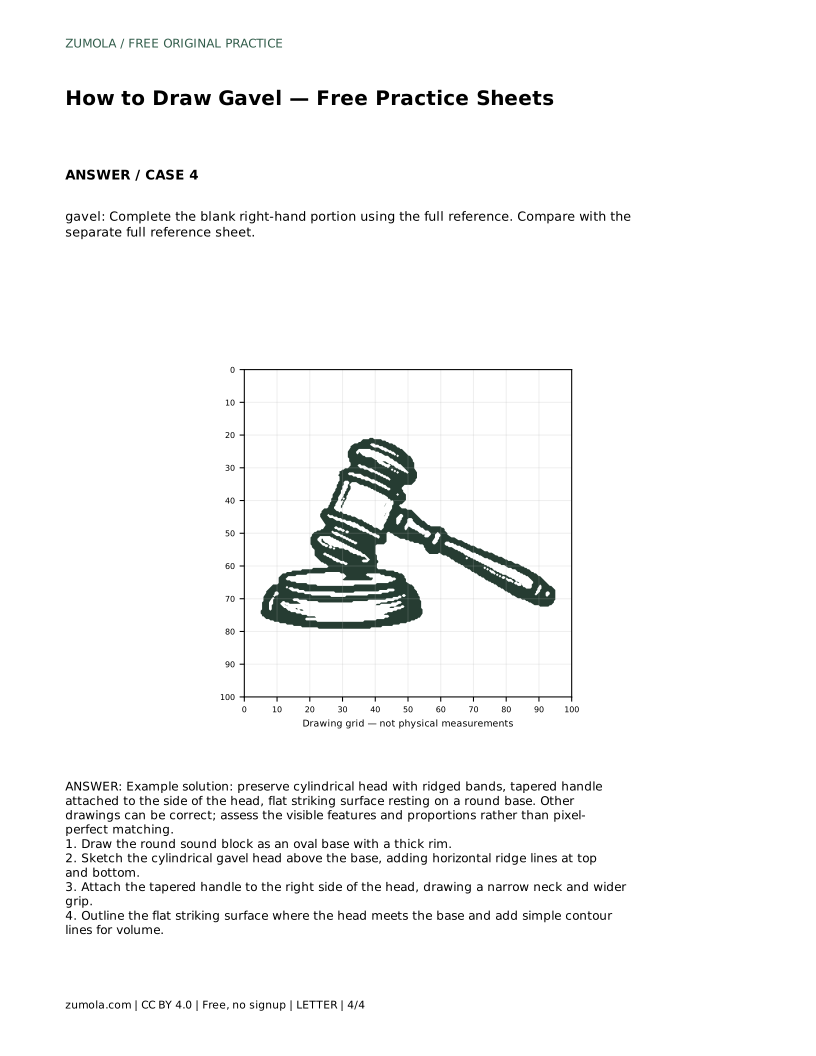
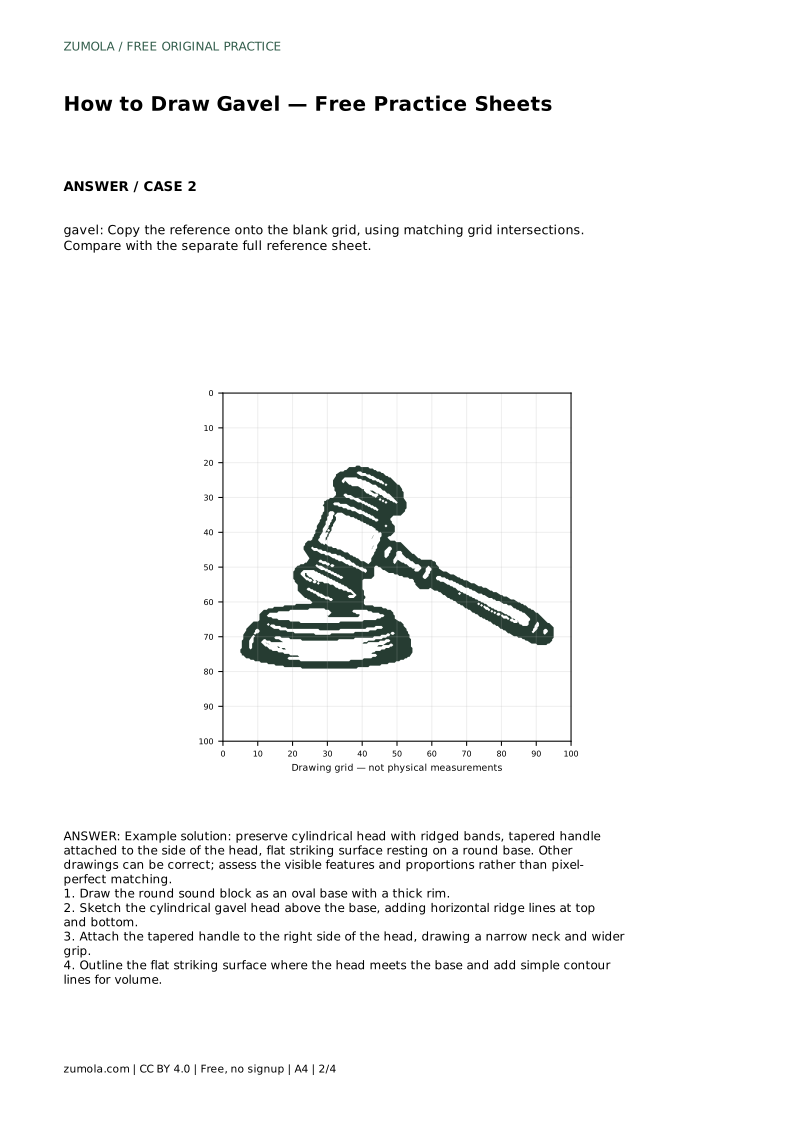
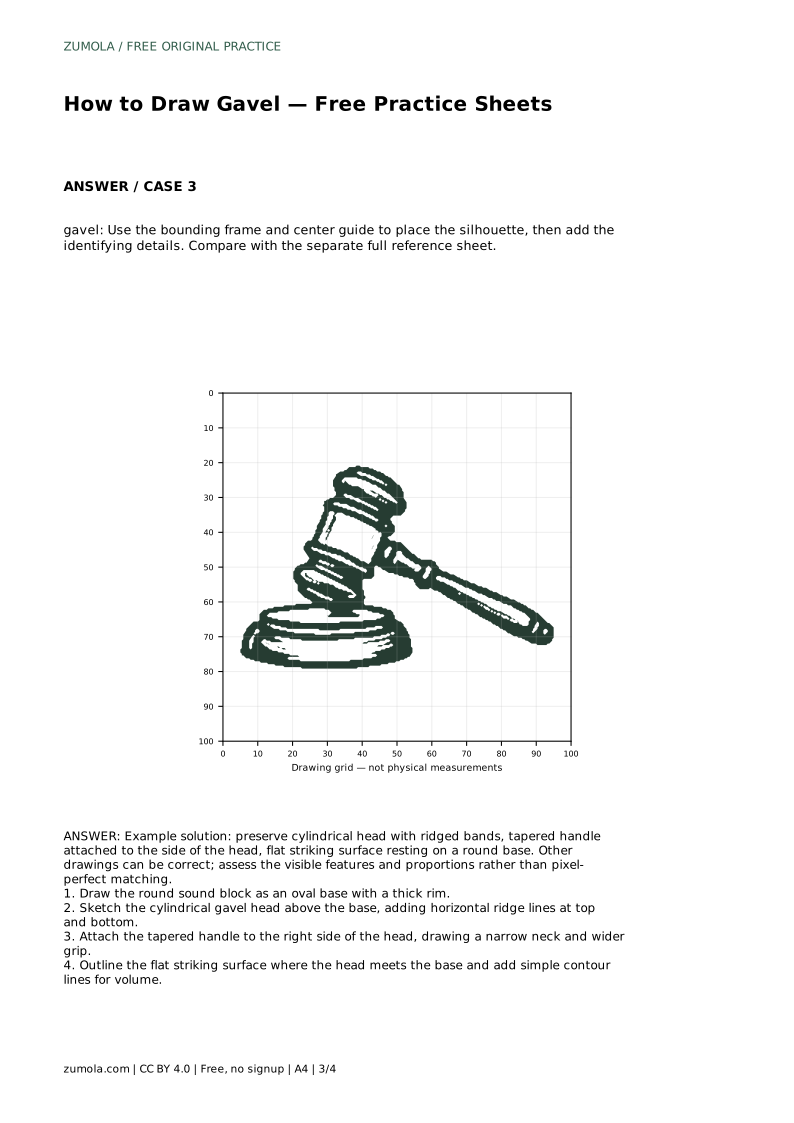
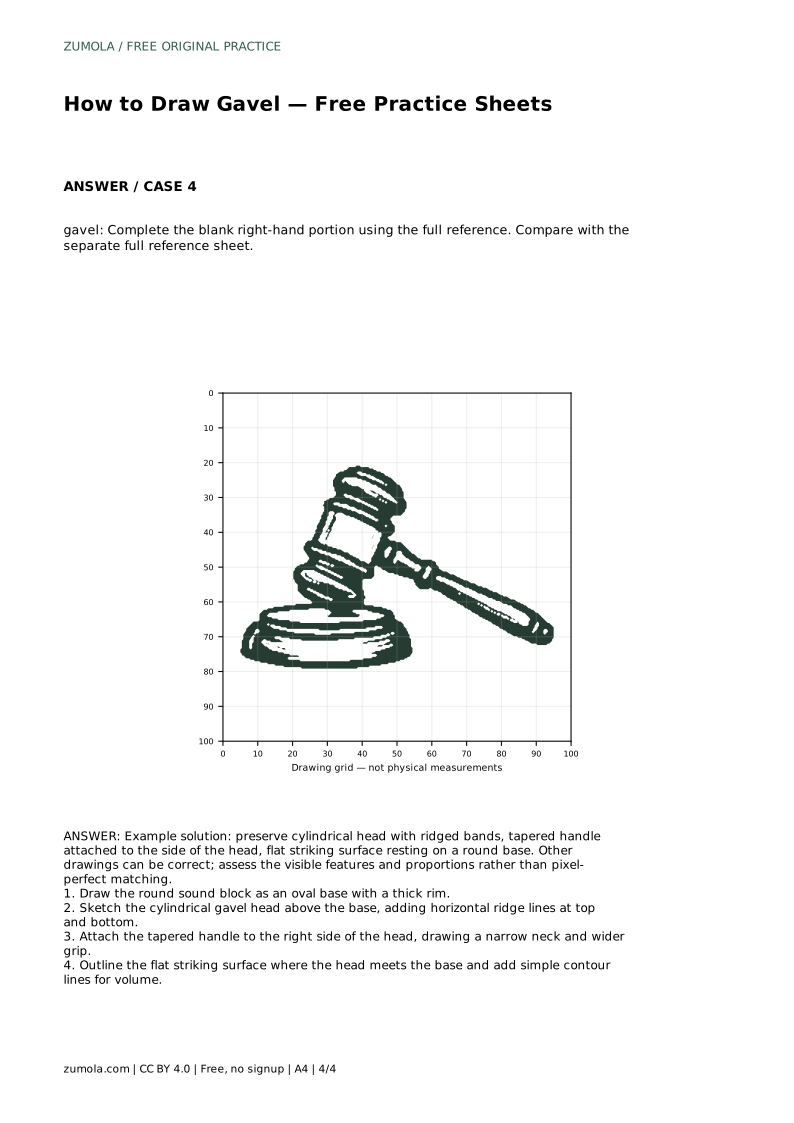
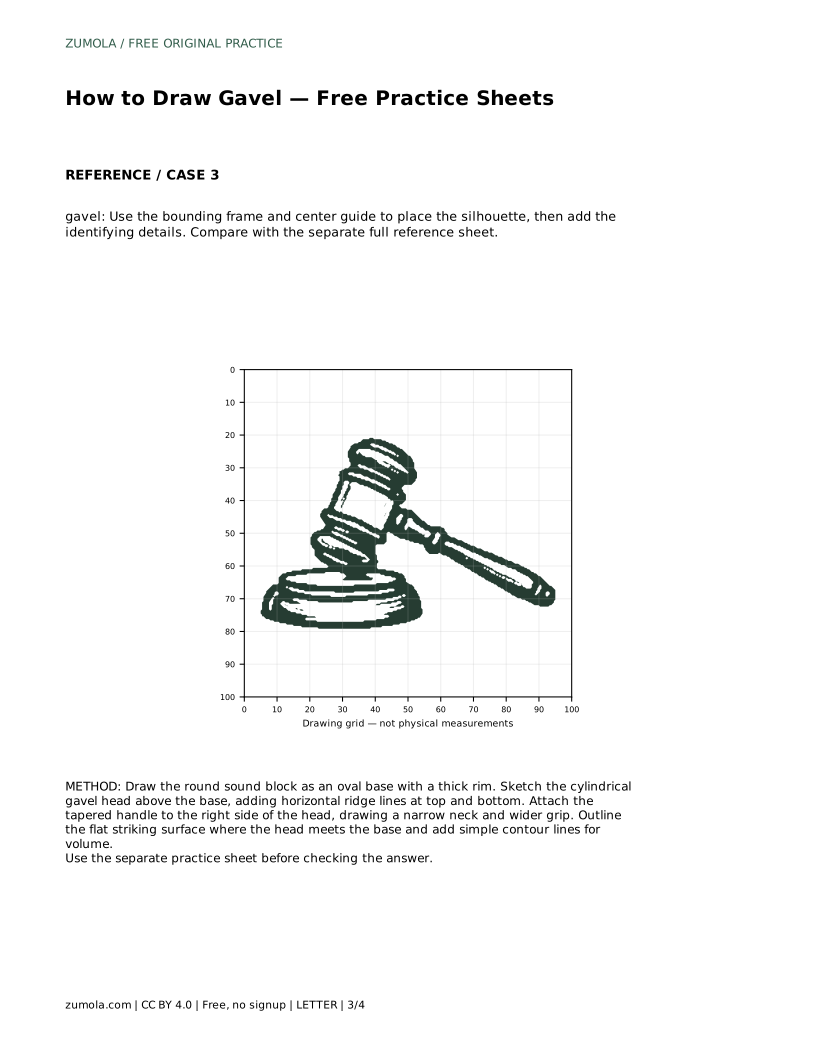
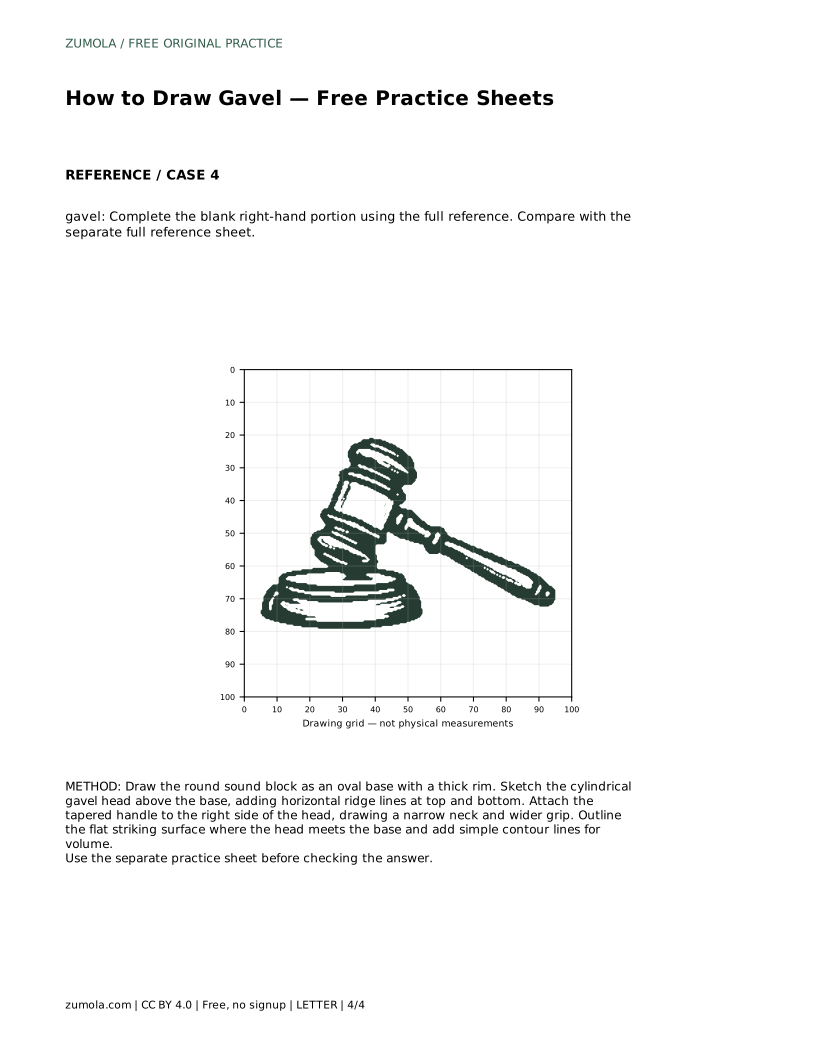
The grid sheet asks you to copy the reference onto a blank grid using matching intersections. Use the grid to check where the head, handle, and block sit relative to one another. The bounding-frame sheet gives you a center guide for placing the silhouette before adding identifying details. The partial sheet leaves the right-hand portion blank so you can complete it from the full reference.
A gavel drawing can be correct in more than one way. What matters is that the visible features read clearly: a cylindrical head with ridged bands, a tapered handle attached to the side of the head, a flat striking surface, and a round base beneath it. Proportions can vary slightly and still produce a convincing result.
Use the rubric below to review your work. Check each feature separately, then look at the overall balance between the head, handle, and block. If one part feels too large or too small, adjust it against the reference rather than redrawing everything.
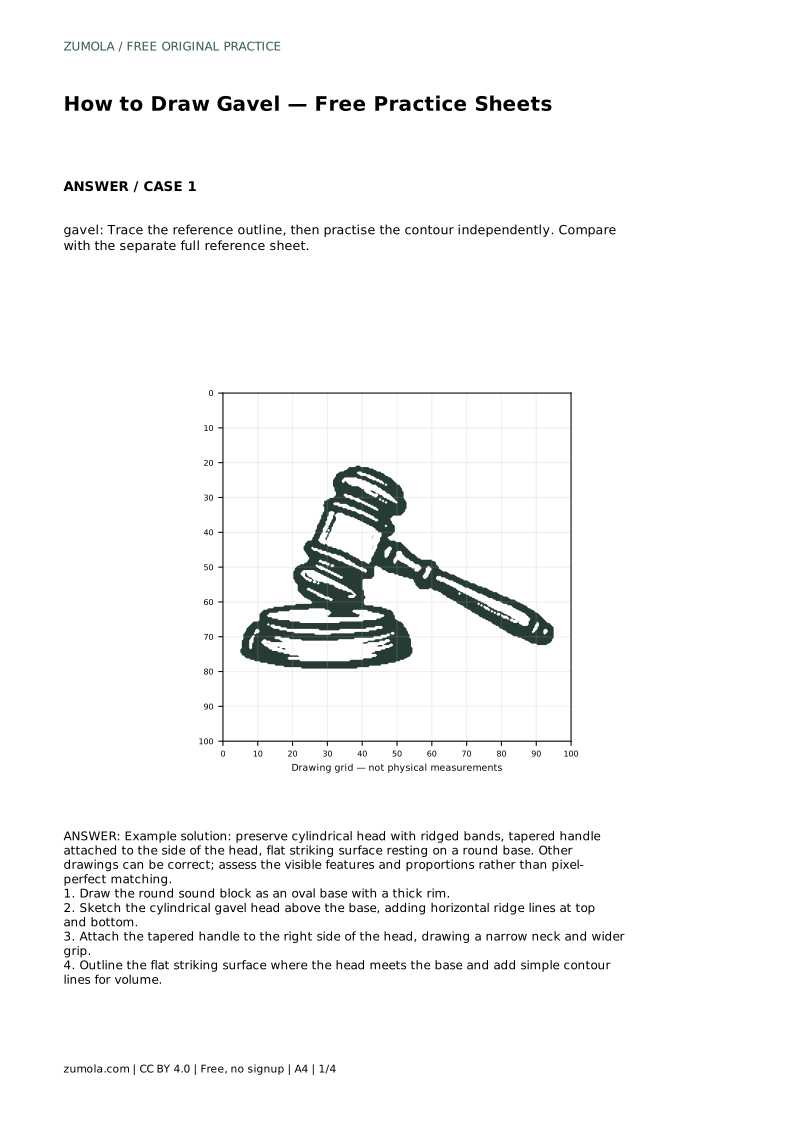
gavel: Trace the reference outline, then practise the contour independently. Compare with the separate full reference sheet.
Example solution: preserve cylindrical head with ridged bands, tapered handle attached to the side of the head, flat striking surface resting on a round base. Other drawings can be correct; assess the visible features and proportions rather than pixel-perfect matching. Draw the round sound block as an oval base with a thick rim. Sketch the cylindrical gavel head above the base, adding horizontal ridge lines at top and bottom. Attach the tapered handle to the right side of the head, drawing a narrow neck and wider grip. Outline the flat striking surface where the head meets the base and add simple contour lines for volume.
No. Several drawings can be correct. Assess the visible features and proportions, such as the ridged cylindrical head, tapered side handle, flat striking surface, and round base, rather than aiming for a pixel-perfect match.
Begin with the tracing sheet to learn the outline, then move to the grid or bounding-frame sheet to place the shape independently. Finish with the partial sheet to complete the missing portion from the full reference.
Check that the head has oval ends and curved ridge lines, the base has a visible rim, and the handle changes width gradually. These cues suggest rounded volume without heavy shading.
All drawing practice · Free coordinate paper
Original resources · CC BY 4.0 · Free for personal and classroom use with attribution.